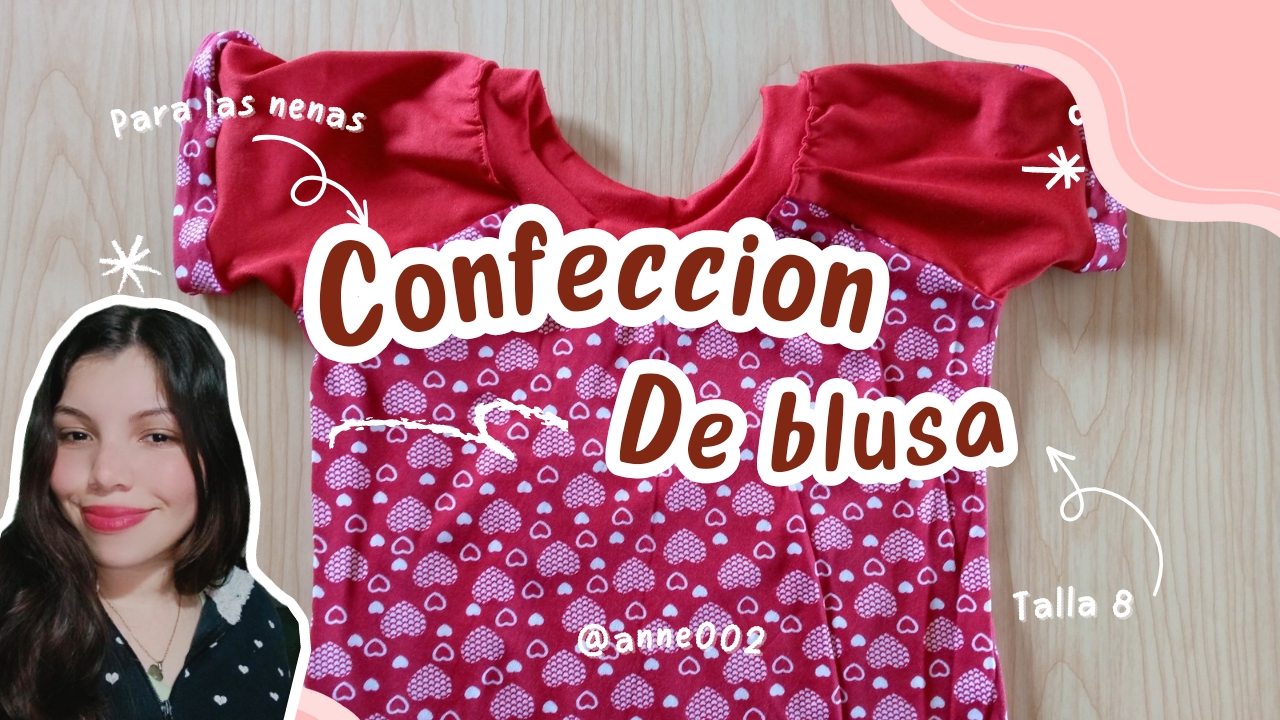
Hello, beautiful afternoon! It's a pleasure to greet you. I hope you are all doing very well, dear and appreciated friends. I warmly welcome you to a new blog where I will be sharing with you the creative process of what we will do here step by step. Feel comfortable and thank you for being here reading this blog.✨💗
.jpg)
I want to show you my dear artisan friends how to make or sew this pretty blouse for one of my aunt's daughters with some scraps that I have left over from previous jobs, if you see with only small pieces of material and fabric we can make some clothes for the children and thus save a lot, this blouse cut is like a peasant and I wanted to add two colors, a print below and a single color on the sleeves, I wanted to add a detail on the bias of the sleeve of the same print as the blouse so that it matches the blouse below as well, the sleeve is not very difficult to make and I wanted to try to make this sleeve because I felt that I could save more fabric and I could combine two different types of fabrics and thus make a different blouse model so as not to make the same one that I always make, and I feel that this way it also looks very nice and it is a design that we can make for females as well as for males.
The truth is I made this blouse with little fabric, I would say that with less than 40 cm long you can make it because this size 8 is super small and the fabric I used is very soft and the advantage of it is that it stretches which makes it much easier for us to work in these fabrics if we want to make several garments for girls because it is a fabric that can reach you for almost everything, in my mother's case it is like that, with only a meter of fabric in her hands this that I am going to mention will sound funny but the truth is that it is like that and I don't know how she does it, she makes clothes even for the cat hahaha I mean she makes and sews clothes from a meter of fabric for everyone and I am amazed by this because I would like to be like that although she has taught me to do it because I have tried and it does not work out for me hahaha I do not feel that I can make many garments from a single meter of fabric no no I leave that to my mother, although I do make clothes from scraps like this type because I love them well my mother's hands are blessed so I hope she continues like this because she saves a lot friends.
I hope you stay until the end of the tutorial and learn a little about how to sew this garment that is easy to cut and sew. I will show you more details below.
.jpg)
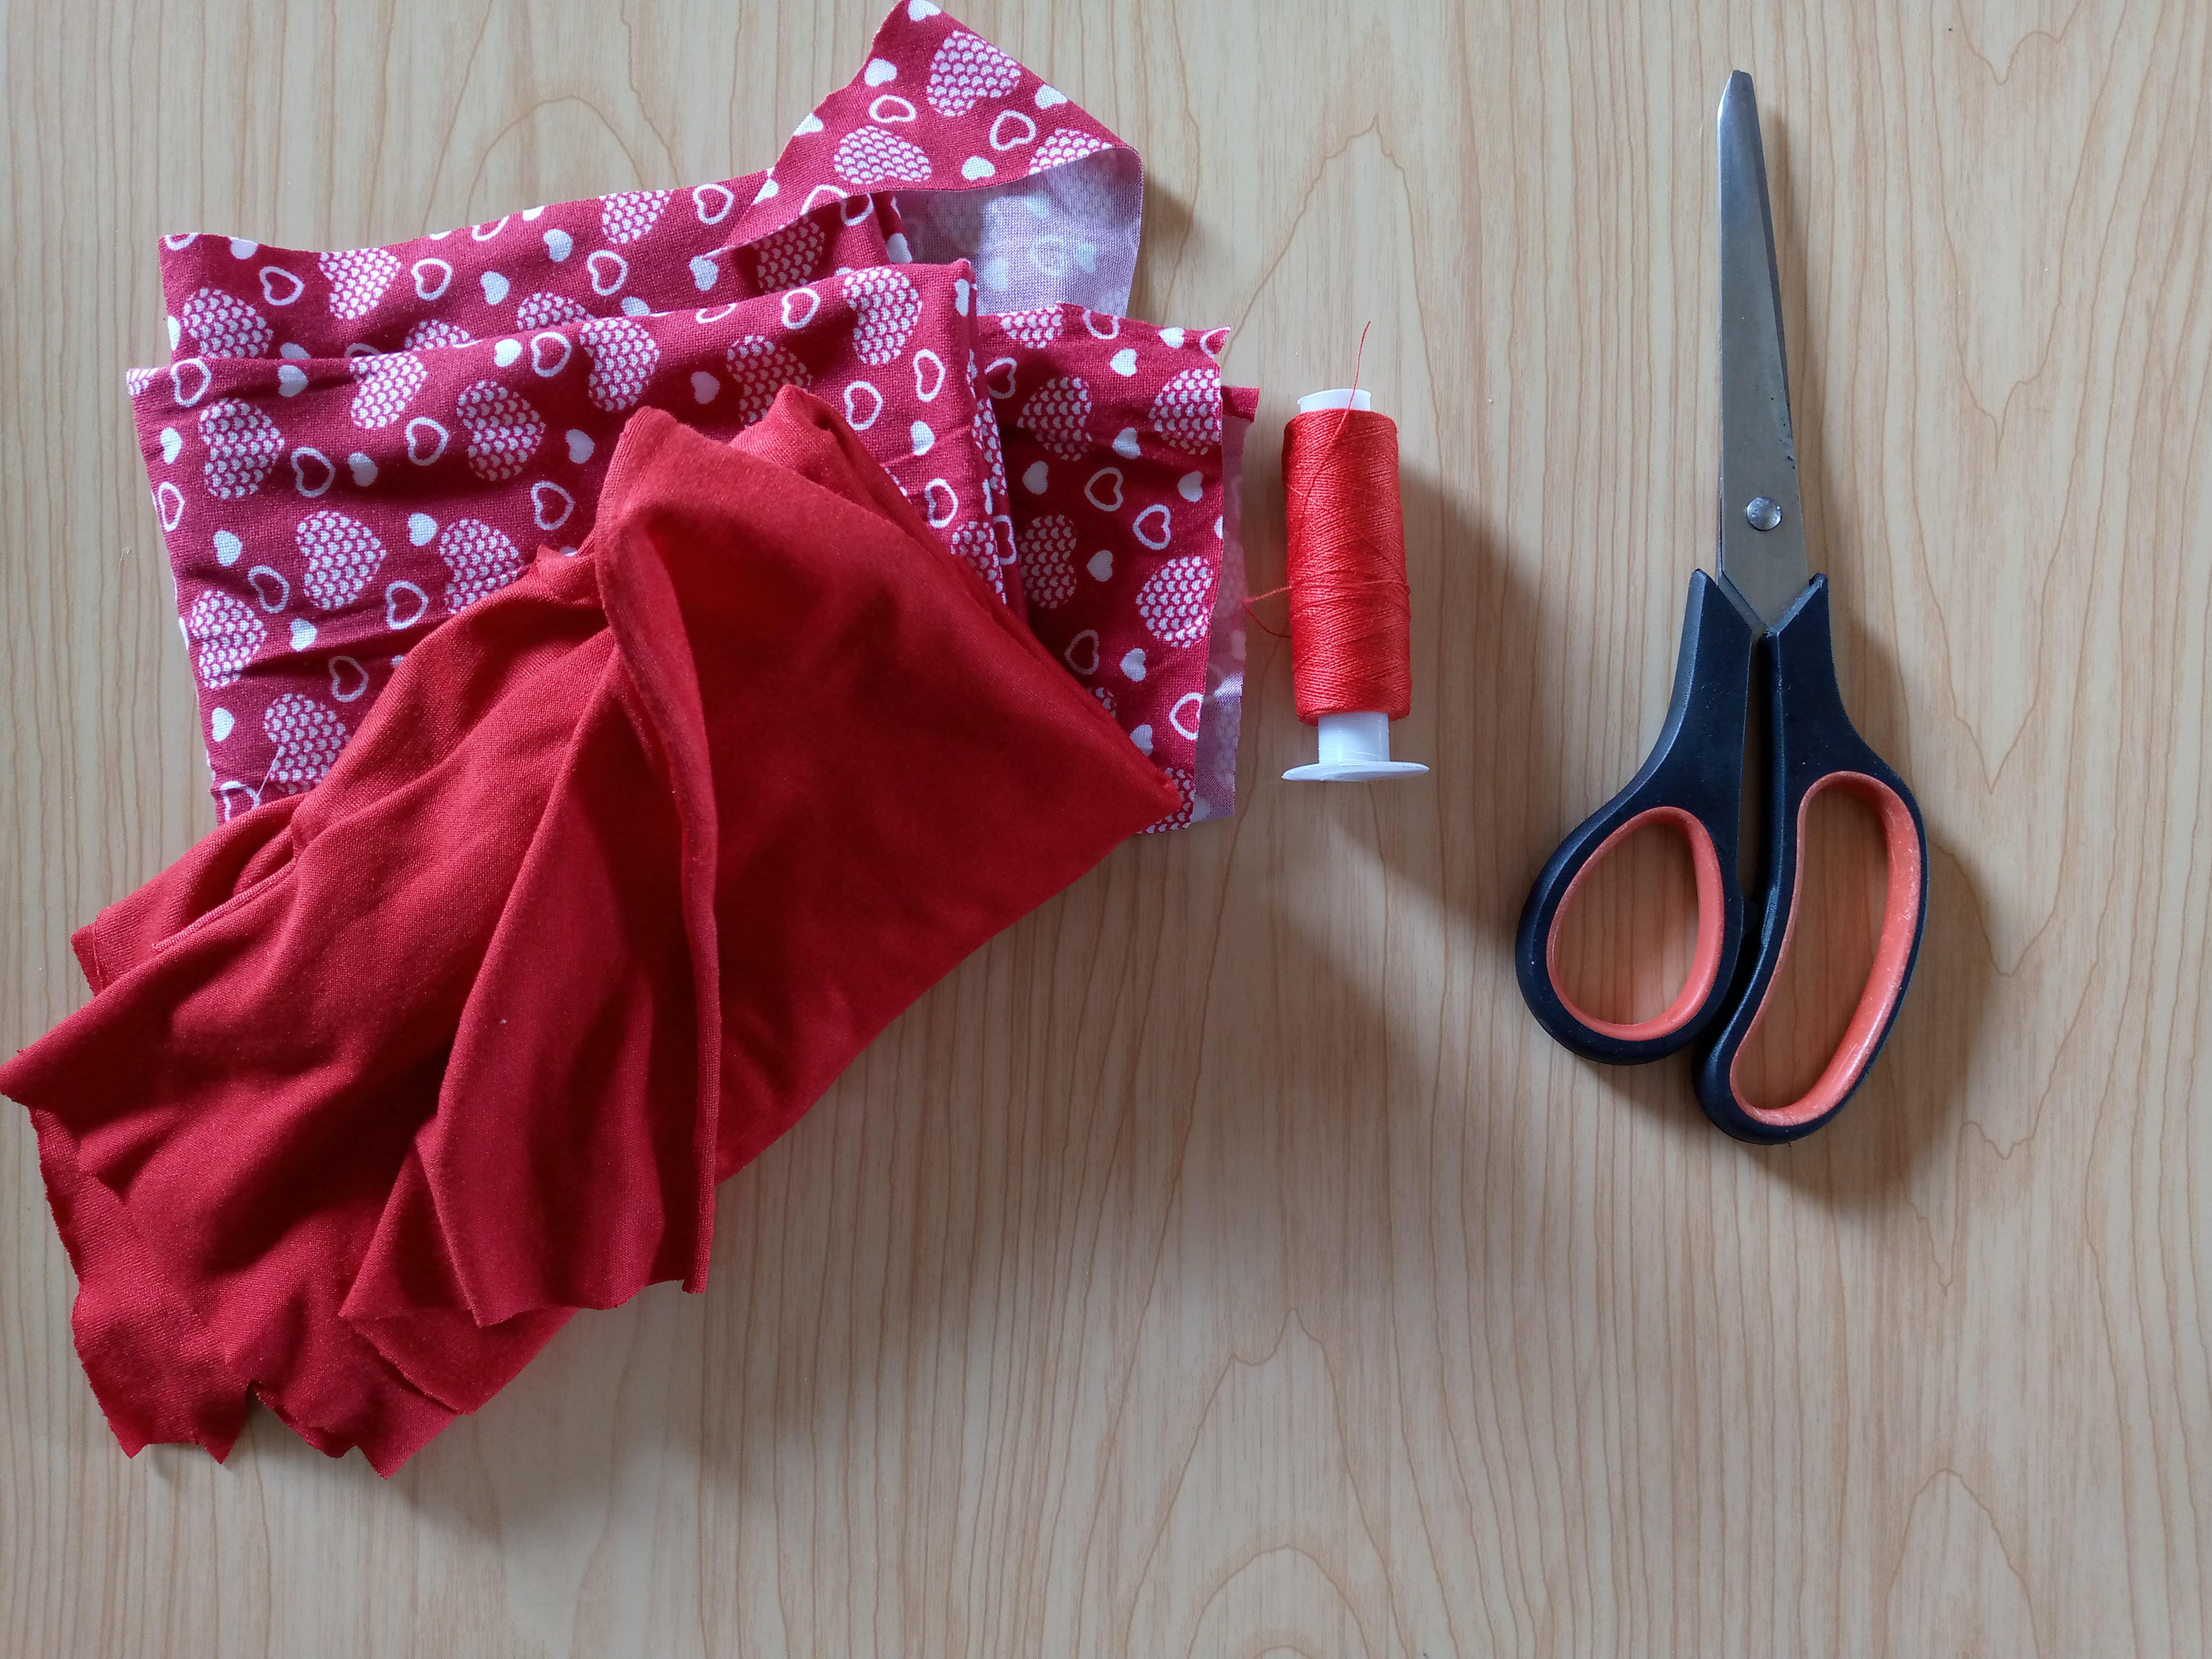
Materiales:// Materials:
- 40 cm o menos de retazos de tela del color que prefieras (talla 8 blusa)
- Tijeras
- Hilo
- Máquina de coser
- Medida de una prenda
- 40 cm or less of fabric scraps in the color of your choice (size 8 blouse)
- Scissors
- Thread
- Sewing machine
- Measurement of a garment
.jpg)
Pasos a seguir://Steps to follow:
Paso 01
Step 01
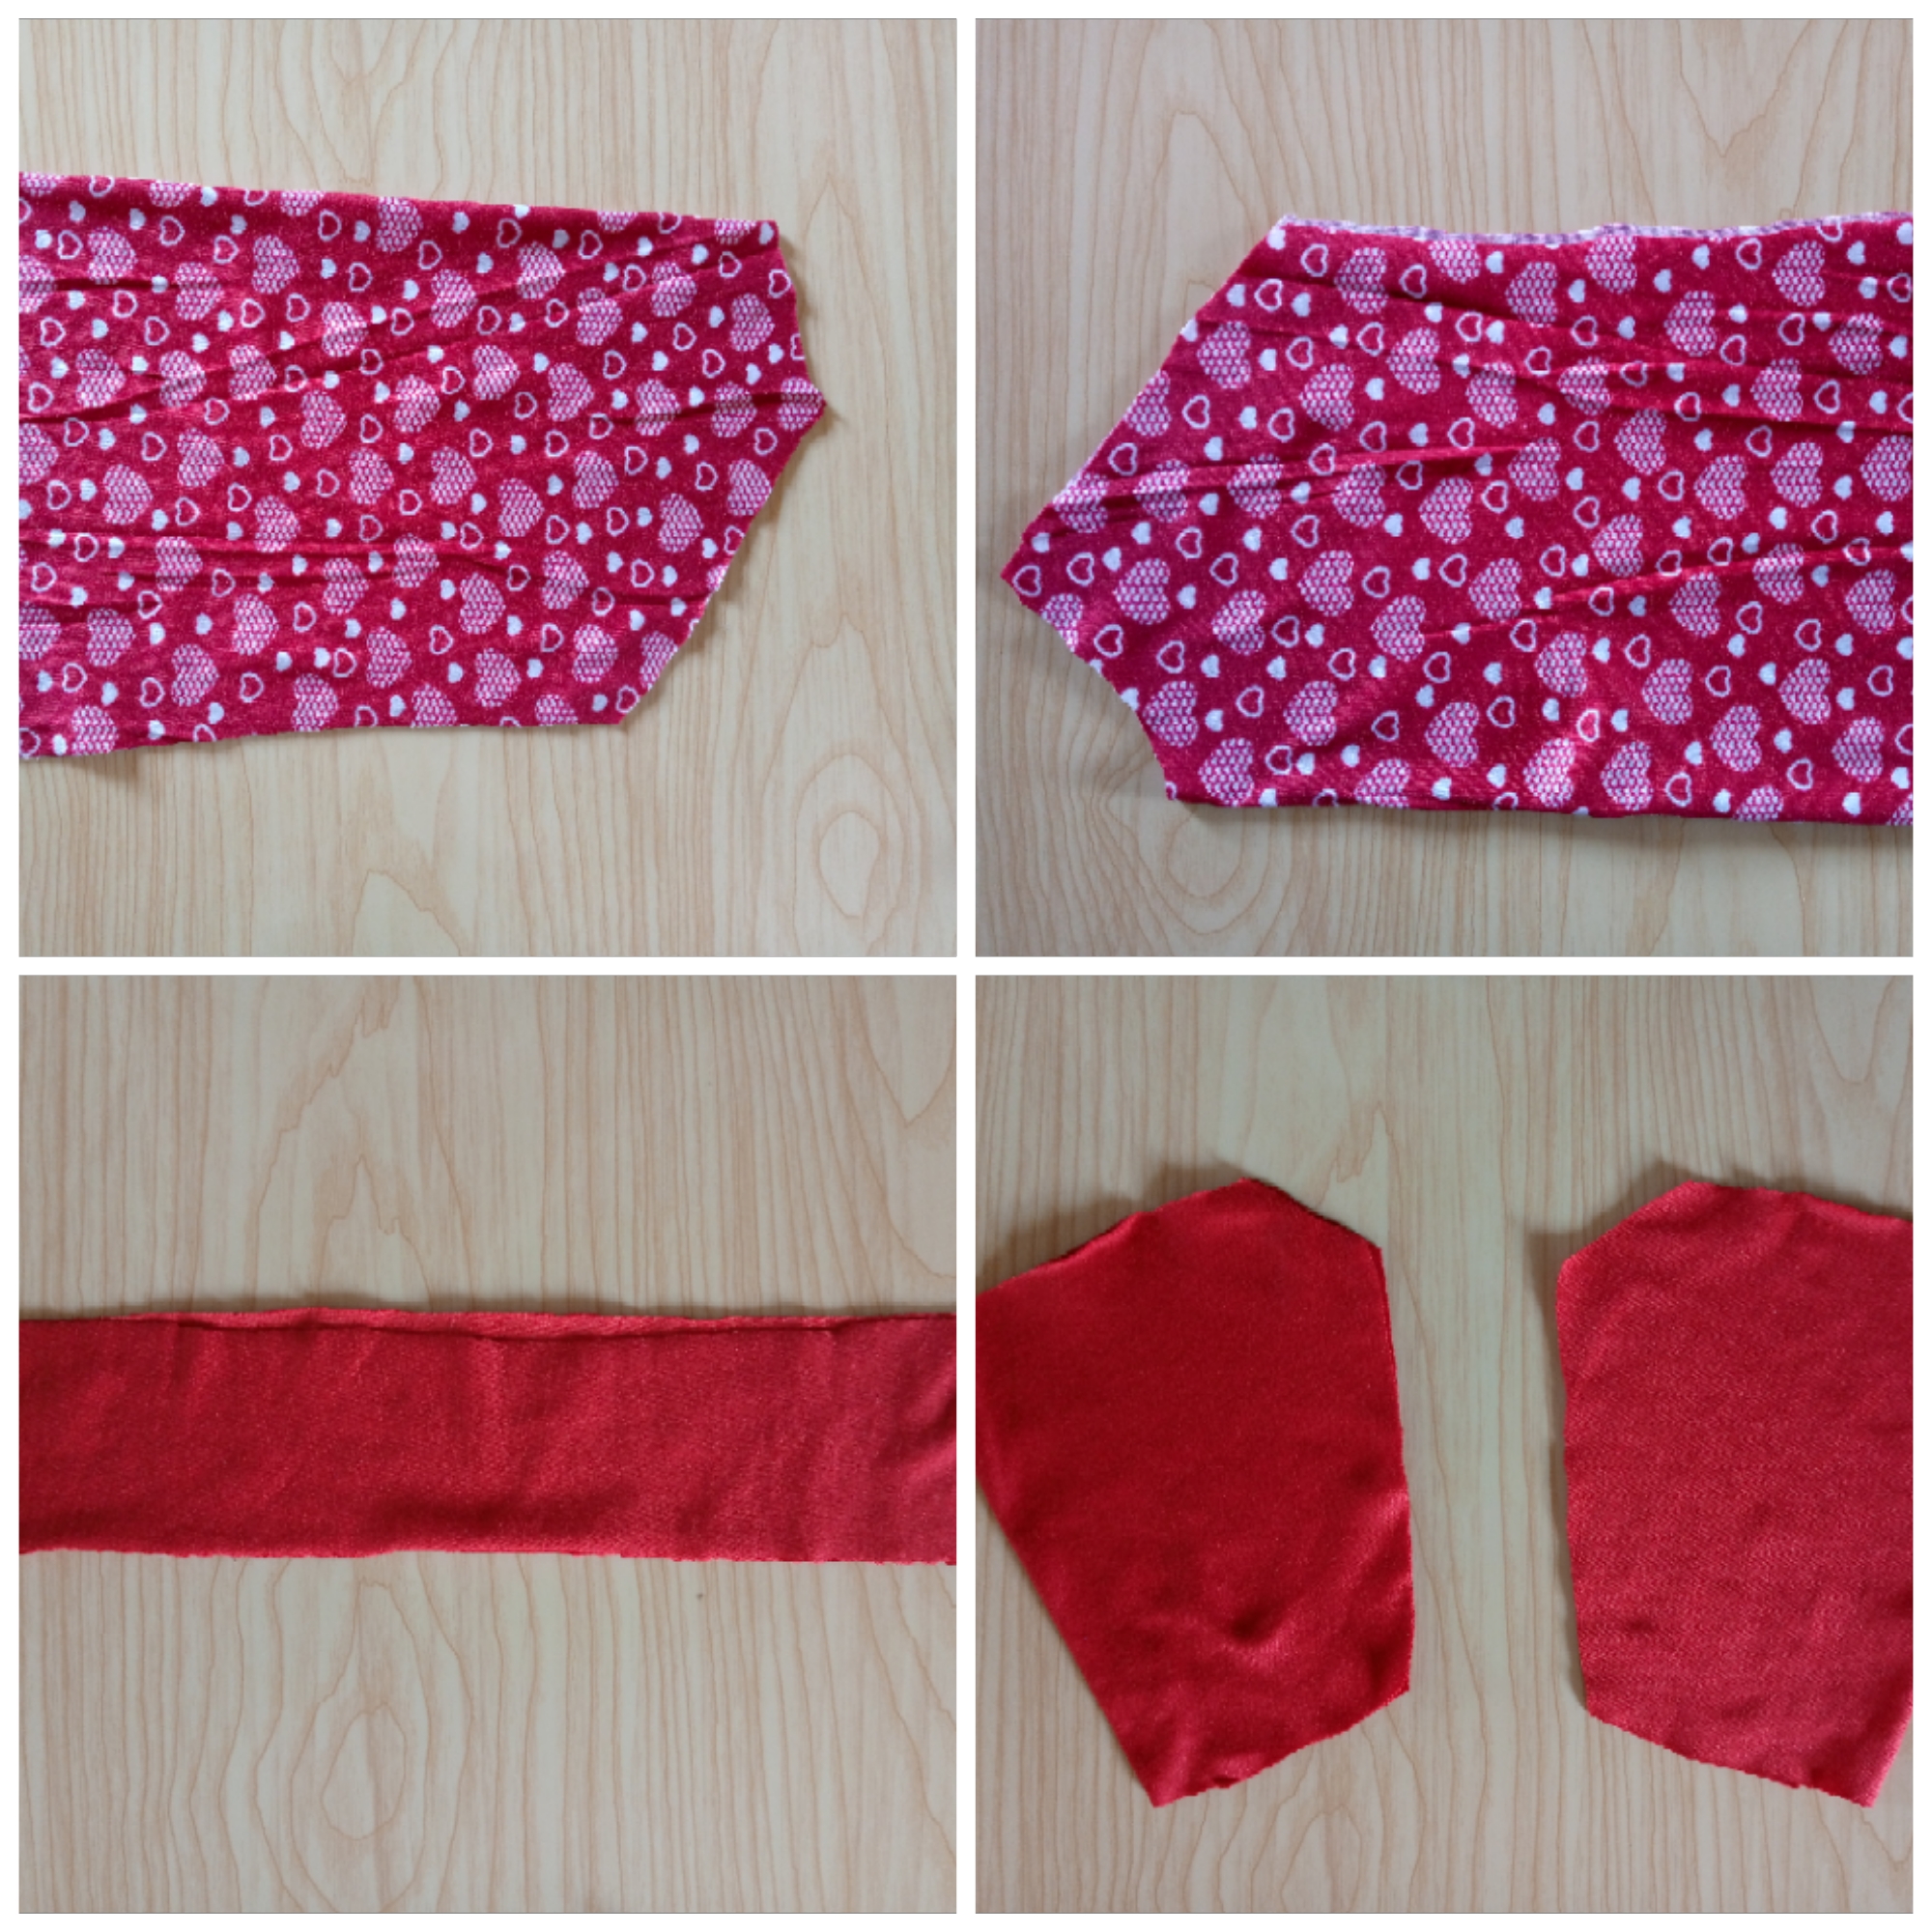
The first step is very simple and important because it is time to cut the front and back pieces of my blouse, the two sleeves in this case these sleeves have this Olympic-type cut and the front of the blouse also has a slanted cut because there I will sew each piece of each sleeve on the sides both back and front, I cut the bias of the cuffs and collar, these are the main pieces for the making, remember that I have cut these pieces by a size 8 garment or measurement, you can use your patterns as you wish.
Paso 02
Step 02
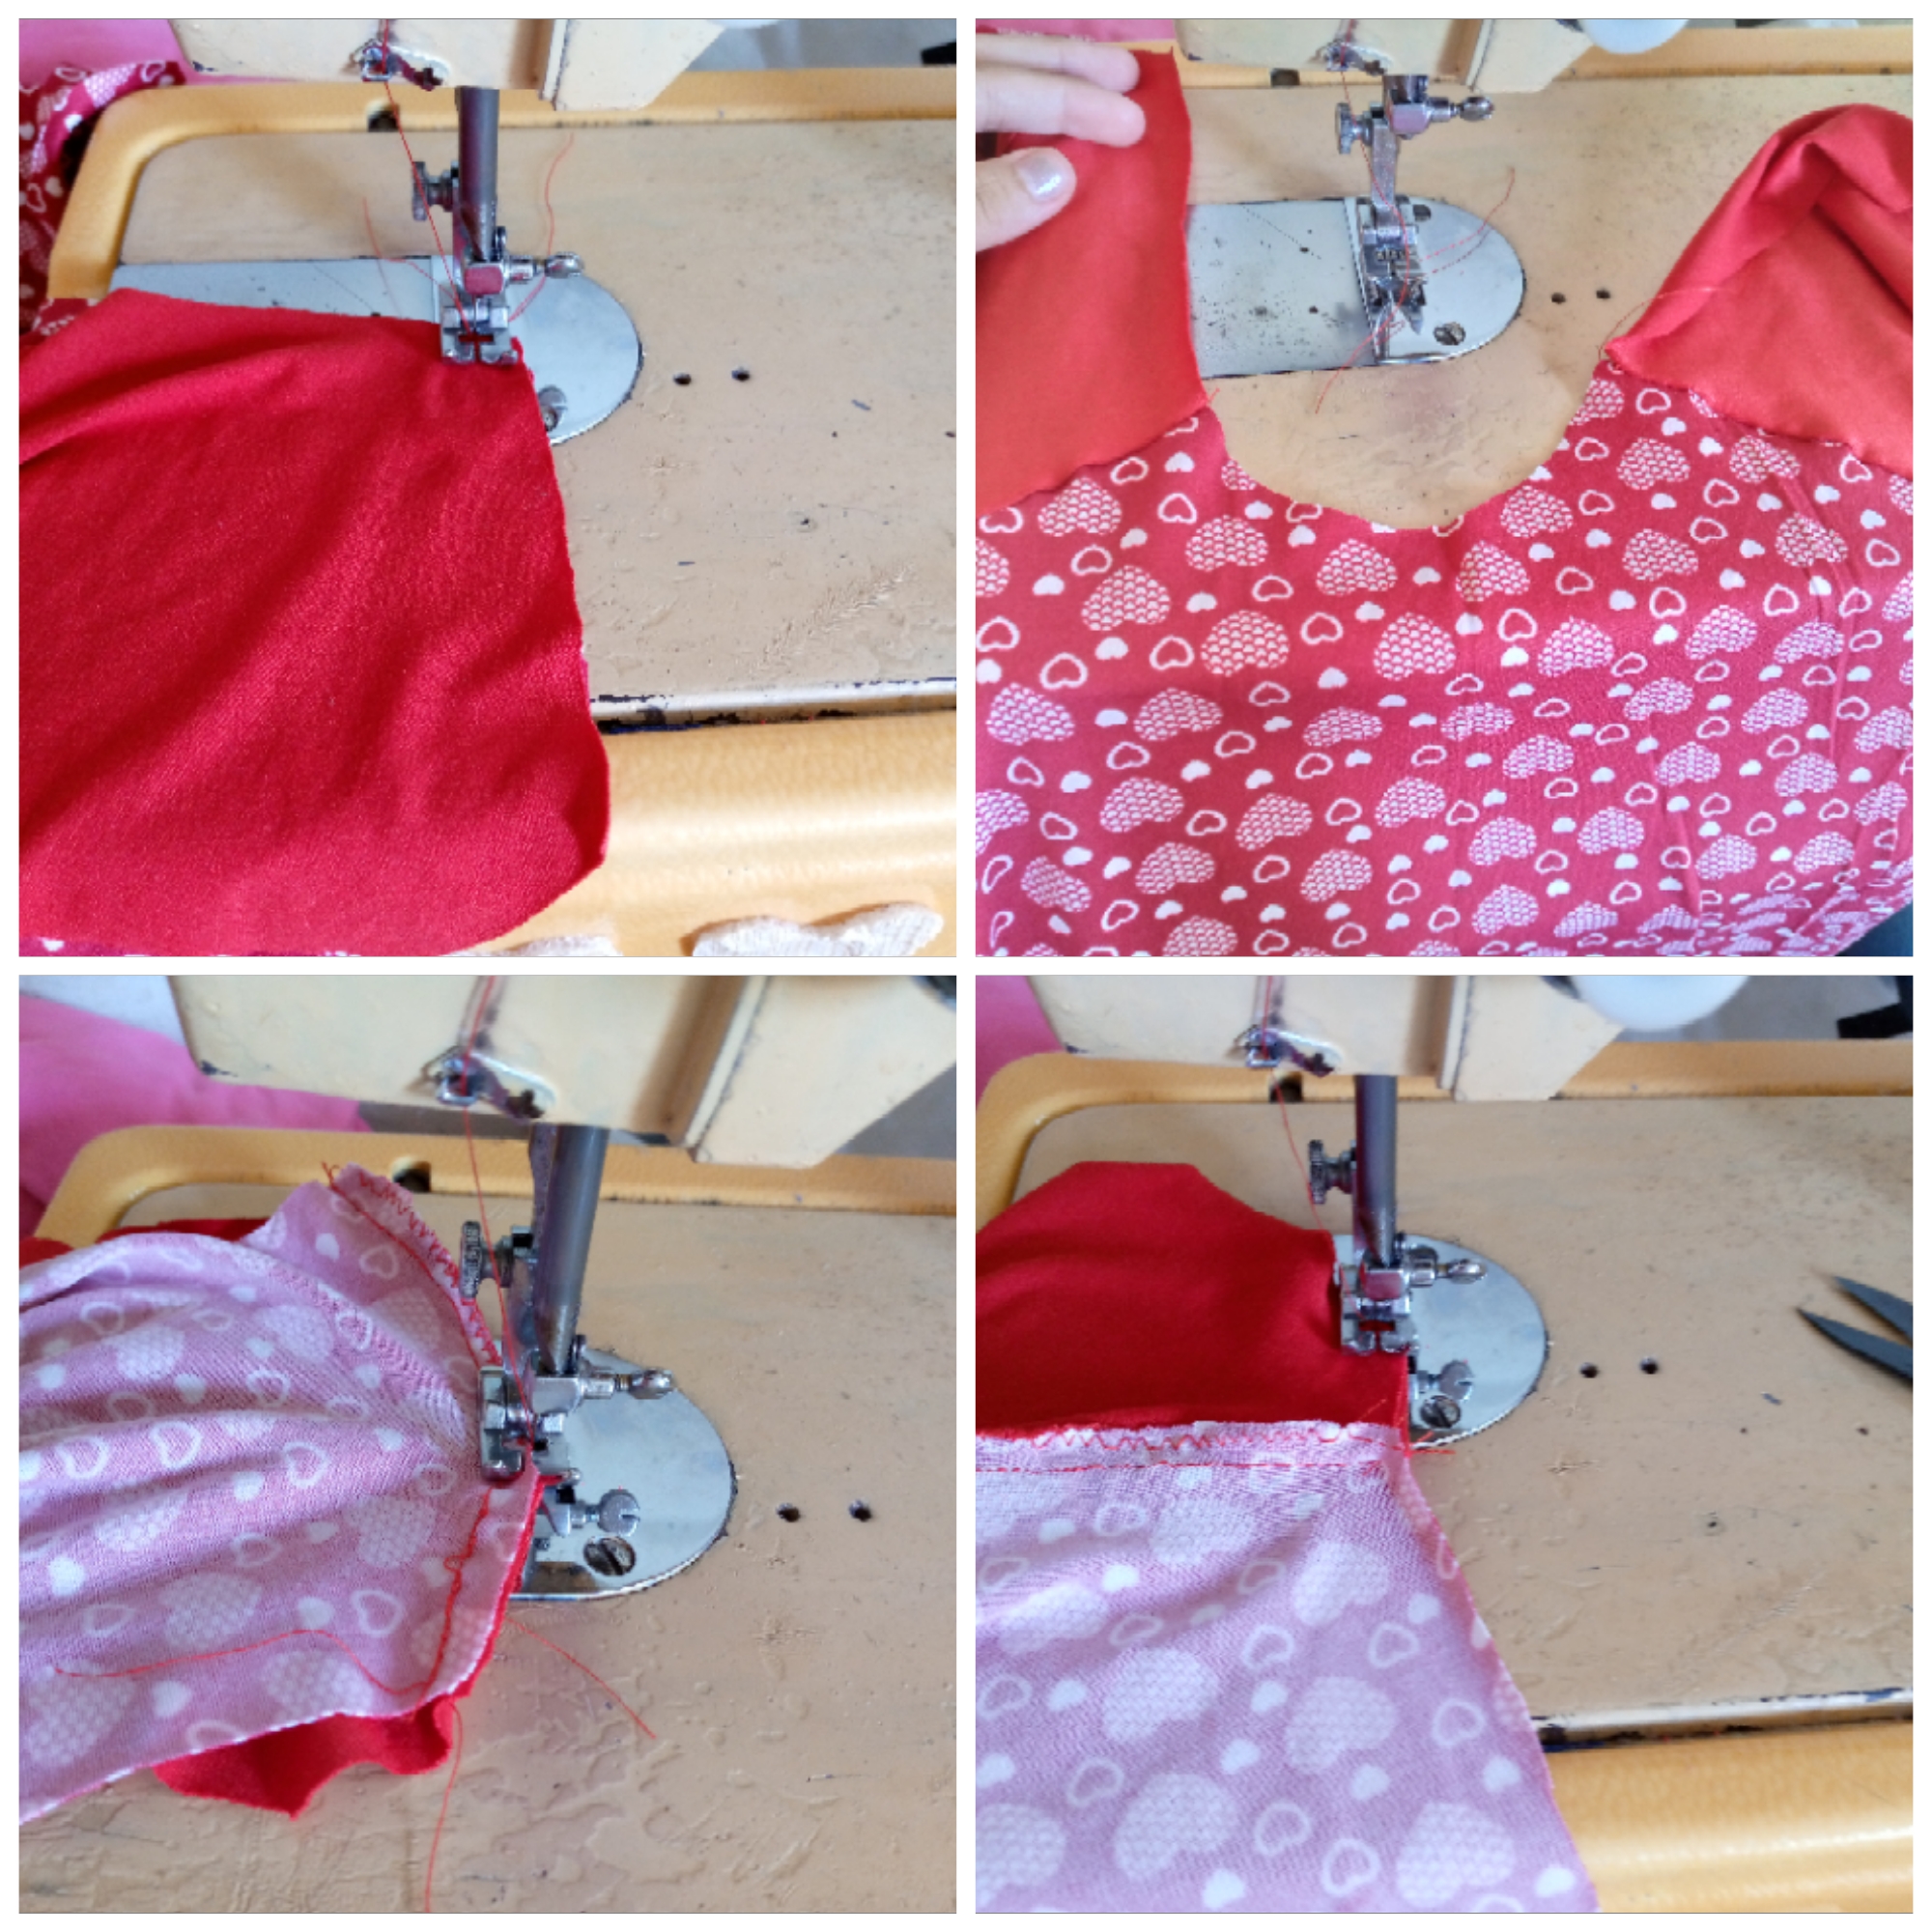
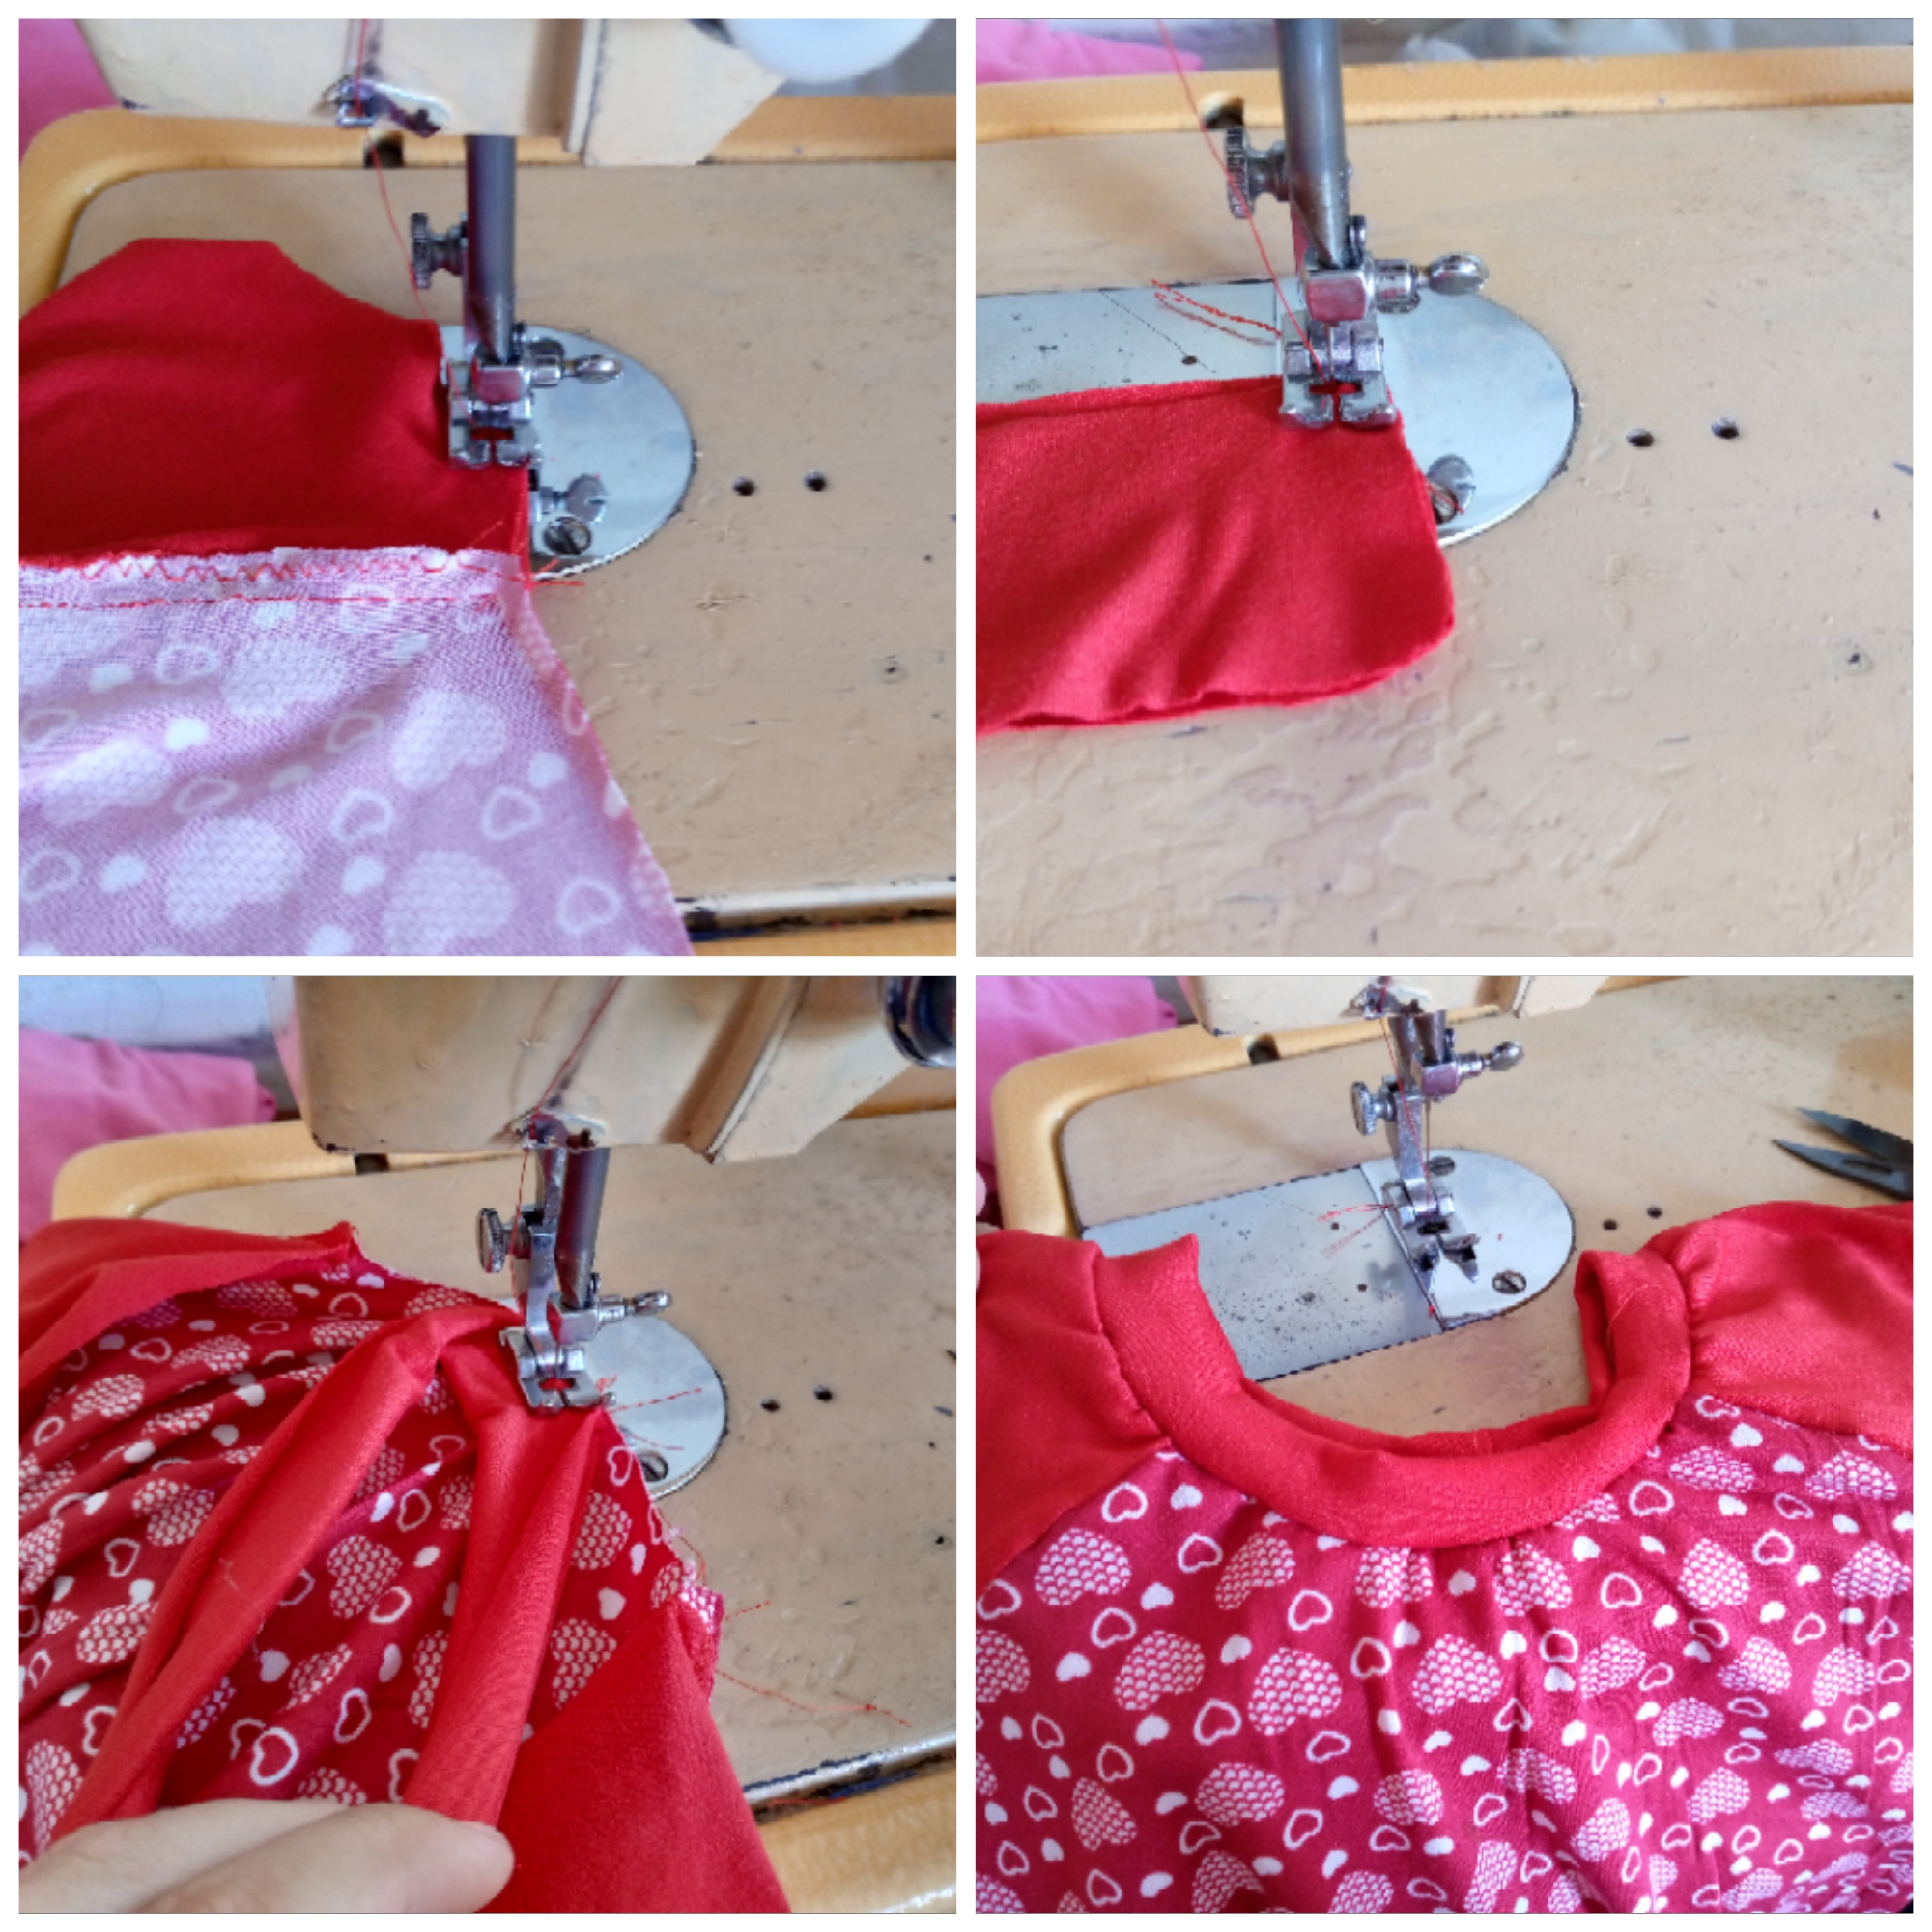
As I mentioned before, it is time to sew the sleeves to each piece of the blouse from the front and back as shown in the image below, then it is time to seal the sides of my blouse after I sewed the four sides of my sleeve.
Paso 03
Step 03
I proceed to sew the other side of the blouse since they are on both sides, and I will be sewing the bias of the neck at the tip with a straight stitch and what I will do is fold it in half and place it on the back of the blouse there we can make a small puncture with scissors and there we will place the tie of the bias of the neck only in the back then if I go on to sew it along the edge with a straight stitch and of course sealing the edge with a zig zag remember to do this everywhere where you are sewing with a straight stitch to seal the garment and not let the thread of the straight stitch come loose.
Paso 04
Step 04
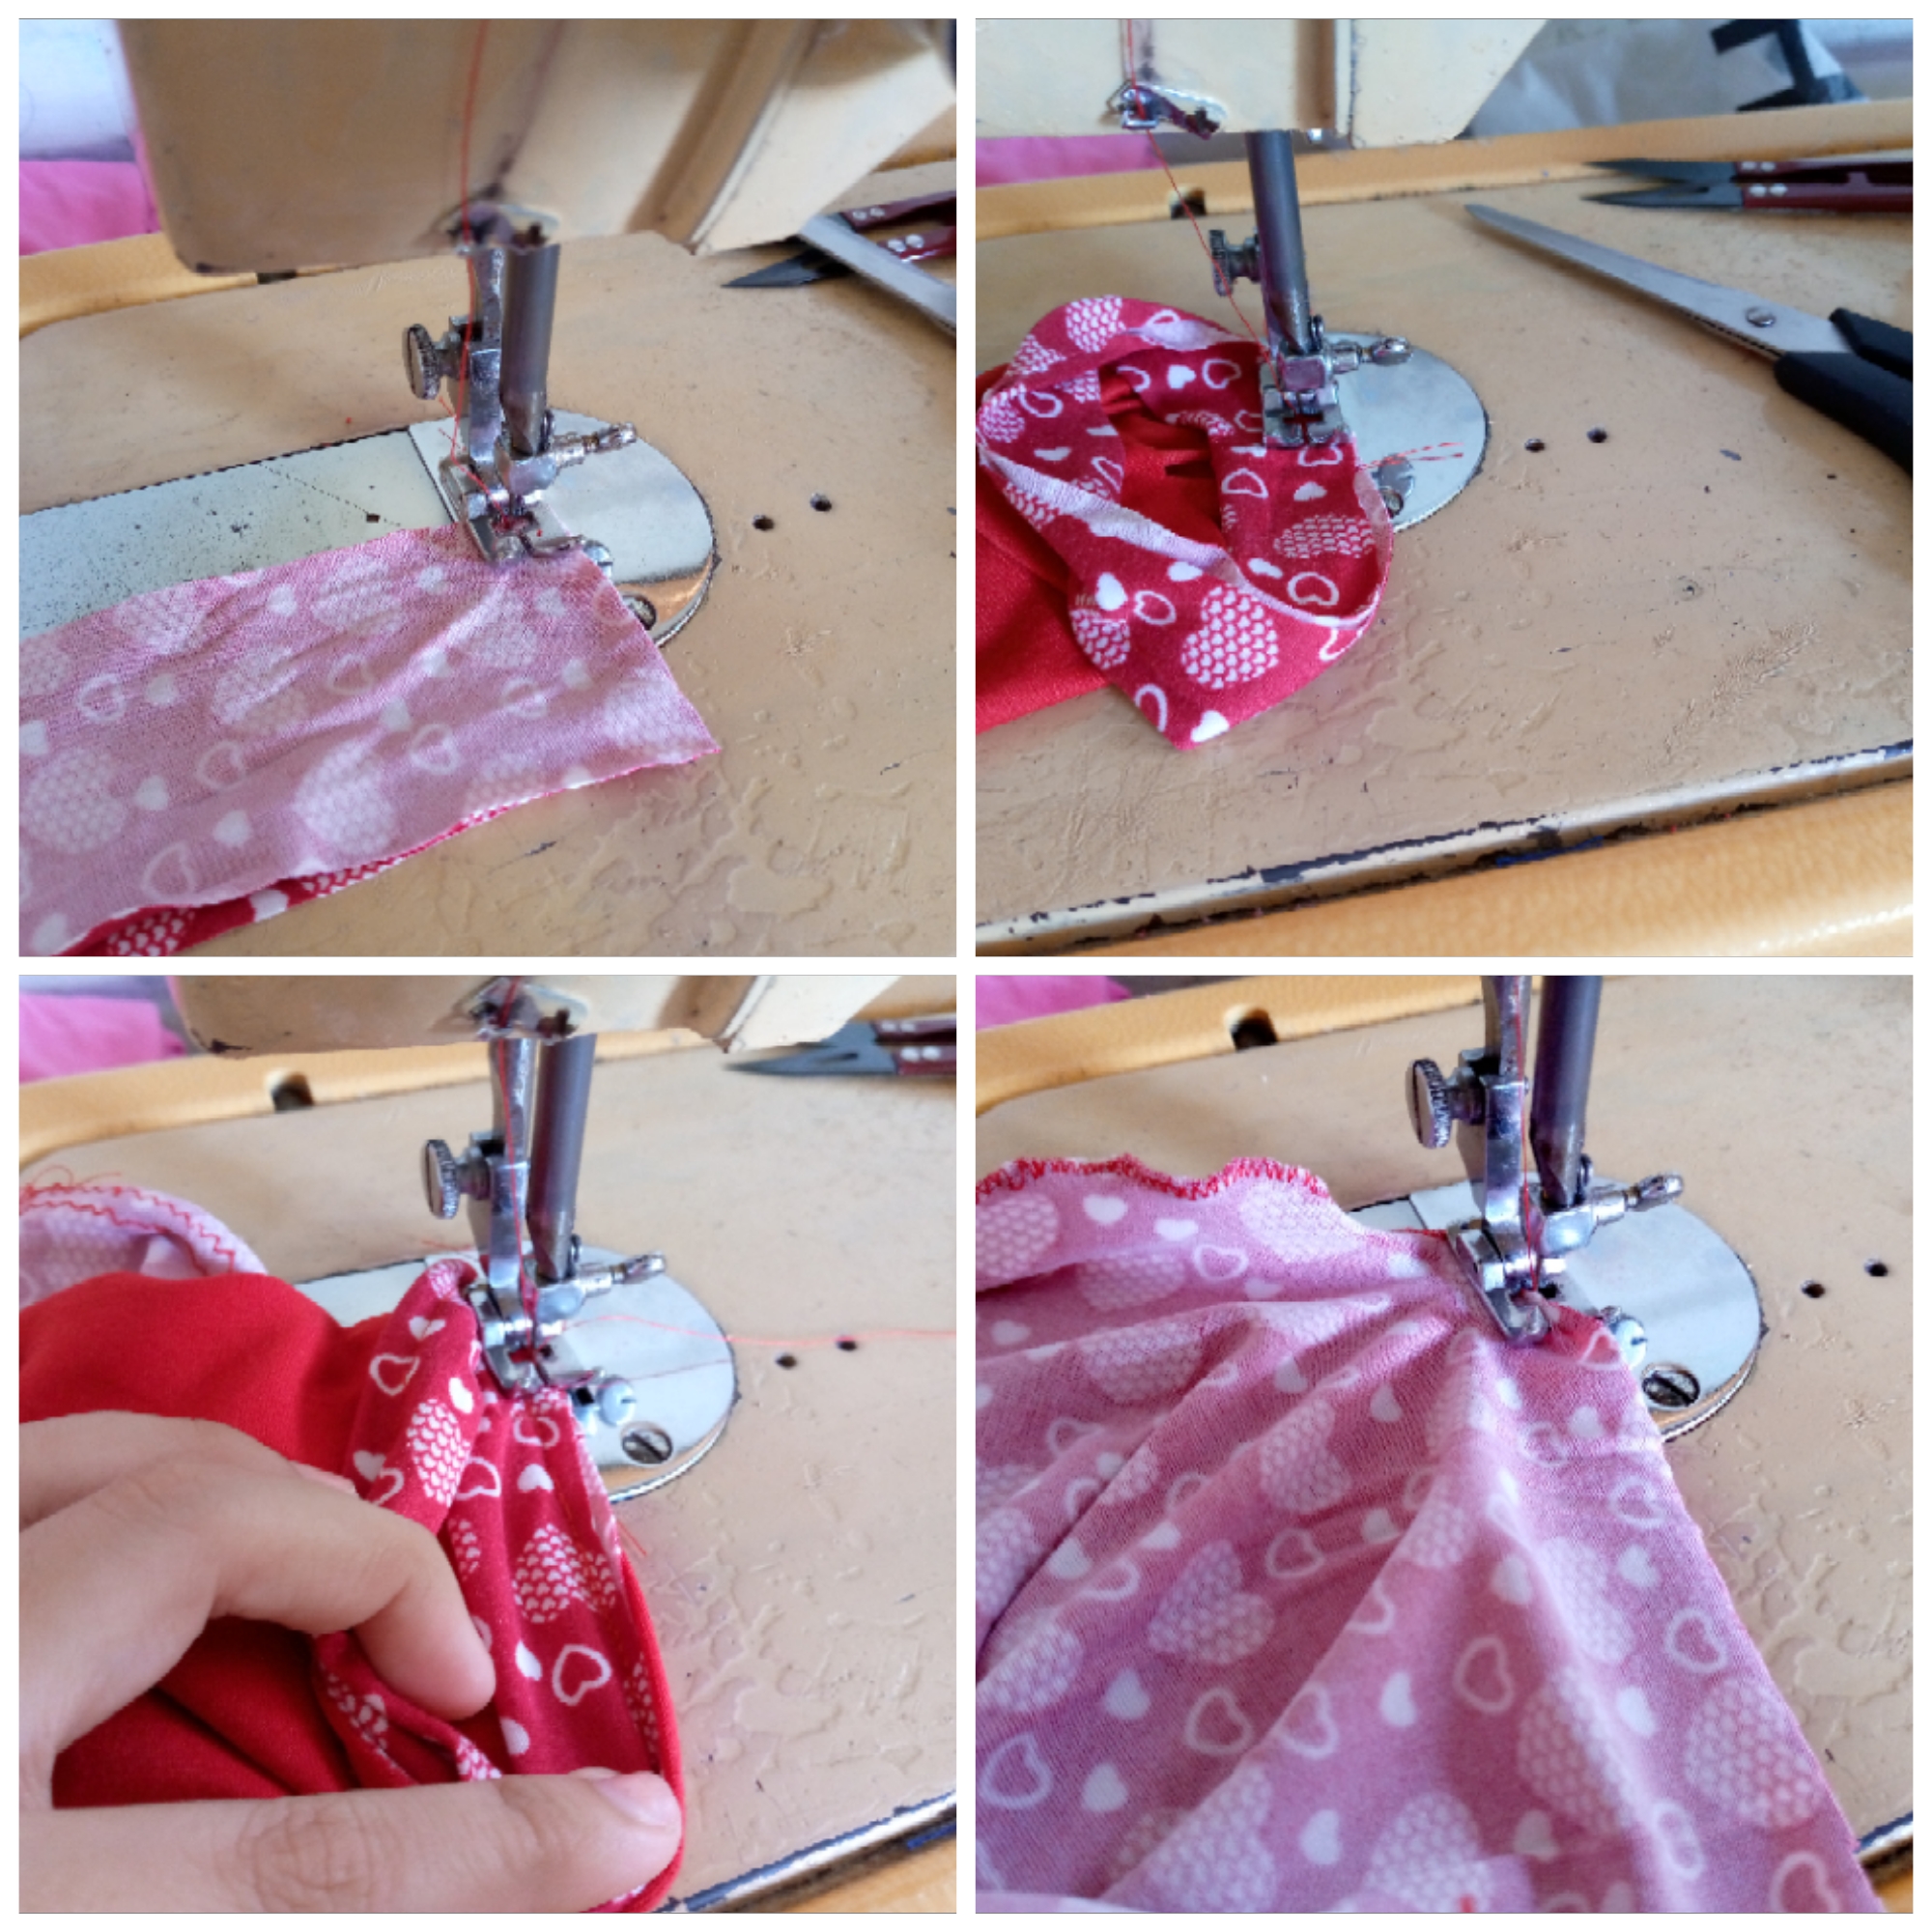
It is time to finish sewing the bias of the sleeves. We will be joining them at the tip of each one and folding them. The same step that we did with the collar will be done in this case for the cuff of both sleeves of the printed fabric. Then I will sew them along the edge of the sleeves each bias, I finish by
overlocking the collar of the blouse with a straight stitch and that's it.
.jpg)
Resultado:// Result:
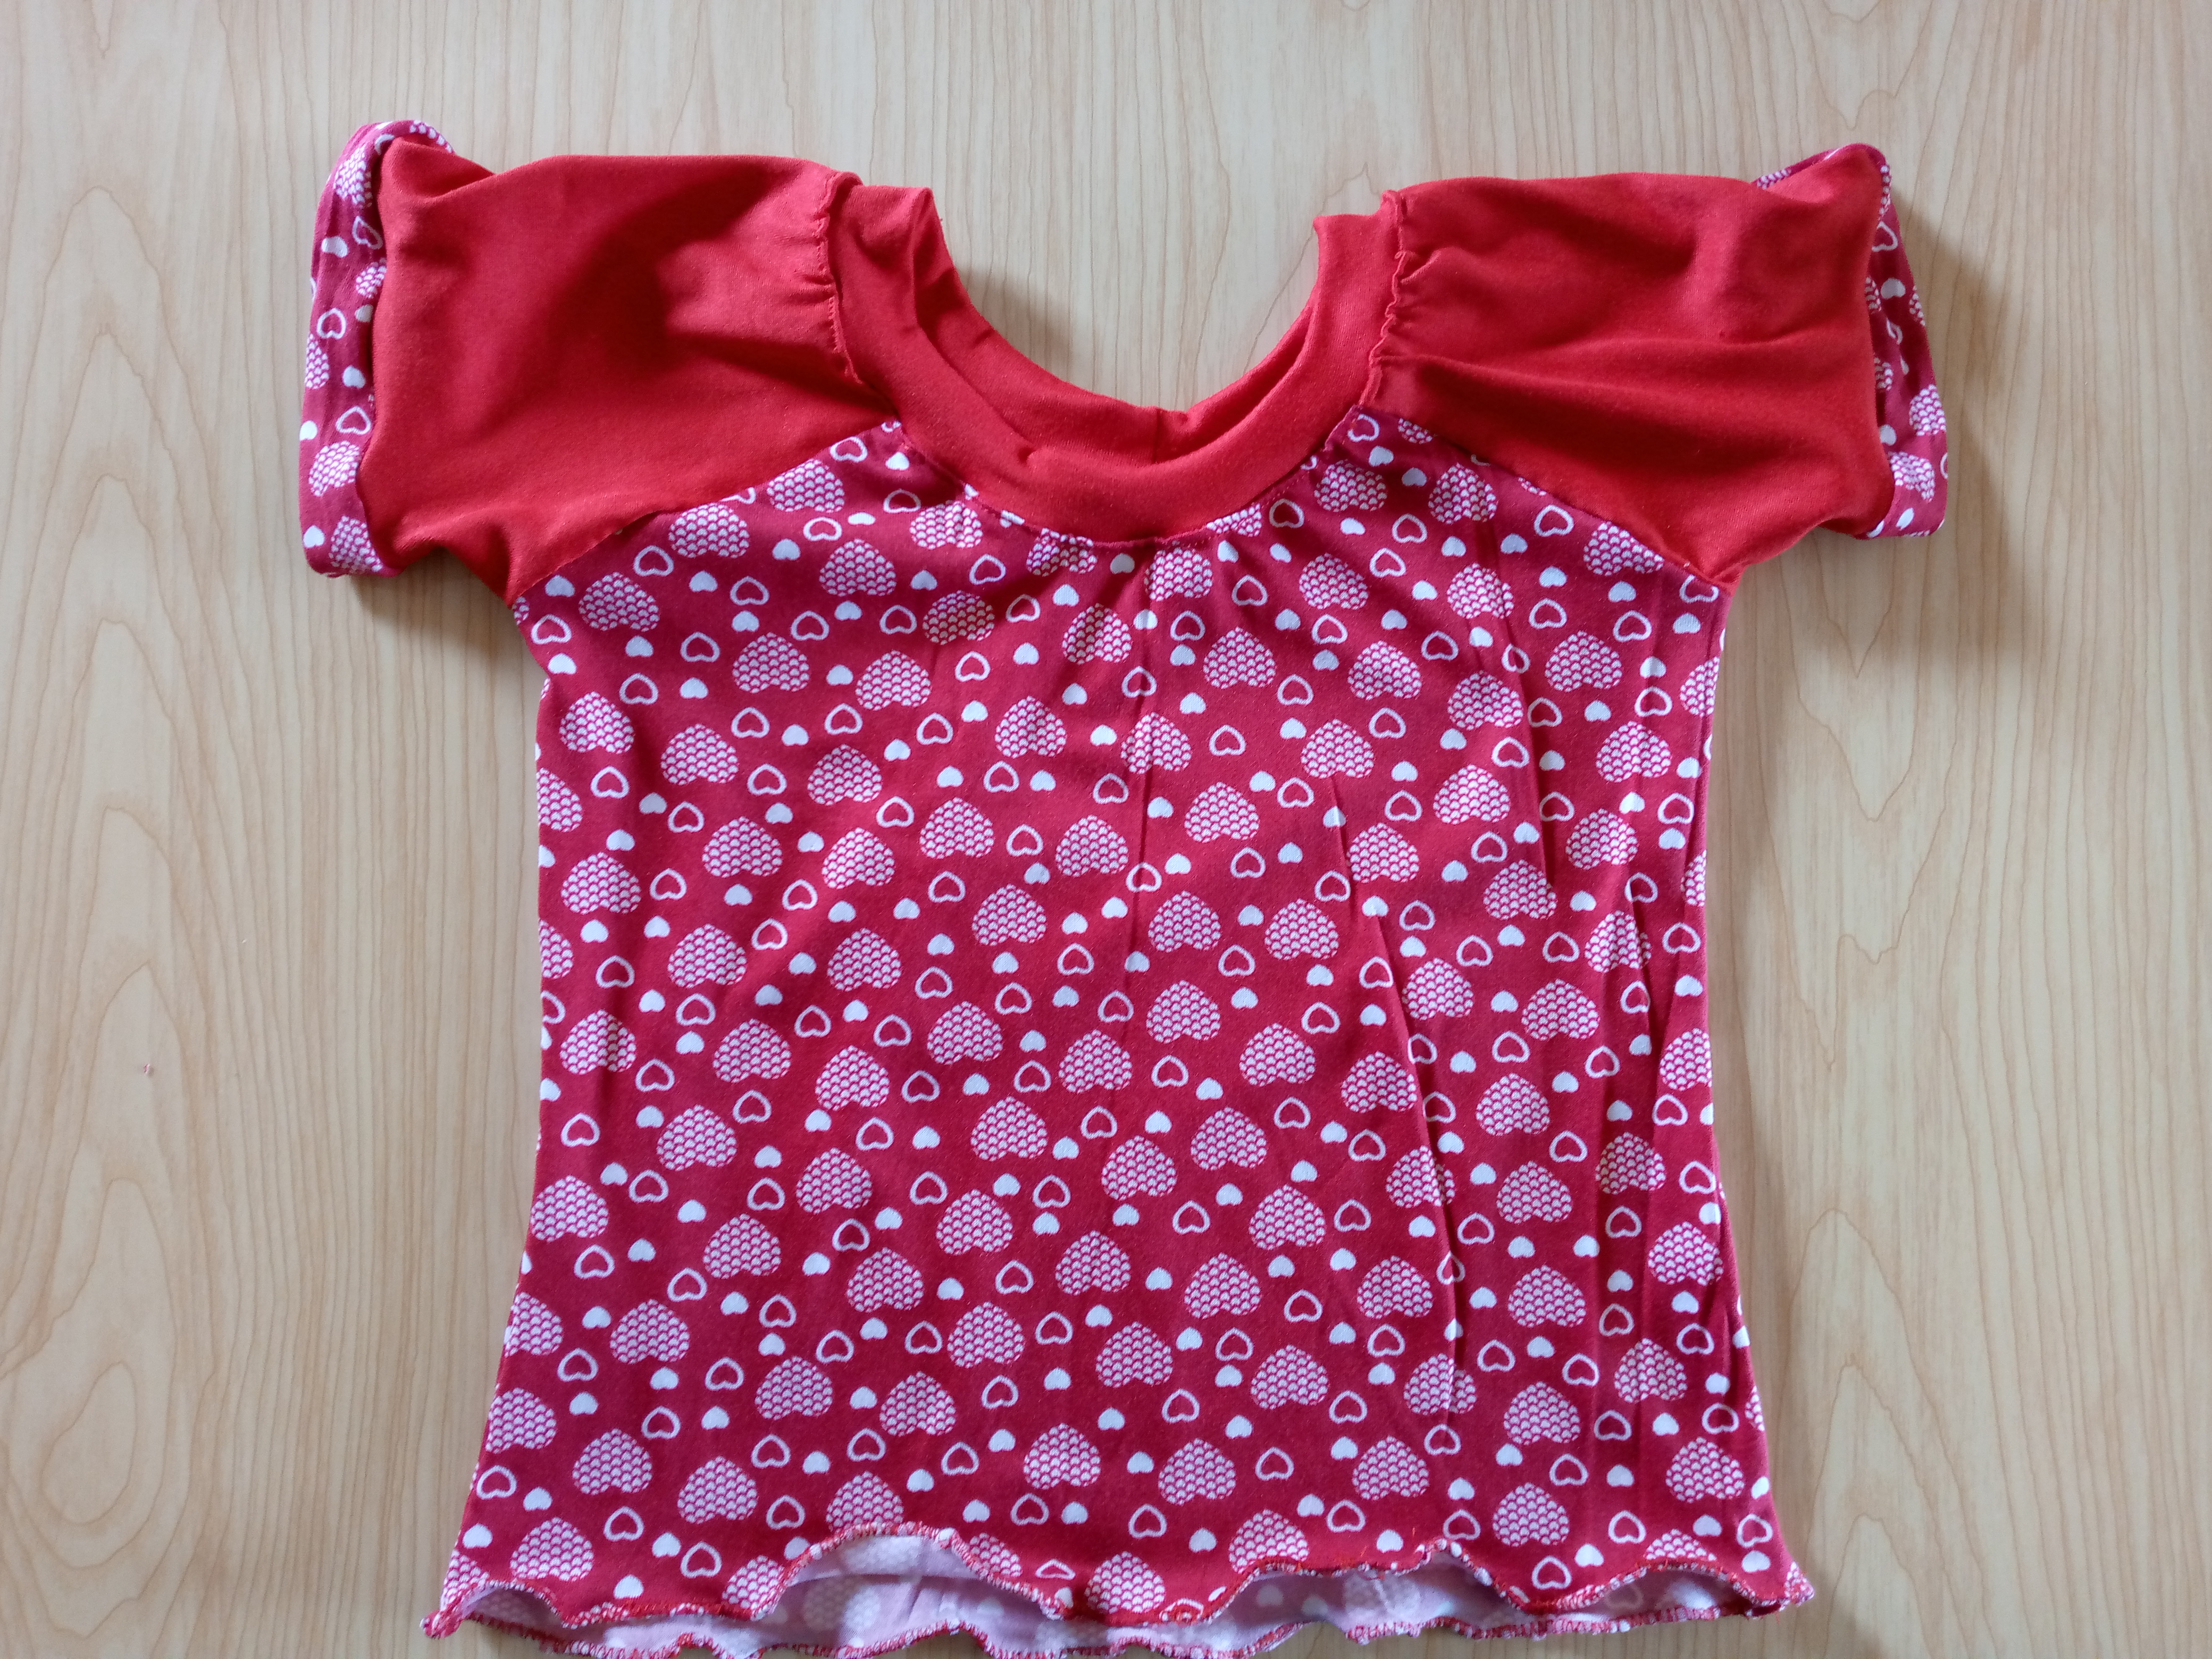
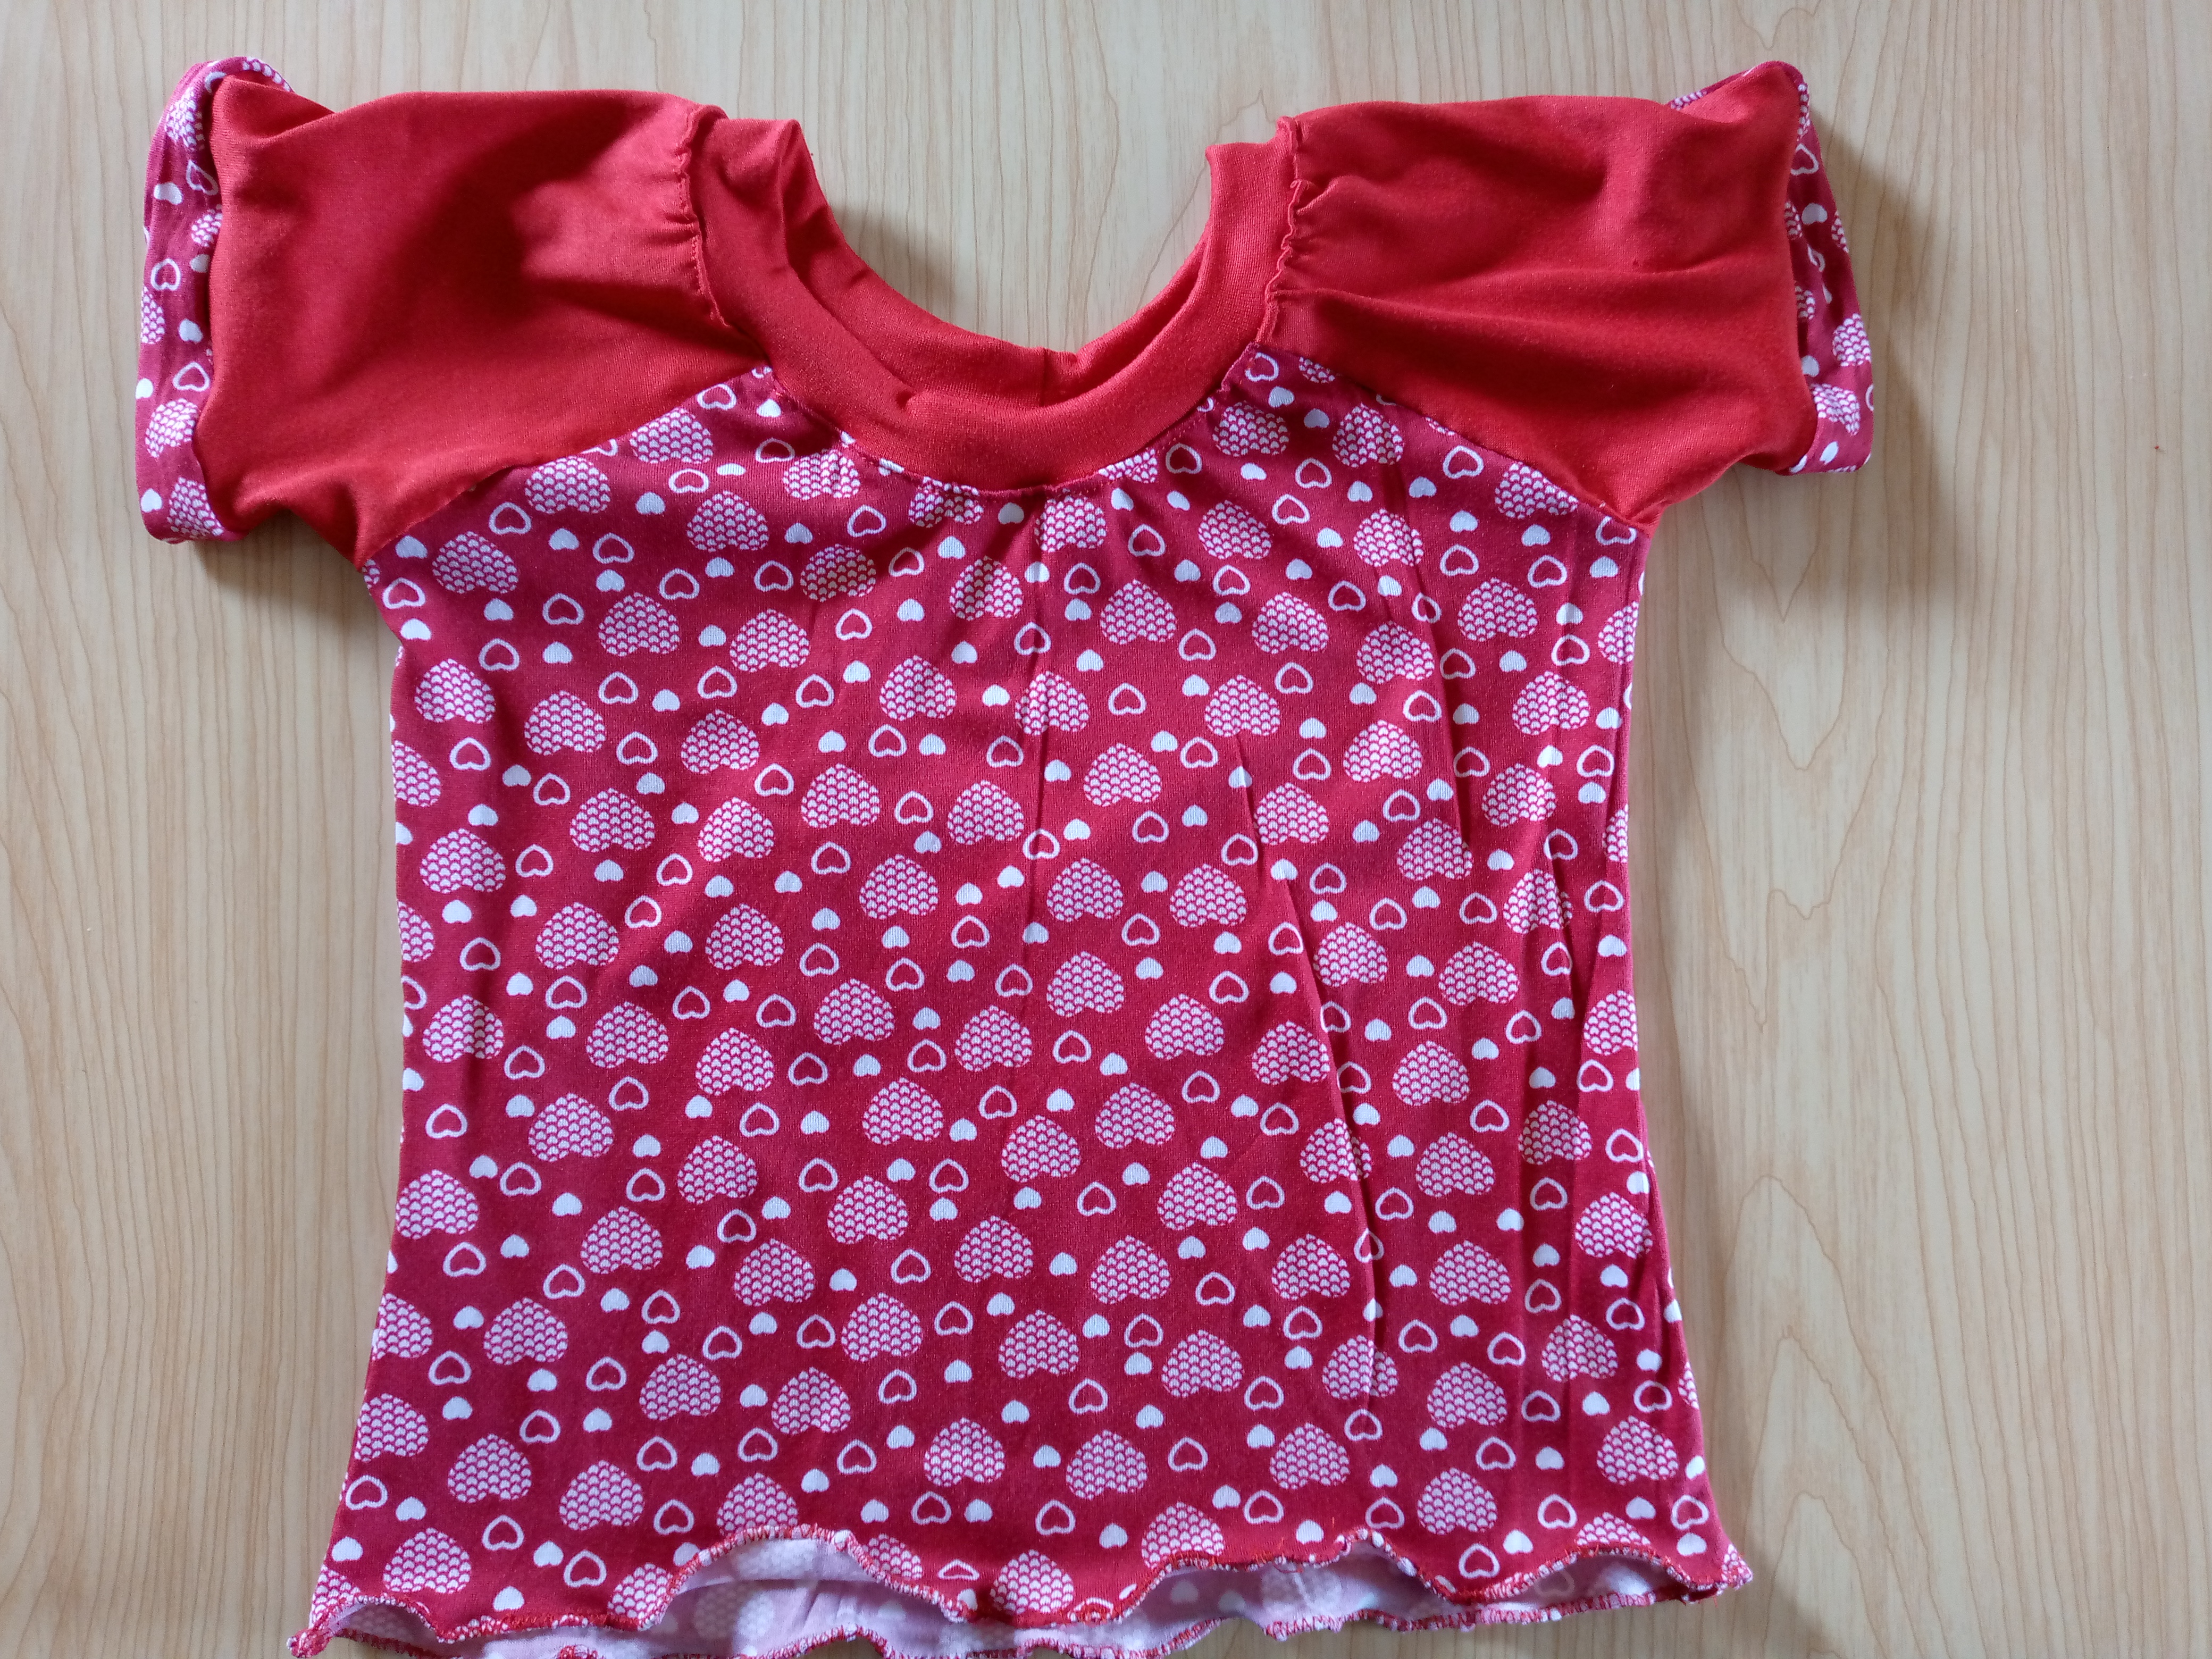
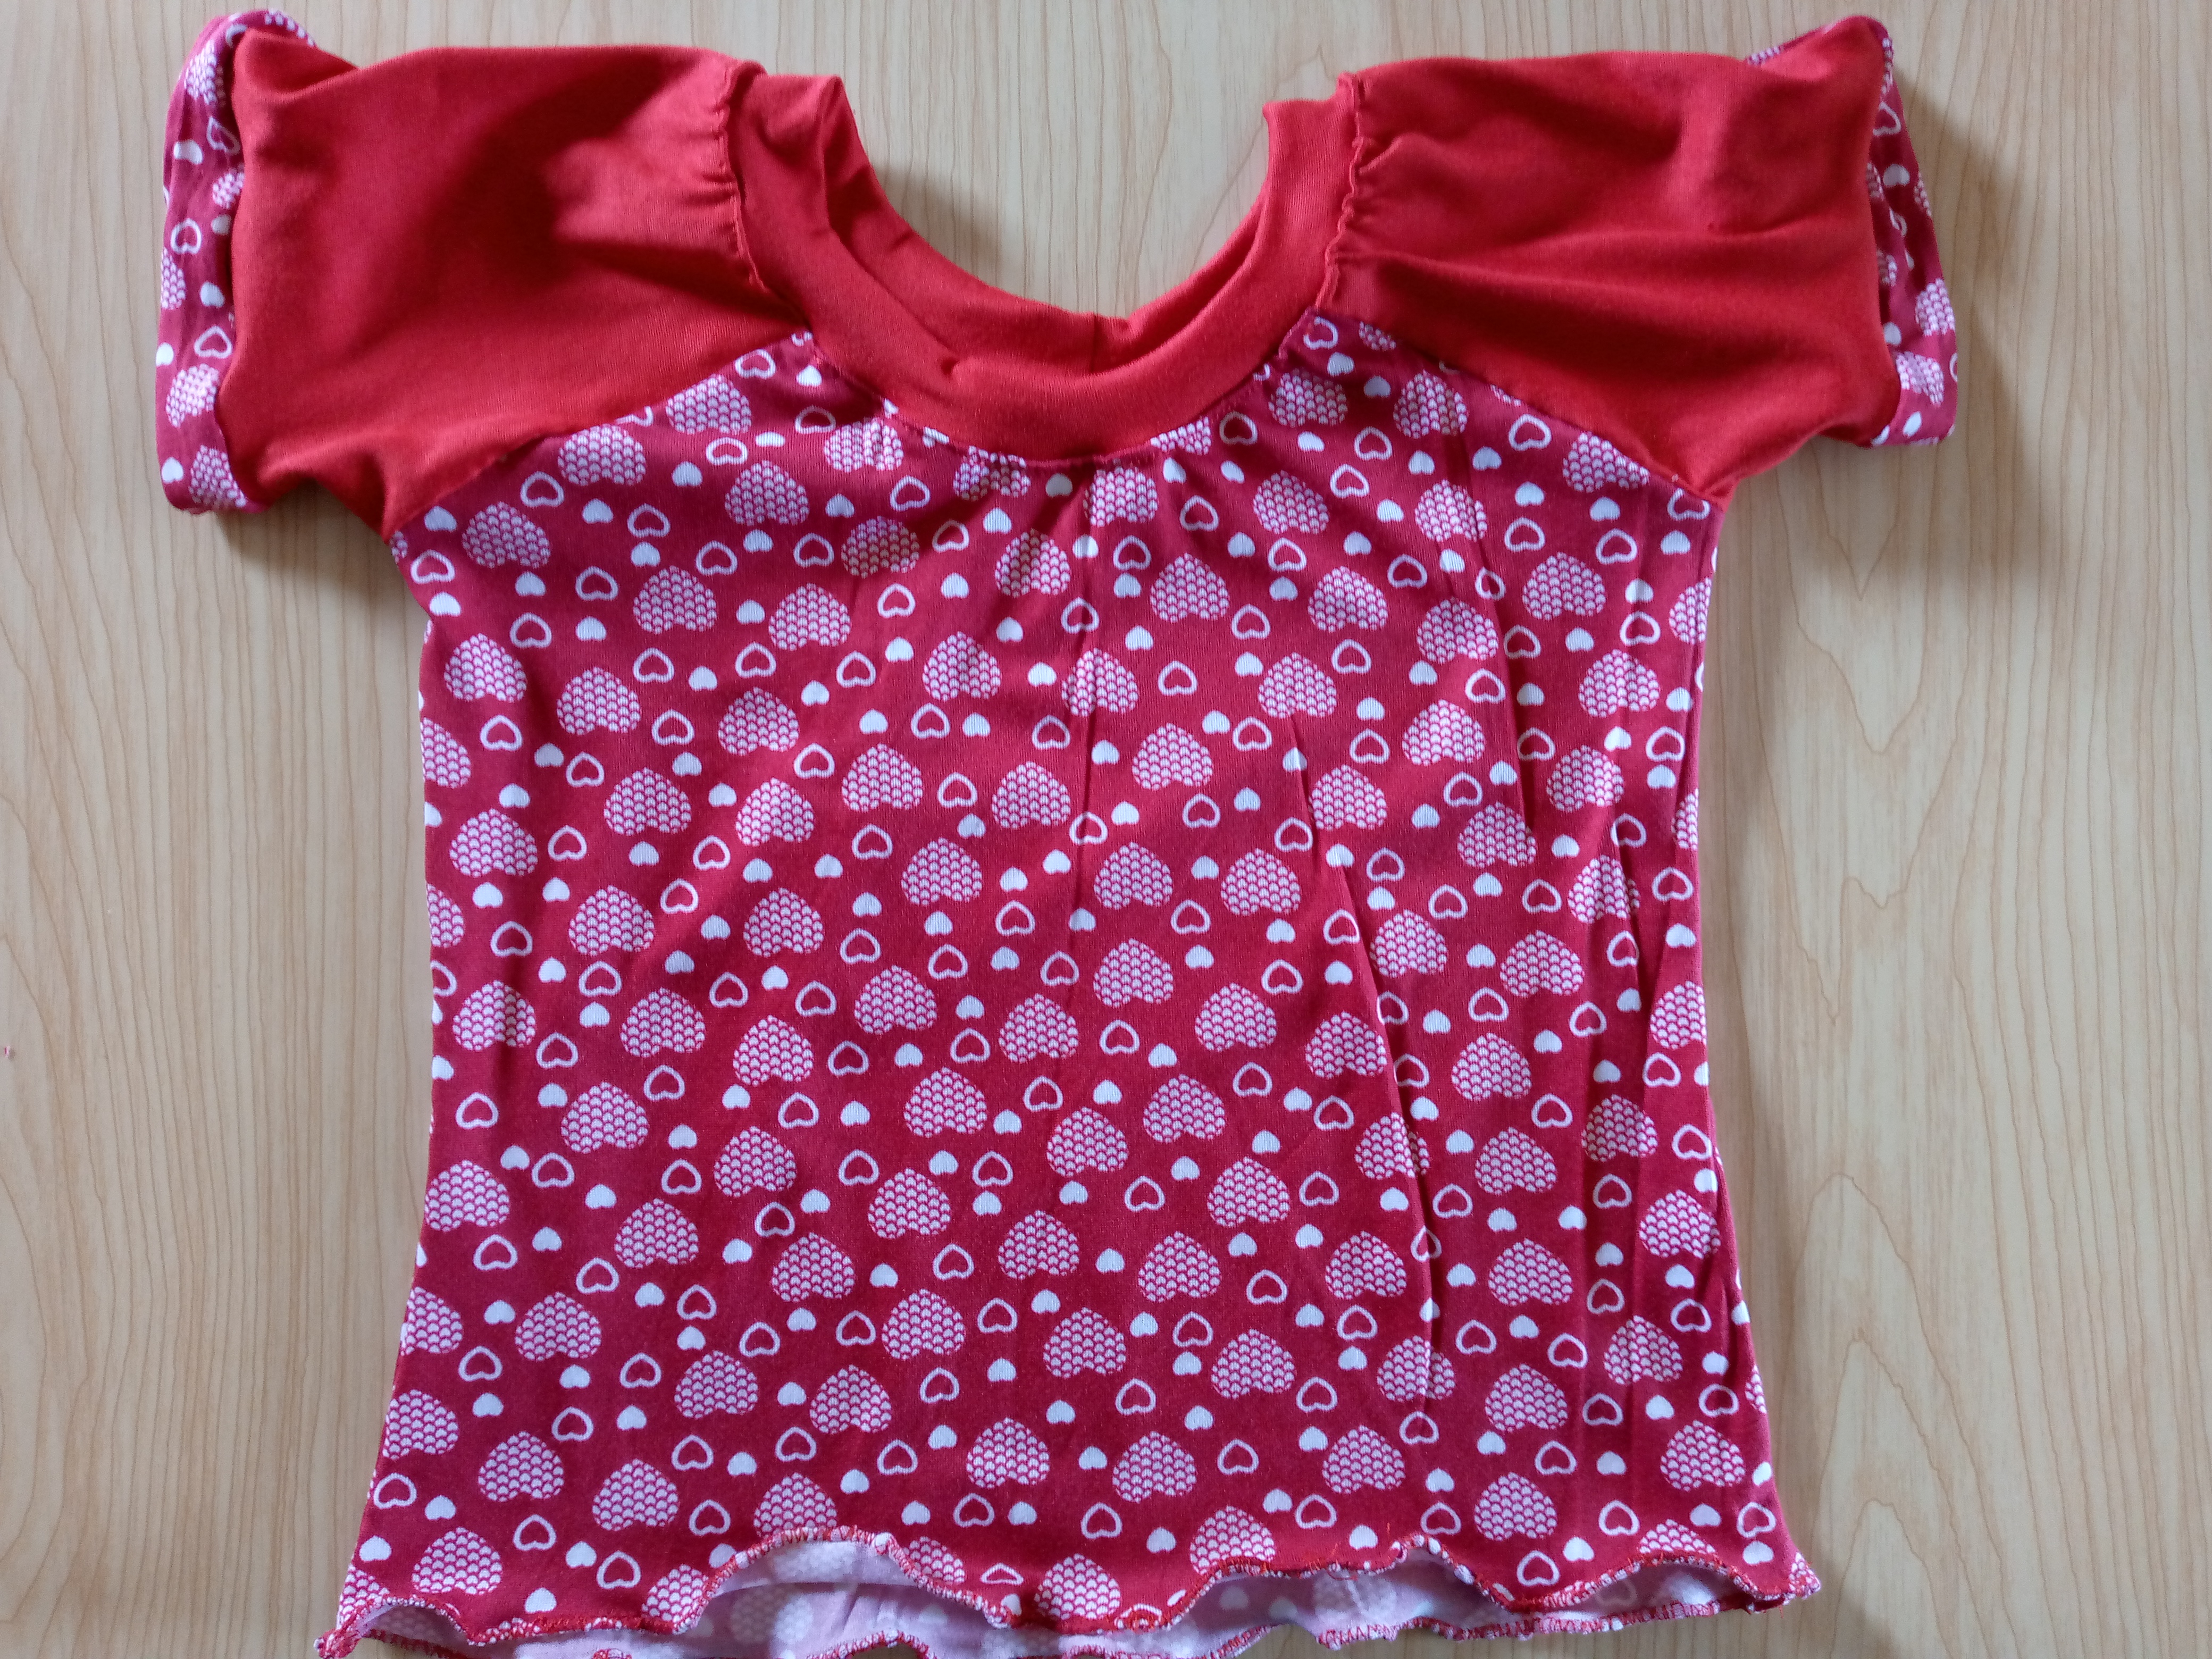
This is how we finished our beautiful blouse. I hope you liked it a lot and that you are encouraged to make it. I liked this model because it saves fabric and it looks super pretty. I wish you a beautiful afternoon and thank you for staying with this tutorial and observing the final results. I hope you like it and thank you for reading. See you in another blog. I say goodbye to you, bye friends.😸
.jpg)
Creating things with love 🌷❤️
🦋✨ All the images in this publication are my author ,📱taken with my TecnoSpark8C cell phone |📸Photos edited in PicsArt and Canva. Text translated in Google Translate.
Quedó muy linda, tienes un talento increíble y lo demuestras en cada pieza que confeccionas, gracias por compartir 😉🩷
Holi amiga muchas gracias que bueno saberlo ☺️
Hermosa confección, el patrón de corazones de la blusa está bello.
Gracias por tu comentario me anima mucho ,me alegra te haya gustado 😇feliz tarde
Que bueno que aprovechaste estos retazos, porque esta blusa quedó hermosa con la tela estampada y la unicolor se ve espectacular. Me gustó mucho @anne002
Feliz tarde ay muchas gracias es bueno saber que te ha gustado,saludos 🥺🥰
Que belleza de trabajo y diseño. Como siempre nos dejas un trabajo impecable...
!discovery 40
Lindo día amiga aprecio mucho tu comentario muchas gracias ☺️
¿ᴺᵉᶜᵉˢᶦᵗᵃˢ ᴴᴮᴰ? ᵀᵉ ˡᵒ ᵖʳᵉˢᵗᵃᵐᵒˢ ᶜᵒⁿ
A very nice design, very good workmanship. Neat and tidy work.Thank you for sharing your creative process step by step with us.
Nice day, thank you very much to the team for supporting and appreciating this tutorial, it's good for me to know that, I'm glad you liked it 🥰
Que bonita! Me encanta como quedó la combinación de colores! Voy a practicar la técnica muy pronto!! Gracias por compartir
Tan linda amiga muchas gracias,así es espero te salga muy bien practicar hacer ésta blusa no es difícil,se que podrás hacerlo , saludos gracias por tu comentario 😇
This post was shared and voted inside the discord by the curators team of discovery-it
Join our Community and follow our Curation Trail
Discovery-it is also a Witness, vote for us here
Delegate to us for passive income. Check our 80% fee-back Program
¡Felicitaciones!
Estás participando para optar a la mención especial que se efectuará el domingo 15 de diciembre del 2024 a las 8:00 pm (hora de Venezuela), gracias a la cual el autor del artículo seleccionado recibirá la cantidad de 1 HIVE transferida a su cuenta.
¡También has recibido 1 ENTROKEN! El token del PROYECTO ENTROPÍA impulsado por la plataforma Steem-Engine.
1. Invierte en el PROYECTO ENTROPÍA y recibe ganancias semanalmente. Entra aquí para más información.
2. Contáctanos en Discord: https://discord.gg/hkCjFeb
3. Suscríbete a nuestra COMUNIDADEntra aquí para más información sobre nuestro trail. y apoya al trail de @Entropia y así podrás ganar recompensas de curación de forma automática.
4. Visita nuestro canal de Youtube.
Atentamente
El equipo de curación del PROYECTO ENTROPÍA
So beautiful 😍
Gracias 🤗
Welcome 🤗