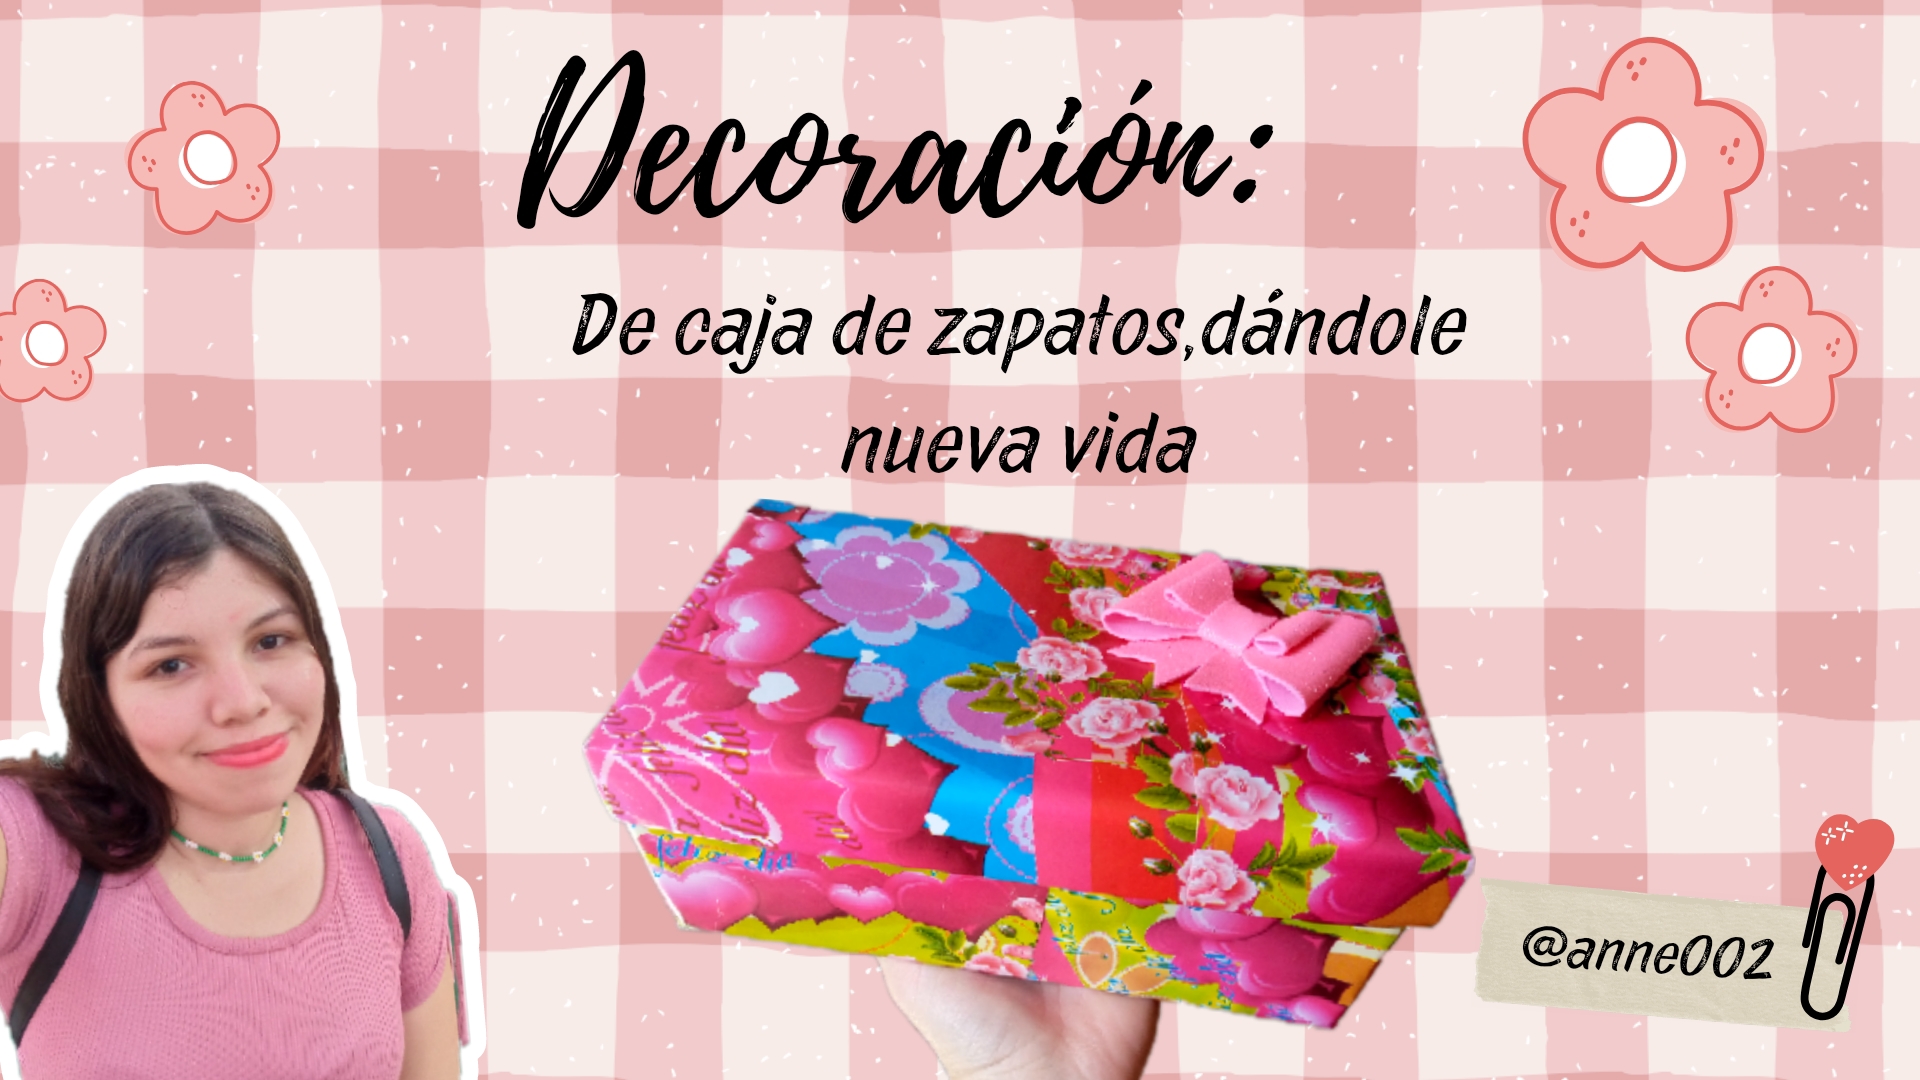
Hello friends, for days I wanted to remodel or simply give life to a shoe box that was given to me but I didn't know what to cover it with, I was going to use it to keep my memories and other things that my friends have given me and I wanted to cover it in a prettier way and that would remind me of them, by chance in my room I keep many things that I always use to work in a bag and there I have useful and work material like foam and decorative papers, and I found some very pretty gift wrapping paper that has a heart and flower print and it is pink and this color reminds me of my friends because they really like pink so I didn't think twice to do it and cover it.
.jpg)
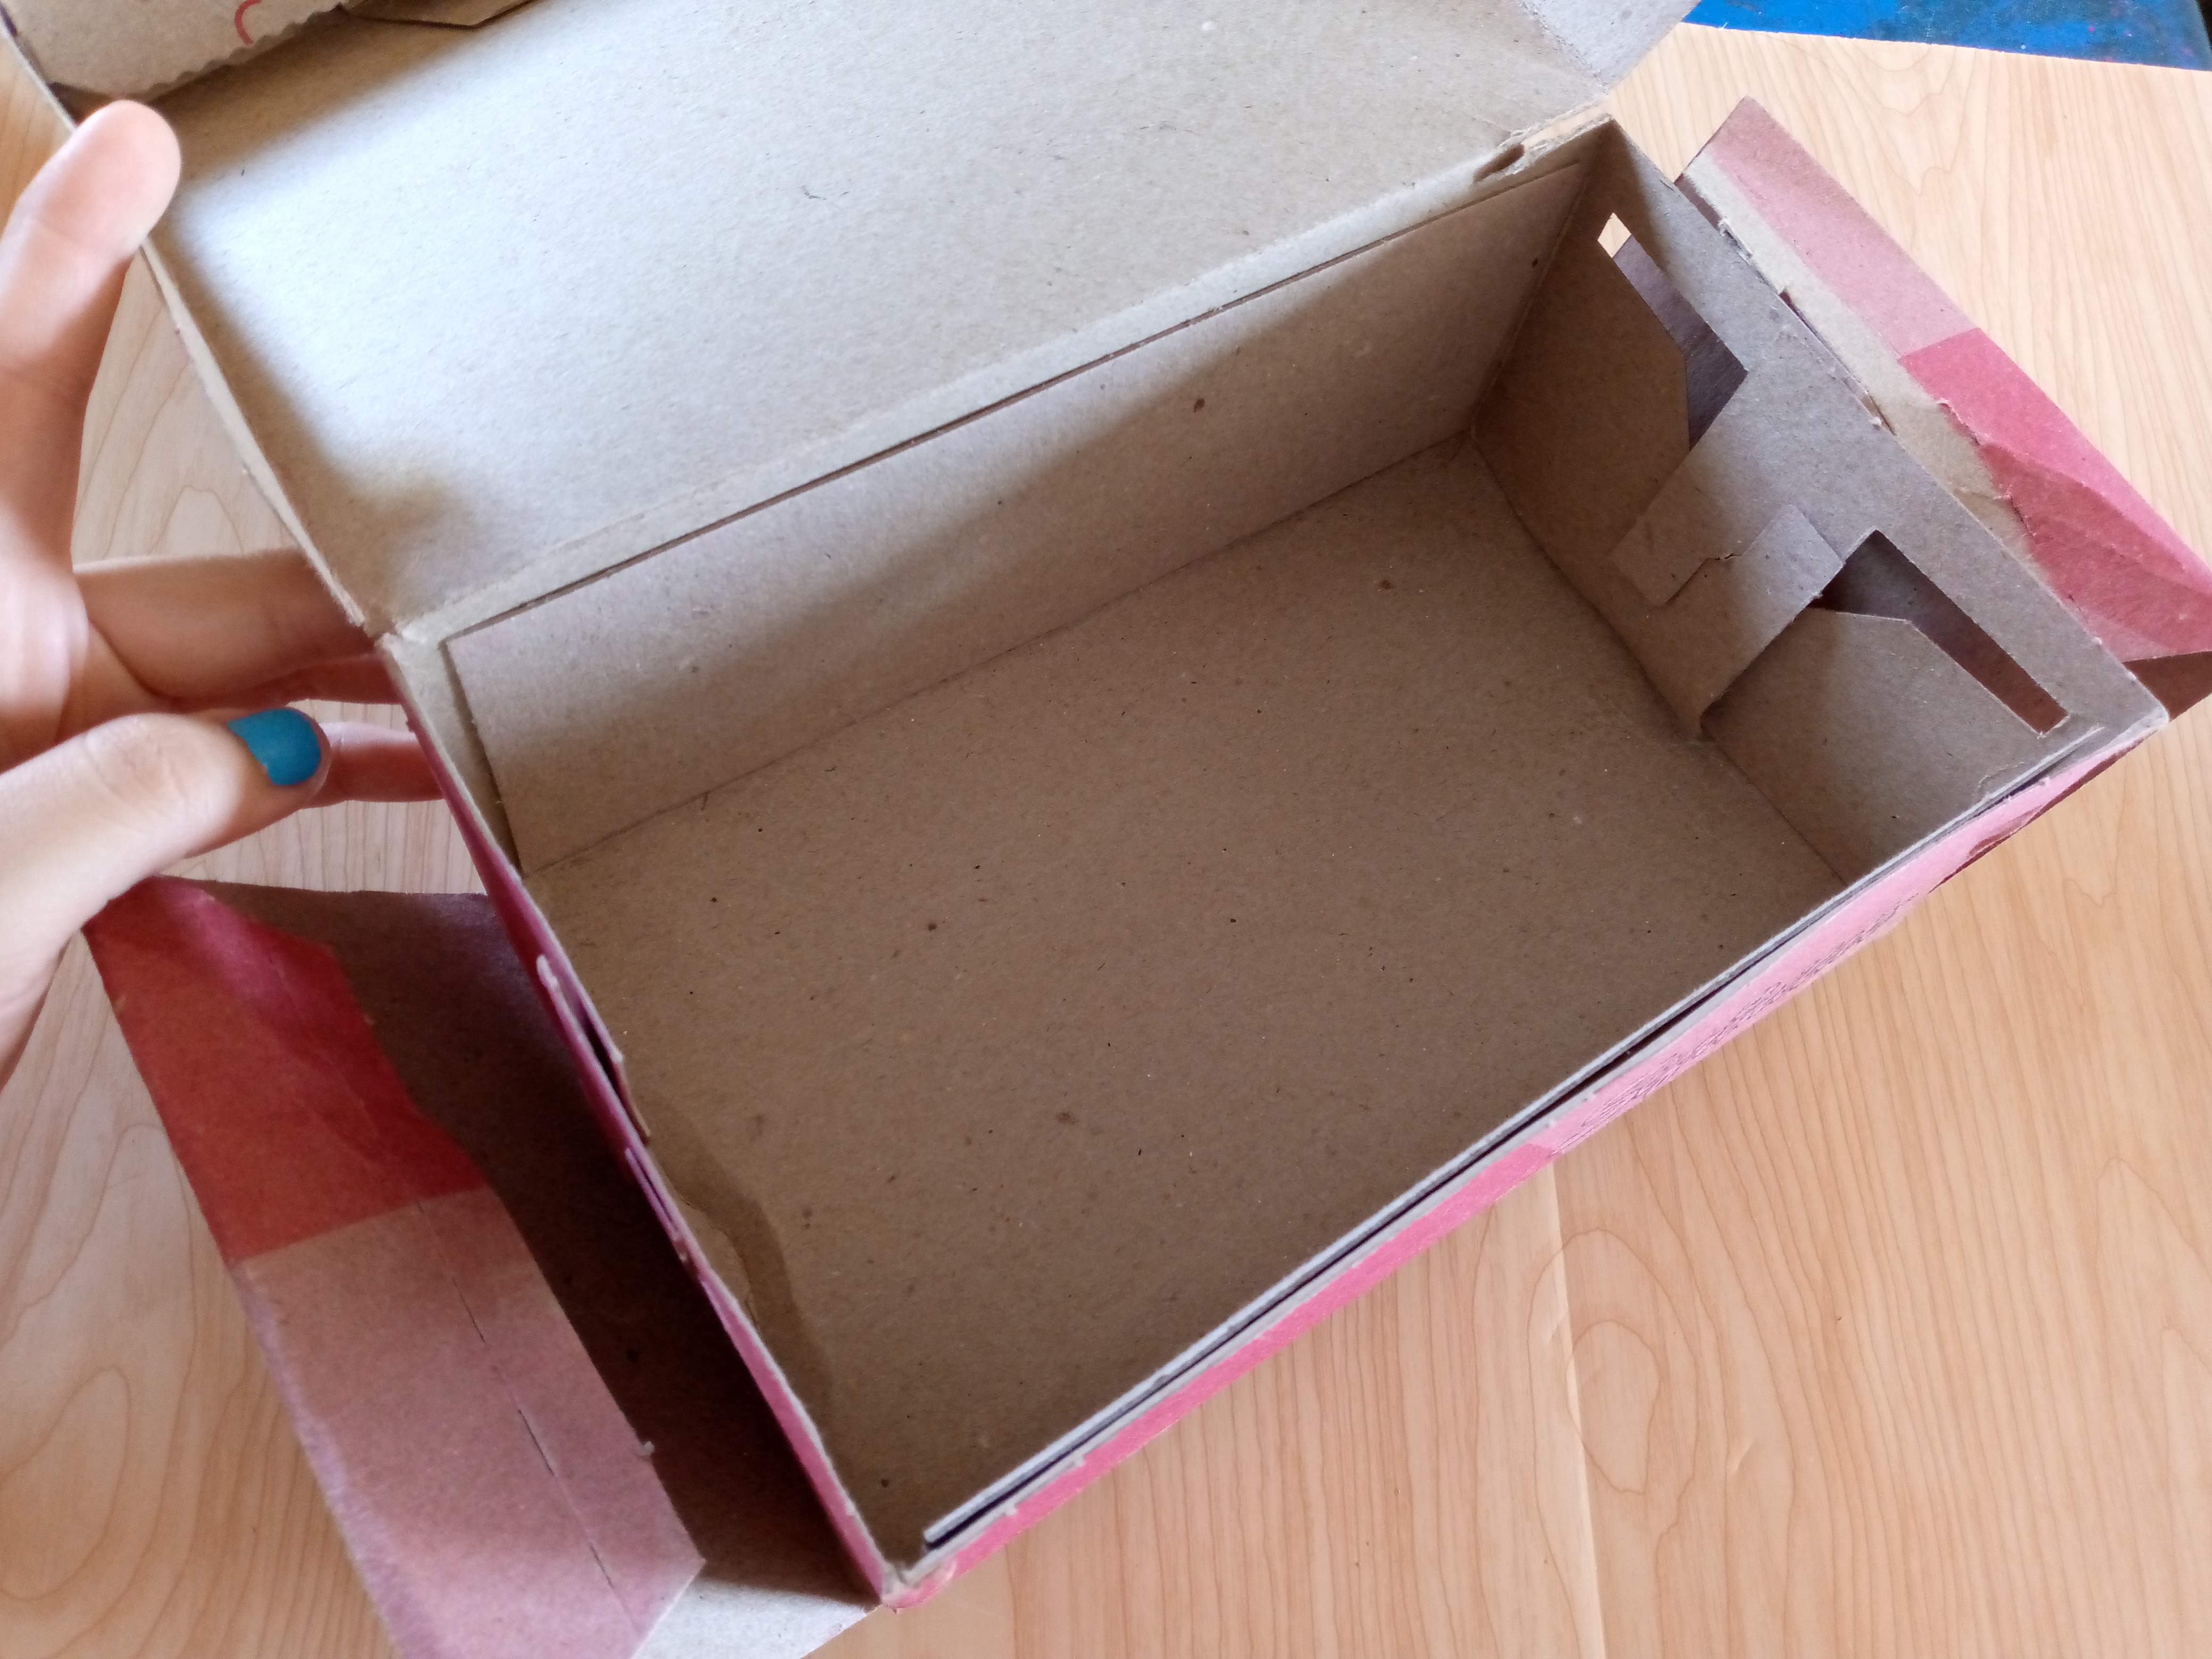
This little box had some problems to start with, the material, that is, the cardboard it is made of is very sensitive and this causes the box to break and it has broken on the sides, so the first thing we will do is glue the pieces and join them where it is broken, so come with me to the process of covering my little box, you will like how it looks.

.jpg)
Materiales:// Materials:
- Caja a decorar
- Tijeras
- Papel envoltorio de regalo
- Boligrafo
- Silicon
- Fomi brillante
- Grapadora
- Box to decorate
- Scissors
- Gift wrapping paper
- Pen
- Silicon
- Shiny foam
- Stapler
.jpg)
Pasos a seguir://Steps to follow:
.jpg)
Paso 01
Step 01
As i mentioned at the beginning, this little box is made of a very weak cardboard material, so it was necessary to glue the pieces that were detached, in this case the lids on the sides and one side of the lid. To do this, I put silicone on it, glued it and pressed with my fingers for a few seconds until the silicone dried.

Paso 02
Step 02
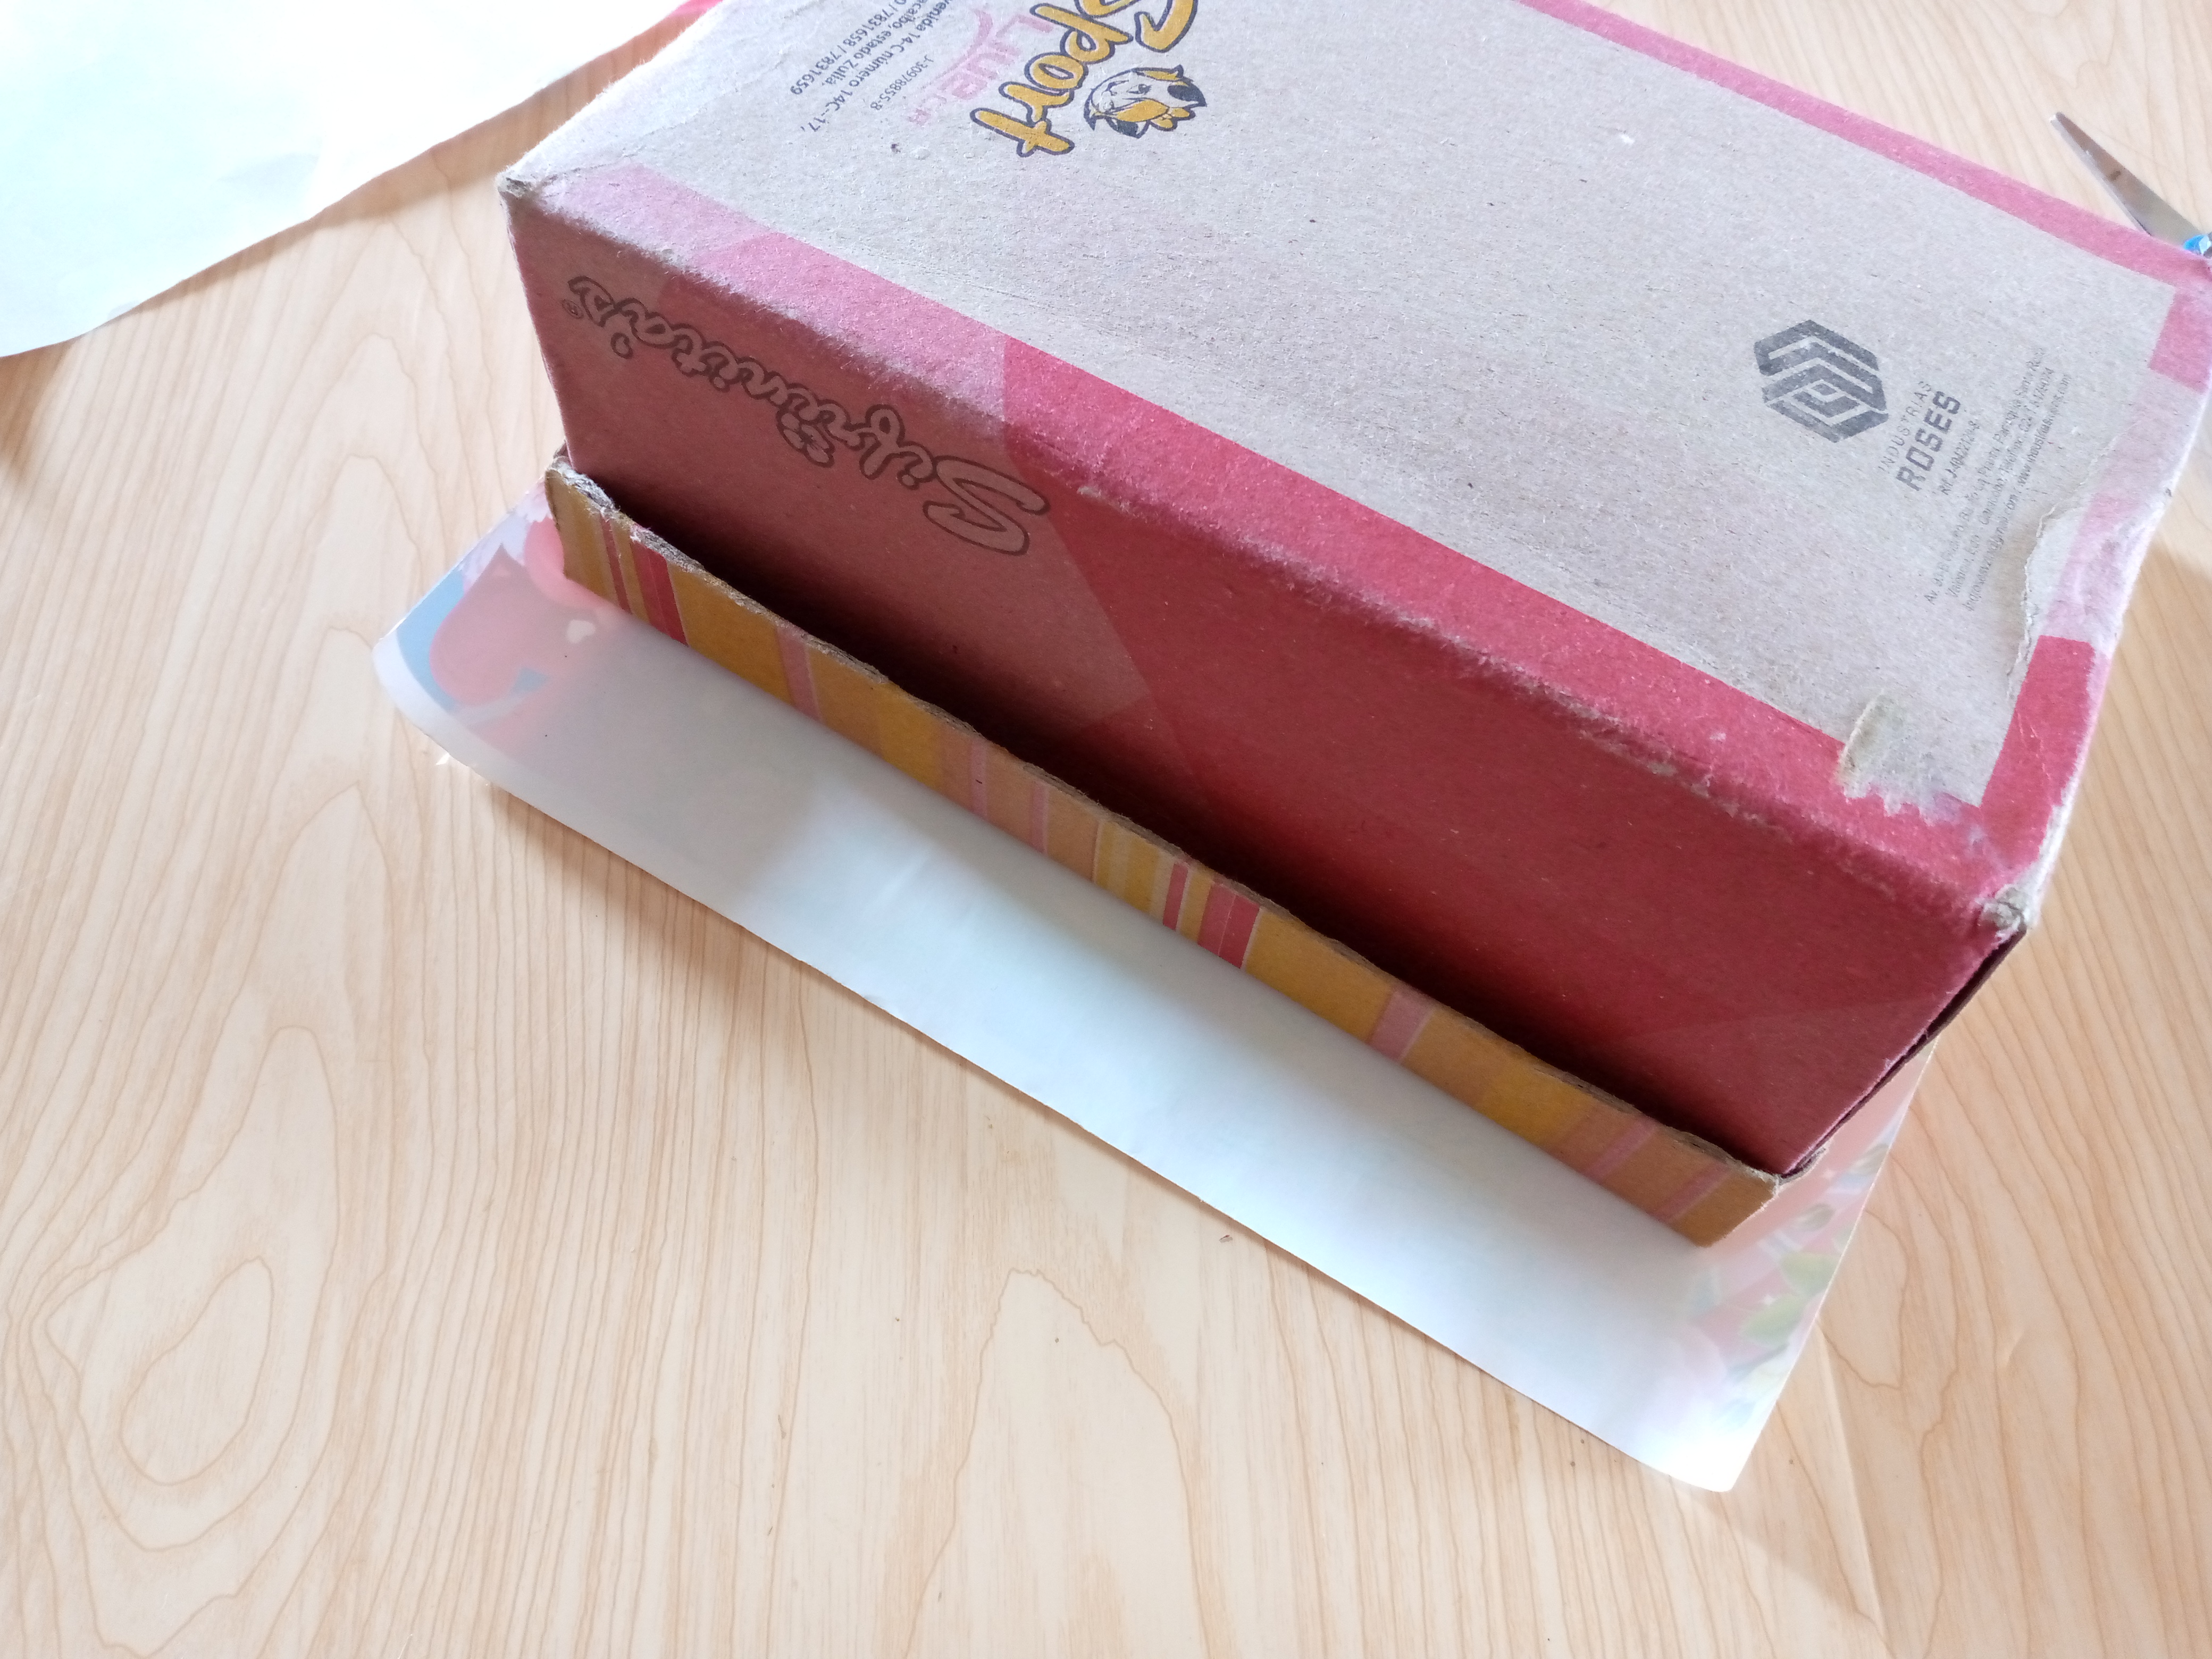
To begin covering, I started first with the lid and placed the paper on the bottom side and applied silicone and placed the paper almost in the center so that I could leave paper on the sides and be able to cover it all the way inside and along the wings of the lid, which I will also cover.
Paso 03
Step 03
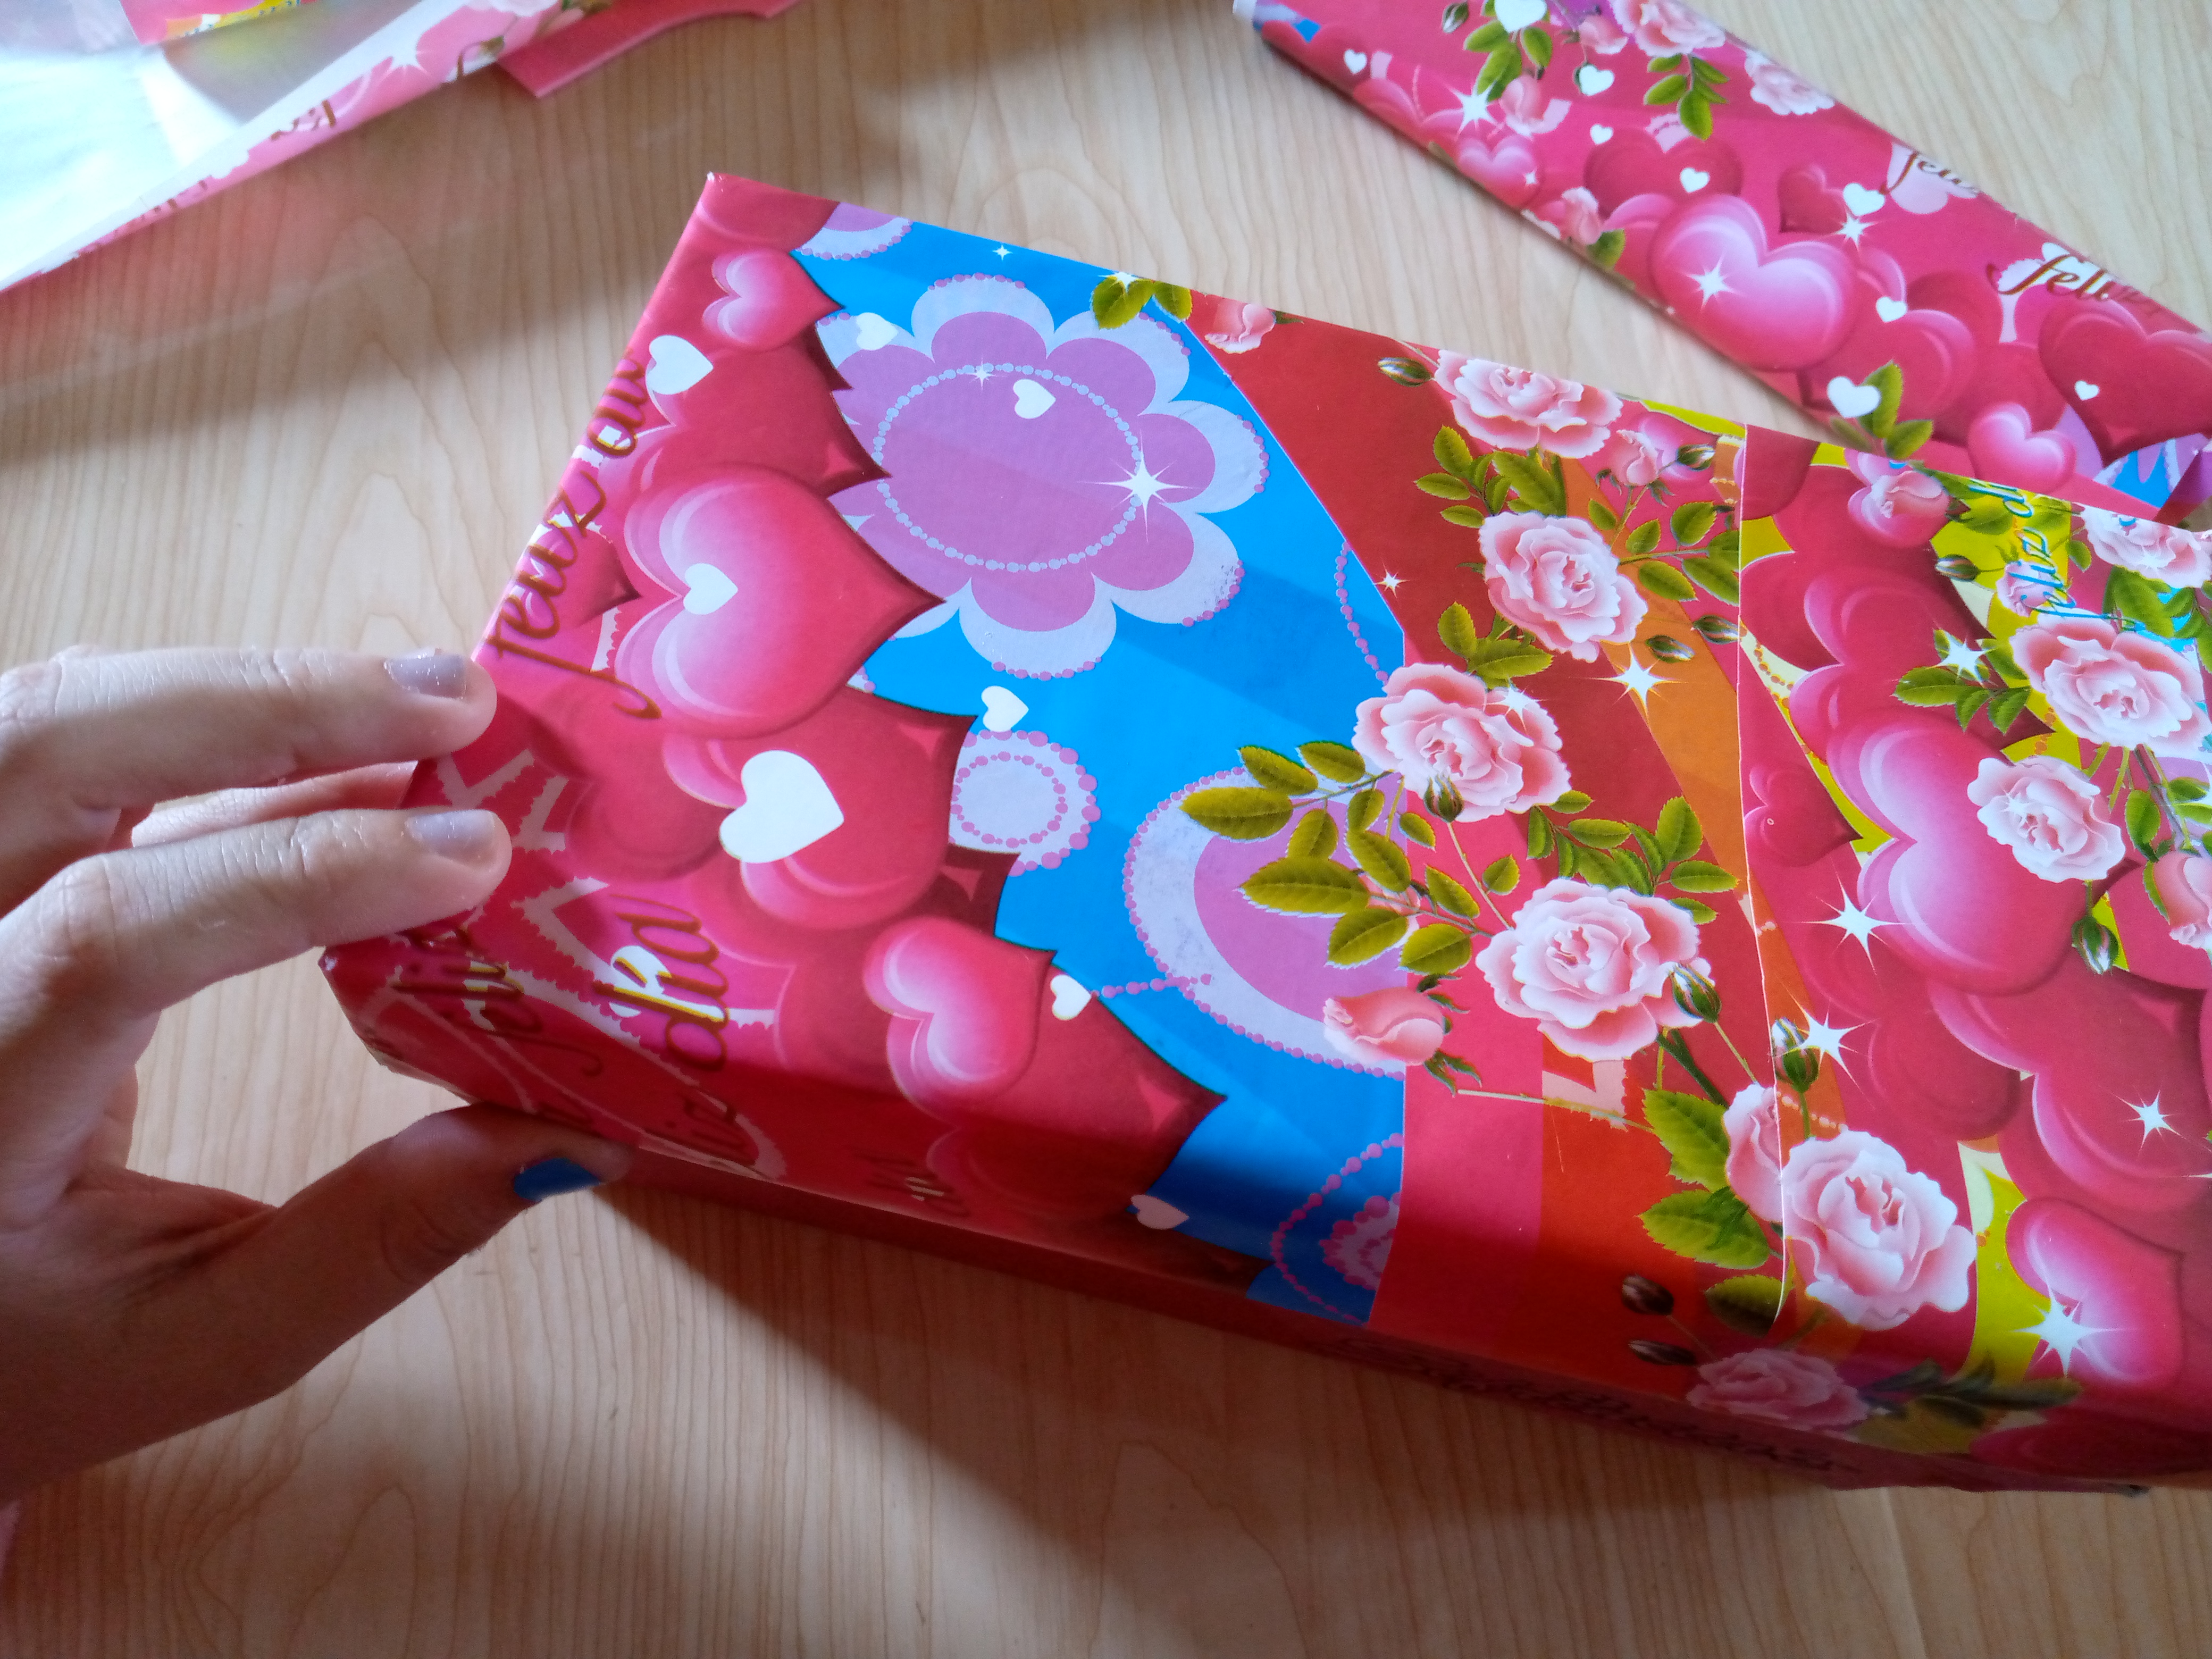
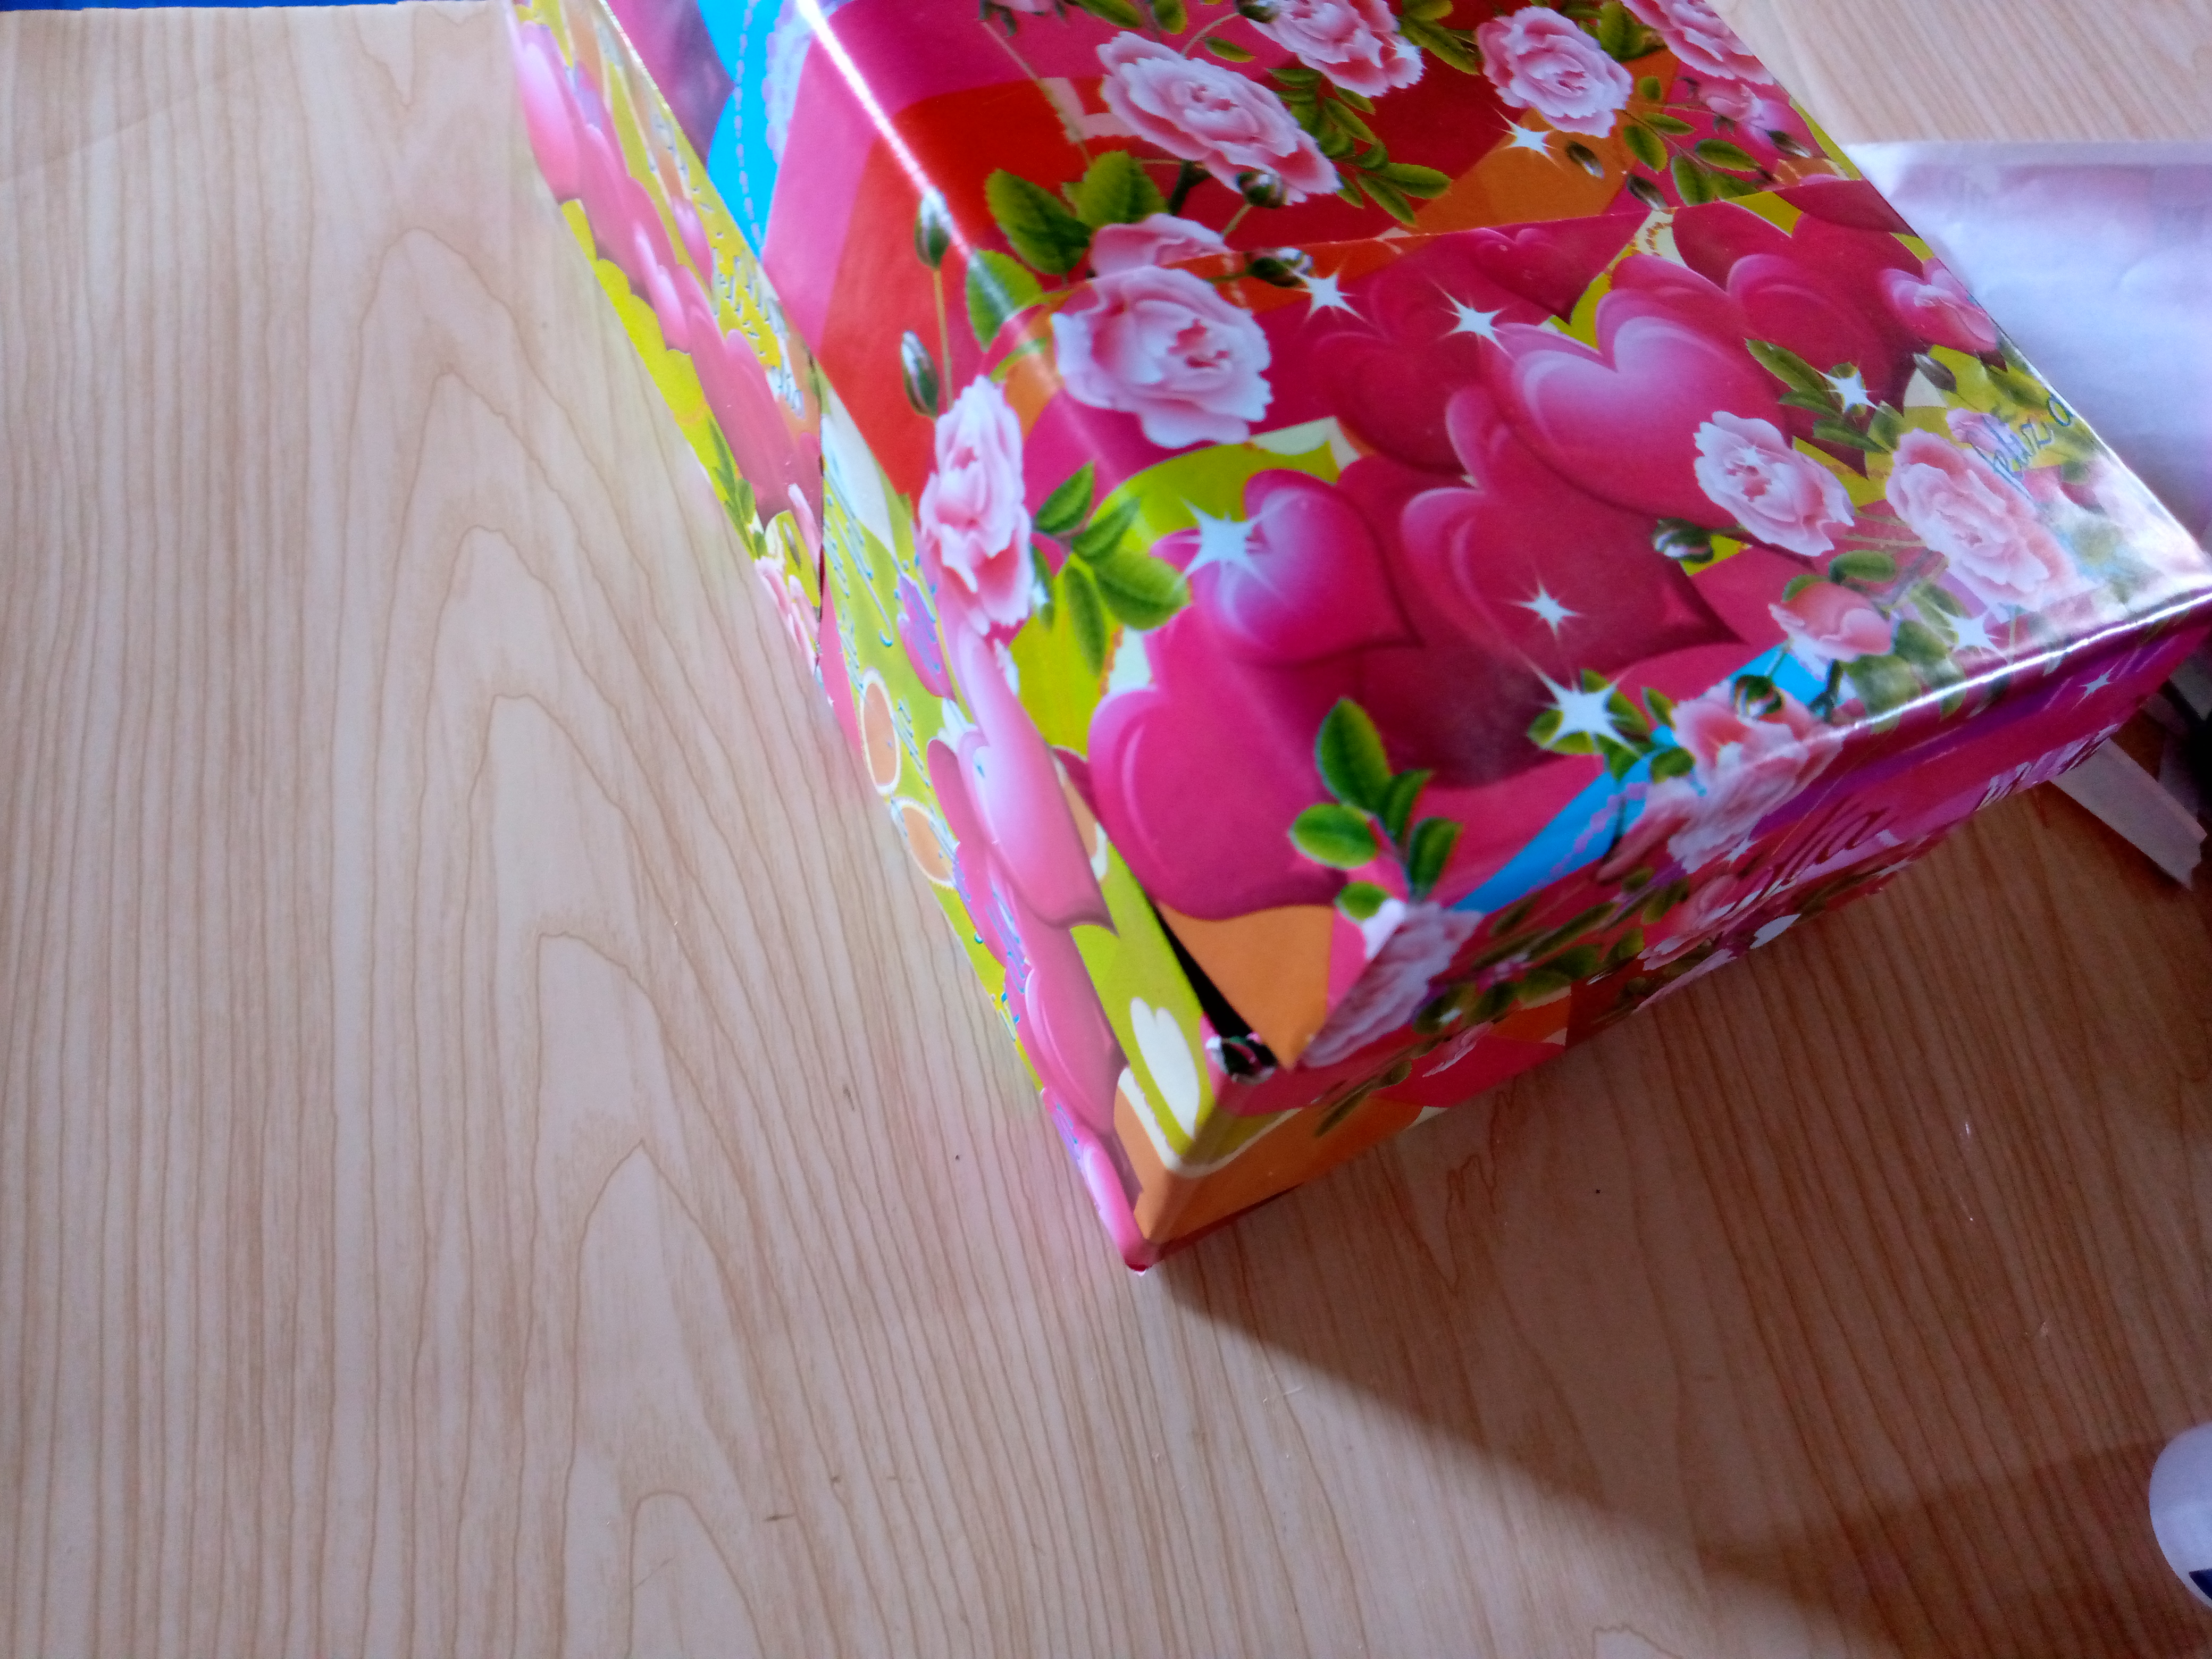
The lid looks like this and I glued the side views, then I went on to cover the bottom of the box just as I did with the lid, adding silicone to the base and placing the paper, pressing it with my fingers so that there were no bubbles.

Paso 04
Step 04
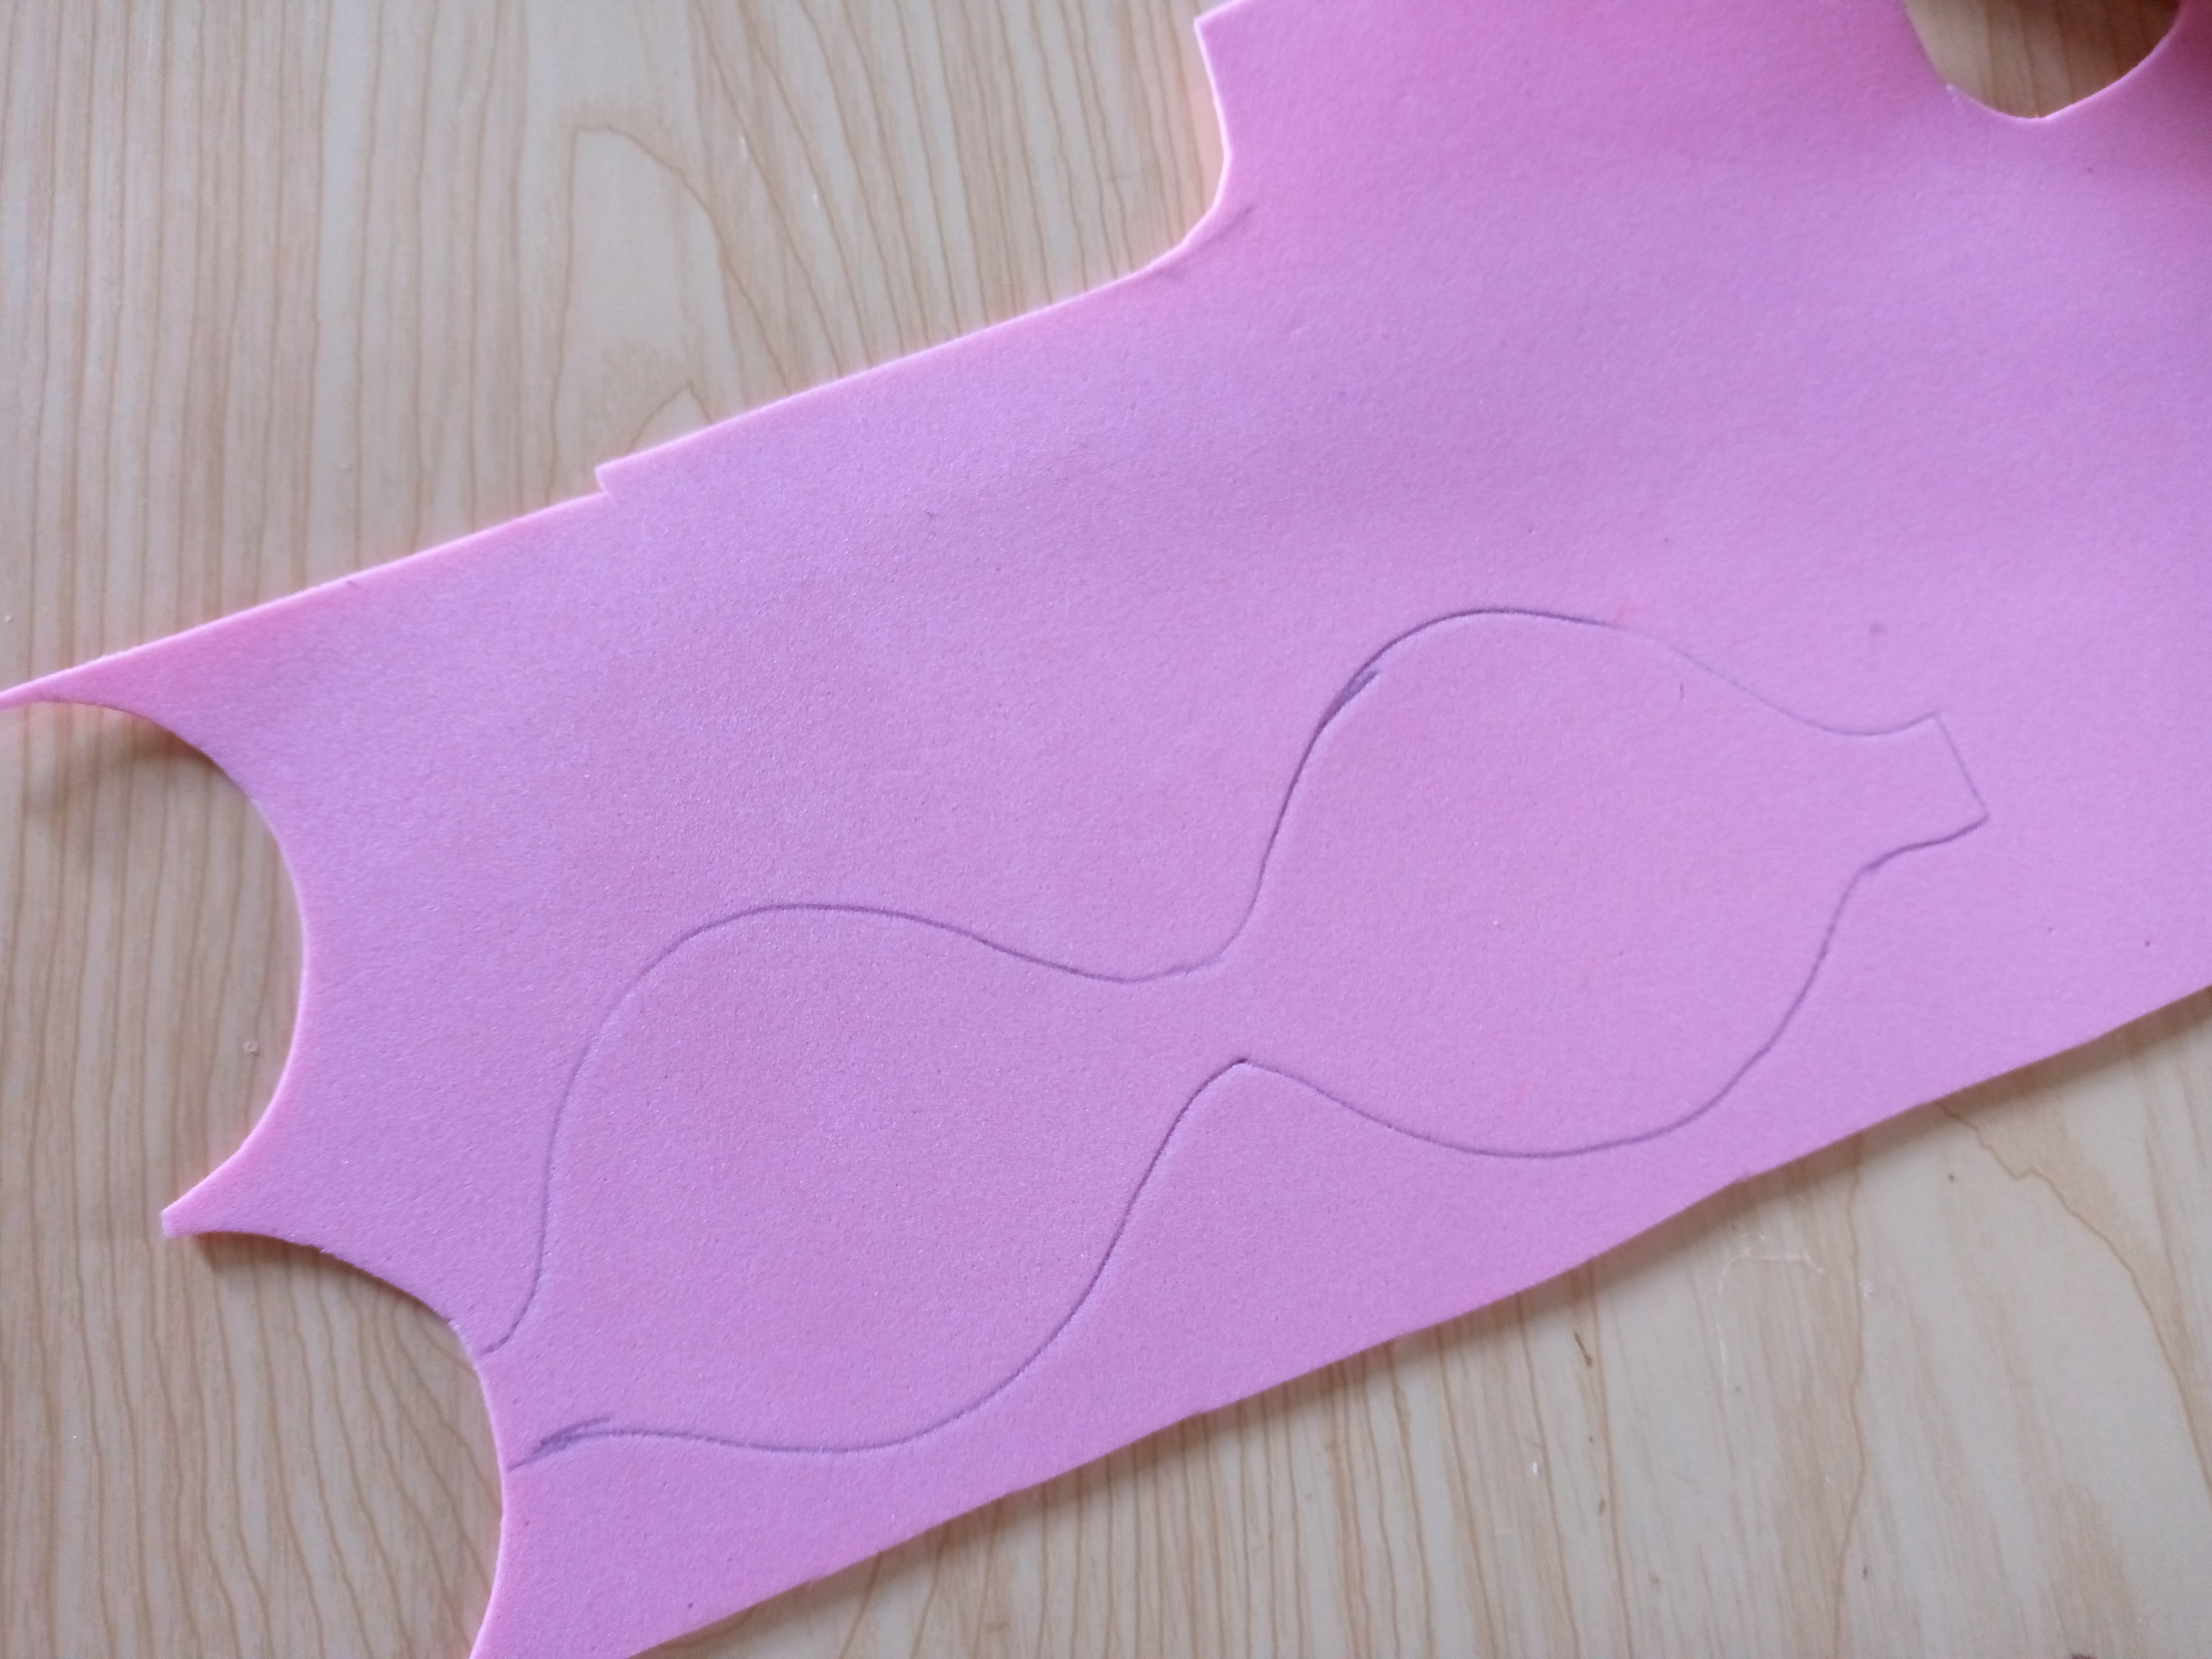
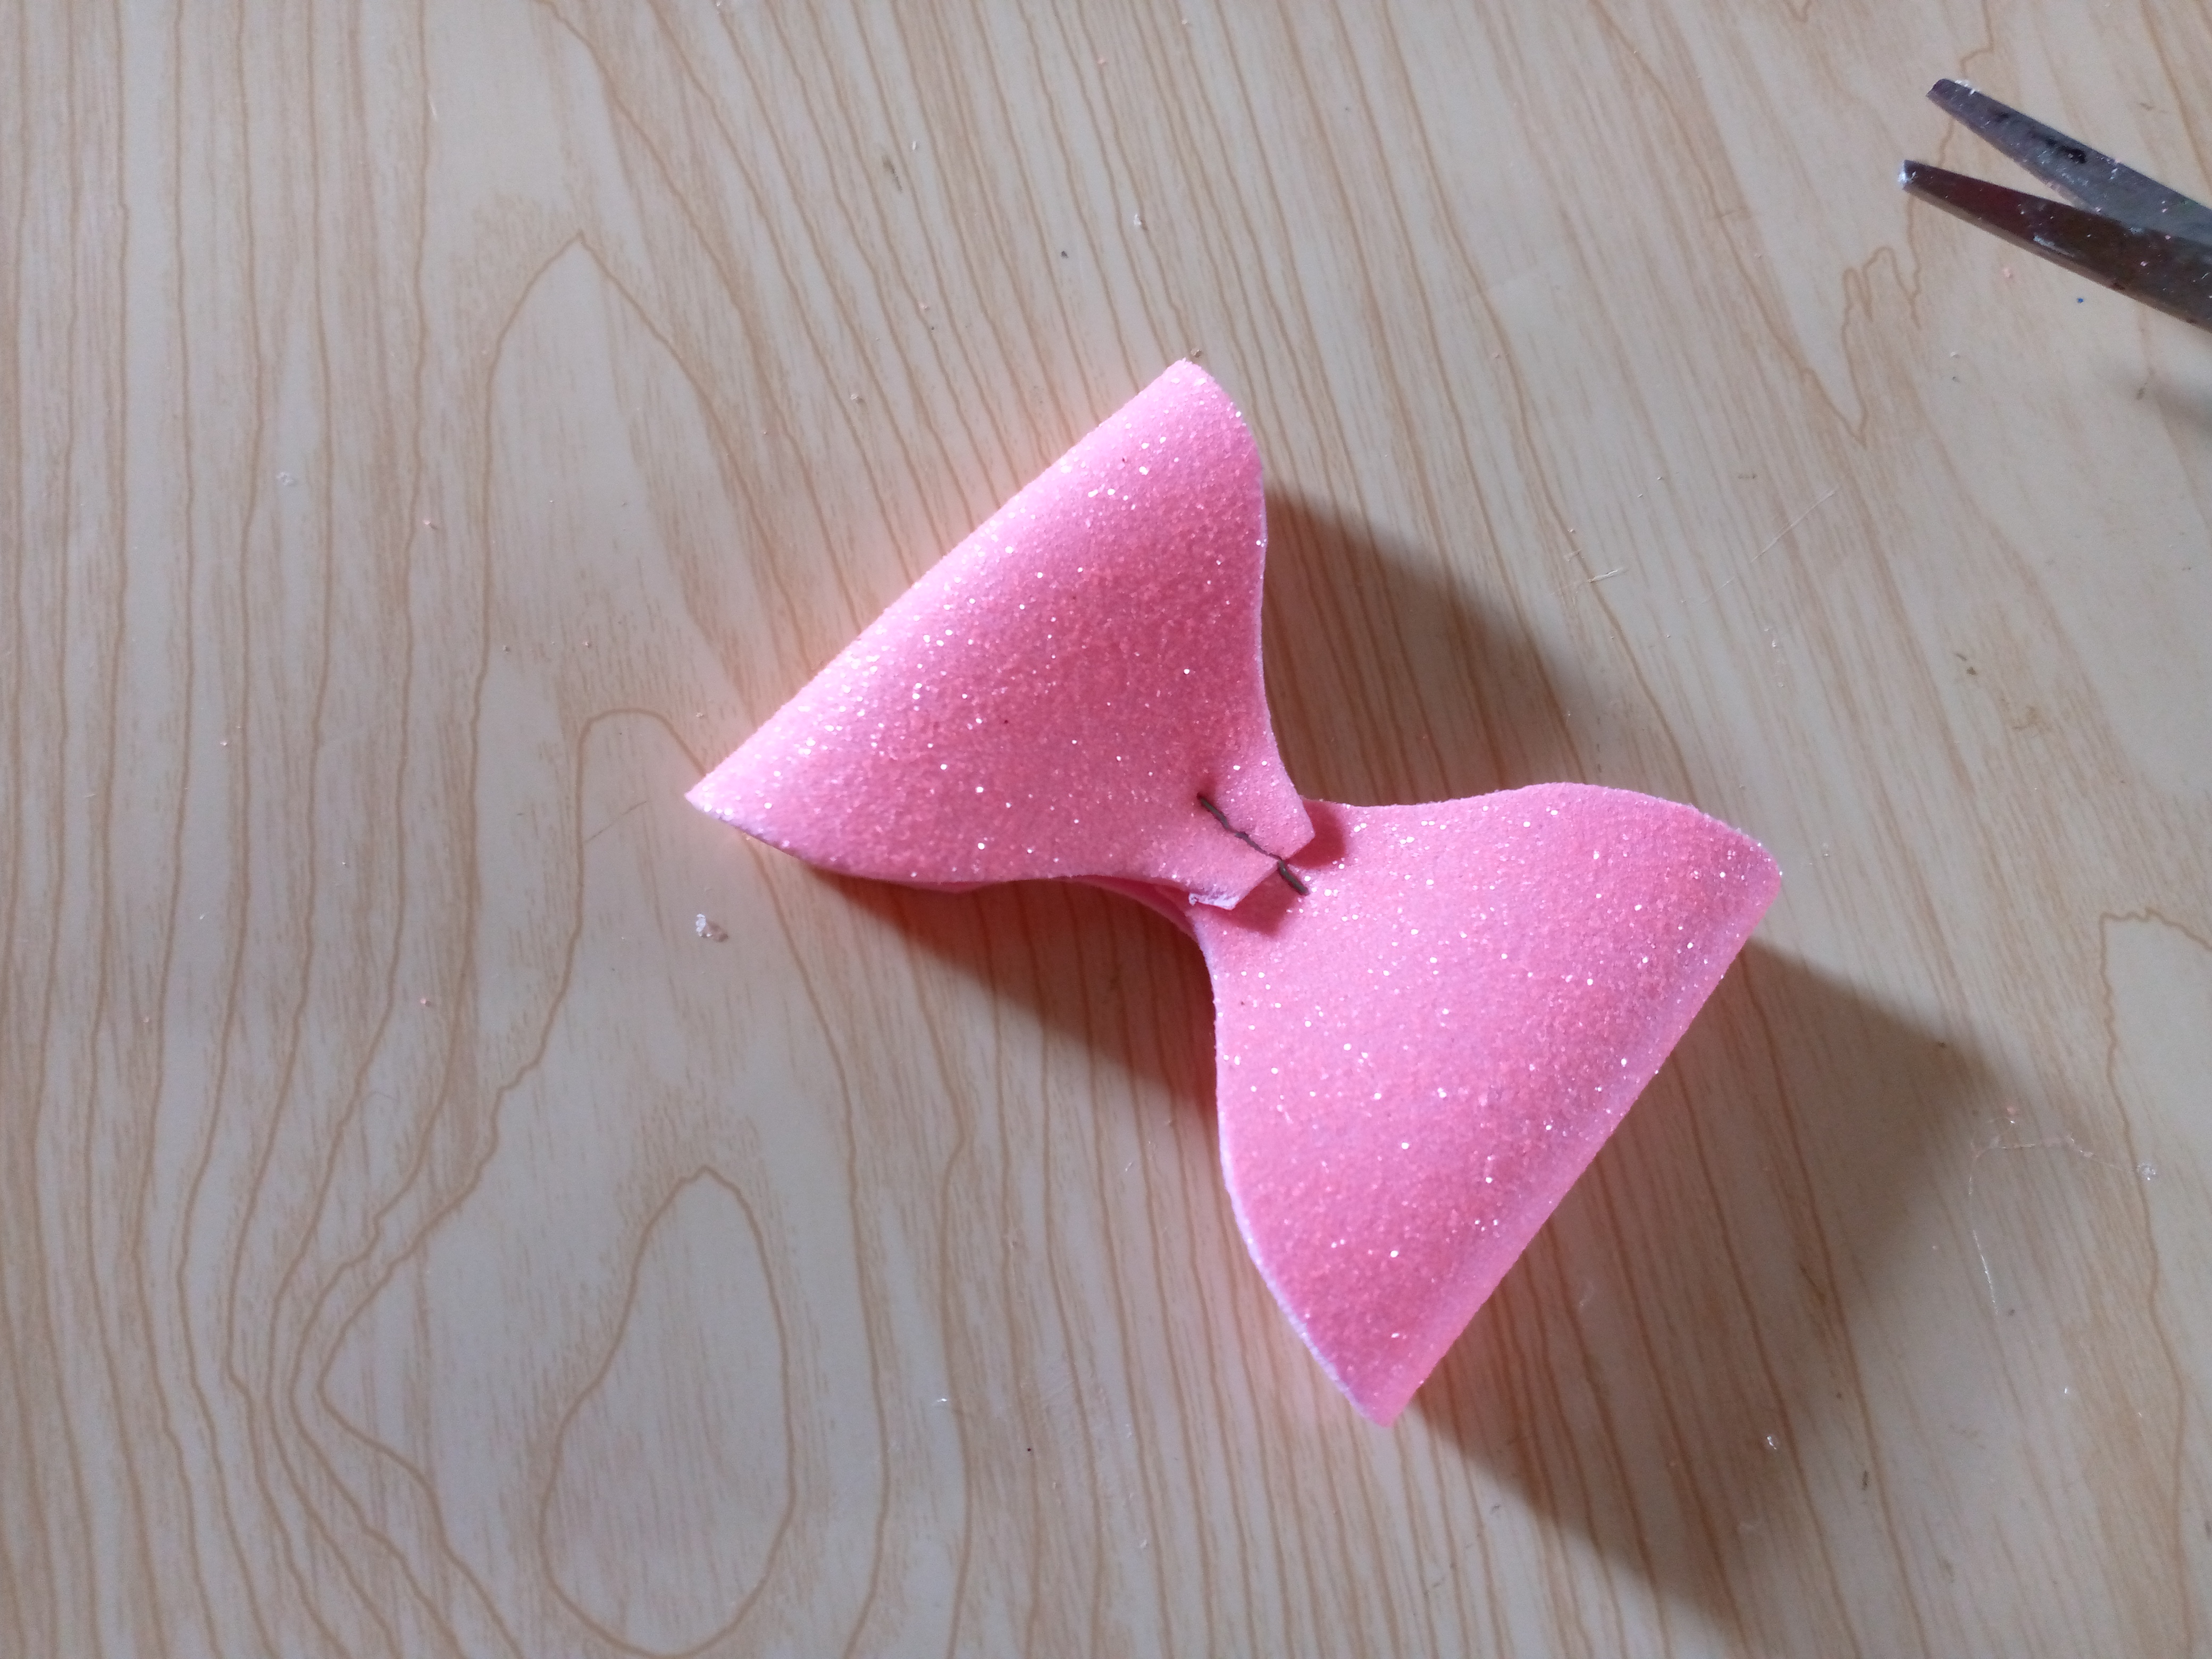
To further decorate my little box I wanted to make a beautiful bow in pink and foam, I wanted to take out the mold like I make my bows in this material and so it would stand out in my box, I made a large mold and a small one to stick it in the center, then to stick it more easily I folded it and with my stapler I sealed the center of the first bow that would be almost the big one in this one, I will do the same with the small one as well and I will join them next.
.jpg)

Paso 05
Step 05
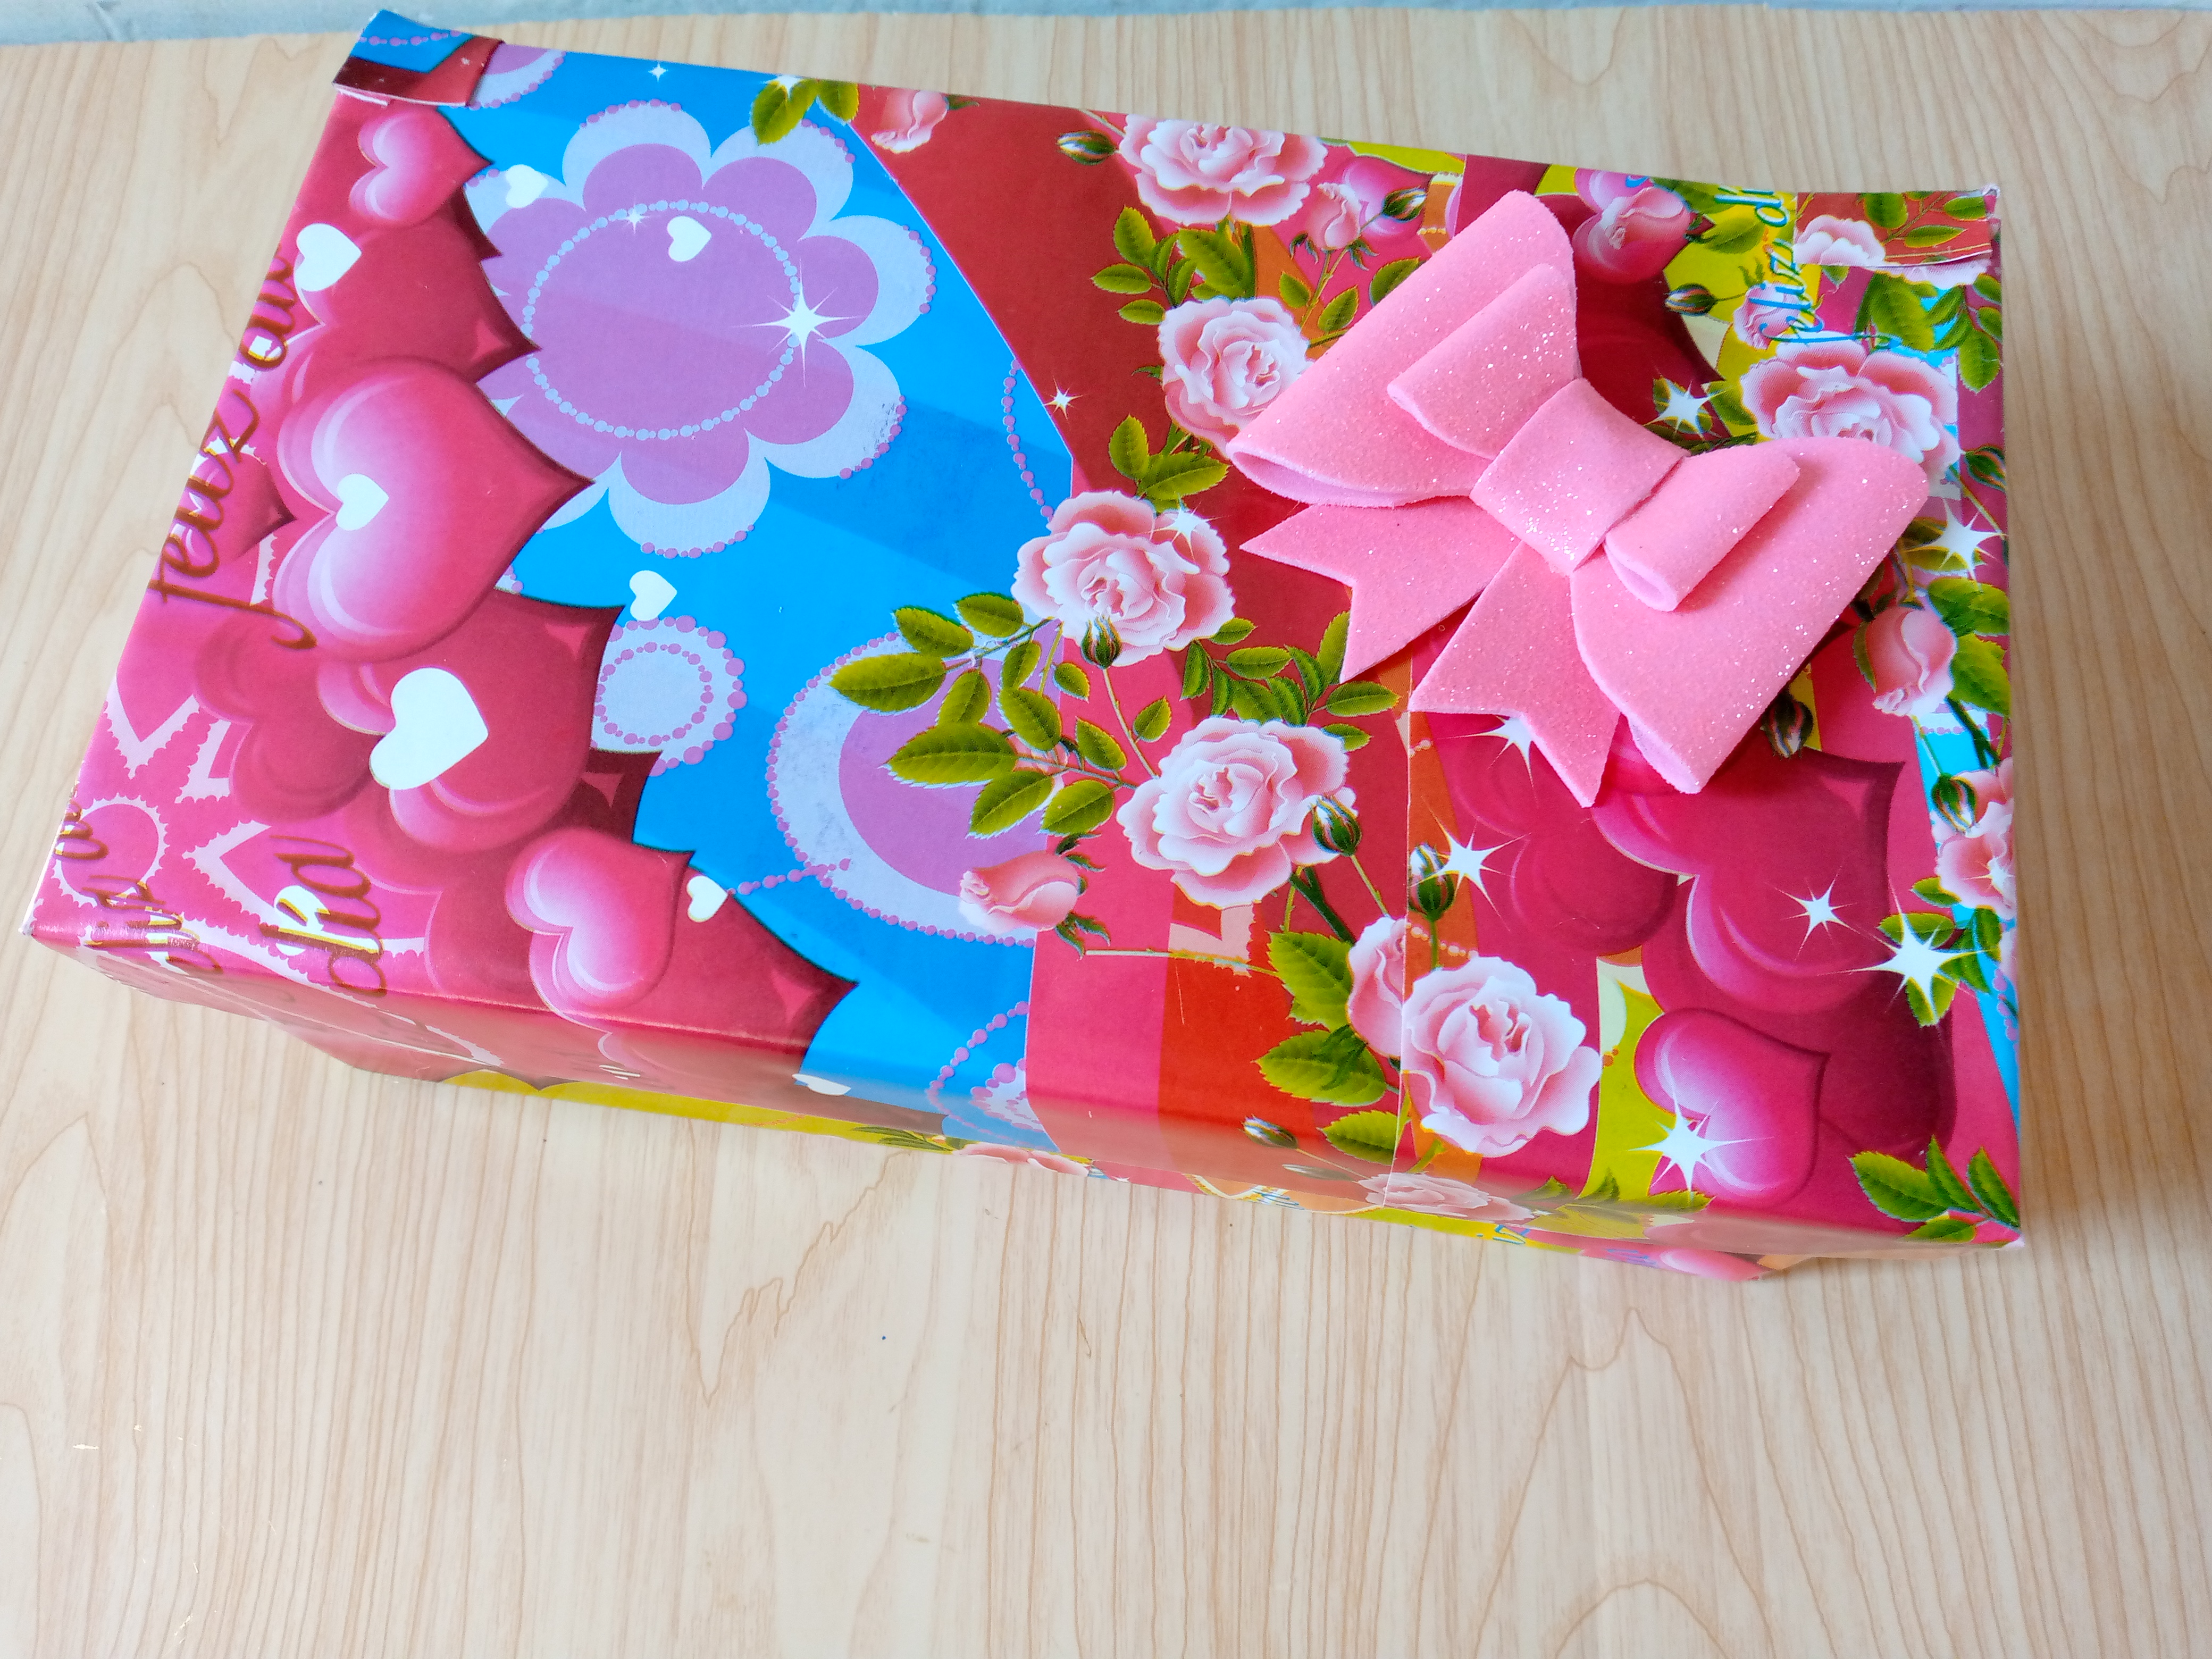
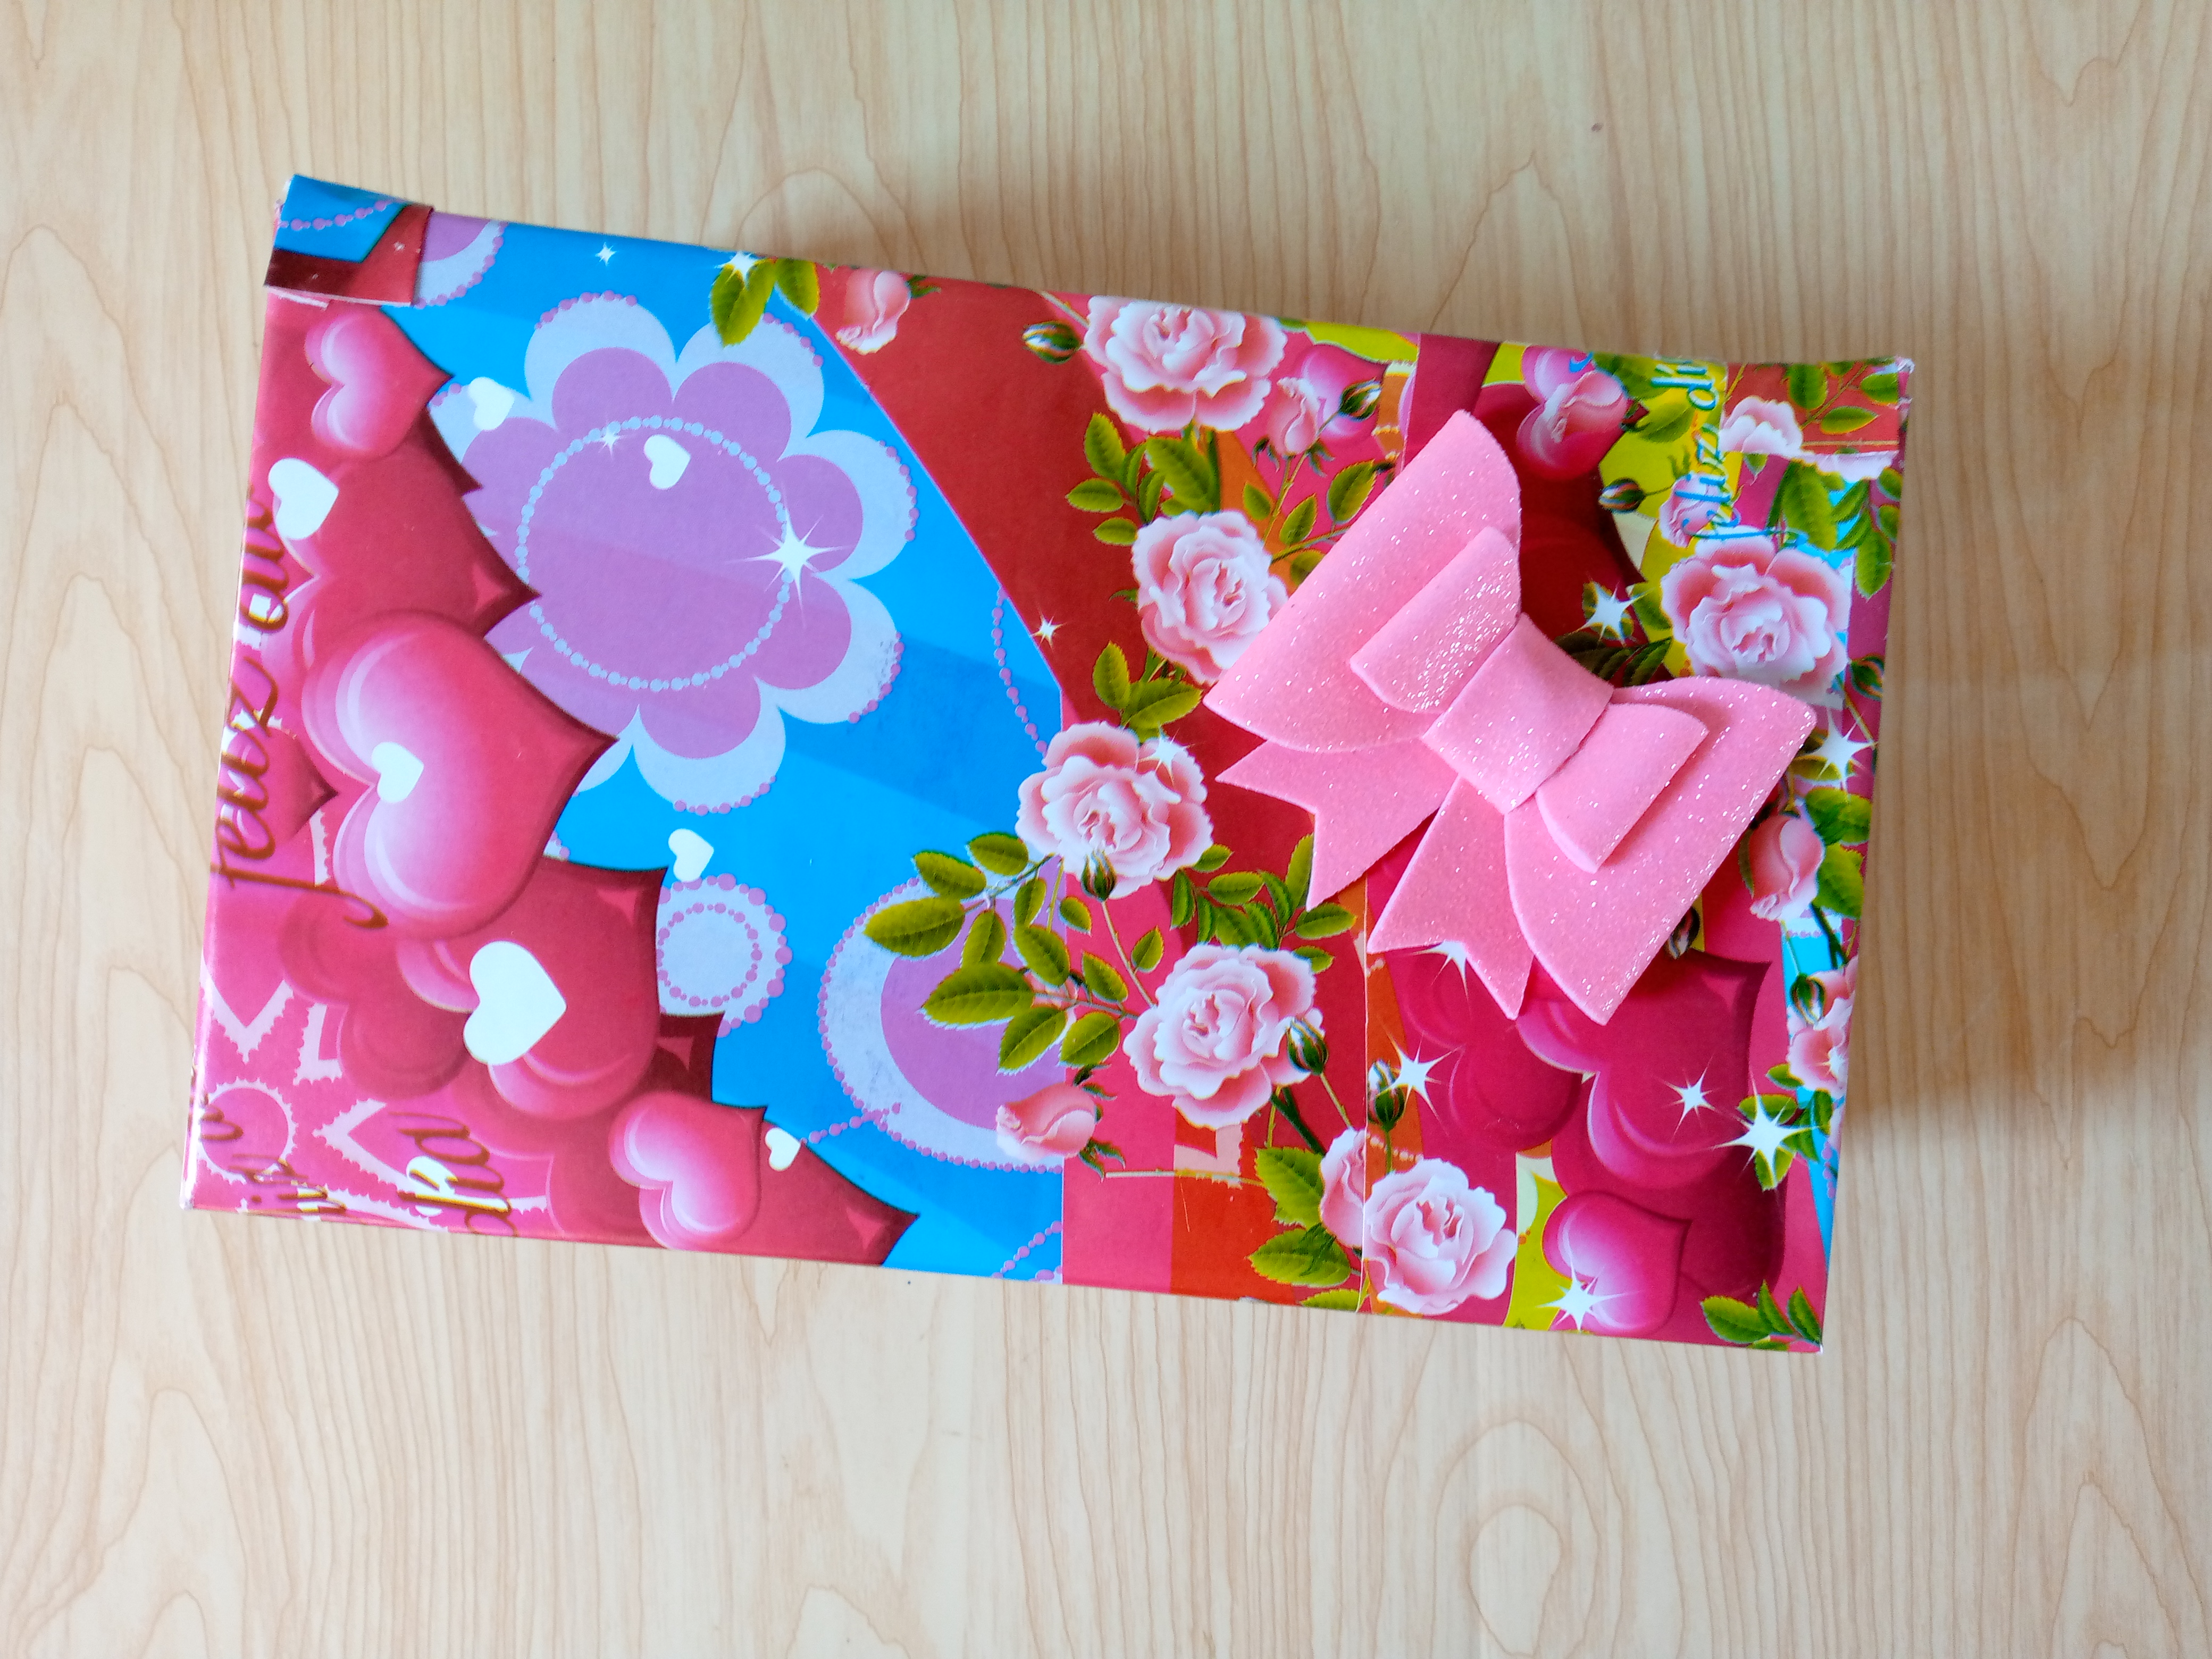
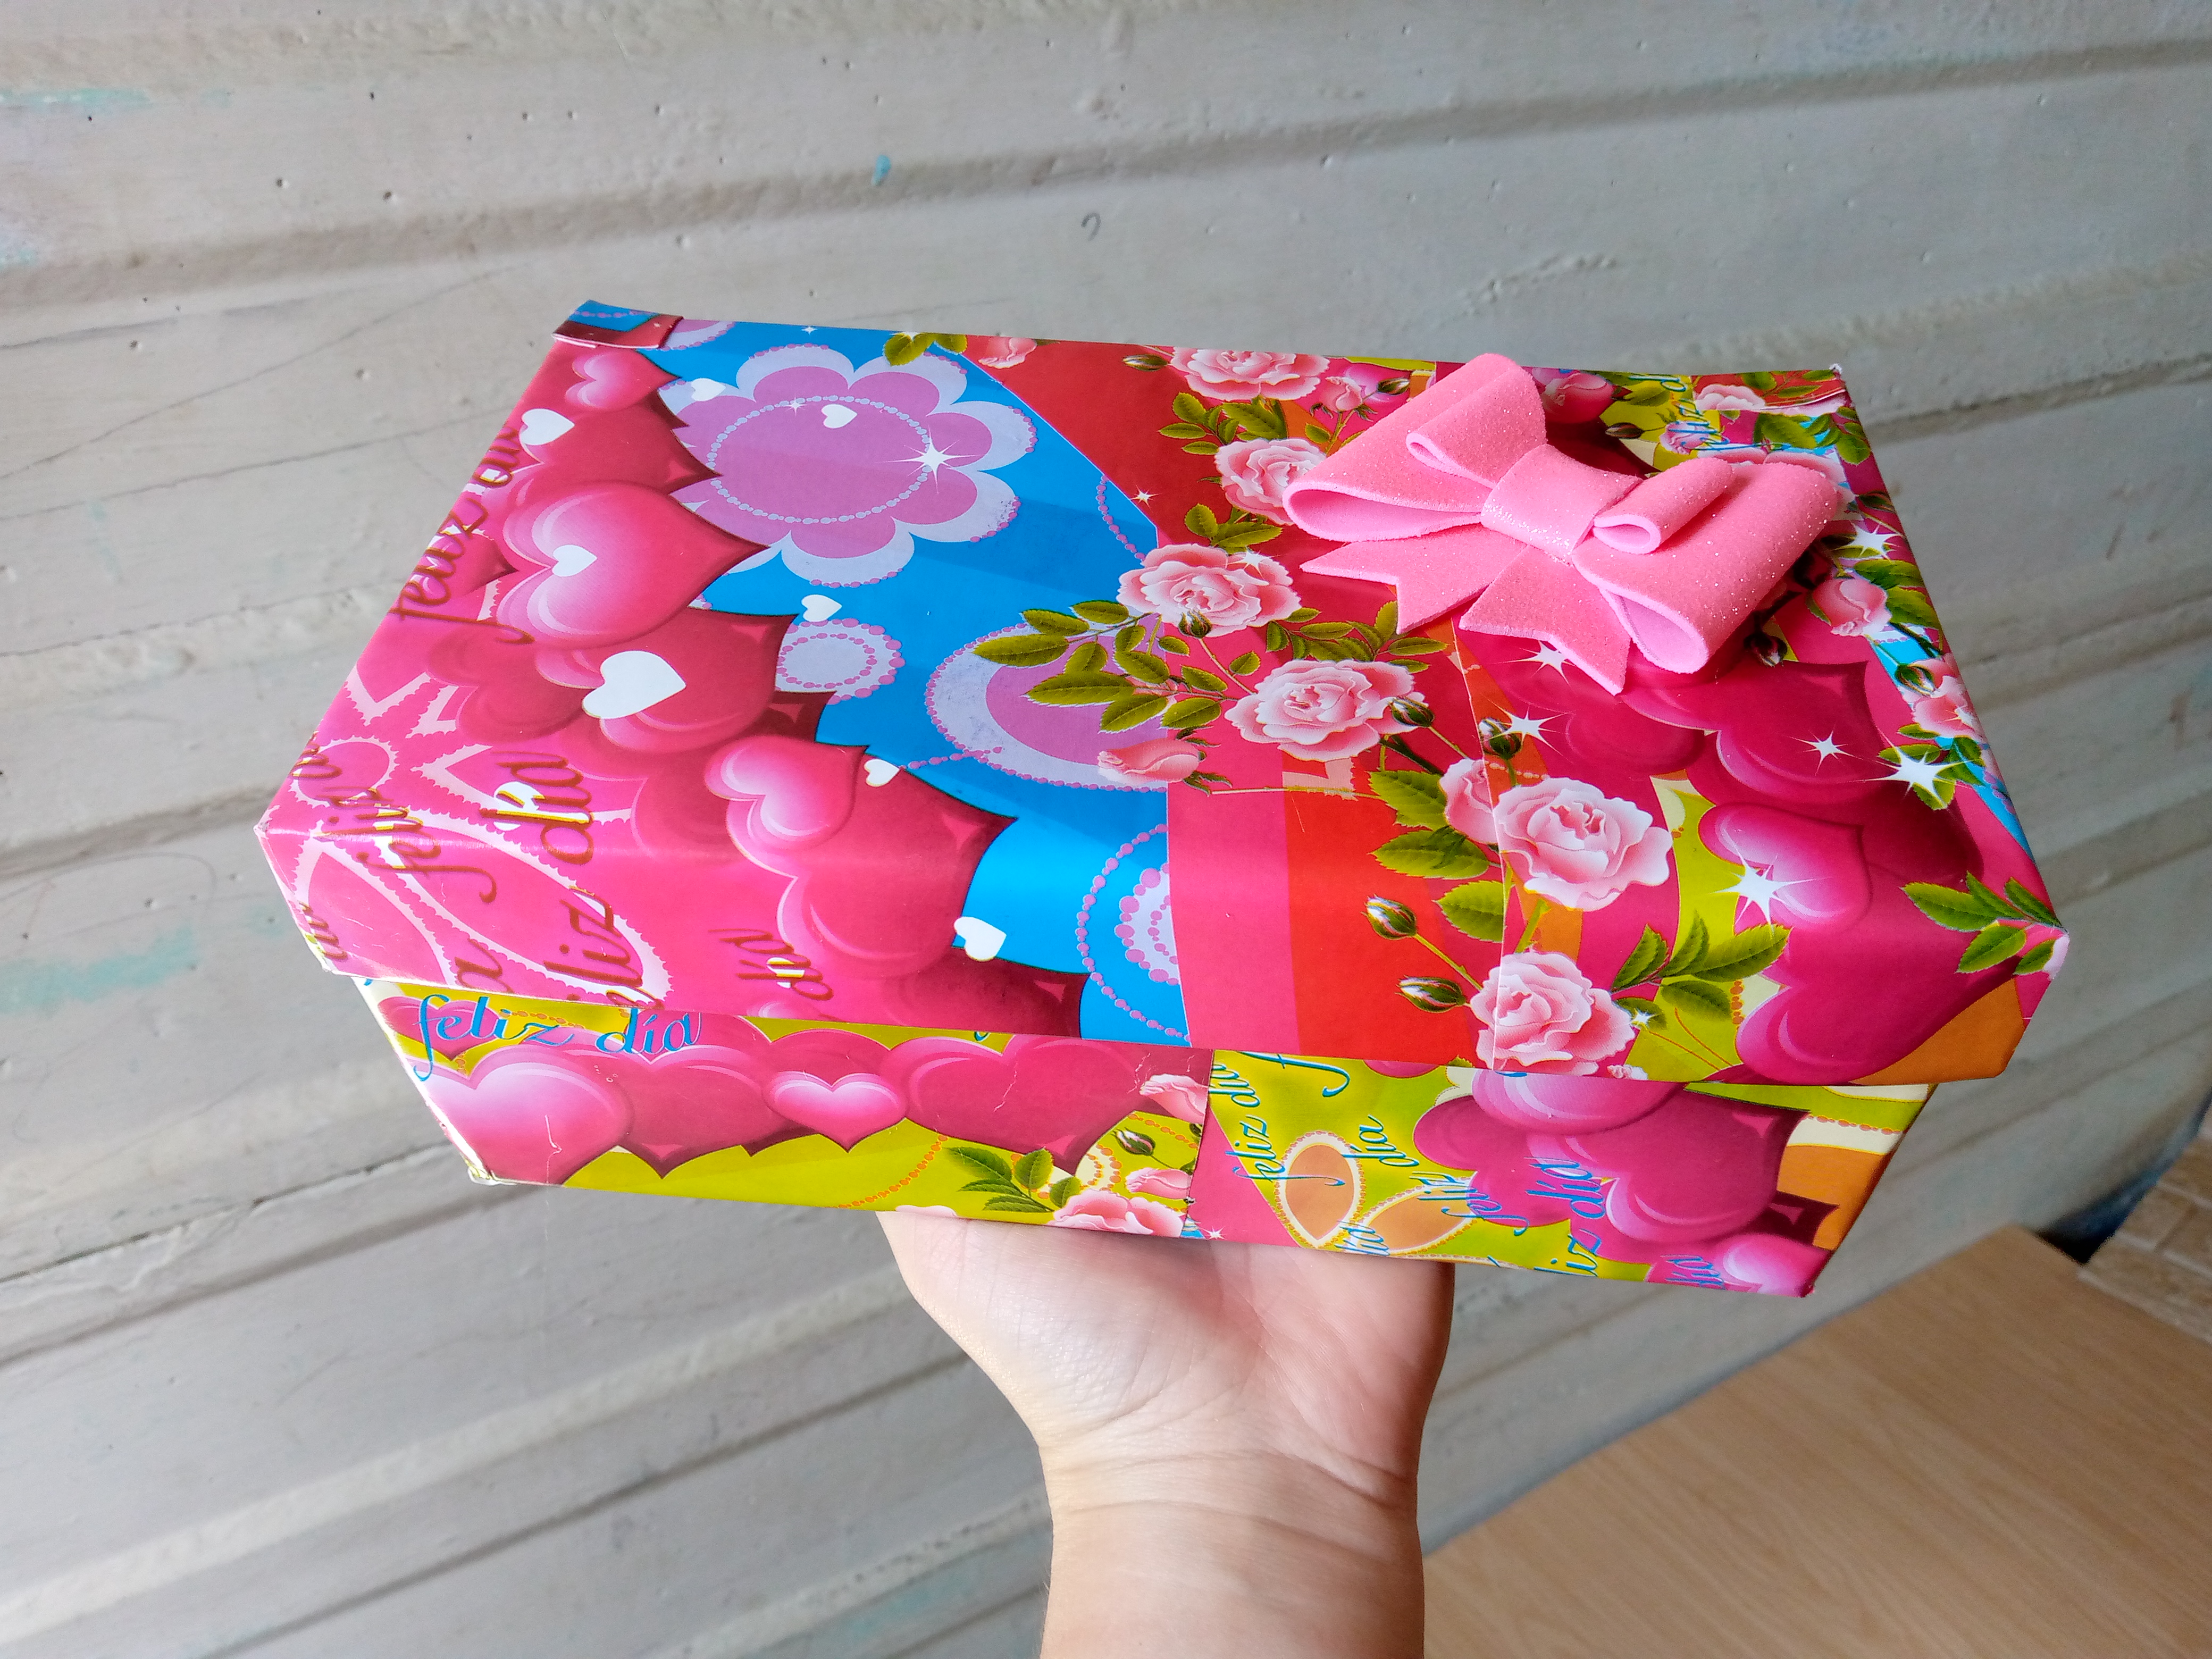
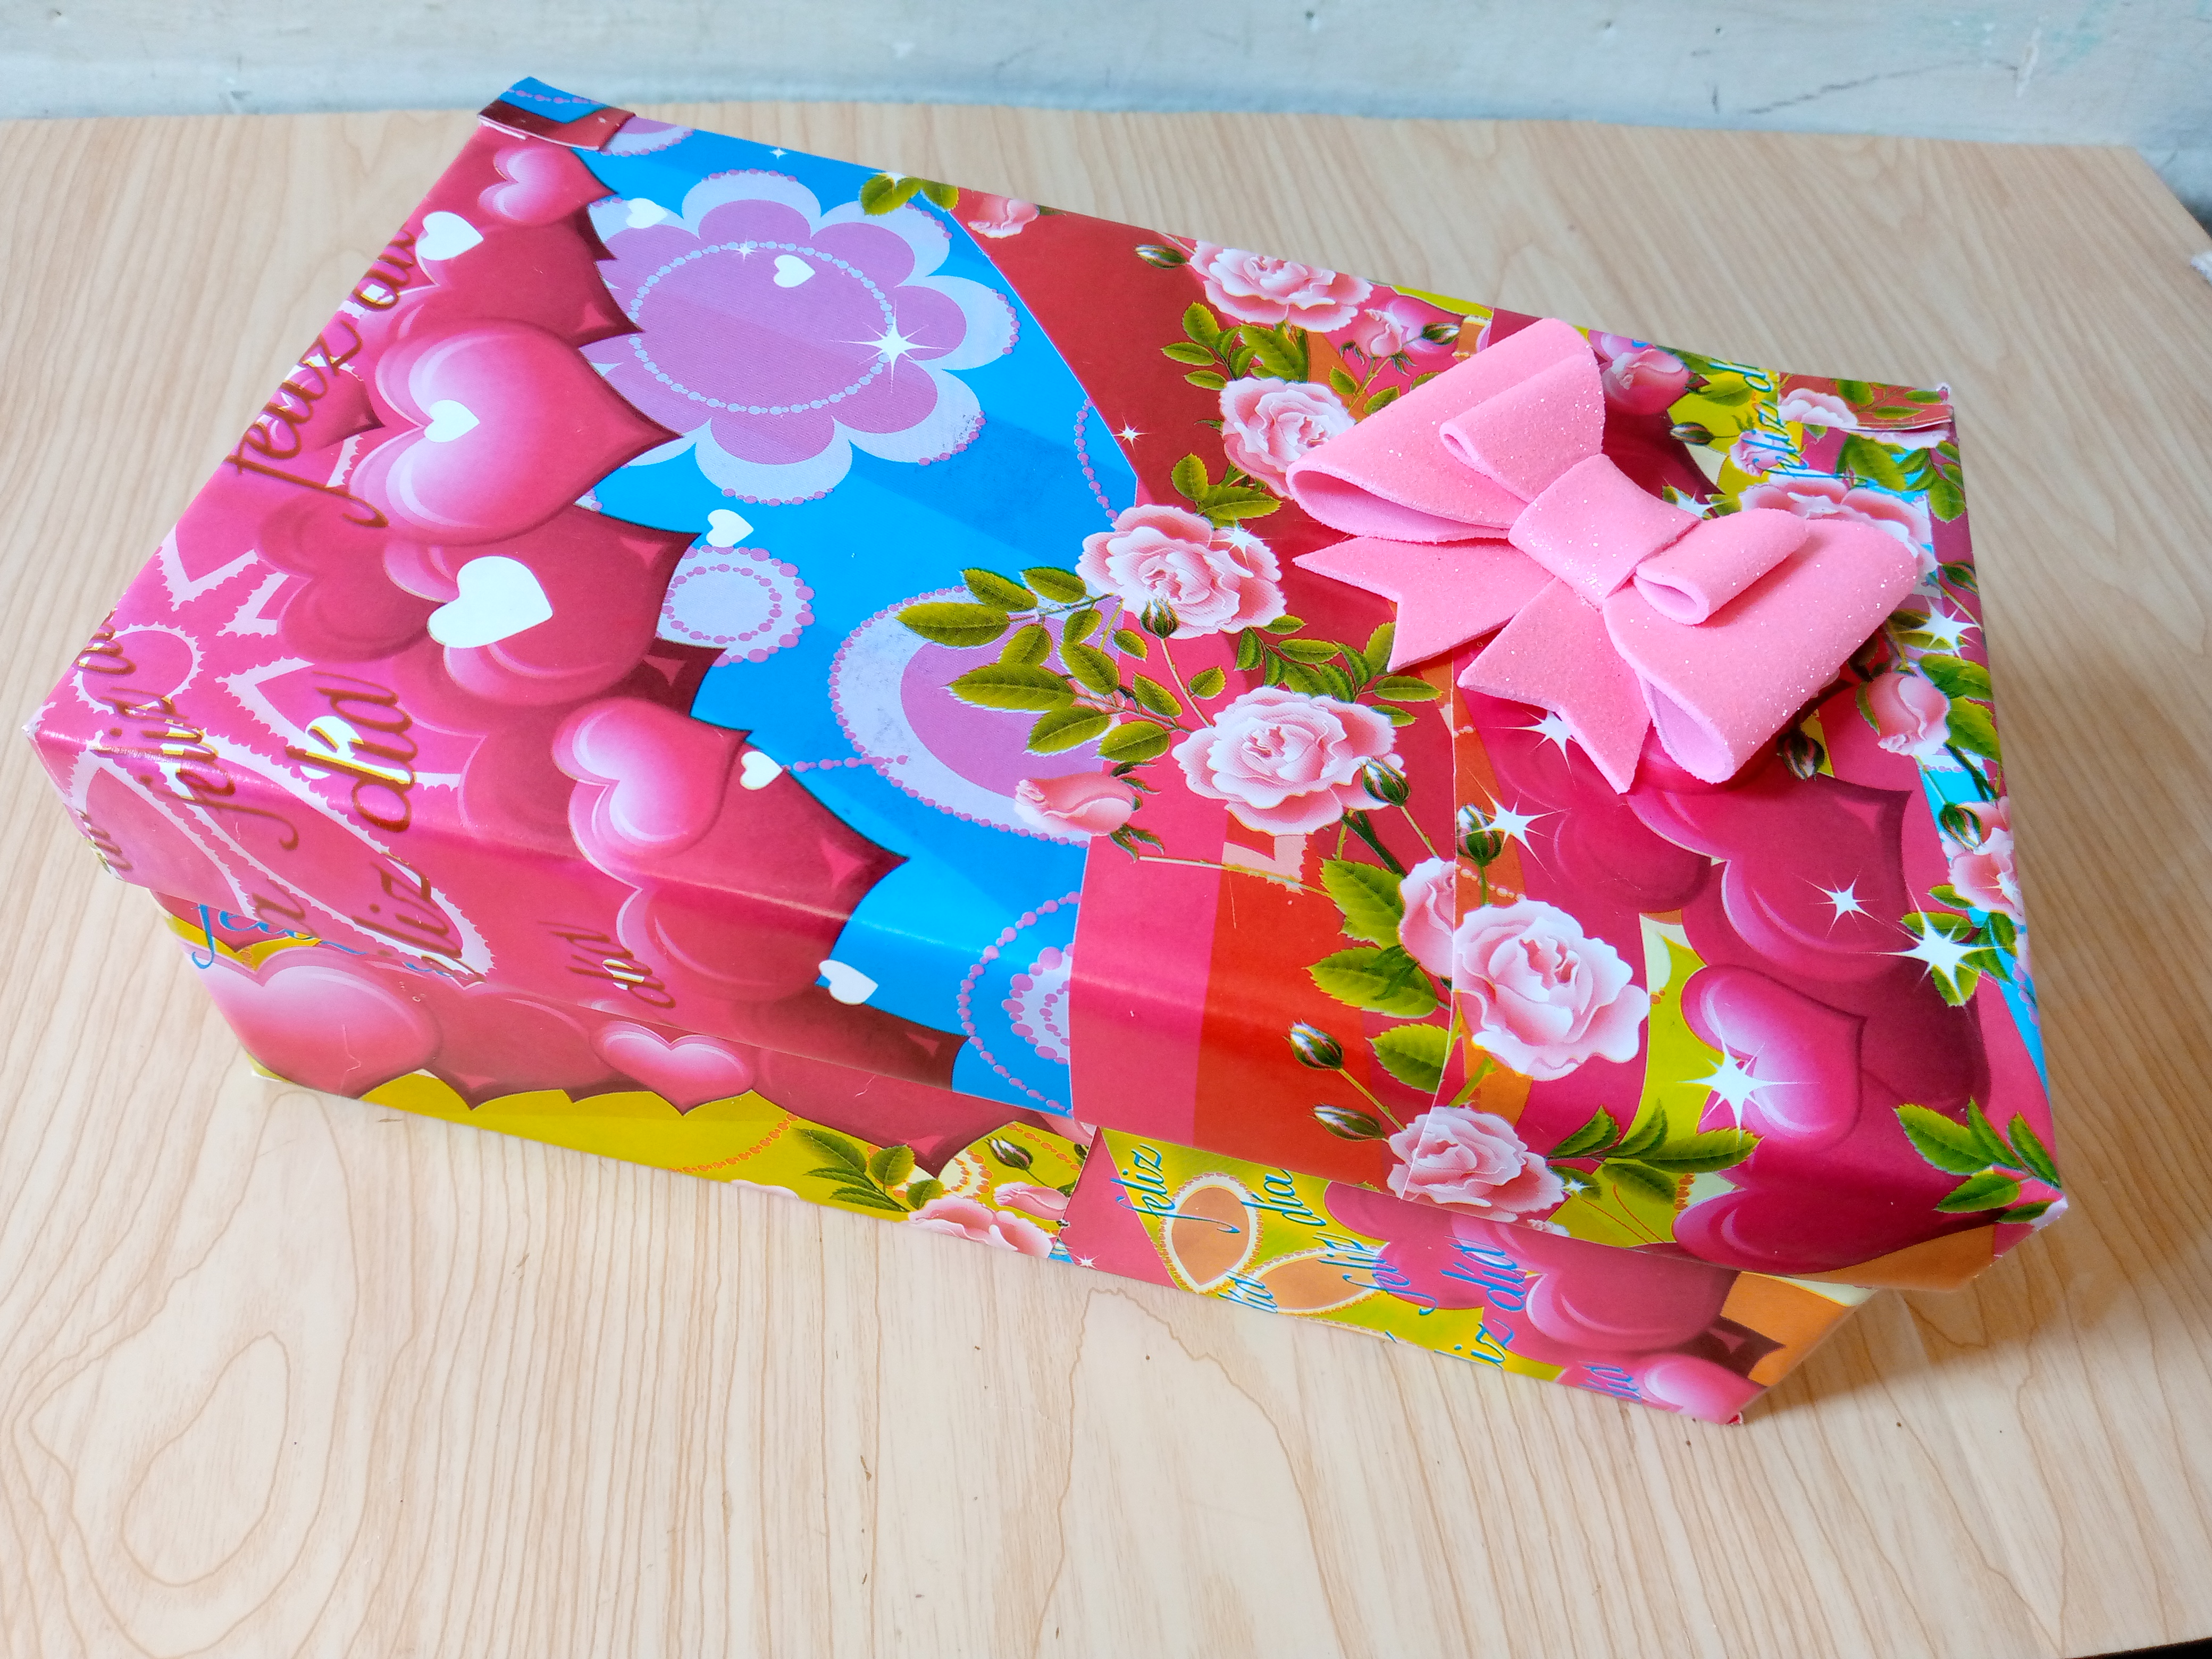
Here I have my bow already made and I placed some views below to decorate it a little more. I wanted to stick it on one side of my box and this is how it turned out.
.jpg)
Resultado:// Result:
I hope you liked this beautiful decoration of this super easy and simple craft to make that you can do to give a new life to those boxes that you think are no longer useful and that could be used to store other things and make a gift, I would like to know what you think of this great idea, and I say goodbye to you by leaving you here with the photos of the final result, thanks for reading my blog friends 🌸🥰.
.jpg)
Creating things with love 🌷❤️
🦋✨ All the images in this publication are my author ,📱taken with my TecnoSpark8C cell phone |📸Photos edited in PicsArt and Canva. Text translated in Google Translate.
I am very impressed with the beauty of your work, you are very detailed and stylish. Thank you for sharing your creativity in our DIYHub Community...
You can query your personal balance by
@samuell12 just sent you a DIY token as a little appreciation for your post dear @anne002! Feel free to multiply it by sending someone else !DIY in a comment :) You can do that x times a day depending on your balance so:!DIYSTATSGiving old items a second chance is amazing. The transformation is everything, well done and cheers to more creative ideas.
Thank you for appreciating my work @diyhub, and the support, happy night
El lazo quedó muy bien y es un hermoso adorno para la caja.
!DIY
Muchas gracias es bueno saber que te ha gustado 😊
¡Felicitaciones!
Estás participando para optar a la mención especial que se efectuará el domingo 12 de enero del 2025 a las 8:00 pm (hora de Venezuela), gracias a la cual el autor del artículo seleccionado recibirá la cantidad de 1 HIVE transferida a su cuenta.
¡También has recibido 1 ENTROKEN! El token del PROYECTO ENTROPÍA impulsado por la plataforma Steem-Engine.
1. Invierte en el PROYECTO ENTROPÍA y recibe ganancias semanalmente. Entra aquí para más información.
2. Contáctanos en Discord: https://discord.gg/hkCjFeb
3. Suscríbete a nuestra COMUNIDADEntra aquí para más información sobre nuestro trail. y apoya al trail de @Entropia y así podrás ganar recompensas de curación de forma automática.
4. Visita nuestro canal de Youtube.
Atentamente
El equipo de curación del PROYECTO ENTROPÍA