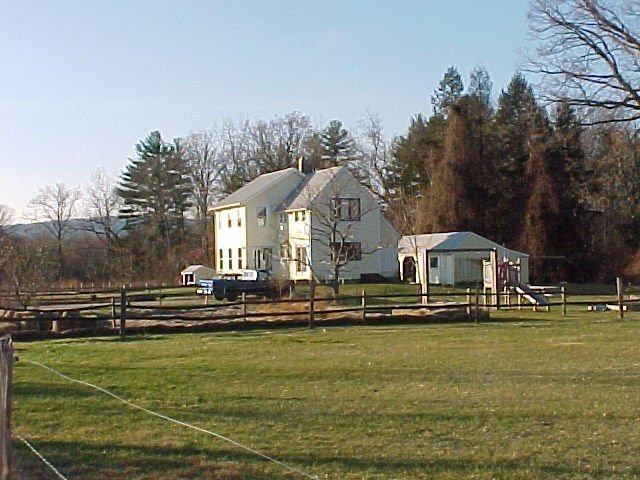
1998
When I started creating gardens, we put the wooden fence up to keep any stray horses out. They extended from the driveway to the treeline along the perimeter of the yard on both sides and up the driveway to the house.
We created them from the hundreds of rough cut 3” x 5” posts and poles that were in our barn when we bought it. The posts were about 14½’ long and cut in half, drilled to hold poles, and tops angled to shed water, they were the right length.
The poles we split in half lengthwise with the chain saw. So each section was 14’ long. That’s why my fence gardens are 14’ x 4’.
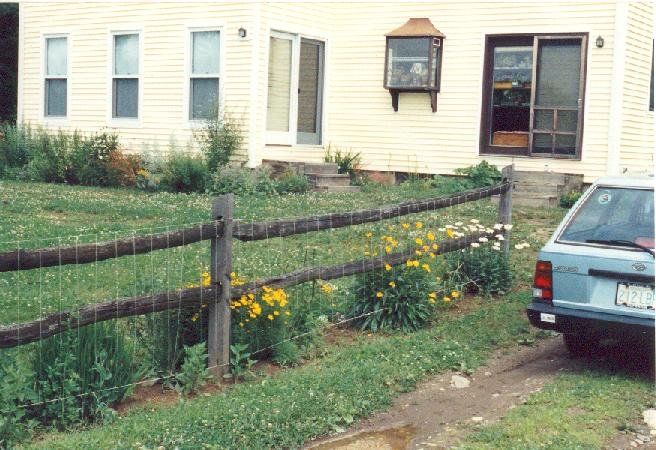
1992
The posts were many kinds of wood. Every now and then we’d find a locust post and those lasted for decades. But most didn’t last more than 3 - 5 years.
Over the years the fences have shrunk. First they no longer went to the treeline but ended where the pasture fences started, by 2000. The ones by the Big garden moved back to the rugosa rose last year. The one by the Big spruce moved back to the 7th Fence garden 3 years ago.
We haven’t been able to find more poles is the problem. Posts are still easy to come by and we have a stash, but the poles are much harder.
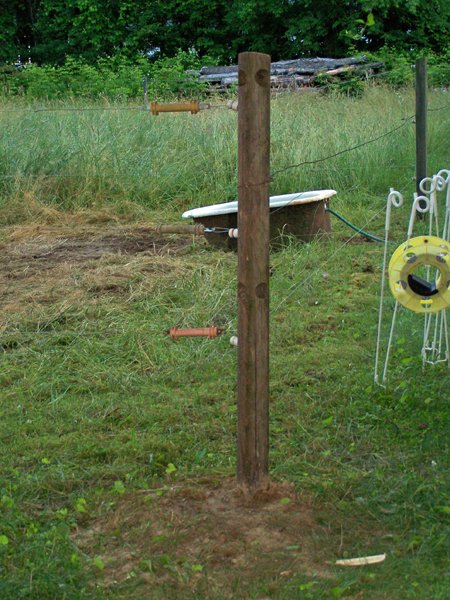
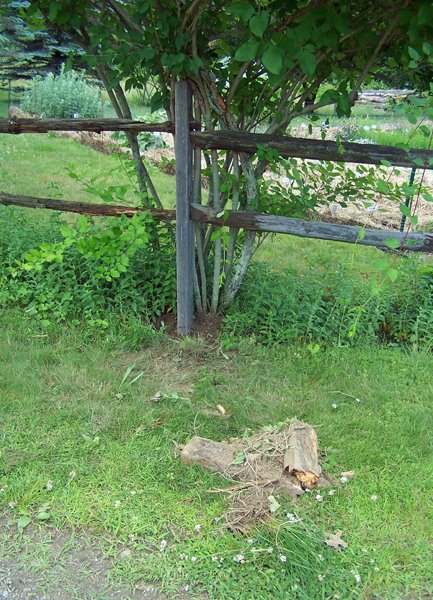
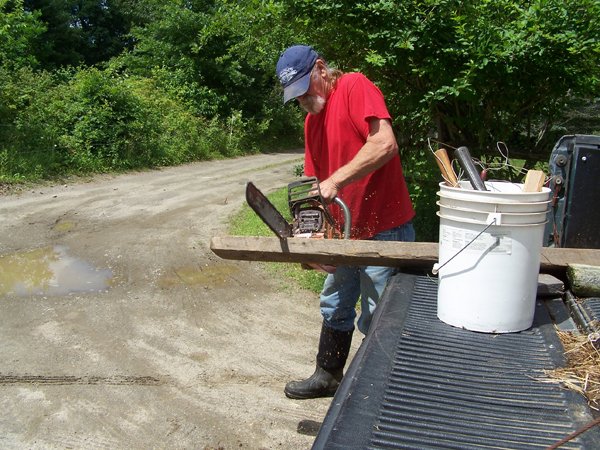
The one that started the job…
This spring we had a lot of them break. When it reached 3 we decided to fix them yesterday. In the process, 2 more snapped off. Plus a pasture gate post by the big spruce had broken and needed replaced. That was what actually started the job.
I had tended to put my flowering shrubs by the posts to protect them from mower people. This makes replacing them hard.
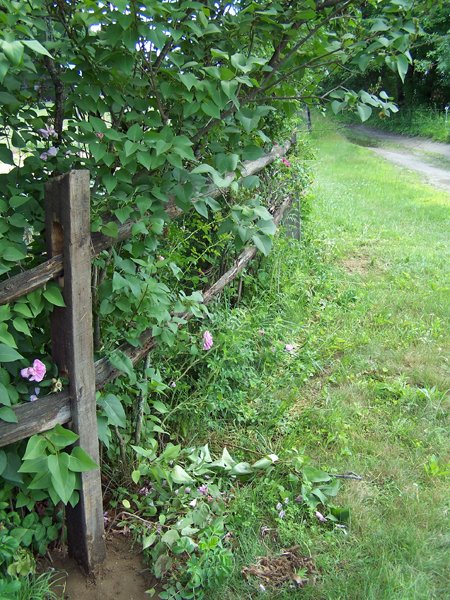
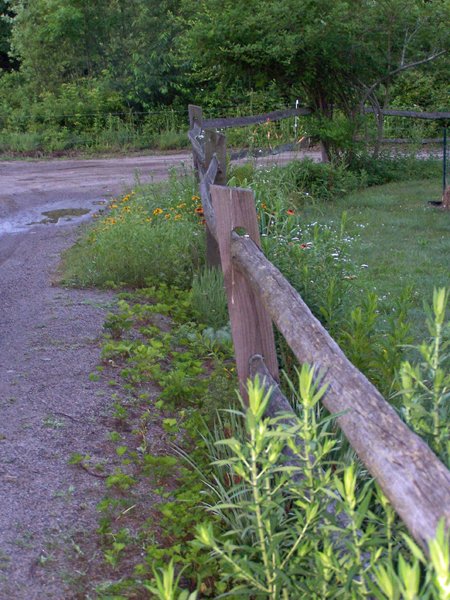
This front post was the first to go. The one in back was the 3rd.
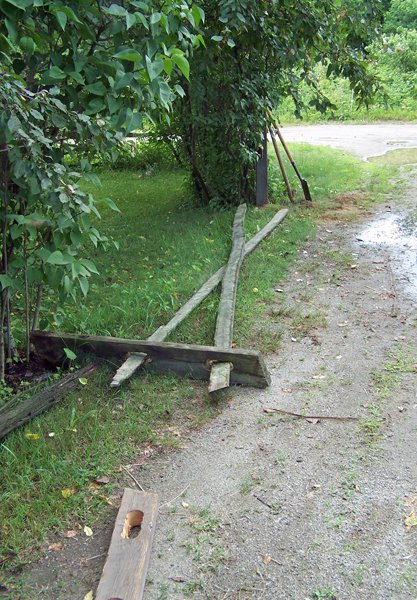
This was the 2nd one to go.
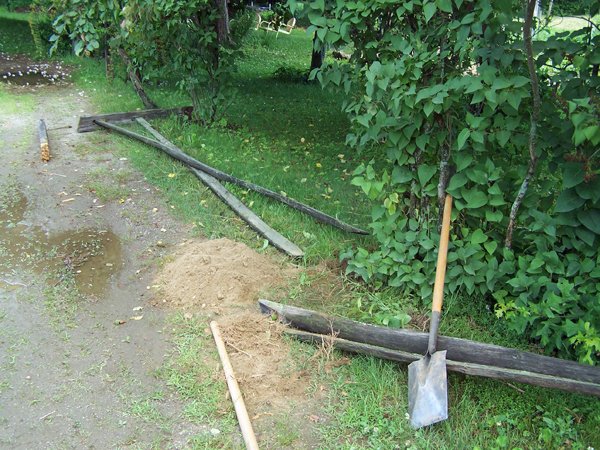
This one and the one behind it snapped when putting poles back up.
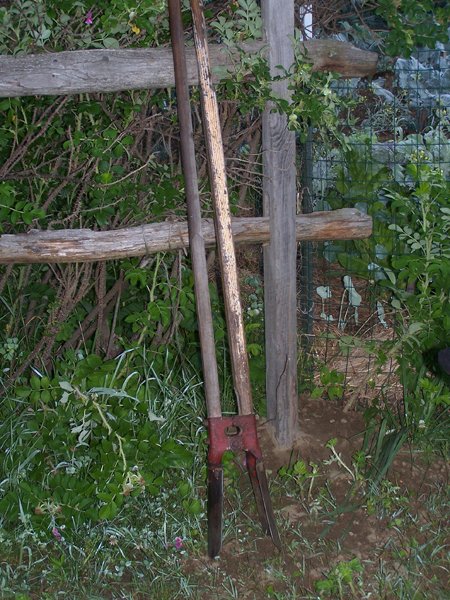
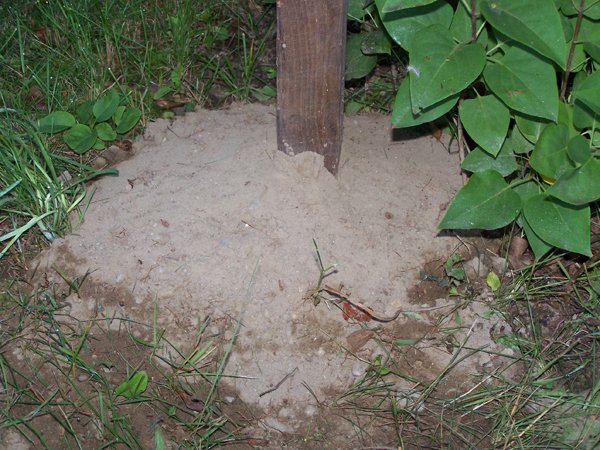
Using the post hole diggers, we dig a hole down beside the broken post. Then we set about removing the stub.
Depending on the root situation, this can be a bear to do.
Then we cut the post to length after making sure the hole is deep enough to support the poles and posts and shrubs. The posts are 4’ above ground so we like to have 2½’ – 3’ in the ground.
I remove all the plant material from the soil before putting it slowly back in, tamping firmly every few inches. I use a spare post hole digger handle for tamping.
One my son replaced last year…
It’s good to make sure the top is the same height as the adjoining posts and the slant is facing the right way, before tamping. Also make sure they are straight up and down, and not leaning forward/back or left/right. Ask me how I know….
It’s also easier to put the poles in as you put the post in. This will also give you a good idea if the post is the right distance apart so the poles rest firmly in the holes.
We usually have to bring in more dirt to get it good and tight. I pile it up around the base so there’s plenty when it settles.
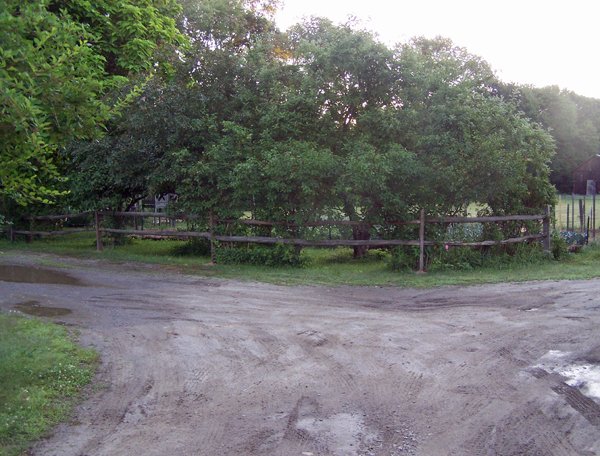
All back up again for another few years.