Saludos, comunidad de Hive Diy.
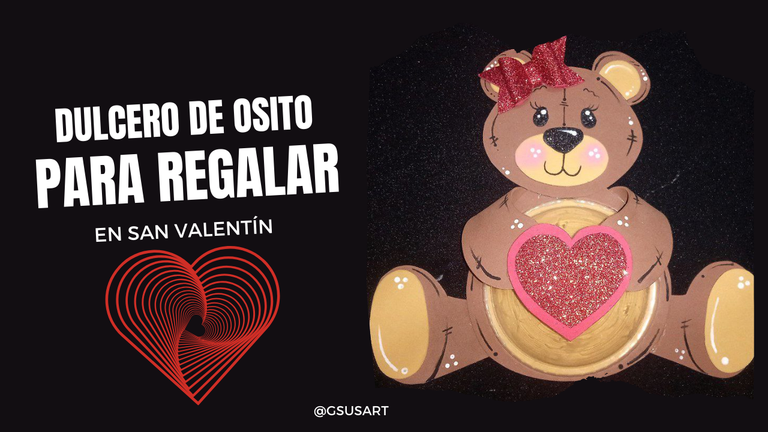
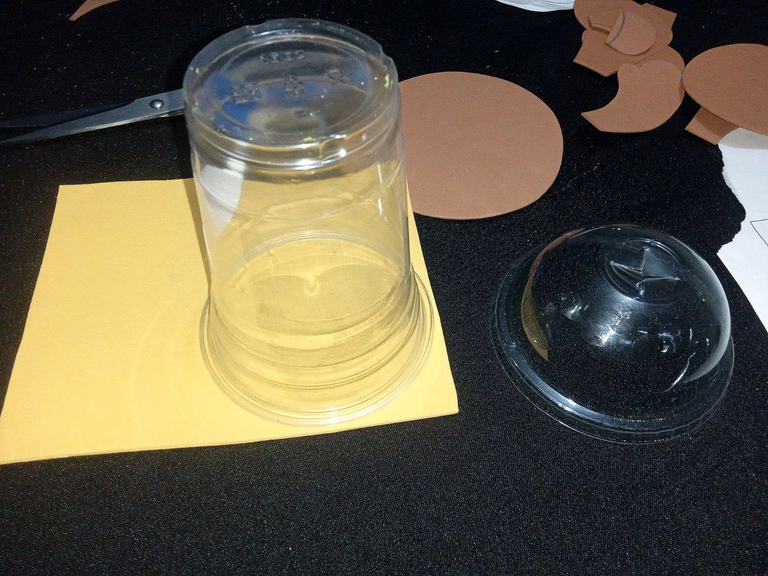
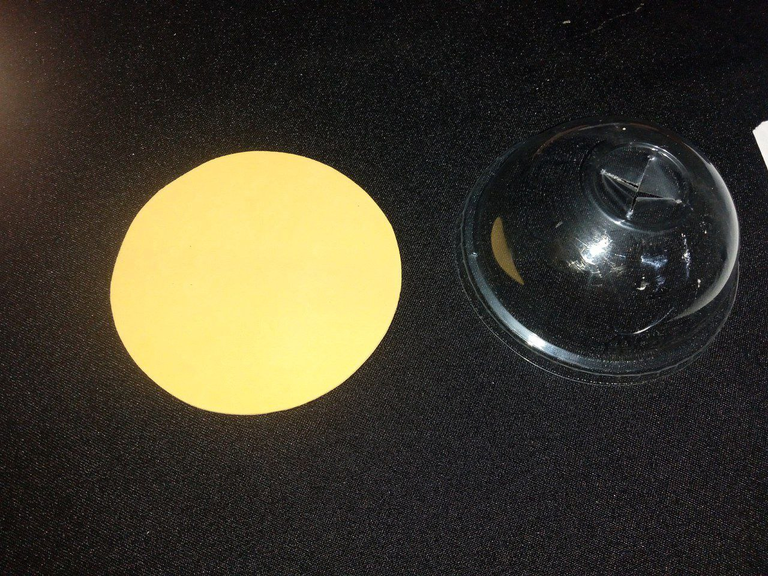
Para esta ocasión les comparto un tutorial sobre como hacer una bombonera con motivo de san Valentín. Si tienes una pareja o una amistad especial, este obsequio puede ser útil para ti en caso de que quieras dar un detalle ese día. Esta idea me surgió después de beber un café, ya que me dieron un vaso con domo y quise hacer algo para compartir con ustedes.
Me inspiré de esta imagen de Pinterest para hacerlo, sin embargo, le di mi toque personal.
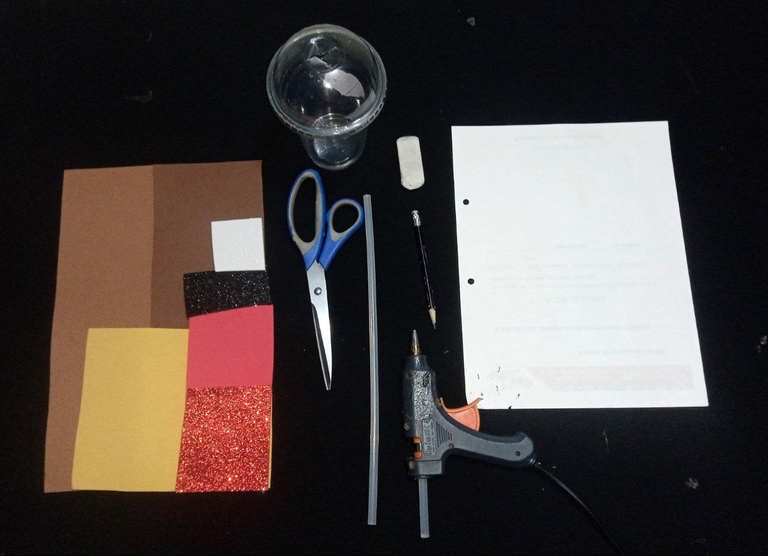
Materiales
- Lápiz.
- Goma de borrar.
- Hojas reusables.
- Tijera.
- Foamis.
- Pistola de silicon.
- Vaso con domo.
Procedimiento
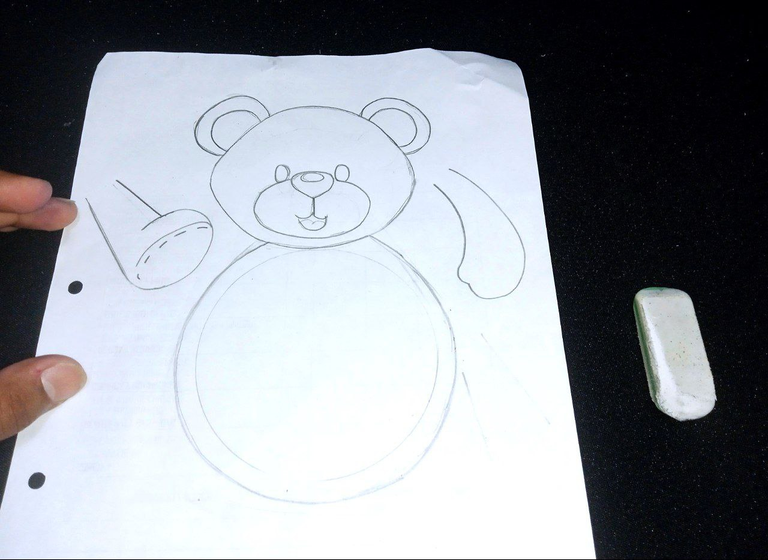
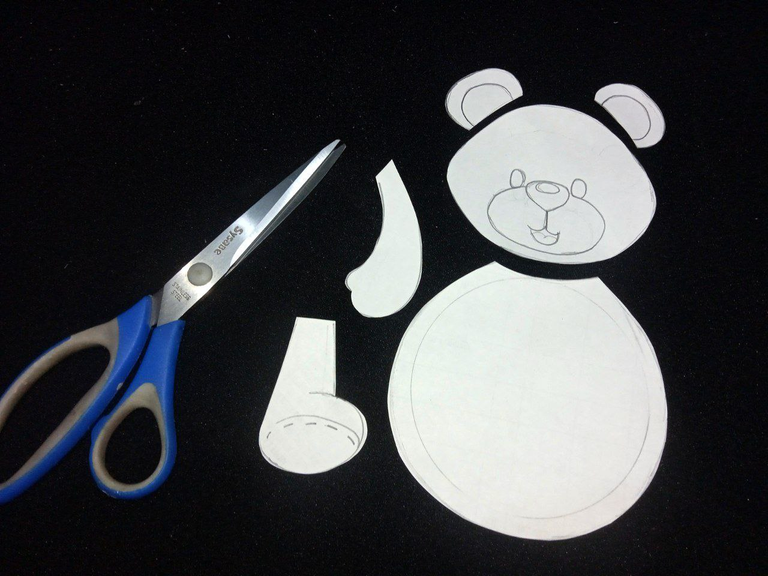
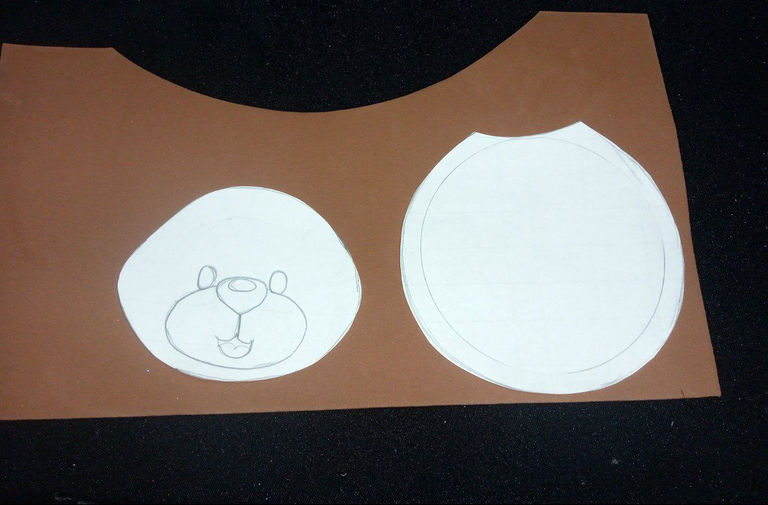
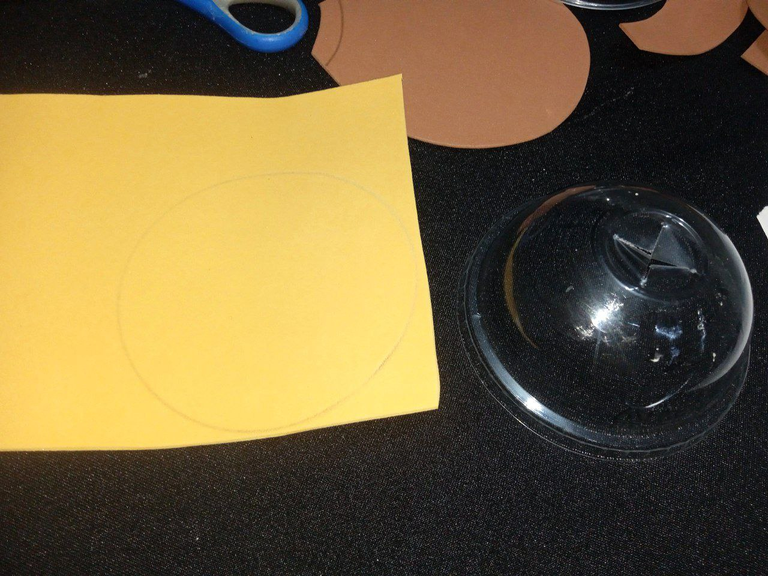
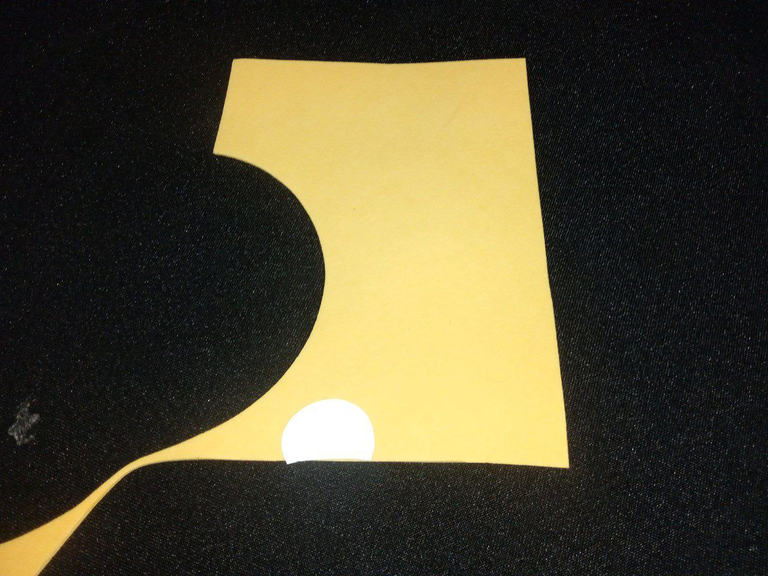
En una hoja reusable vamos a hacer nuestro propio patrón, en este caso comience dibujando la circunferencia del domo, y complemente dibujando la forma básica de una osita. Si se te hace complicado dibujar, puedes buscar imprimir plantillas para guiarte. Una vez que tengas el patrón, se cortan las de diferentes partes del cuerpo de la osita; cabeza, cuerpo, orejas, brazos y piernas, para así obtener las diferentes piezas.
 |  |
|---|
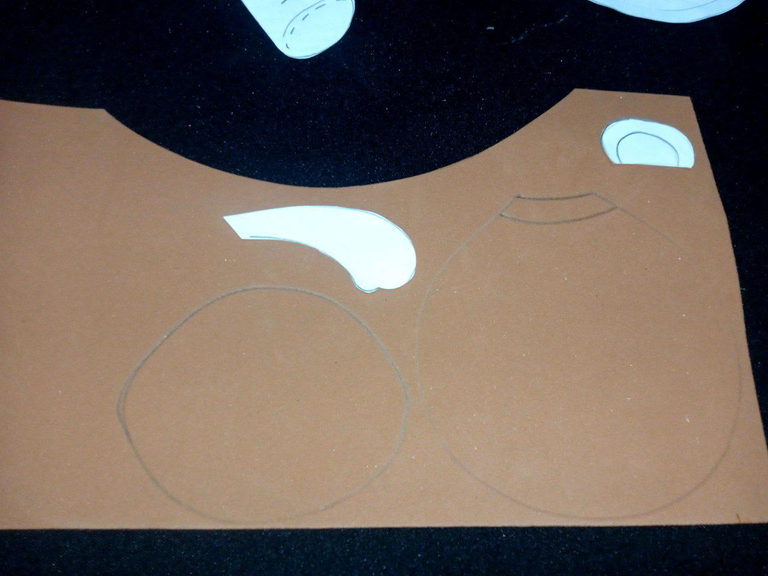
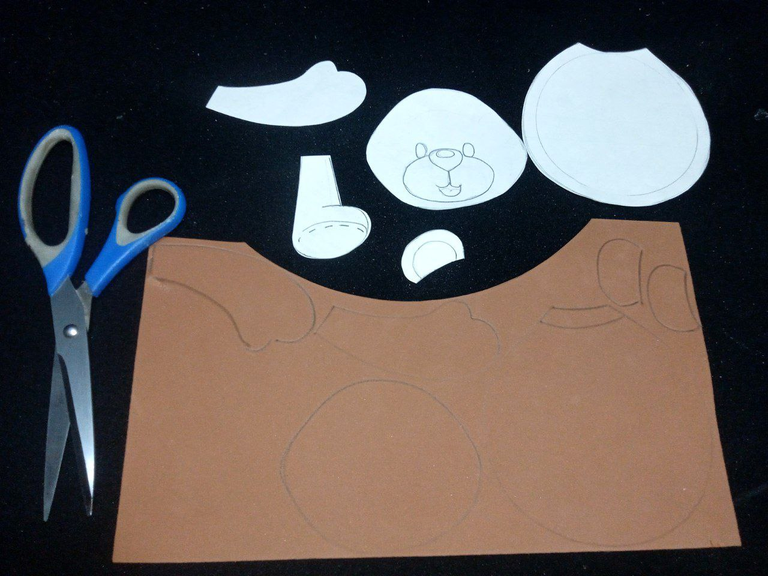
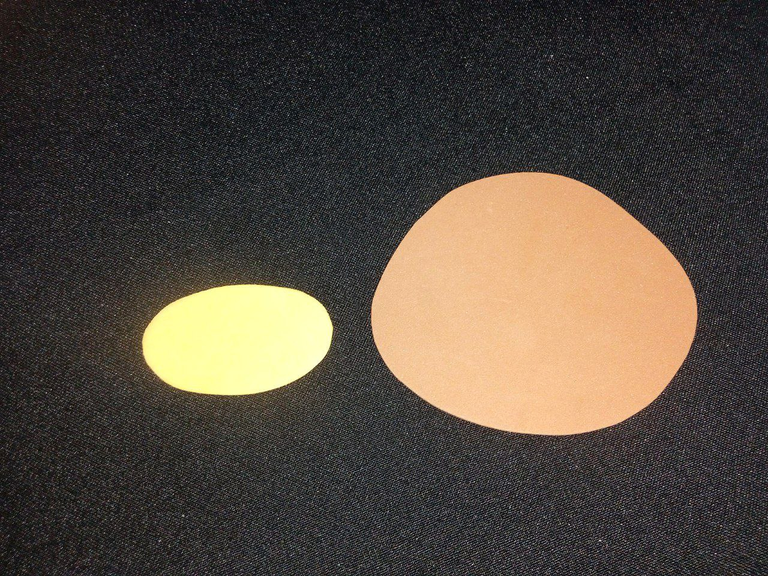
Colocamos las piezas del patrón sobre la lámina de foami marrón, y dibujamos cada pieza en la lámina. Con una tijera afilada, recortamos las piezas del patrón que dibujamos en el foami, asegurándote de seguir las líneas con cuidado.
 |  |  |  |
|---|
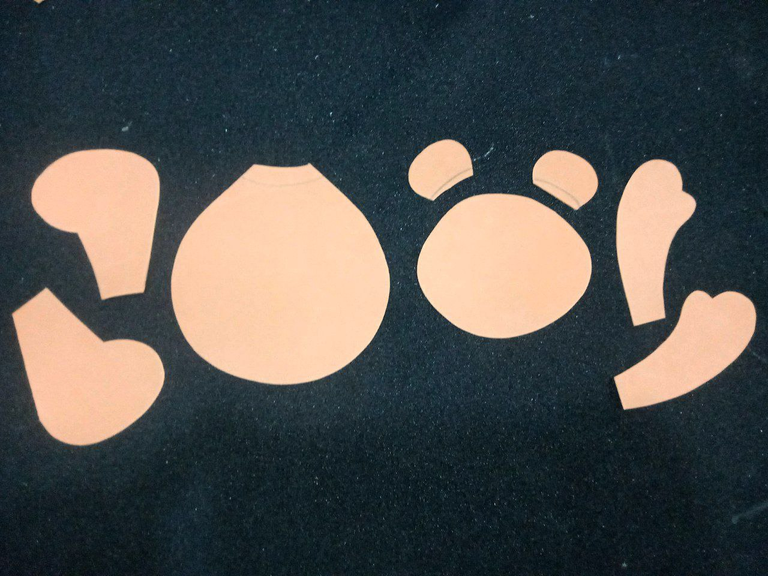
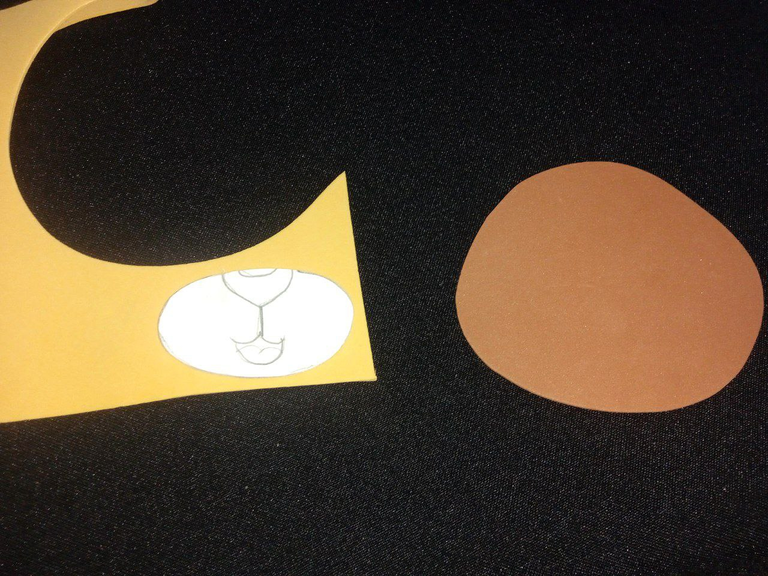
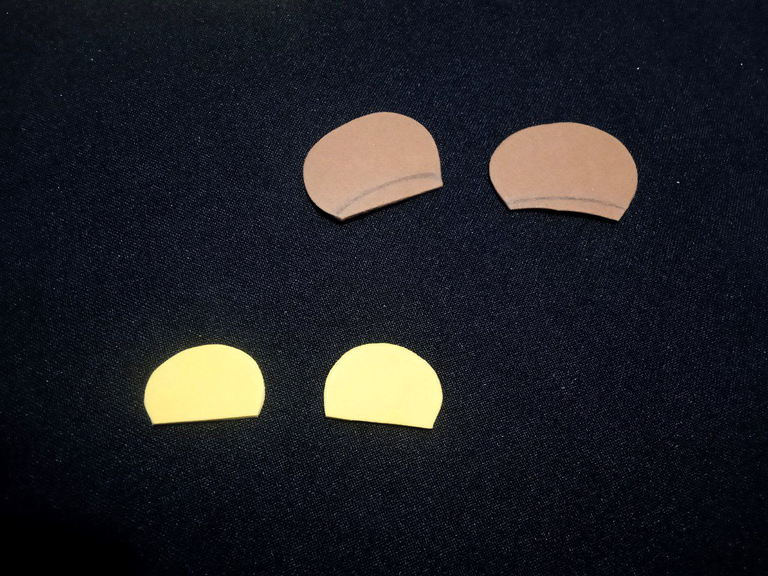
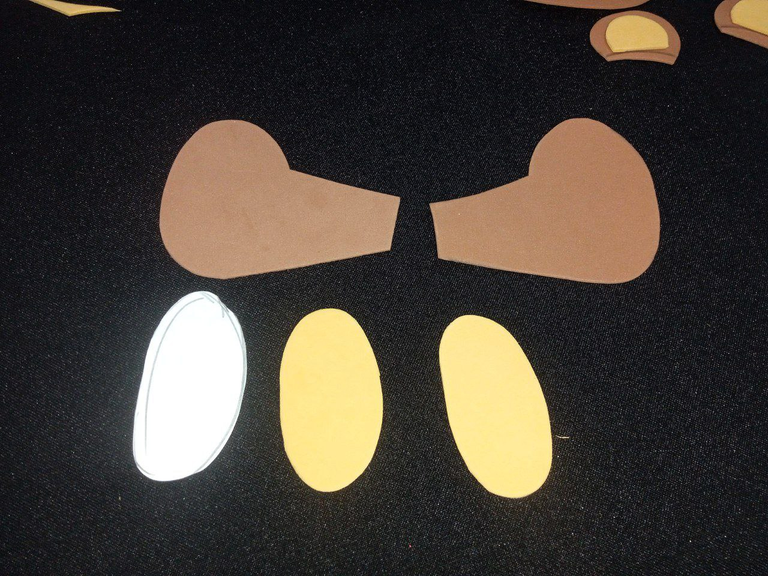
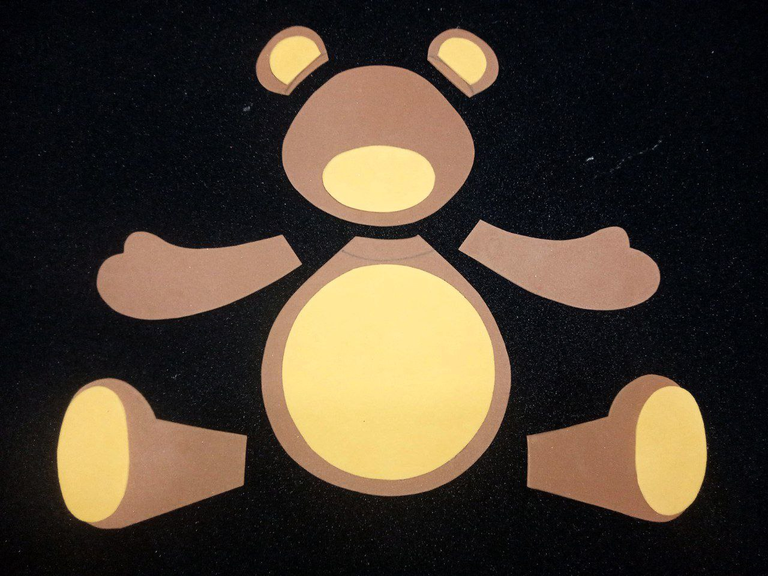
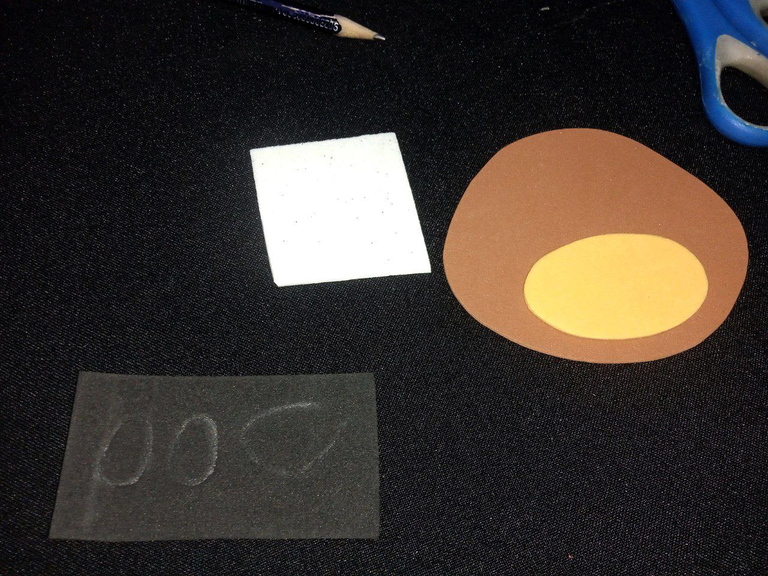
Una vez cortadas las piezas principales de nuestra osita, dibujamos y cortamos en un foami marrón claro, las piezas que complementan, el cuerpo, orejas, hocico y patitas. Esto te ayudará a resaltar más la figura, dándole más detalle al adorno. Recuerda que los pequeños elementos pueden hacer que tu creación sea de mejor calidad visual.
 |  |  |  |
|---|---|---|---|
 |  |  |  |
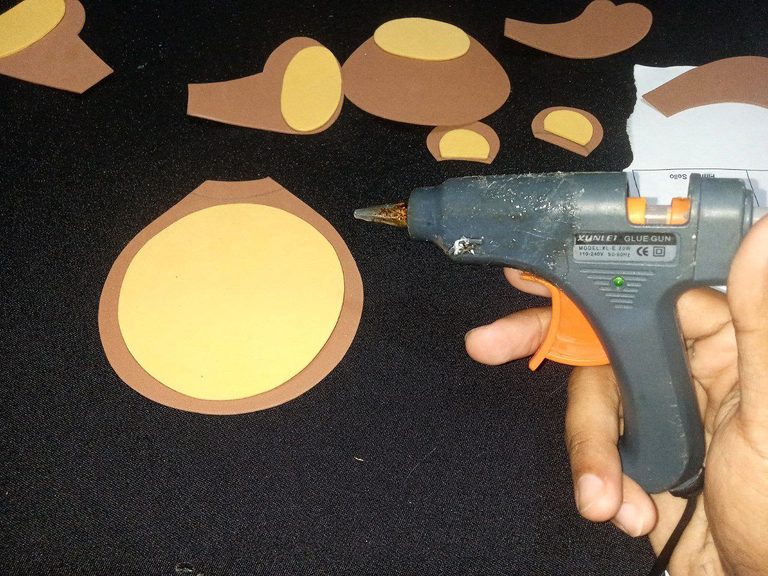
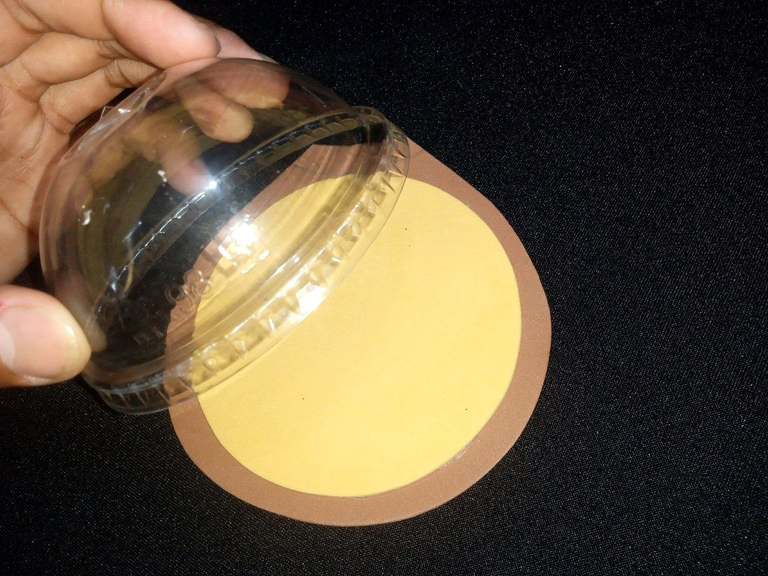
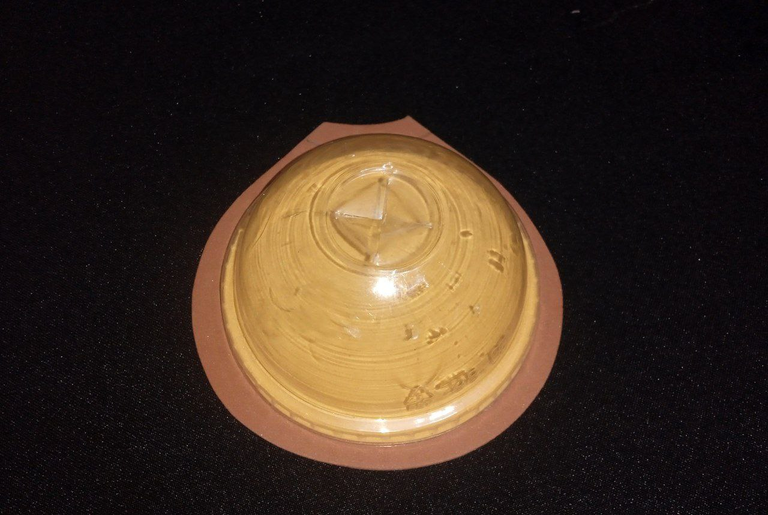
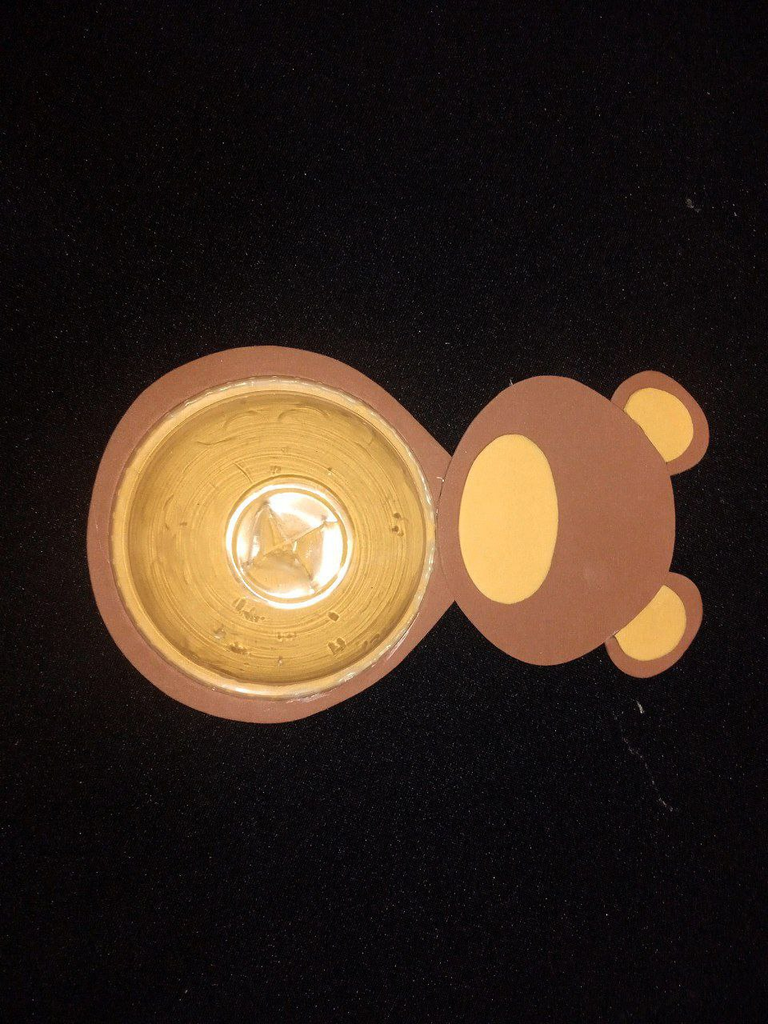
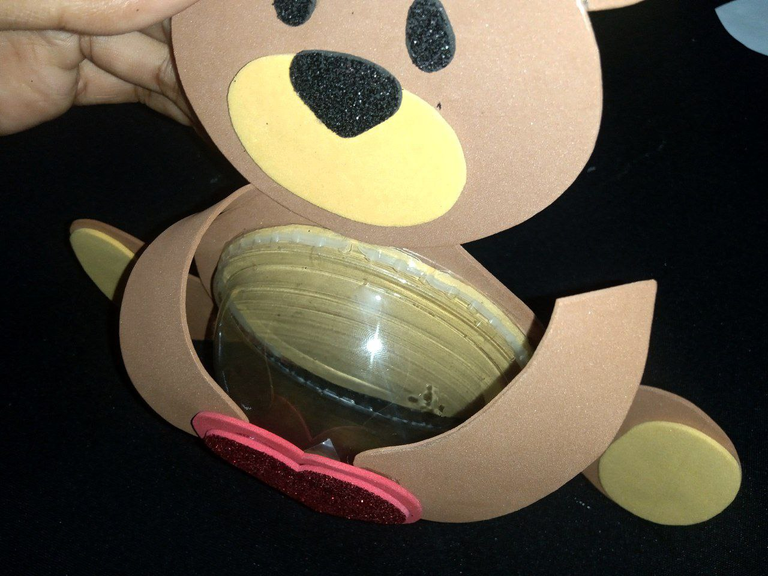
Con la pistola de silicon previamente caliente, se pega todas las piezas. Primero pegamos la pieza de la pancita al cuerpo, luego tomamos nuestro domo y lo pegamos, dejando una obertura por dónde introduciremos las golosinas. Y así Seguimos pegando las partes, cada una en su lugar correspondiente.
En un trozo de foami negro, dibujamos y cortamos los ojitos, nariz y lo pegamos en la cabeza. Este paso es el más importante, pues corresponde al armado del adorno.
 |  |  |  |
|---|---|---|---|
 |  |  |  |
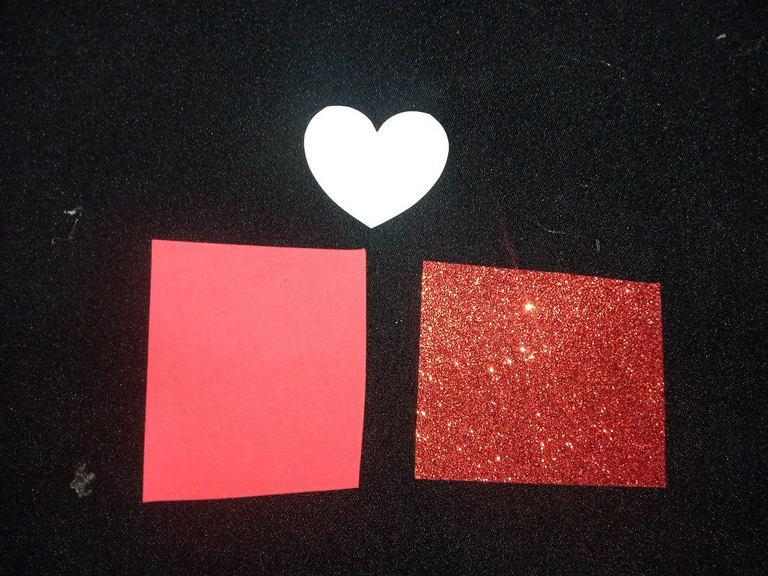
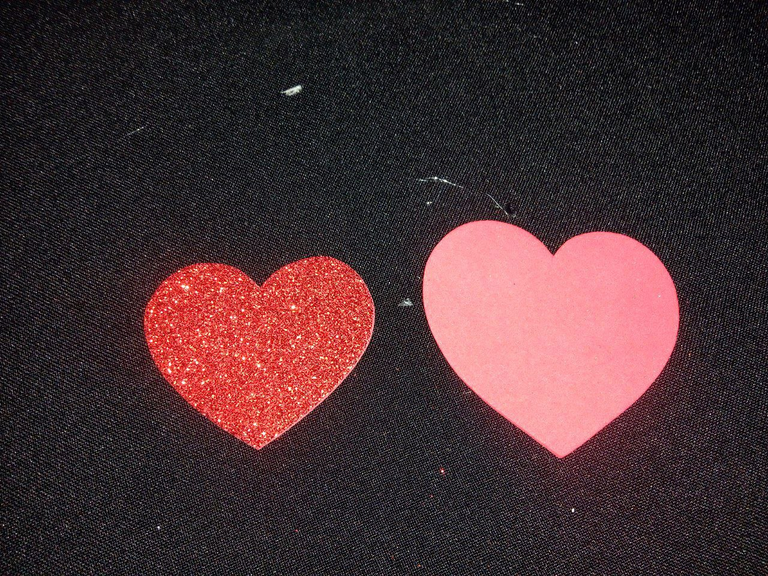
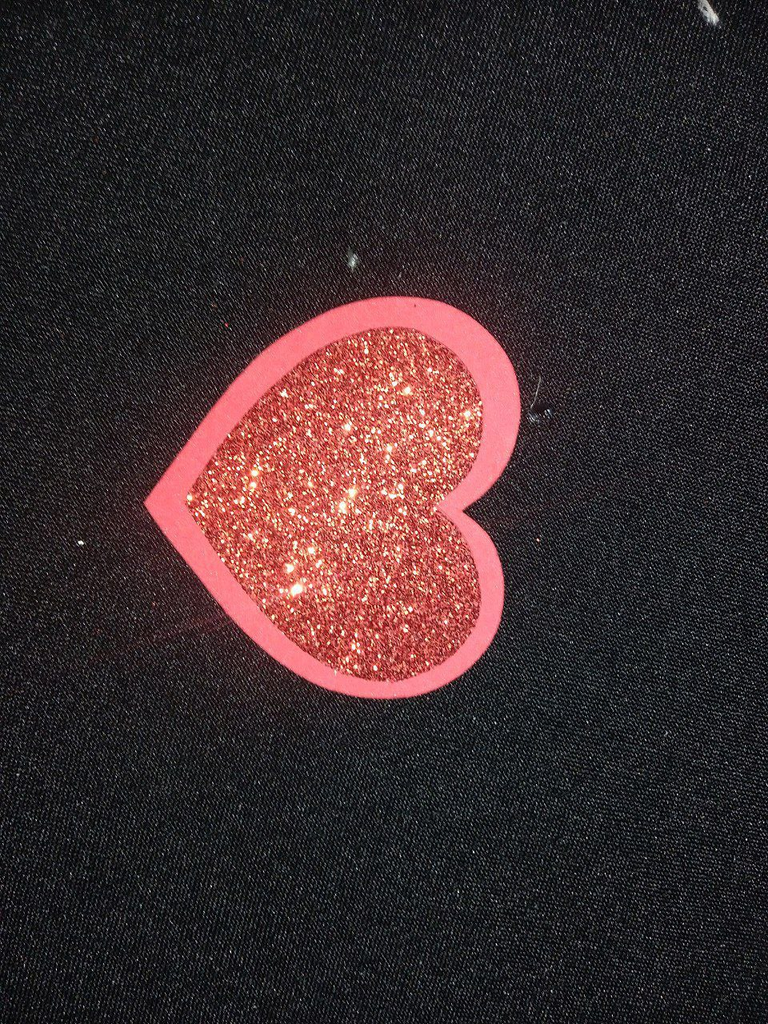
Dibujamos y cortamos dos corazones de diferentes tamaños en dos diferentes trozos de foamis, y luego les Pegamos un corazón arriba del otro. Tomamos nuestro corazón y lo pegamos en el centro de nuestro domo.
 |  |
|---|---|
 | 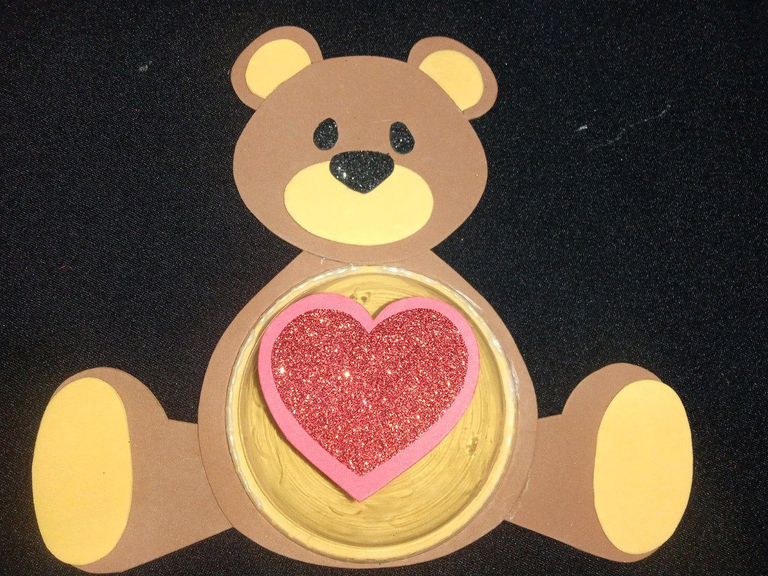 |
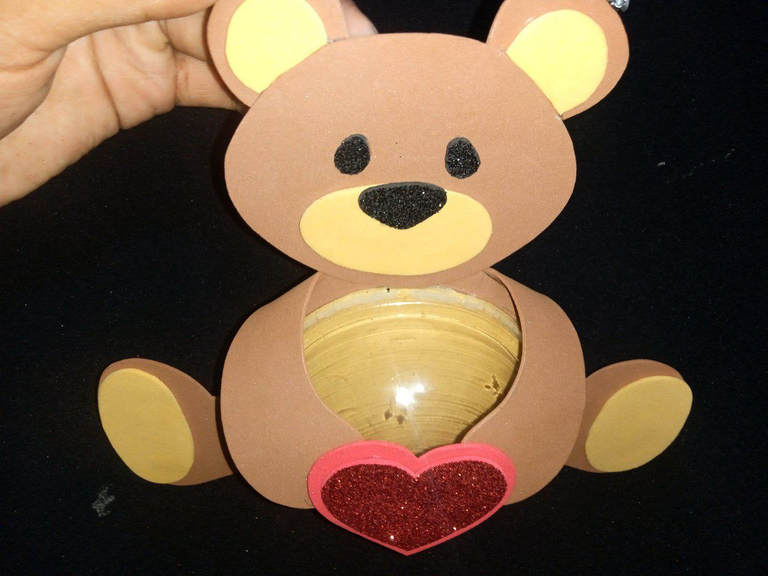
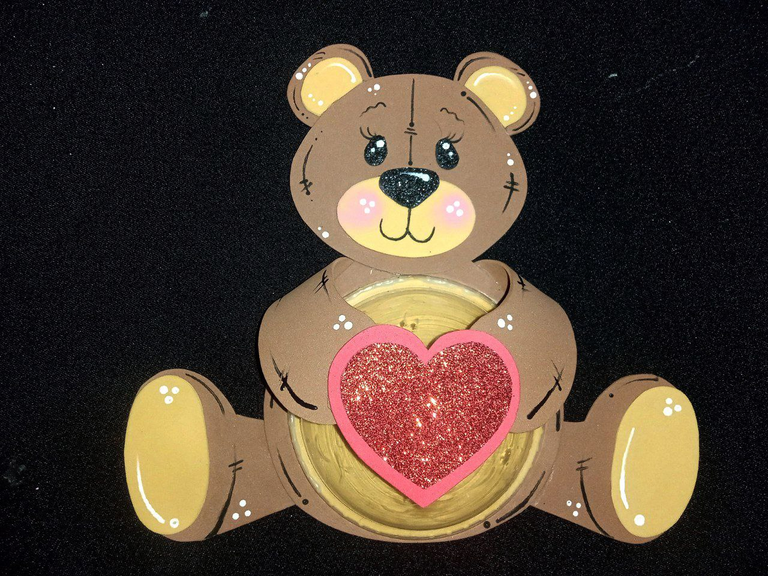
Tomamos los bracitos y pegamos el corazón en la parte superior del domo. Esperamos que seque y pegamos la parte inferior de los bracitos al cuerpo.
 |  |  |
|---|
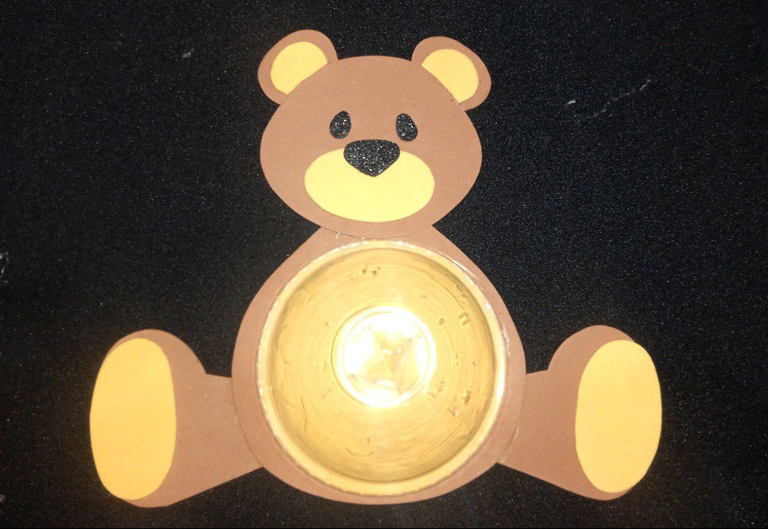
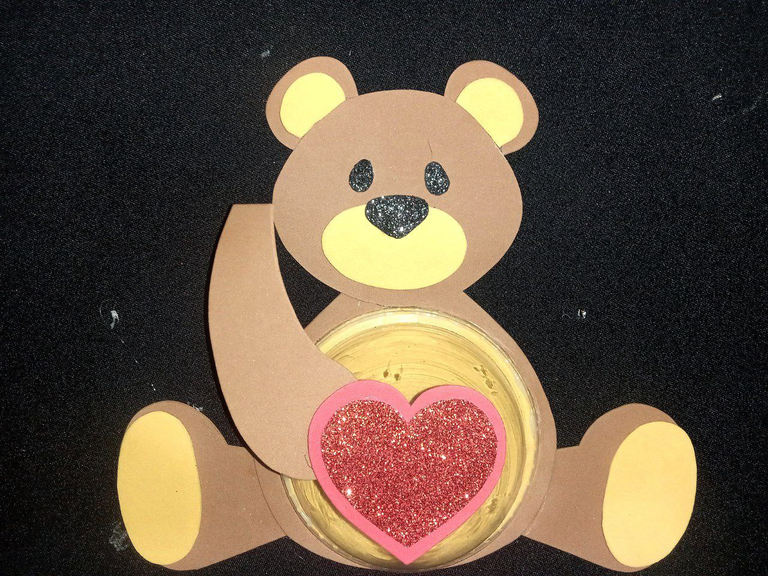
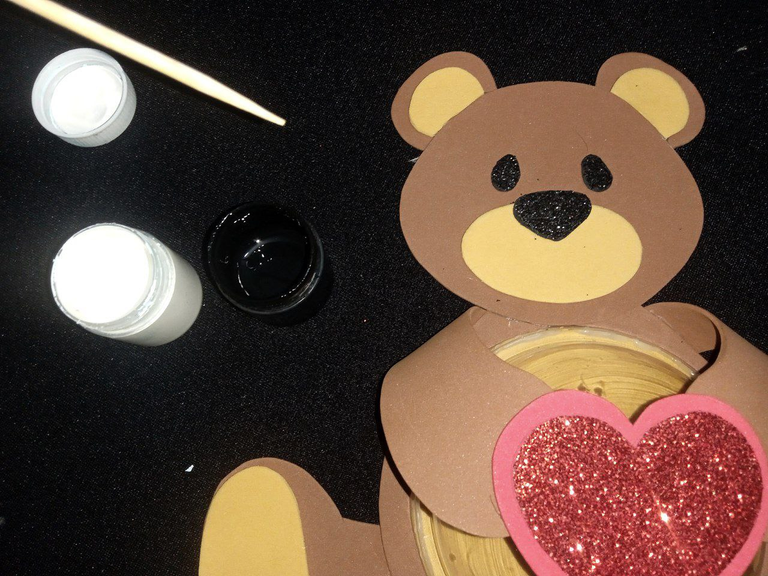
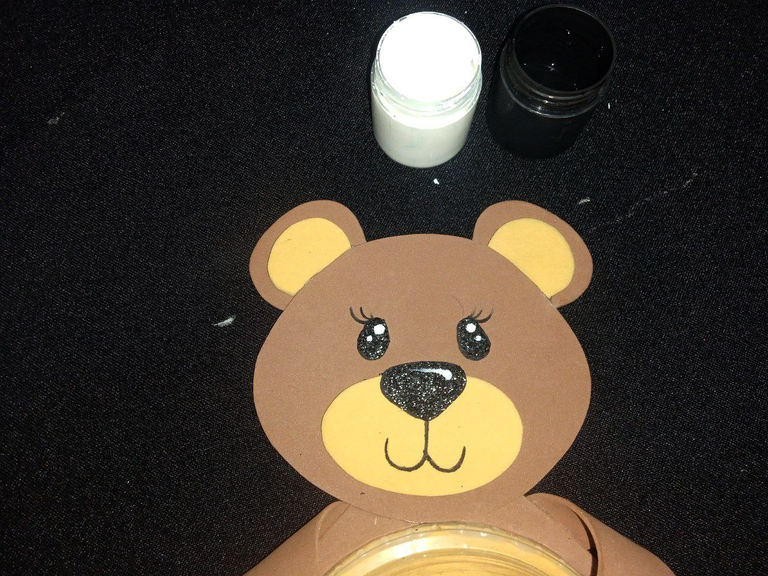
Con pintura blanca, negro y con un palillo de brocheta, le damos vida a nuestra osita, pintando el brillo de sus ojitos, su nariz, su boca y cejas. Esta parte también es importante, ya que ayudamos a resaltar aún más nuestro adorno, y este cobra mucha más vida.
 |  |
|---|---|
 |  |
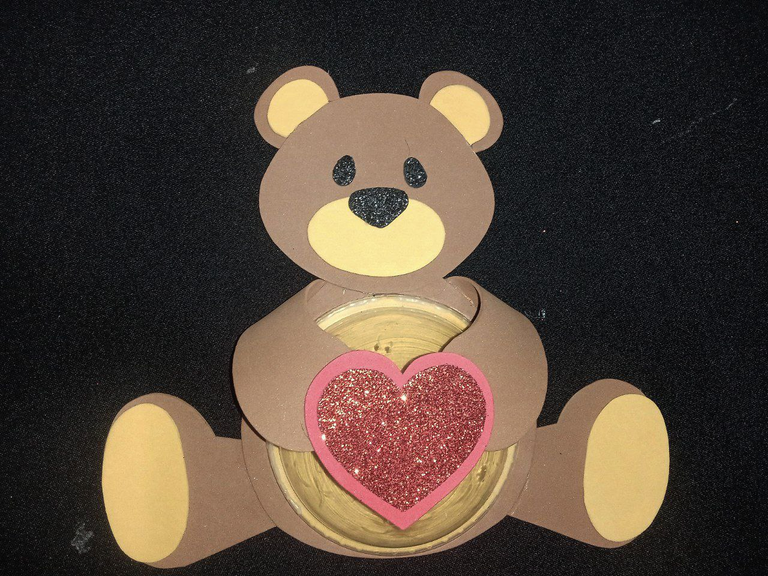
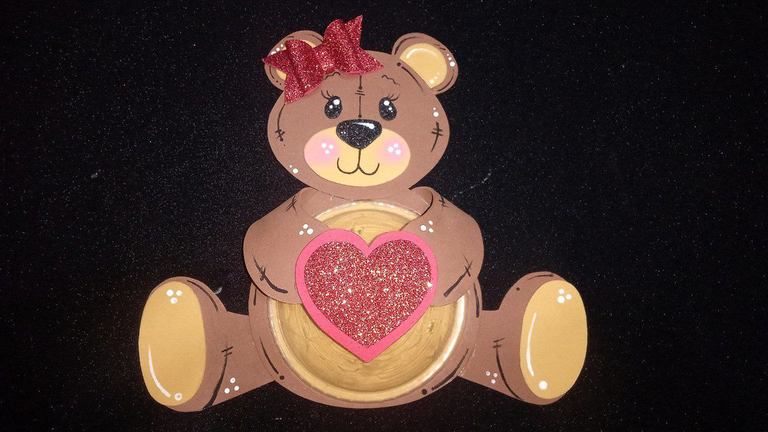
Y así obtenemos una hermosa osita para regalar en San Valentín; con materiales sencillos y en pocos pasos, puedes tener un adorno con excelentes detalles para obsequiar.
Espero se animen a hacerlo para compartir con sus parejas o amistades.
¡Nos vemos en el próximo post!
Imagen principal creada en canva.
Posted Using INLEO
English
Click Here
Greetings, Hive Diy community.
For this occasion I am sharing with you a tutorial on how to make a Valentine's Day candy box. If you have a partner or a special friend, this gift can be useful for you in case you want to give a detail that day. This idea came to me after drinking a coffee, since they gave me a glass with a dome and I wanted to make something to share with you.
I was inspired by this image from Pinterest to make it, however, I gave it my personal touch.
Materials
- Pencil.
- Eraser.
- Reusable sheets.
- Scissors.
- Foam.
- Glue gun.
- Glass with dome.
Procedure
On a reusable sheet of paper we are going to make our own pattern, in this case start by drawing the circumference of the dome, and complete by drawing the basic shape of a bear. If you find it difficult to draw, you can try printing templates to guide you. Once you have the pattern, cut out the different parts of the bear's body; head, body, ears, arms and legs, to obtain the different pieces.
| |
|---|
Place the pattern pieces on the brown foam sheet, and trace each piece onto the sheet. Using sharp scissors, cut out the pattern pieces you drew on the foam, making sure to follow the lines carefully.
| | | |
|---|
Once we have cut out the main pieces of our bear, we draw and cut out the complementary pieces from light brown foam, the body, ears, snout and paws. This will help you to highlight the figure more, giving more detail to the ornament. Remember that small elements can make your creation have a better visual quality.
| | | |
|---|---|---|---|
| | | |
Using a hot glue gun, glue all the pieces together. First, glue the belly piece to the body, then take our dome and glue it, leaving an opening where we will insert the candy. And so on, glue the parts together, each one in its corresponding place.
On a piece of black foam, draw and cut out the eyes and nose, and glue it to the head. This step is the most important, as it corresponds to the assembly of the ornament.
| | | |
|---|---|---|---|
| | | |
We draw and cut out two hearts of different sizes on two different pieces of foam, and then we glue one heart on top of the other. We take our heart and glue it in the center of our dome.
| |
|---|---|
| |
We take the little arms and glue the heart to the top of the dome. We wait for it to dry and glue the lower part of the arms to the body.
| | |
|---|
Using white and black paint and a skewer, we bring our bear to life by painting the sparkle of her eyes, nose, mouth and eyebrows. This part is also important, as it helps to highlight our ornament even more, and it comes to life much more.
| |
|---|---|
| |
And so we get a beautiful bear to give as a gift on Valentine's Day; with simple materials and in a few steps, you can have an ornament with excellent details to give as a gift.
I hope you feel encouraged to do it to share with your partners or friends.
See you in the next post!
Congratulations @gsusart! You have completed the following achievement on the Hive blockchain And have been rewarded with New badge(s)
Your next payout target is 250 HP.
The unit is Hive Power equivalent because post and comment rewards can be split into HP and HBD
You can view your badges on your board and compare yourself to others in the Ranking
If you no longer want to receive notifications, reply to this comment with the word
STOPCheck out our last posts:
Excelente trabajo hermano, tu manualidad ha quedado genial, todo está muy bien explicado, me gusto lo que hiciste sobre los 2 idiomas, se hace mucho más fácil la lectura
Saludos, me alegra que te haya gustad! ✌️
Amigo, me encanto, le pusiste mucho cariño al hacerlo, te felicito, este detalle va a ser muy apreciado por esa persona especial que lo reciba, es una osita bella y fácil de hacer. Feliz San Valentín, esperó que lo pases con mucha felicidad y amor.
Saludos amiga, gracias!siempre haciendo las cosas con amor, y si es para la persona especial, nada mejor que hacerlo uno mismo y darle nuestro toque personal.
Muy lindo detalle para San Valentin, los ositos enamorados son el simbolo de este dia jeje nunca puede faltar el osito enamorado para esa persona especial, muy linda idea y te quedo excelente 😊
Gracias, un placer compartir mis creaciones, y los disfruten!
¡Enhorabuena!
✅ Has hecho un buen trabajo, por lo cual tu publicación ha sido valorada y ha recibido el apoyo de parte de CHESS BROTHERS ♔ 💪
♟ Te invitamos a usar nuestra etiqueta #chessbrothers y a que aprendas más sobre nosotros.
♟♟ También puedes contactarnos en nuestro servidor de Discord y promocionar allí tus publicaciones.
♟♟♟ Considera unirte a nuestro trail de curación para que trabajemos en equipo y recibas recompensas automáticamente.
♞♟ Echa un vistazo a nuestra cuenta @chessbrotherspro para que te informes sobre el proceso de curación llevado a diario por nuestro equipo.
🏅 Si quieres obtener ganancias con tu delegacion de HP y apoyar a nuestro proyecto, te invitamos a unirte al plan Master Investor. Aquí puedes aprender cómo hacerlo.
Cordialmente
El equipo de CHESS BROTHERS
¡Felicitaciones!
1. Invierte en el PROYECTO ENTROPÍA y recibe ganancias semanalmente. Entra aquí para más información.
3. Suscríbete a nuestra COMUNIDADEntra aquí para más información sobre nuestro trail., apoya al trail de @Entropia y así podrás ganar recompensas de curación de forma automática.
4. Creación de cuentas nuevas de Hive aquí.
5. Visita nuestro canal de Youtube.
Atentamente
El equipo de curación del PROYECTO ENTROPÍA
Te ha quedado precioso, es un detalle que todos amarían al verlo, excelente post.
Grácias, cuando se hace con amor, el resultó es el mejor!
Grácias, cuando se hace con amor, el resultó es el mejor!