Hola qué tal amigos de #holozing, feliz fin de semana para todos, que puedan descansar y compartir junto a sus seres queridos siempre de la mano de Dios Todopoderoso, Bienvenidos a mi blog!
Continuó creando inspirado en los personajes de este grandioso, juego, en esta oportunidad me inspiré en el 🐰 conejo Zappit para decorar el lápiz de mi hijo pequeño, para que en este regreso a clase después de unas vacaciones, llevara sus lápices hermosamente decorados; me he inspirado en varios de los personajes, es muy sencillo de realizar, requiere de pocos materiales y quedan muy hermoso, les muestro el paso a paso:
Hello what's up #holozing friends, happy weekend to all, may you rest and share with your loved ones always hand in hand with God Almighty, Welcome to my blog!
Continued creating inspired by the characters of this great, game, this time I was inspired by the 🐰 bunny Zappit to decorate the pencil of my little son, so that in this return to class after a vacation, take their pencils beautifully decorated; I have been inspired by several of the characters, it is very simple to perform, requires few materials and are very beautiful, I show you the step by step:
Para esta hermosa decoración solamente utilicé: trozos de foami de color blanco, color azul, tijera ✂️ y silicona caliente.
For this beautiful decoration I only used: pieces of white and blue foami, scissors ✂️ and hot silicone.

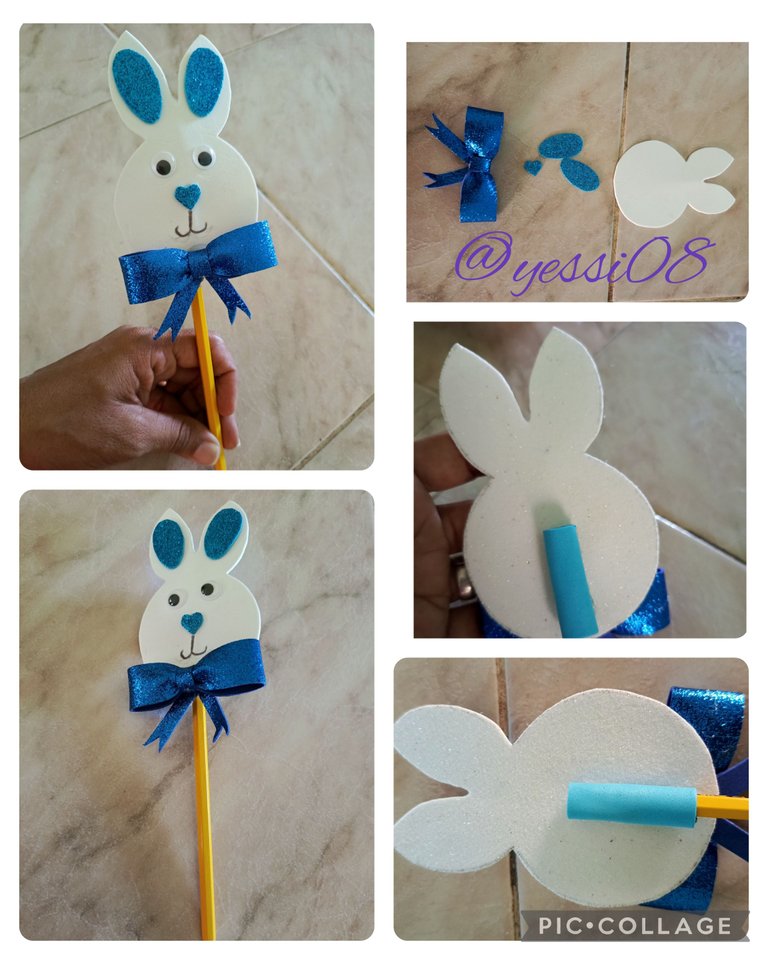
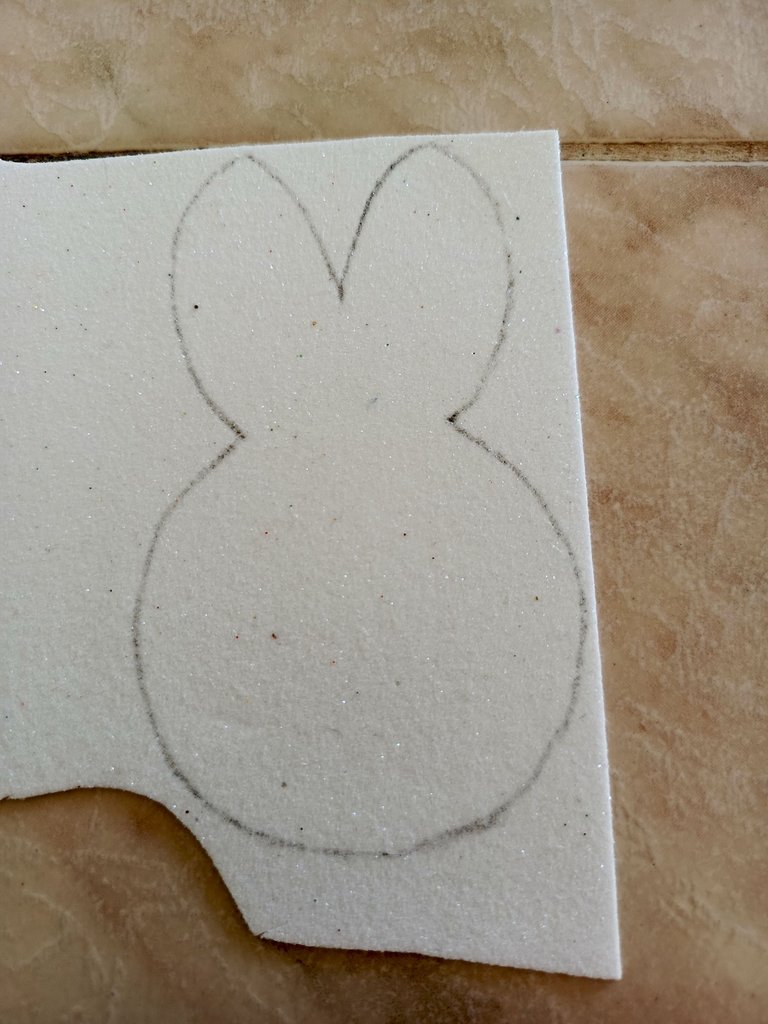
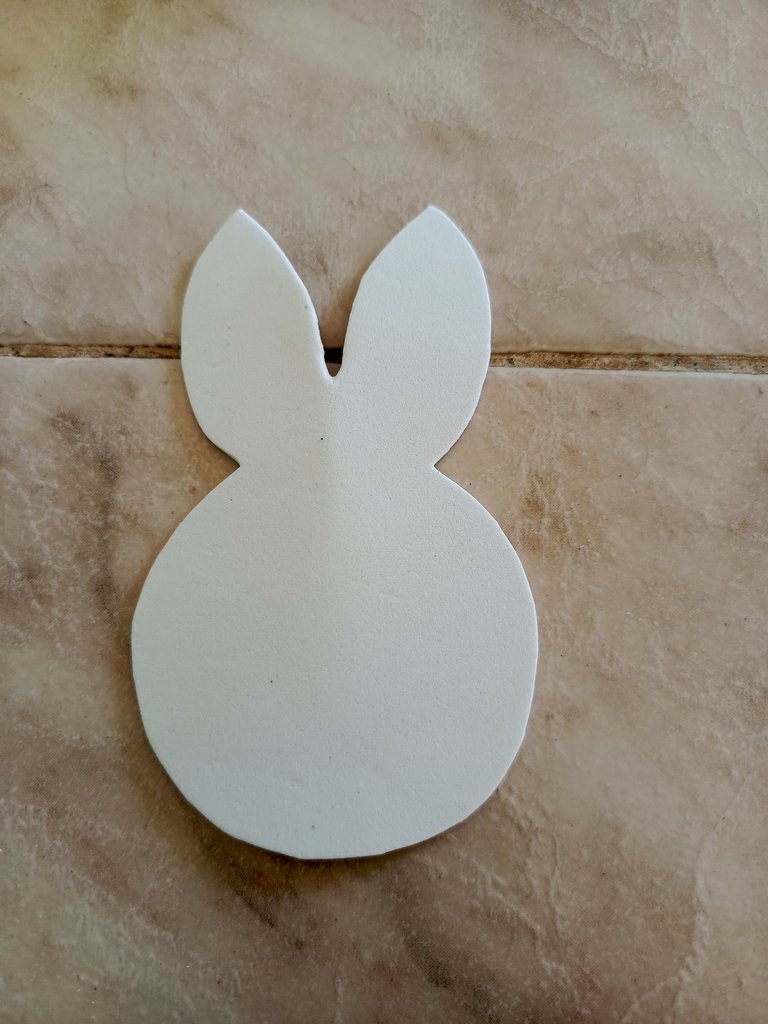
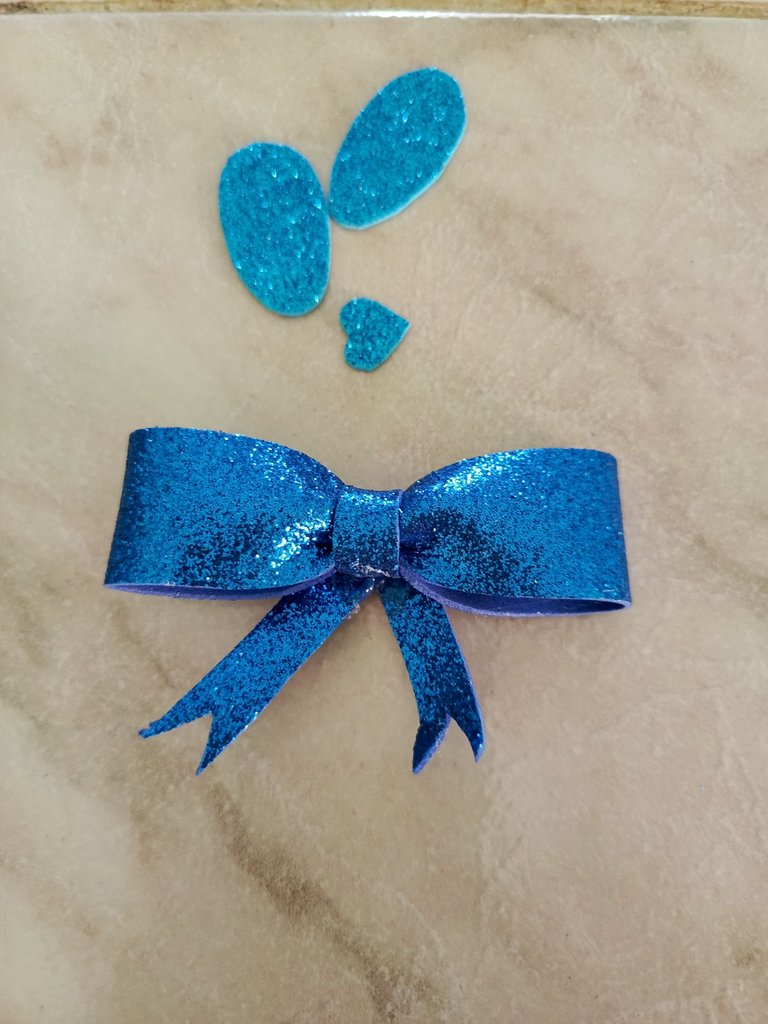
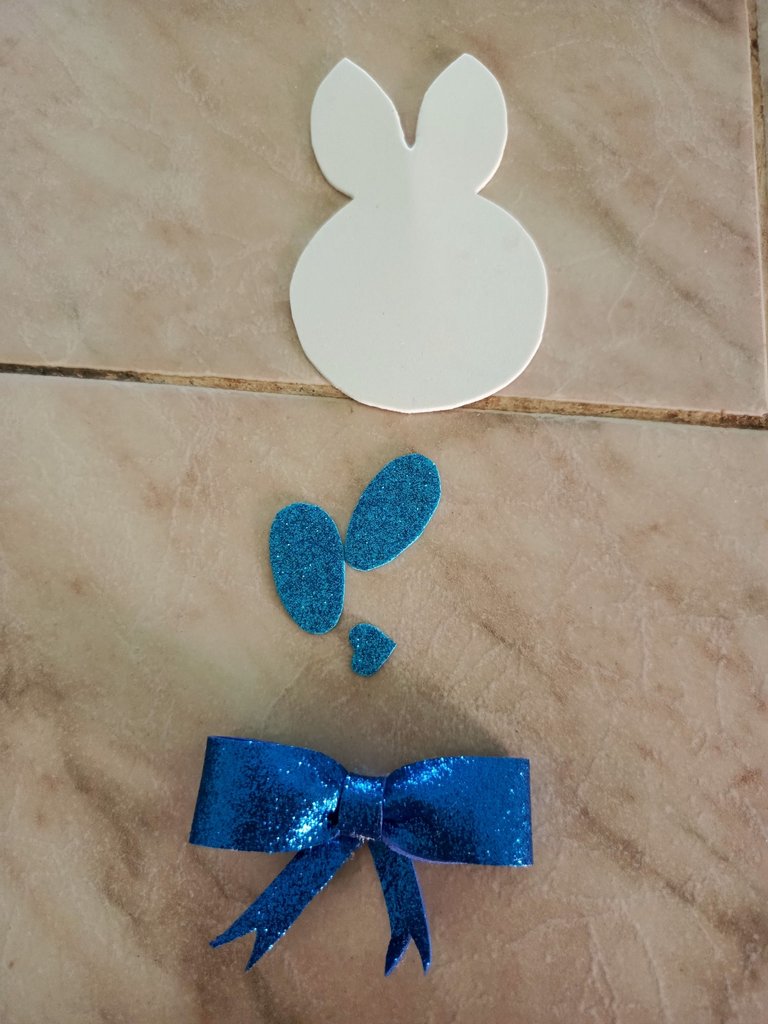
Lo primero que hice fue sacar el molde del conejo en un papel, que luego llevé al foami blanco, Ahí recorte el conejo, y en el foami azul recorte el resto de las partes las orejas, la nariz e hice un lazo decorativo.
The first thing I did was to draw the mold of the rabbit on a piece of paper, which I then took to the white foami, there I cut out the rabbit, and on the blue foami I cut out the rest of the parts, the ears, the nose and made a decorative bow.
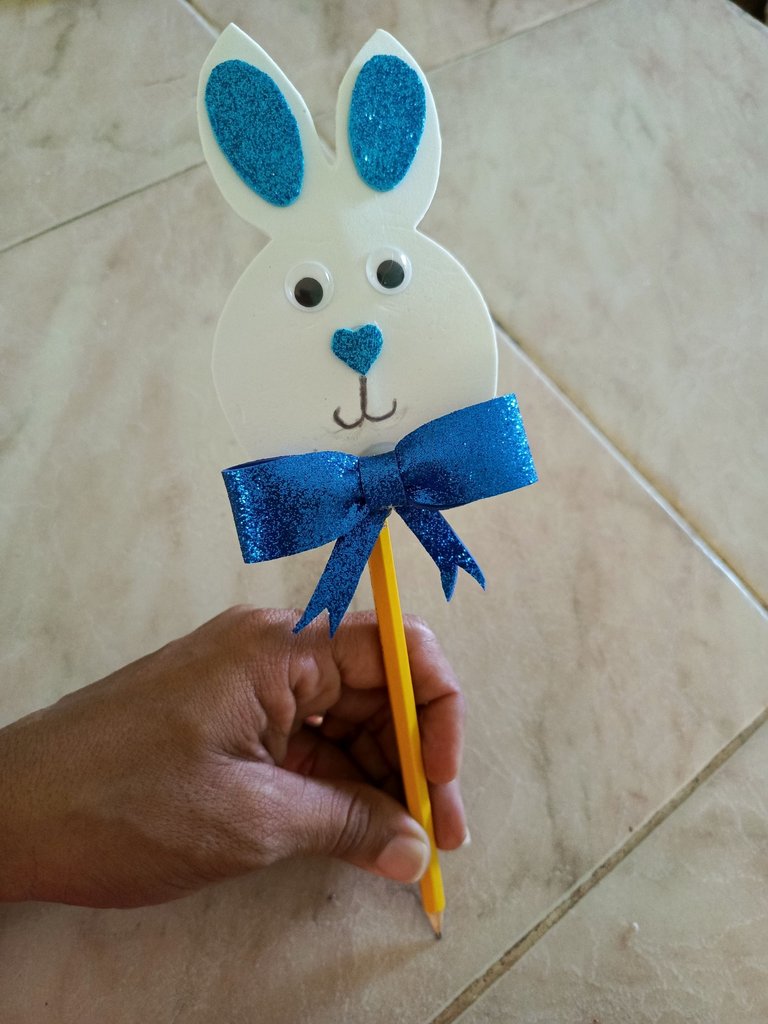
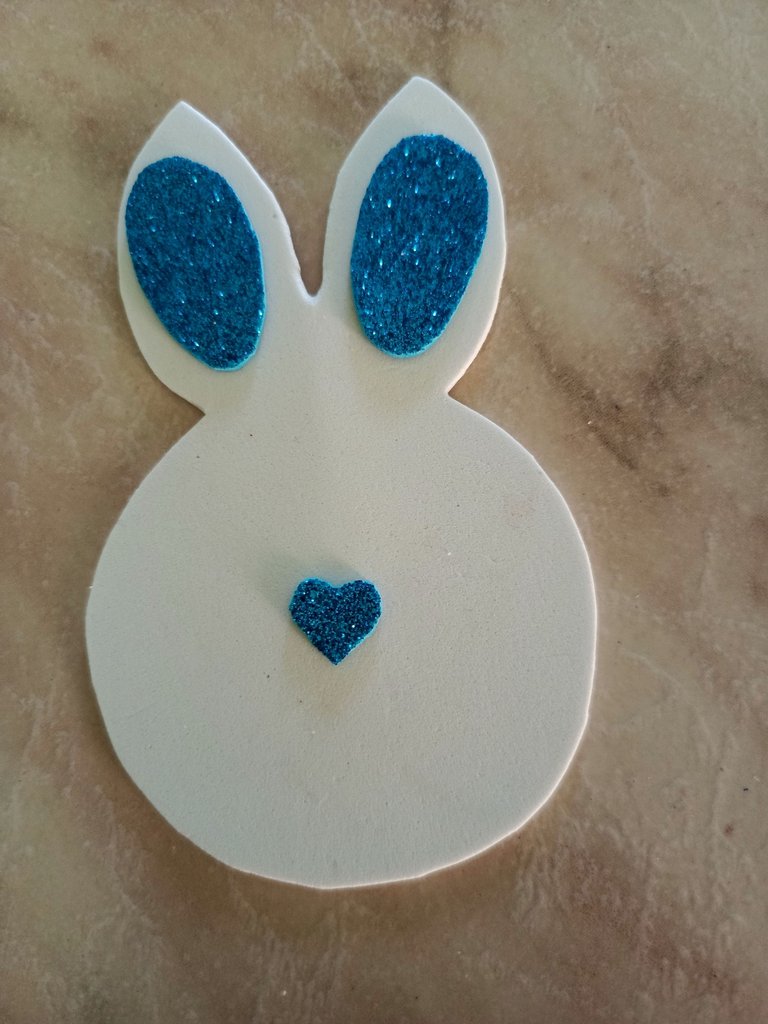
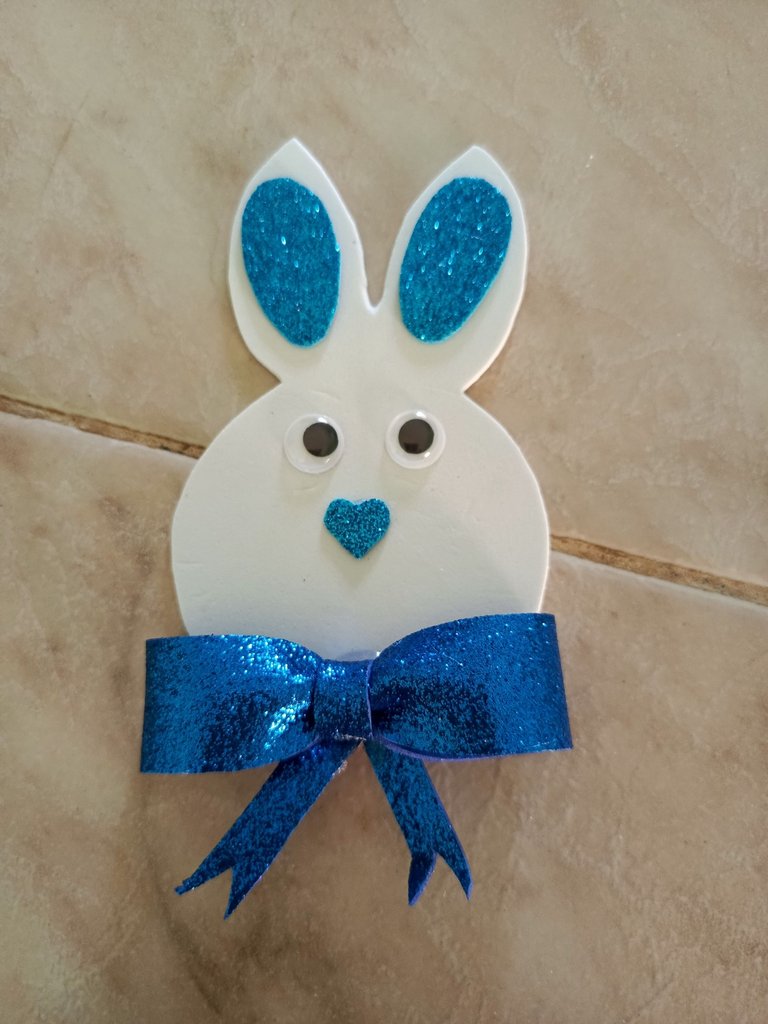
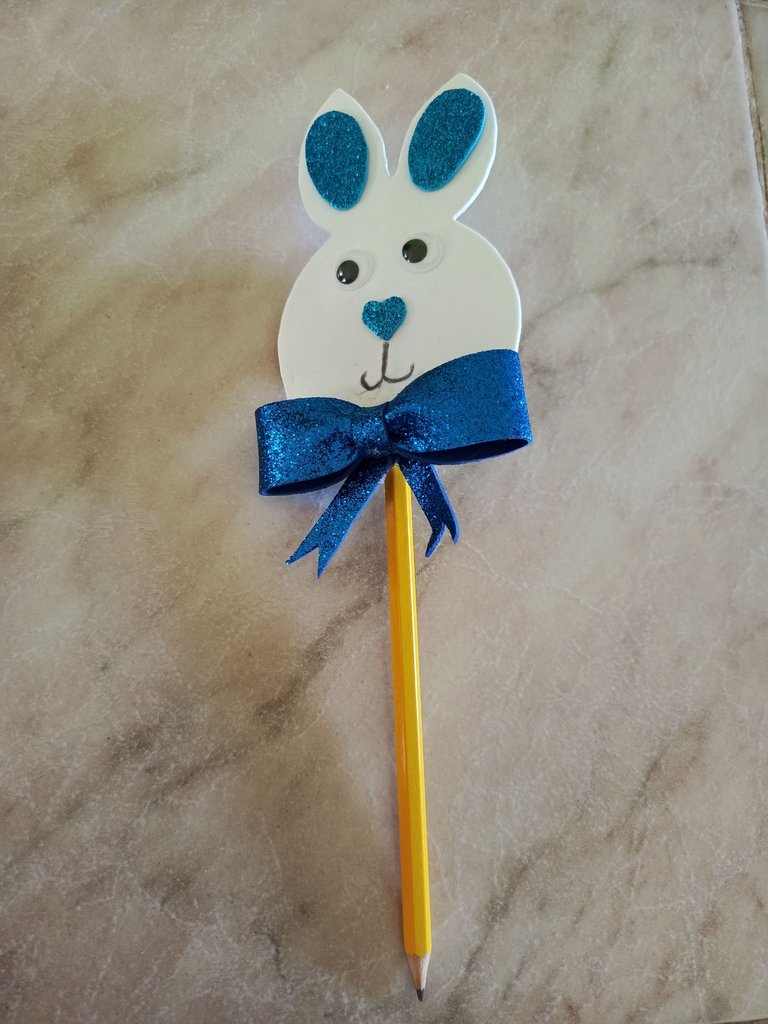
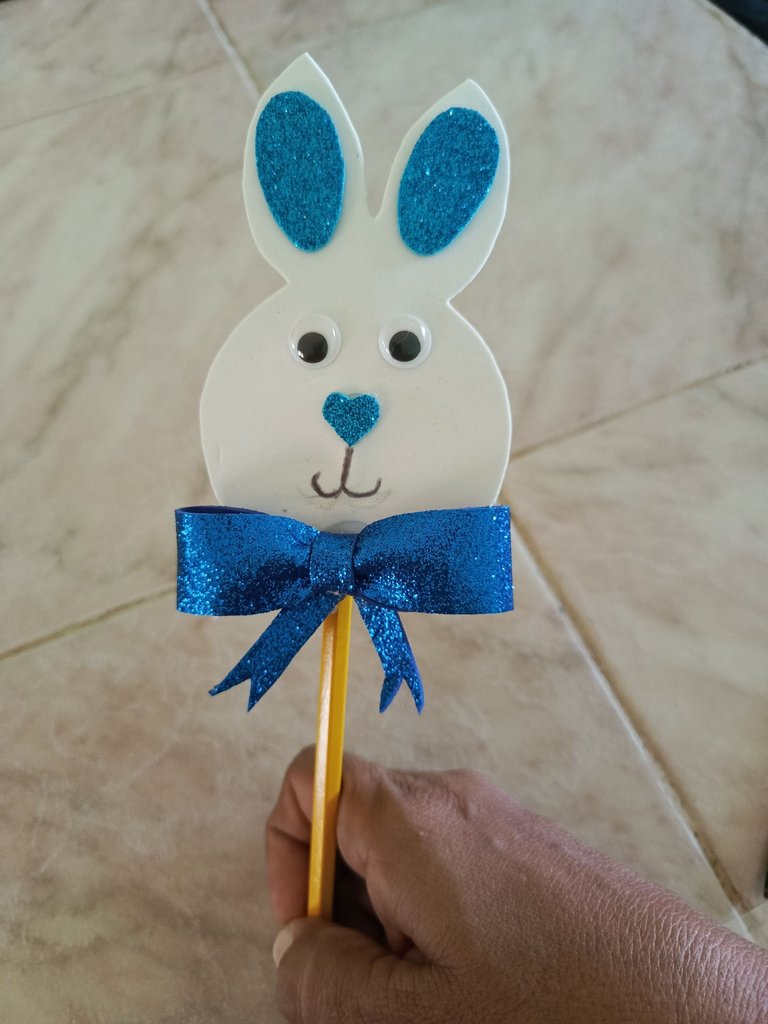
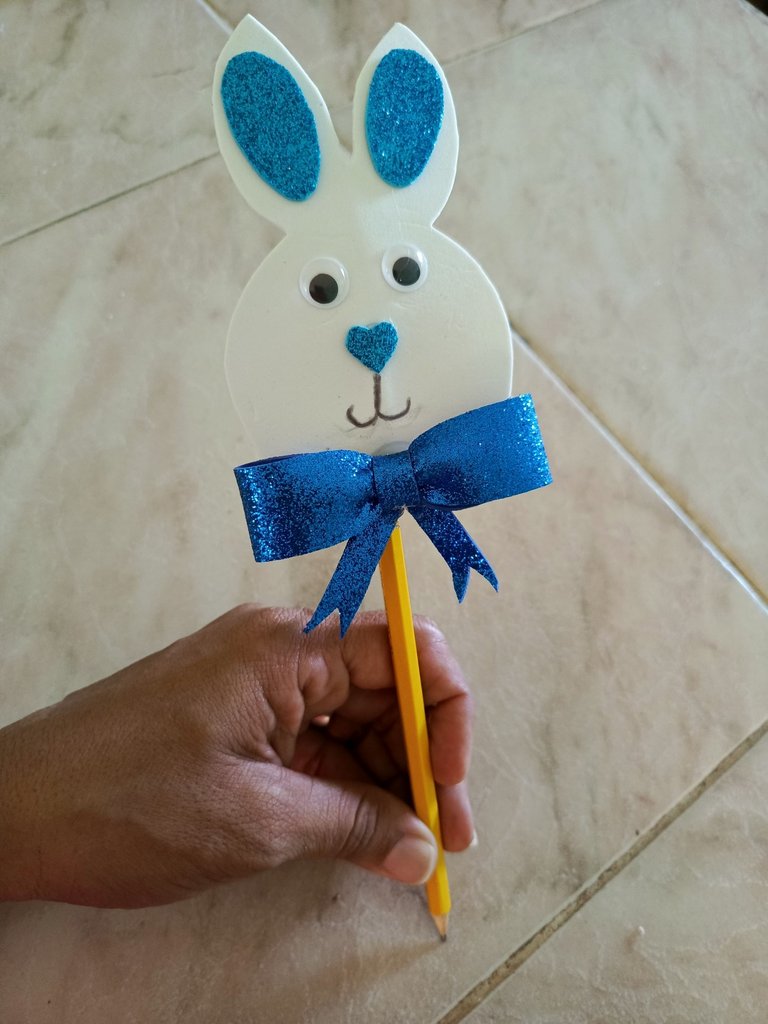
Luego procedí a armar el conejo pegando las partes con silicona caliente, comencé con las orejas, luego la nariz y en la parte inferior del conejo pegué un lindo lazo azul.
Then I proceeded to assemble the bunny by gluing the parts with hot silicone, I started with the ears, then the nose and at the bottom of the bunny I glued a nice blue ribbon.


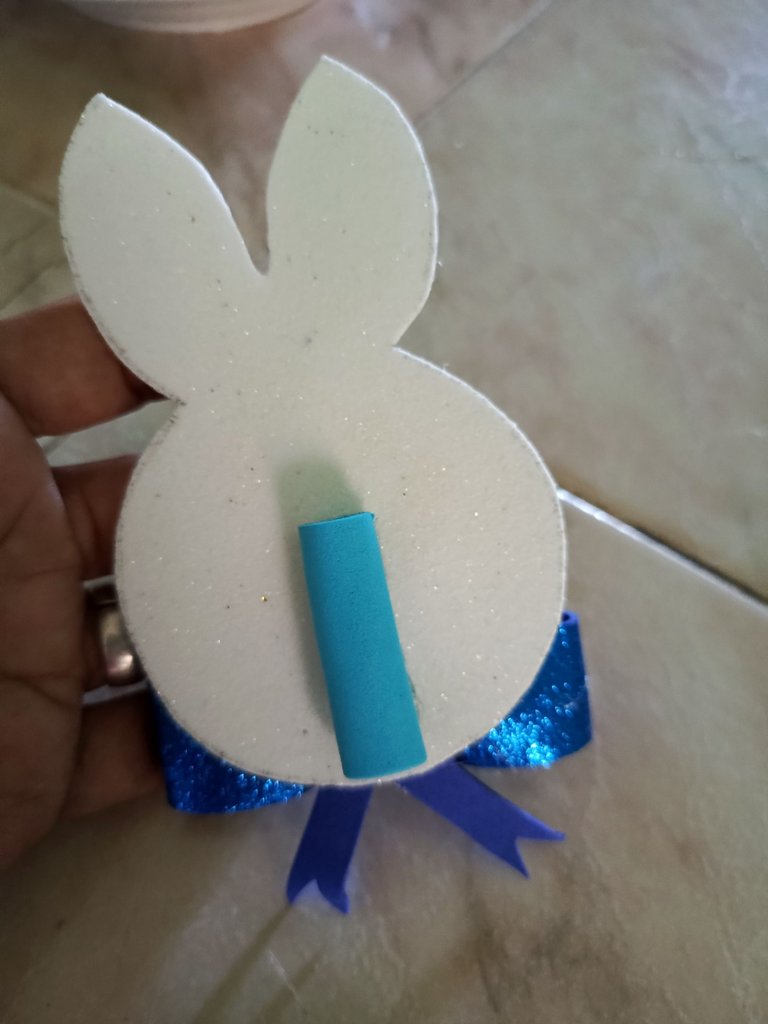
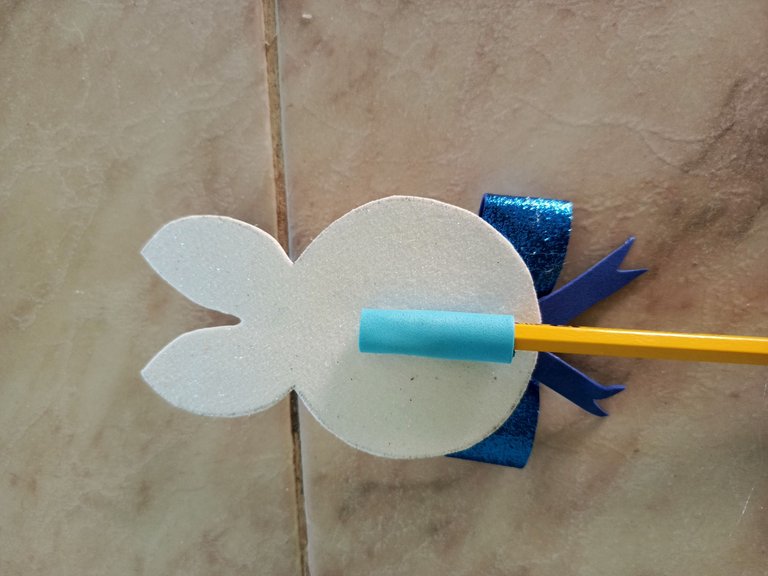
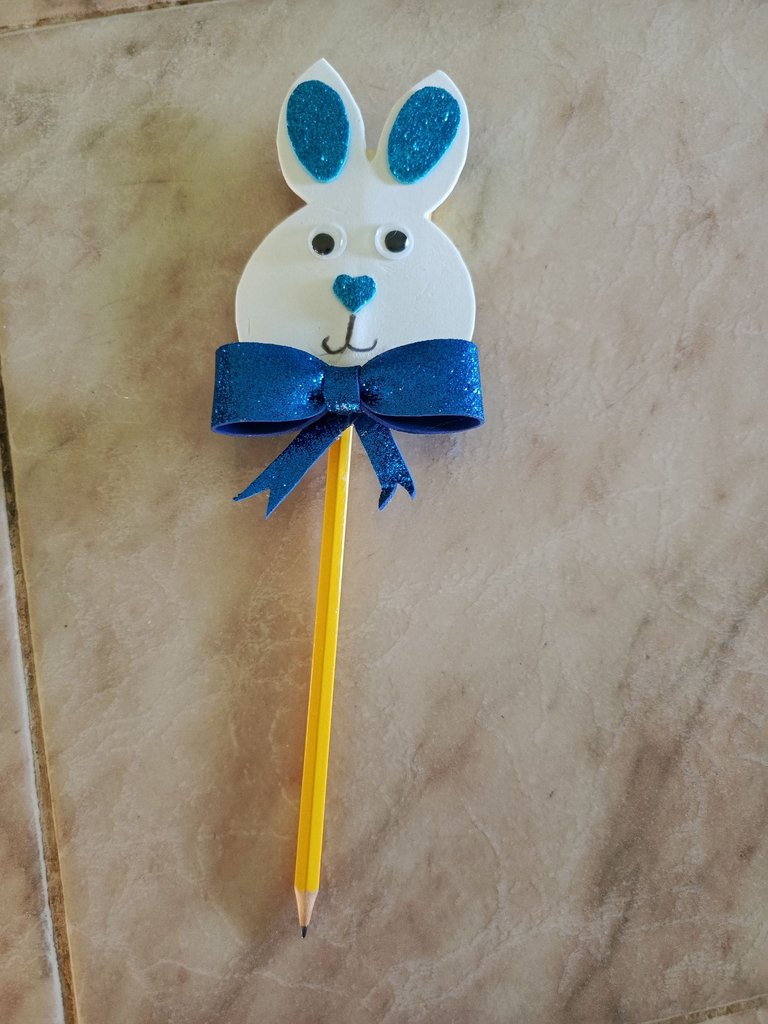
Finalmente pegué en la parte trasera del conejo un pequeño cilindro del grosor del lápiz ✏️ donde este se va a introducir y así cuando un lápiz se termine se puede cambiar, se saca y se introduce el ✏️ nuevo.
Así que quedó el hermoso Zappit que ahora decora los lápices de mi hijo, espero haya sido de su agrado .
Dios les bendiga🙏
Finally I glued on the back of the rabbit a small cylinder of the thickness of the pencil ✏️ where it will be inserted and so when a pencil is finished you can change it, take it out and insert the new one ✏️.
So that was the beautiful Zappit that now decorates my son's pencils, I hope you liked it.
God bless you🙏
.
Translated with https://www.deepl.com/translator
      Todas las imágenes son de mi autoría, capturadas con mi teléfono ZTE.

   All images are my own, captured with my ZTE phone.
This is truly beautiful. I know your son would appreciate this and it will also motivate him to write
Thanks friend, that's the idea, hehehe
Happy afternoon 🙏.
¡Felicitaciones!
Estás participando para optar a la mención especial que se efectuará el domingo 26 de enero del 2025 a las 8:00 pm (hora de Venezuela), gracias a la cual el autor del artículo seleccionado recibirá la cantidad de 1 HIVE transferida a su cuenta.
¡También has recibido 1 ENTROKEN! El token del PROYECTO ENTROPÍA impulsado por la plataforma Steem-Engine.
1. Invierte en el PROYECTO ENTROPÍA y recibe ganancias semanalmente. Entra aquí para más información.
2. Contáctanos en Discord: https://discord.gg/hkCjFeb
3. Suscríbete a nuestra COMUNIDADEntra aquí para más información sobre nuestro trail. y apoya al trail de @Entropia y así podrás ganar recompensas de curación de forma automática.
4. Visita nuestro canal de Youtube.
Atentamente
El equipo de curación del PROYECTO ENTROPÍA