Ladies and gentlemen,
I hereby welcome you to my first post on Steemit. I hope you will find it quite enjoyable.
This is a tutorial on how to create a Pixel Art landscape wallpaper for smartphones.
To participate in this tutorial, I’d recommend you use a drawing tablet or a drawing display to achieve the best result. For example the Wacom CTL-490DW Intuos Draw. It is a fitting device that will make your digital art creation a lot easier.
You also need a copy of Adobe Photoshop or any other digital art program that can operate on a pixel perfect basis. You can use Krita or Paint.Net for it. But keep in mind that all of the keyboard shortcuts are only tested in Photoshop and may not work in other programs.
Then let’s begin.
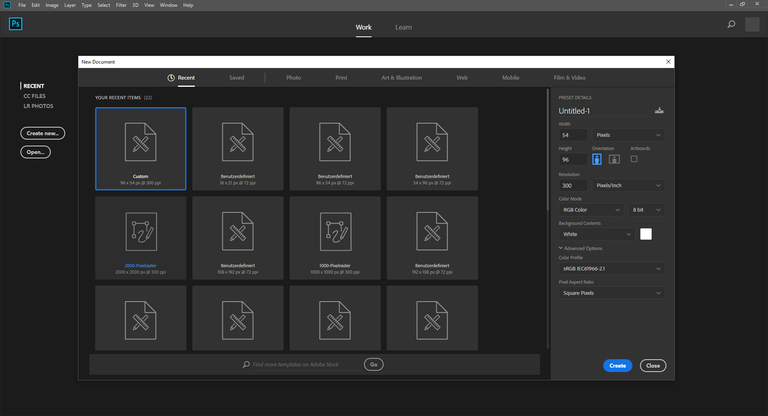
After you start up your art-program create a new document with a width of 54 pixels and a height of 96 pixels. You can switch the values to create a widescreen wallpaper.
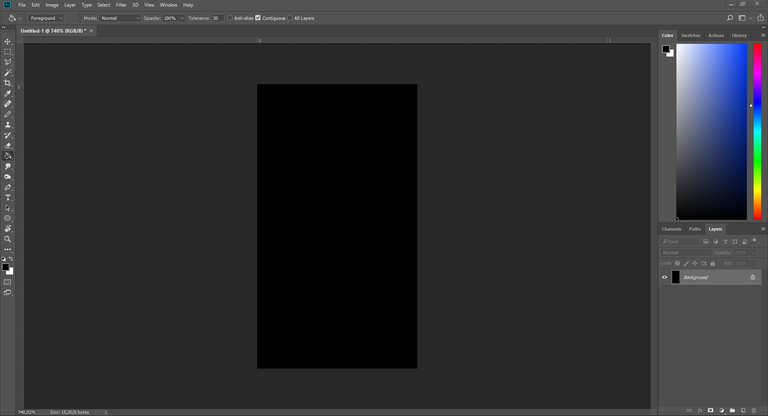
Now click on create and wait for the canvas to pop up. Then press ‘G’ to select the Fill-Tool, use the color picker to choose a black color and simply fill in the canvas with a solid layer of black.
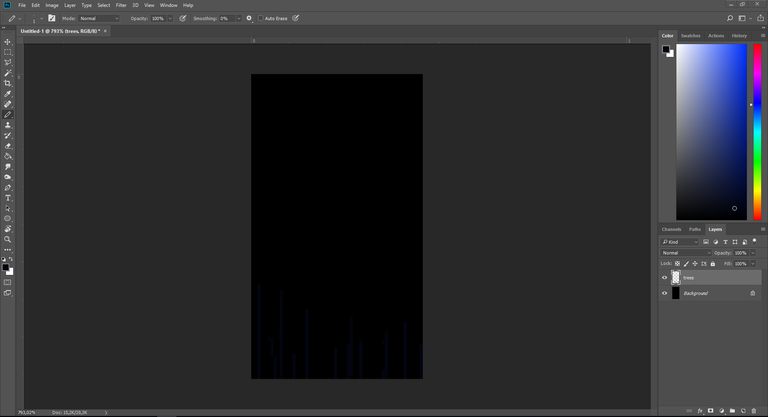
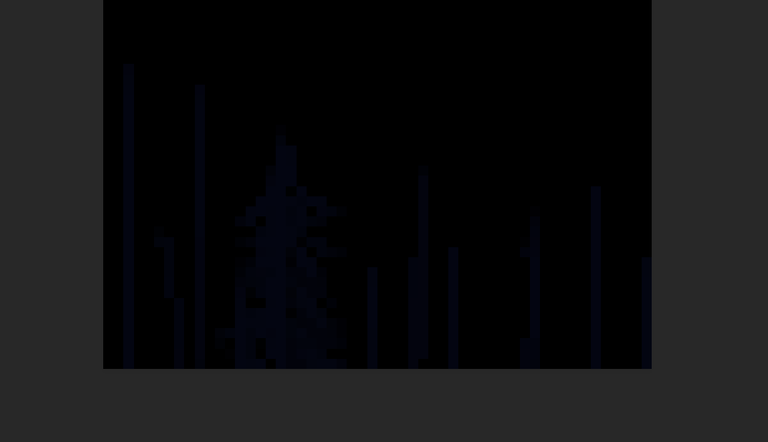
Create a new layer by pressing ‘Ctrl +Shift+ N’ and name it “trees”. Press ‘B’, right click on the brush symbol on the left, then choose the pen tool and choose a 1 Pixel wide Brush. Now choose a dark blue color and draw some basic tree trunks. Make sure that they only cover about the lower third of the canvas so that you have enough space on top to later add the moon and the stars.
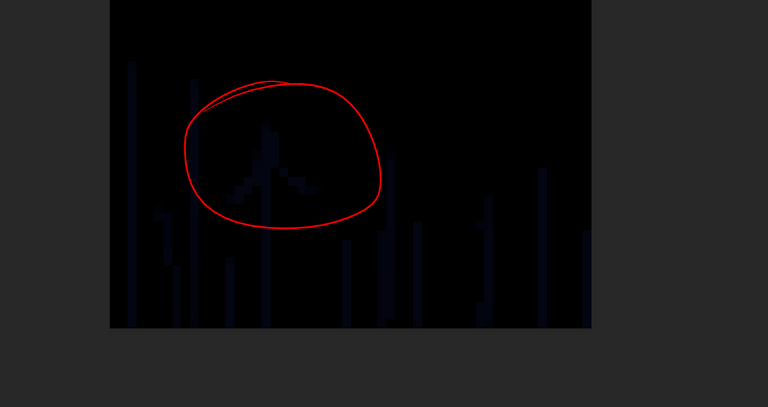
And now in a circular movement draw the branches of the first fir tree on your graphics tablet. If you don’t own one you can still achieve a similar result by using your mouse, but it is far more comfortable to use a tablet for it.
You should now have a picture like that below.
Continue to add branches to the tree trunk and when you have finished the first tree it should look like this:
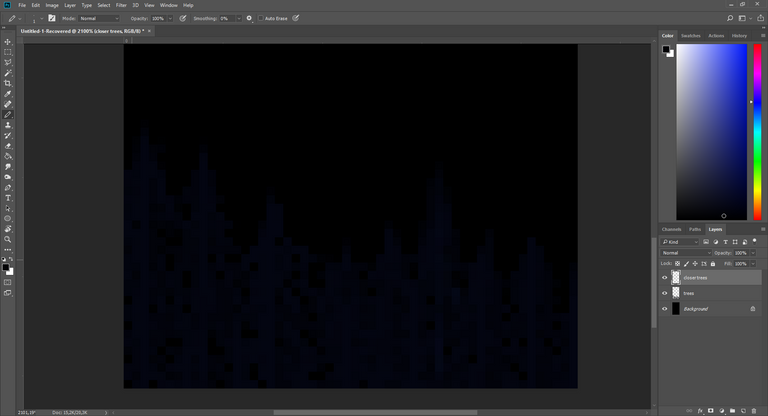
Continue to repeat this process until you have filled in all the tree trunks with branches and feel comfortable with it. If it isn’t perfect don’t grieve about it because the trees will mostly be hidden behind other trees. They just give you a background layer to prevent mistakes later on.
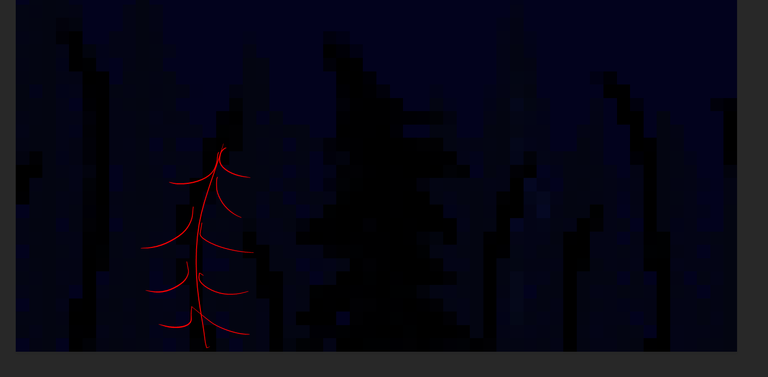
Now create another layer and name it “closer trees”. But now for a moment go back to the background layer and fill it in with a medium dark blue/purple. From now on this will help contrast the trees from the night sky. Go back to the “closer trees” layer and paint in new tree trunks but this time in a darker color than the previous ones. Make sure that the new trunks also cover about the lower third of the image, but they can be taller than the more distant ones. There is the opportunity to also make them curved what will deal a profound sense of realism to the wallpaper. Now add the branches to the trunks like in the sketch below.
Be aware to don’t build the trees to dense because it would look unrealistic. When you are finished building all of the little happy trees add another layer to the project and call it “moon”.
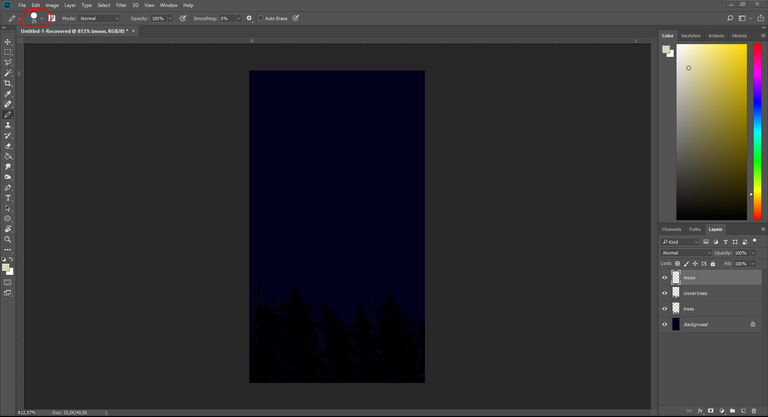
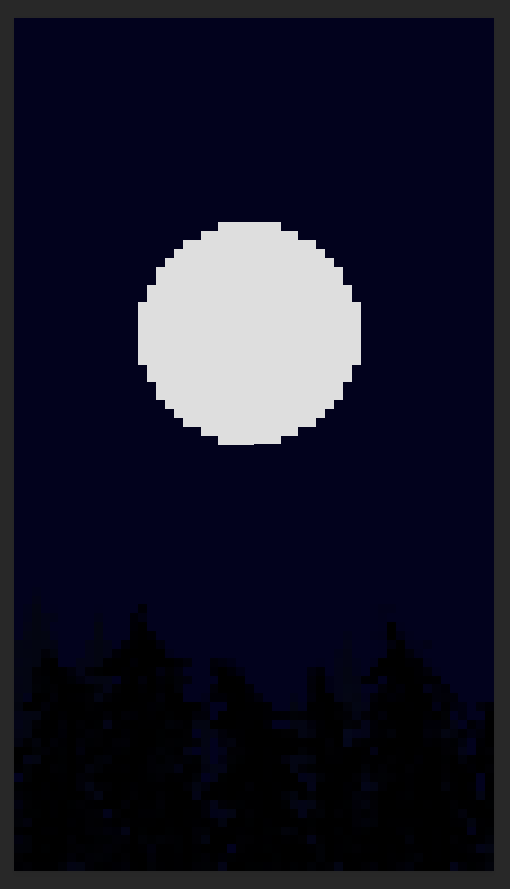
Now that you added the new layer choose a larger Brush and put a large spot of a yellowish white in the center of the of the sky.
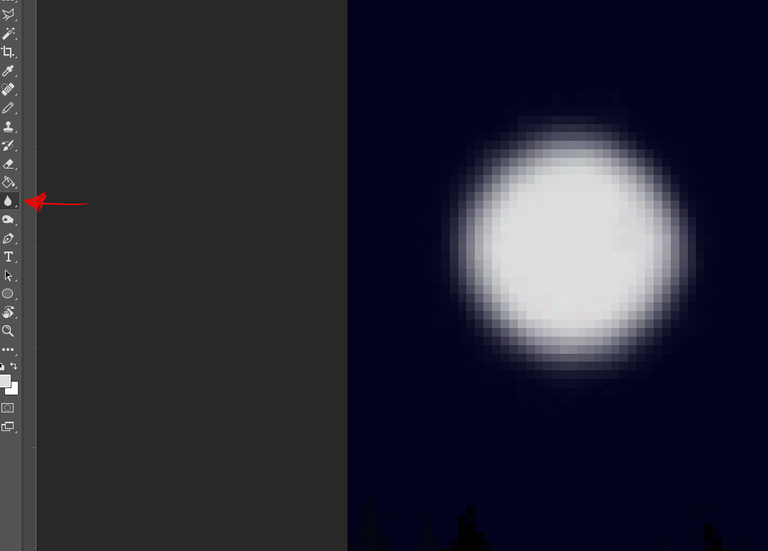
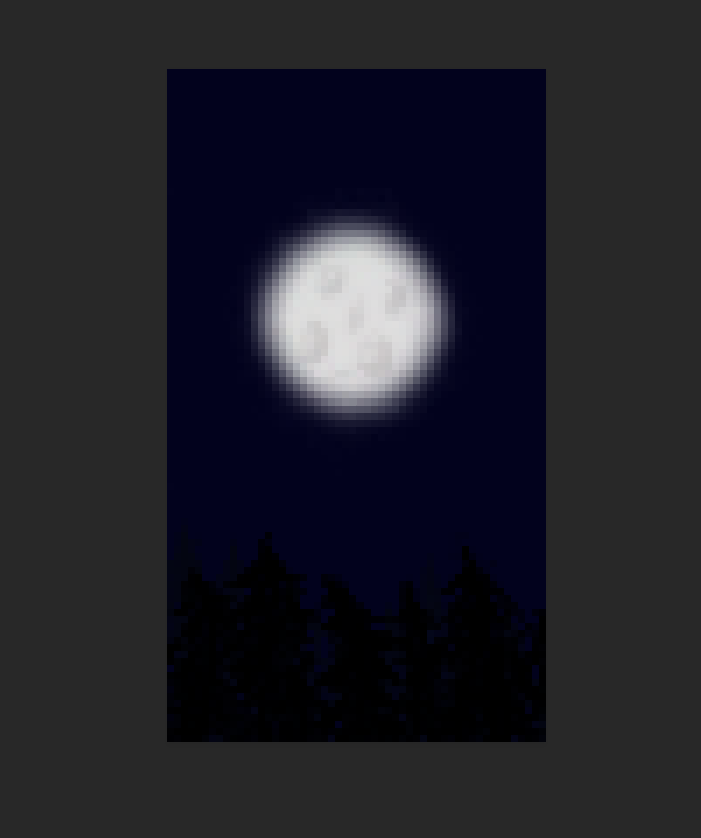
Choose the Blur Tool and blur the moon layer until it looks like below. If you don’t like the looks you can also skip this step.
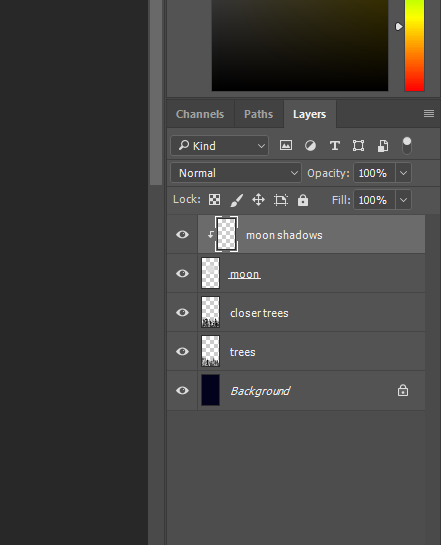
Add another layer, choose “Create a clipping mask with the layer below” and name it “moon shadows”.
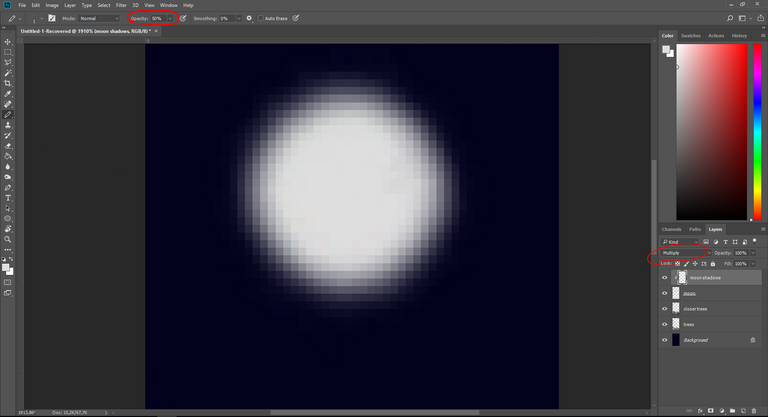
From the dropdown menu above the layer window choose the multiply option and set the opacity of the layer to 50%.
Go back to the 1-pixel wide brush and draw some spots on the surface of the moon. After that use the blur tool on it.
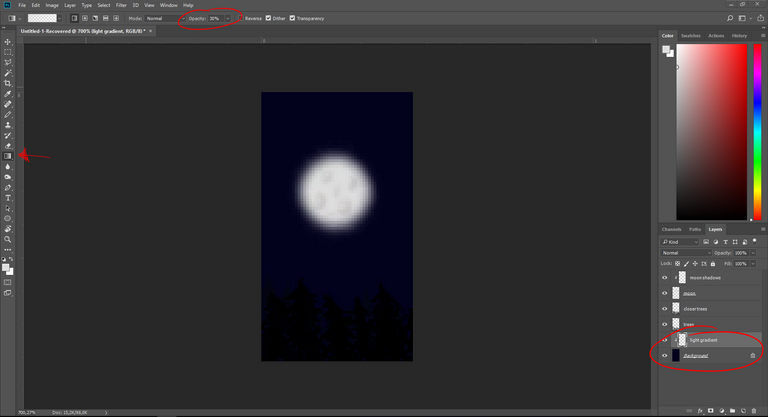
Go back to the background layer, press “Ctrl + Shift + N” to create a new layer, name it light gradient and choose “create clipping mask”, but leave the mode set to normal.
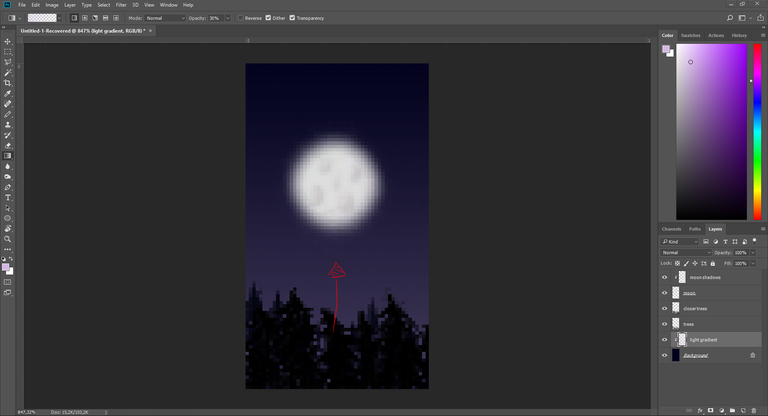
Press ‘G’ and right-click on the chosen symbol in the toolbar. Now choose the gradient tool from the option list. Set the gradient mode (the long box in the top toolbar) to “foreground to transparent”. Next choose a light-pink main color and pull the gradient tool from bottom to top.
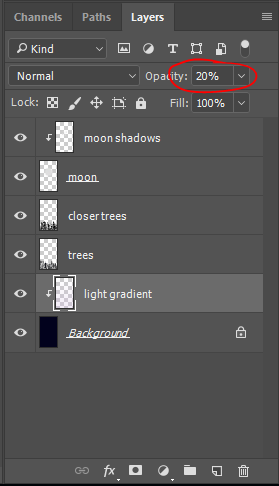
As a next step I recommend adjusting the layer opacity to around 20%.
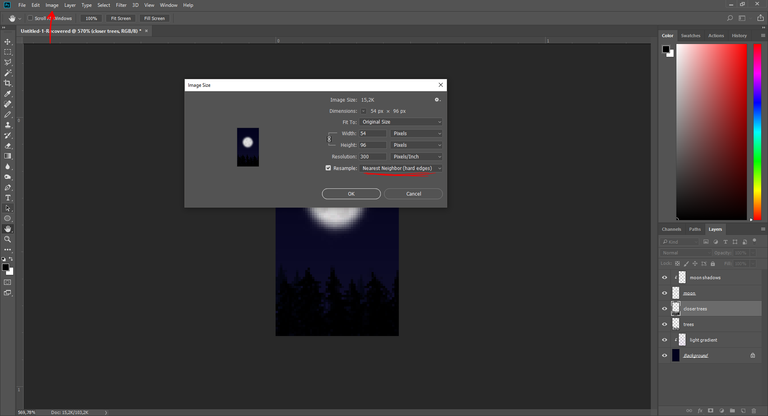
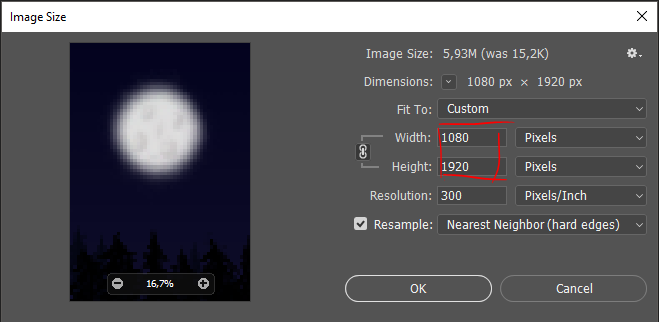
Now open the Image dropdown menu, click on image size and upscale it to 1080 * 1920.
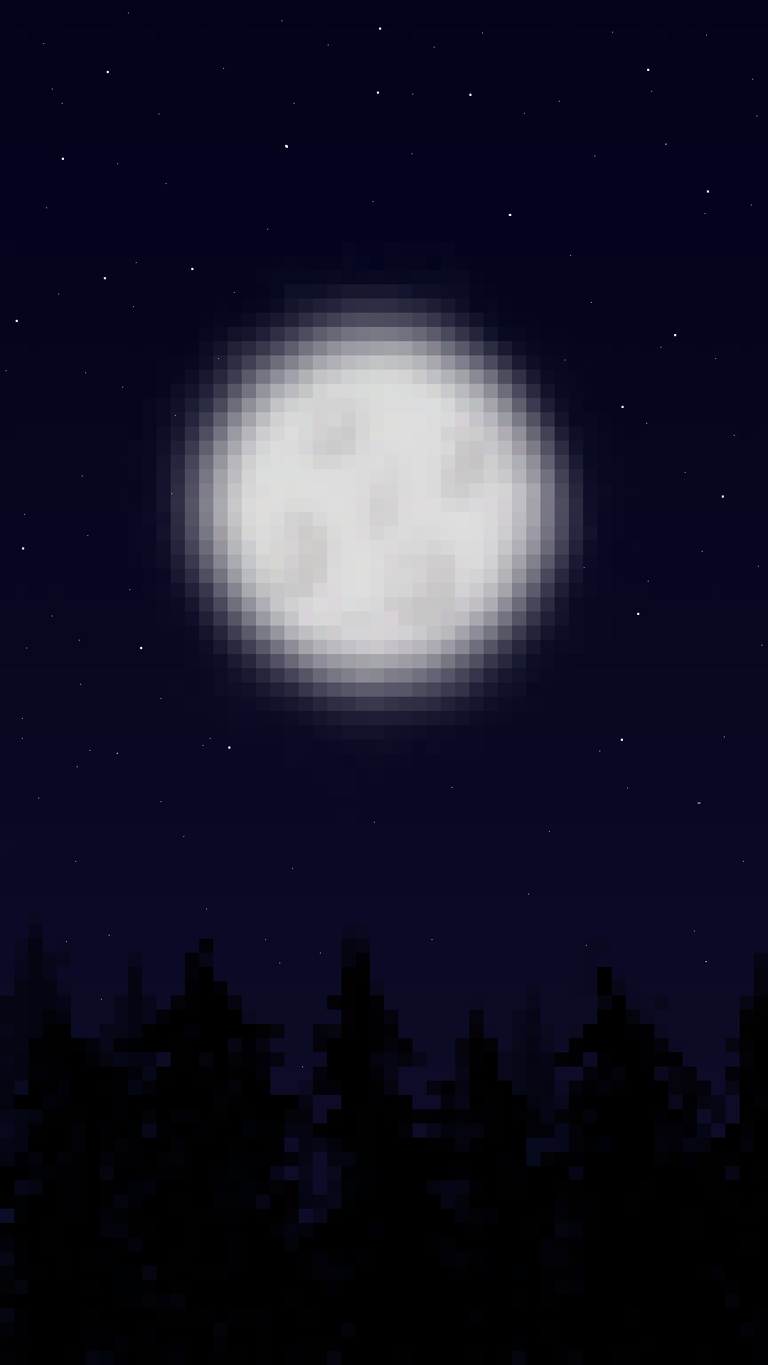
As a last step now add one last layer to the project and make sure it is below the moon layer and above the background layer. Then name it “stars”. The trees do not matter in this instance. Keep your one-pixel large brush, choose a white color and paint a lot of dots onto the canvas until your background looks like a star covered blanket. Here you can vary the color to your liking but keep it decent.
This is my result and I like how it turned out:
If you followed this tutorial feel free to post your result as a comment under this post and I will give you my true opinion on it. You can also leave suggestions on topics and how I can improve my posts.
In the case that you enjoyed this post please leave an upvote and consider sharing it and following me. I’ll try my best to release posts like this frequently.
Hope you enjoyed, I see you next time.
Sincerely,
Malte
