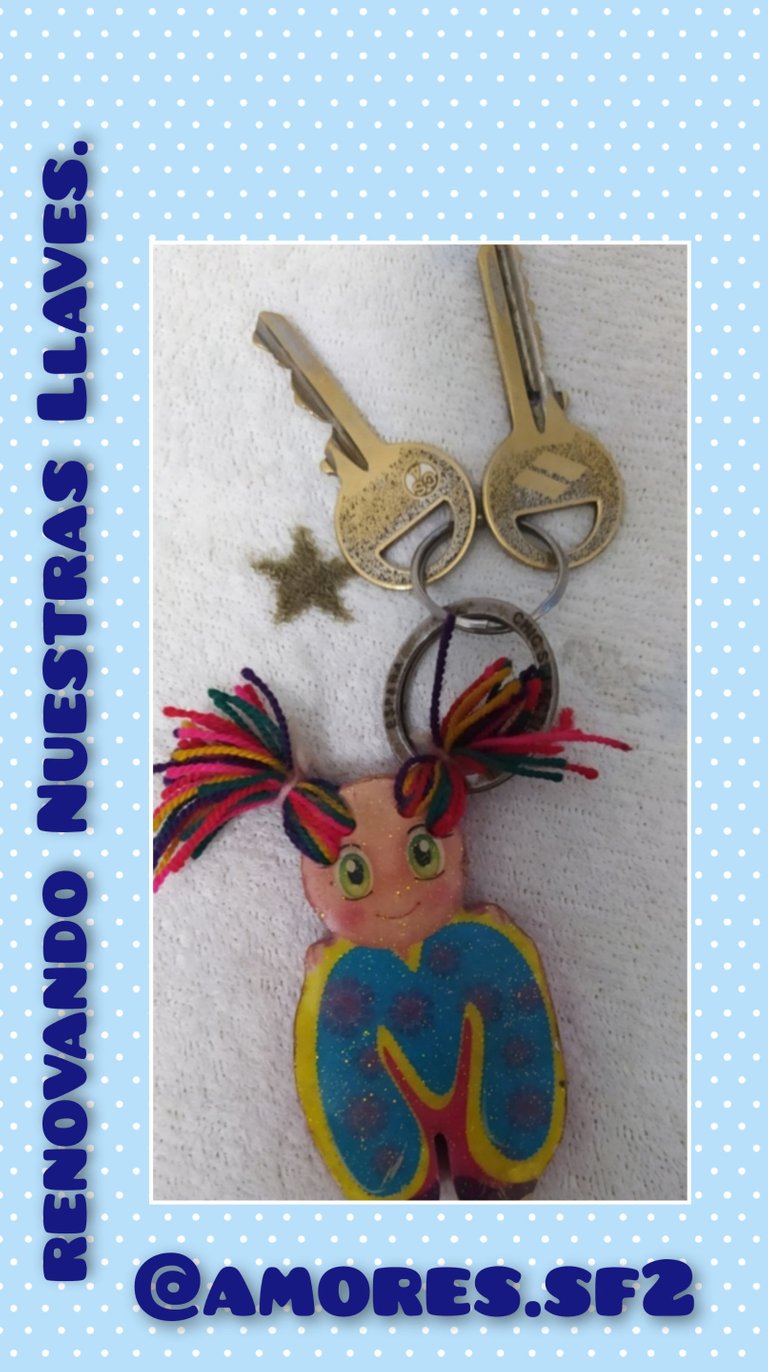
Special greetings to this beautiful community that gives us the opportunity to publish beautiful and charming projects for all of us who are passionate about knitting and sewing.
Today I bring you a very interesting and useful project especially for girls who are always flirty and we always love to look besides a nice outfit also a nice accessory and why not give life to that accessory as important and indispensable as are the keys, and that's what I want to share today, to decorate the keys, in this case I decorated one of the keys of my house, but it was so cute and flirty that I encouraged me and I'm still weaving my set of keys.
The keys are a super useful instrument and of great importance without them we are nothing, observing my keys I realized that they needed a touch of affection they were a little neglected for that reason I was encouraged to make a crochet knitting on the edge of one of my keys which seemed to me a super beautiful and interesting idea that complements us.
So let's not wait any longer and let's start at once to develop our idea through this tutorial.... ❣️🔑 that I hope you like it, it is to your liking and encourage you to make it.
🌺 1 de Nuestras Llaves
🌺 Hilo o estambre para tejer del color
deseado.
🌺 Aguja de tejer
🌺 Piedras o perlas para decorar
🌺 Pega o Silicon.
🌺 1 of Our Keys
🌺 Yarn or yarn to weave in the desired
color.
🌺 Knitting needle
🌺 Stones or pearls to decorate.
🌺 Glue or Silicon.
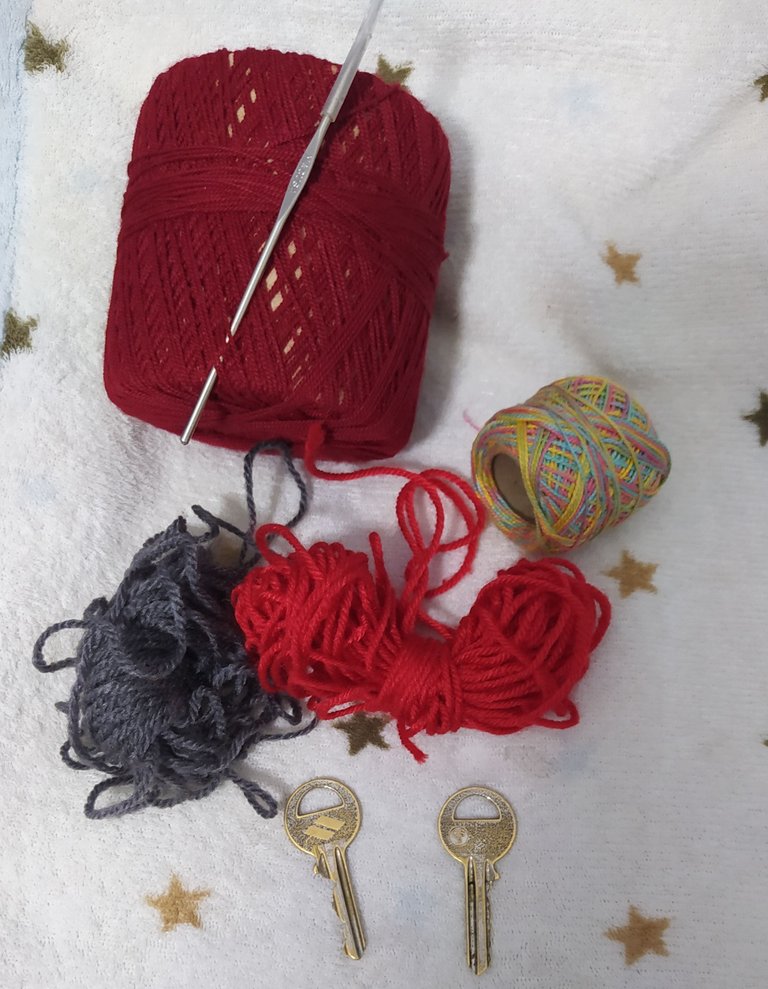
STEP BY STEP TO DECORATE OUR KEYS.
1🌺- necesitamos una de nuestras llaves está debe tener un orificio en el centro para poder enlazar nuestro hilo a partir de ahí.
1🌺- we need one of our keys it should have a hole in the center so we can thread our yarn from there.
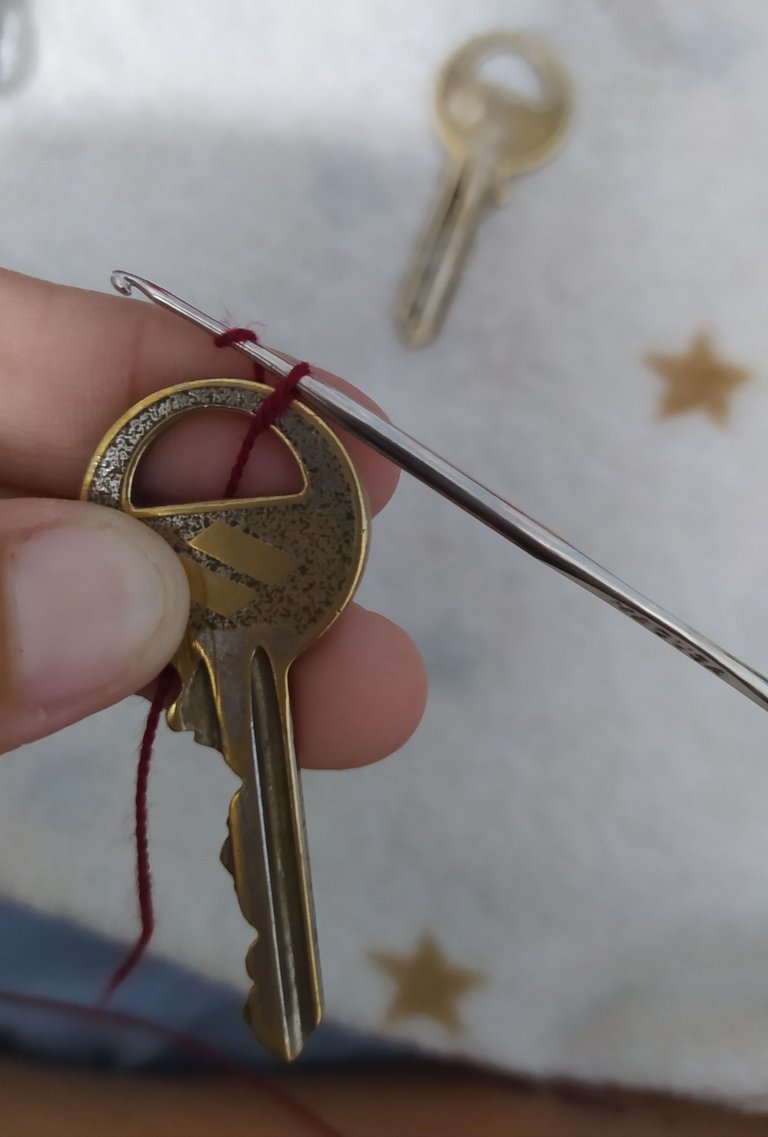
2🌺-iniciamos nuestro tejido enlazando el hilo por el orificio de la llave realizando lazadas de medio punto es importante en este momento extender un poco el hilo ya que se hace un poquito complicado al iniciar y continuamos así tejiendo sobre todo el borde nuestra llave.
2🌺-we start our weaving by linking the thread through the hole of the key making half stitch loops, it is important at this point to extend the thread a little as it becomes a little complicated at the beginning and we continue weaving over the entire edge of our key.
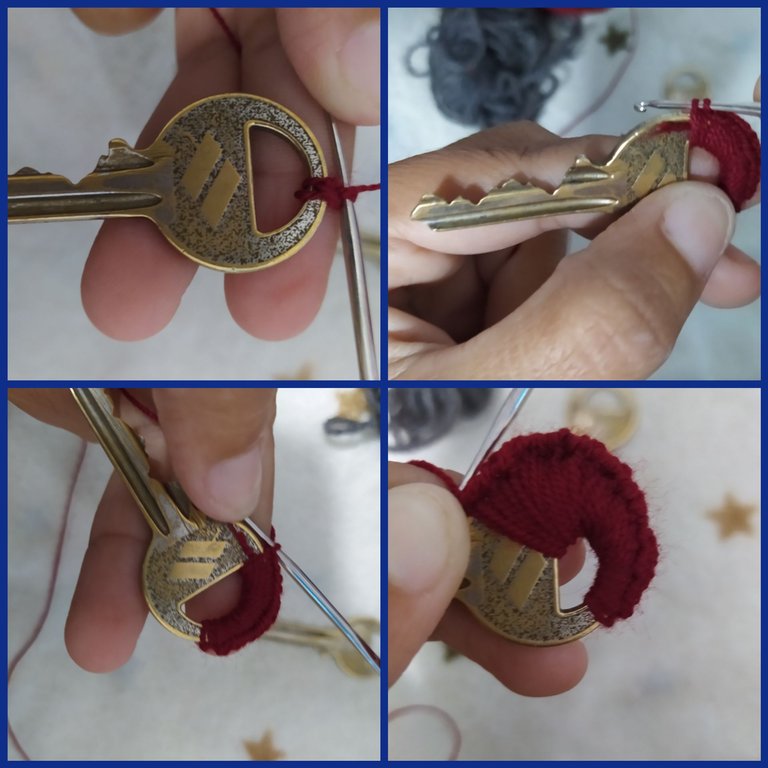
3🌺-Continuamis tejiendo todo el borde de la llave,vamos a llegar a un punto donde ya no podemos seguir tejiendo de ese mismo lado y para ello enlazamos los extremos del cuerpo de la llave como se muestra en la foto pasamos el hilo por debajo y enlazando cerramos el tejido para dar la vuelta a la llave y continuar tejiendo lo que nos falta de la llave .
3🌺-Continuamis weaving the entire edge of the key, we will reach a point where we can no longer continue weaving on the same side and for this we link the ends of the body of the key as shown in the photo pass the thread underneath and linking close the fabric to turn the key and continue weaving what we have left of the key.
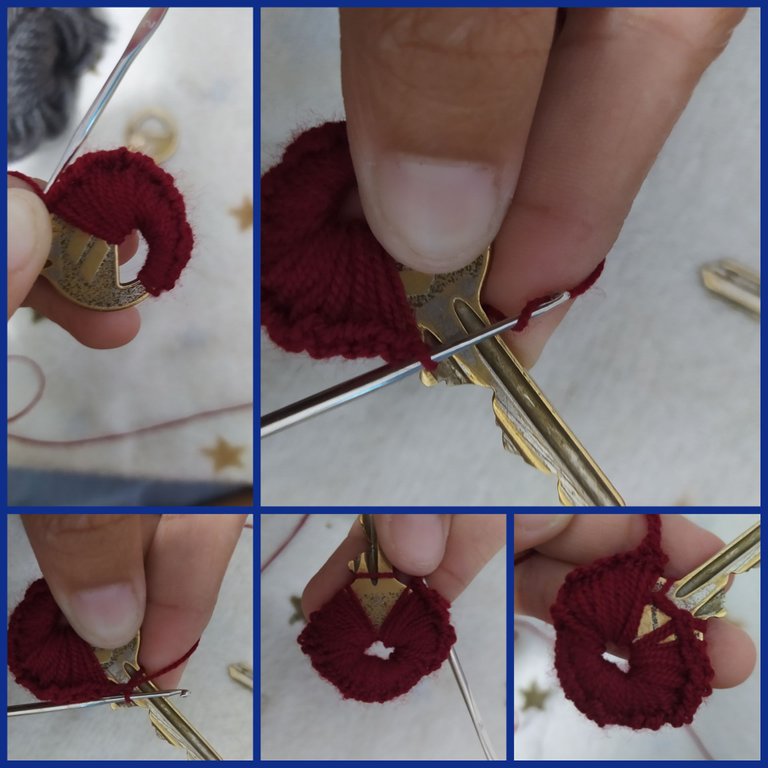
4🌺-Una vez tejida por completo el borde de la llave nos vamos al tejer un na segunda vuelta con punto abanico de 6 varetas altas de sobre un mismo punto, logran de con esto que se vea el teji el nido en forma de de flor.
4🌺-Once the edge of the key is completely knitted, we will knit a second round with a fan stitch of 6 high rods on the same stitch, achieving a flower-shaped nest.
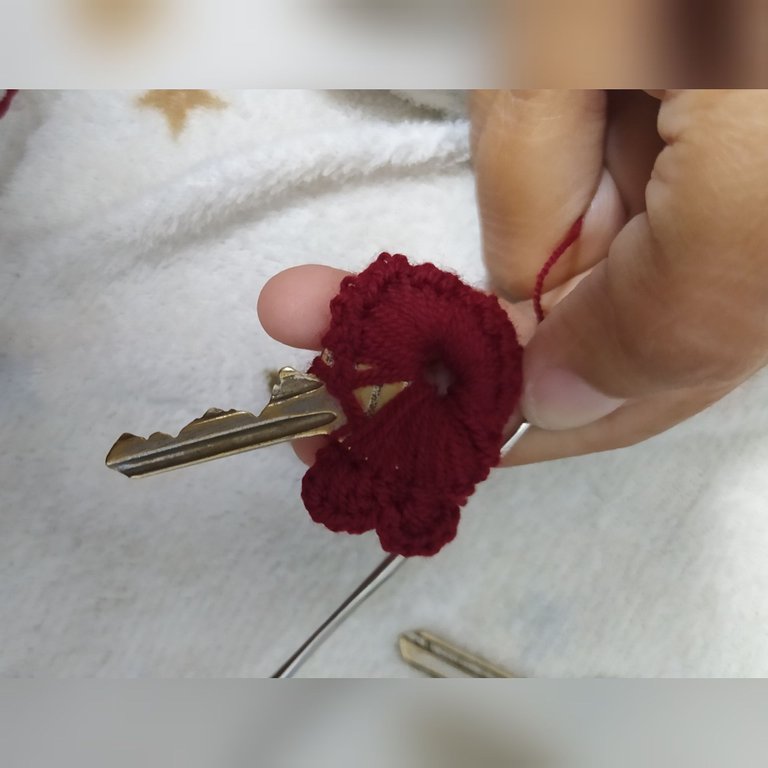
Quedando de esta manera :
The result is as follows:
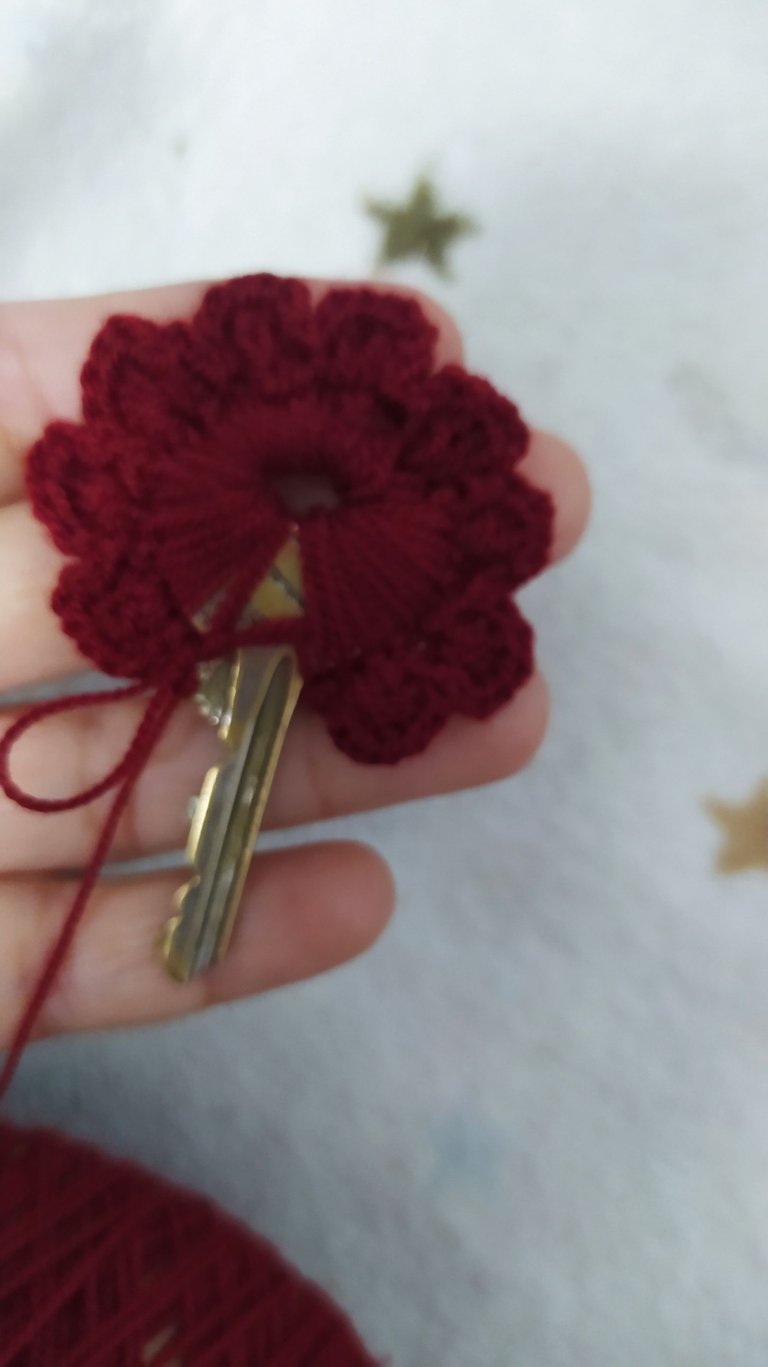
5🌺- ahora ya lista nuestra llave con todos sus pétalos que forman una flor,ahora nos queda tapar ese espacio donde el tejido no llega y para ello realize 2 flores pequeñas que voy a pegar sobre ese espacio de manera que nos tape y nos quede aún más decorada nuestra llave.
5🌺- now our key is ready with all its petals that form a flower, now we have to cover the space where the fabric does not reach and for this I will make 2 small flowers that I will paste over that space so that we cover and we get even more decorated our key.
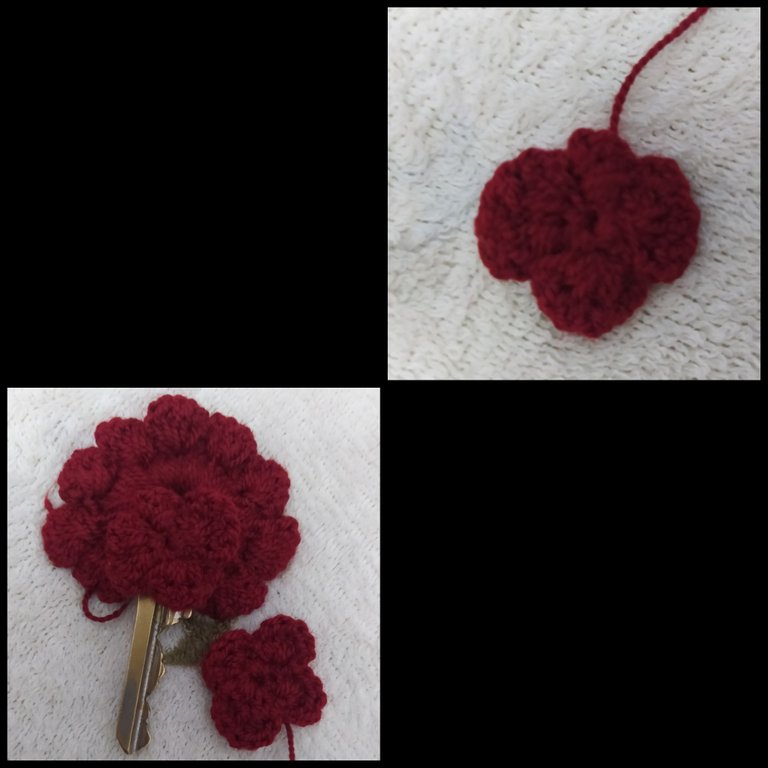
6🌺- pegamos las flores de un lado y del otro y terminamos decorando el centro de la flor colocando una piedra yo le coloque un cascabel plateado que además emite un sonido bonito y agradable. Y ahora sí listo así quedó nuestra hermosa llave decorada.
6🌺- glue the flowers on one side and the other and finish decorating the center of the flower by placing a stone I placed a silver bell that also emits a nice and pleasant sound. And now it's ready and so was our beautiful decorated key.
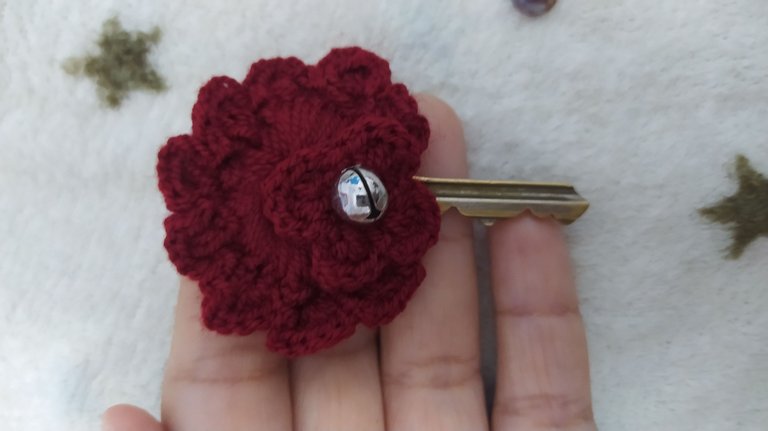
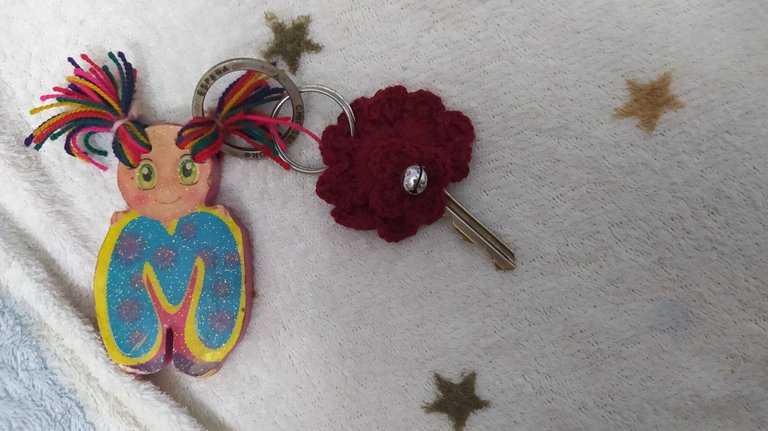
I hope you like this proposal and I encourage you to give life to those keys that also deserve to be presentable.
The photos published in this post are my own property, edited by photo collage maker.
The text is translated by Deepl translate.
Thank you for reading my content ❣️..
God bless you, I like your wit, your work is very flirtatious.
Amen bella !! Muchas gracias lindo mensajes , estamos para compartirlo.
Congratulations @amores.sf2! You have completed the following achievement on the Hive blockchain and have been rewarded with new badge(s) :
Your next target is to reach 40 posts.
Your next target is to reach 200 replies.
You can view your badges on your board and compare yourself to others in the Ranking
If you no longer want to receive notifications, reply to this comment with the word
STOPTo support your work, I also upvoted your post!
Check out the last post from @hivebuzz:
Support the HiveBuzz project. Vote for our proposal!
Brilliant job thanks for sharing
Thanks to you ❣️ for your comment , I'm glad they like it.
Quedó muy hermoso, me gustaría aprender a tejer. Es un arte fantástico. Bendiciones para ti