.jpg)
Hello beautiful people of this happy artisan community, it is a pleasure for me to be able to share with you some of my craft work and many ideas that can serve as work for you during these seasons.
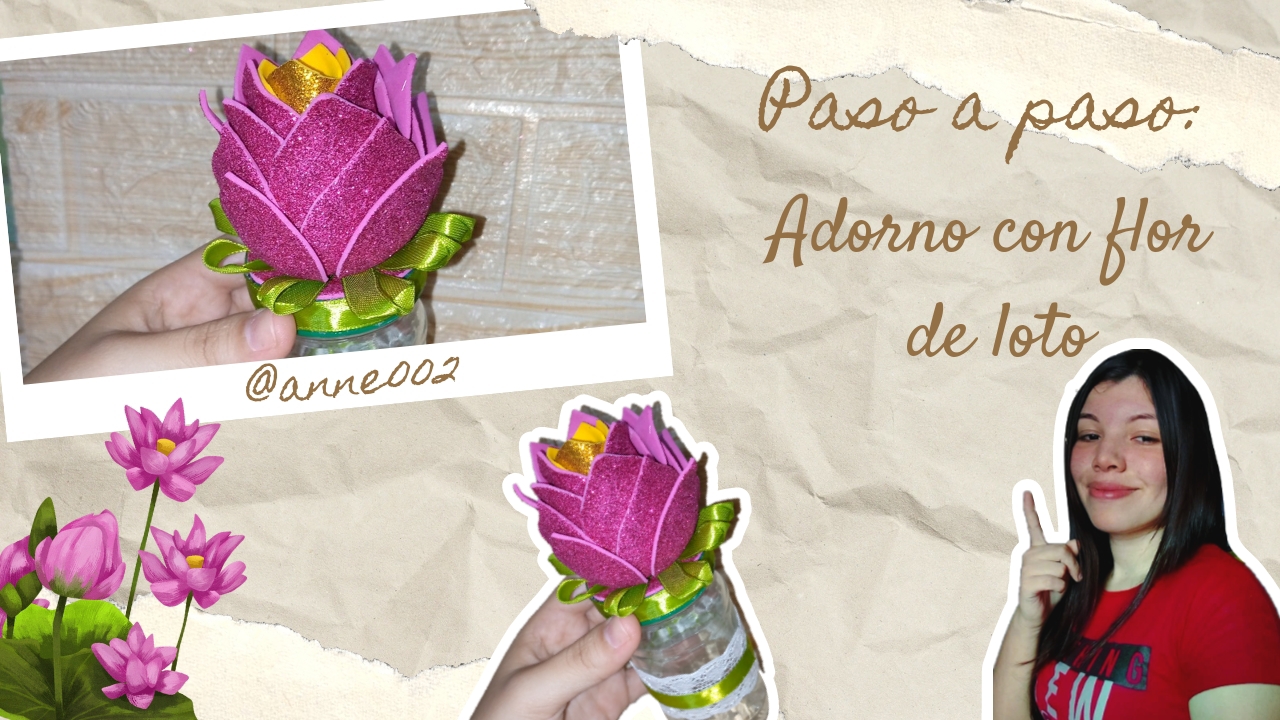
Today I wanted to make this beautiful, very pretty ornament to give as a gift or to keep the little things you want. Here at home I had this small glass container that I wanted to give a second chance by making a very nice design on top of a very peculiar and attractive flower that is the lotus flower 🪷 This flower grows in water and in swamps also in tropical forests and it is a very pretty pink color, it has many petals that make the flower a tropical and striking flower, to make it I have used these dies or flower-shaped molds to obtain the mold of the flowers and thus put it together.
I know that as much as I do you want to see the final result and yes I wanted to see my finished flower and appreciate how it looked and how it was going to turn out, so here I show you the process of how to make this beautiful jar decorated with a lotus flower theme, let's go with the materials and the simple process of how easy it is to make it.
.jpg)
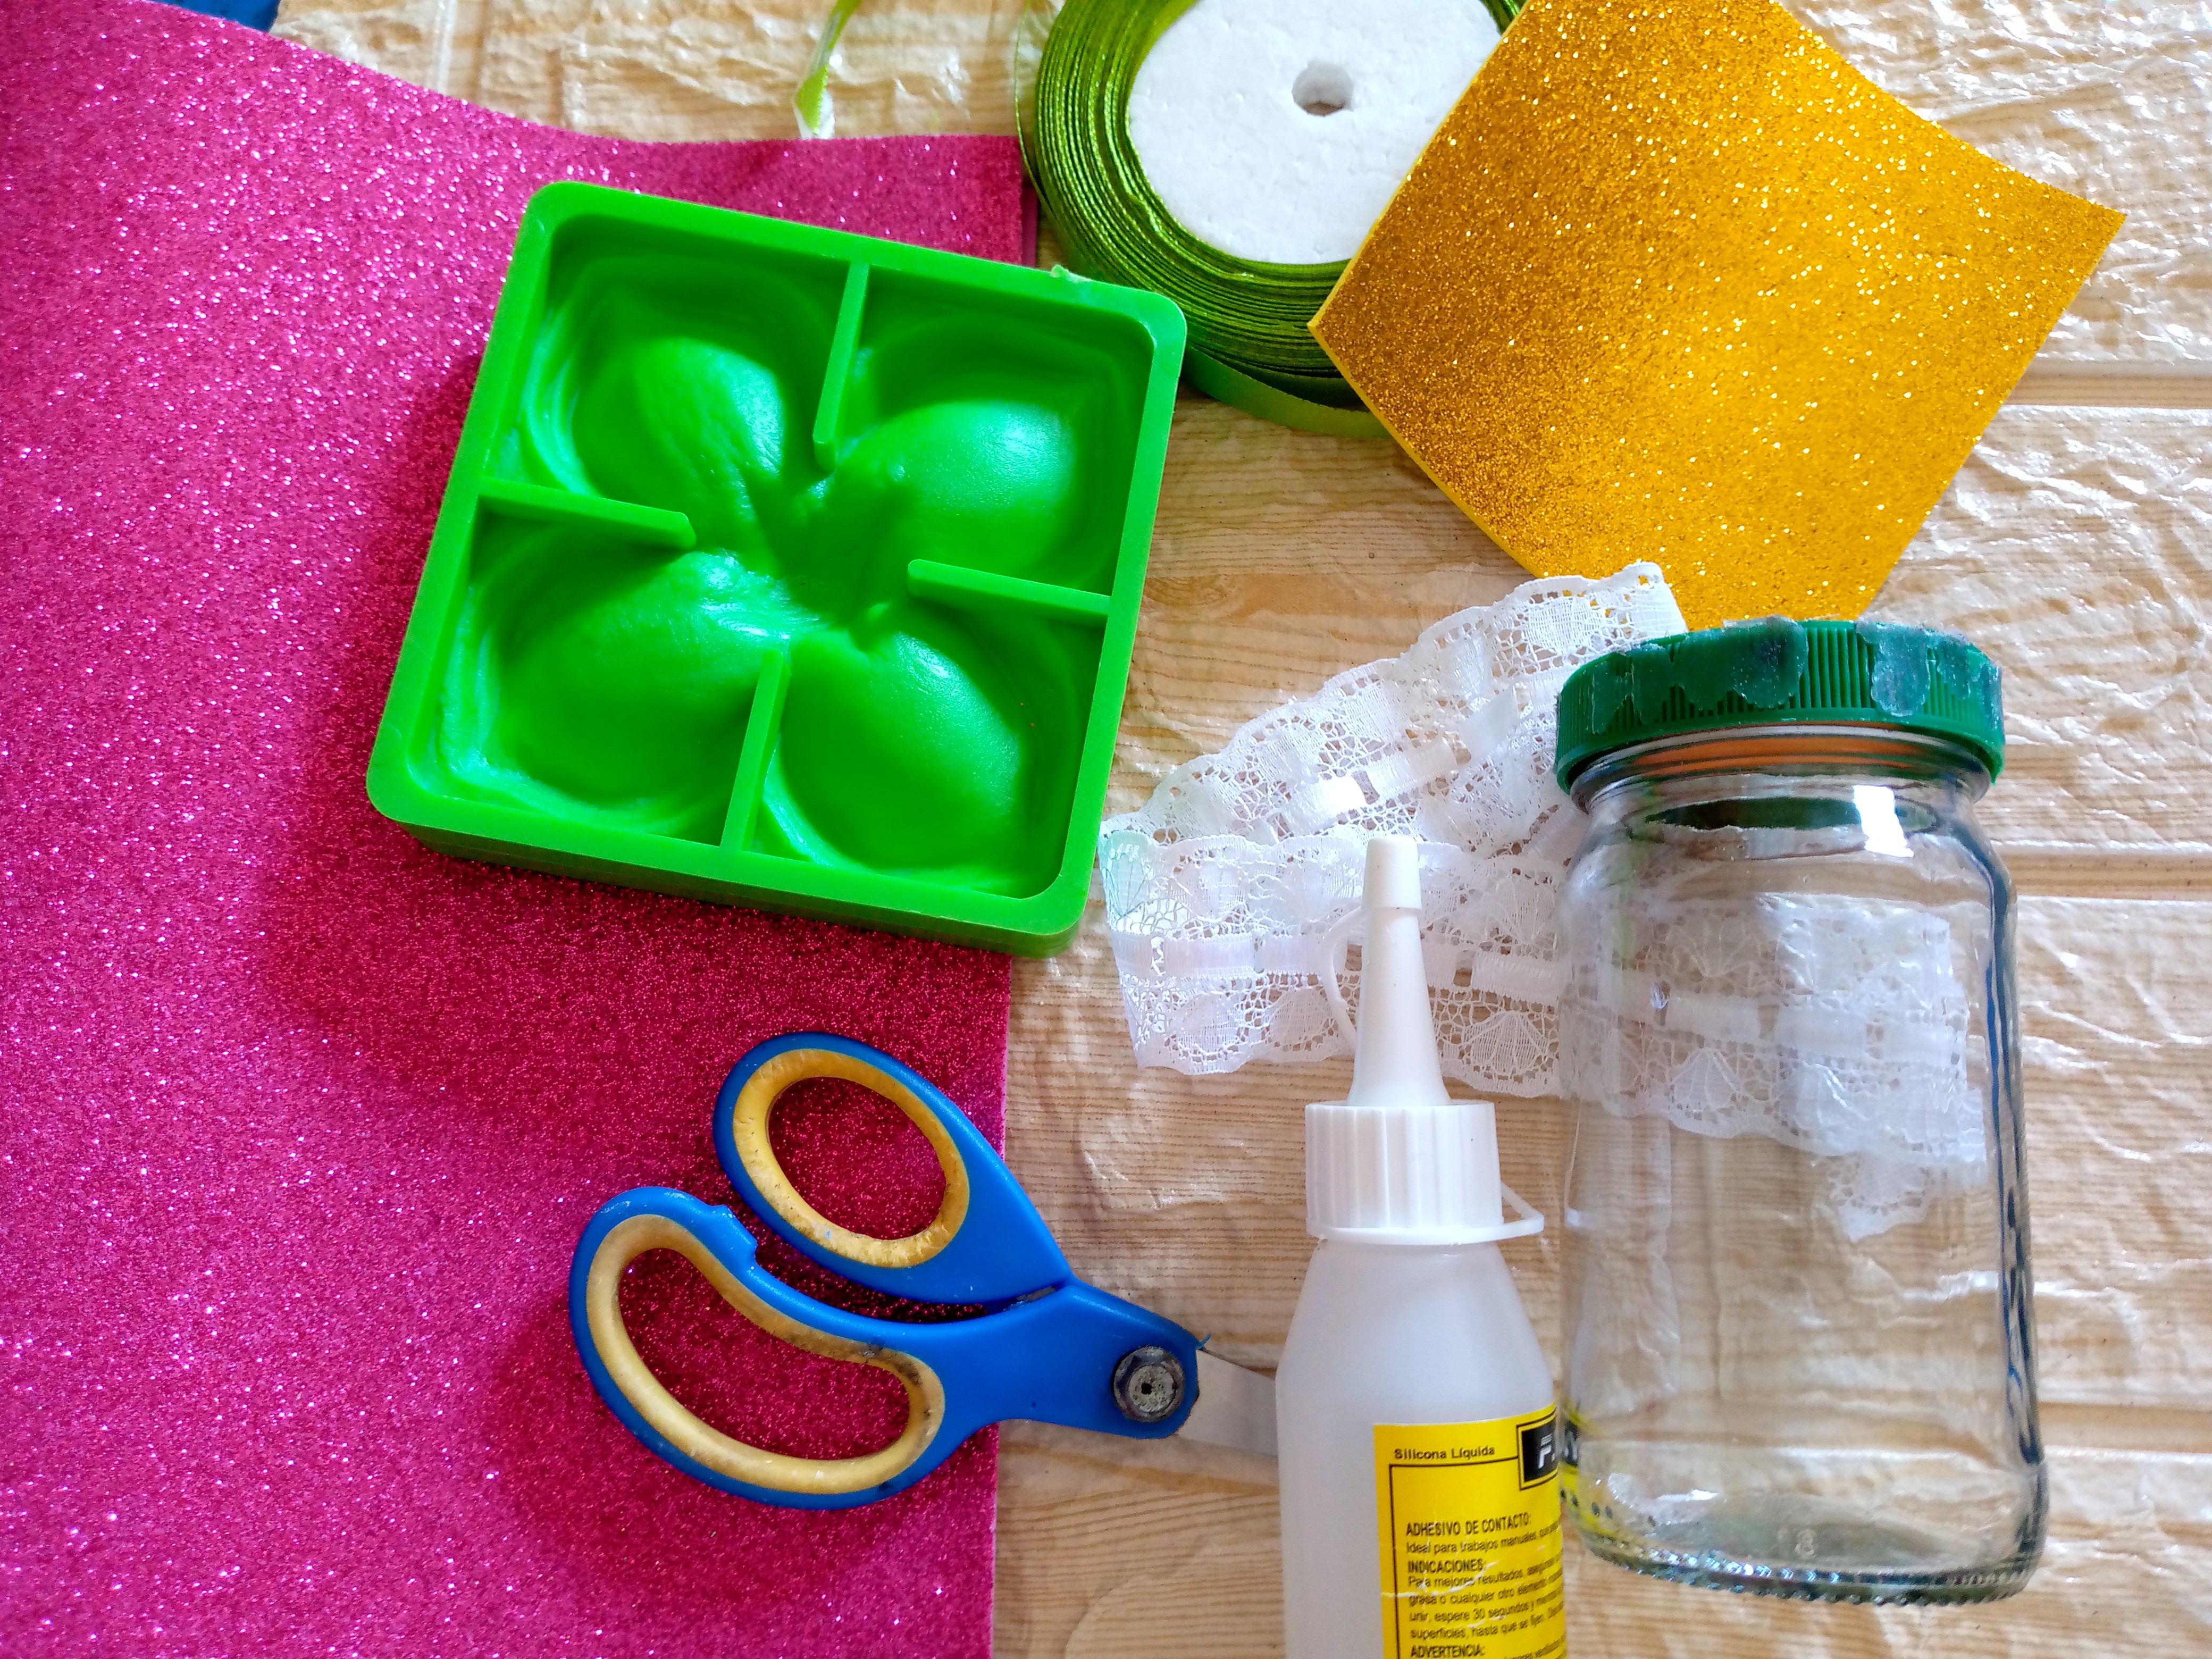
Materiales:// Materials:
| Español | Inglish |
|---|---|
| •Fomi brillante del color de tu preferencia | •Shiny foam in the color of your choice |
| •Tijera | •Scissors |
| •Moldes para flores | •Flower molds |
| •Silicón líquido | •Liquid silicone |
| •Cinta de tela de 1 cm de ancho | •1 cm wide fabric ribbon |
| •Plancha de planchar ropa | •Ironing board for clothes |
| •Envase de vidrio con tapa | •Glass container with lid |
| •Encaje blanco de tela | •White lace fabric |
.jpg)
Pasos a seguir:// Steps to follow:

Paso 01
Step 01
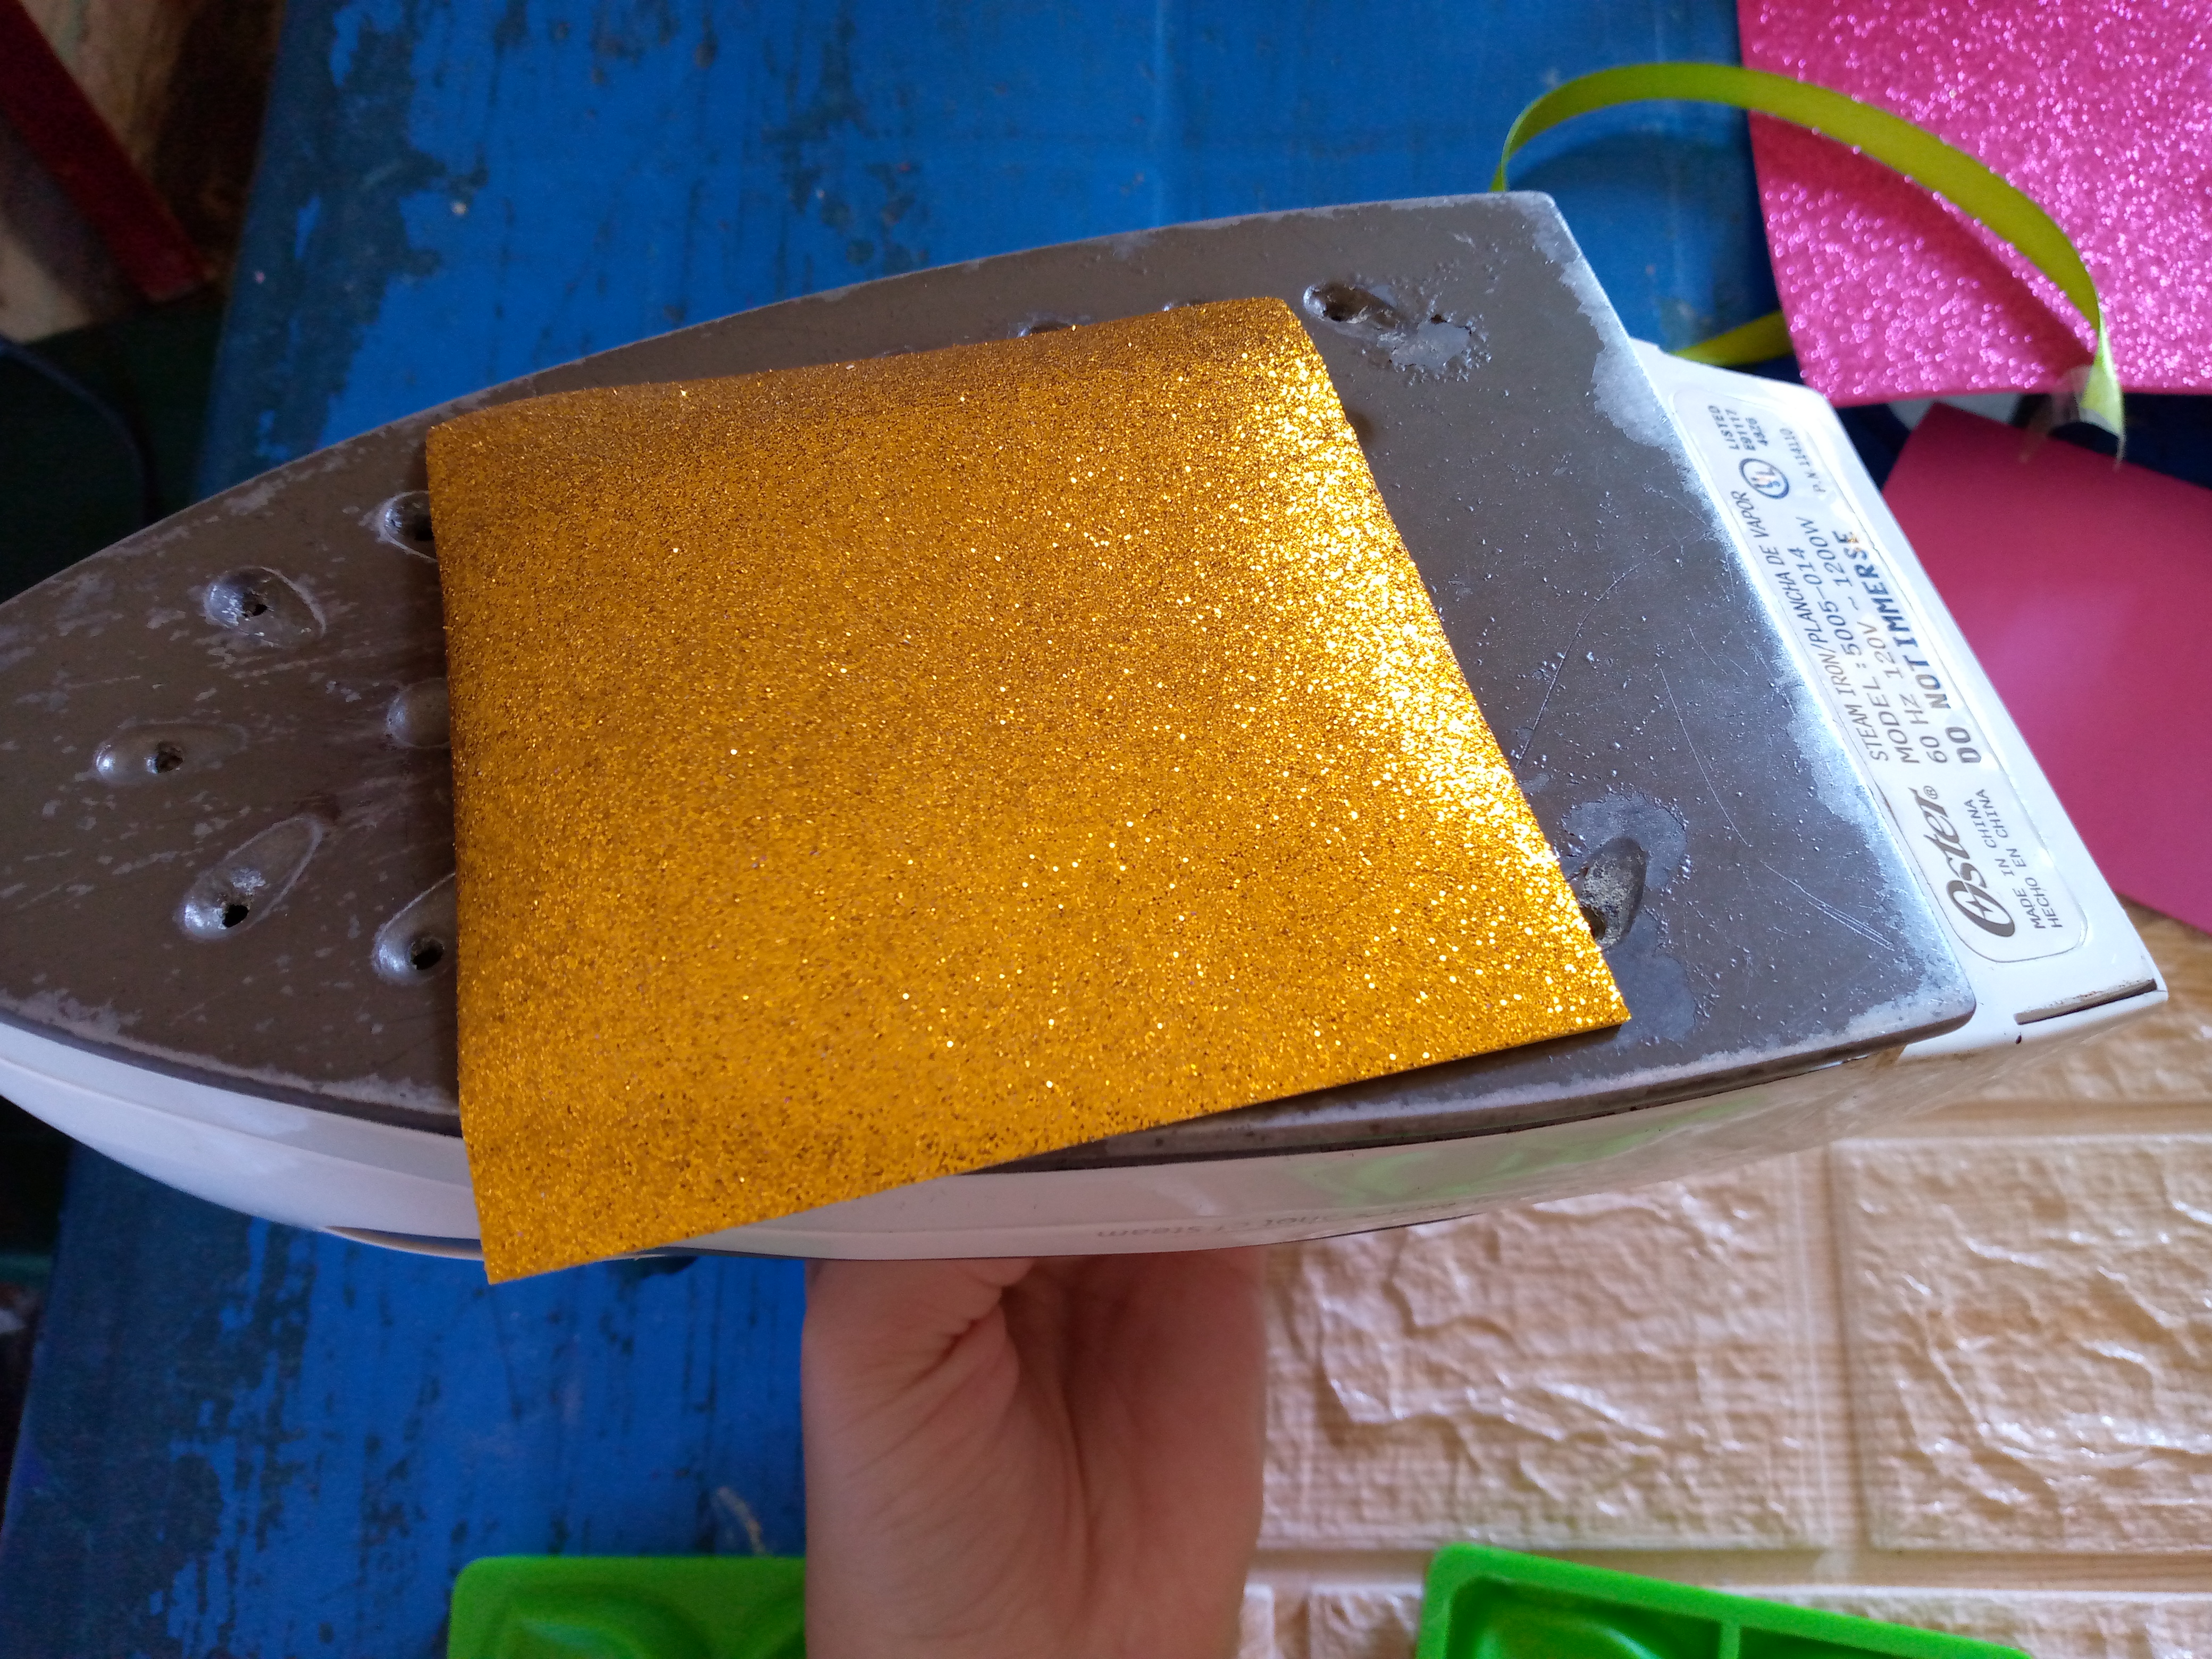
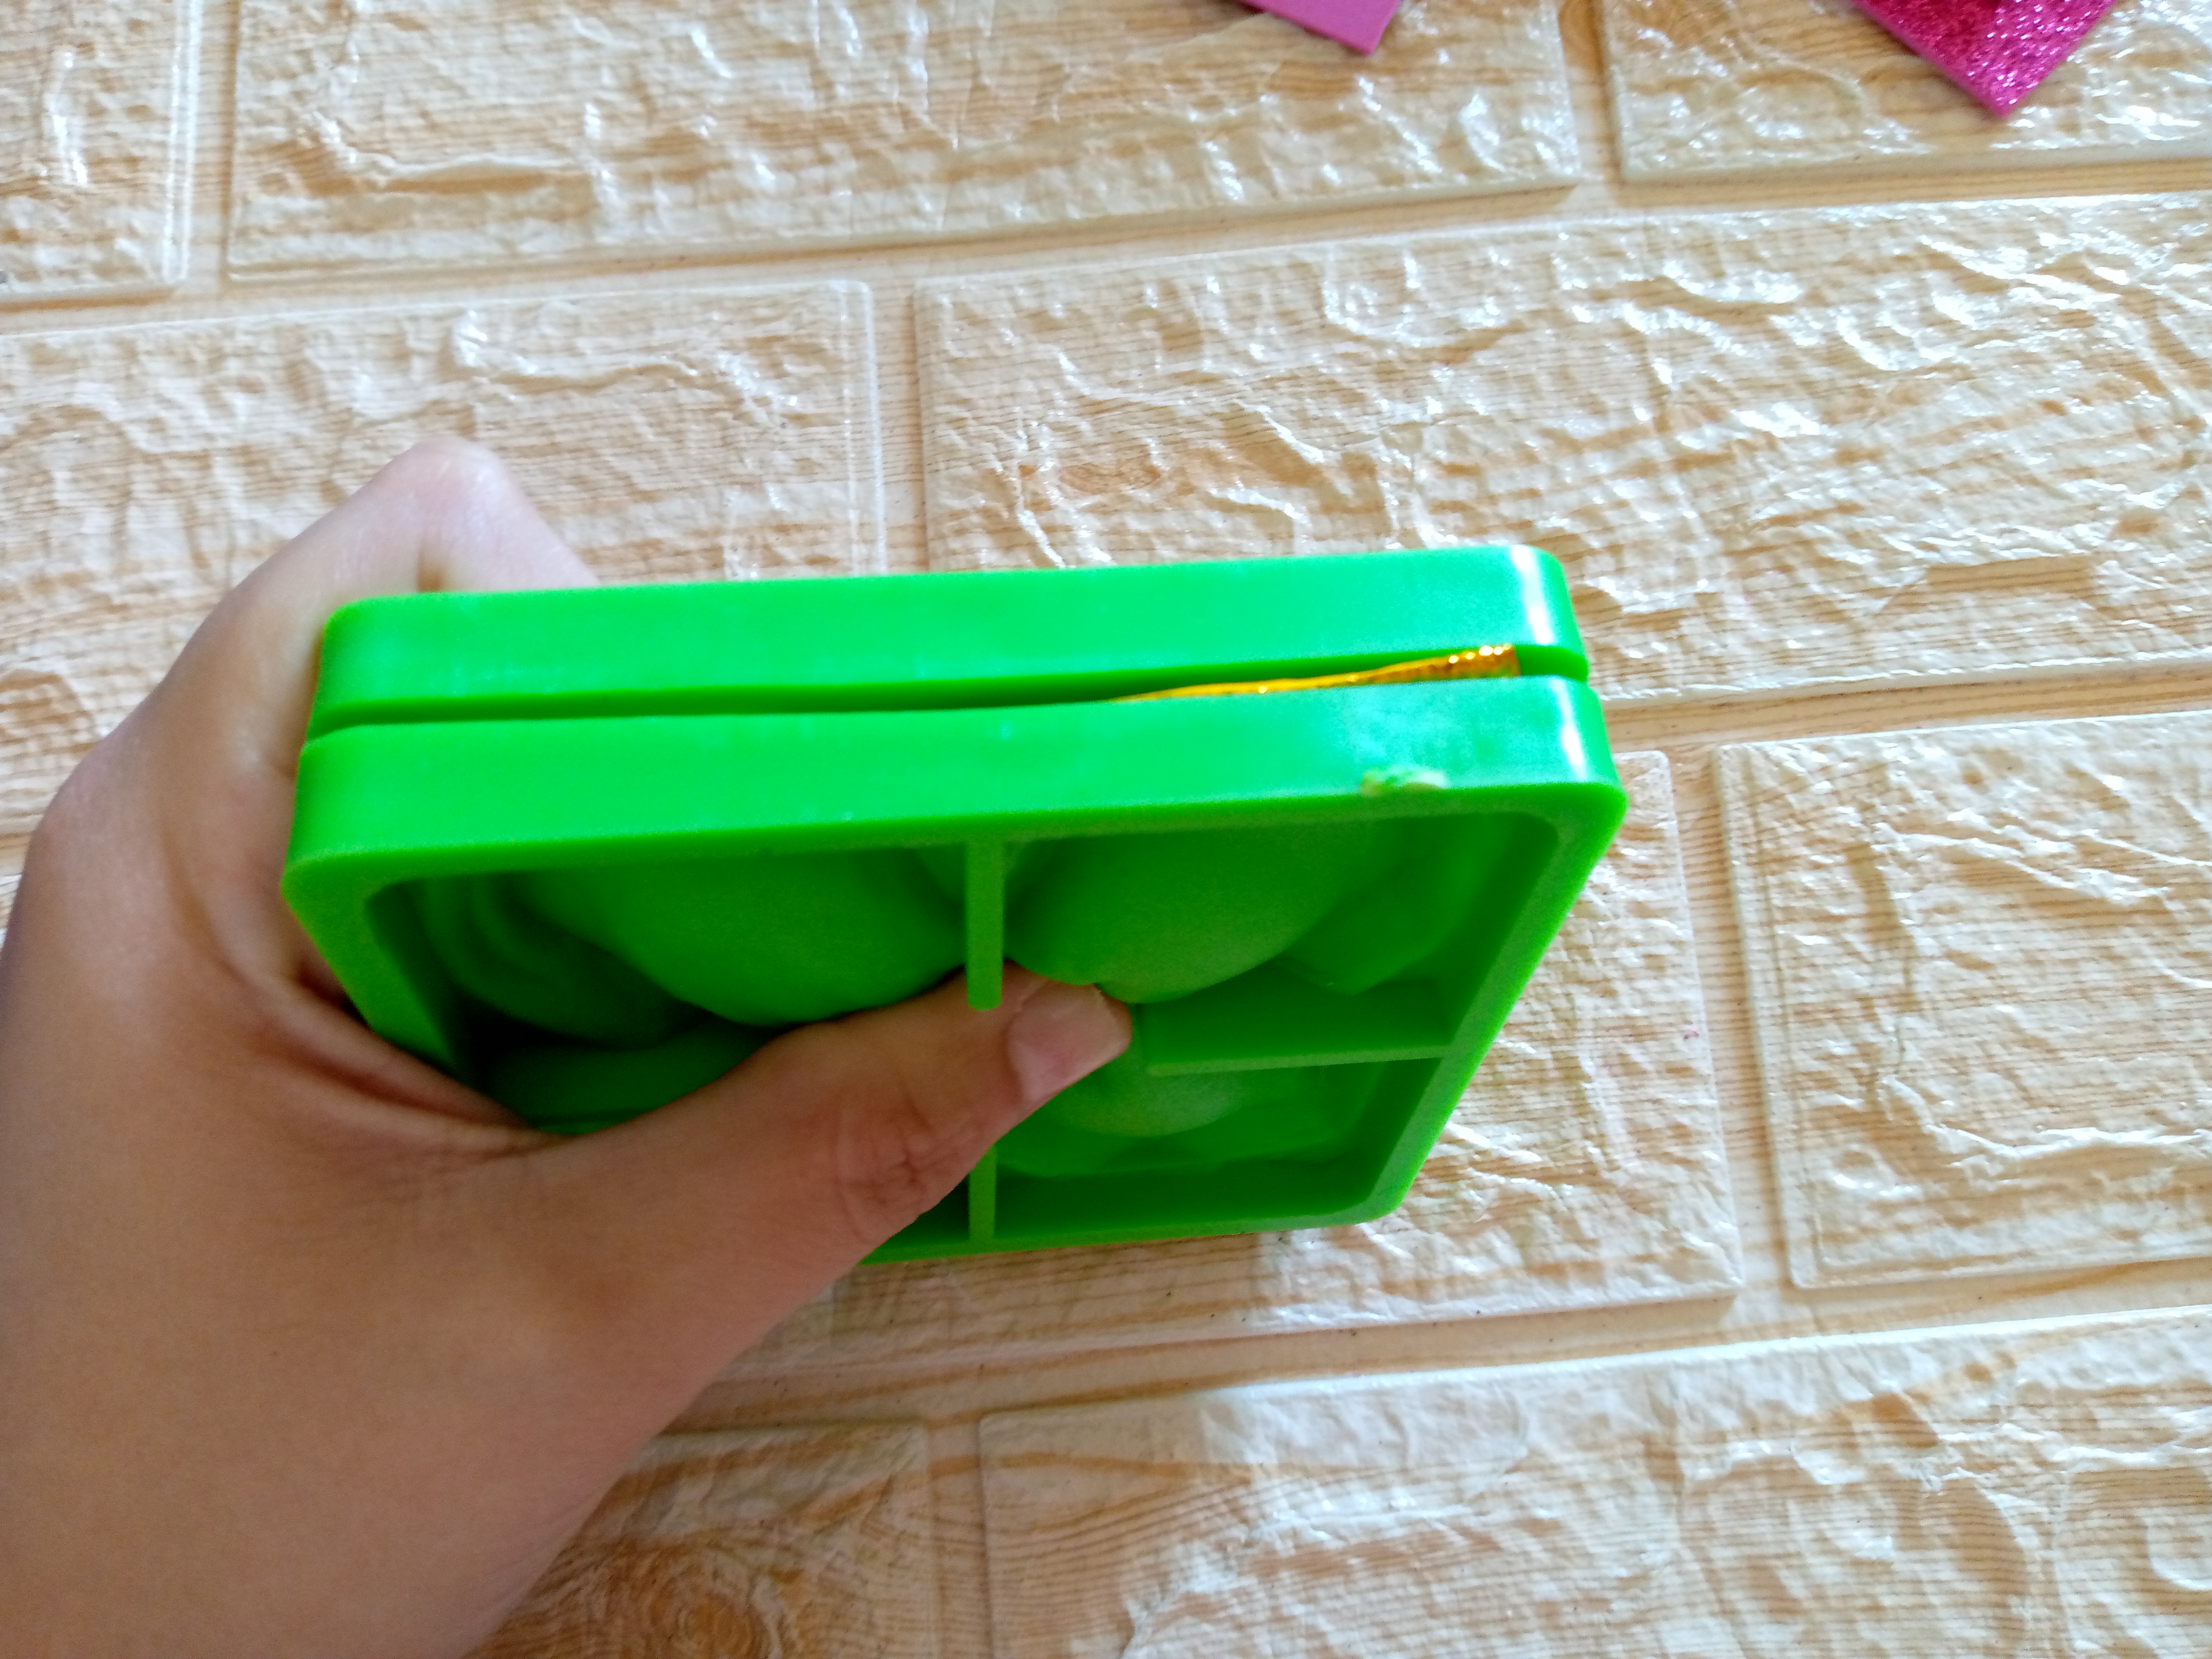
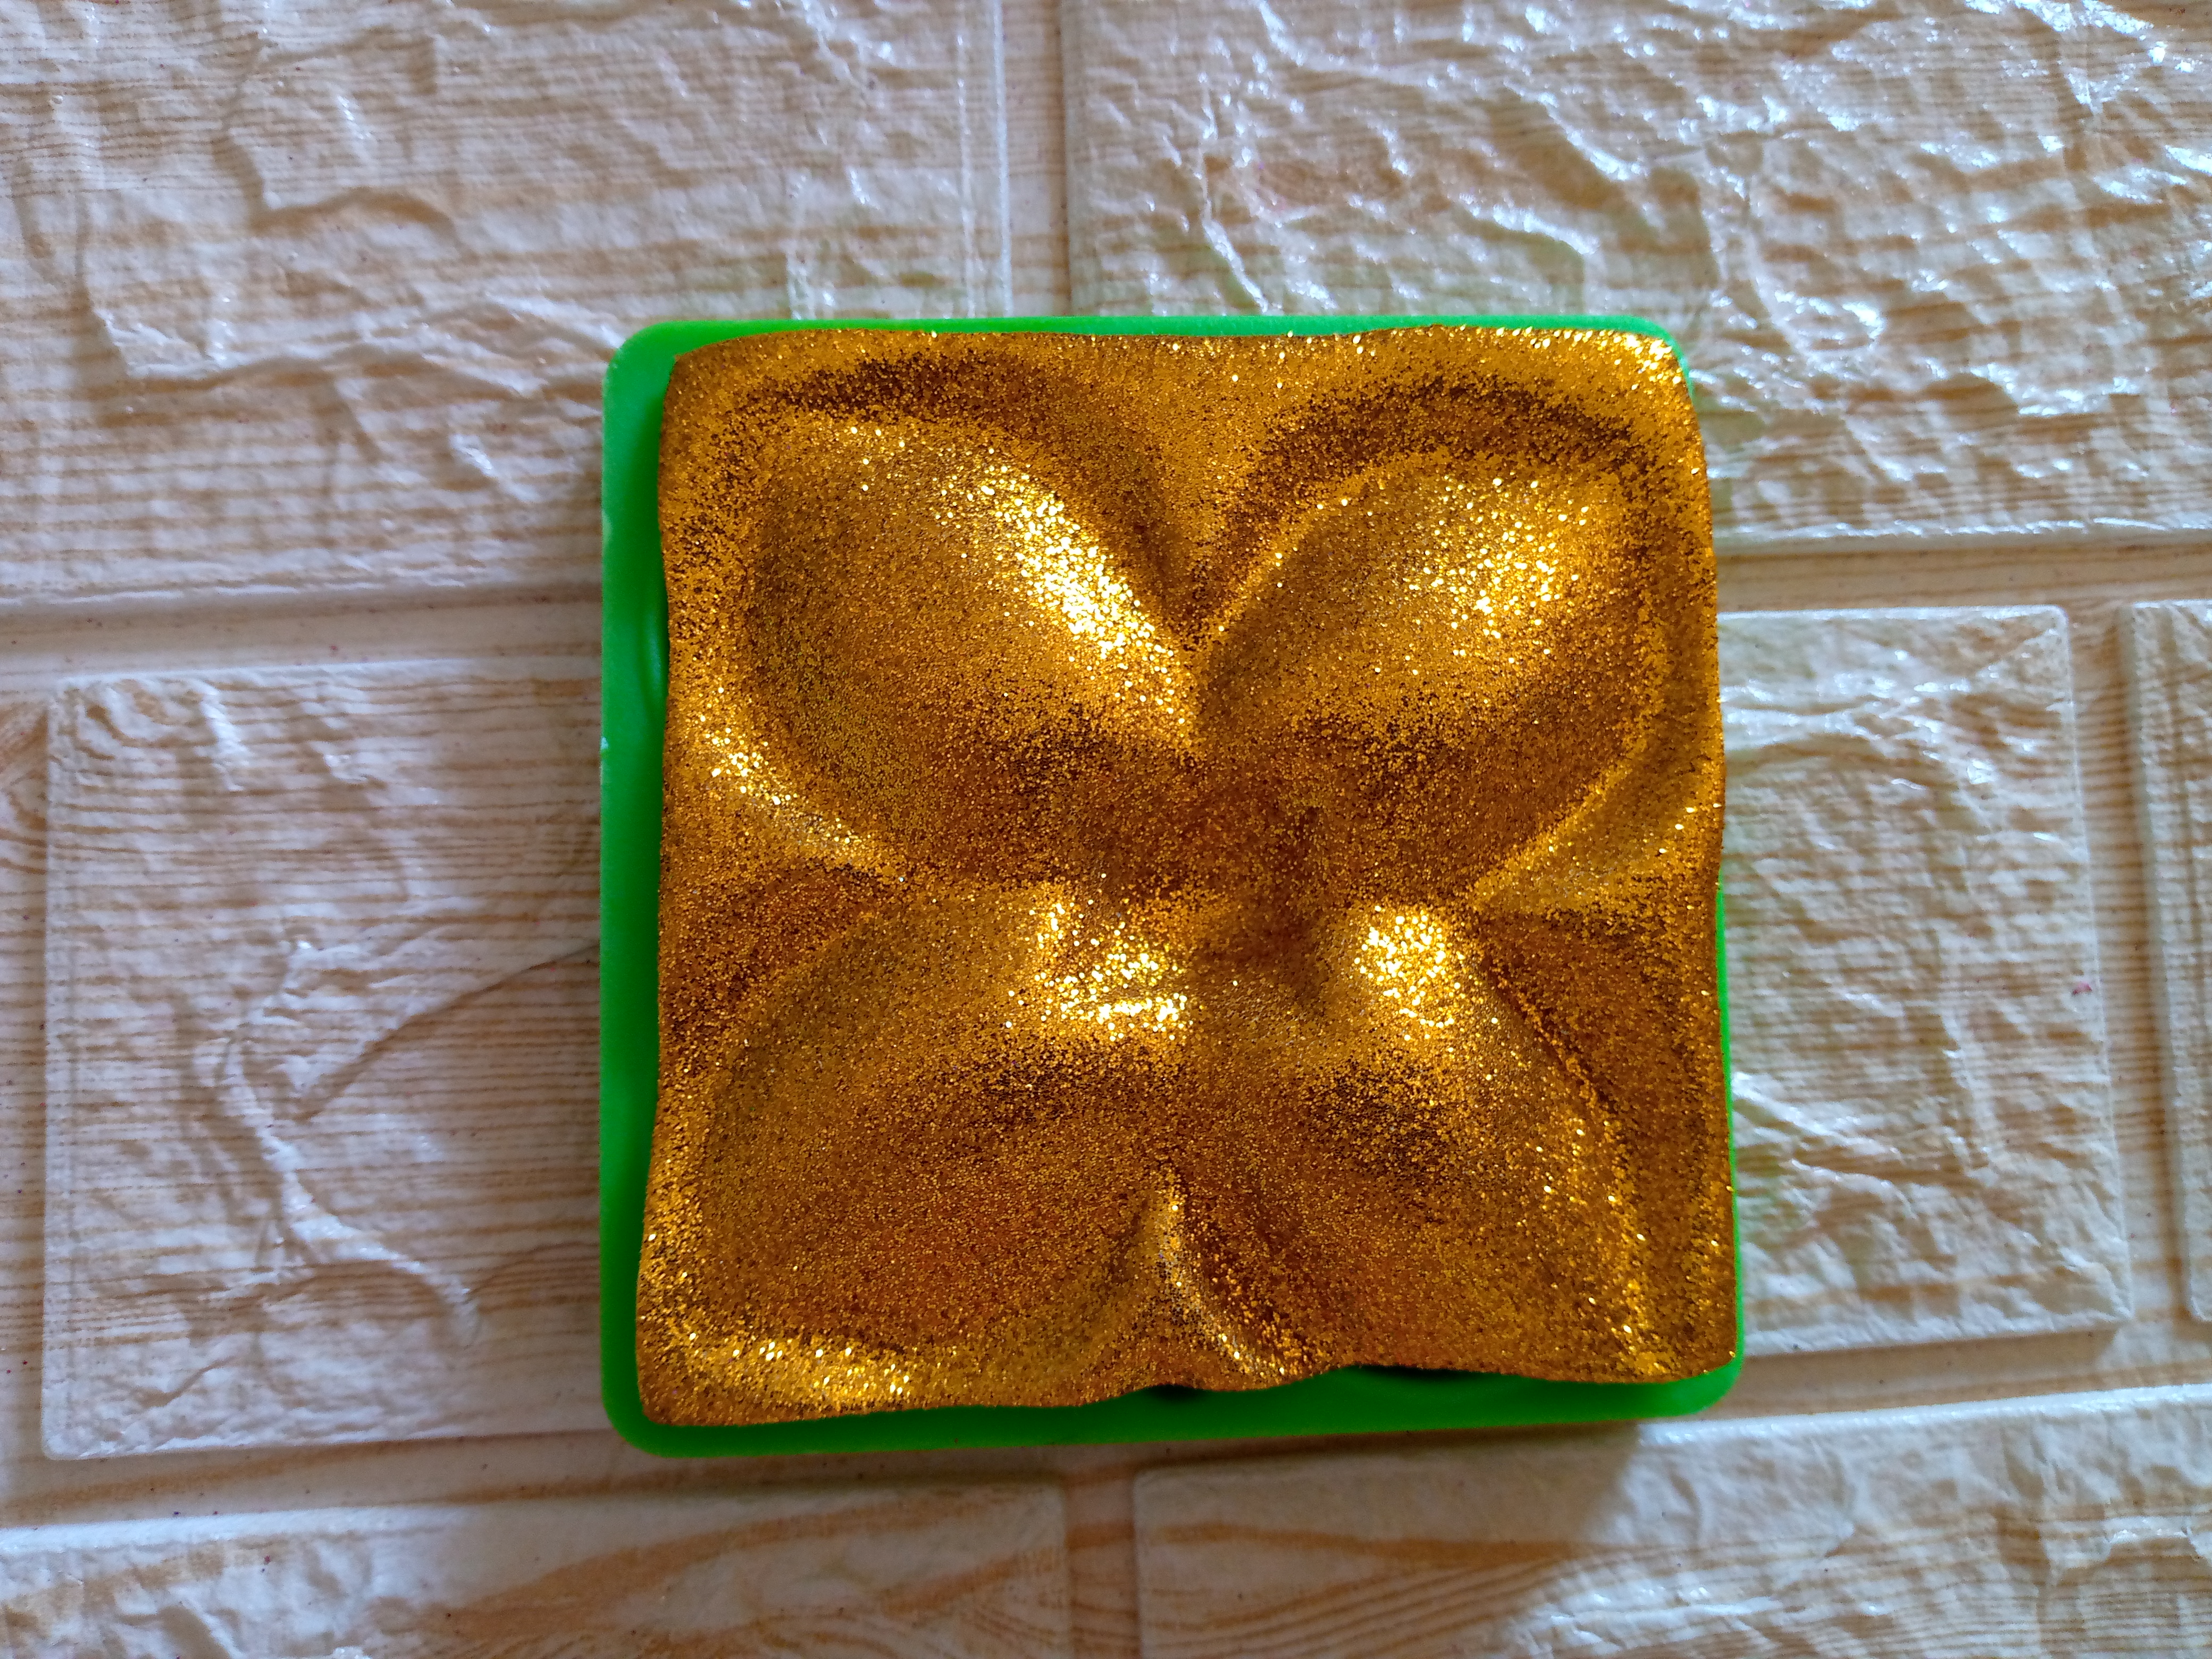
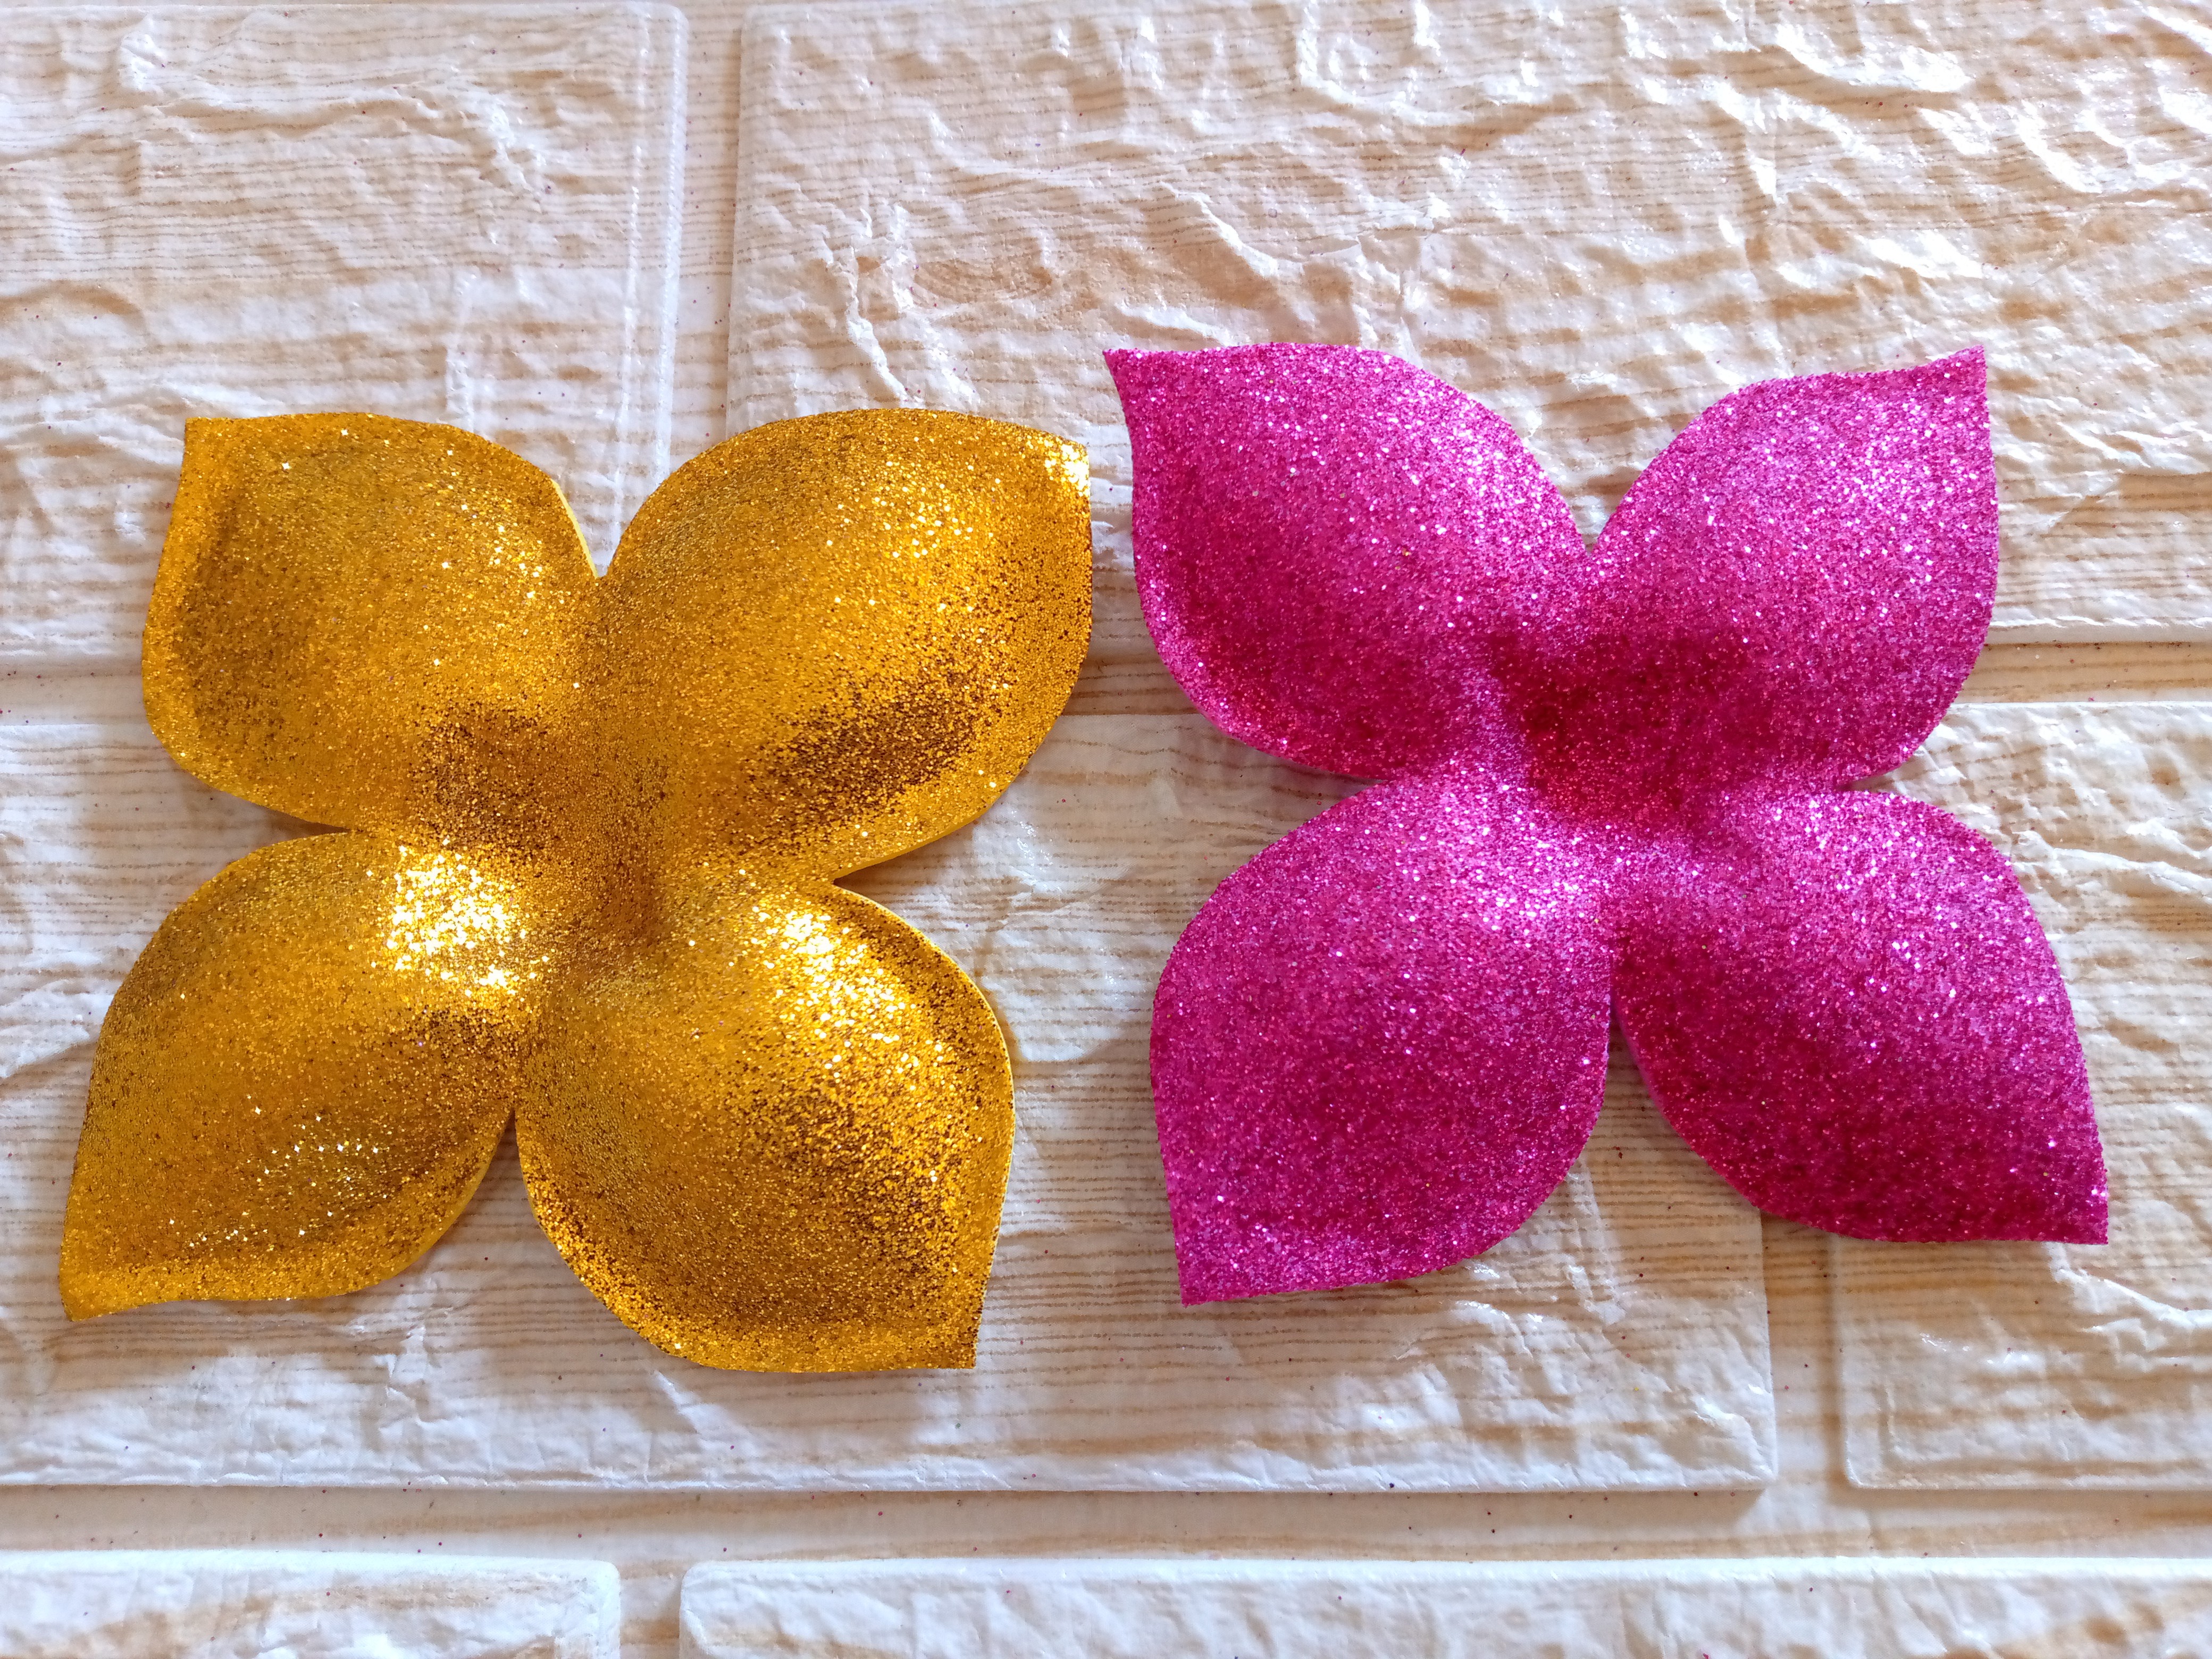
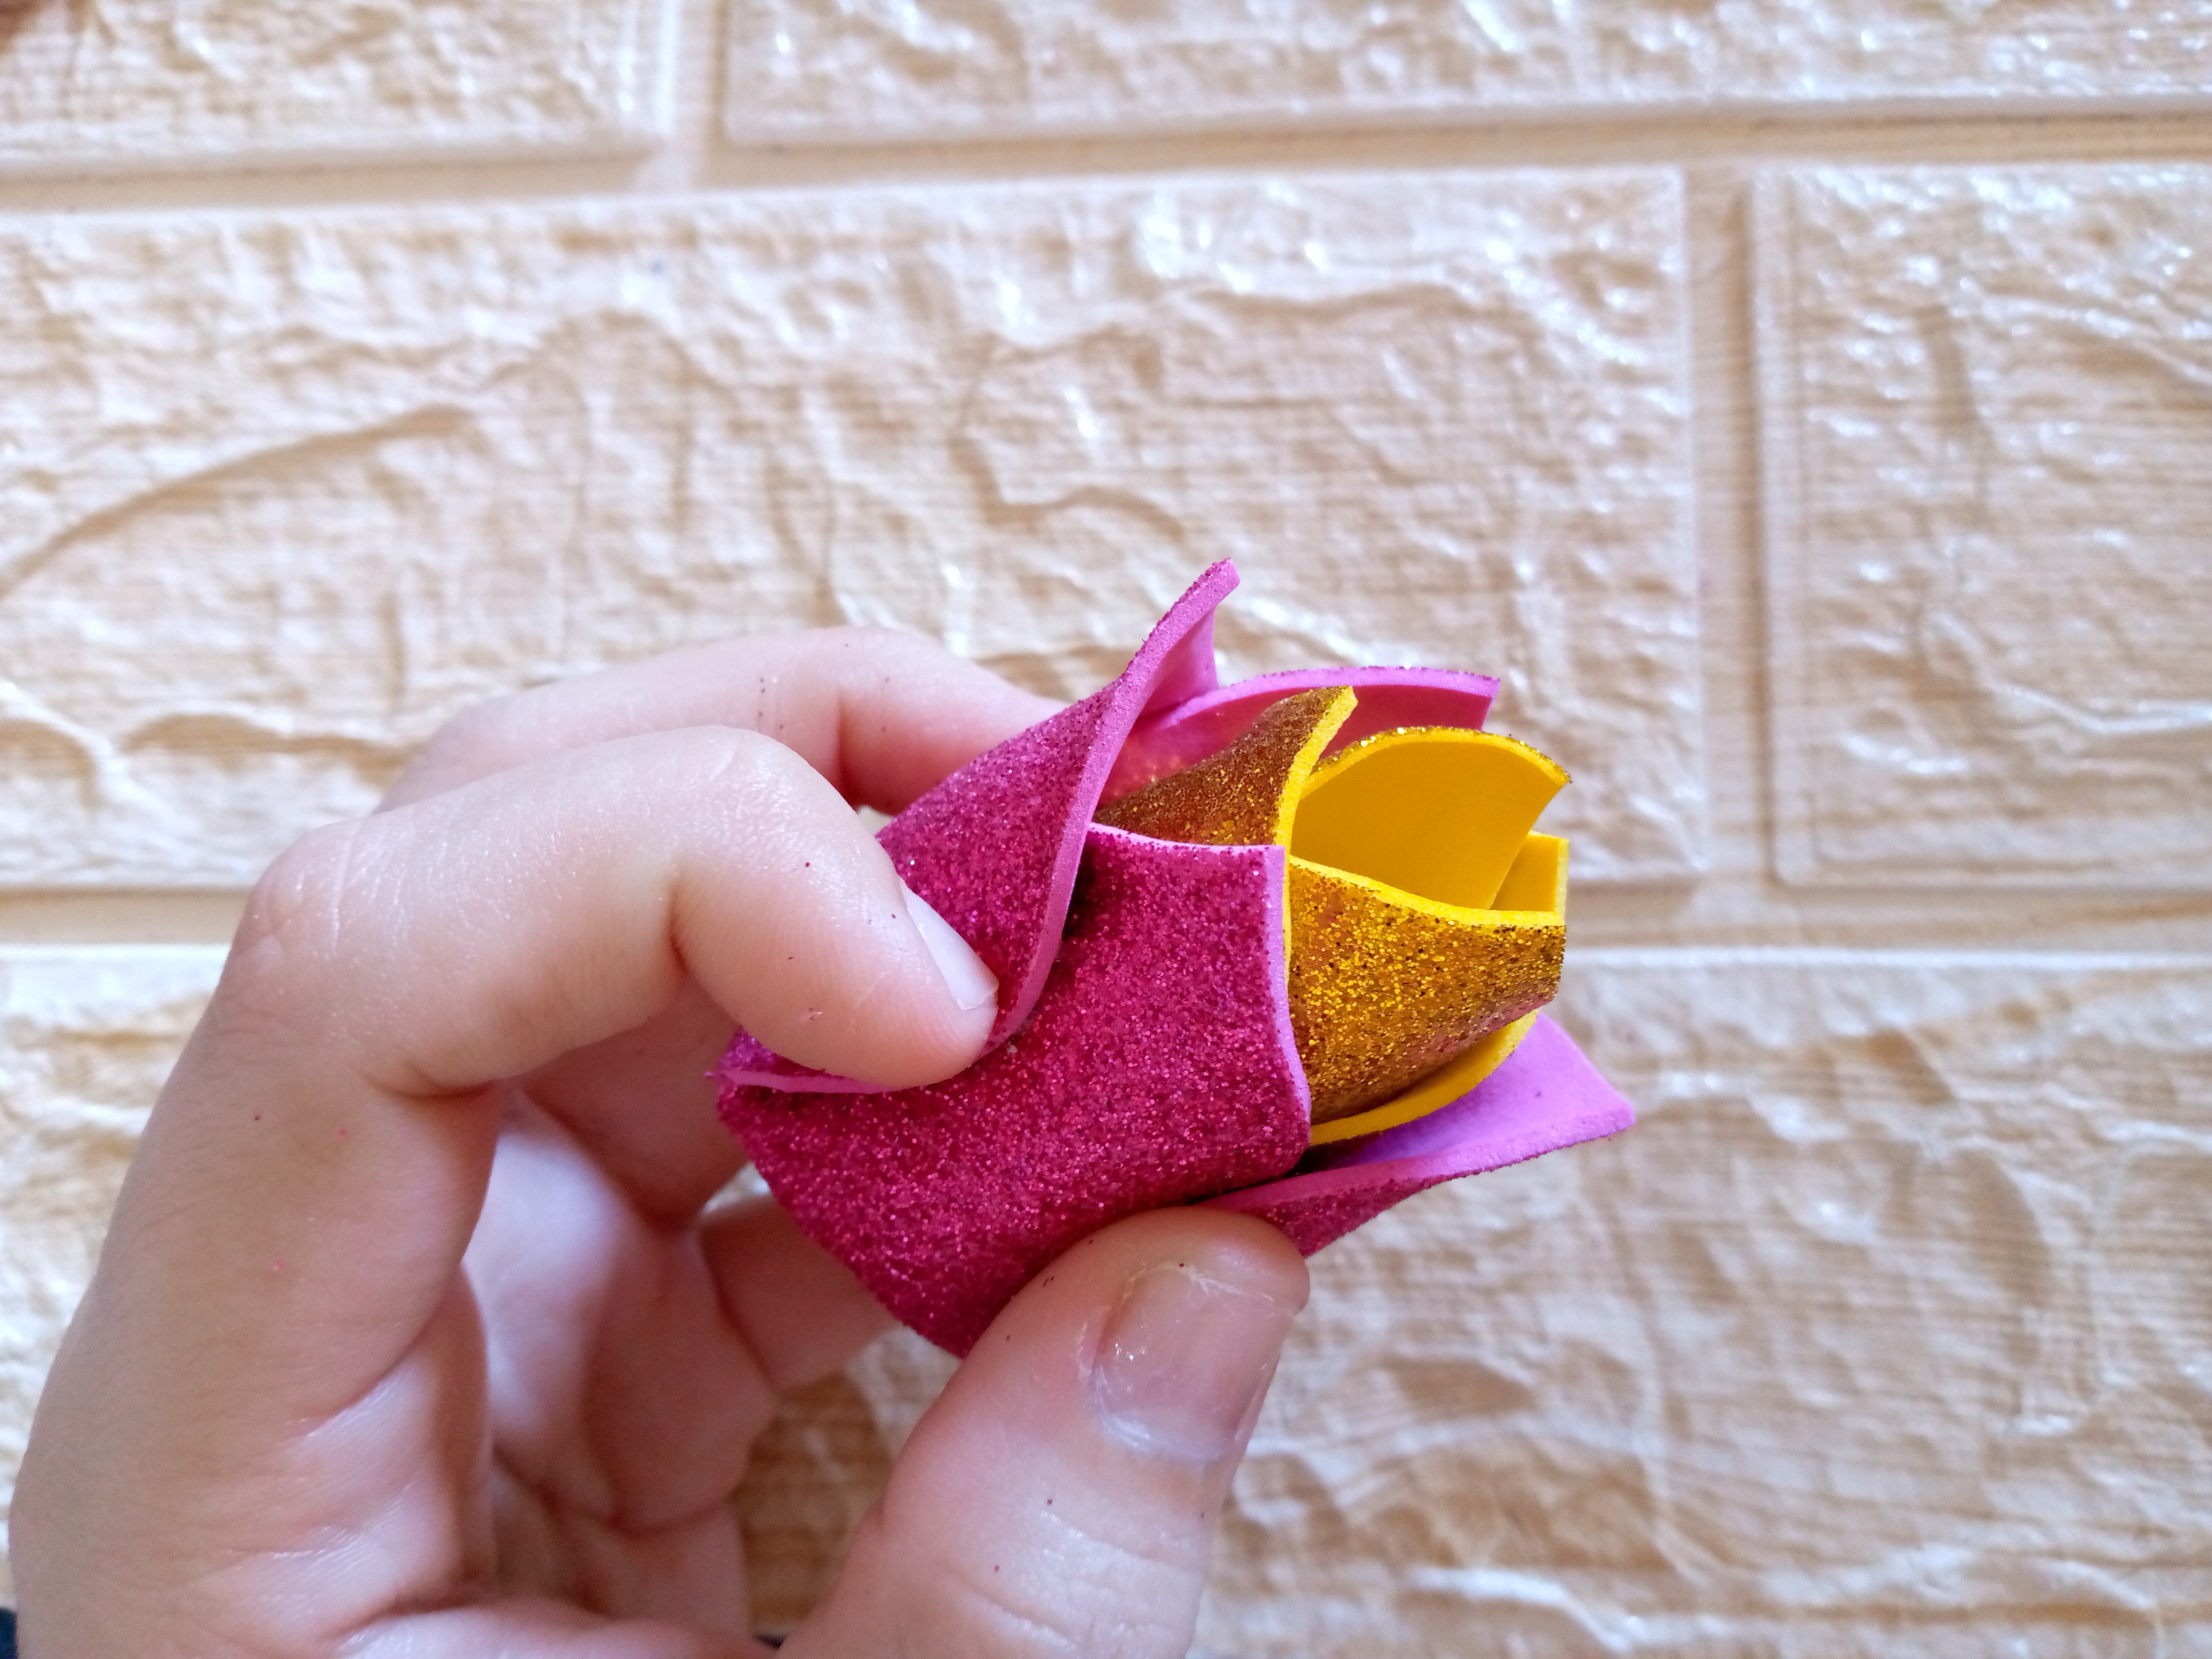
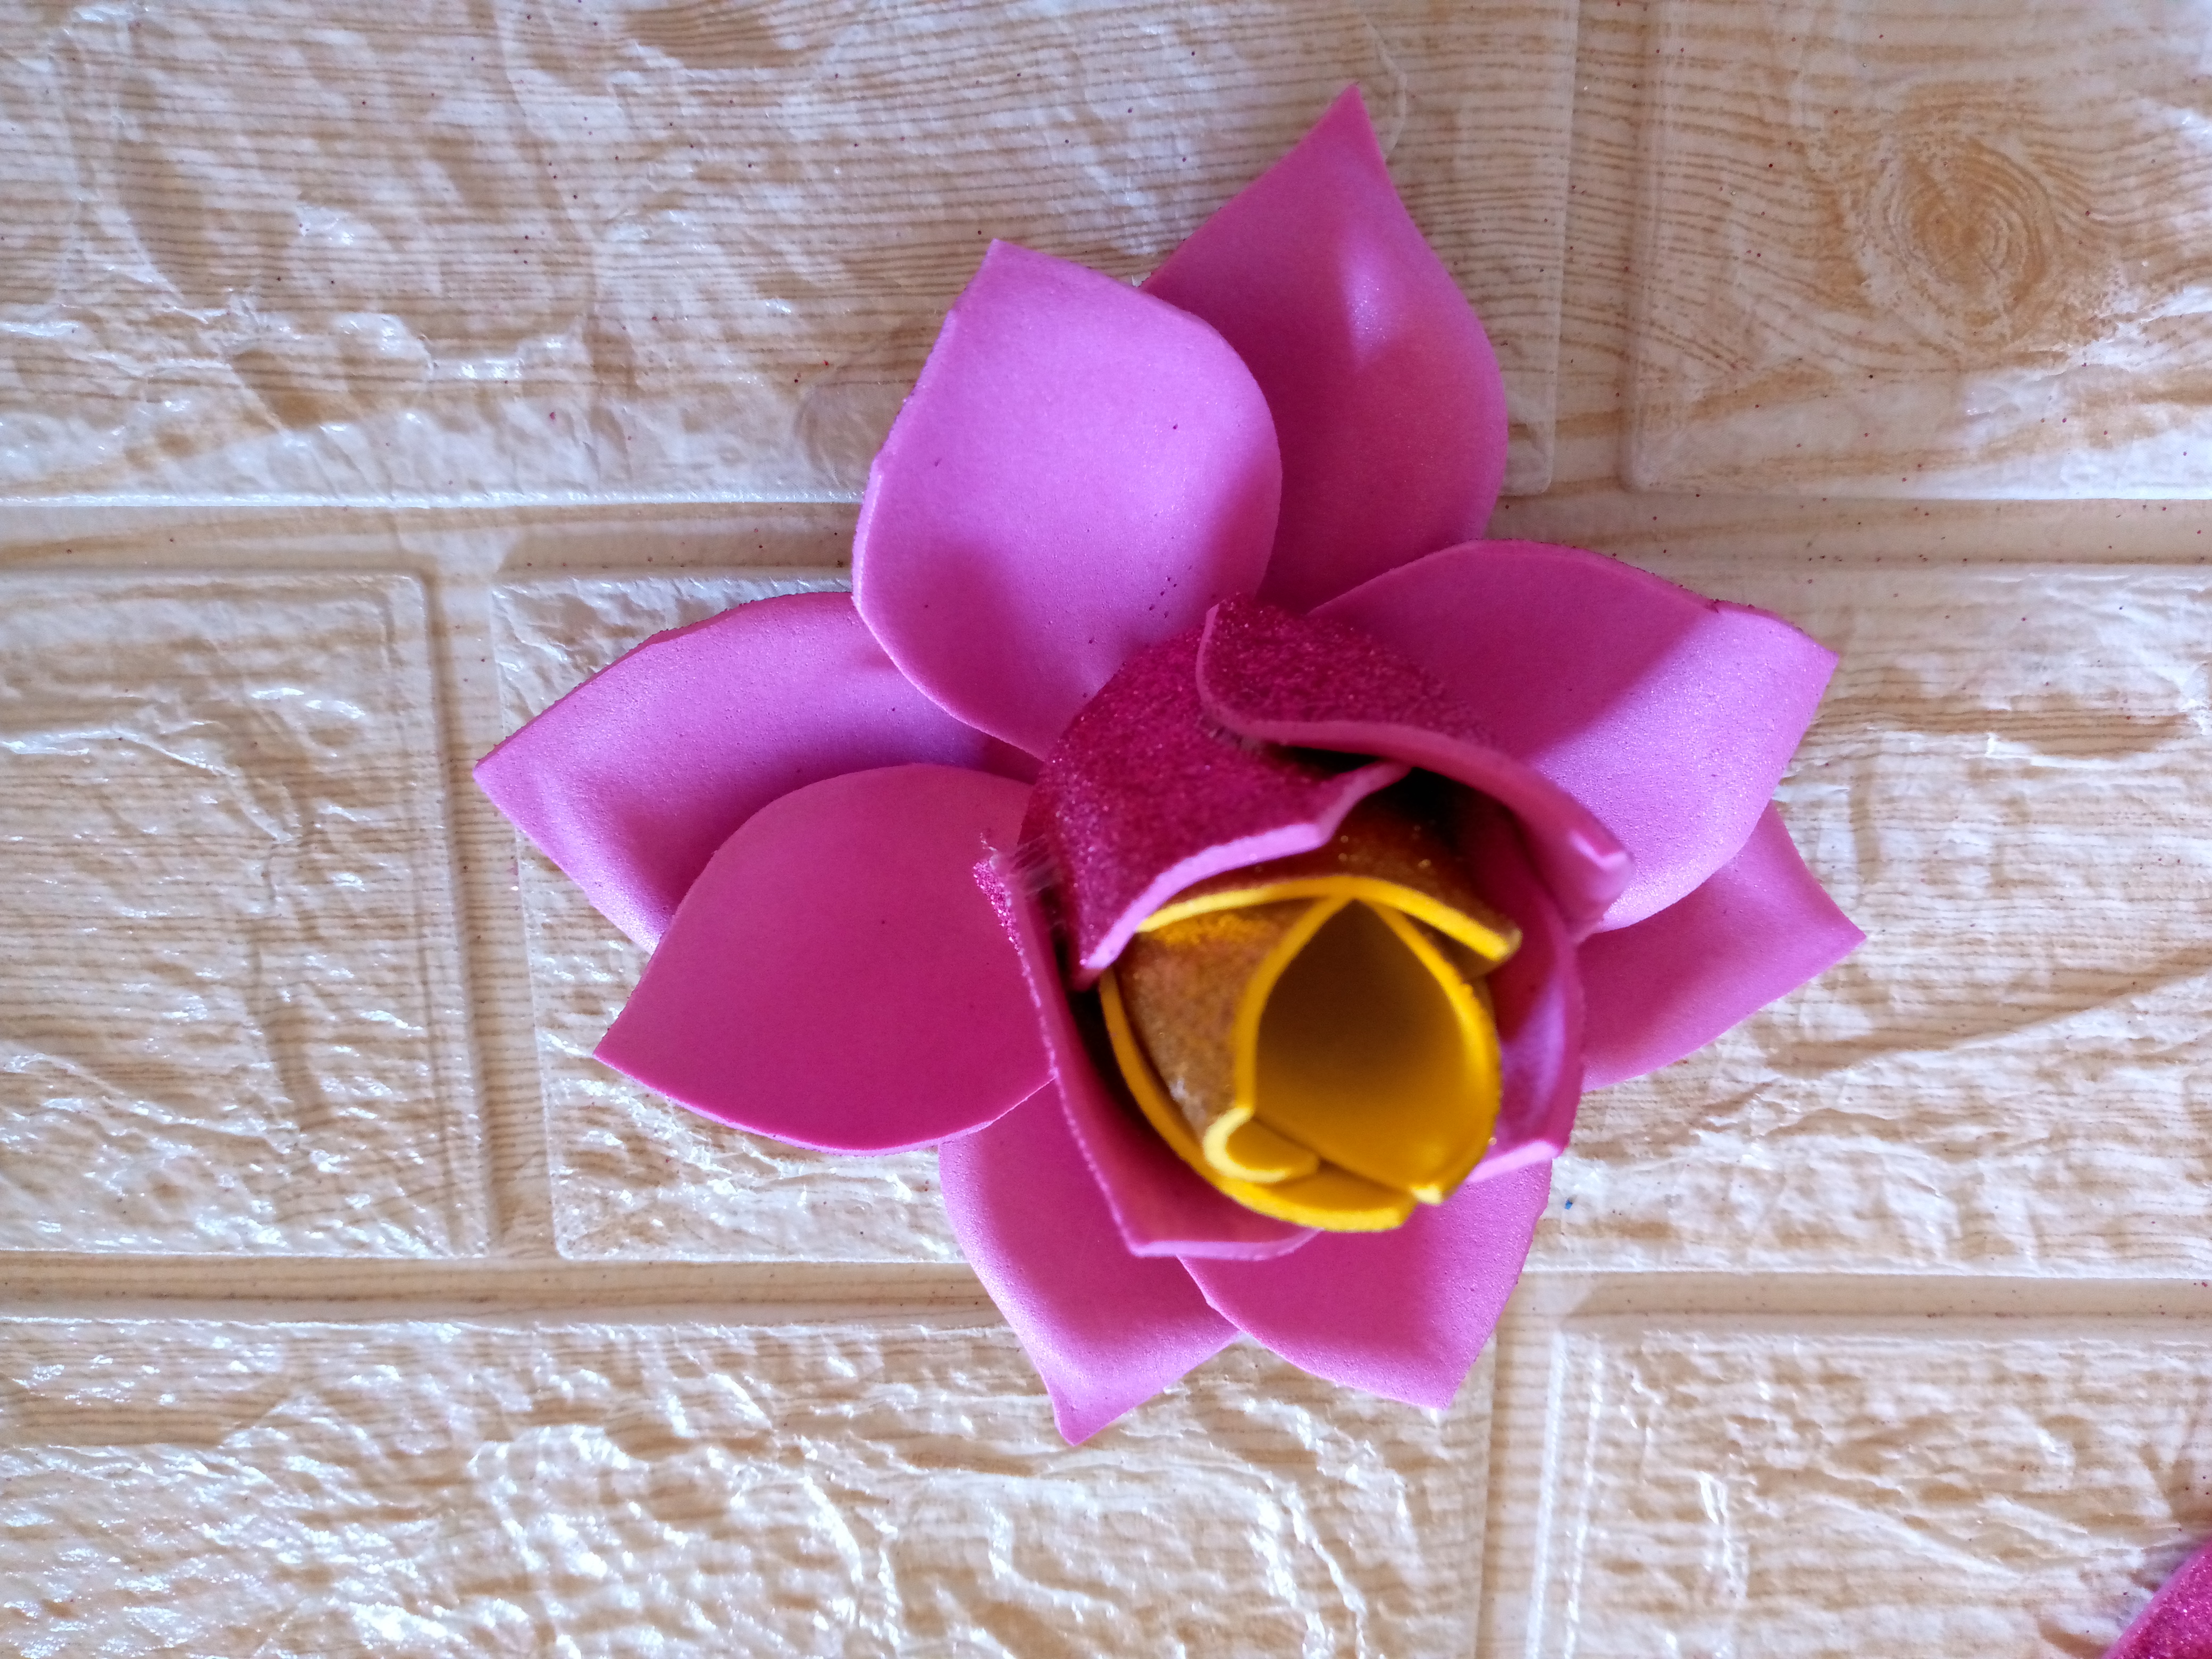
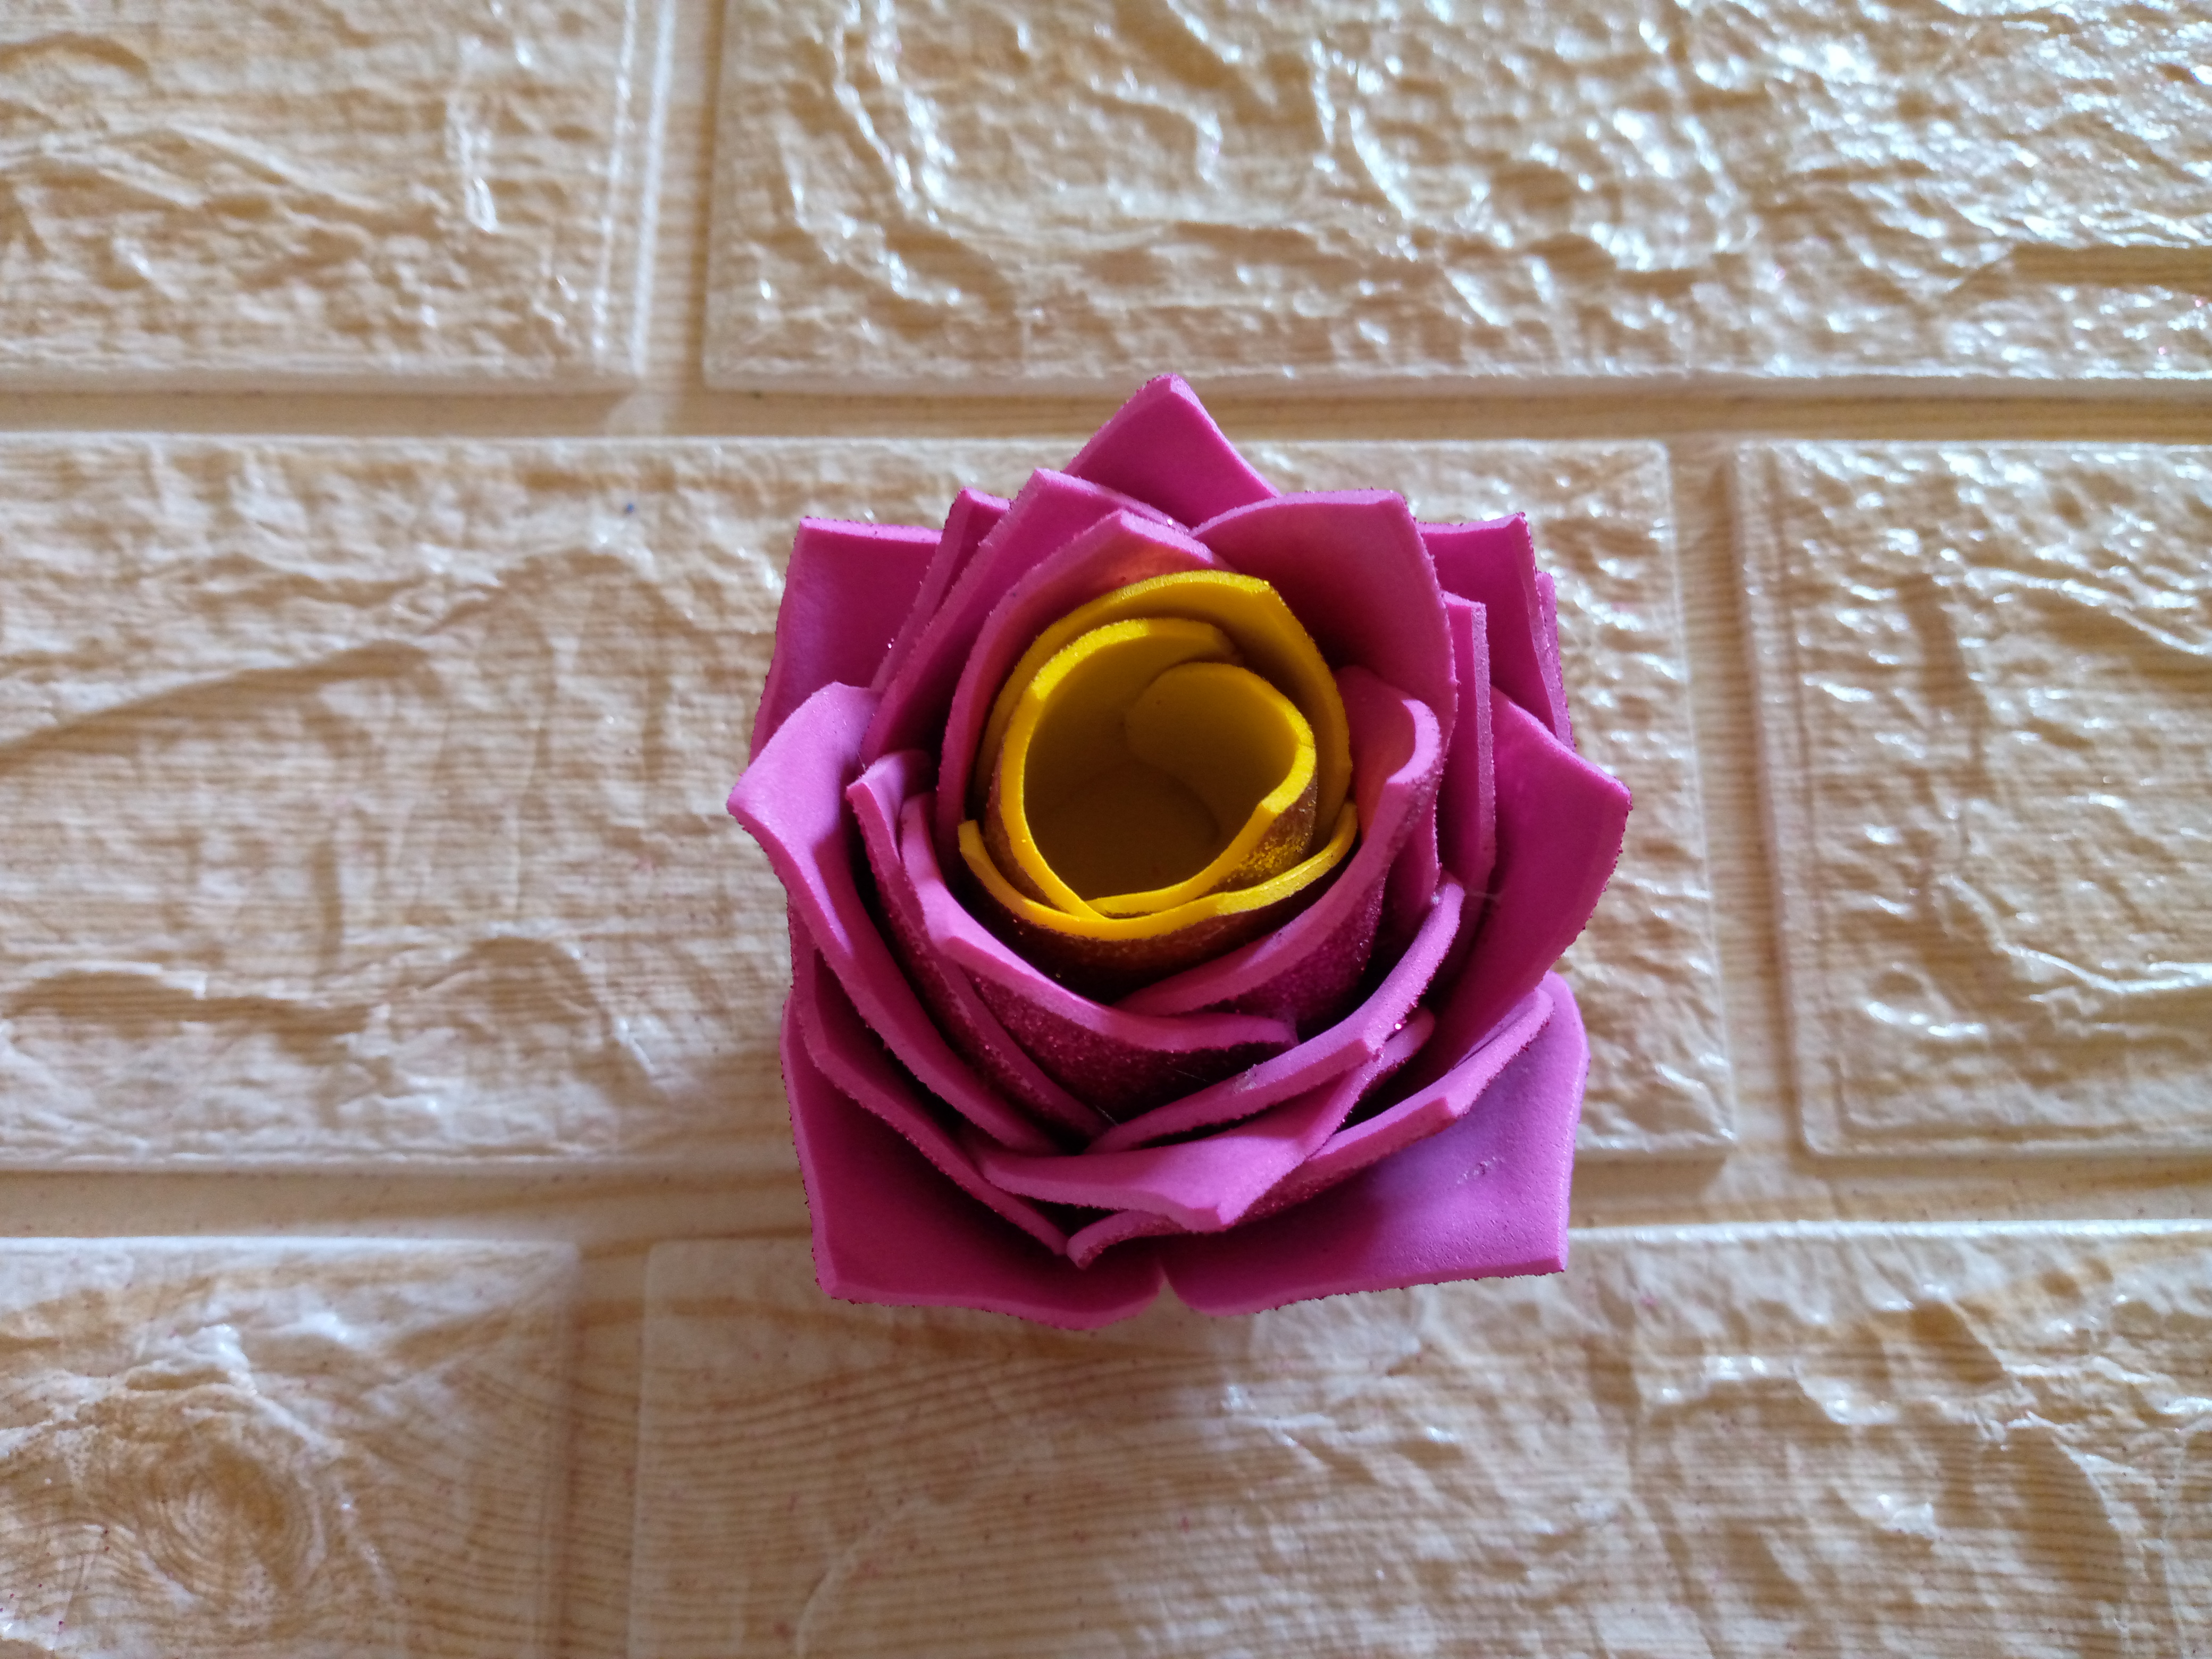
We are going to start by cutting foam squares the same size as my mold since when heating them on the iron they are going to shrink a little so it is advisable to cut them like I am mentioning at the edge of my mold, I will cut five squares of bright fuchsia foam, I chose this color because it seemed prettier to me when I went to buy it in the store and it gives a more striking touch to the flower, for the center of the petals I only used one square of yellow foam but I feel that it is like a little golden color only from that I cut one square, well then what we will do is heat our iron to medium heat previously and when it is at medium level we are going to place the squares when they heat up quickly they will roll up and without burning ourselves we spread them in the mold and we put pressure on them with the top lid of the mold same as I will be doing with the other squares to remove our petals from the flower.
Paso 02
Step 02
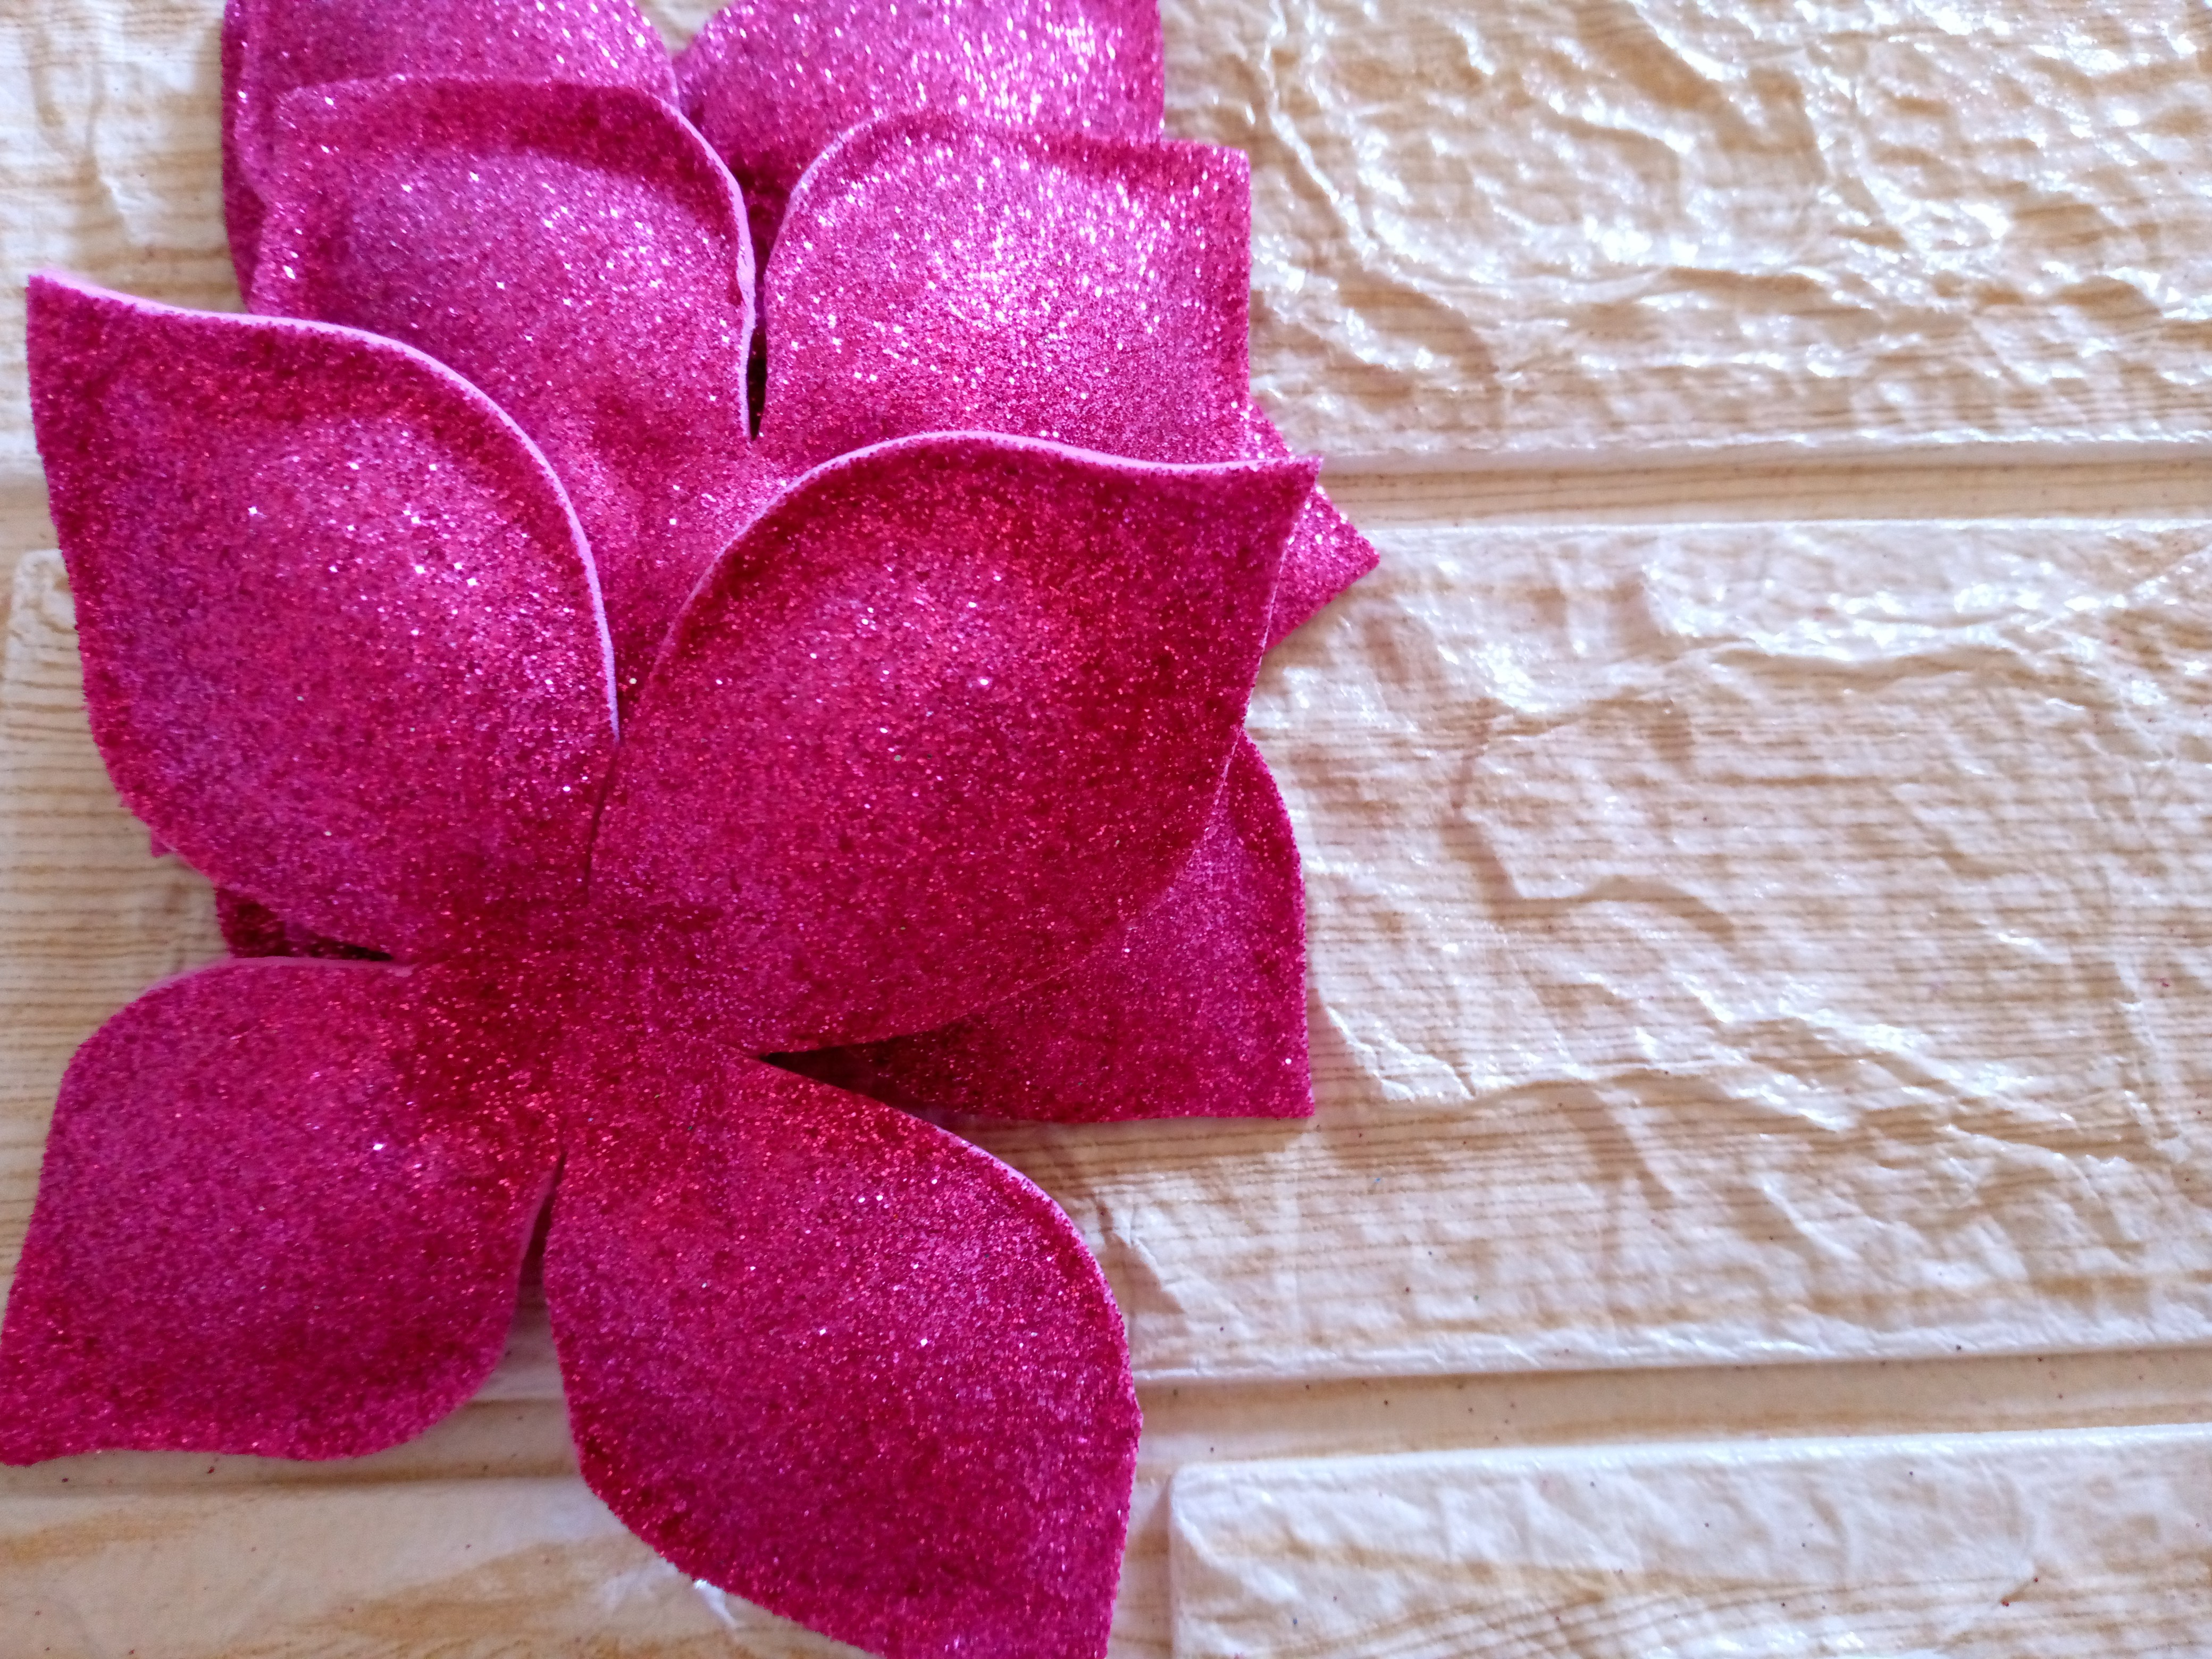
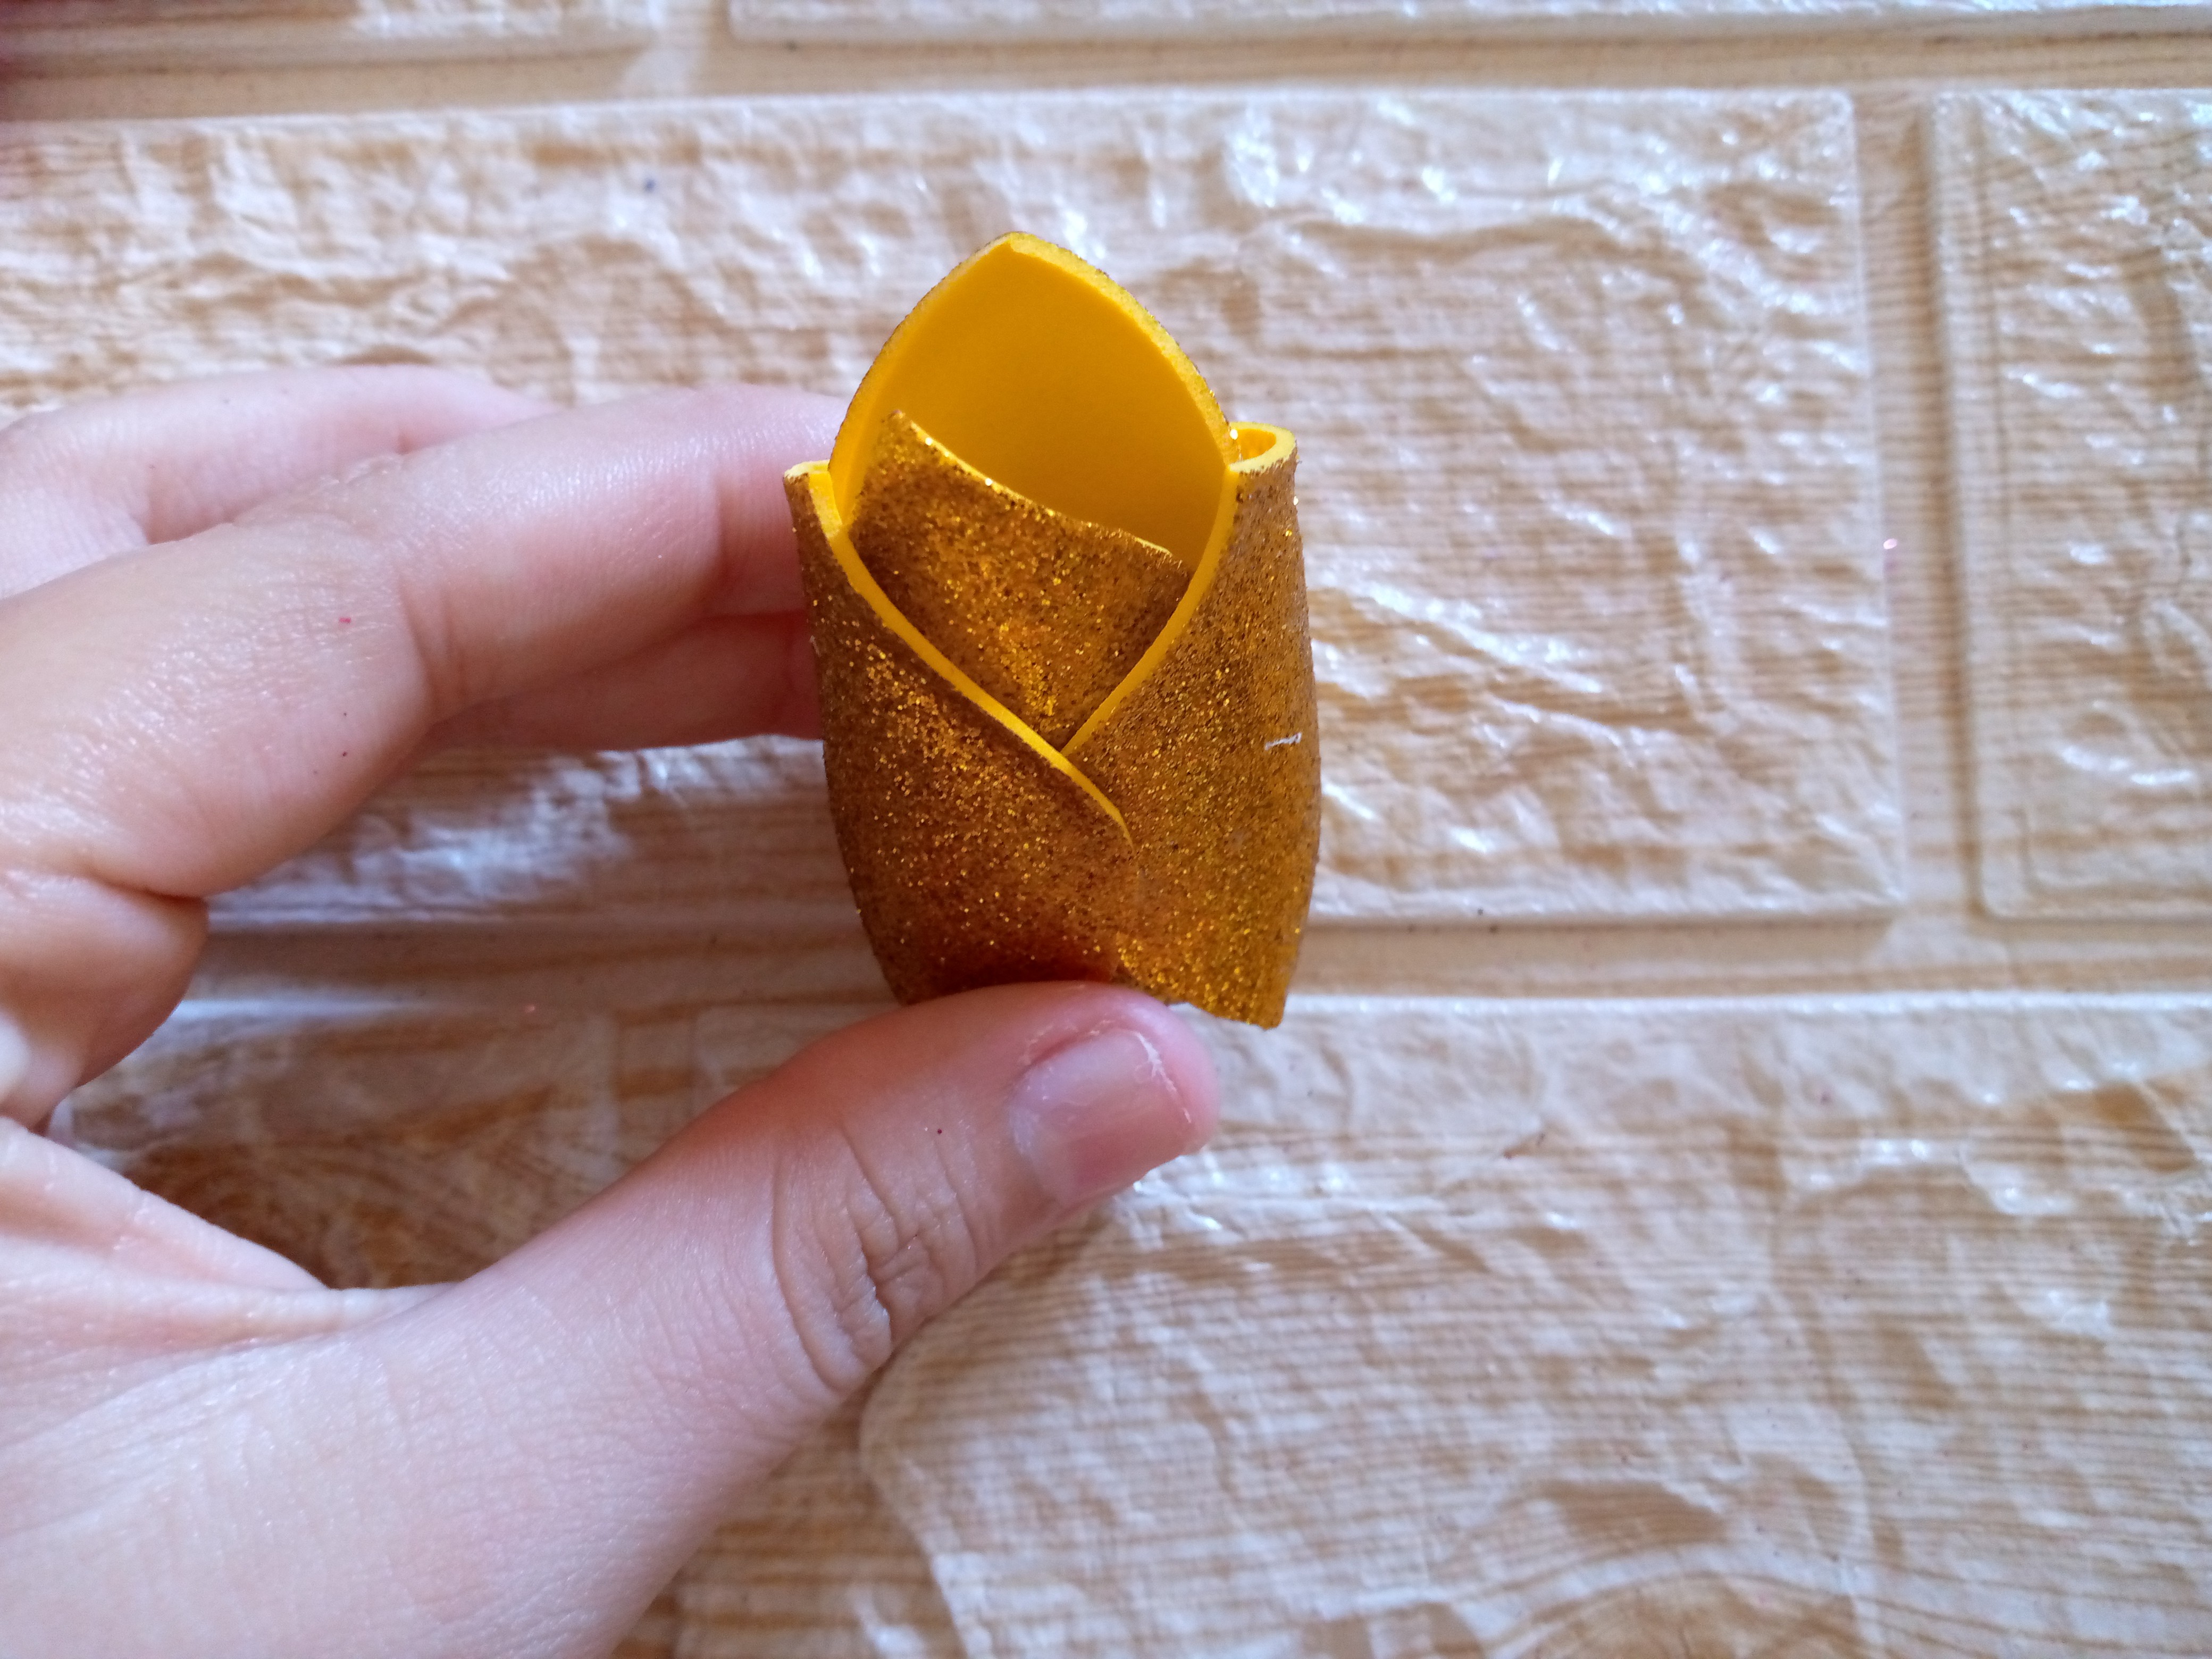
I'm going to start to assemble my flower petals, for this we will start in the center with our yellow foam color, our petals, here as you know the flowers in the center have like a bud, so with this color we are going to make a yellow bud. First we close both petals in the middle then the sides and press, we wait for the silicone to dry, so with this we have a bud, and with the following fuchsia petals we are going to assemble our flower, we add a little silicone in the center of the petal and place it below the bud so we are going to glue each petal below until we finish gluing them all.
.jpg)
Paso 03
Step 03
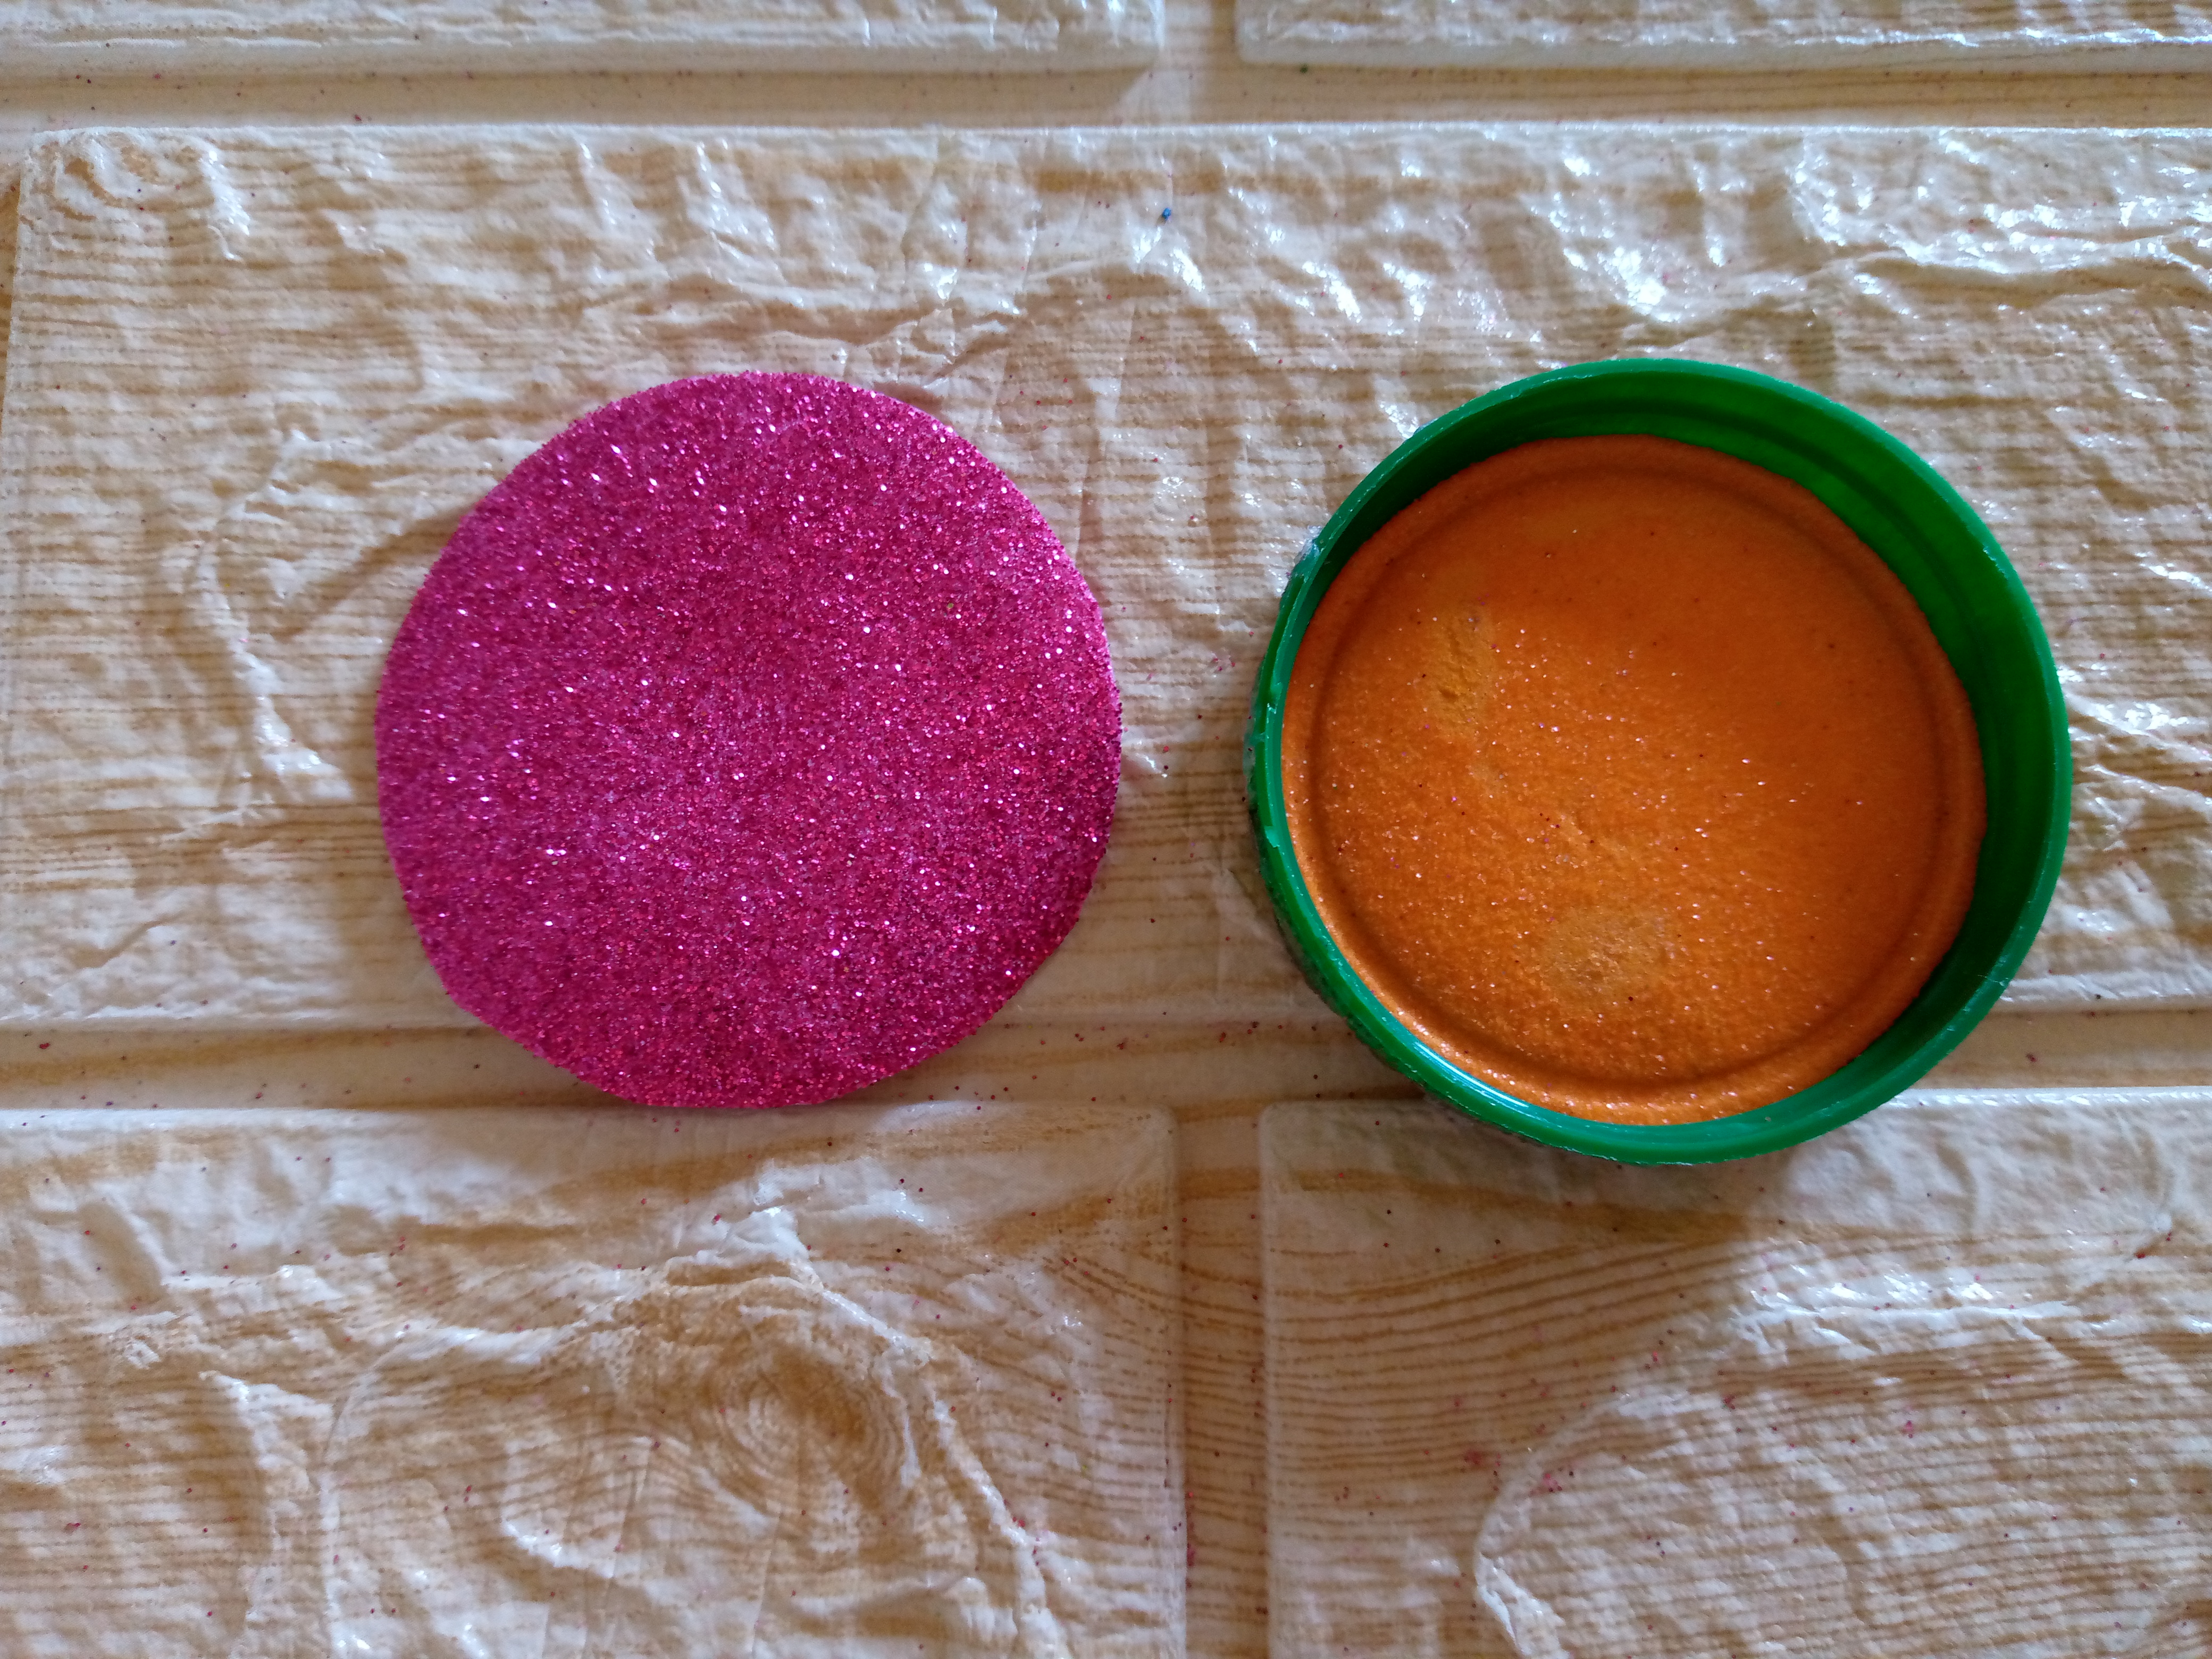
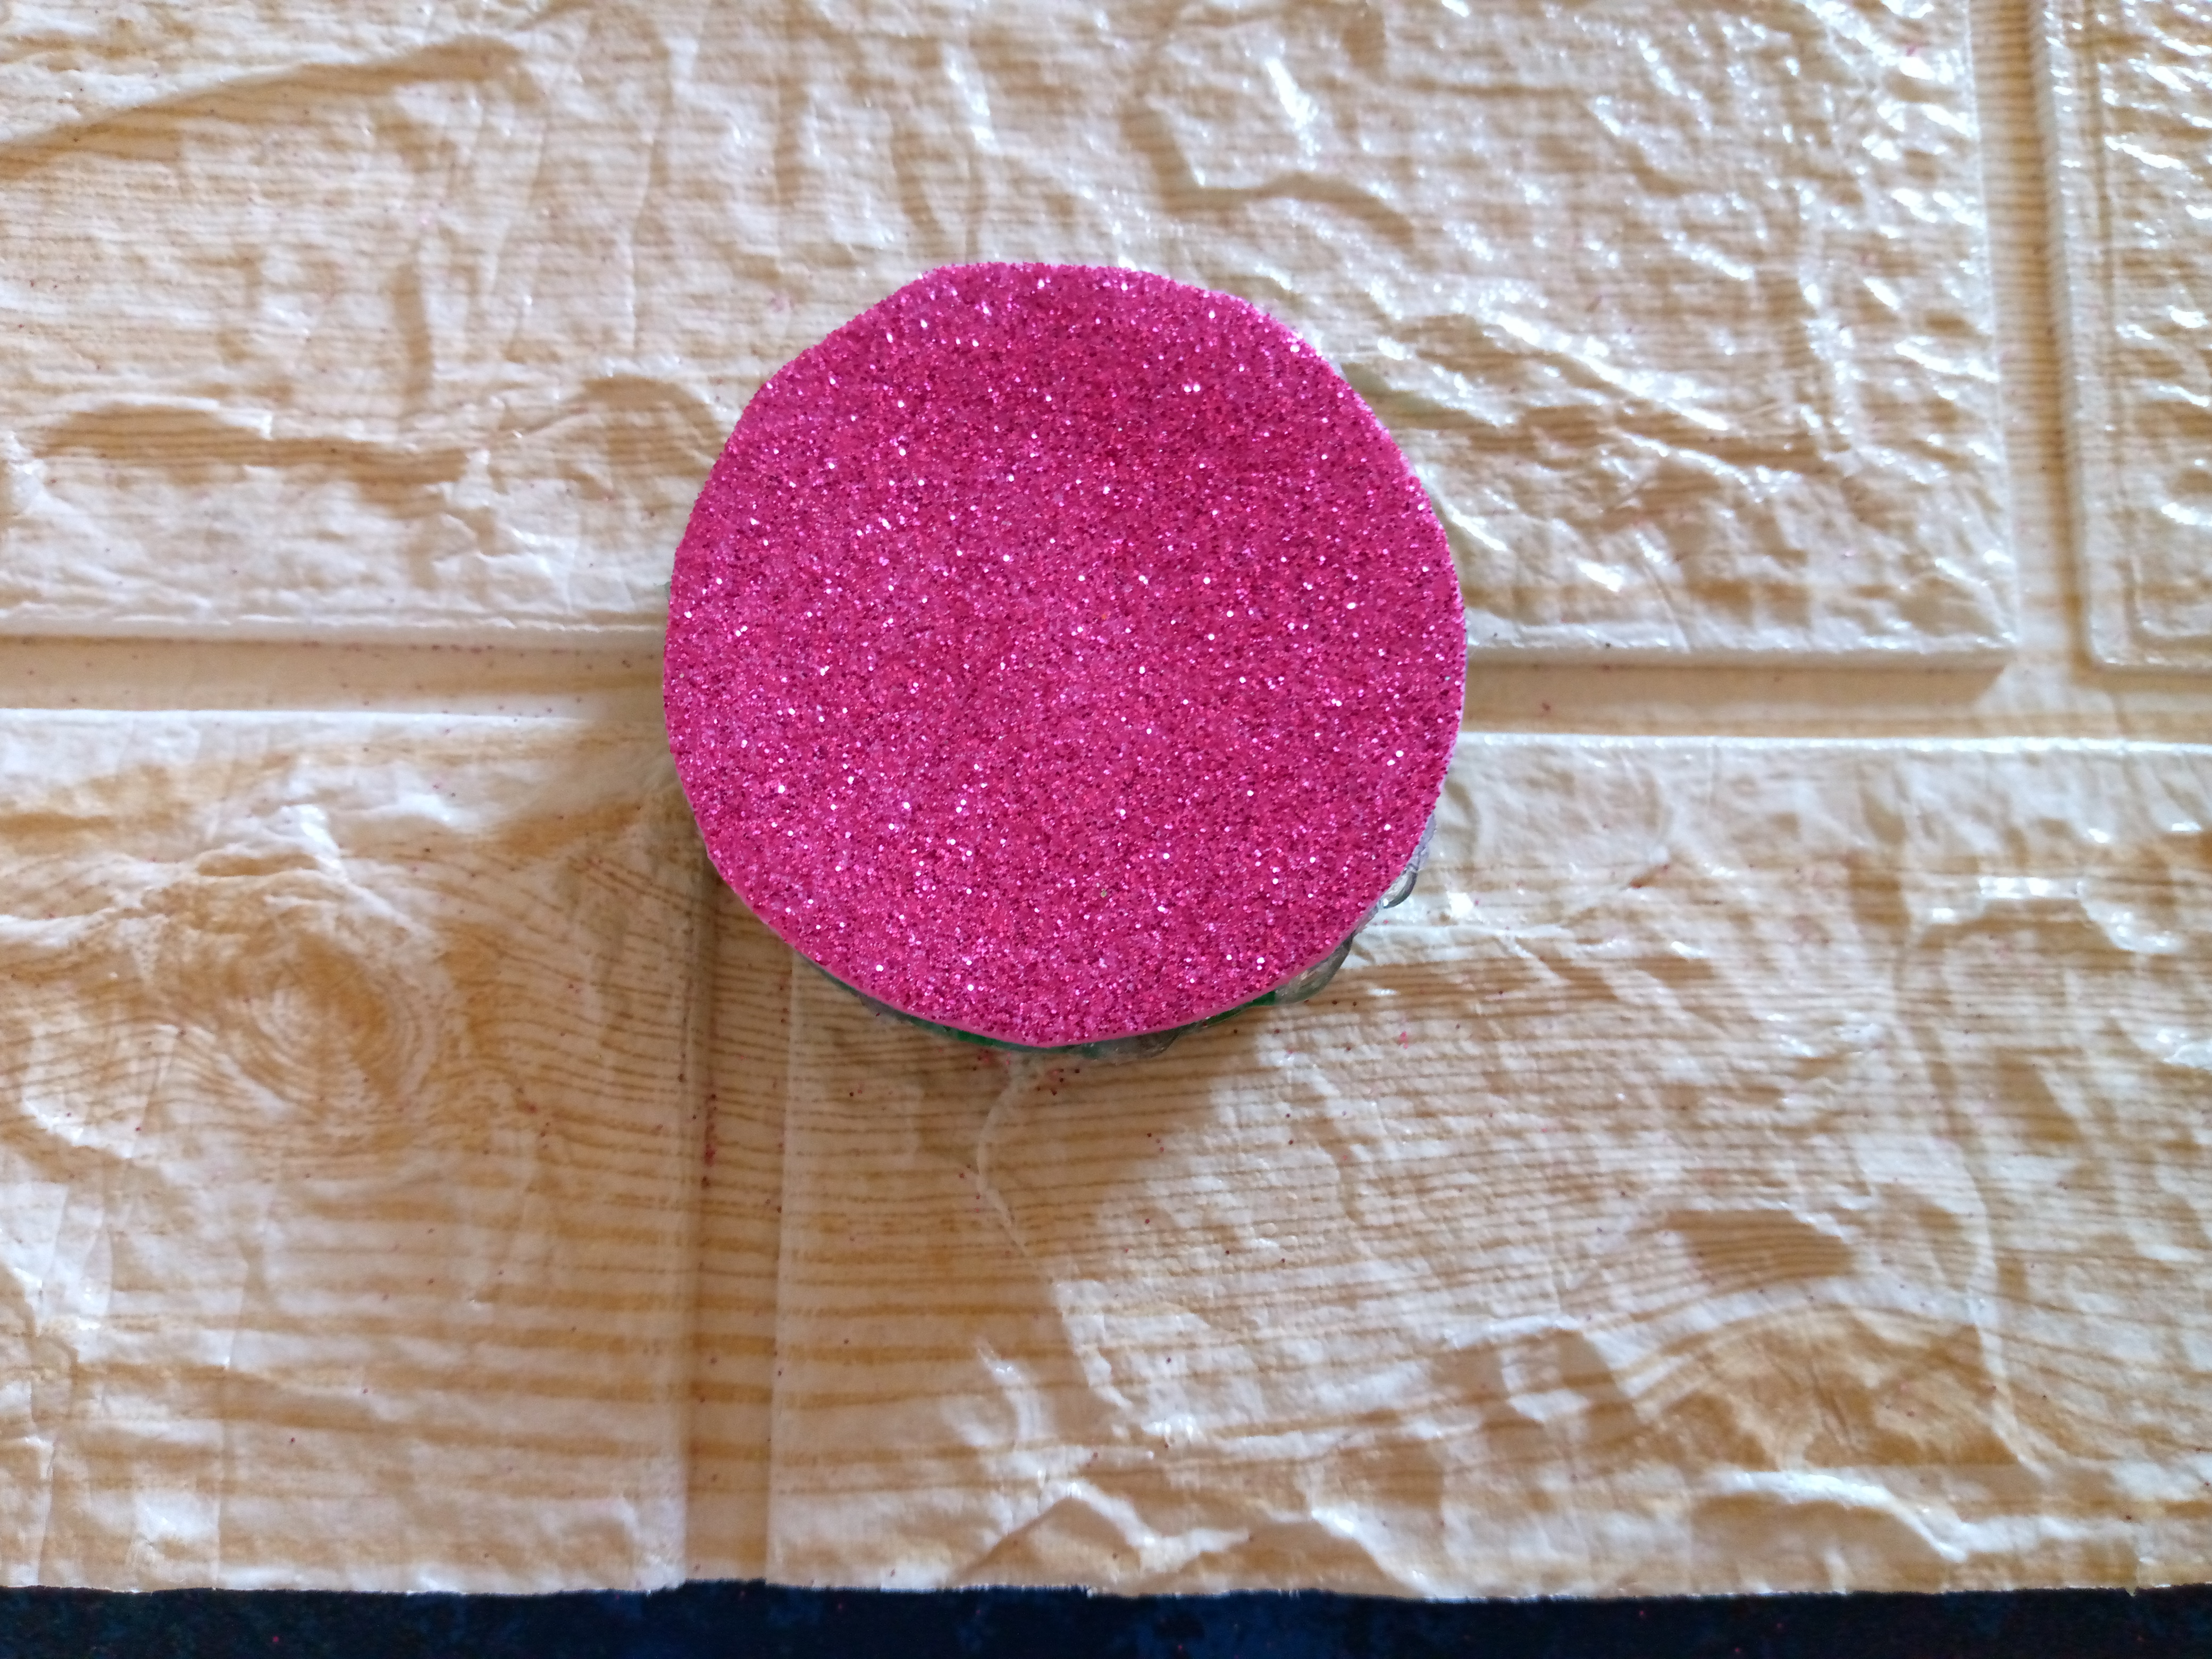
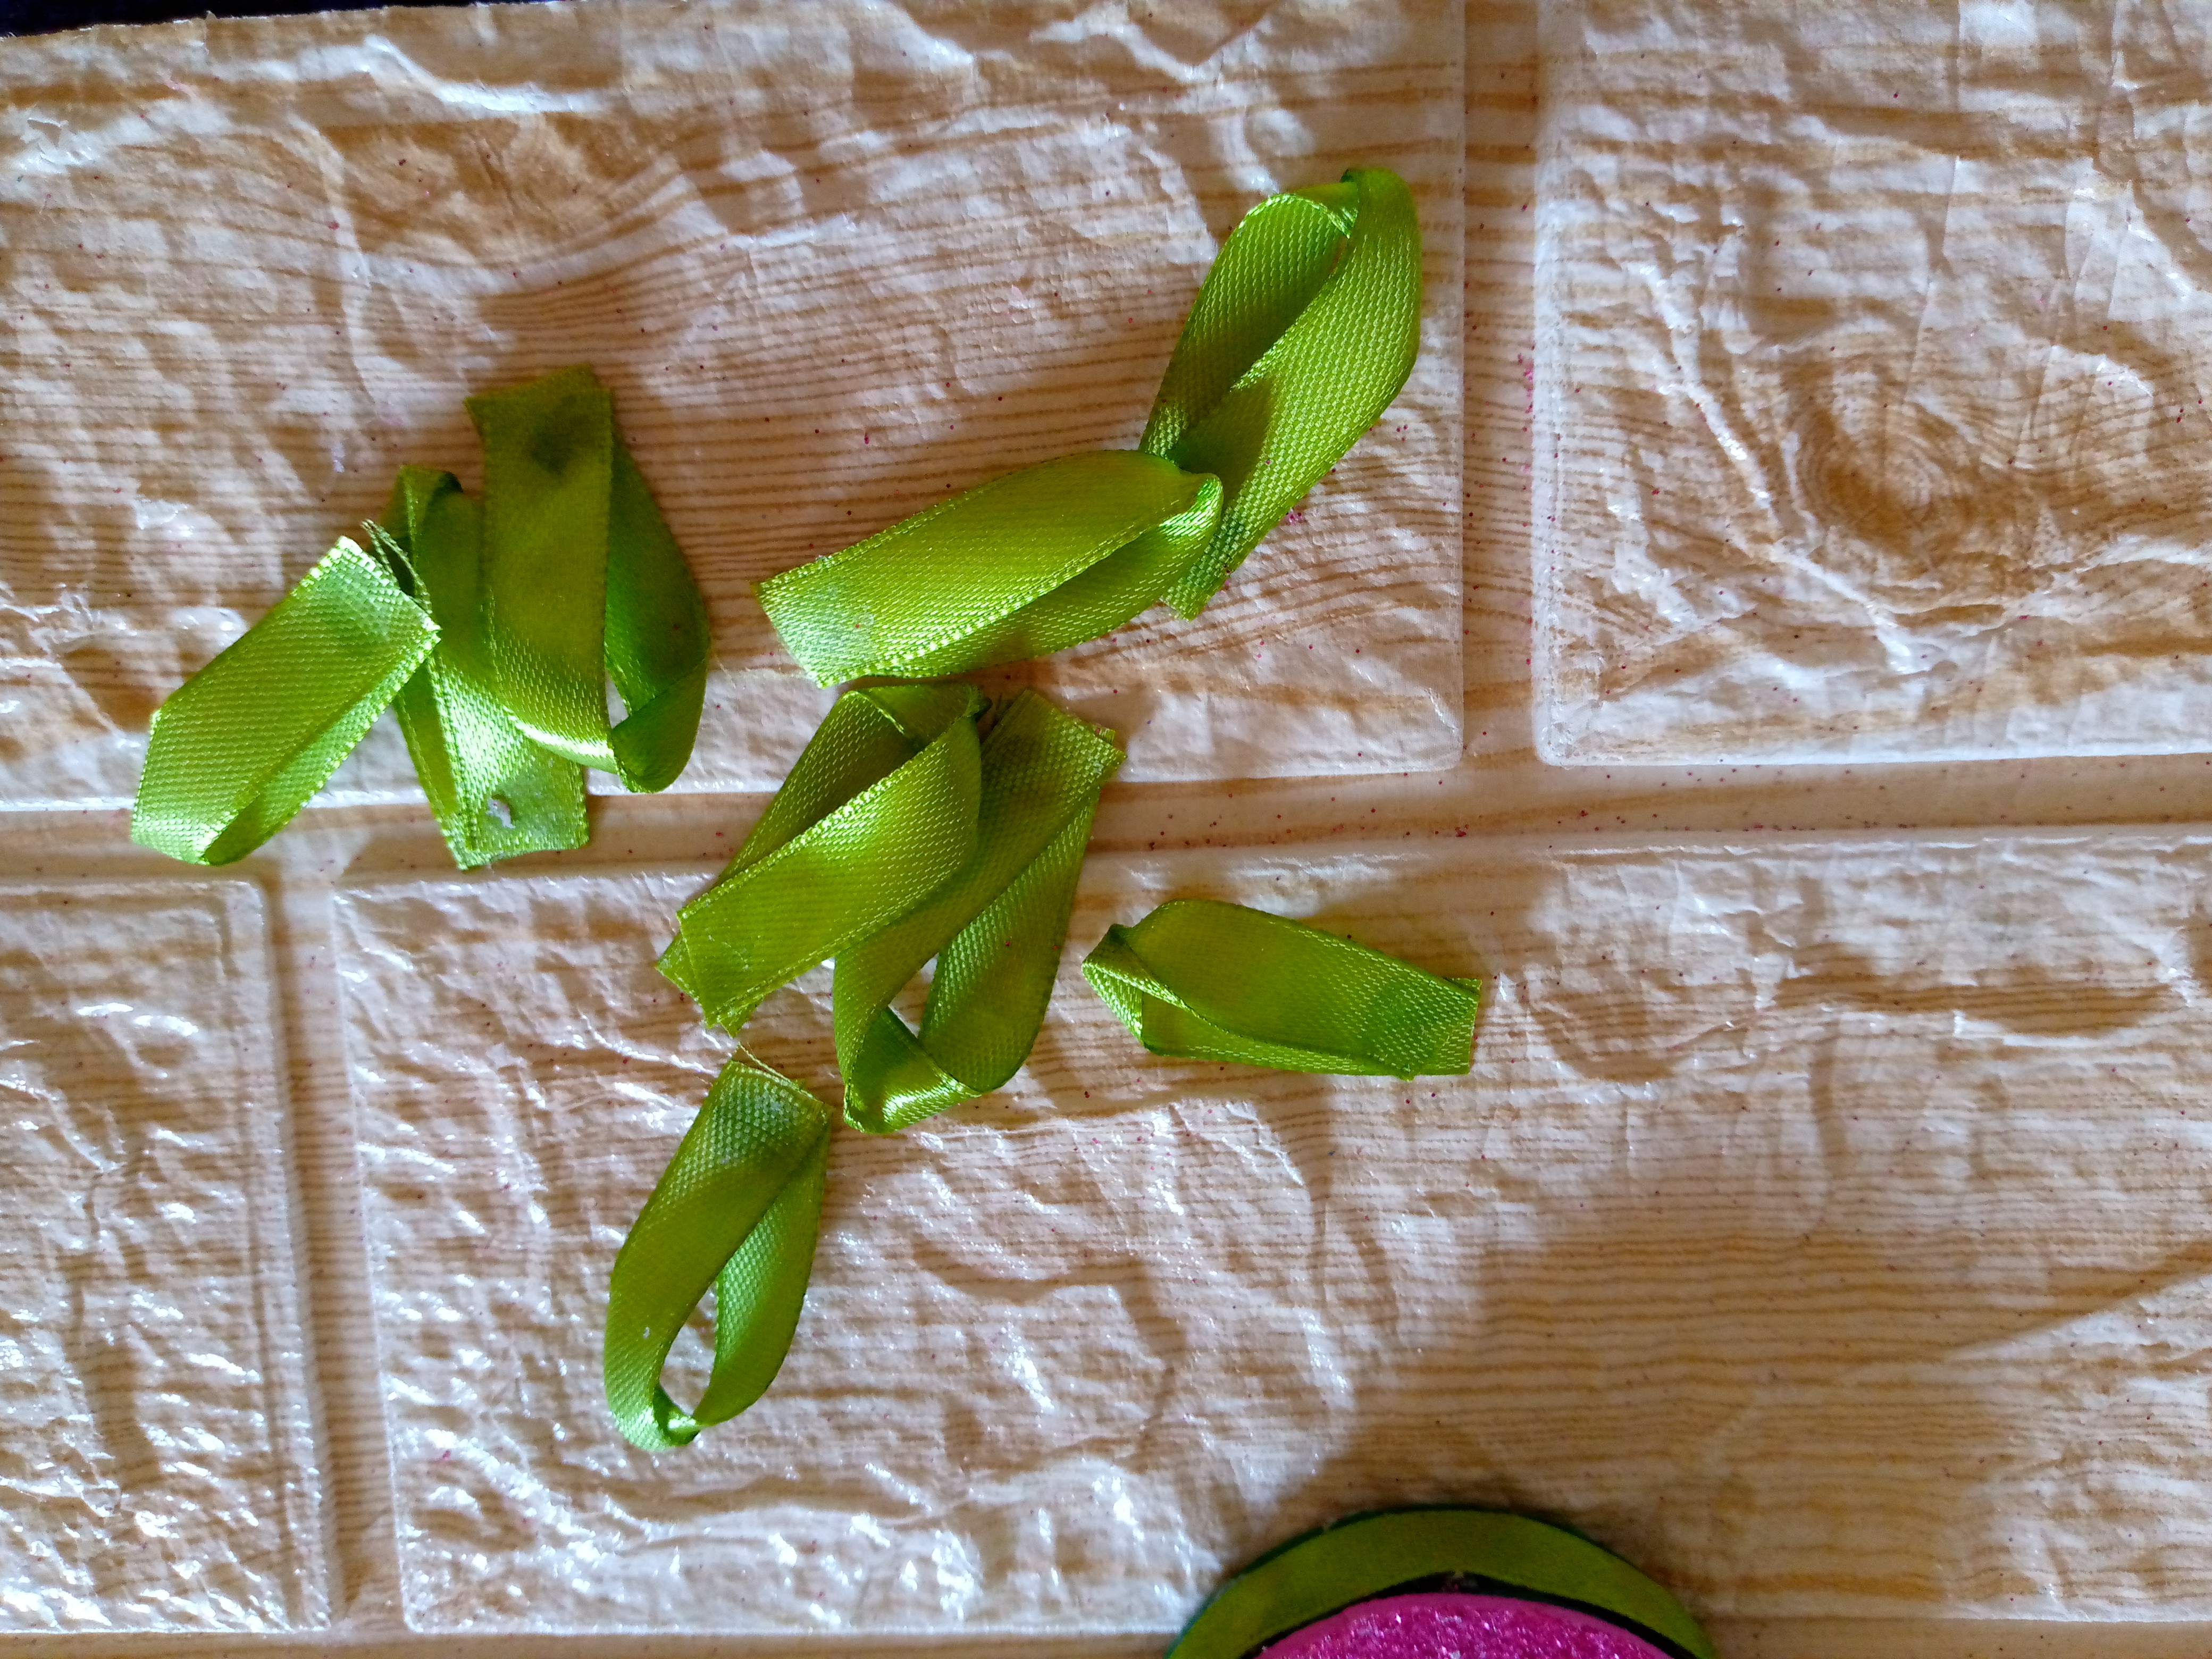
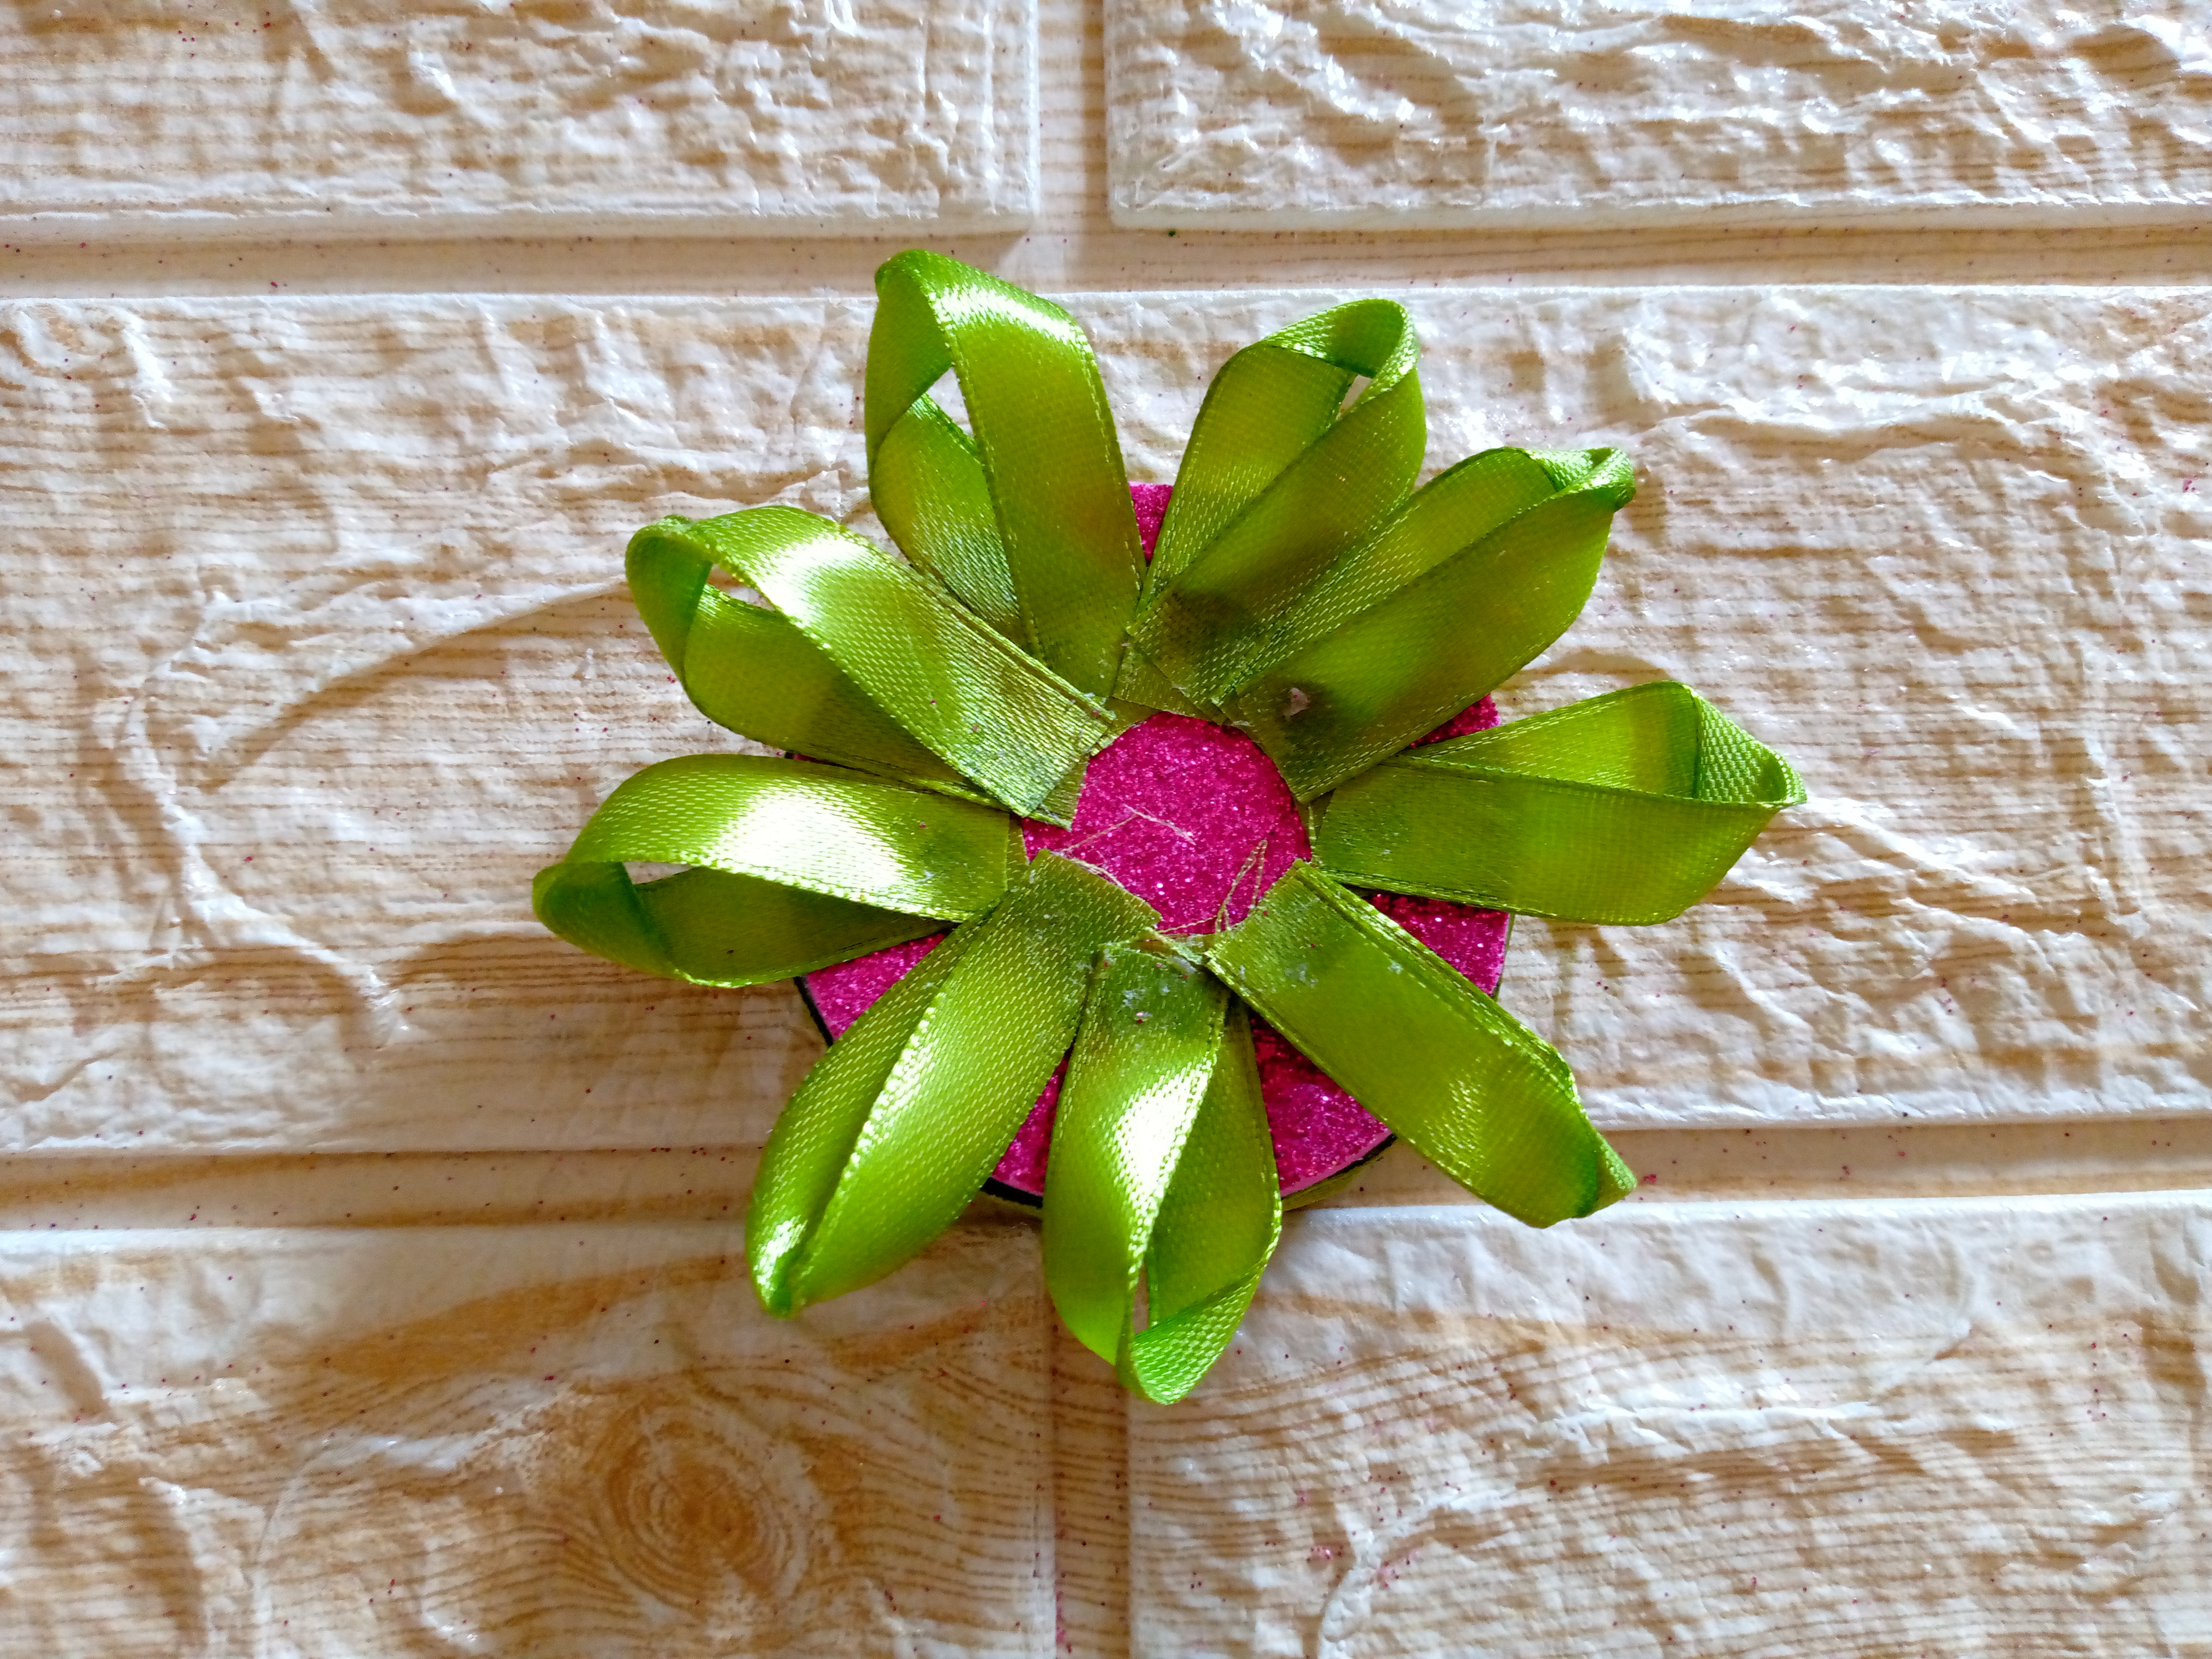
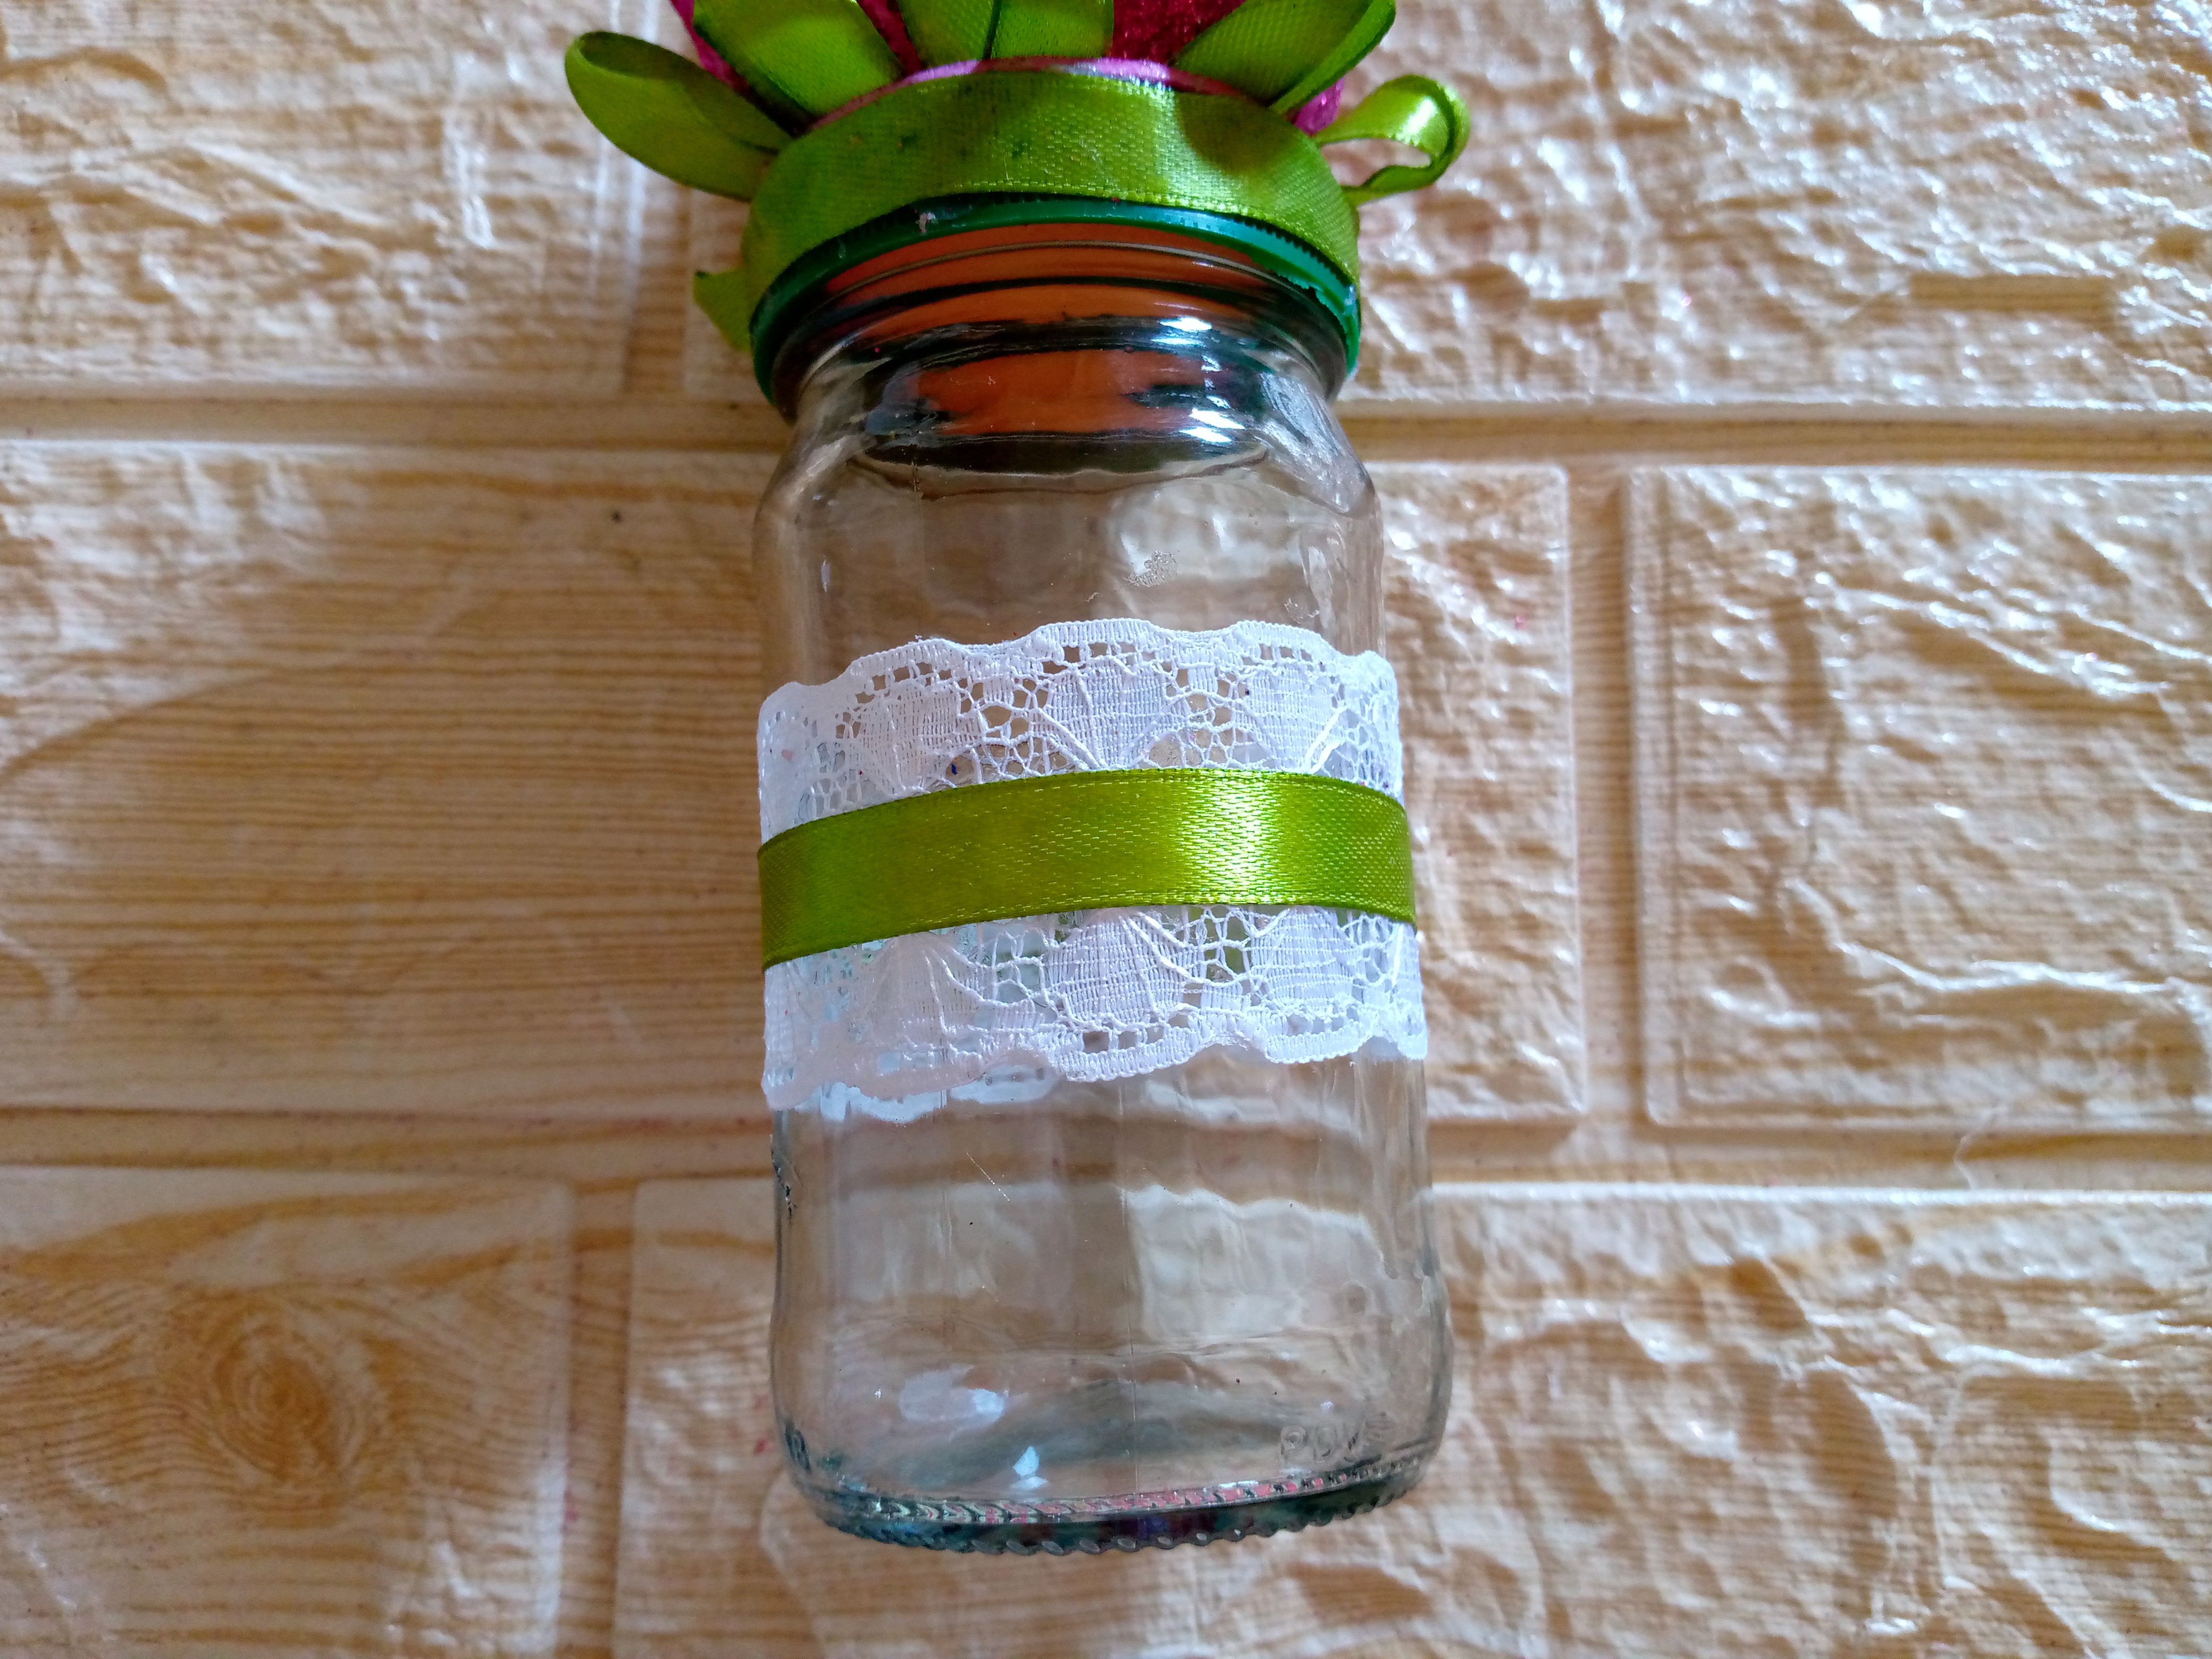
Once we have assembled our beautiful flower we let the silicone dry and we will be moving on to line the lid of our container, we make a circle of fuchsia foam to cover the lid on top then we add the silicone and glue we let it dry too then we will stick our green ribbon along the edge we cut and glue the tip the idea is that our lid is lined on that side as well, we will be making the leaves of the flower for this I cut ribbons of the same green color about 6 cm long and we will be folding them and gluing each ribbon at the tip we will make a total of 9 small leaves that we will be gluing on the base that we lined with our lid we place them in the same way as seen in the image.

Paso 04
Step 04
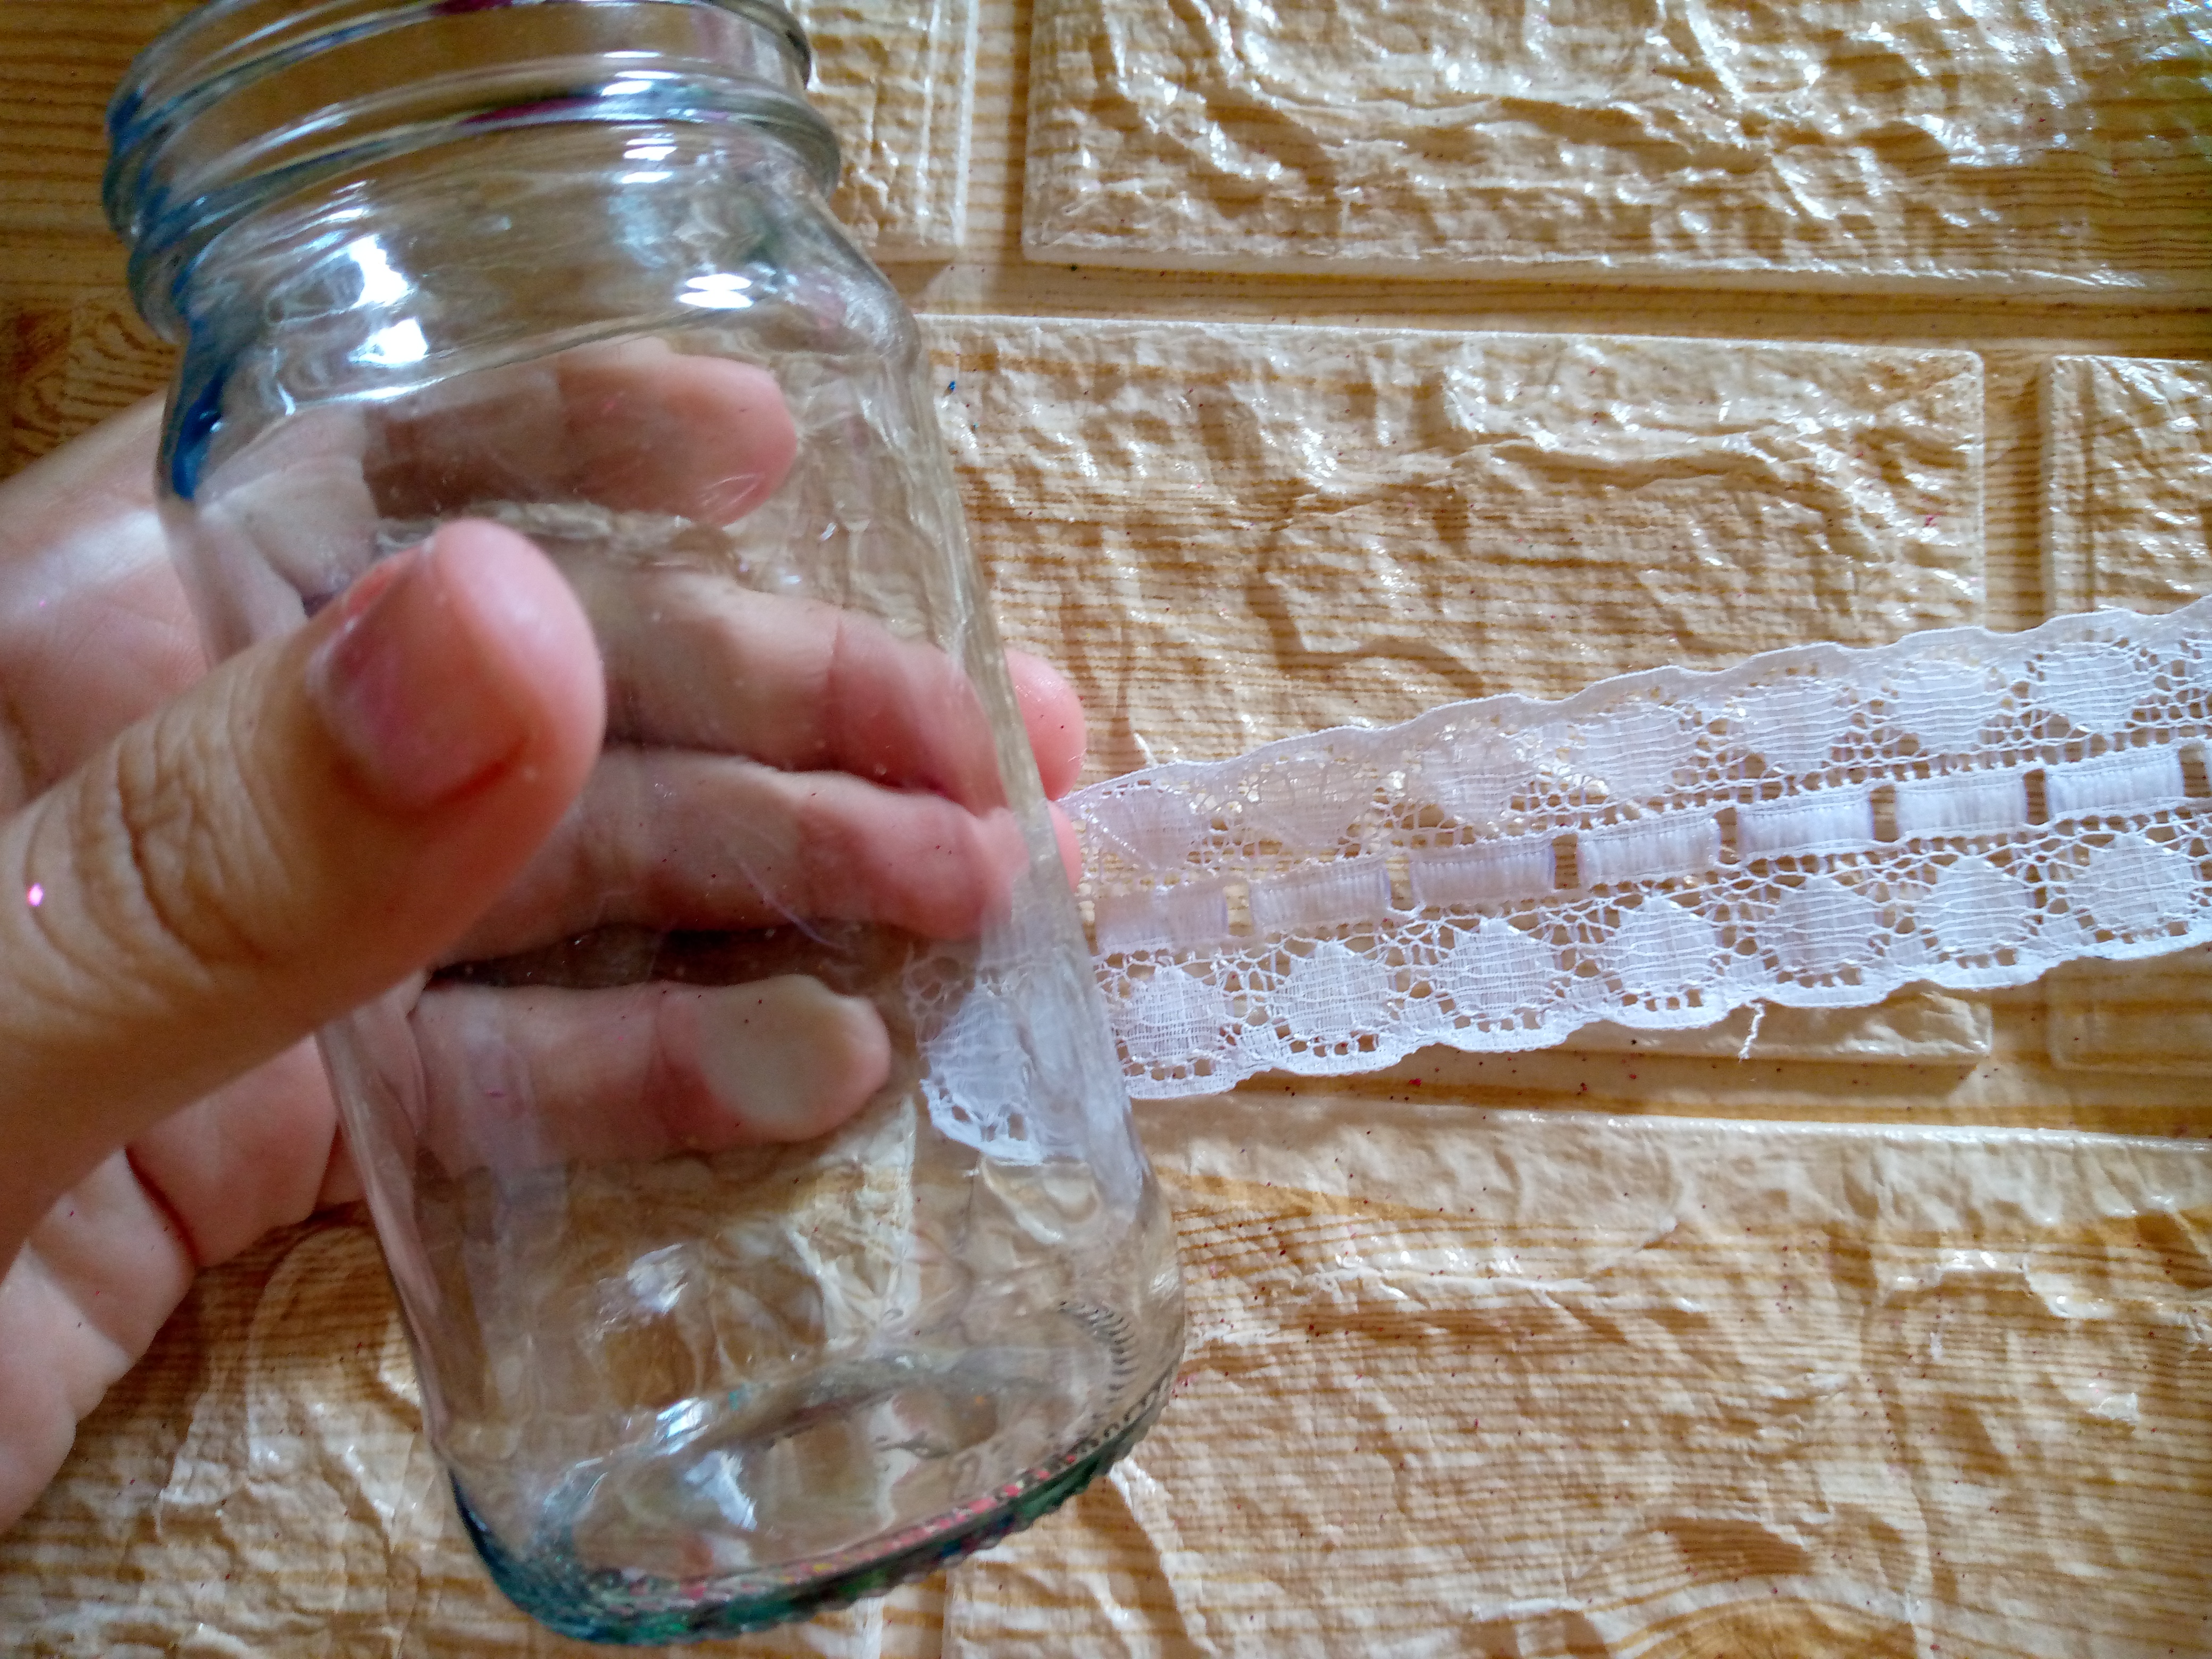
We are going to finish our decoration by gluing the flower to the top of our lid, and we are going to place a nice design in the middle or half of our jar. We are going to glue lace on it little by little with our silicone and on top we decorate it with the ribbon of the same green color and that is how we finish the decoration.
.jpg)
Resultado //Result:

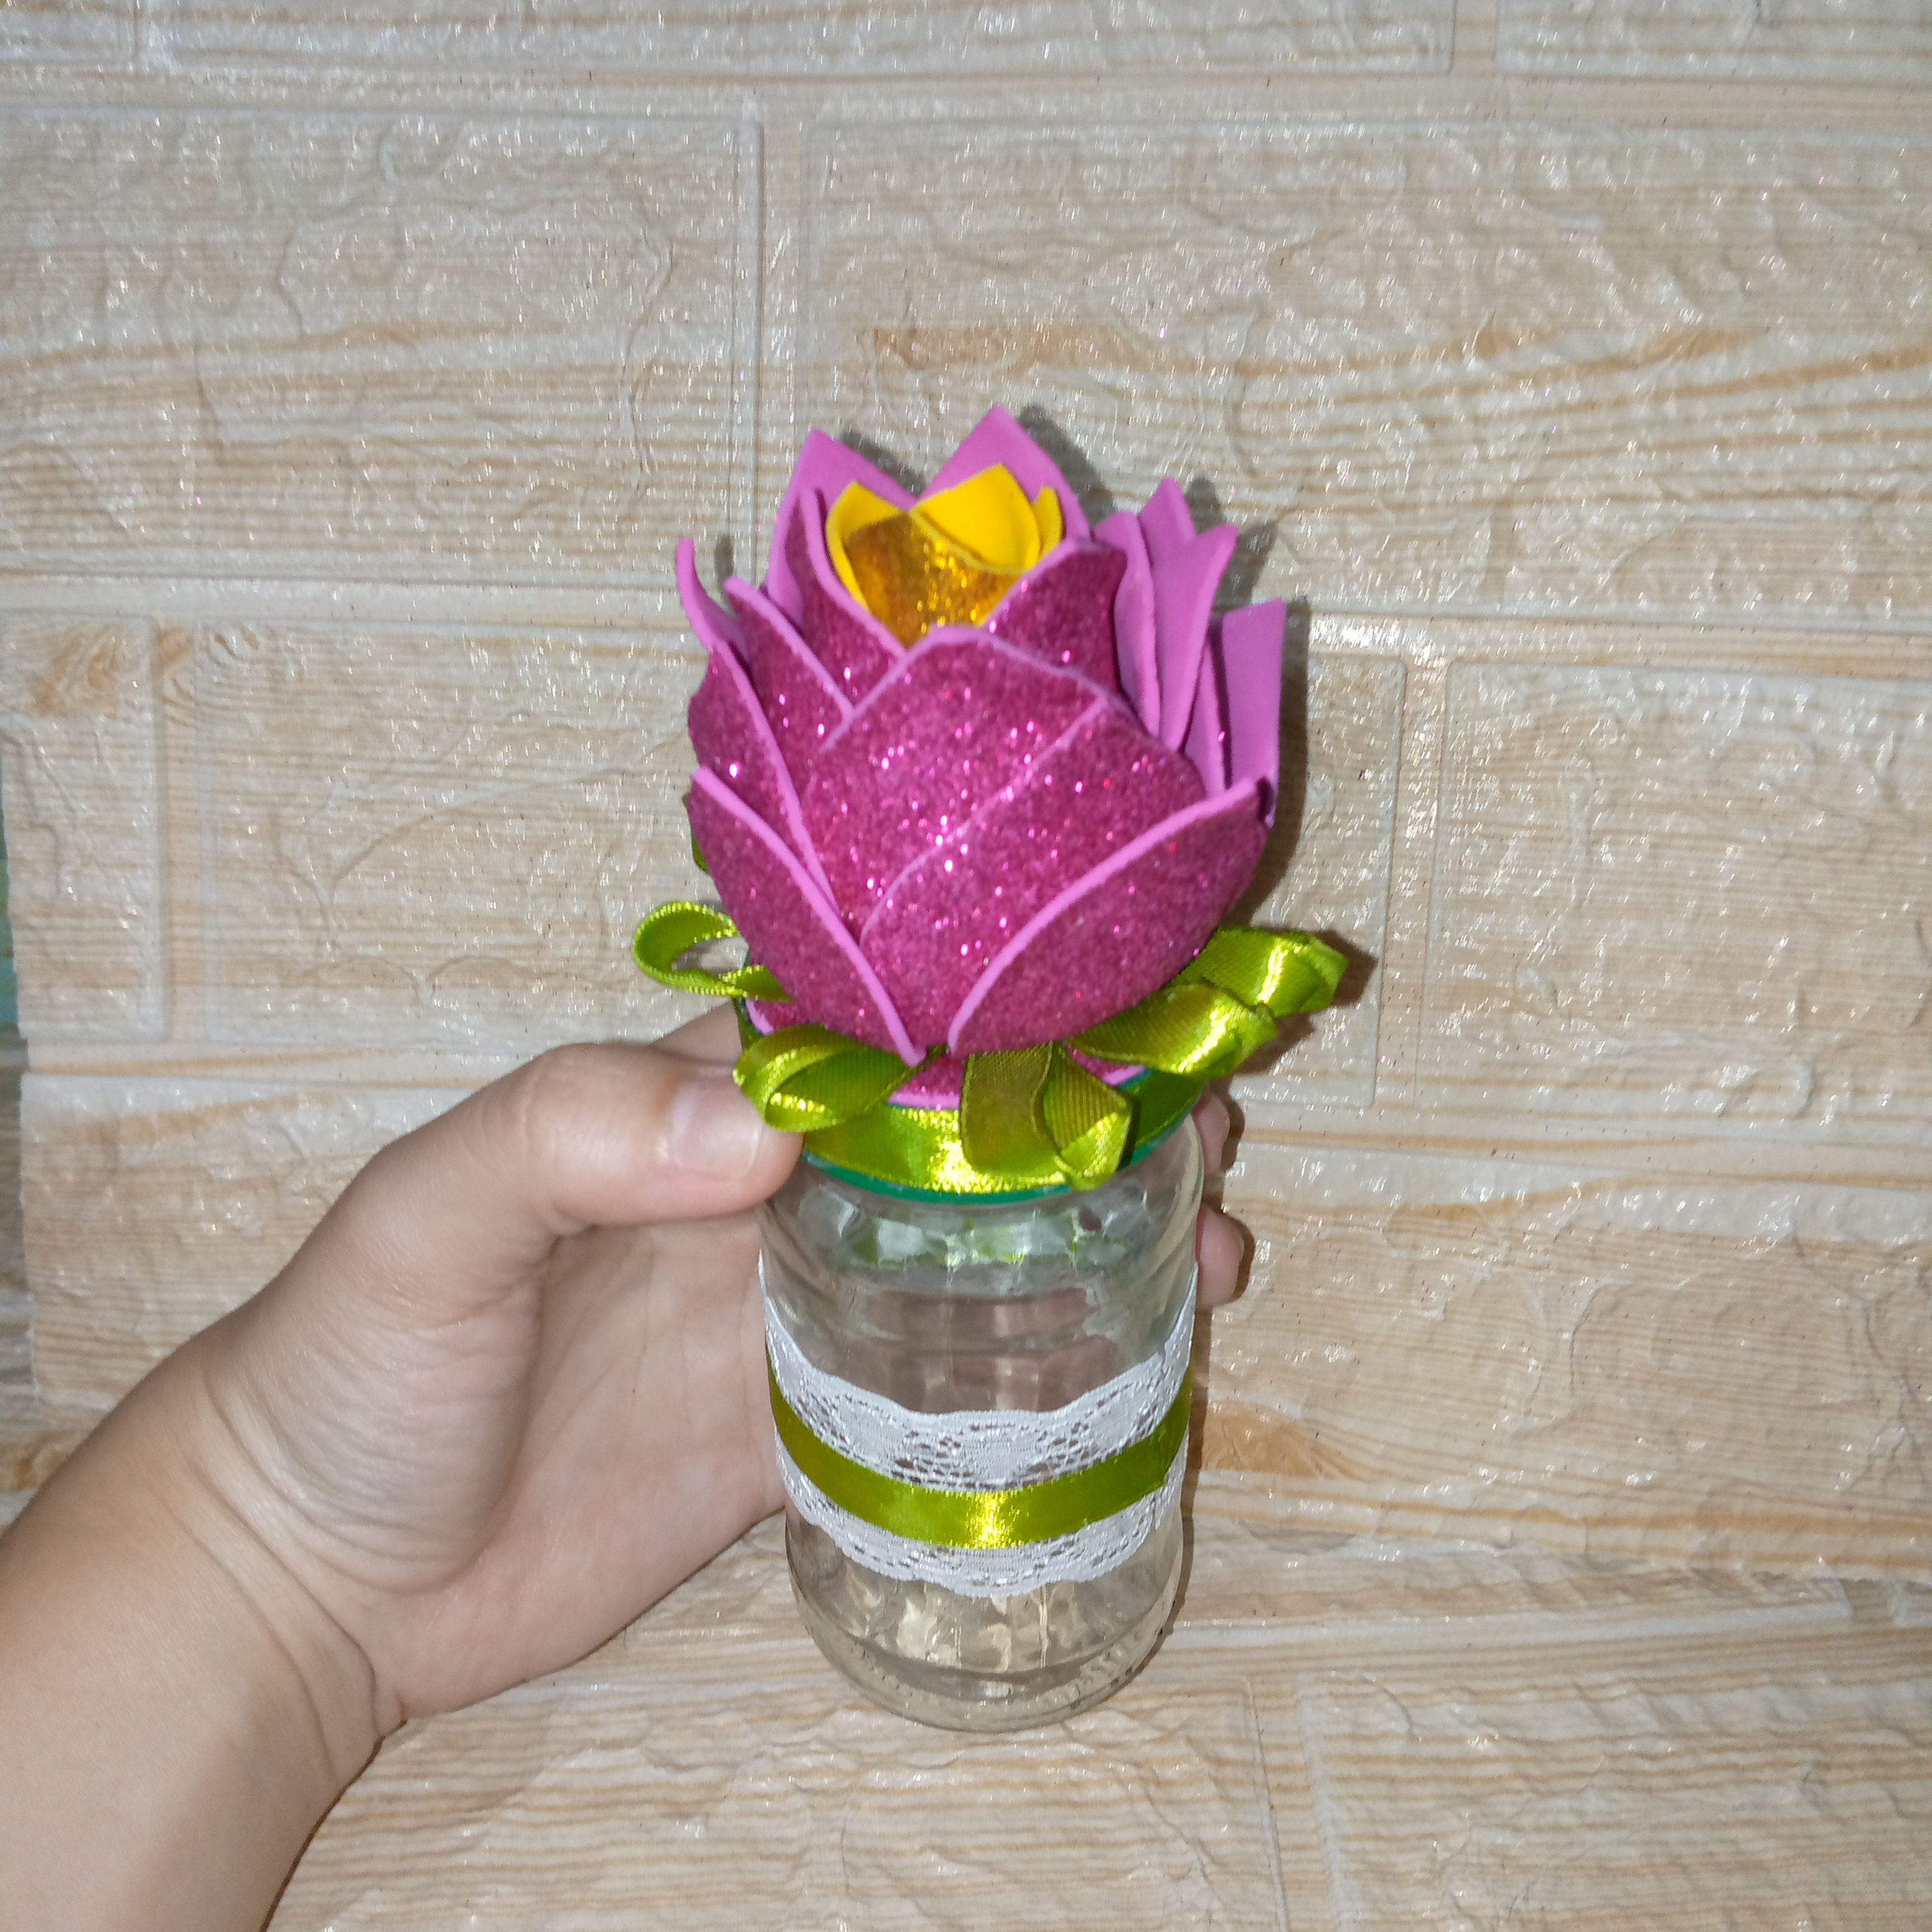
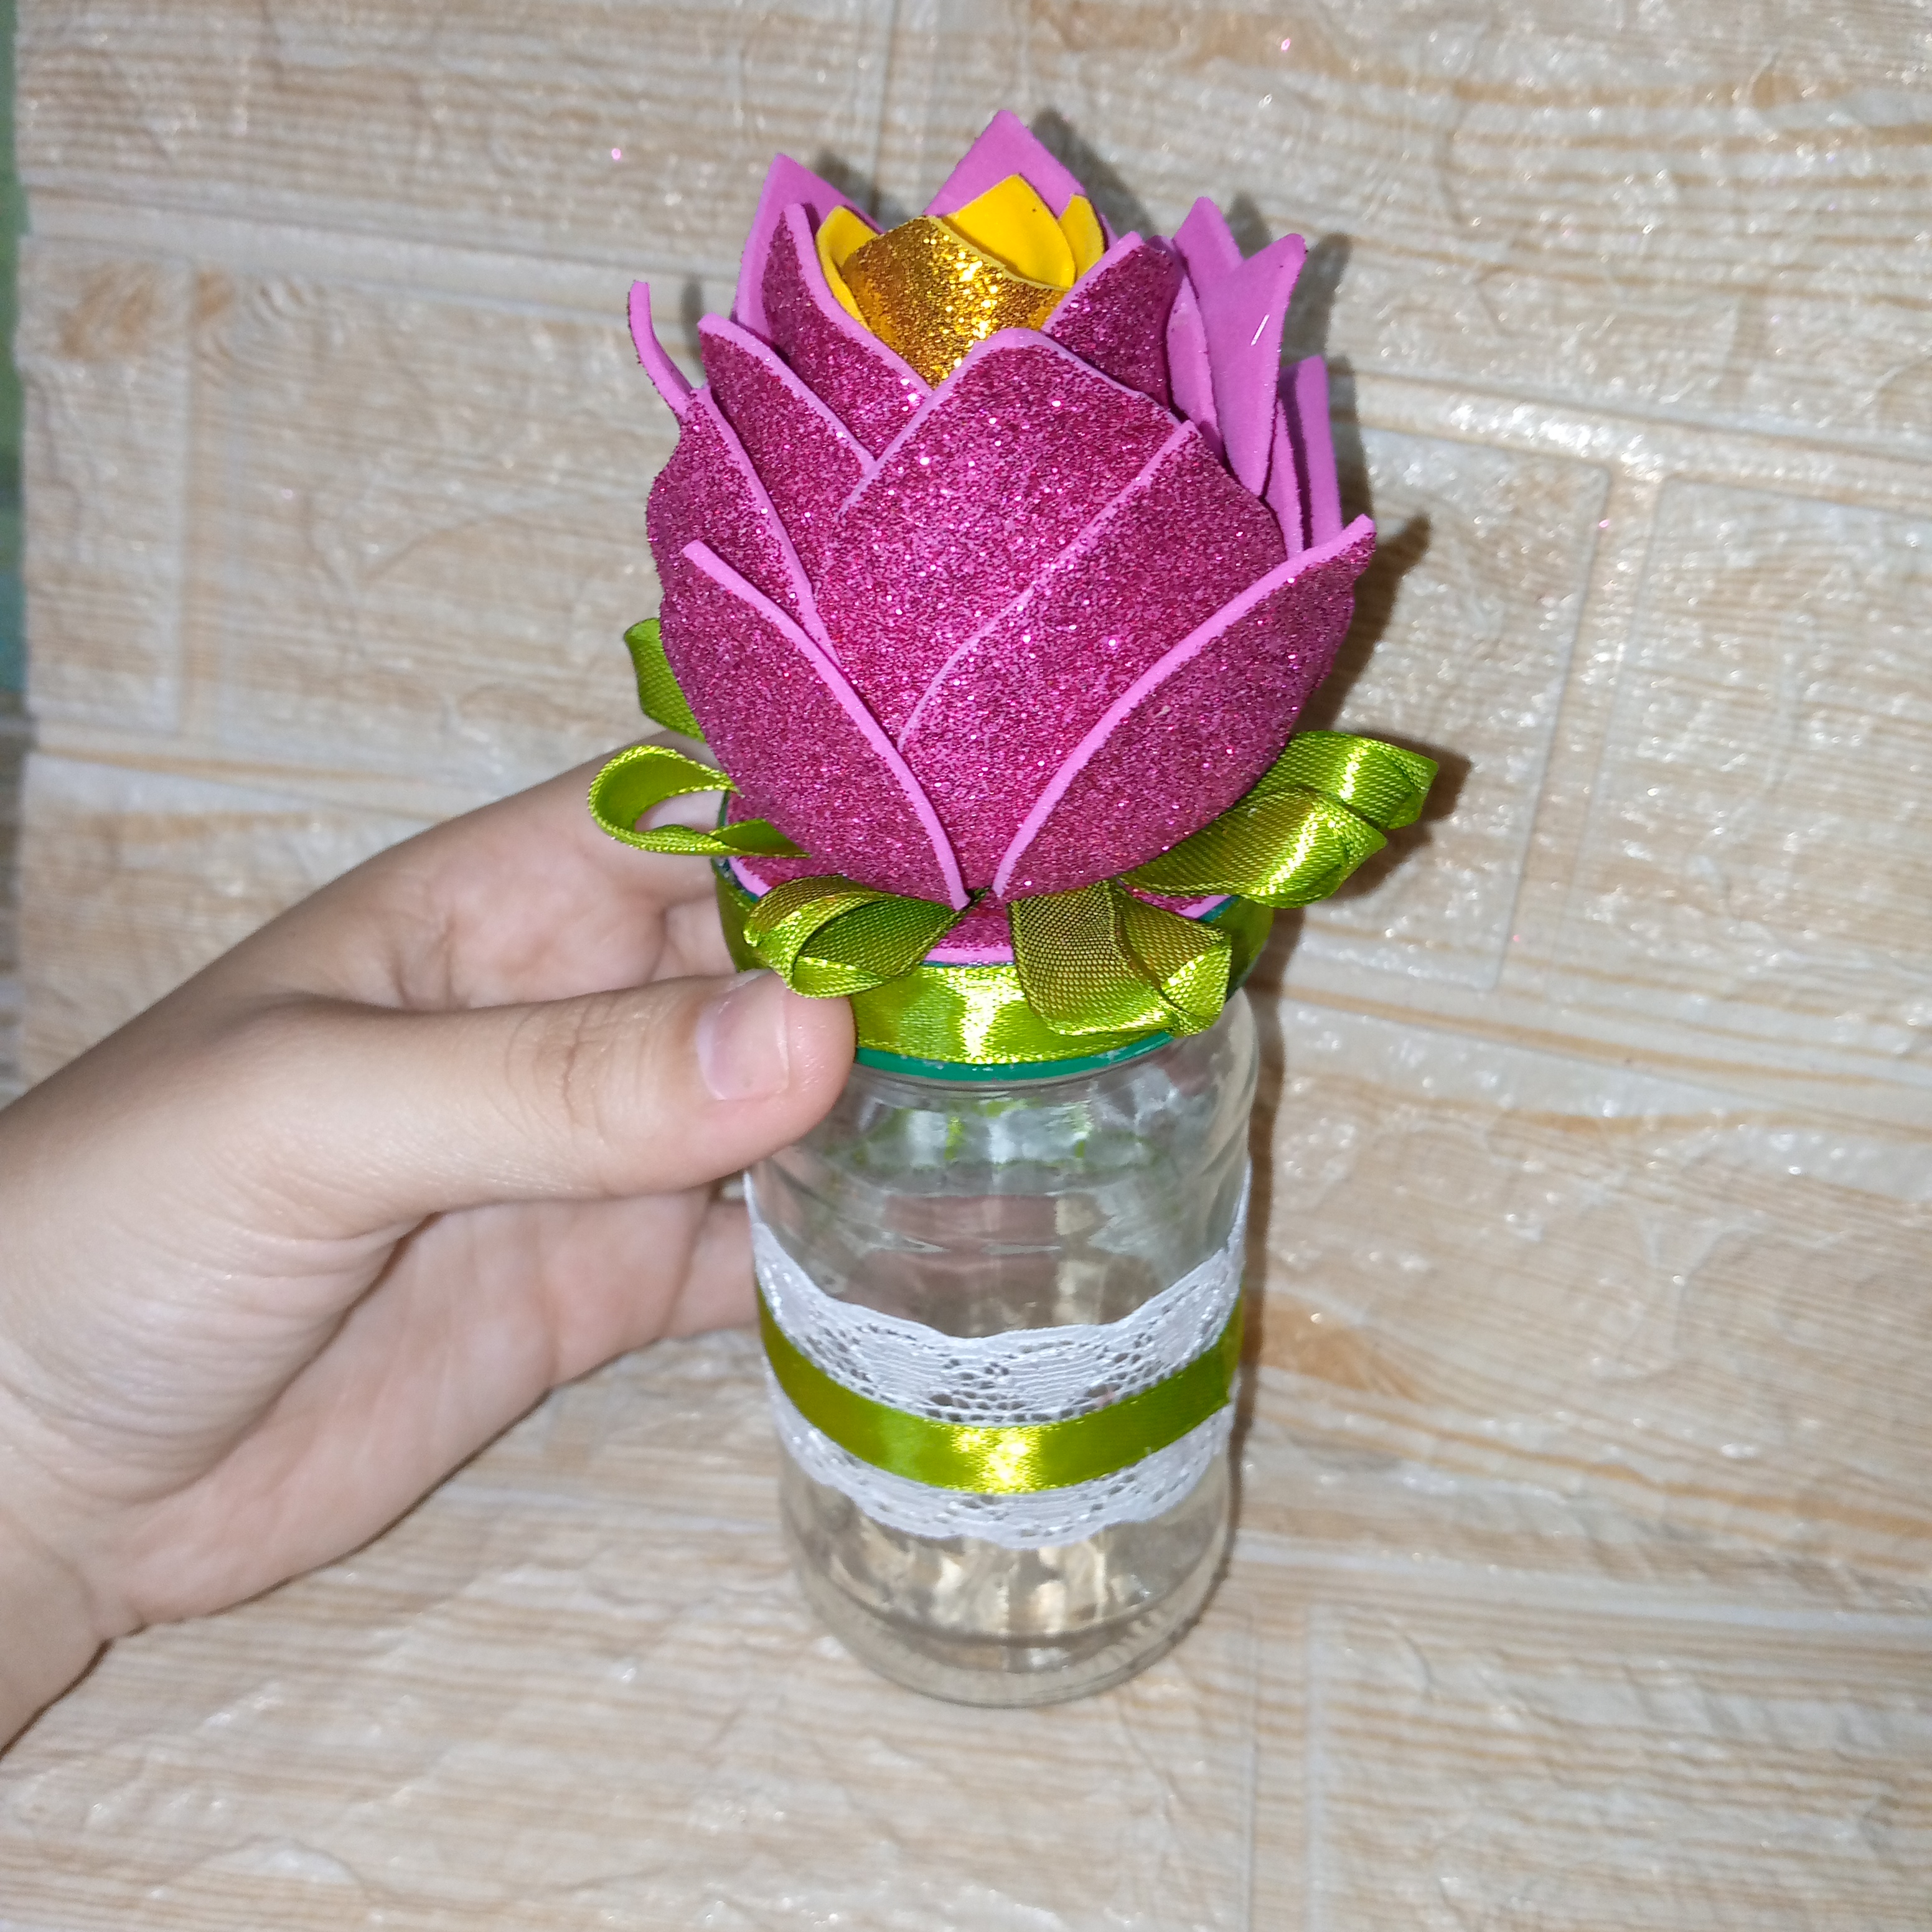
.jpg)
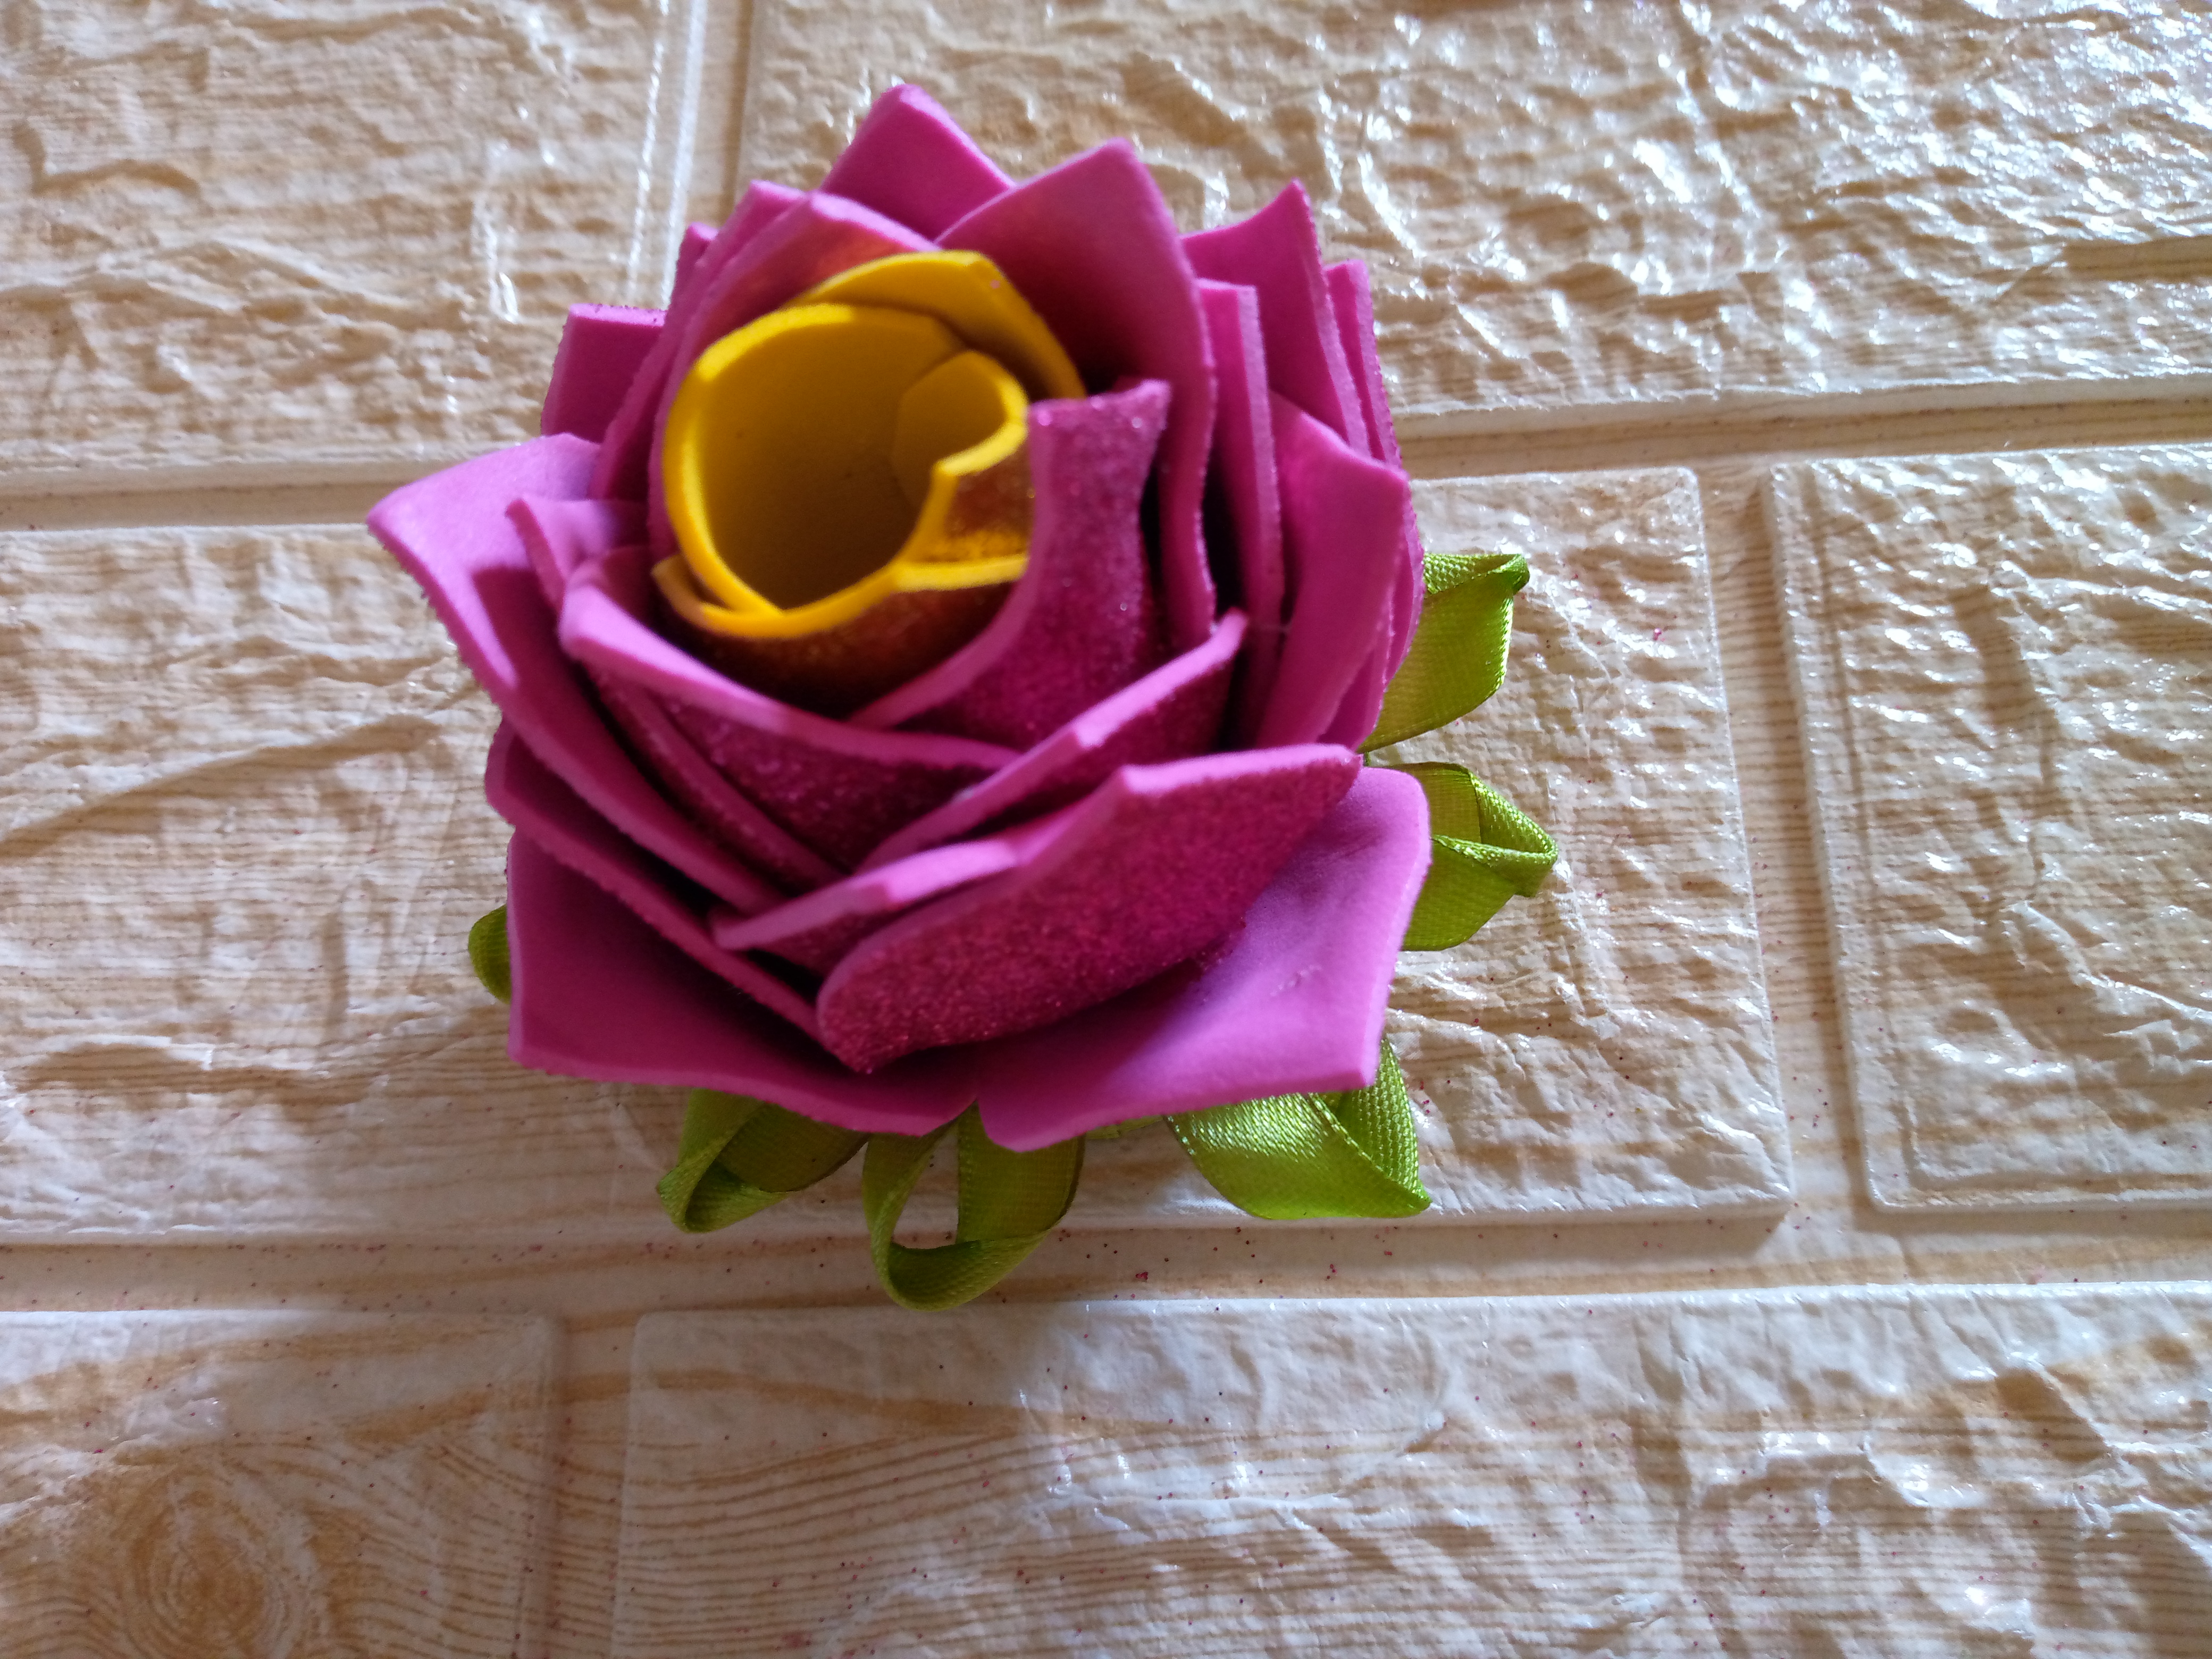
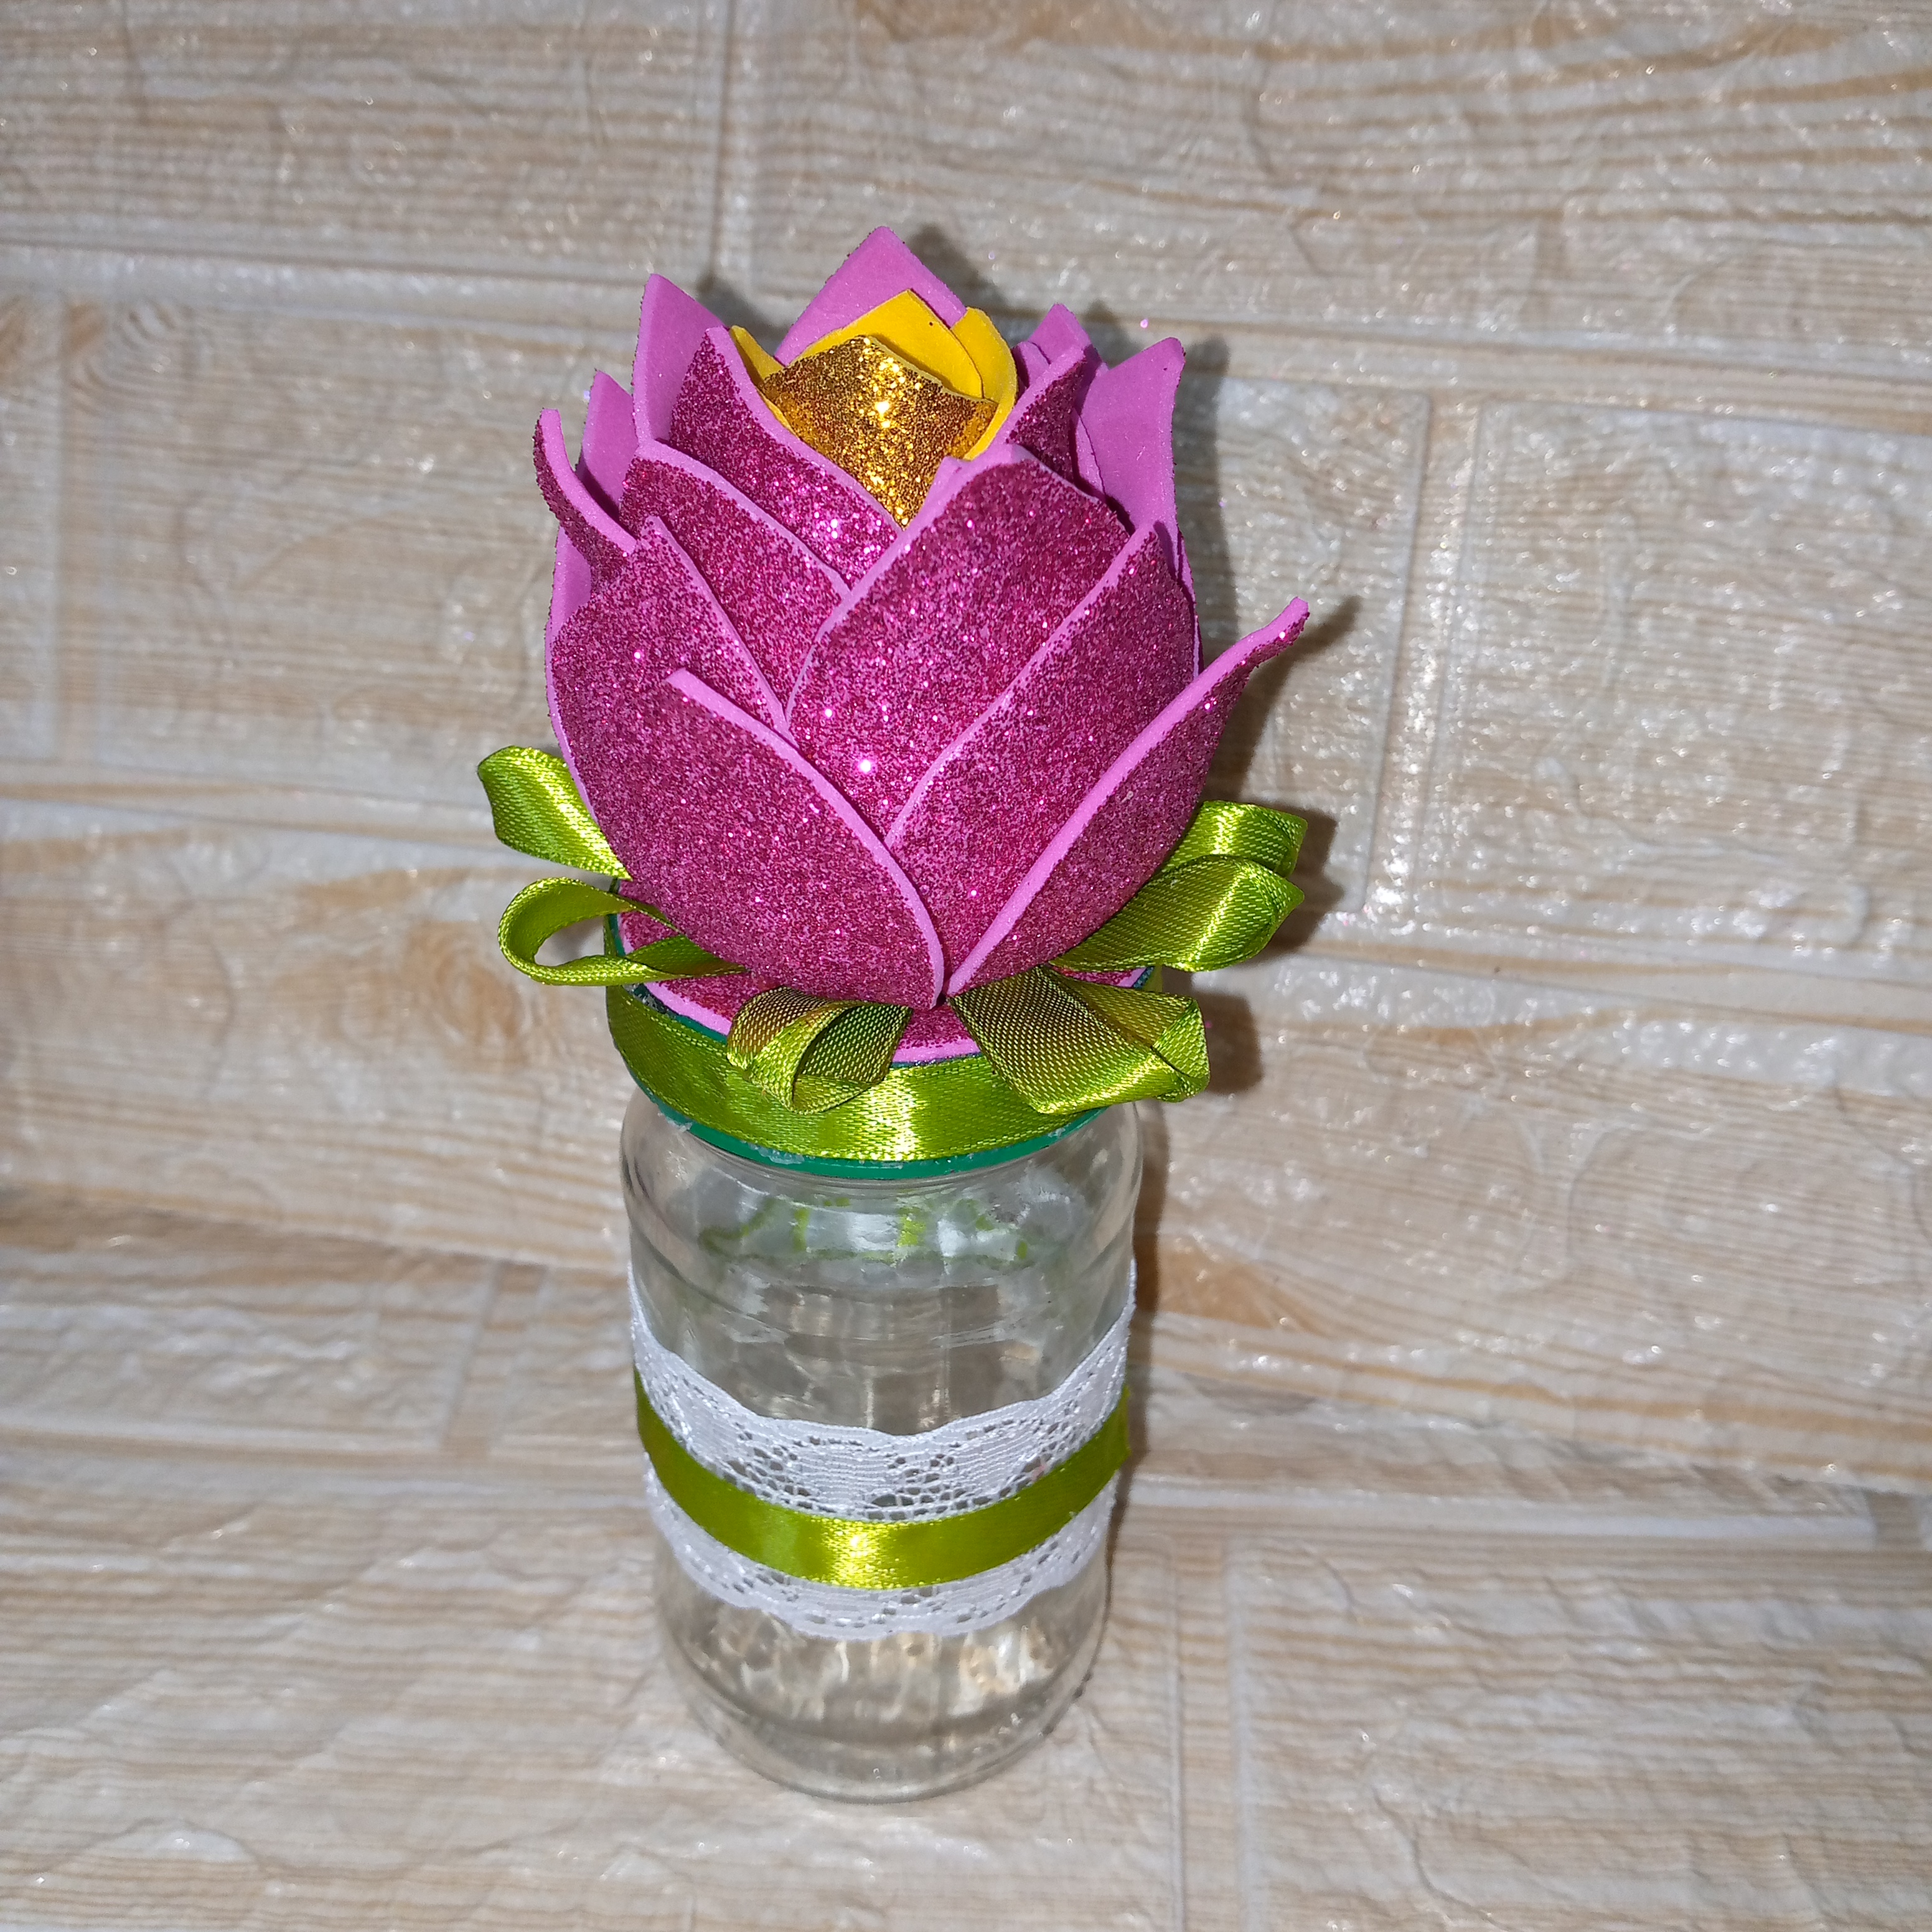
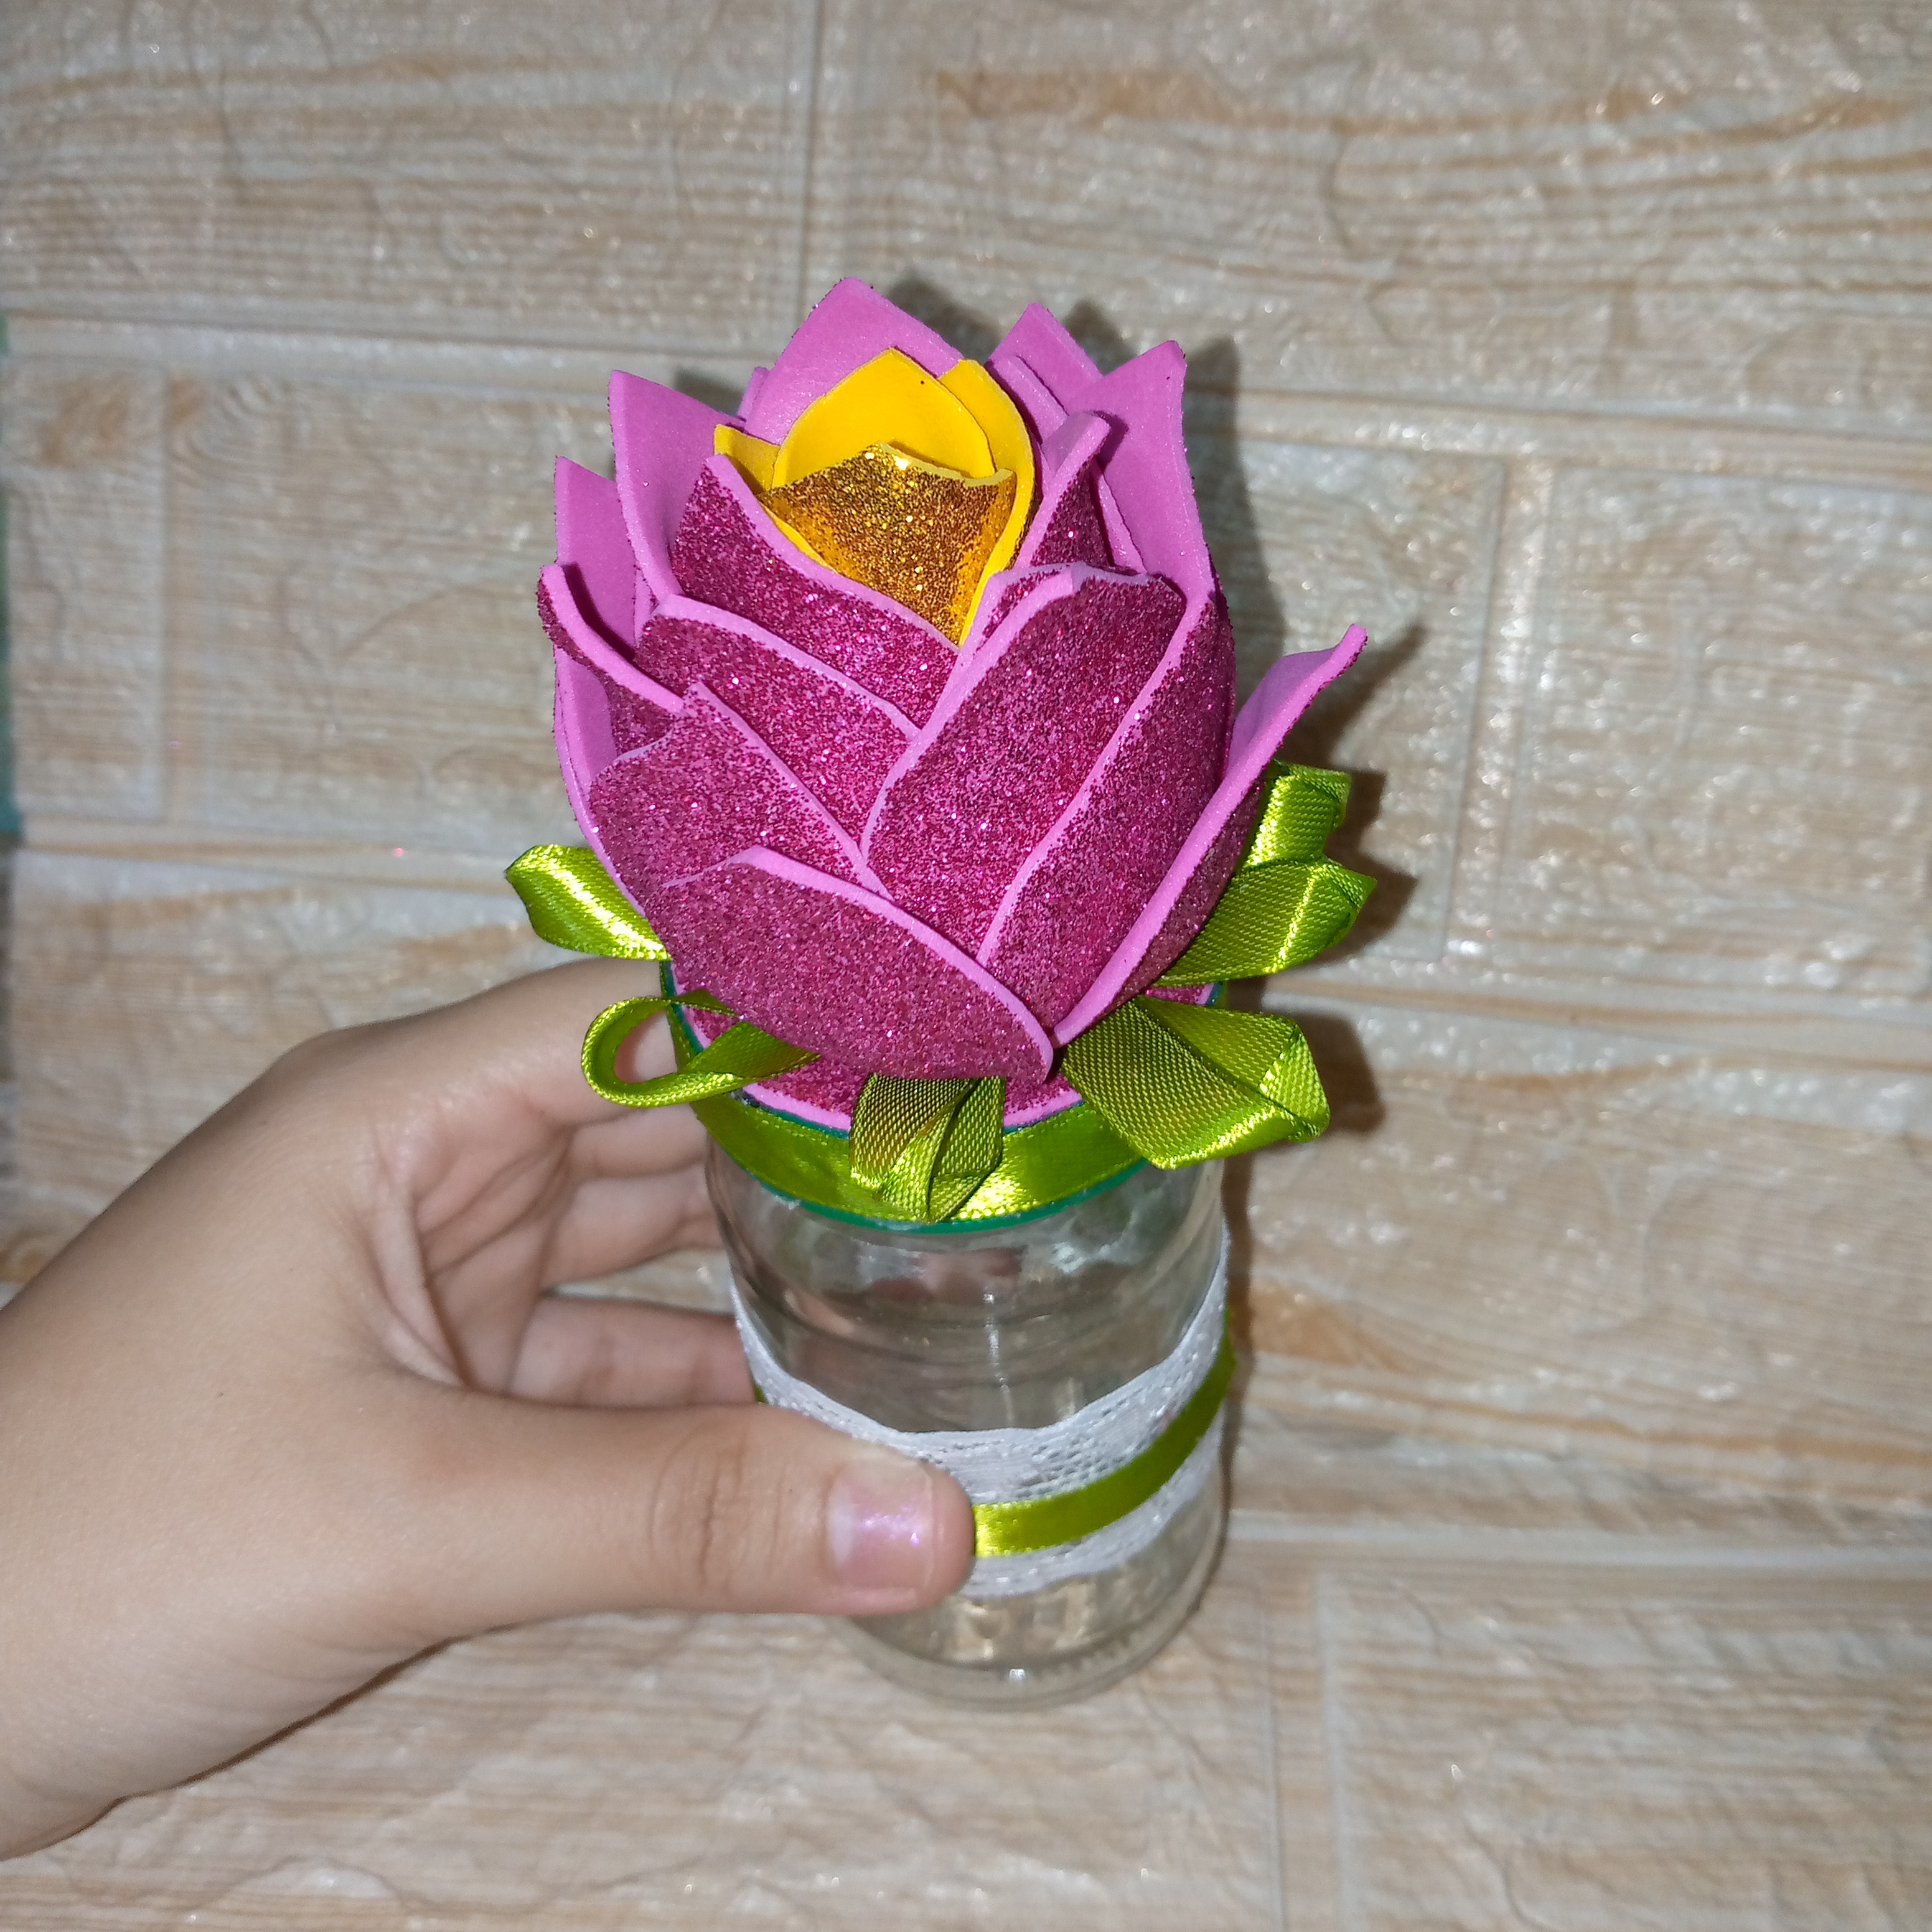
I don't know about you, but I feel that this ornament has turned out prettier than those I have already made for being the first time using these molds with this type of flower. This is how the results have turned out, and I hope that you really liked this little job. See you later and I wish you the best in the world and a beautiful and nice week. Bye, artisan friends.
Creating things with love 🌷❤️
🦋✨ All the images in this publication are my author ,📱taken with my TecnoSpark8C cell phone |📸Photos edited in PicsArt and Canva. Text translated in Google Translate.
Follow me for more content 📌

Es una flor muy hermosa, me causa curiosidad como y donde crece y asi es que luce mas sofisticada jeje me encanto tu creacion, esta mas que linda 😍
Ains muchas gracias 🥰yo también quisiera saber dónde crecen y poder apreciarlas con mis propios ojos porque nunca he visto una 🥺
Beautifully crafted and eye pleasing, bravo! You nailed it!
Thanks 😊 @diyhub
¡Quedé hermosa! Fue una buena idea usar el fomi escarchado 😊💚
Muchas gracias me alegra saber que te ha gustado 😍@suezoe
Un adorno de provecho para guardar cositas, me gusto demasiado el color y la forma de la flor, es una flor peculiar con buenas vibras.
@lauracraft feliz noche que alegría saber que te ha gustado,saluditos 👋🏻😊
Es un muy lindo trabajo, excelente lo que nos compartes.
Nuevamente te invito a darle un vistazo a la regla 1 de la comunidad. De resto, es un excelente tutorial.
!discovery 40
This post was shared and voted inside the discord by the curators team of discovery-it
Join our Community and follow our Curation Trail
Discovery-it is also a Witness, vote for us here
Delegate to us for passive income. Check our 80% fee-back Program