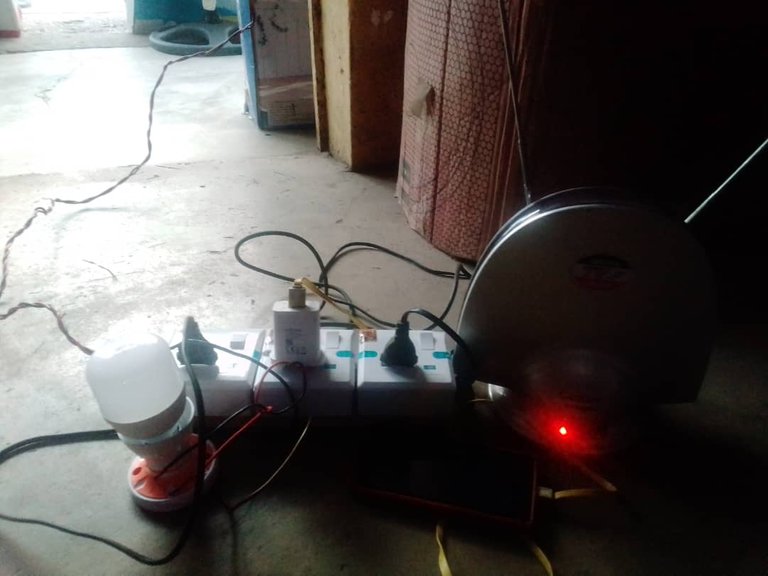
Greetings to everyone, am happy to see you all in this new month. I just want to show you one of the ways in which you can avoid your socket electric extensions from burning because of the high-speed capacity of voltage usage.
NOTE:
Before I was able to come up with such wonderful ideas on how to find solutions for these problems of most of the extensions we are using in our homes, offices, gatherings, and many other places. I have witnessed them always happening. So, solutions are the only way forward.
Do know that one of the reasons why the socket electric extensions you always buy from the market keep burning is because of the things you always plug in the extension during usage display. The extension you buy from the market is not all that strong because of its voltage capacity space which is from 12 volts to that 600 volts which means if you plug an electric cooker unit, freezer, or any other electrical appliance higher than it, the extension will get burnt which may lead to damages in the house.
I will also like to point out that constant usage of socket extension with electric ironing of clothes can also make an extension burn instantly. Some of the electric irons we use are very high in voltage but most of us using them do not really understand that.
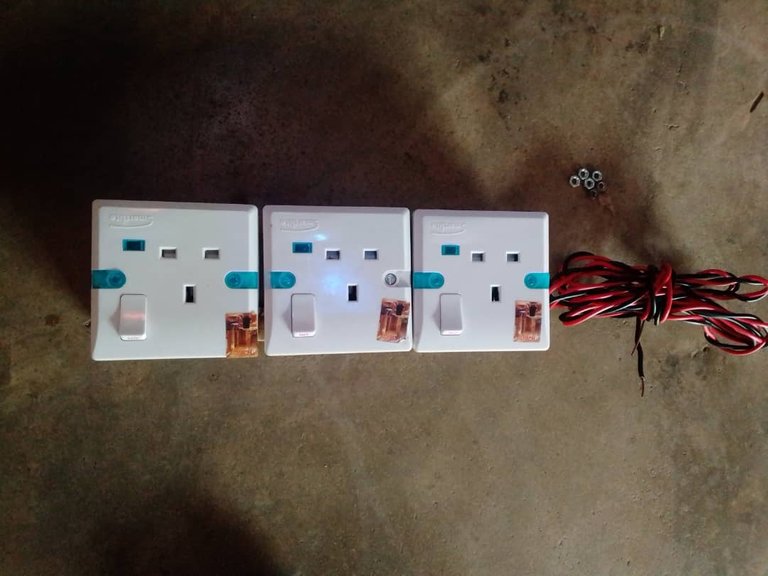
I have suggested creating a new idea to stop this by applying my electrical technicality of a new way with 3 by 3 flush sockets that are wired with a 2.5mm cutis cable. This will cause an inflow of current to the things we must use with the sockets I created. Ever since I designed these particular extension sockets, I have never witnessed any damage or spoiling of any of my electrical appliances.
Let's just get started:
Before you consider building this type of electric extension, please be careful with your wire connections to avoid sparks in the house.
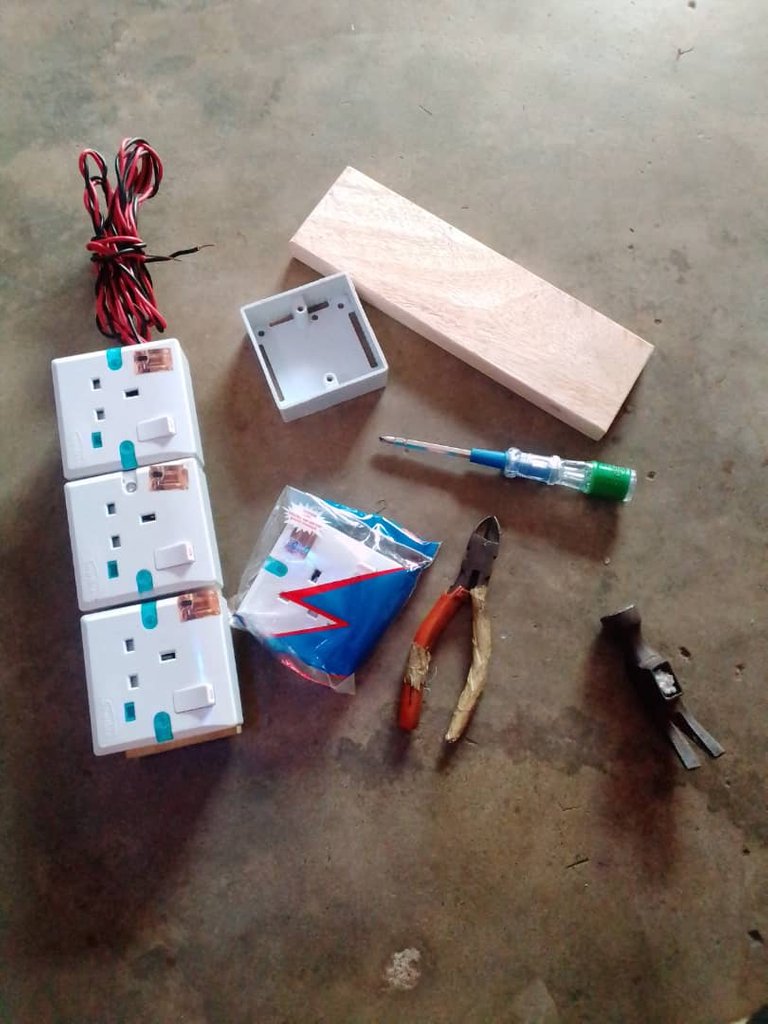
Materials used:
2 by 4 plywood.
3 by 3 patress box.
3 by 3 flush socket.
Screw.
2.5mm cutis wire.

Tools used for the connections:
Screwdriver.
Electric tester.
Electric Pliers.
Hammer.
How I prepared the extension:
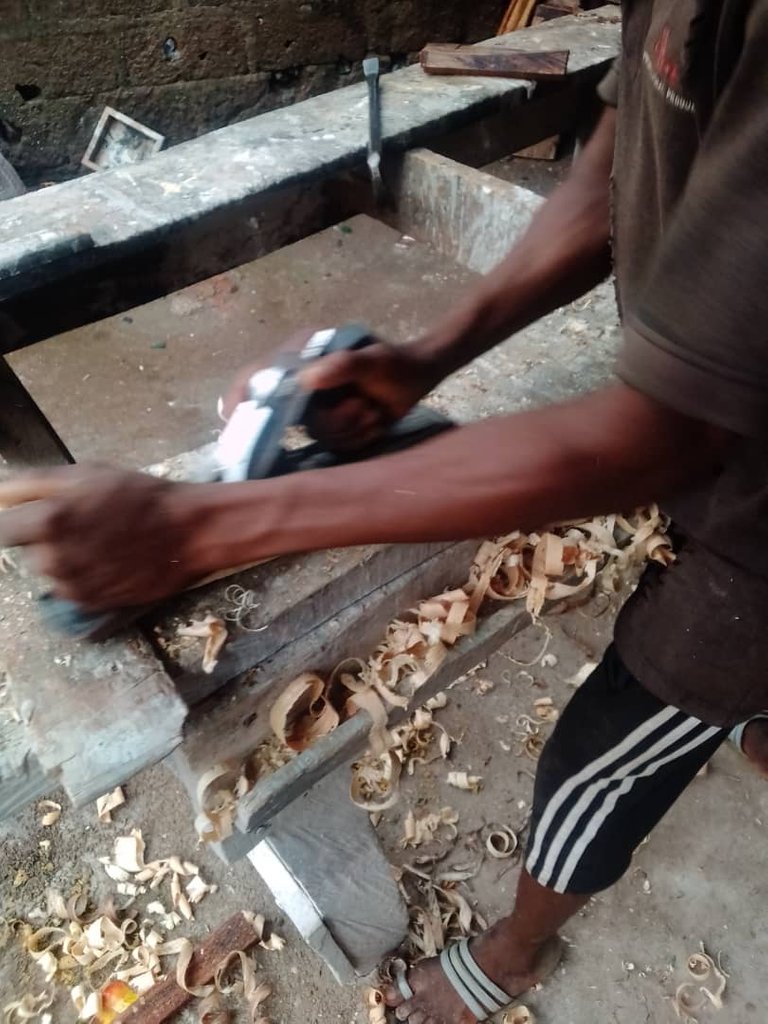
Step one:
I went to a nearby furniture man who is a professional in his skill and told him what I want and he suggested that I should make use of 2 by 4 plywood some meters long because the wood does not attract an ant or soldier termites in the nearest future. The 2 by 4 plywood is one of the most types of wood to use for any construction. He has to cut the wood for me after our agreement following the size that I want.
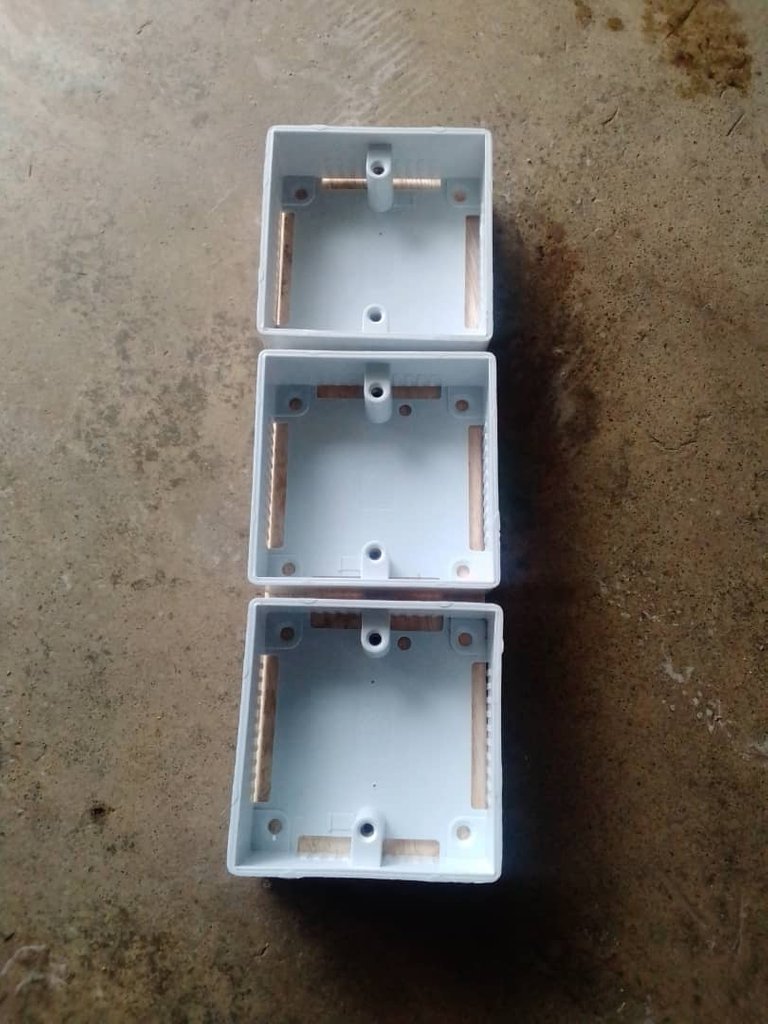
Step two:
By the time I got every material that I want for the connection, I have to start with my connections but first I have to open a tiny space with a nail where the screw can pass through the wood.
I have to fix the 3 by 3 patress on the 2 by 4 plywood with a screw that can hold the socket after my connections.
I took the main 3 by 3 main flush socket and fixed but please if you want to fix look at the socket very well with the three dots space that has N, L, and E. fix the 2.5mm cable on them accordingly. Fix the red wire to the L symbol, the black to the N symbol, and Yellow to the E symbol. Then close the socket.
Step three:
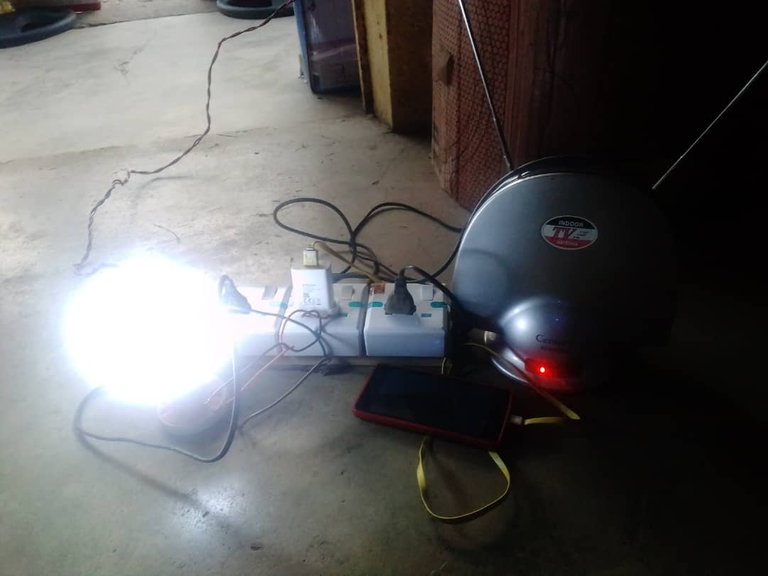
Please do well to check your connections and whether it was properly done before use. Make sure to test the extension you constructed with an electric generator and then confirm with a tester.
Thanks for reading. We will keep meeting to share ideas together.