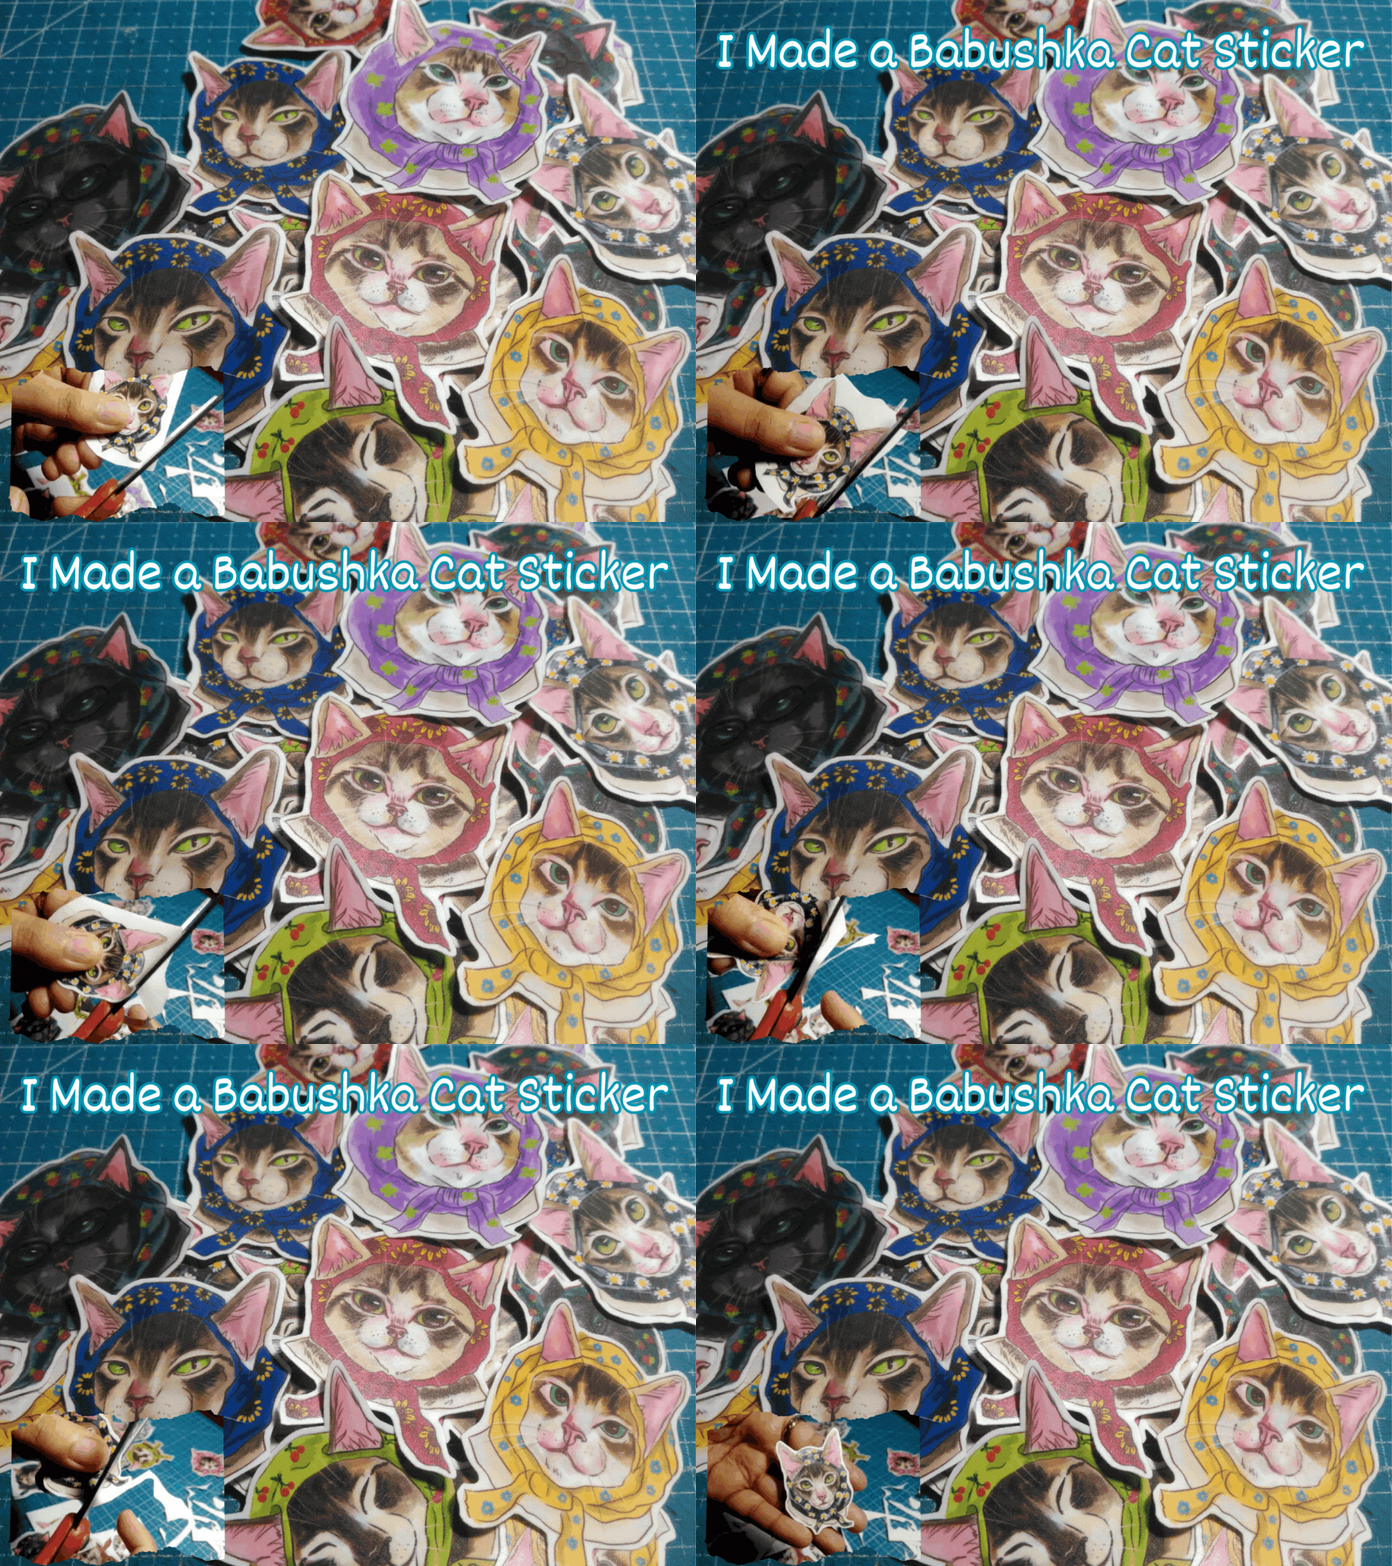
Hello! How are you? A few months ago, I always saw Babushka Cat on my Pinterest Homepage and I got this idea "What if this and that" so I promised myself if I had my free time I would draw and I used my cats as my Babushka Cat models LOL. I never regret any of it luckily I still have stickers left. It is funny that I was just a hoarder of stickers one of my grandmas who already passed away always accompanied me to a fiesta to buy a lot of stickers, sadly I did not keep either one of them but it is still vivid my mind before and now I can draw my stickers and make them my own.
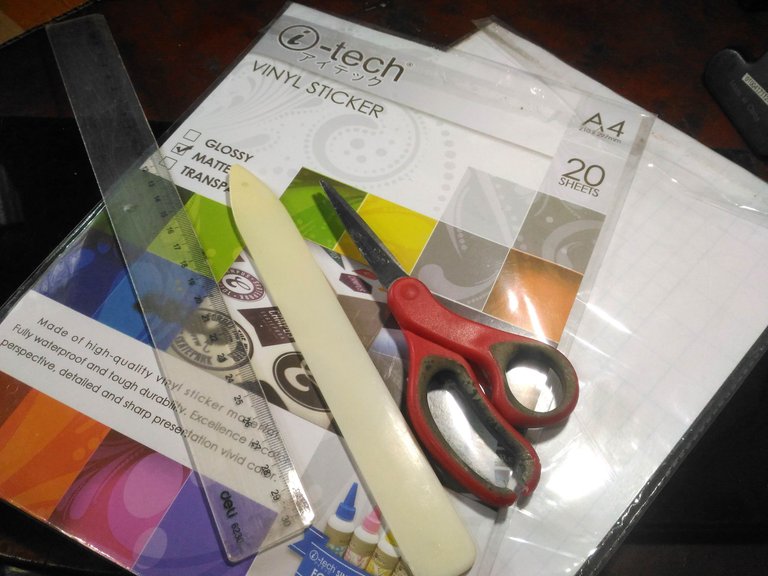
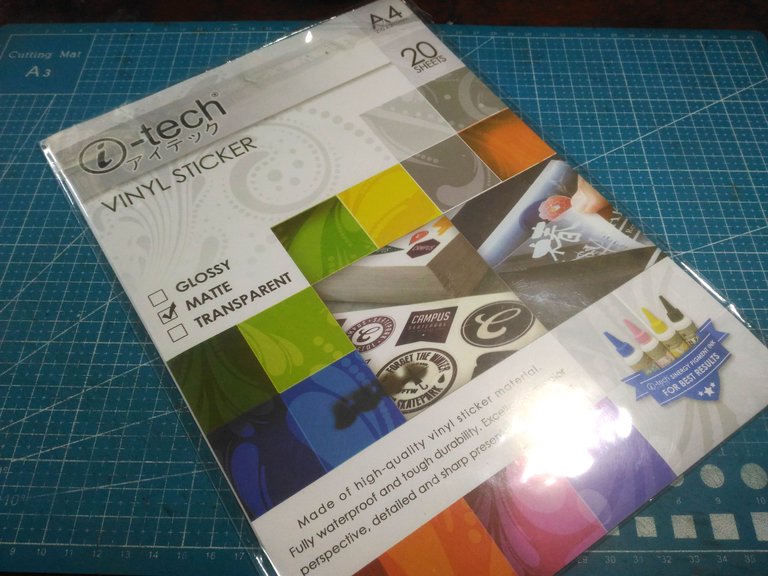
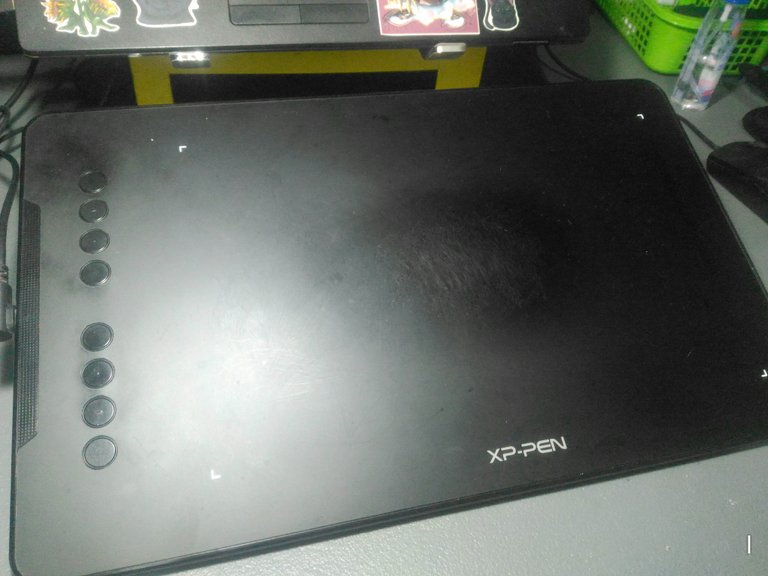
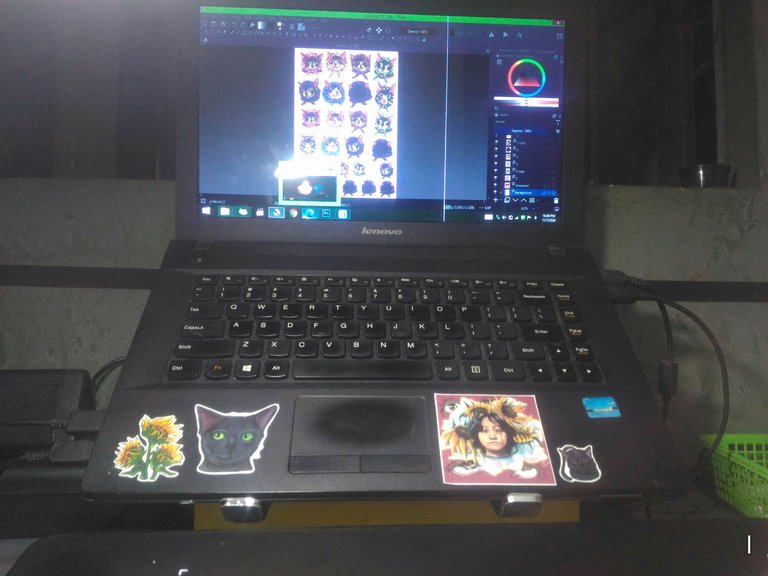
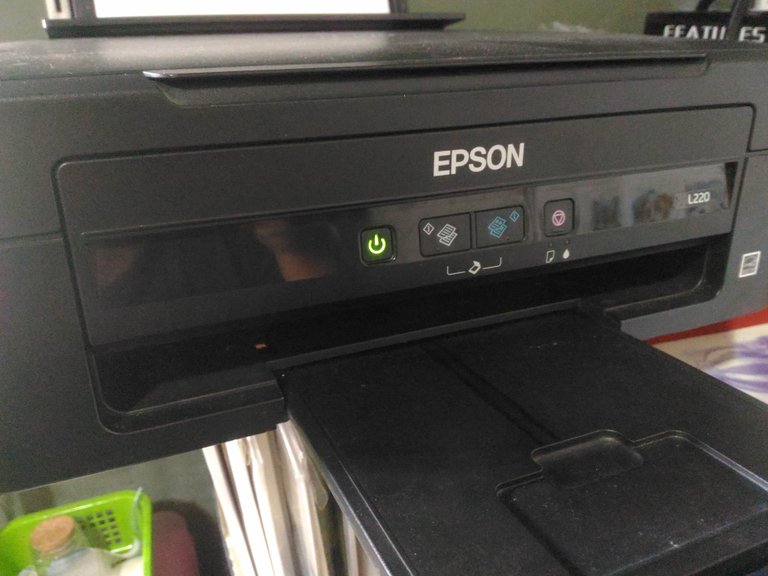
- Vinyl Sticker
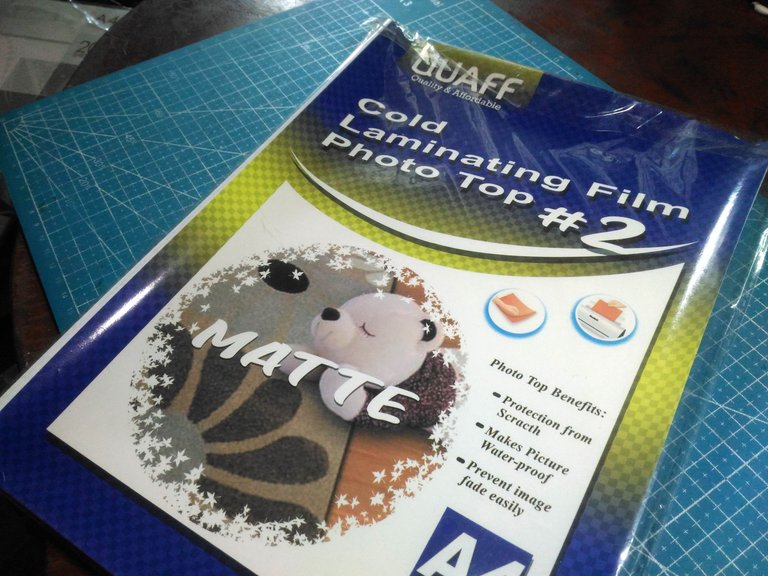
- Cold Laminating Film
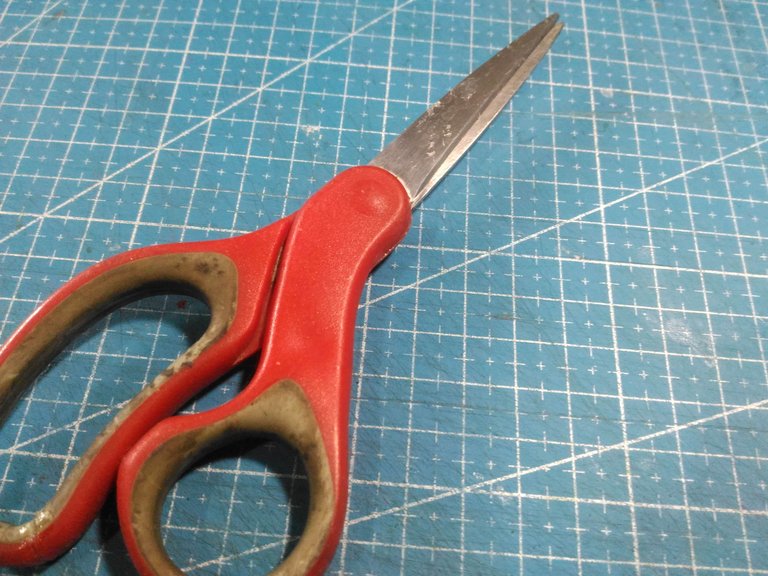
- Scissors
- Laptop
- Printer
- Graphic Tablet
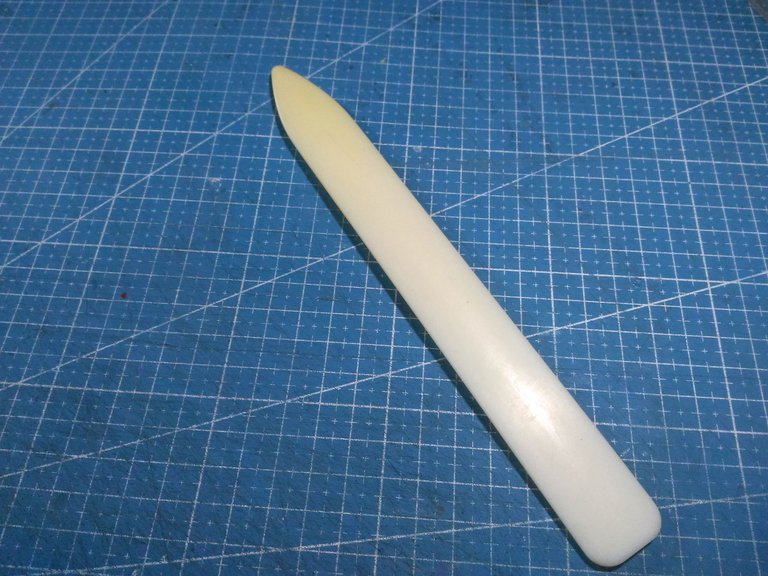
- Bone Folder
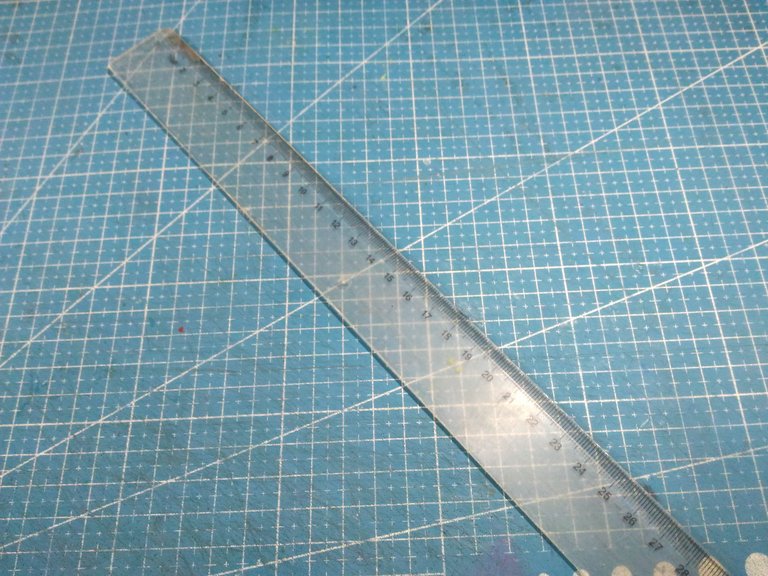
- Ruler
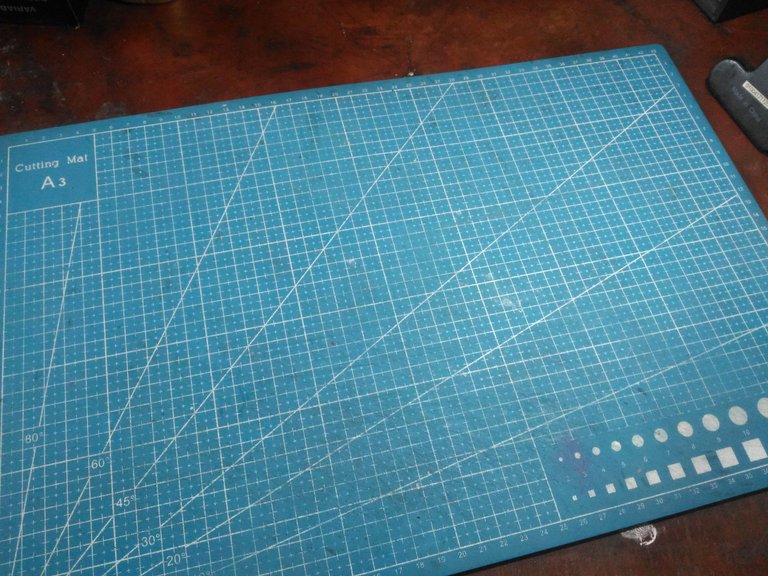
- Cutting Mat
The Process:
Printing the Sticker:
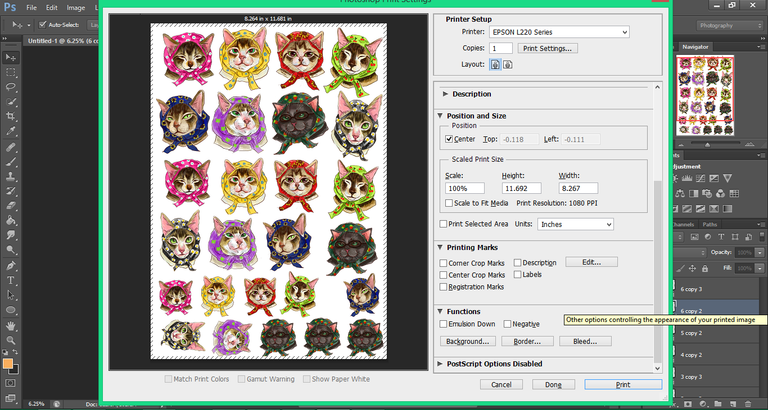
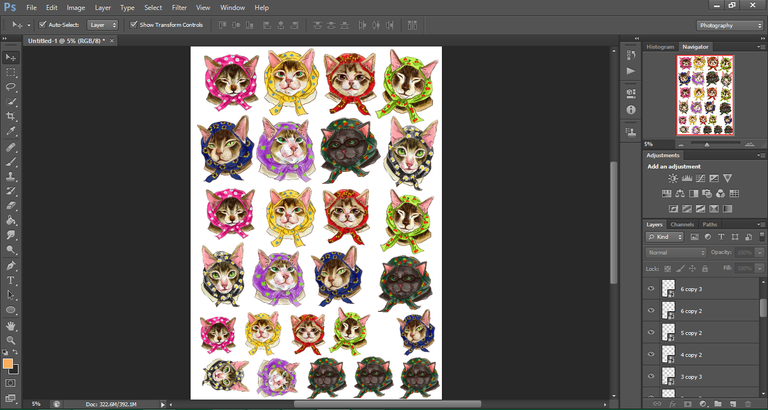
After I draw my Babushka Cat, I export all the files, transfer them to Photoshop, and edit and organize them. Before printing, I make sure that the setting is right like the size of the paper is right and I make sure that the printing quality is set to high.
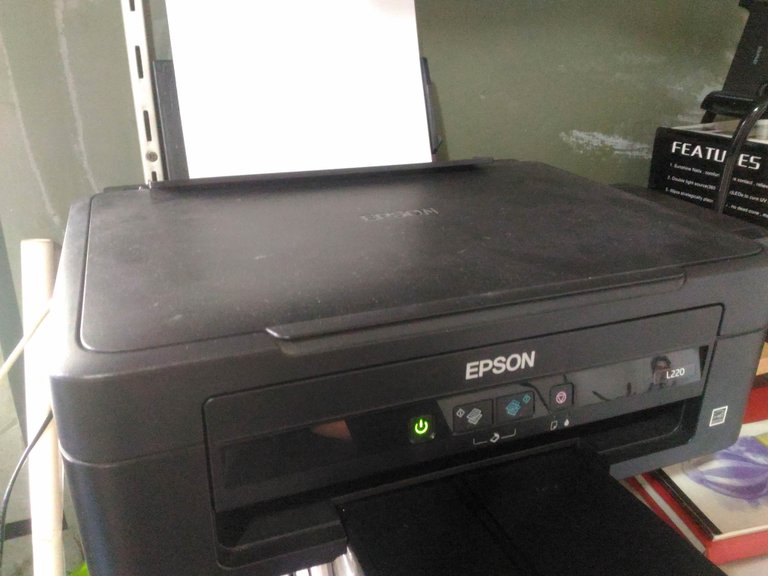
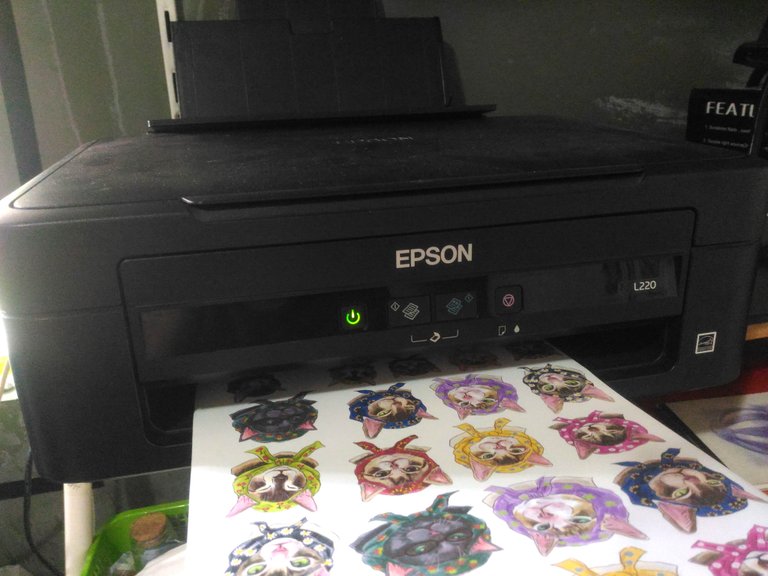
While waiting for it to print I gathered all the materials I needed for my next process, it will take 5 minutes for it to print.
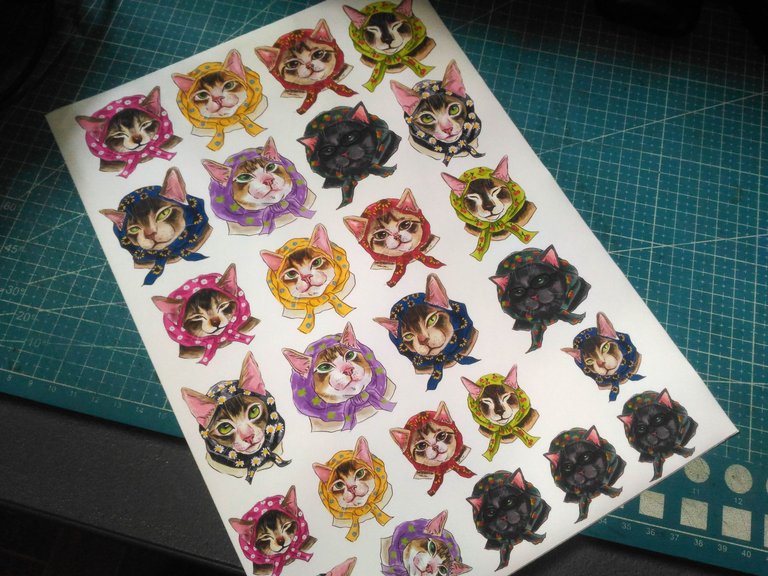
Done with printing, Before putting the laminating film I let the ink dry first.
Adding The Laminating Film:
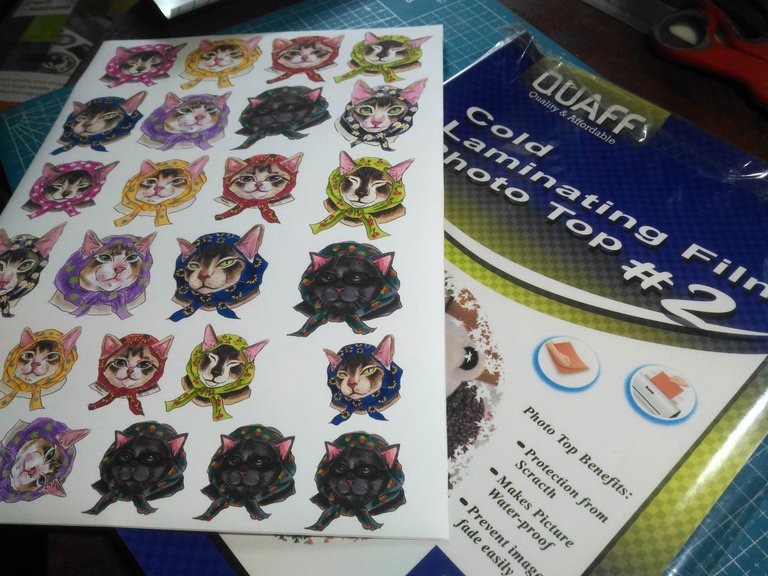
Now it is ready to be laminated. I use matte film for my stickers.
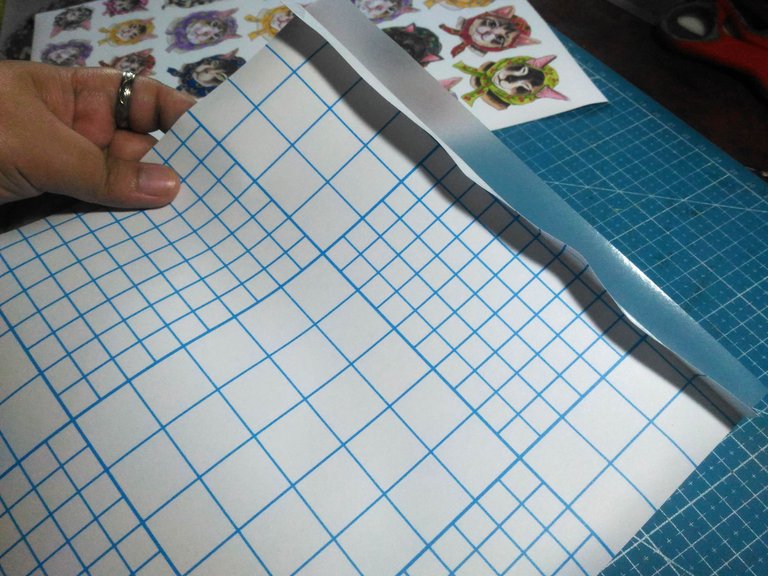
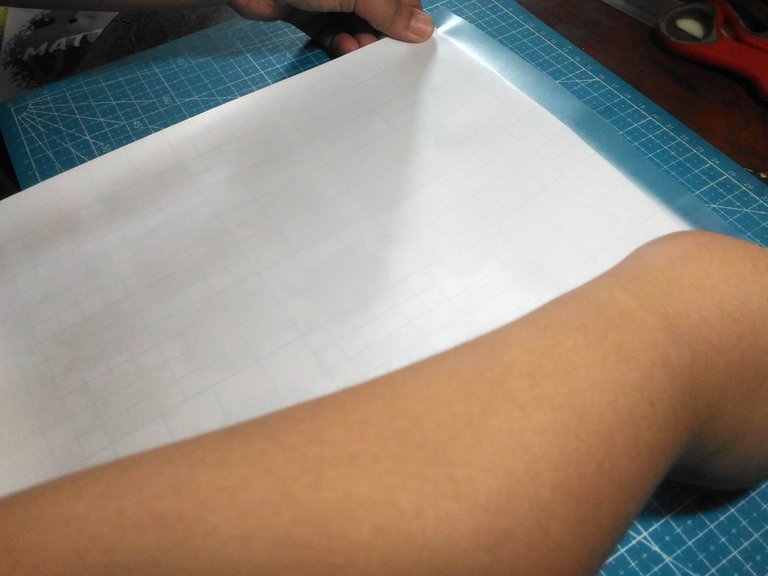
First, I peel half an inch of the backing paper of the Laminating film. And then I apply it to the sticker and make sure I apply it align.
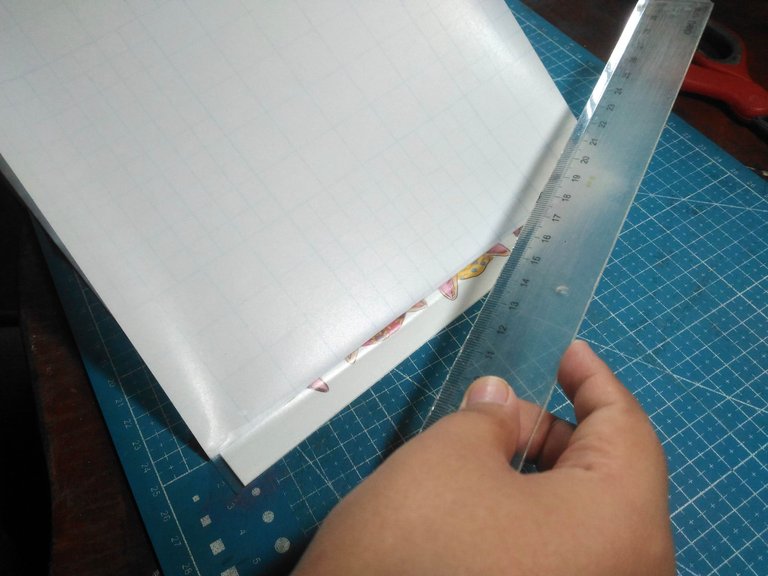
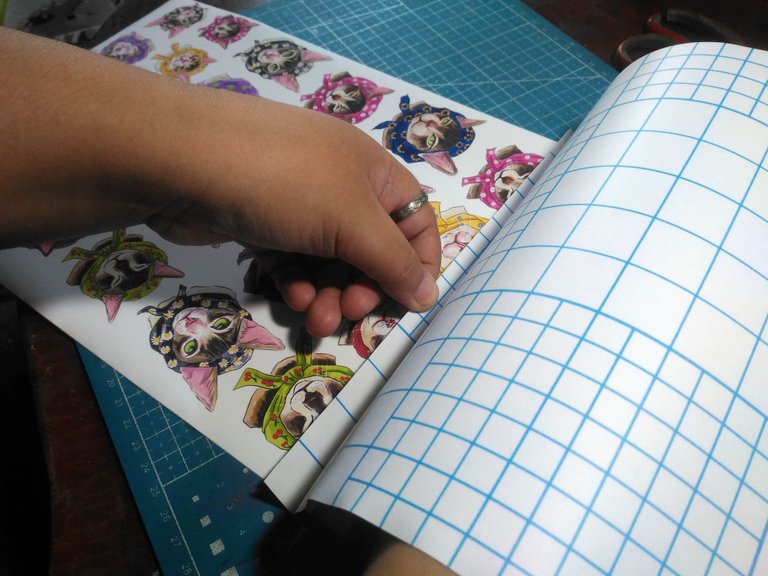
Next, I use a ruler to gently press it until the end.
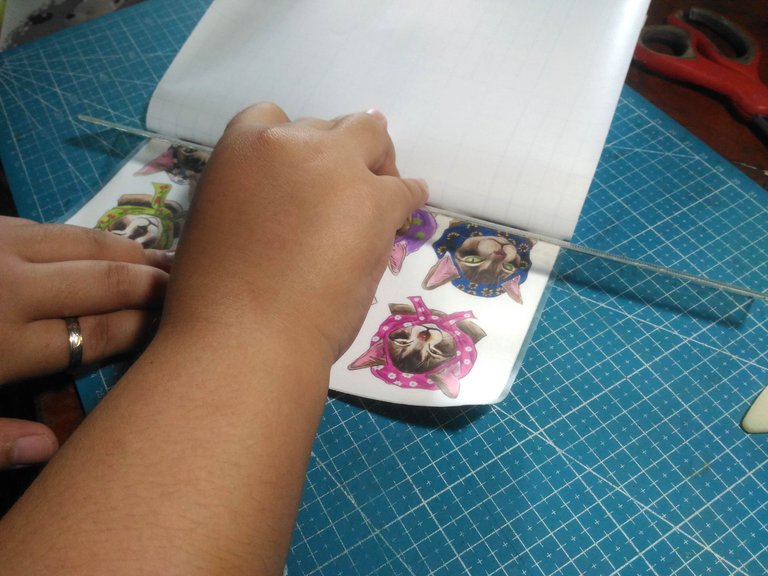
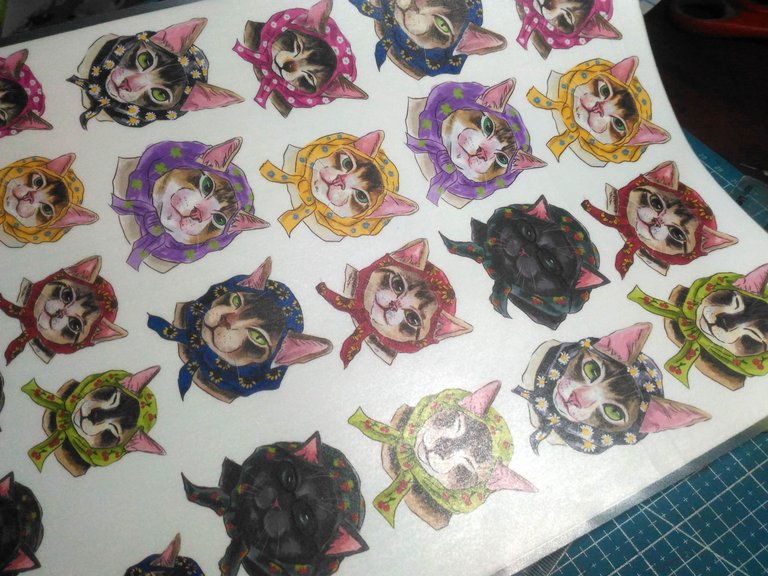
Before it was hard for me to apply laminating film but now it is easy, I remember I used to tape the back first but it was not that convenient to use that technique what I learned is after I applied the half-inch expose part onto the sticker I drag the ruler across the edge and just let the backing paper pell off itself.
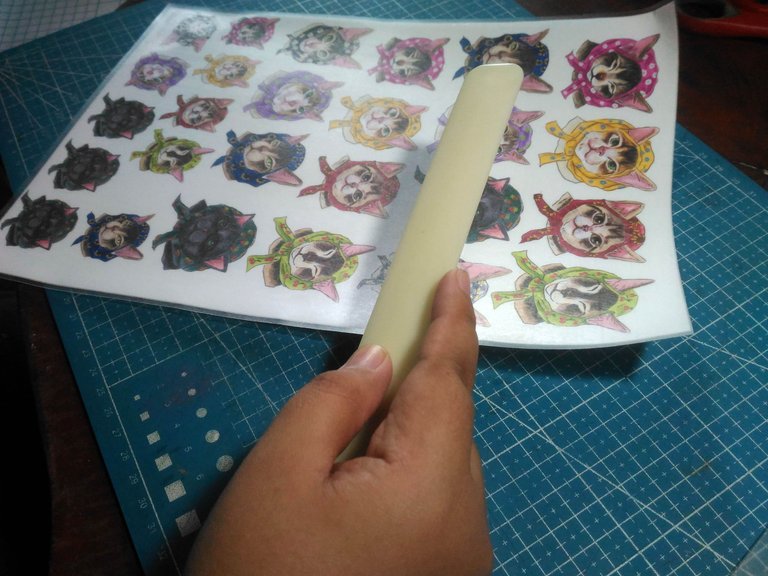
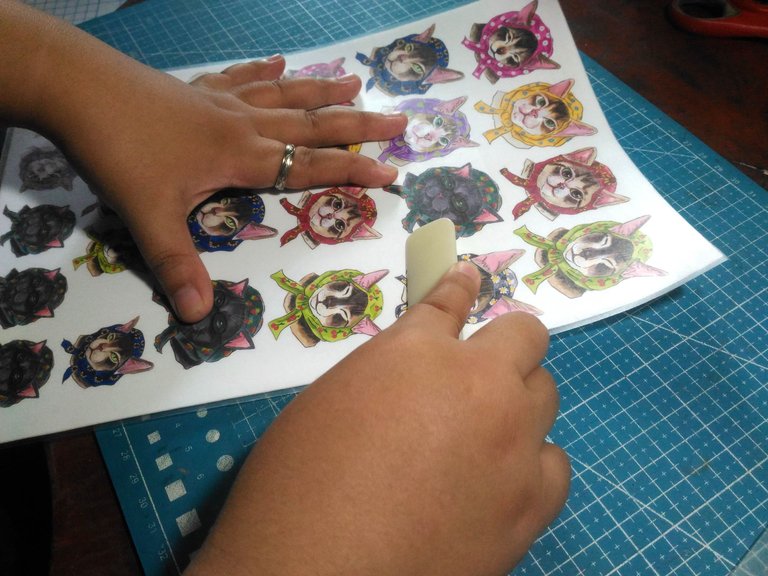
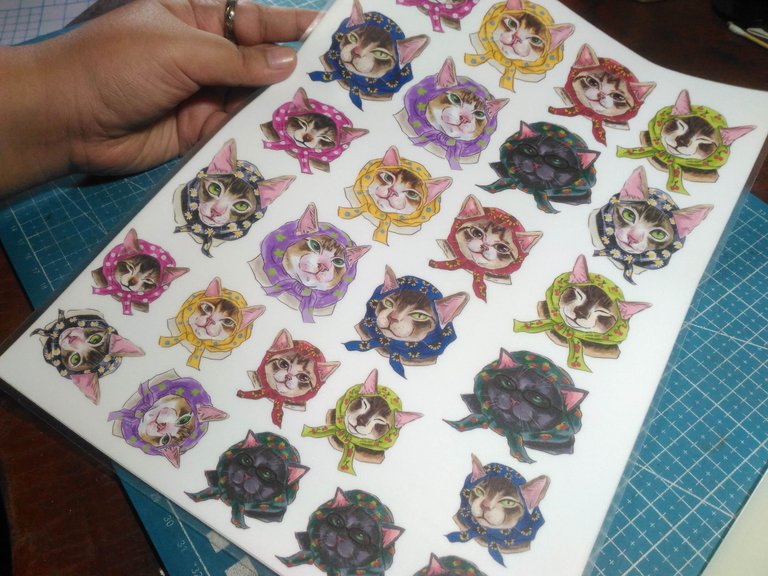
To make sure the laminating film is sticking more I use a bone folder to do the job.
Cutting Time:
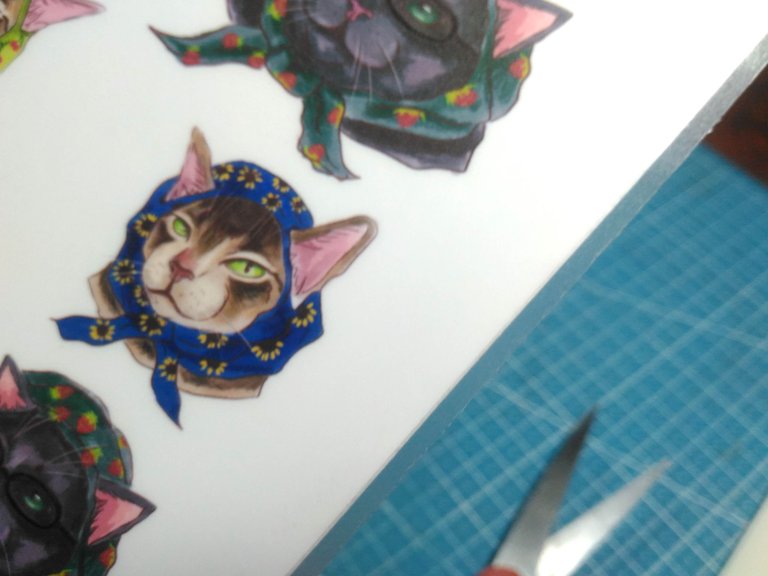
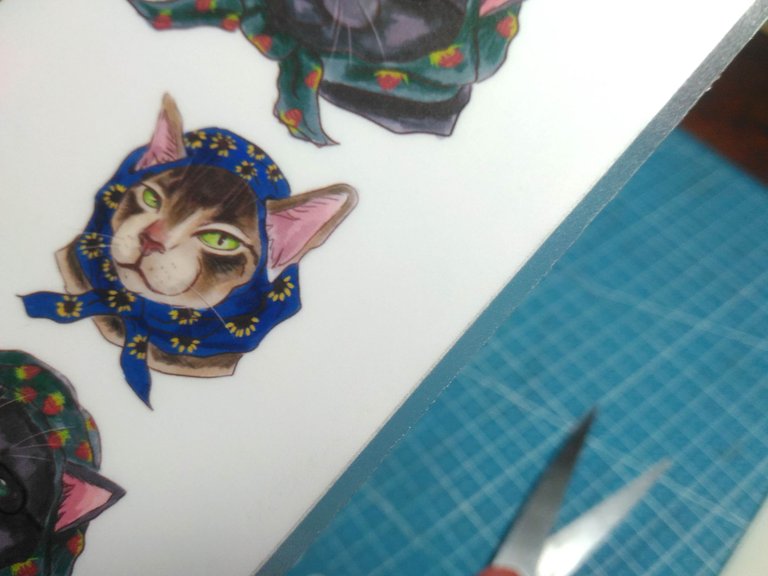
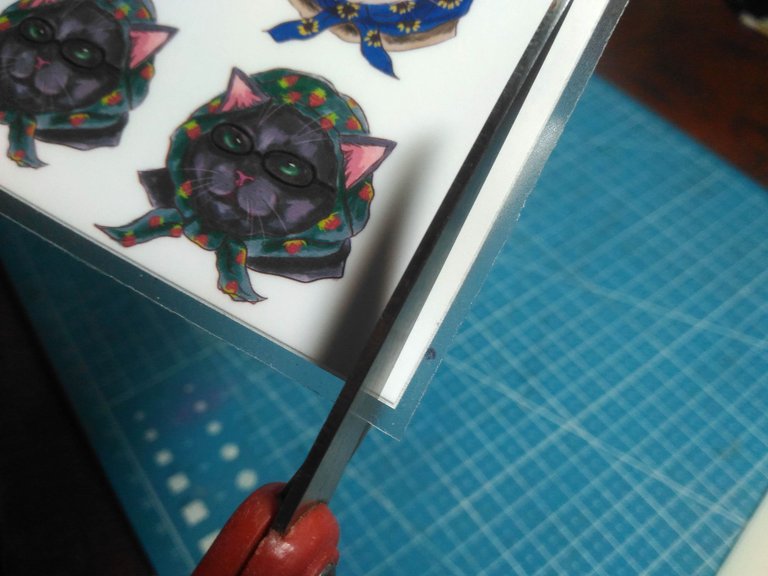
Before I start to cut the sticker I first cut the extra laminating film.
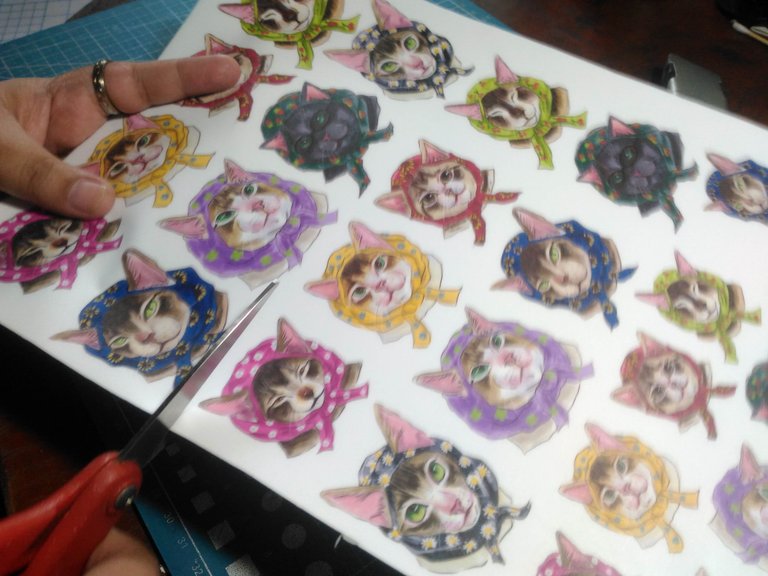
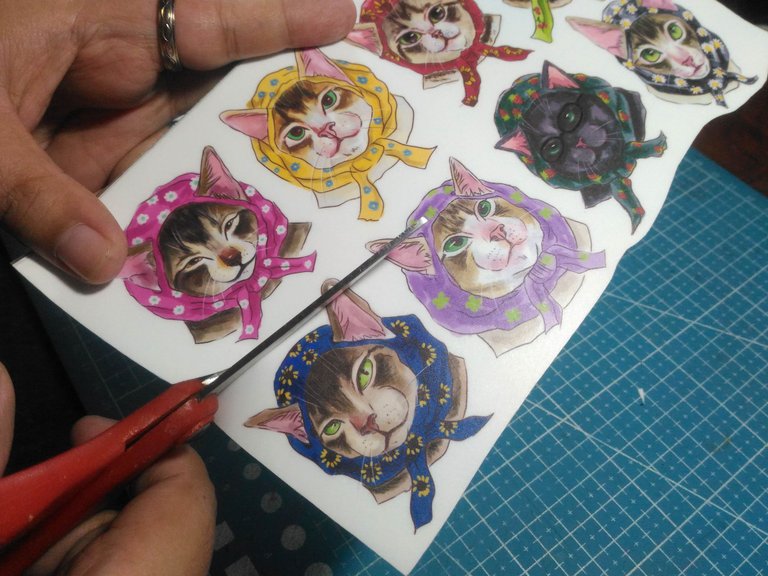
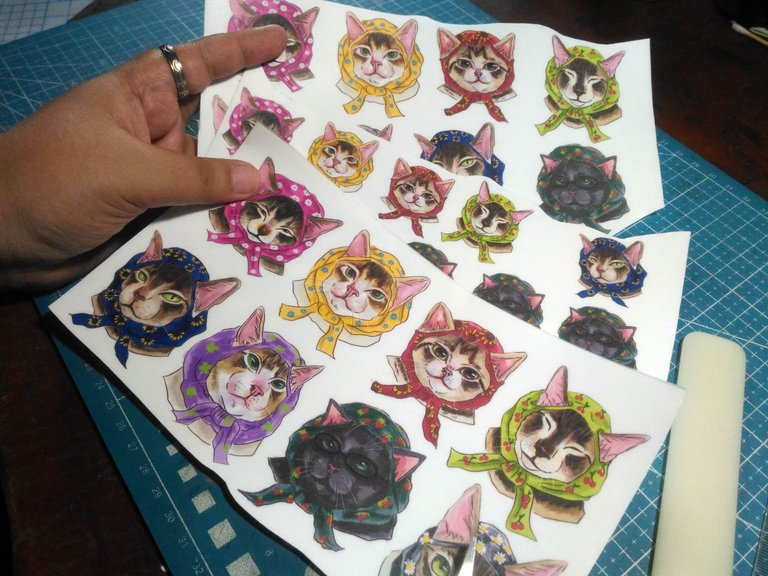
Next, I cut the sticker per batch and size so cutting and organizing it after is easier.
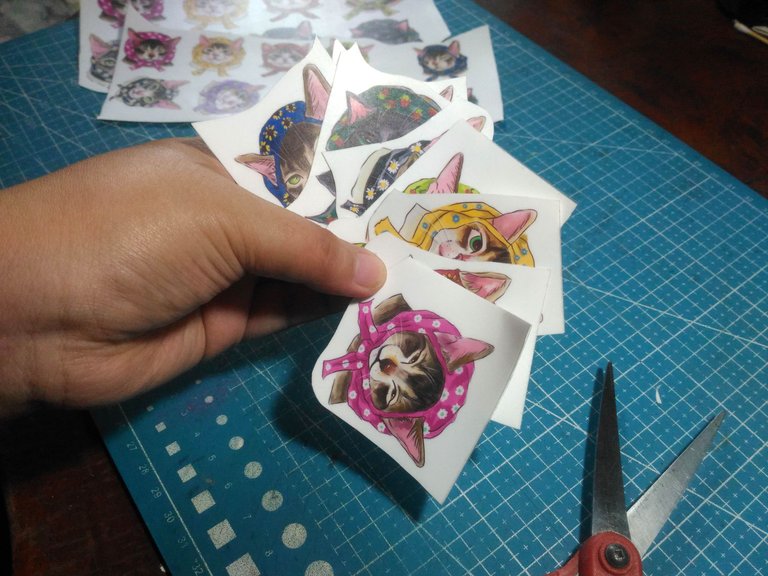
I first cut the bigger size sticker.
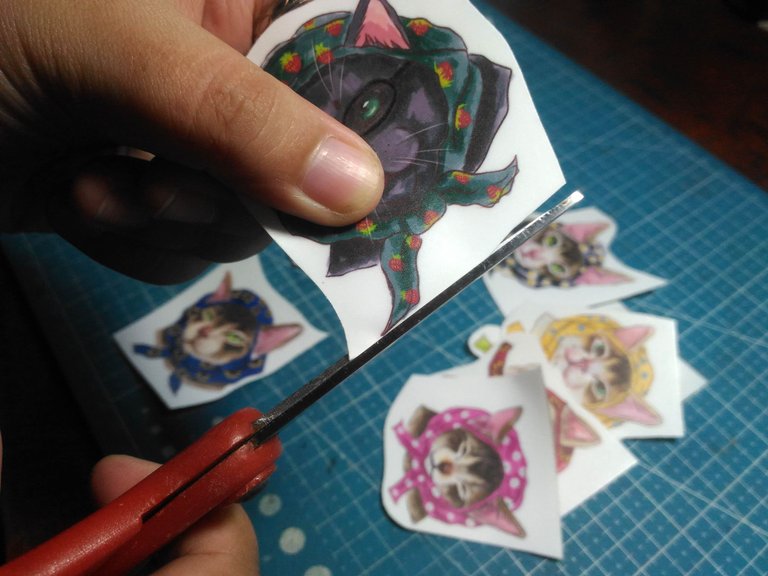
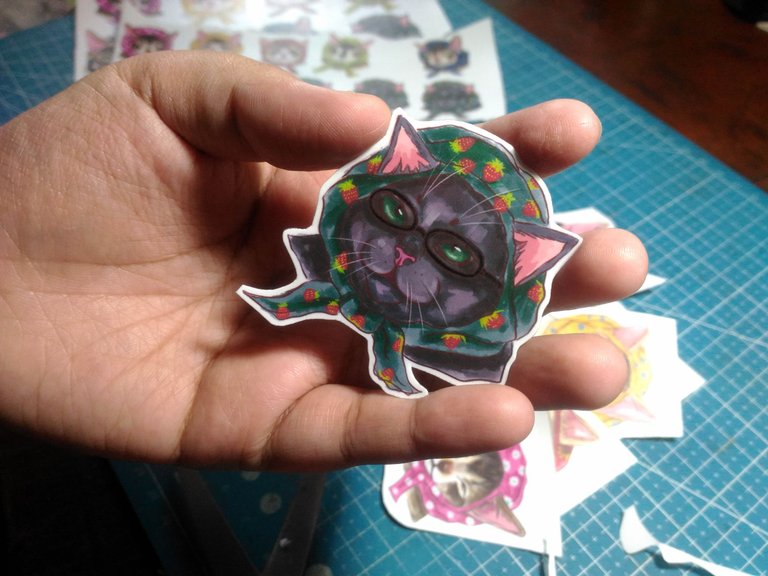
Babushka Cat 1
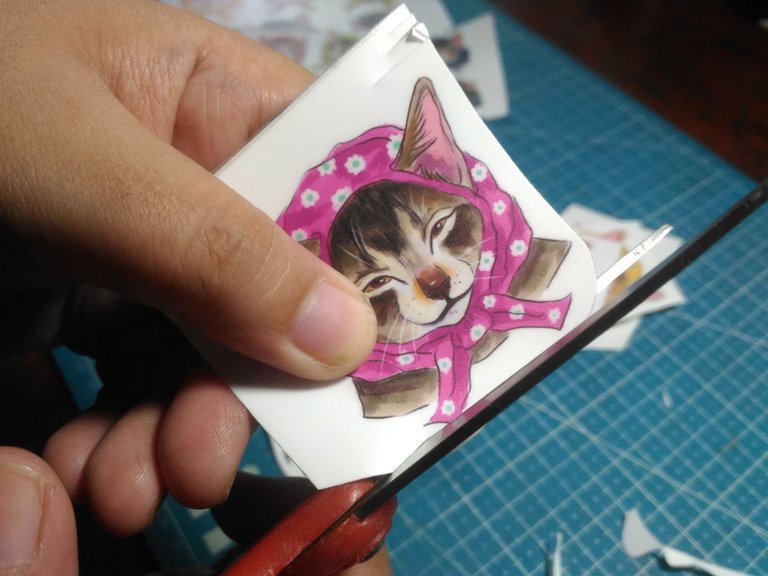
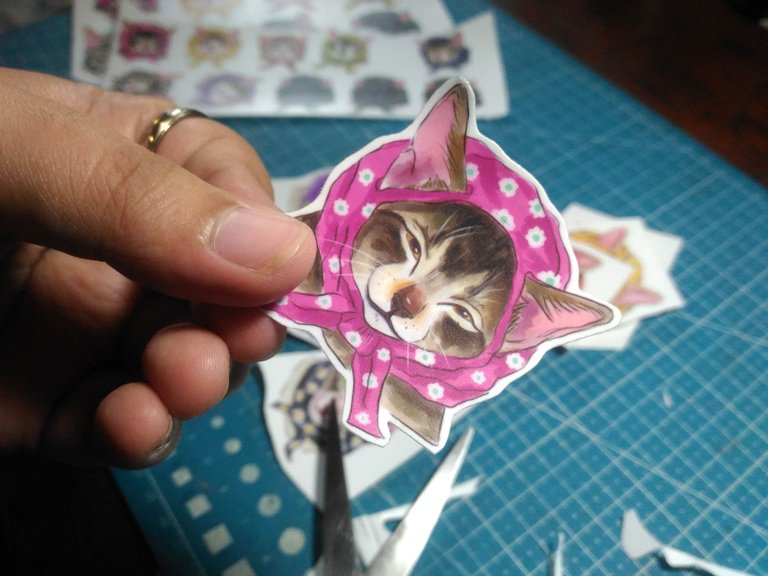
Babushka Cat 2
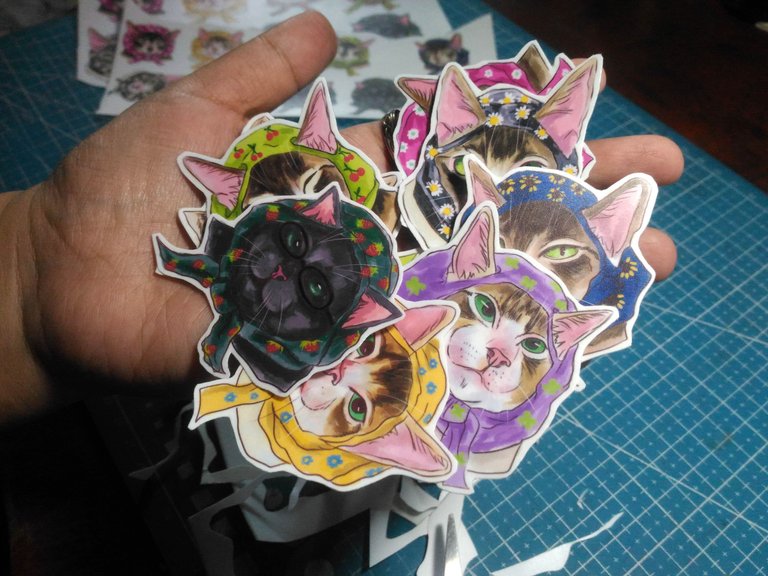
The first batch is done!
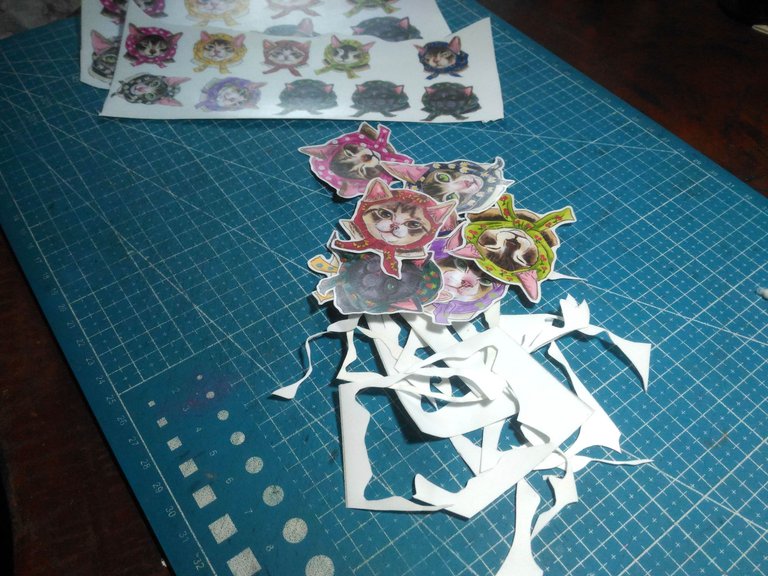
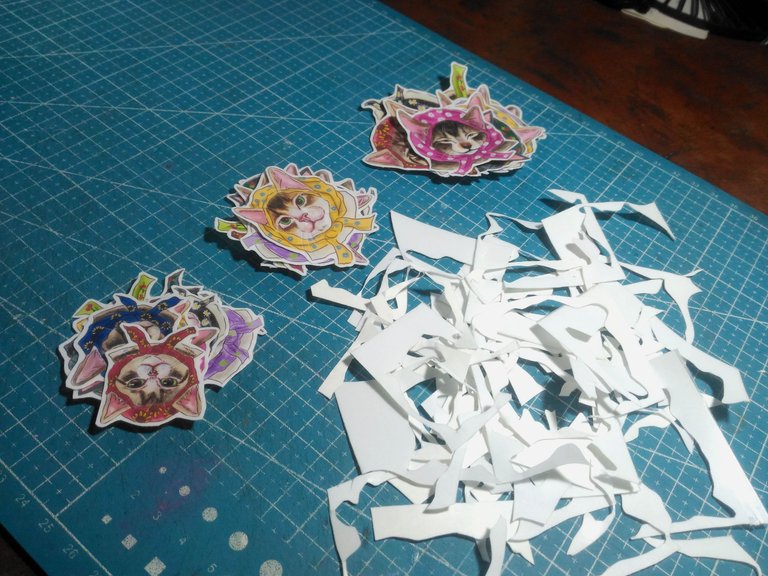
Took me half or hour to cut them all. These stickers are not that complicated to cut so it took me just an hour to finish cutting them.
Close-Up Photos of Babushka Cat:
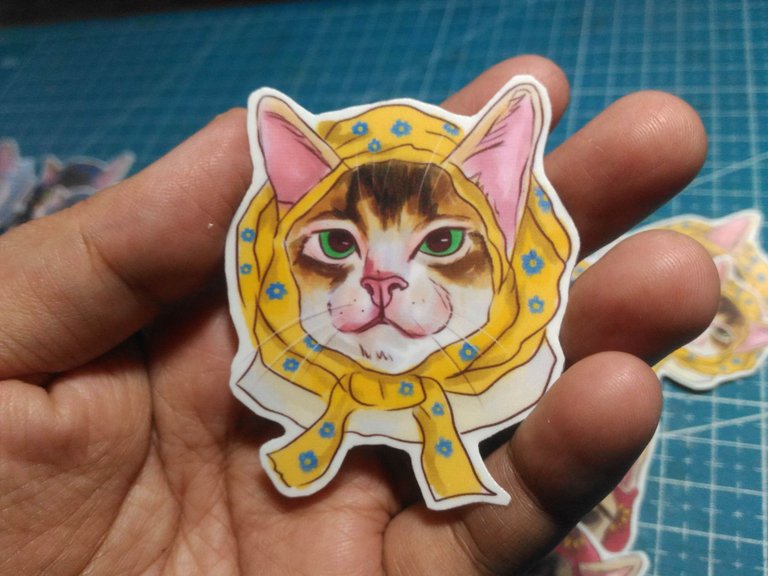
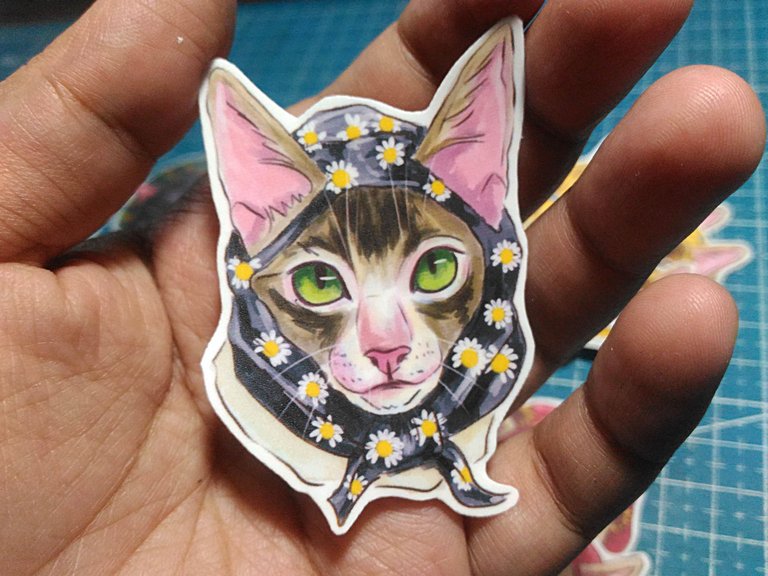
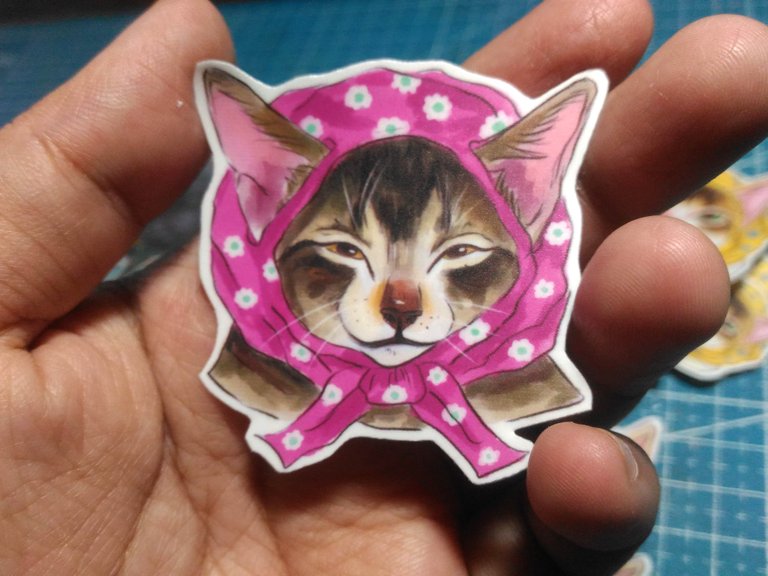
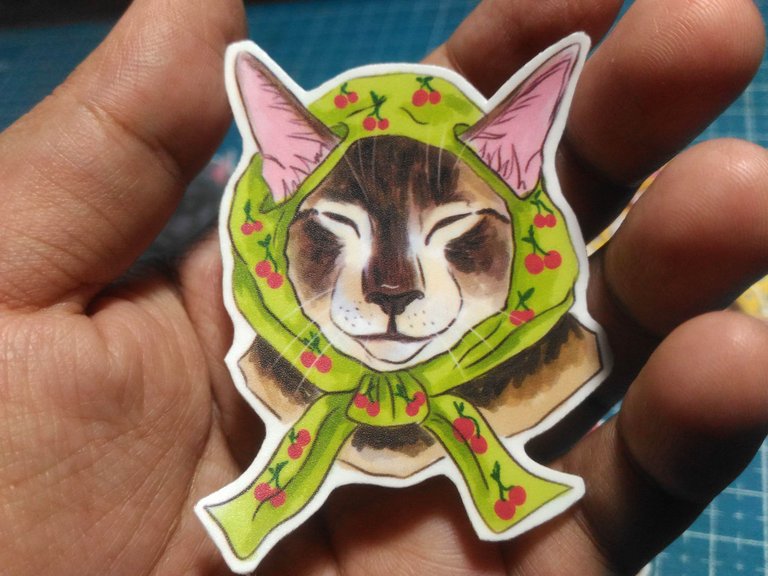
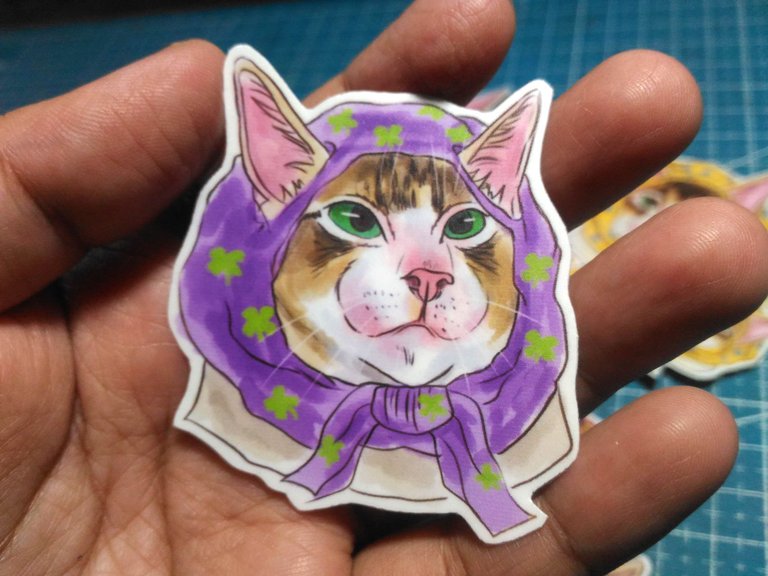
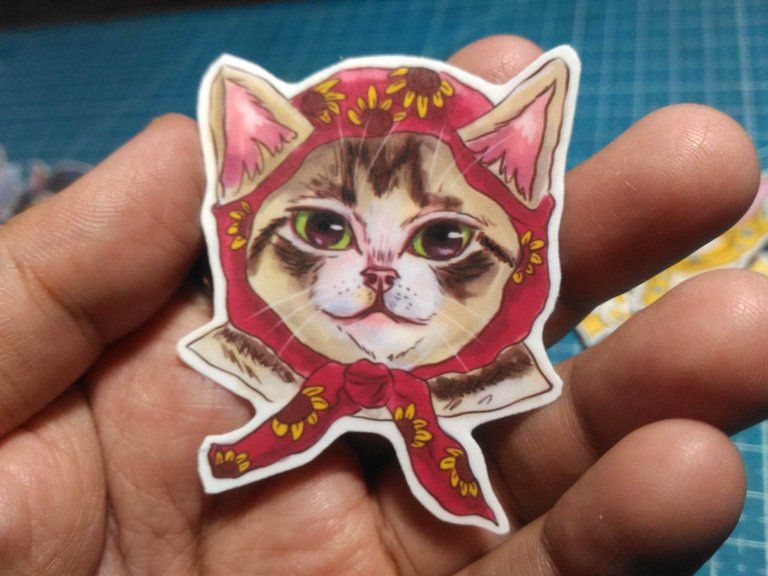
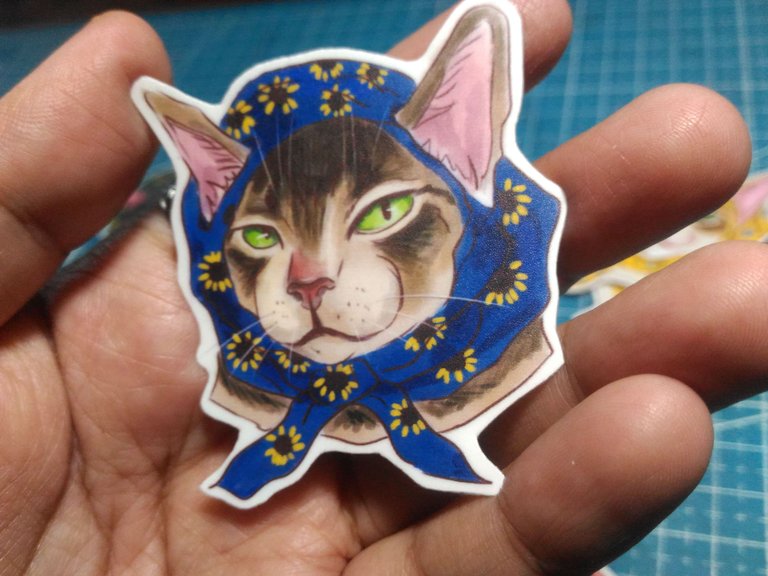
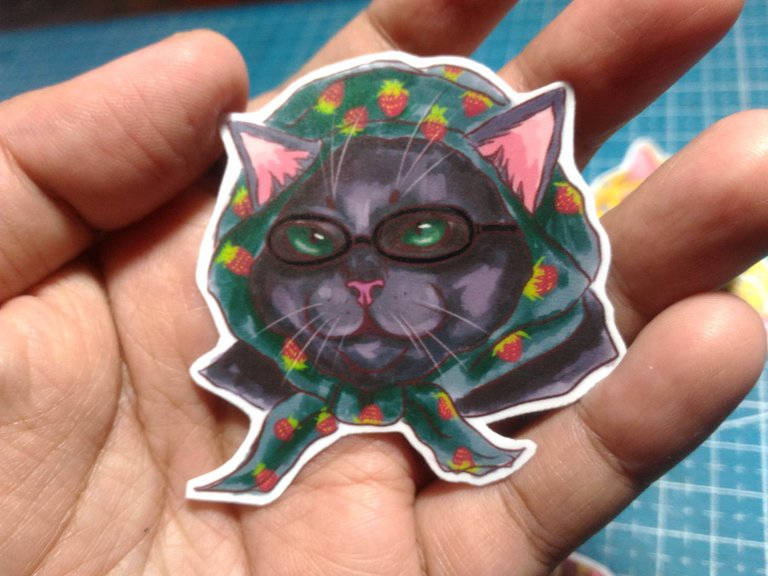
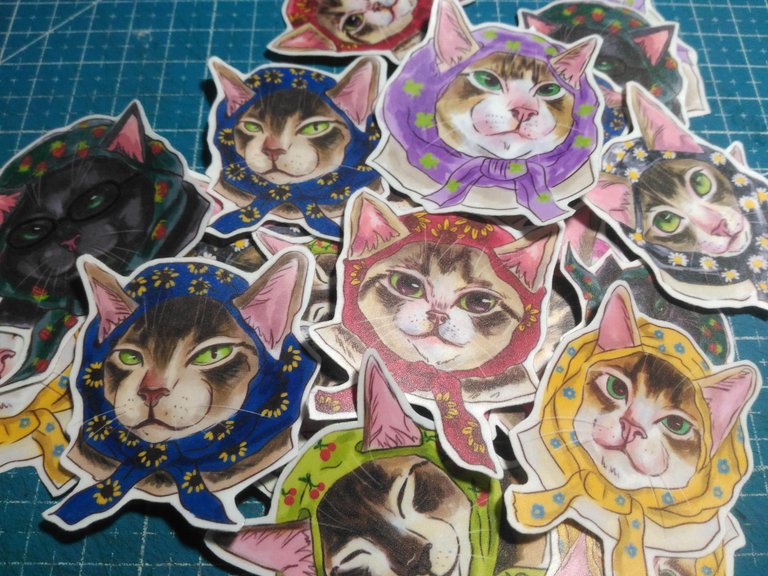
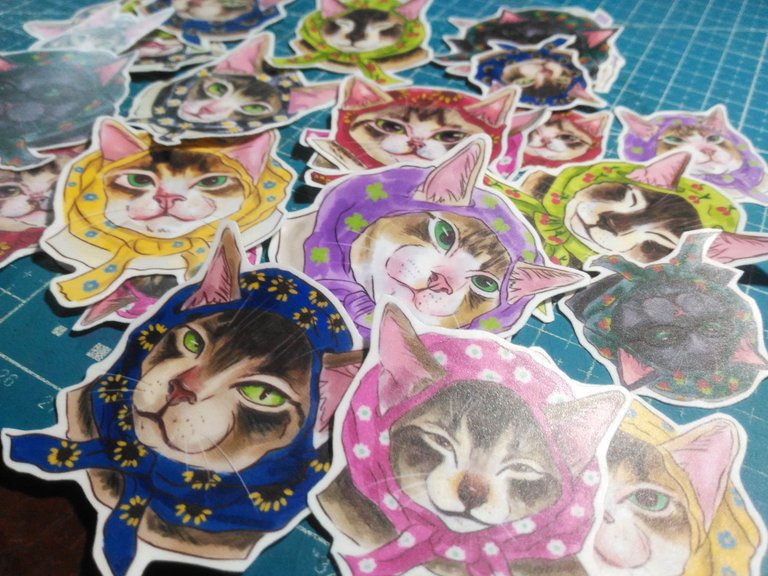
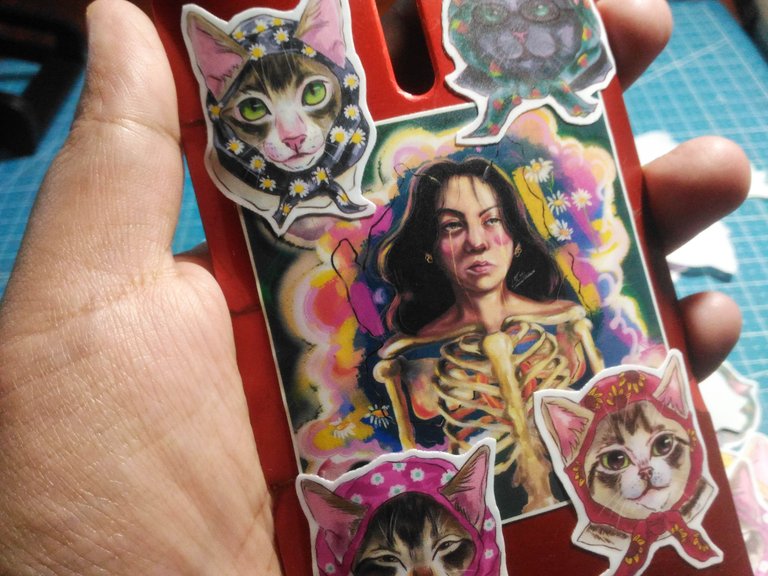
I stick some of them on the back of my phone case which is so cute beside my art sticker. Which Babushka cat caught your eye let me know :D
Thank you for visiting, see you on my next blog. :D
Please take care of your mental health as well.
I hope you are okay today :))
Please take care of your mental health as well.
I hope you are okay today :))
They all look very nice, you've done a great job with this. Thanks for sharing the process with us.
Thank you :D