Happy and blessed Saturday dear friends of HIVE DIY, just hours before the month of December begins I want to wish you that this month comes loaded with lots of energy so that you achieve all your projects and together with them we reach our proposed goals 🥰❤️
I love this time that we are living, since I was a child I used to make my Christmas decorations since at that time things were very inaccessible in economic terms, or sometimes we wanted to do something special and it was difficult to get it to our liking, today we have so many options and so much help from the Internet that we can do almost anything and I love it, and today I want to show you a nice idea to make some giant baubles, and decorate your home in the most economical and beautiful way, join me and I will show you how to do them:
Feliz y bendecido sábado queridos amigos de HIVE DIY, a sólo horas de qué comience el mes de diciembre quiero desearles que este mes venga cargado de muchas energías para que logren todos sus proyectos y junto a ellos alcancemos nuestras metas propuestas 🥰❤️
Amo esta época que estamos viviendo, desde que era niña acostumbraba a hacer mis adornos navideños ya que en aquel tiempo las cosas eran muy poco accesibles en términos económicos, o a veces queríamos hacer algo especial y era difícil conseguirlo a nuestro gusto, hoy en día tenemos tantas opciones y tanta ayuda del Internet que podemos hacer casi cualquier cosa y eso me encanta, y hoy quiero mostrarles una linda idea para hacer unas bambalinas gigantes, y decorar tu hogar de la forma más económica y hermosa, acompáñame y te muestro cómo hacerlas:

MATERIALS
MATERIALES
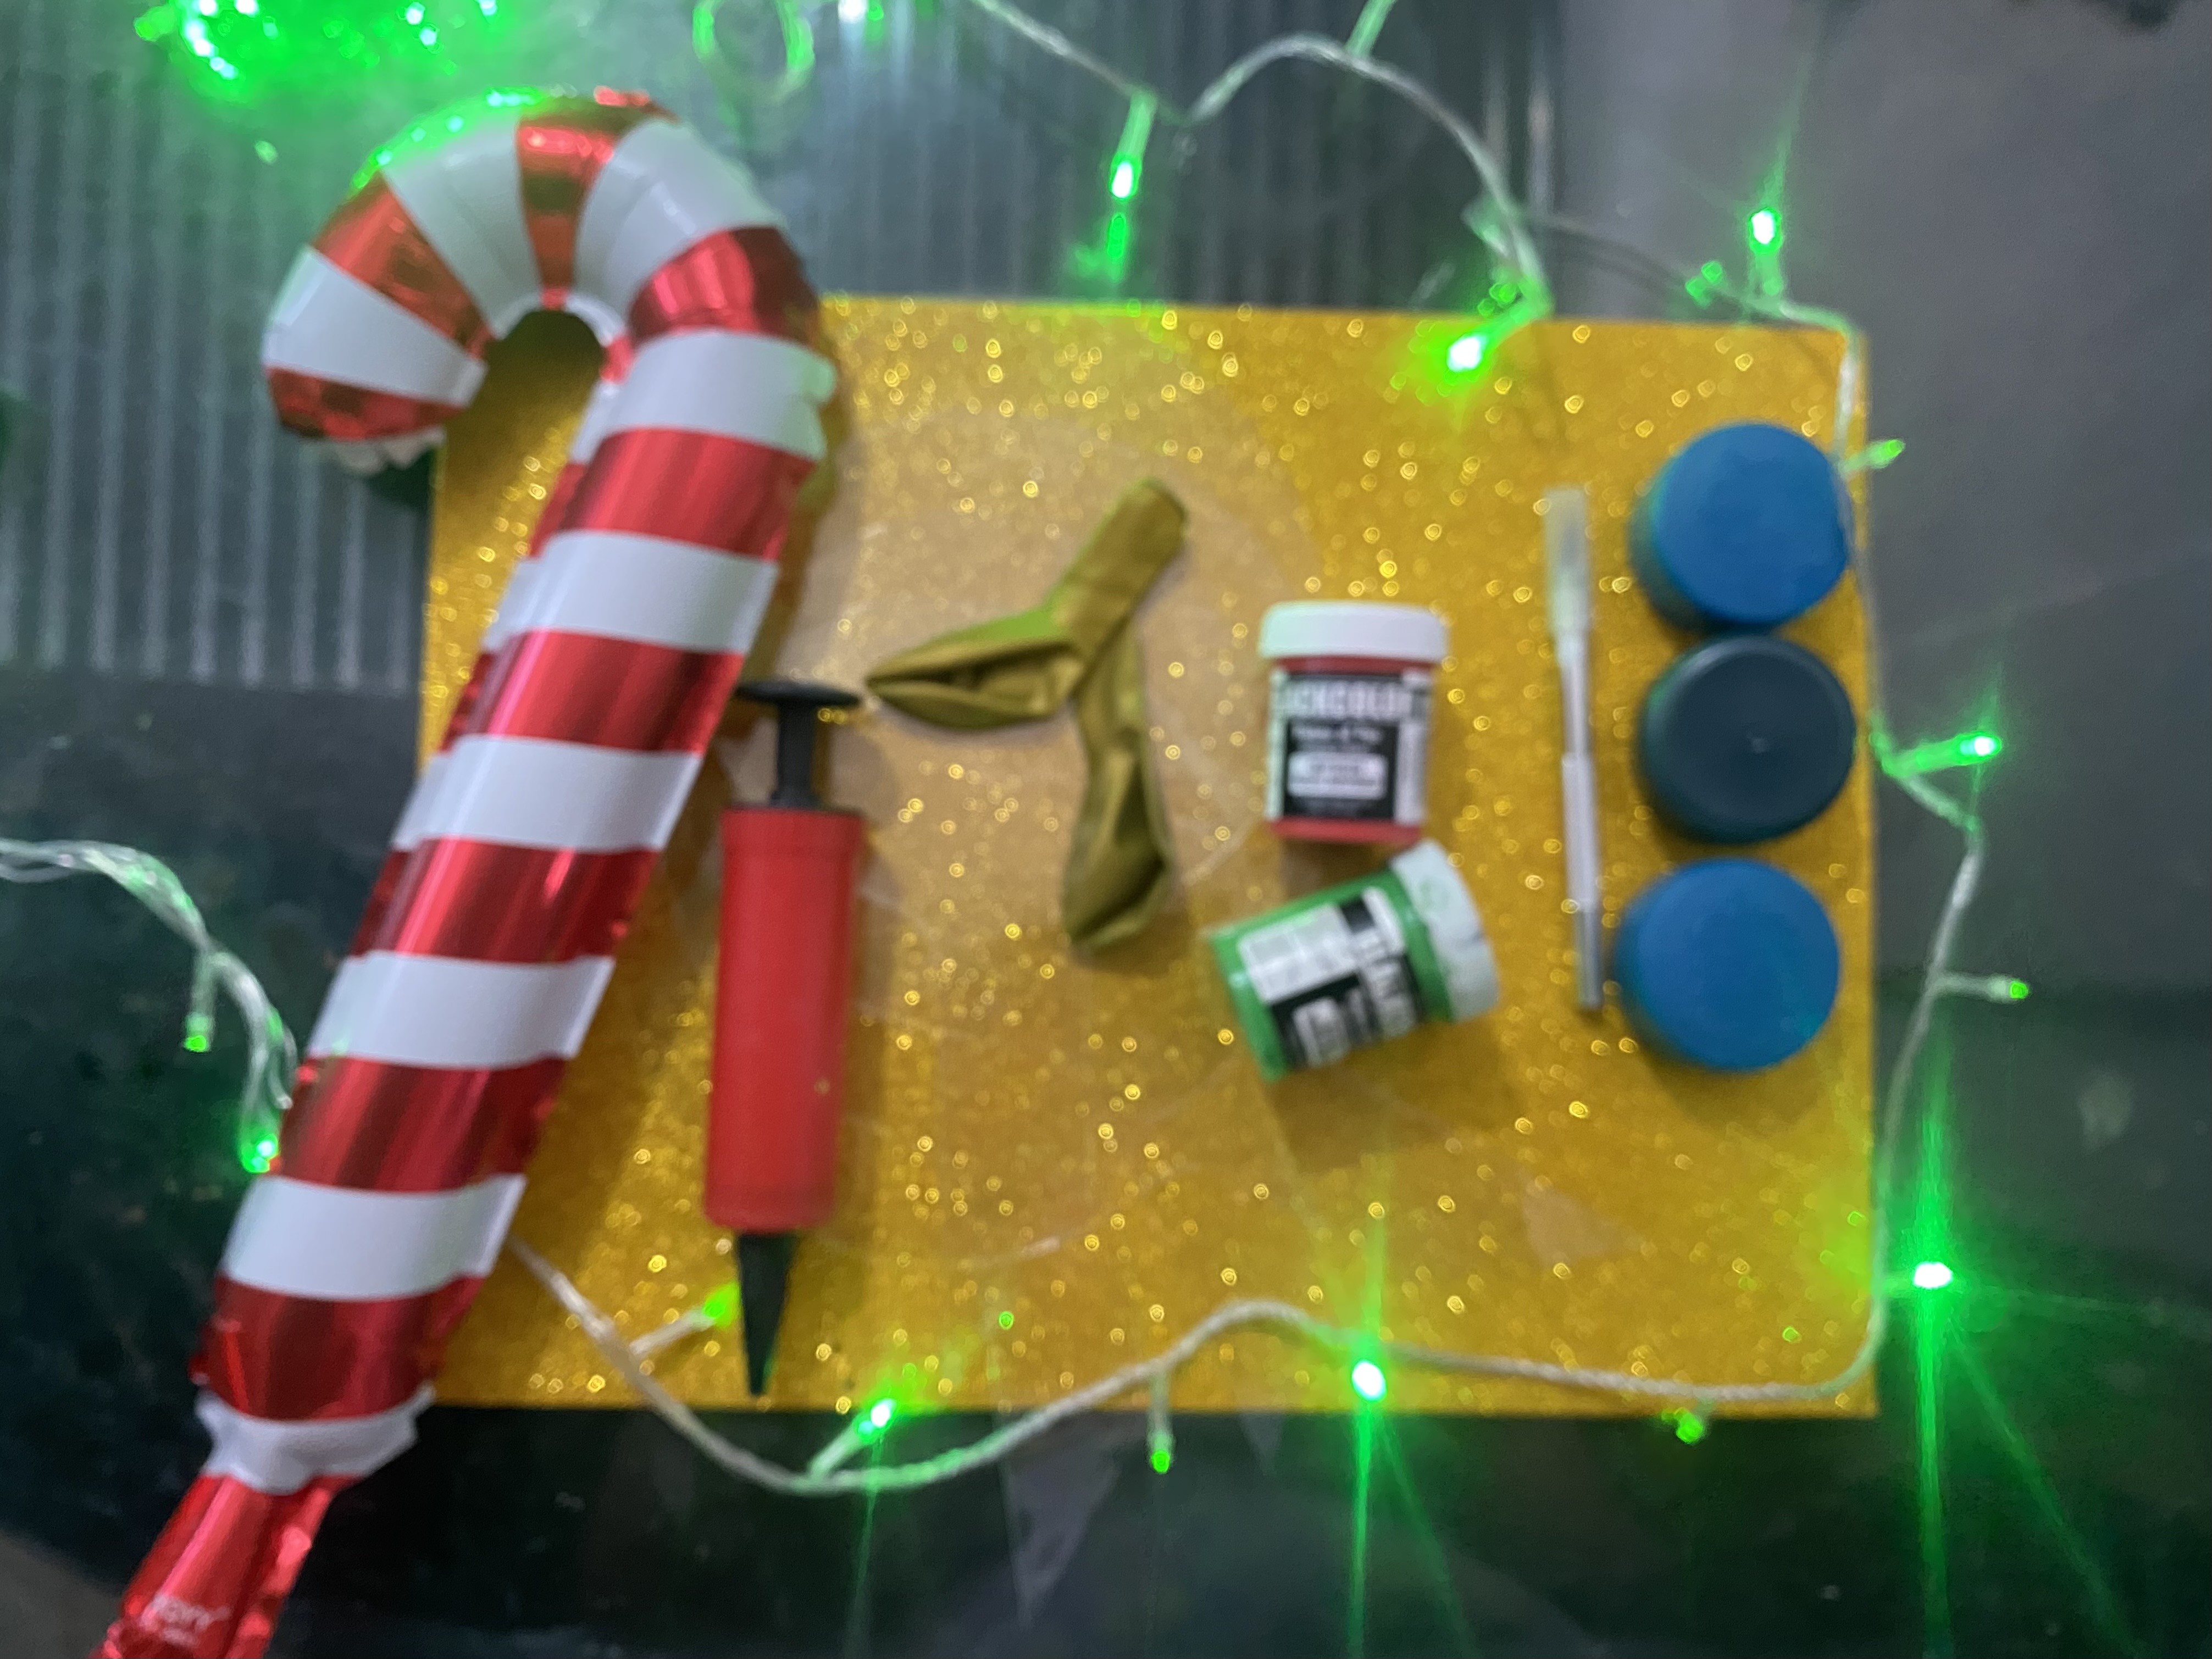
These beautiful giant curtains can be made in any size you want, the materials are inexpensive and you can make a unique and original decoration. Here is the list of materials to use:
- bubble balloon, this type of balloon is transparent and is made of a fairly resistant plastic and you can get it in stores that sell everything for parties, I bought the 18-inch one and it cost me 17 bolivars, approximately 1.4 hive
- cold paints in the color you want
- golden foam
- plastic lids or small plastic cups
- inflator
- syringe
- regular balloons
- silicone
Éstas hermosas bambalinas gigantes las podemos elaborar al tamaño que desees, los materiales son económicos y puedes hacer una decoración única y original, aquí te dejo la lista de materiales a utilizar:
- globo burbuja, este tipo de globo es transparente y es de un plástico bastante resistente y lo puedes conseguir en las tiendas que te venden todo para fiestas, yo compré el de 18 pulgadas y me salió por un precio de 17 bolívares, aproximadamente 1,4 hive
- pinturas al frío del color que desees
- foami dorado
- tapas plásticas o tazas plásticas pequeñas
- inflador
- jeringa
- globos comunes
- silicone
PASO A PASO
STEP BY STEP
We will start by stretching our transparent balloons, then we will inflate them so that they become more flexible. When stretching them we can do it with confidence since this plastic is quite resistant. At first I didn't know the technique very well, so I looked for some Help videos. The good thing is that they are not lost since you can inflate and deflate them as many times as you want.
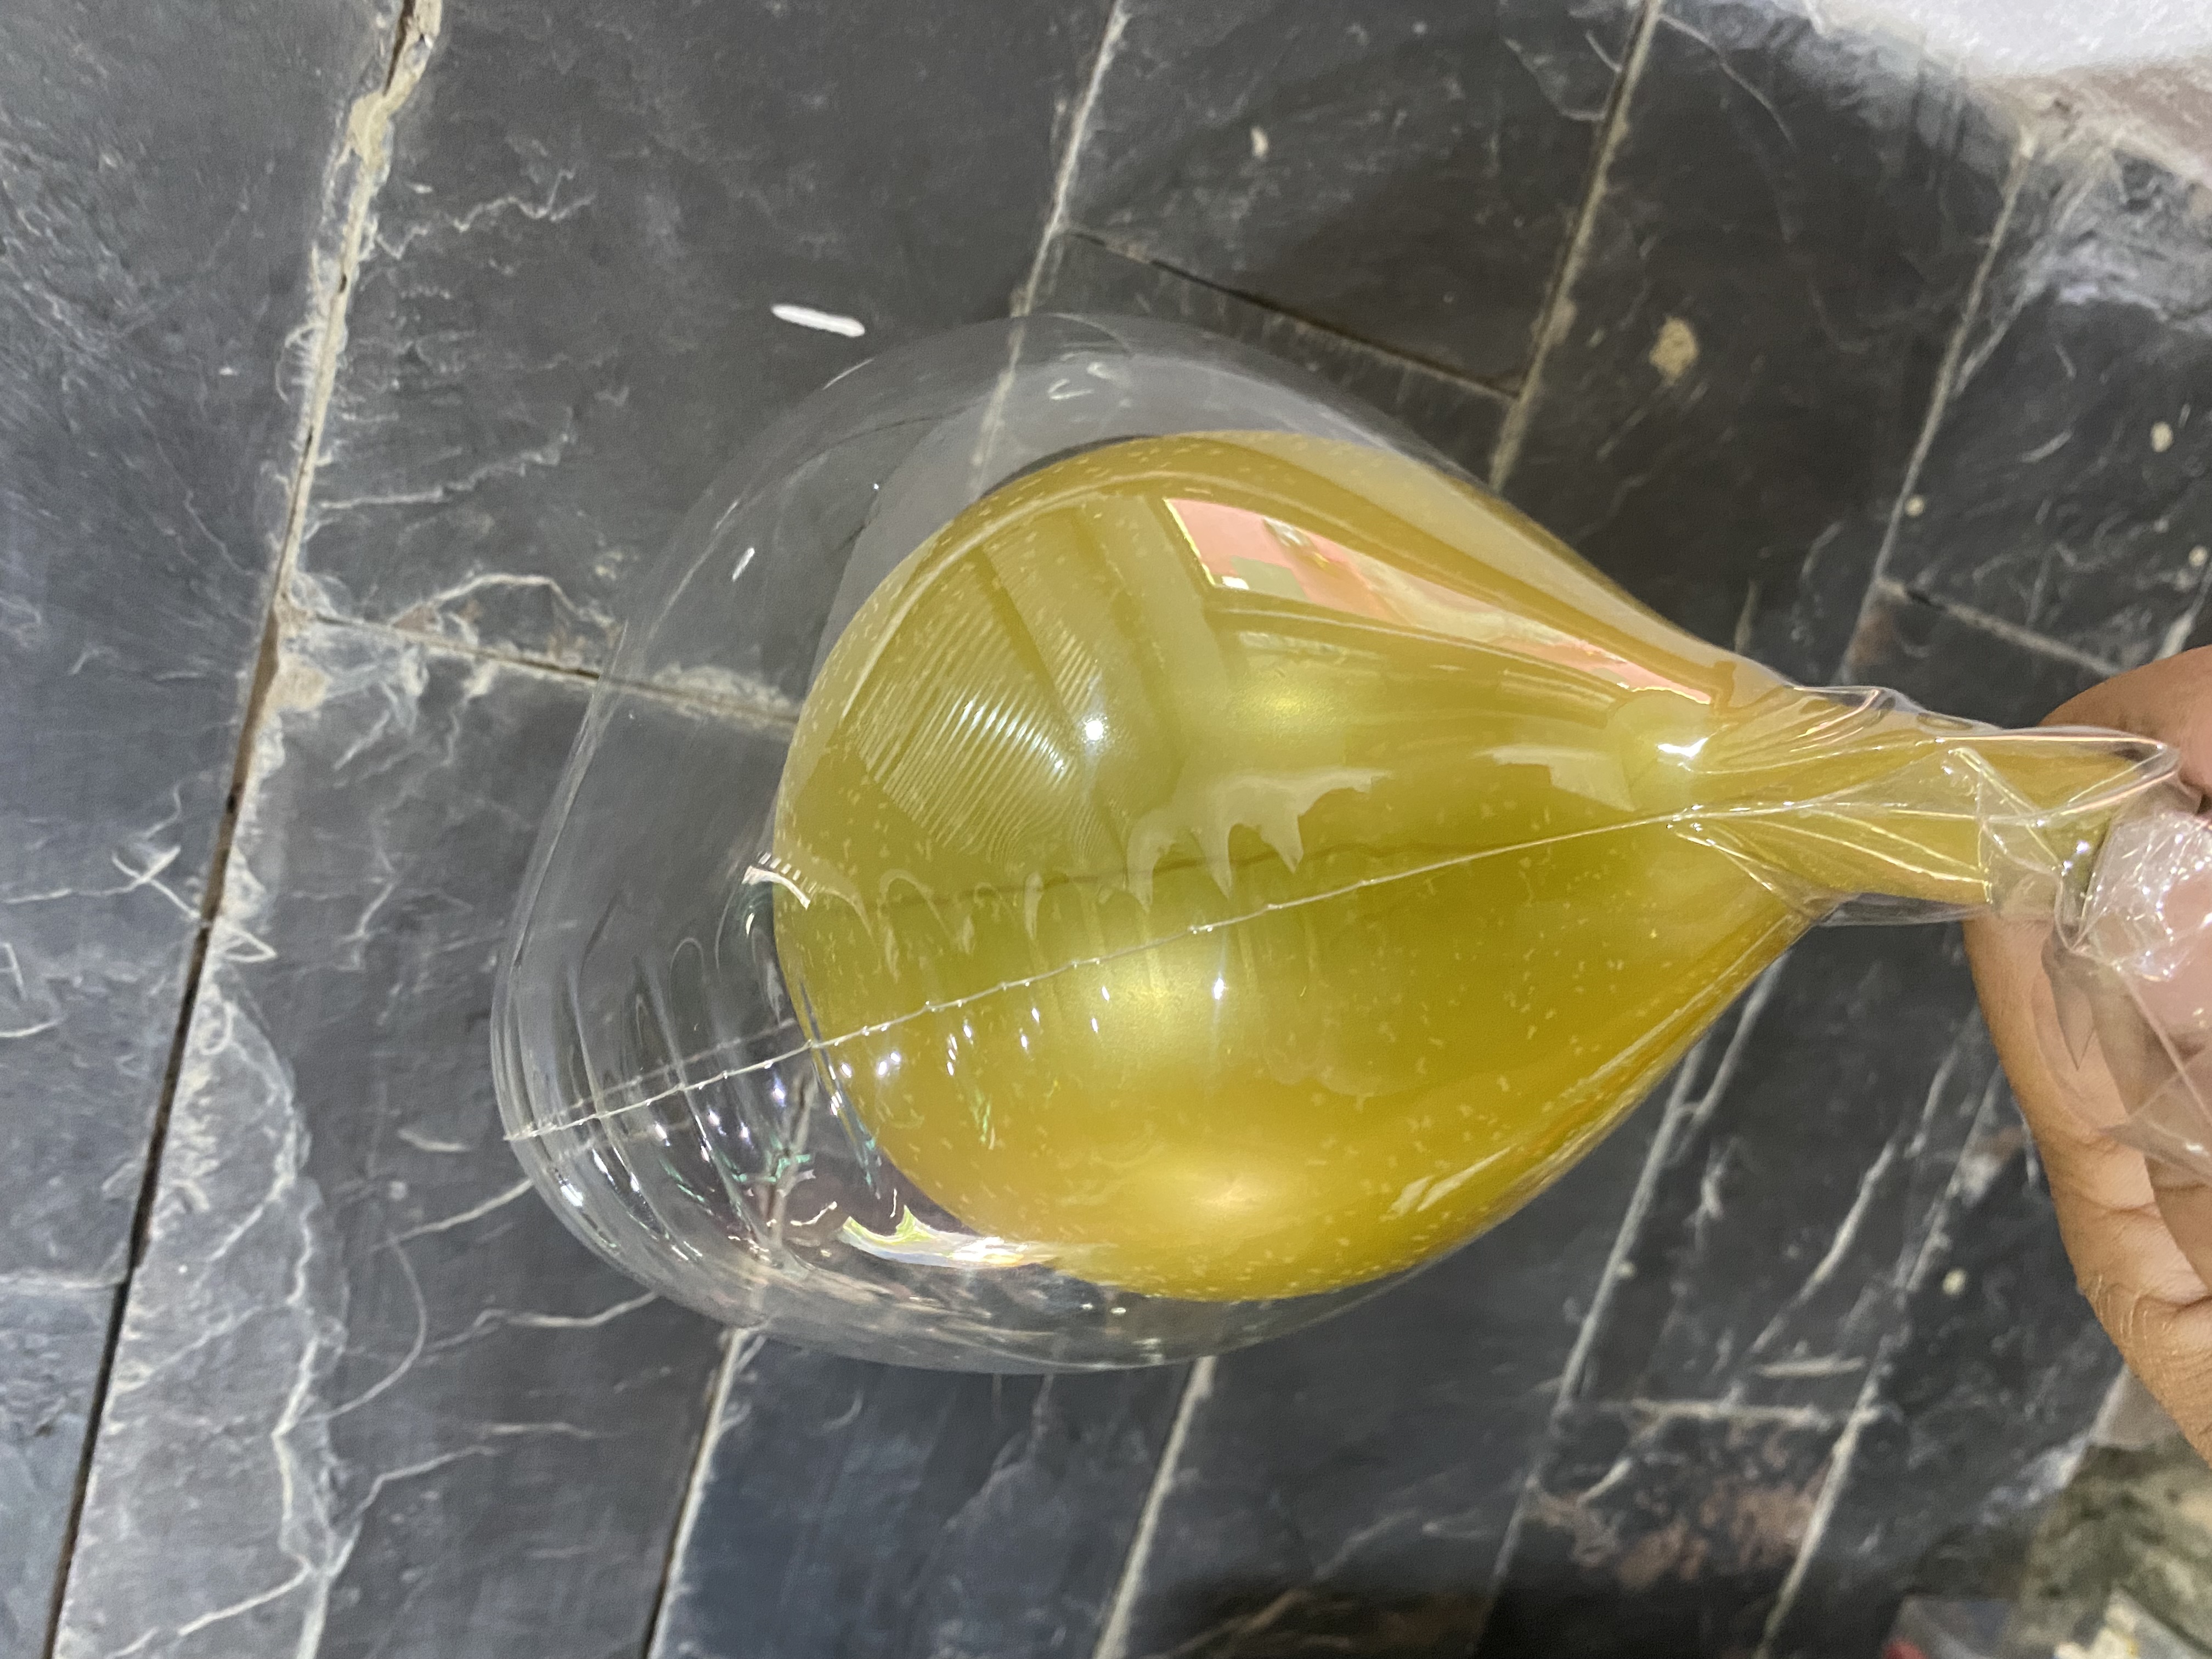
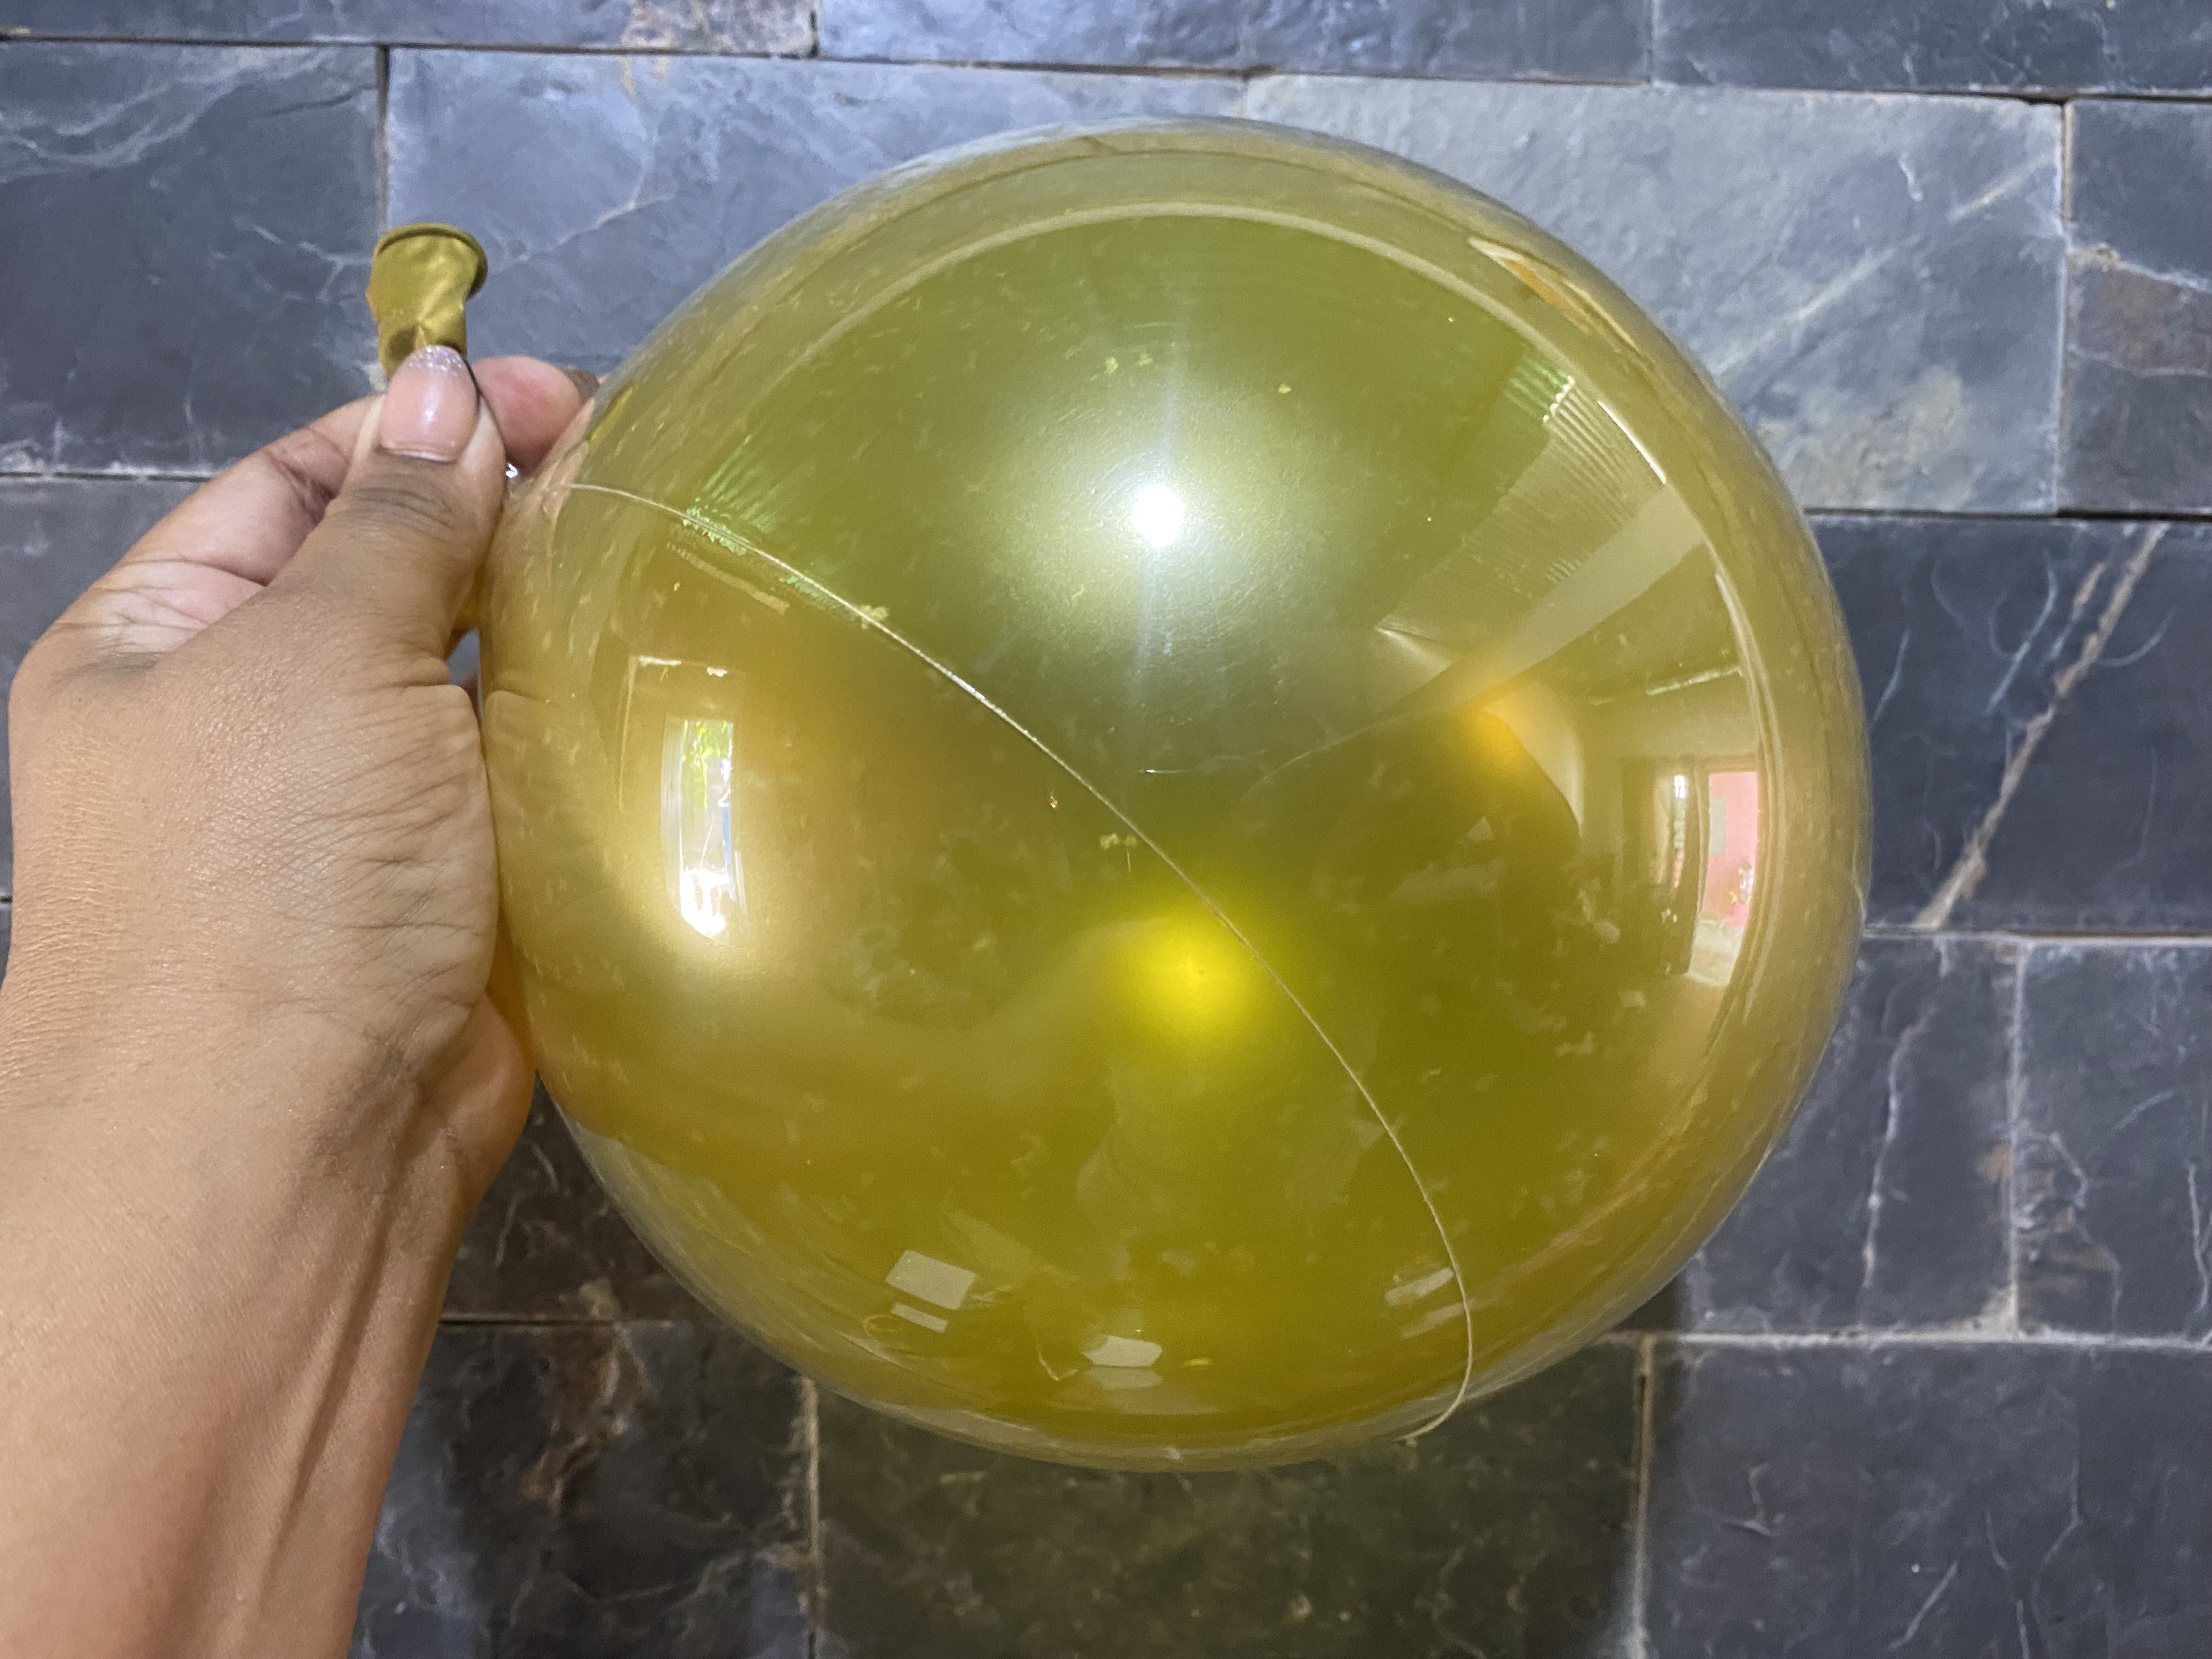
The first idea to add color to your transparent balloon is to place a simple balloon of the color of your choice inside it. You must stretch it first and then place it inside the transparent balloon. After inserting it, inflate the transparent balloon first, then very carefully inflate the colored balloon and let the transparent one deflate a little so it will look perfect.
A trick to get all the air out of the transparent balloon and for the other balloon to fit is to put a straw between the two. As you inflate the gold balloon, let the air out of the transparent balloon and they will join together on the inside and give the impression that it is a gold balloon.
Comenzaremos estirando nuestros globos transparentes, luego los vamos a inflar para que vayan agarrando más flexibilidad, al estirarlos lo podemos hacer con confianza ya que este plástico es bastante resistente, al principio no sabía muy bien la técnica busqué algunos videos de Ayuda, lo bueno es que no se pierden ya que estos los puedes inflar y desinflar todas las veces que desees.
La primera idea para que le coloques color a tu globo transparente es colocarle en la parte interna un globo sencillo del color de tu preferencia, éste lo debe estirar previamente y luego colocarlo dentro del globo transparente, luego de introducirlo Inflas primero el globo transparente, luego con mucho cuidado infla el globo de color y vas dejando desinflar un poco el transparente así te quedará perfecto.
Un truco para que pueda salir todo el aire del globo transparente y que se adapte el otro globo es colocarle un pitillo entre los dos, a medida que vaya inflando el globo dorado vas dejando escapar el aire del globo transparente y así se juntarán en la parte interna y dará la impresión de qué es un globo dorado.
 |  |
|---|---|
 |
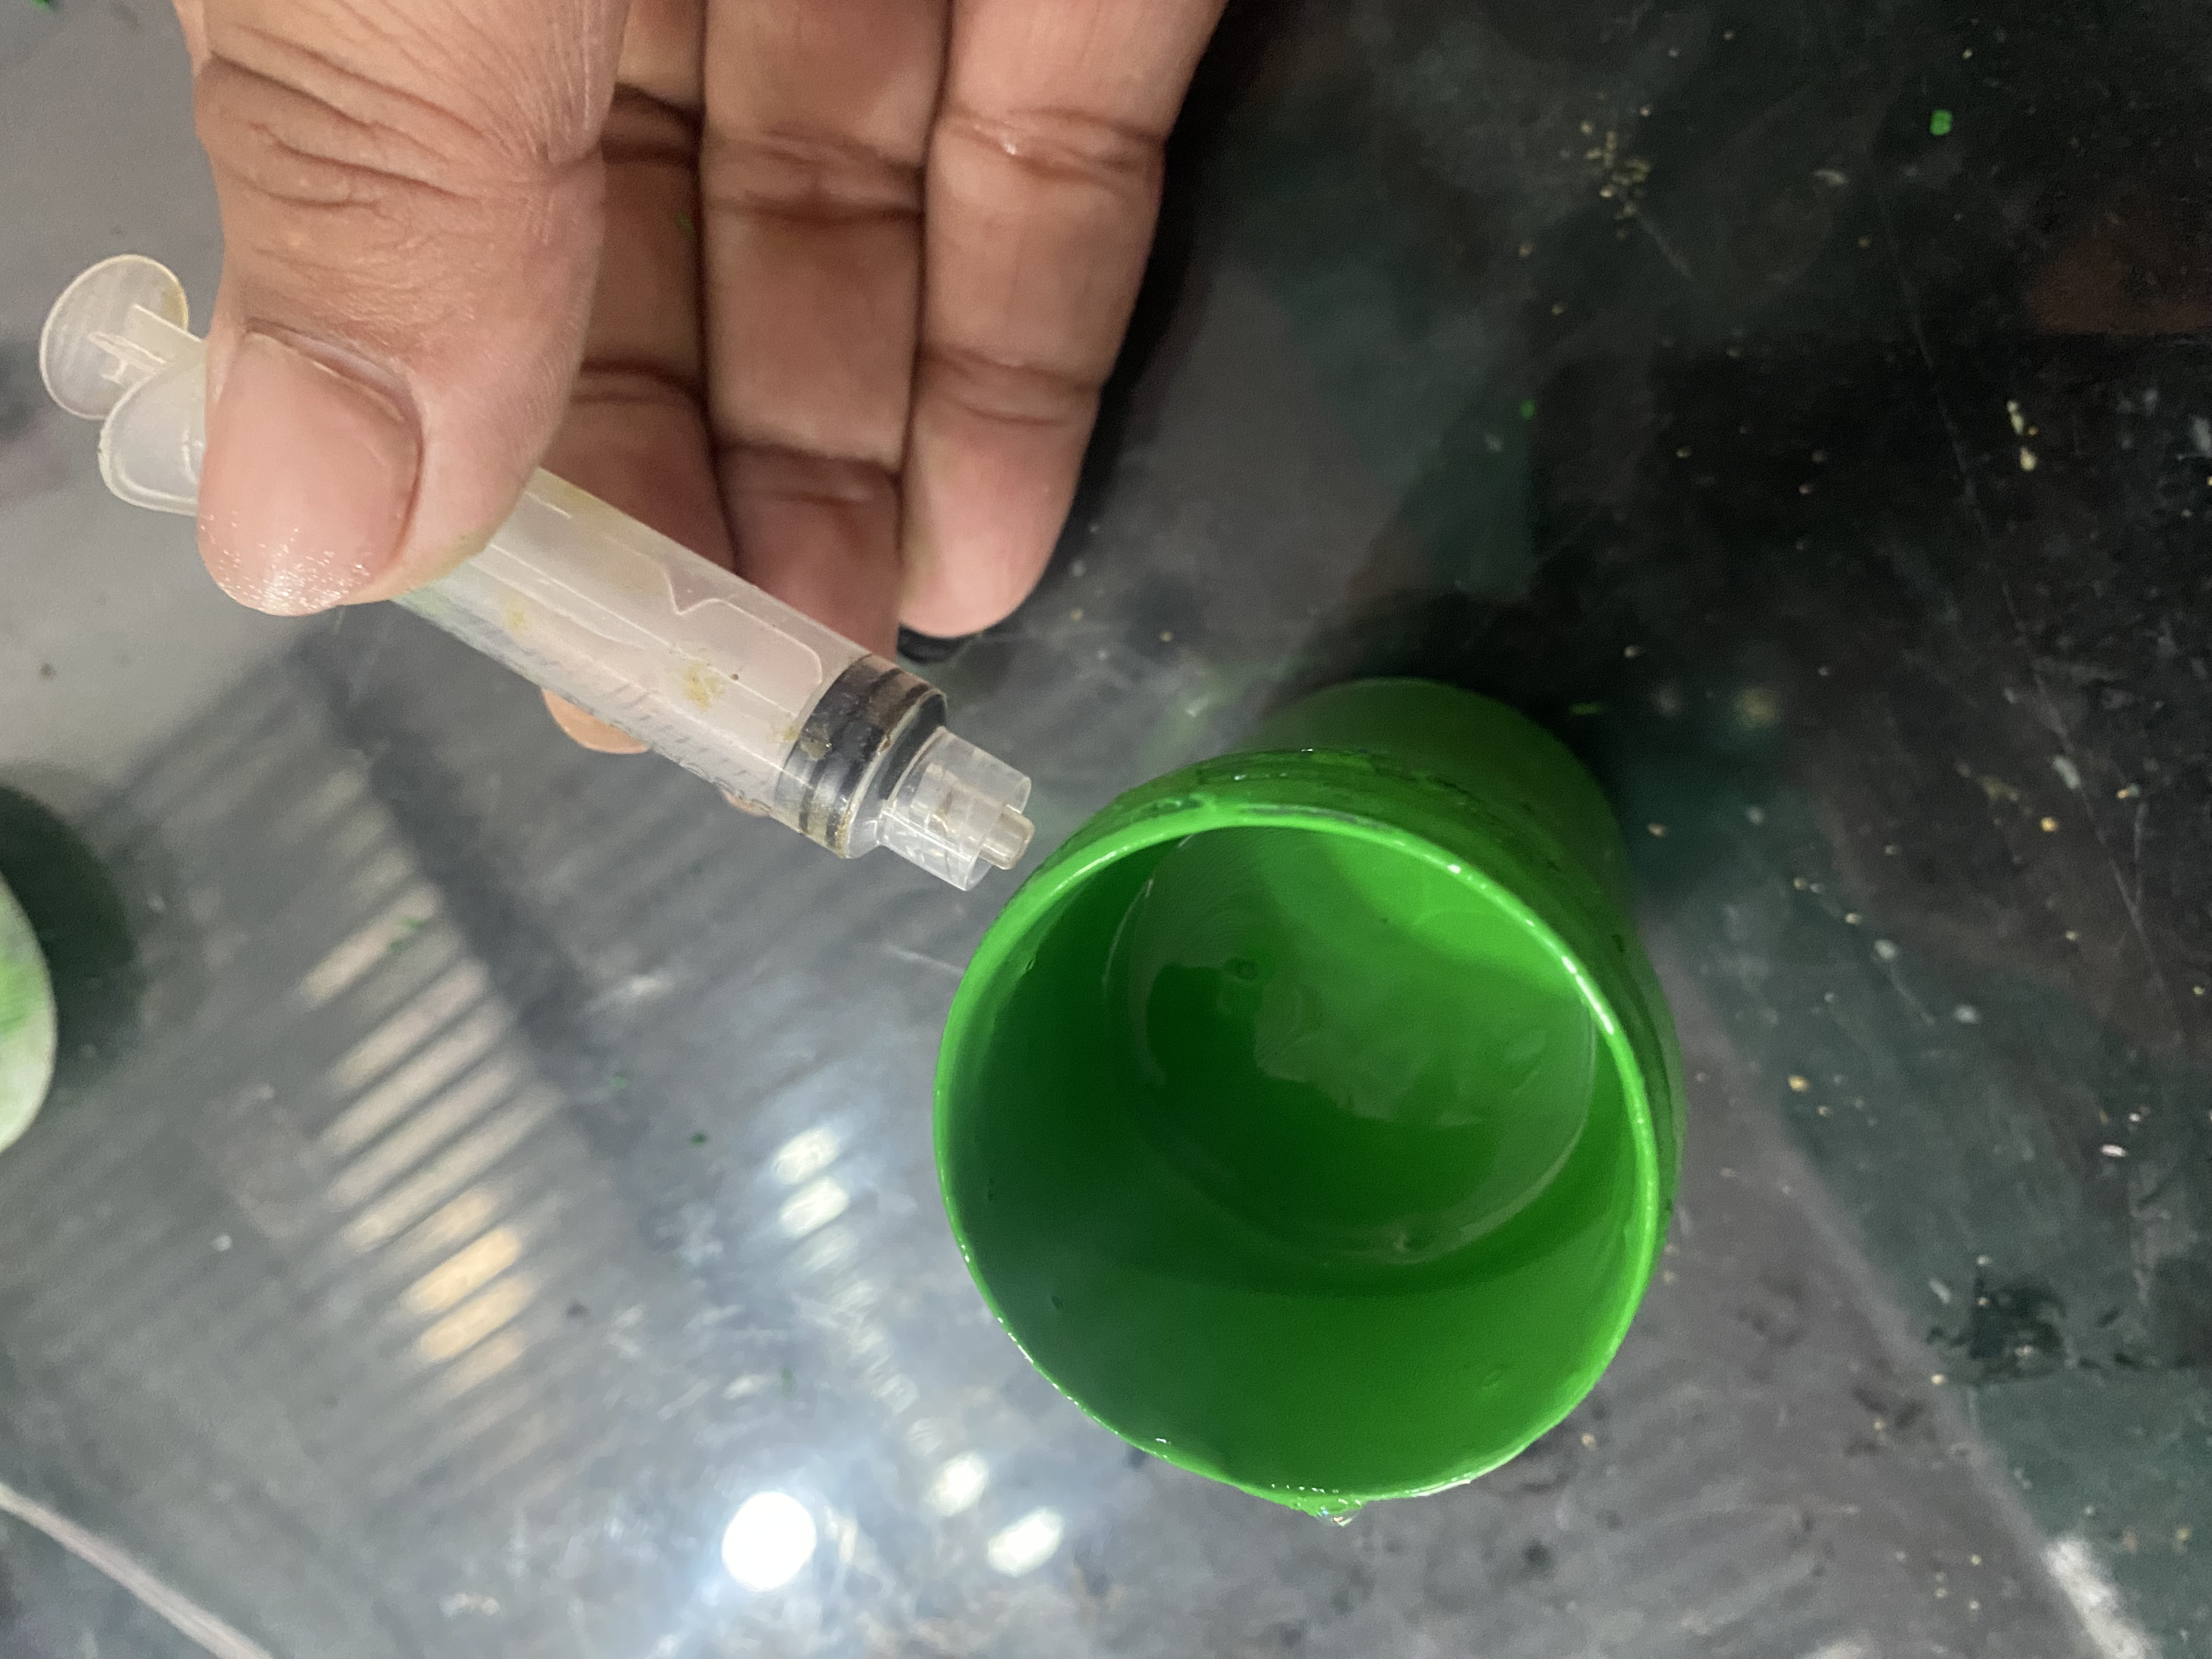
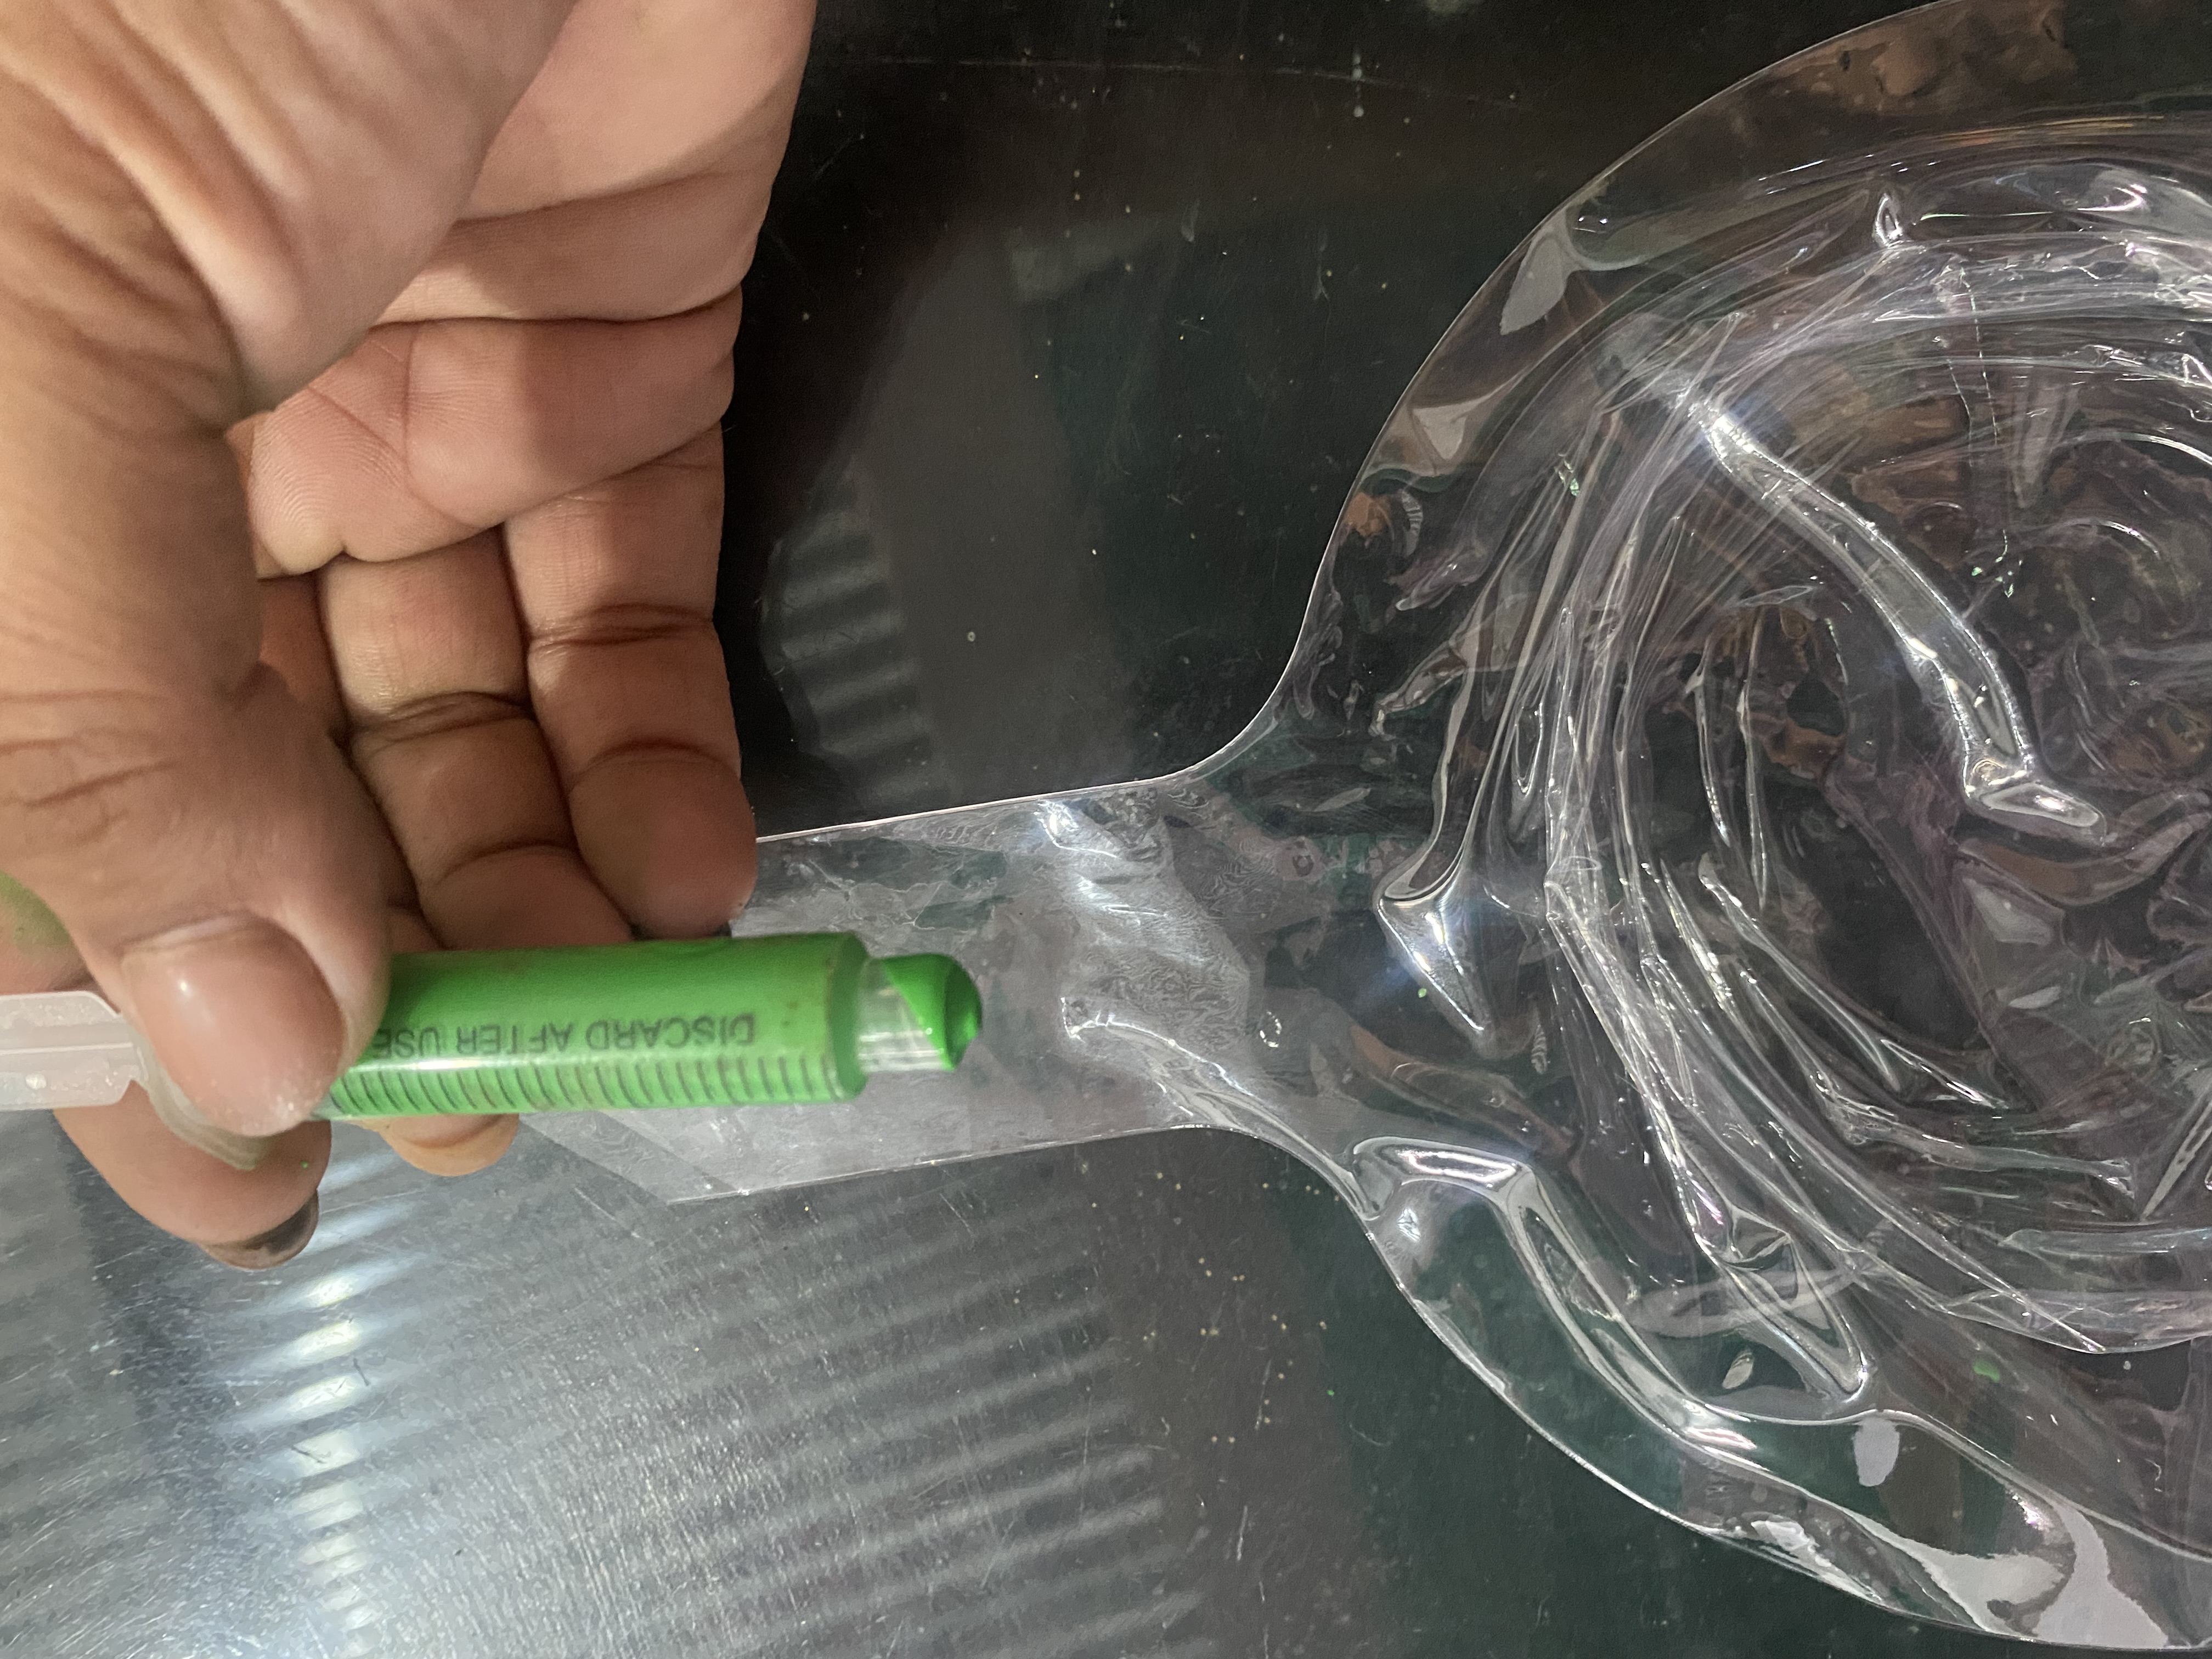
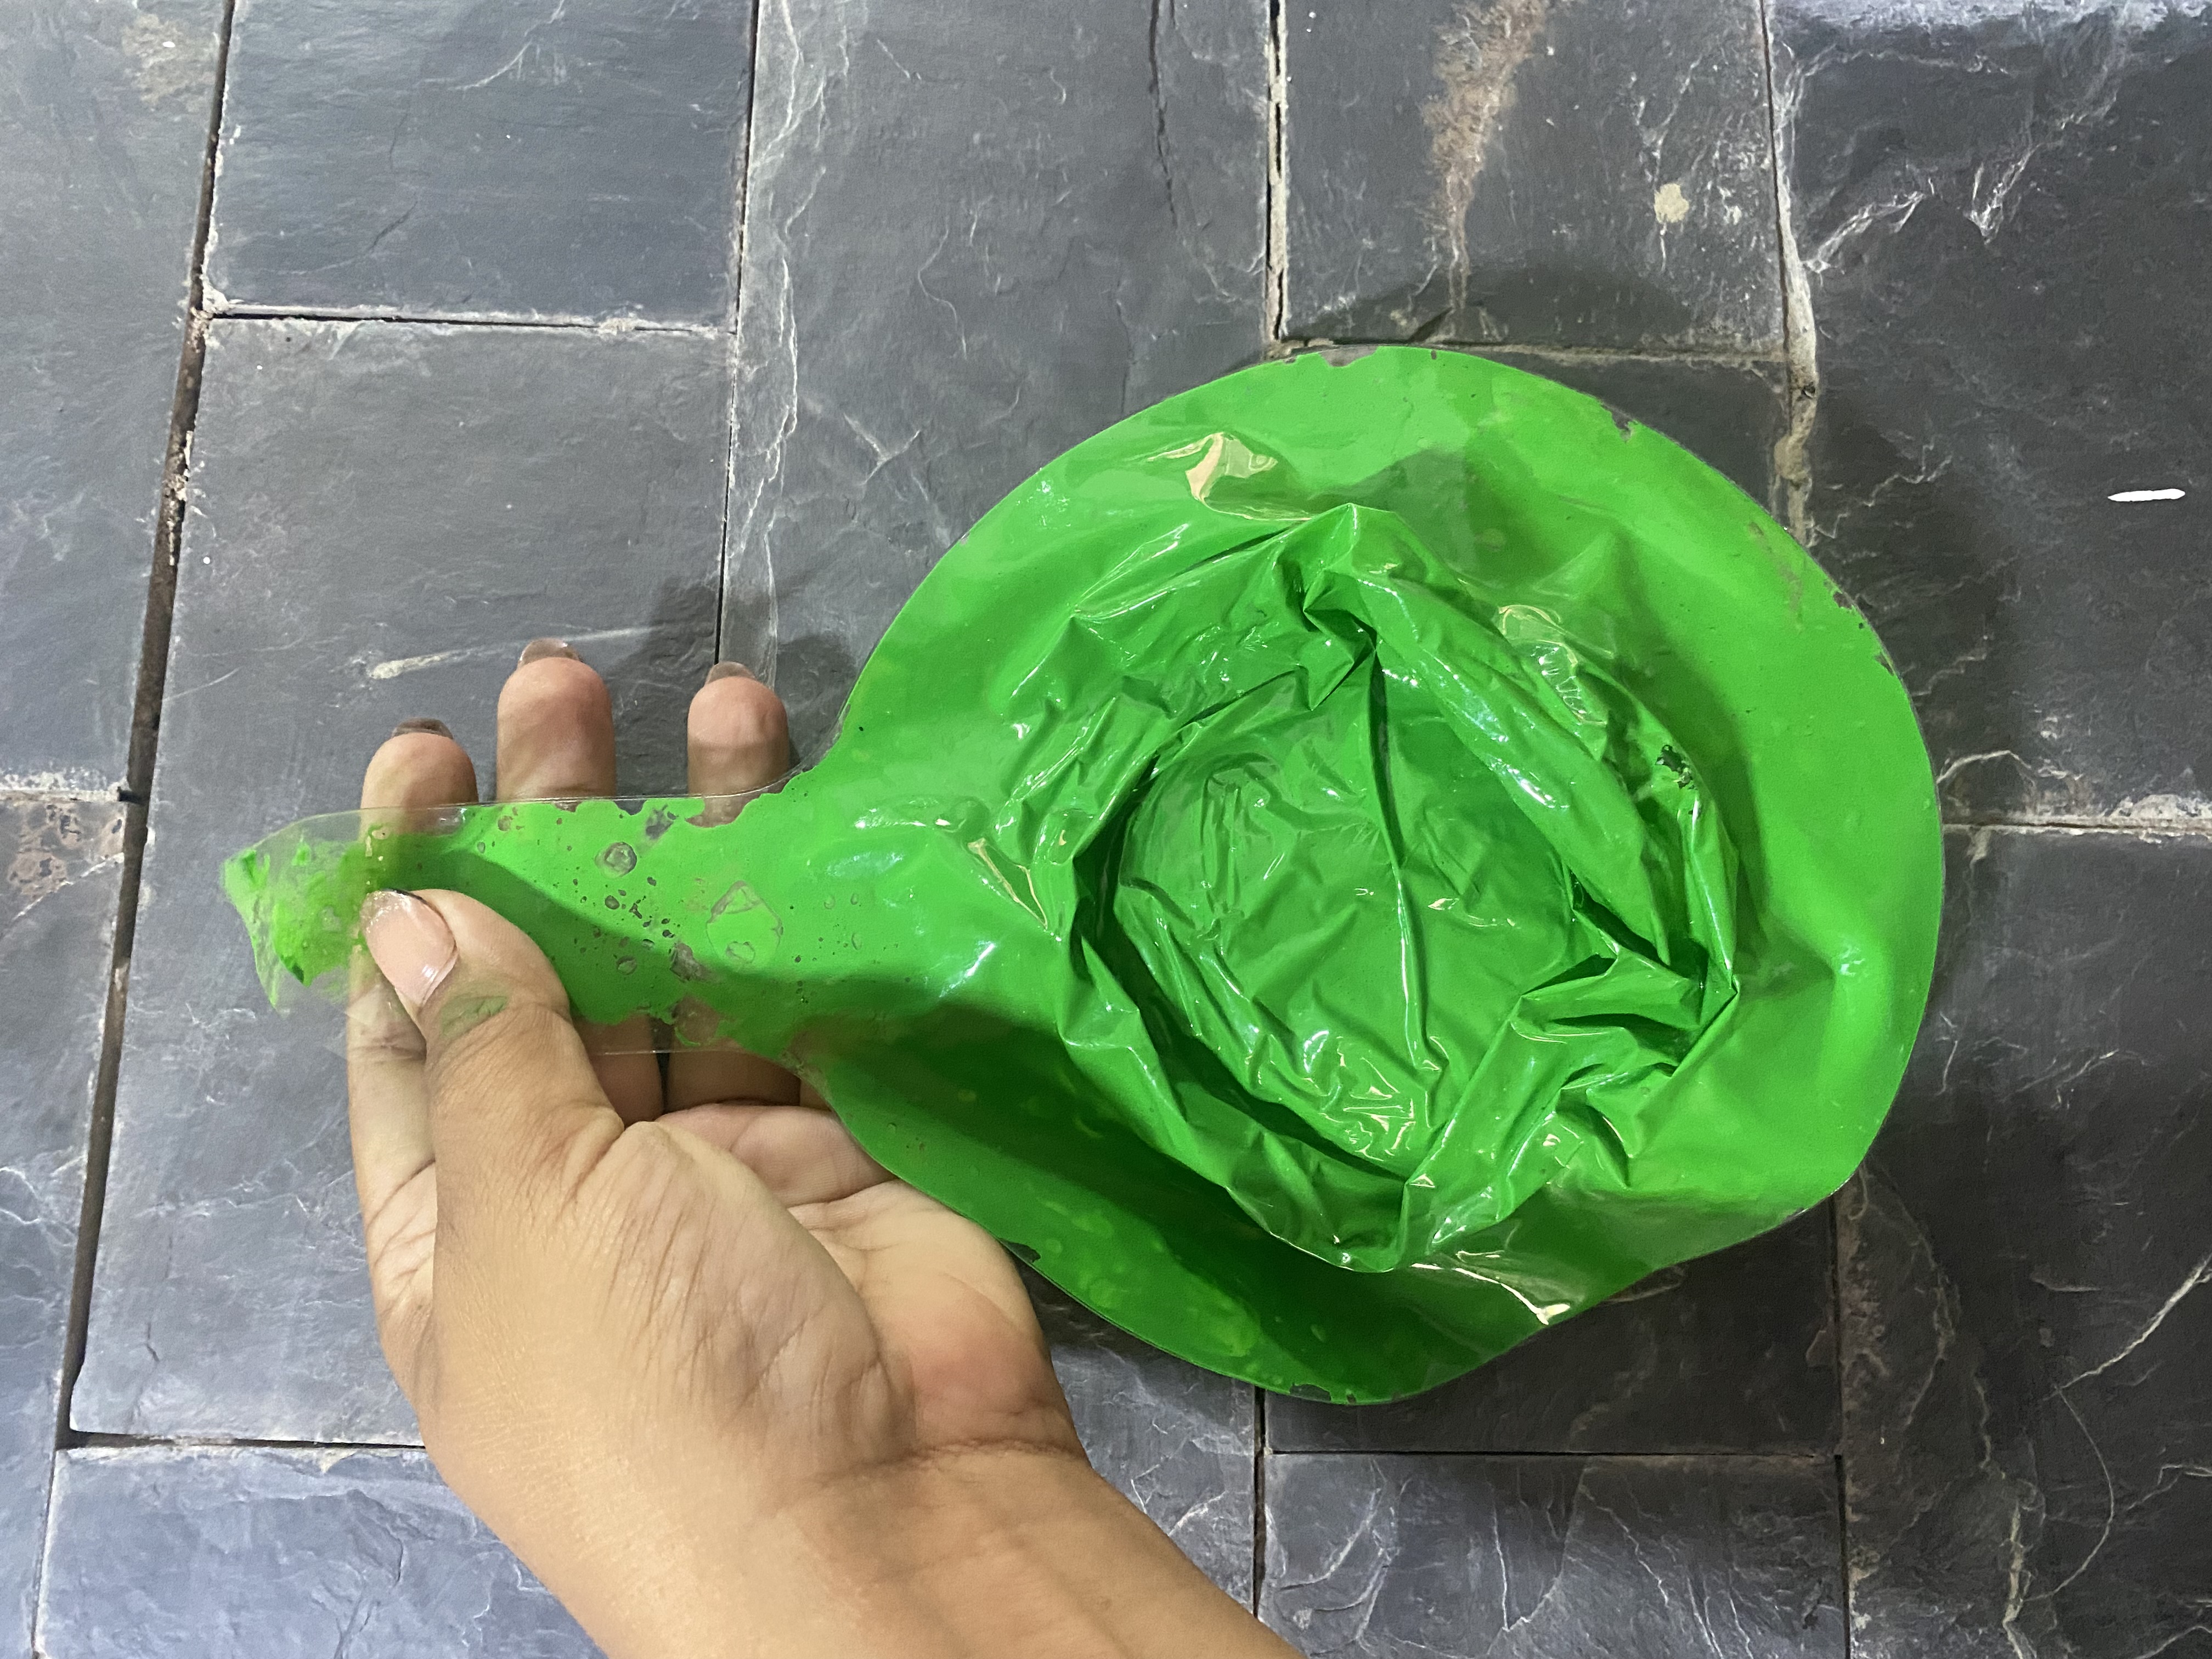
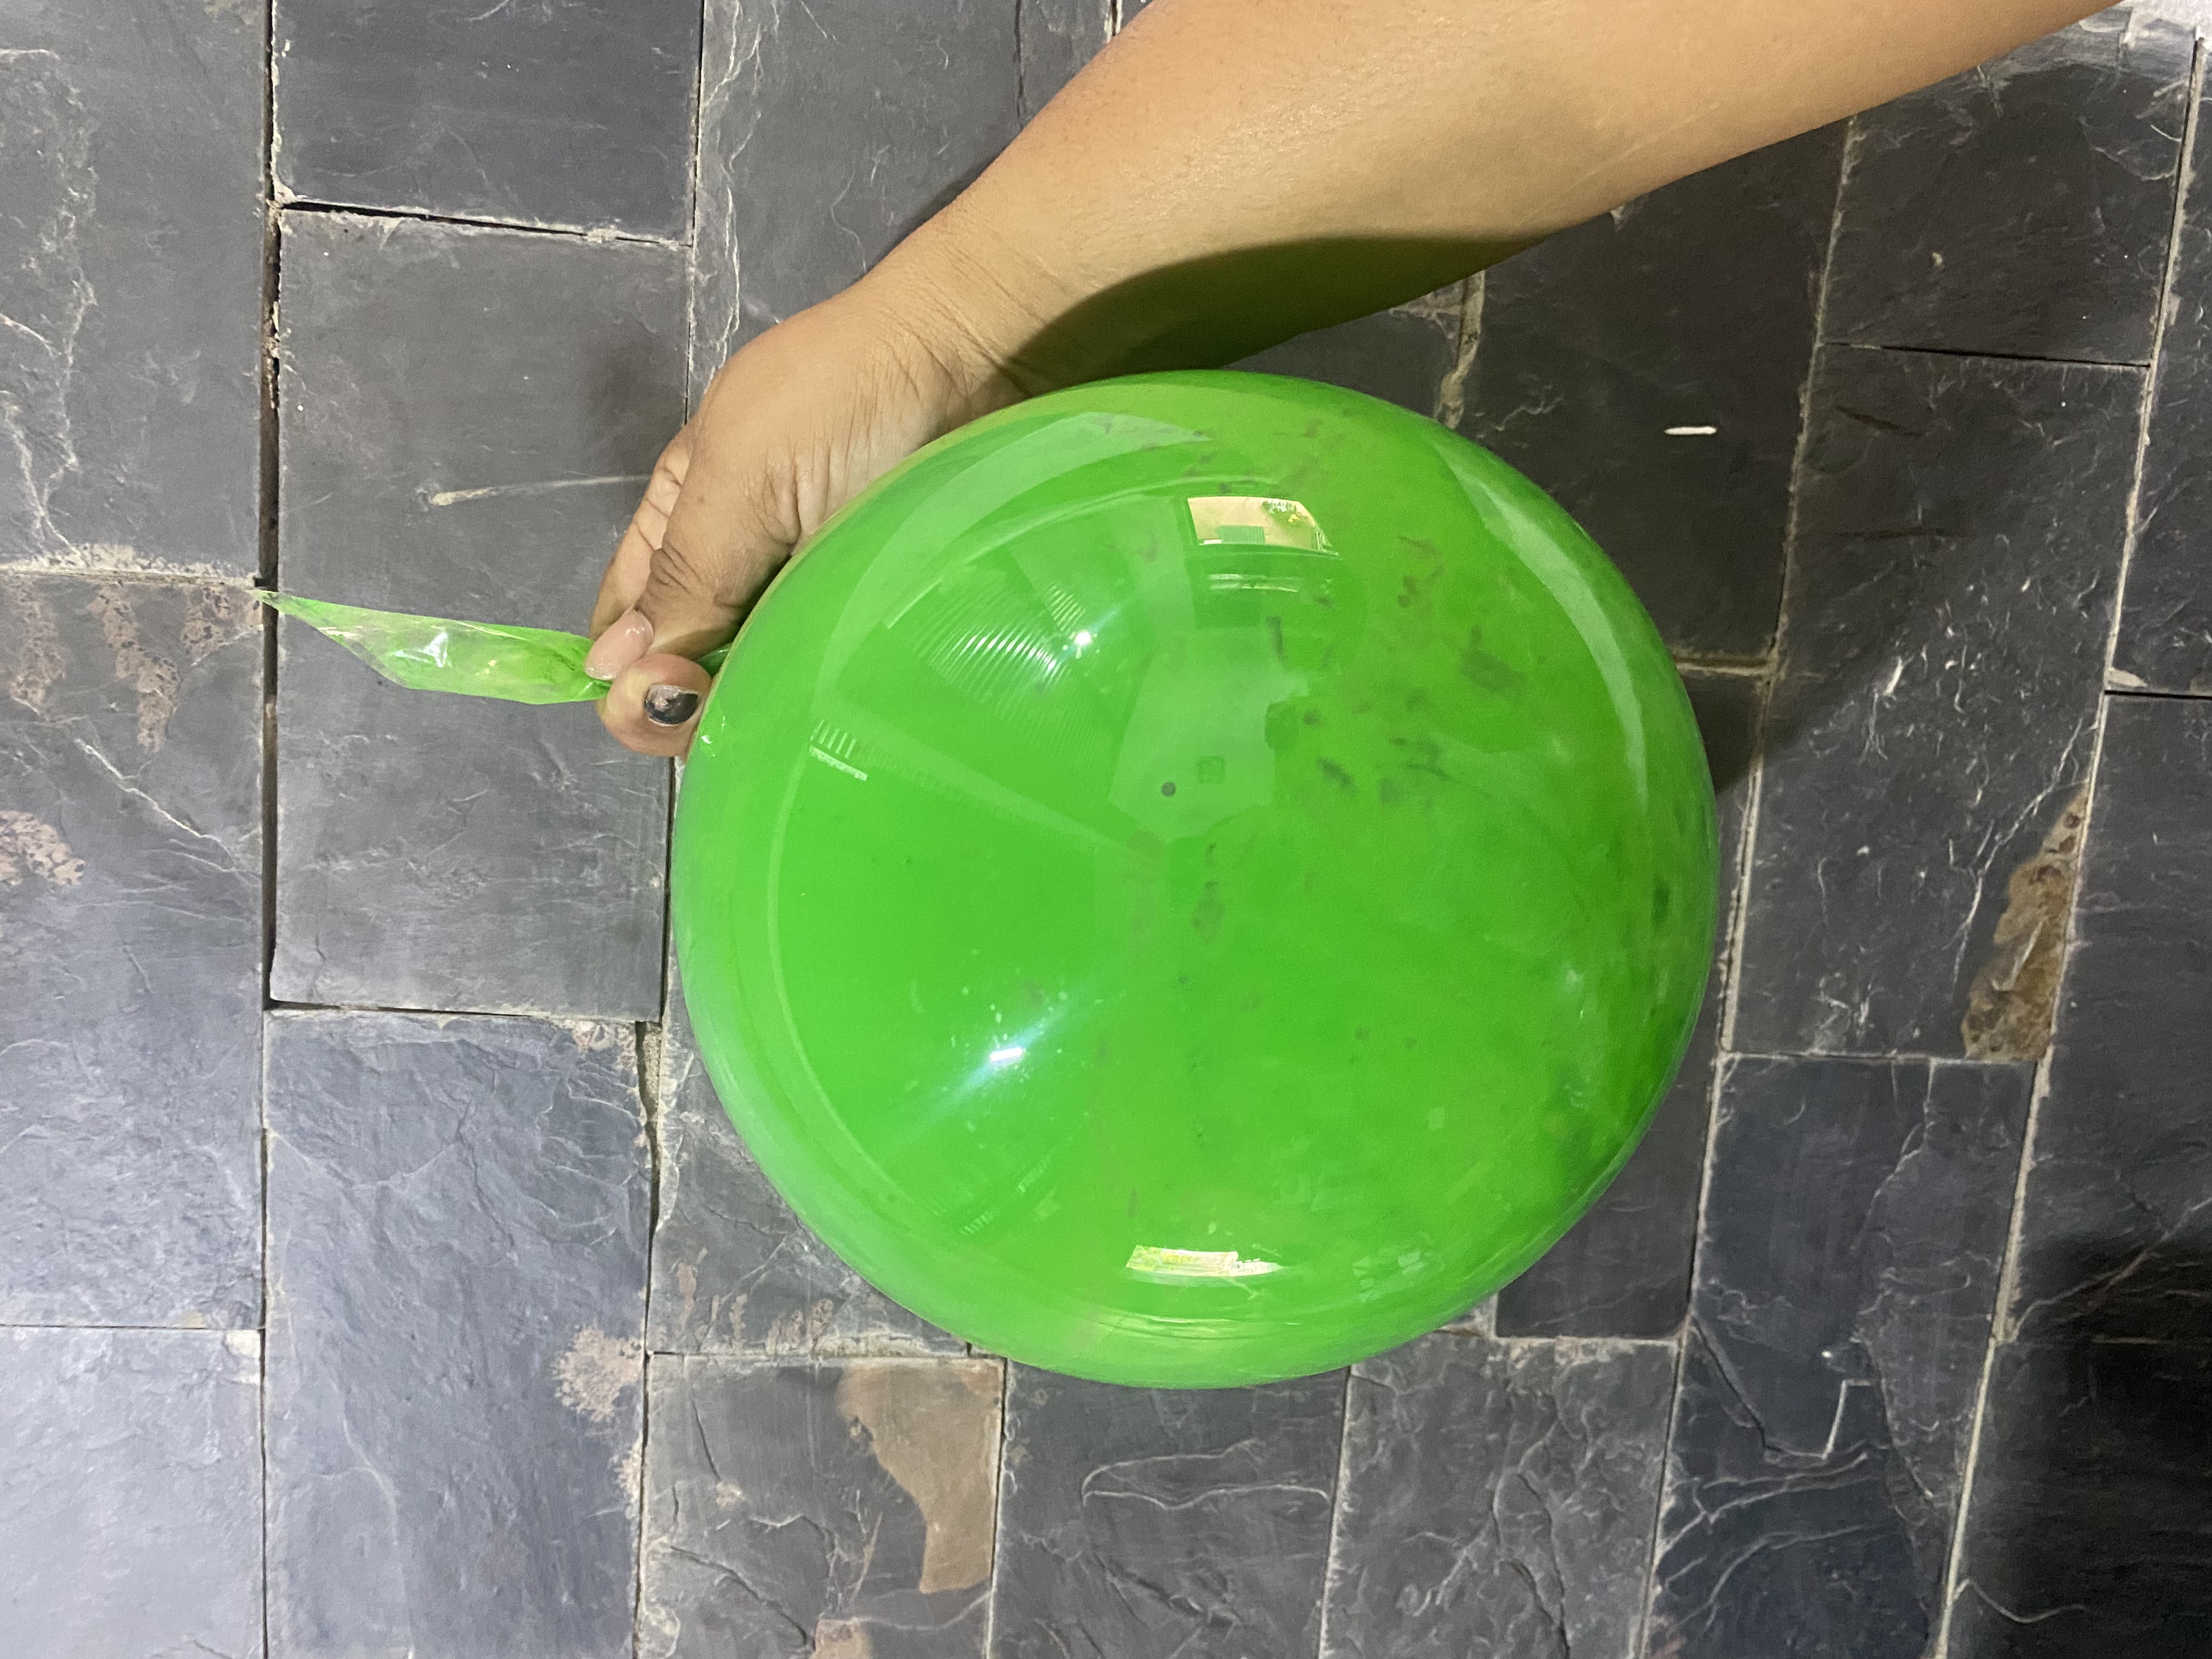
For the second balloon we are going to use a syringe, we are going to add a little water to the paint so that it is a little more liquid and we are going to introduce paint into our balloon until we create enough for the whole thing to be painted.
Para el segundo globo nos vamos a ayudar con una jeringa, vamos a colocarle un poco de agua a la pintura para que quede un poco más líquida y vamos a introducir pintura dentro de nuestro globo hasta que creamos suficiente para que se pinte todo
 |  |
|---|---|
 |  |
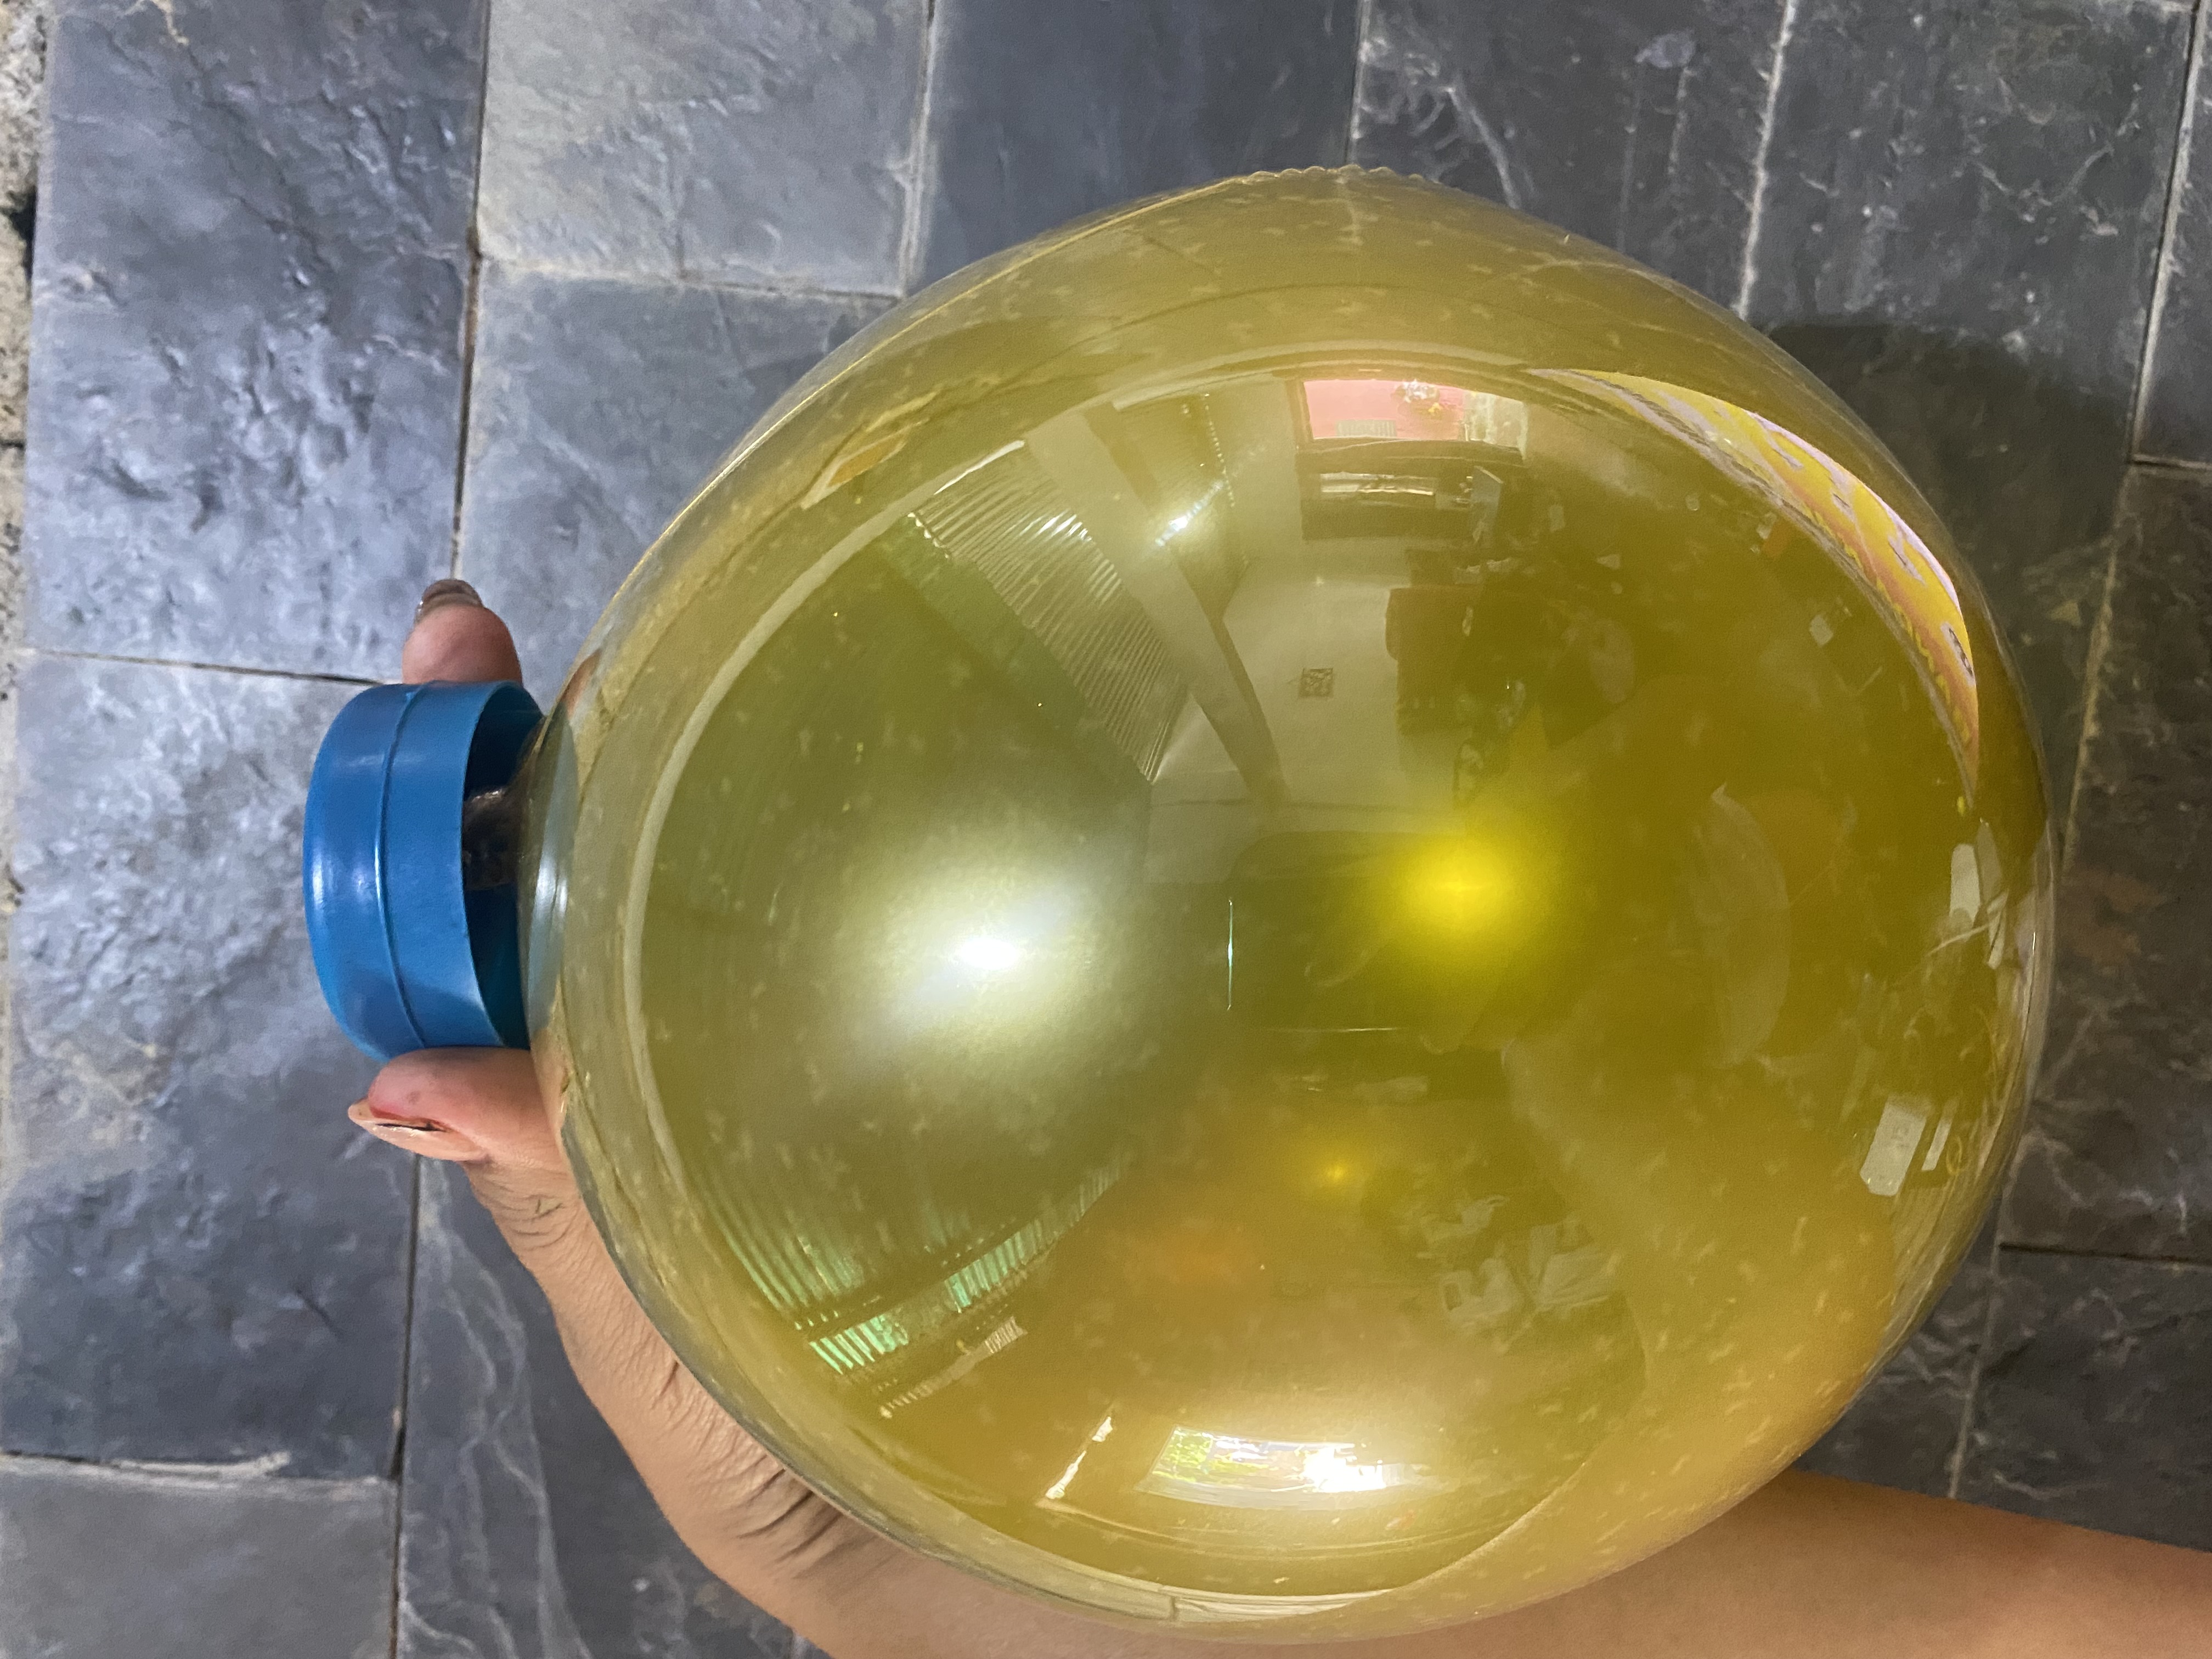
Now for the next step we are going to make the top of our curtain, these have a kind of bell on the top, the vast majority of curtains have this bell in gold color, that is why I decided to make it in this color.
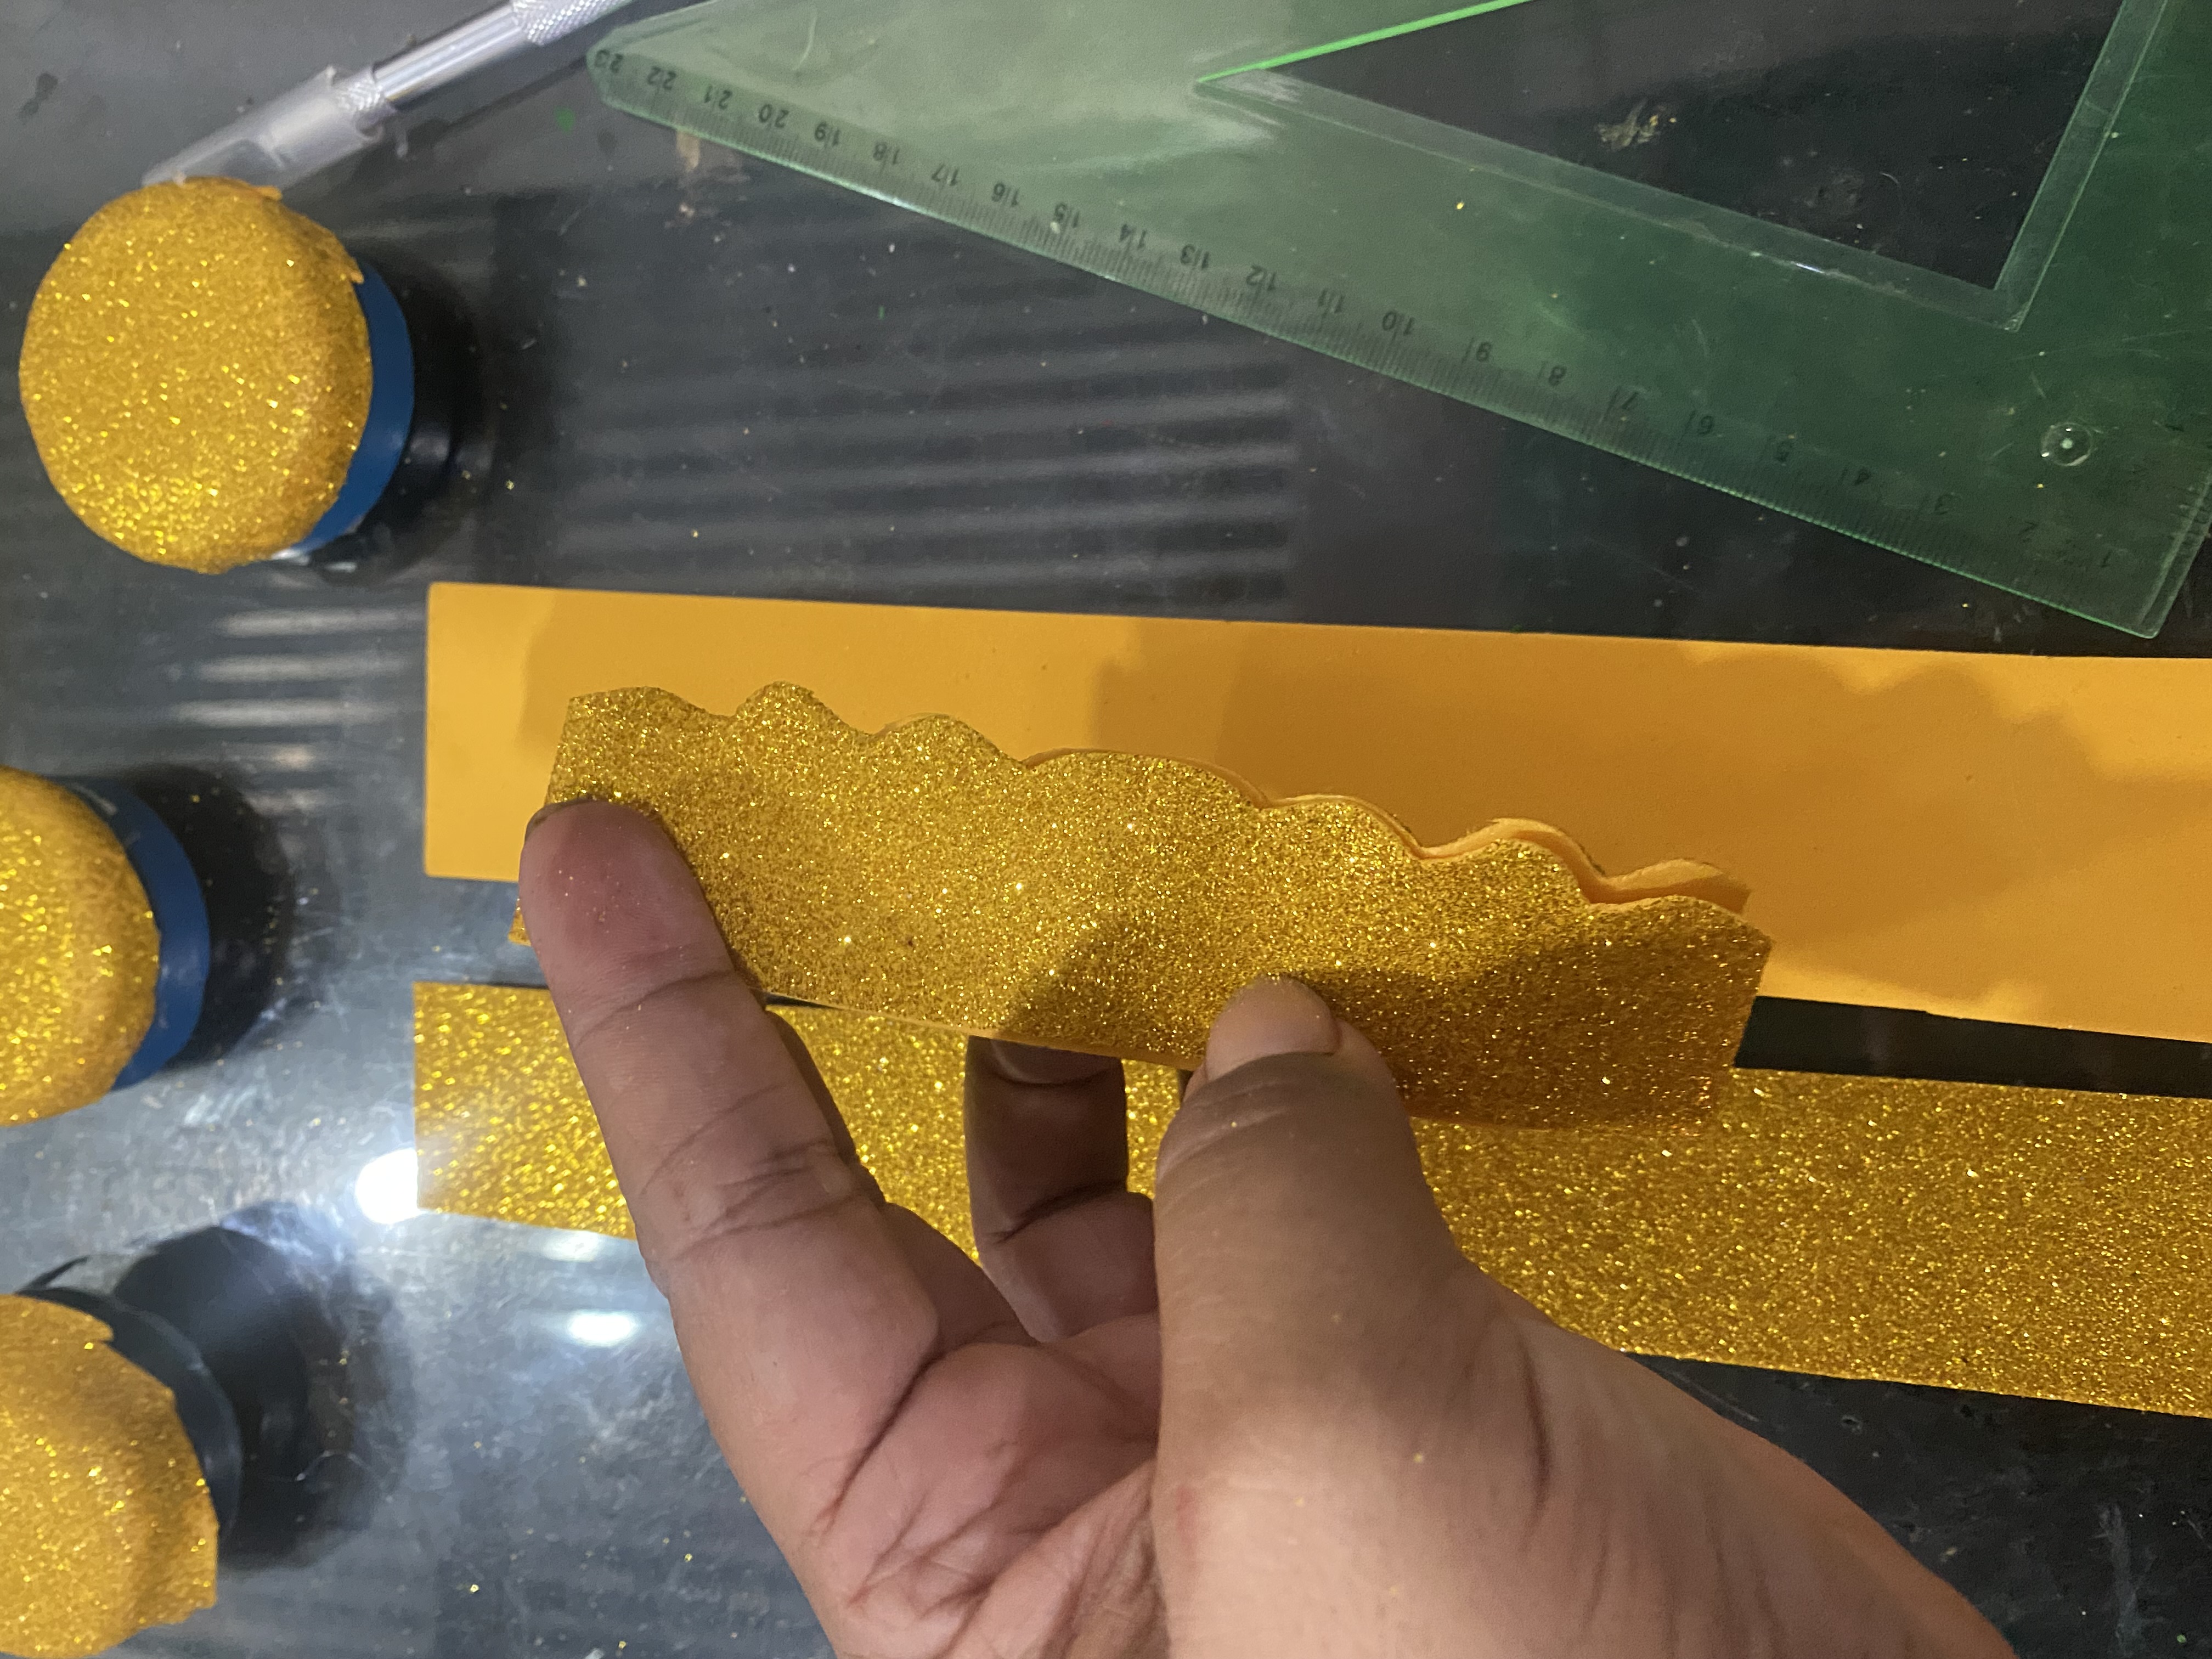
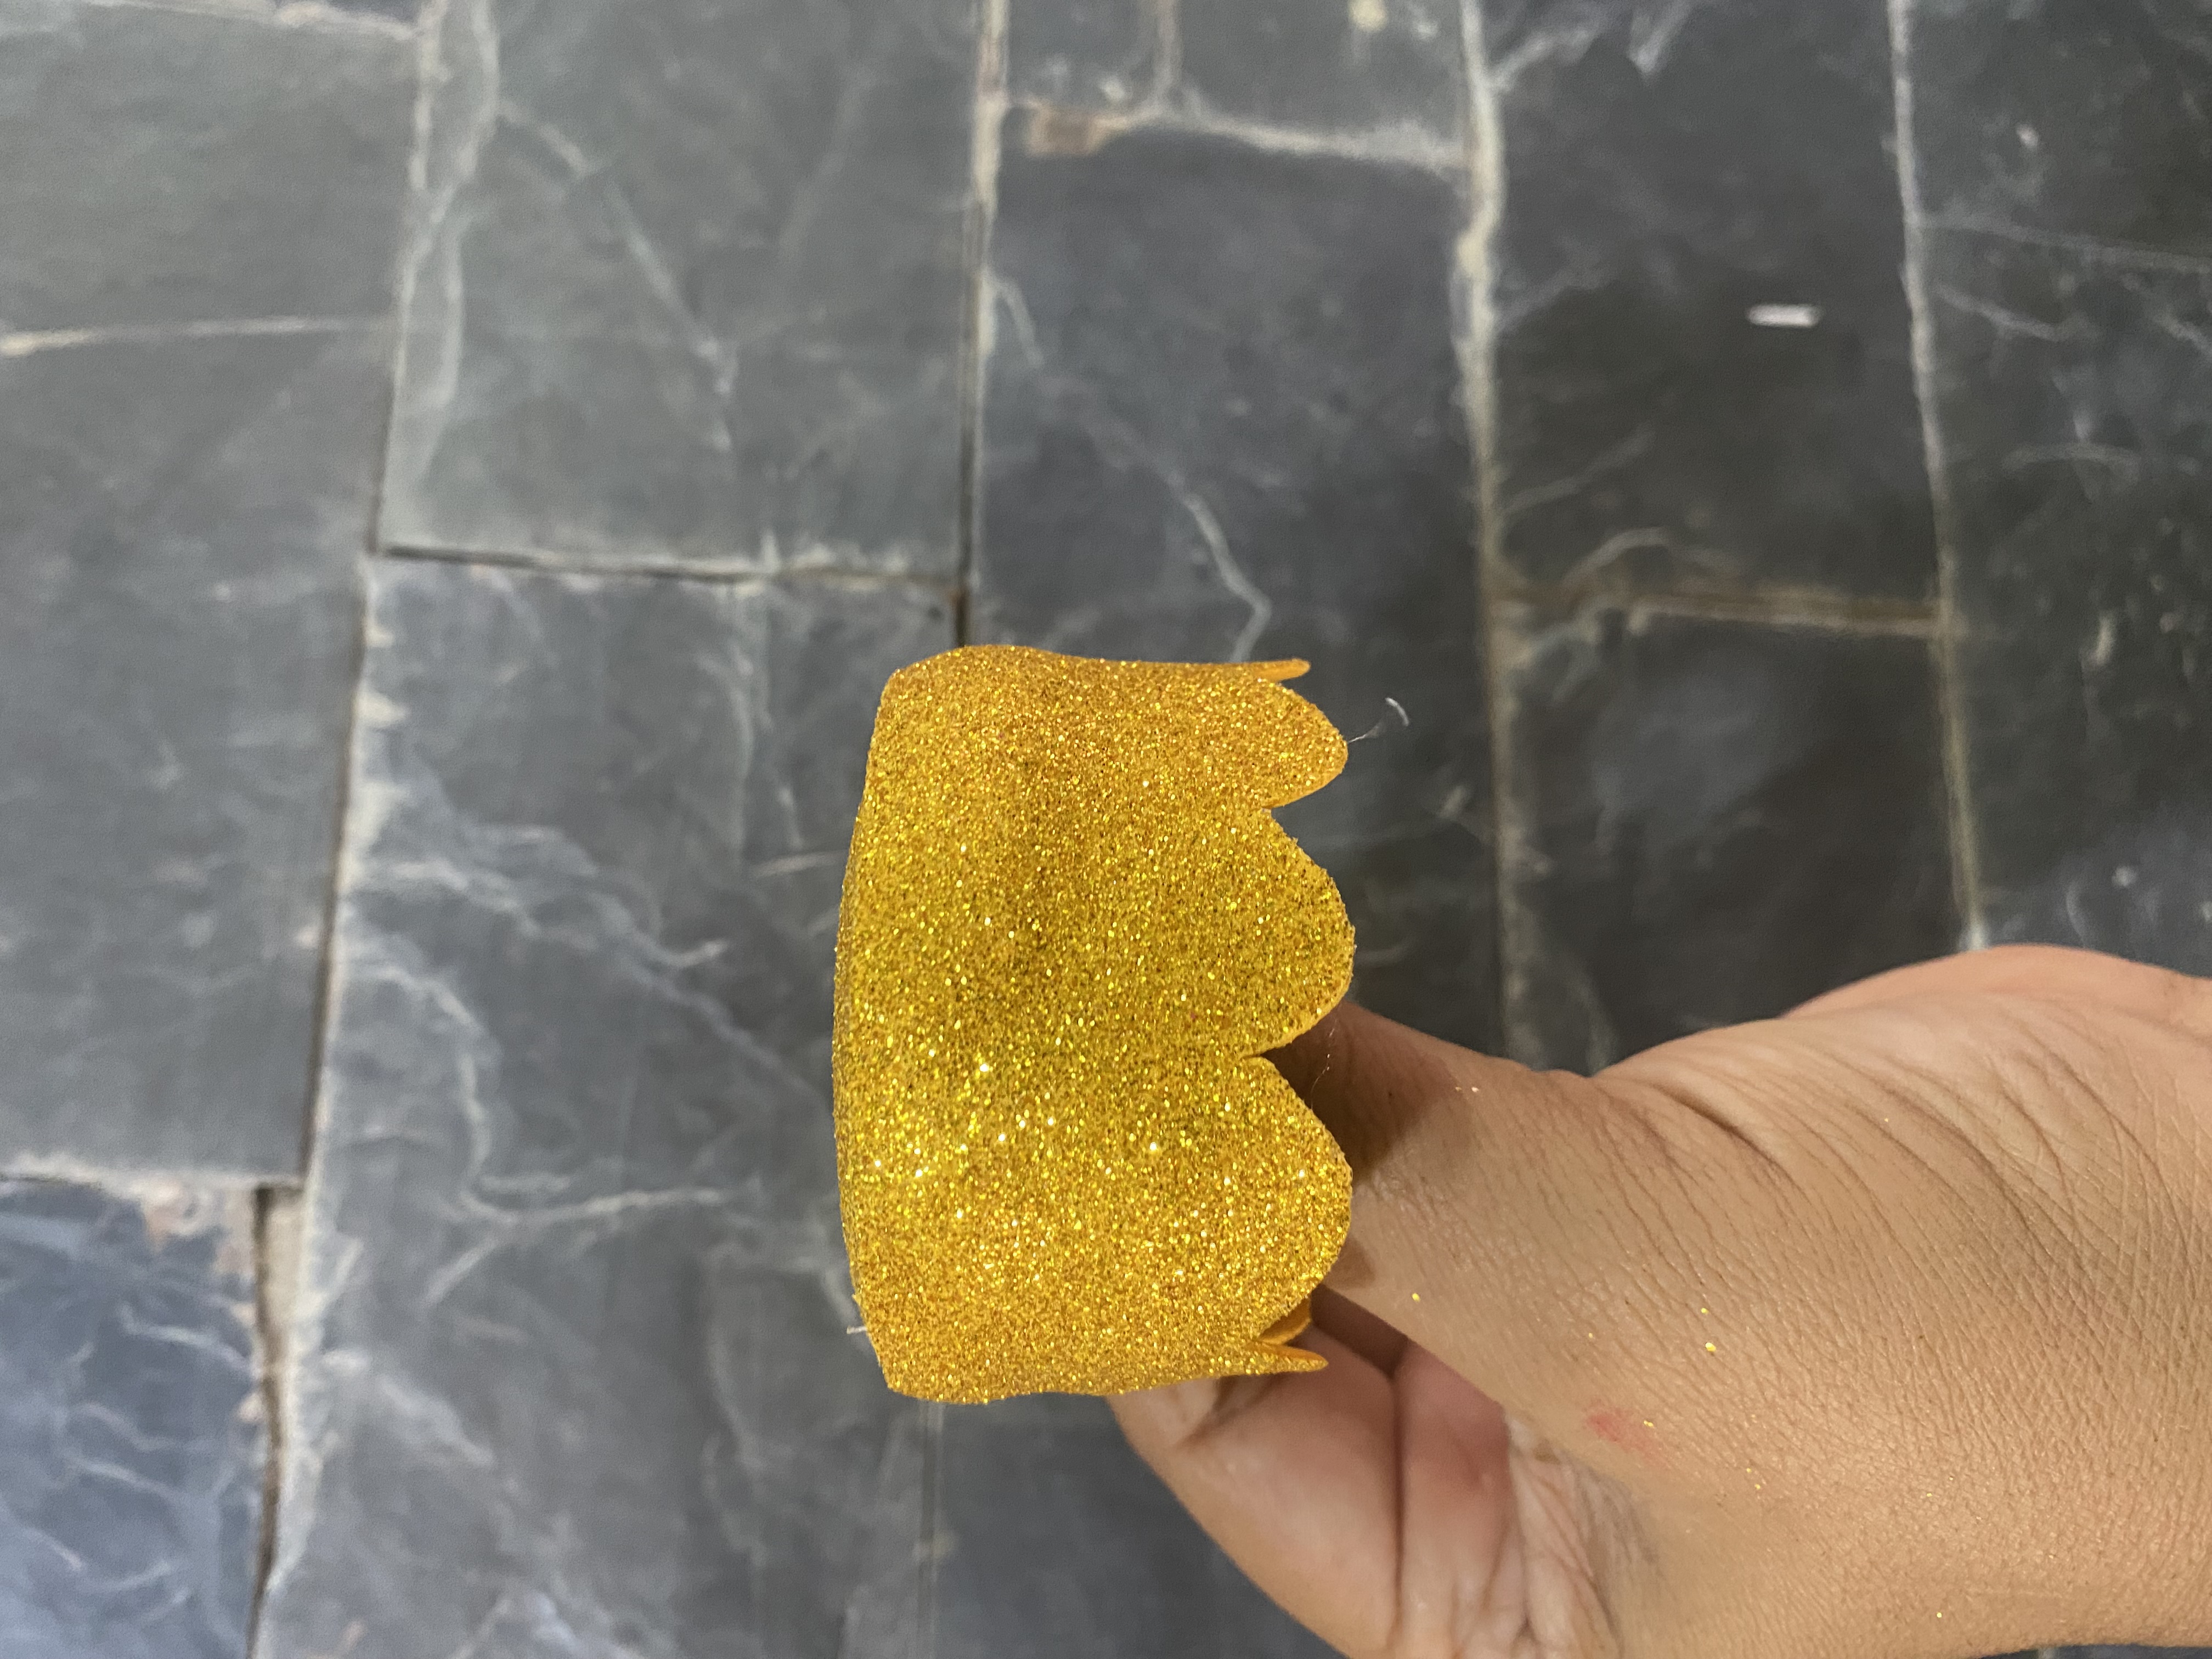
I am going to make these bells with plastic lids from the ones that come with water bottles, we previously heated the foam to be able to give it the shape on the top, then we are going to cut a strip of foam and make a curved shape on one of the edges, then we place it on the lid all around gluing it with silicone, with something sharp we open a little hole in the center to pass the thread with which we will hang our curtain.
Ahora para el siguiente paso vamos a hacer la parte de arriba de nuestra bambalina, éstas tienen especie de una campanita en la parte superior, la gran mayoría de bambalinas traen esta campanita en color dorado es por esto que decidí hacérsela en este color.
Estas campanitas las voy a hacer con tapas plásticas de las que traen los botellones de agua, calentamos previamente el foami para poder darle la forma en la parte superior, luego vamos a recortar una tira en foami y le hacemos forma curveada en una de las orillas, luego colocamos en la tapa por todo el alrededor pegándola con Silicon, con algo punzante le abrimos un huequito en el centro para pasarle el hilo con el cual guindaremos nuestra bambalinas.
 |  |
|---|---|
 |  |
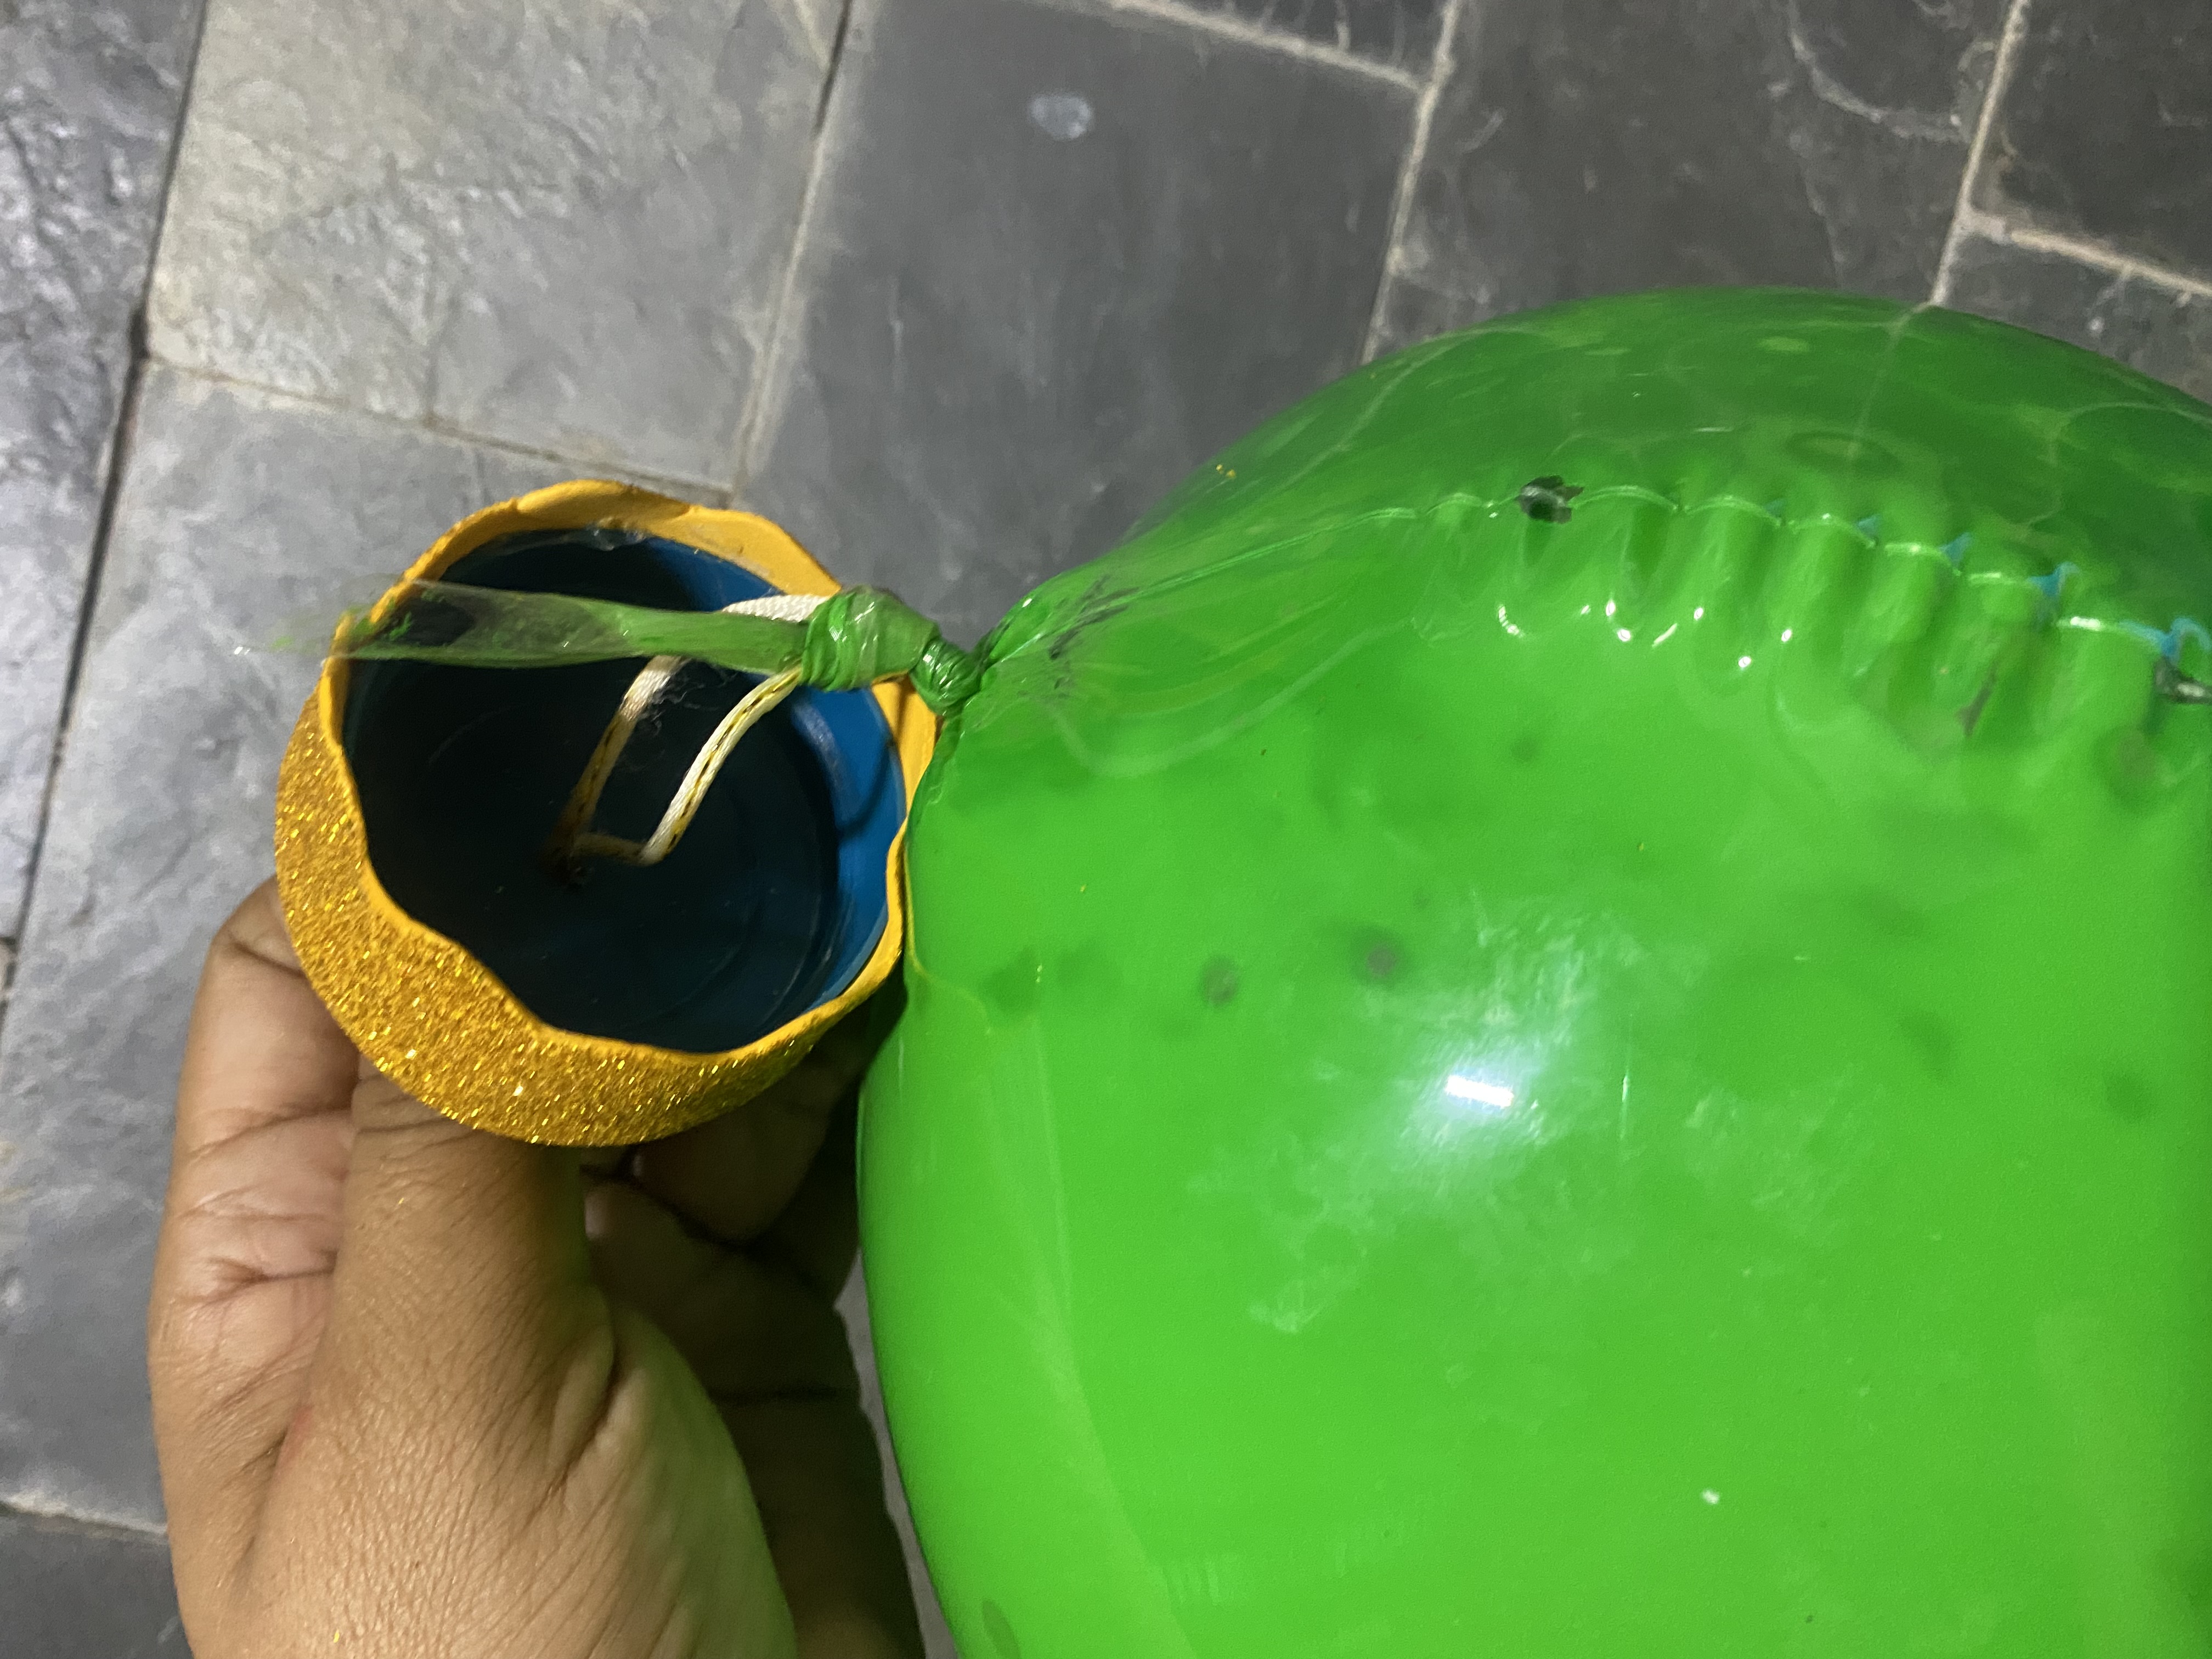
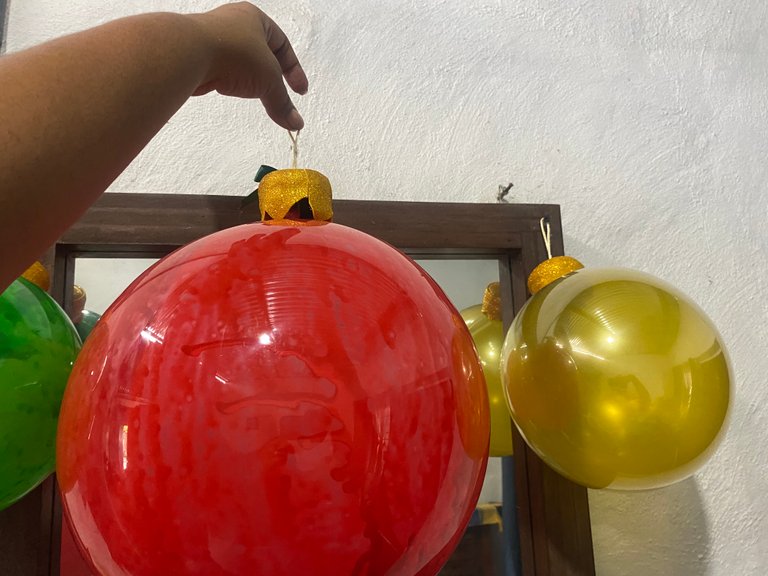
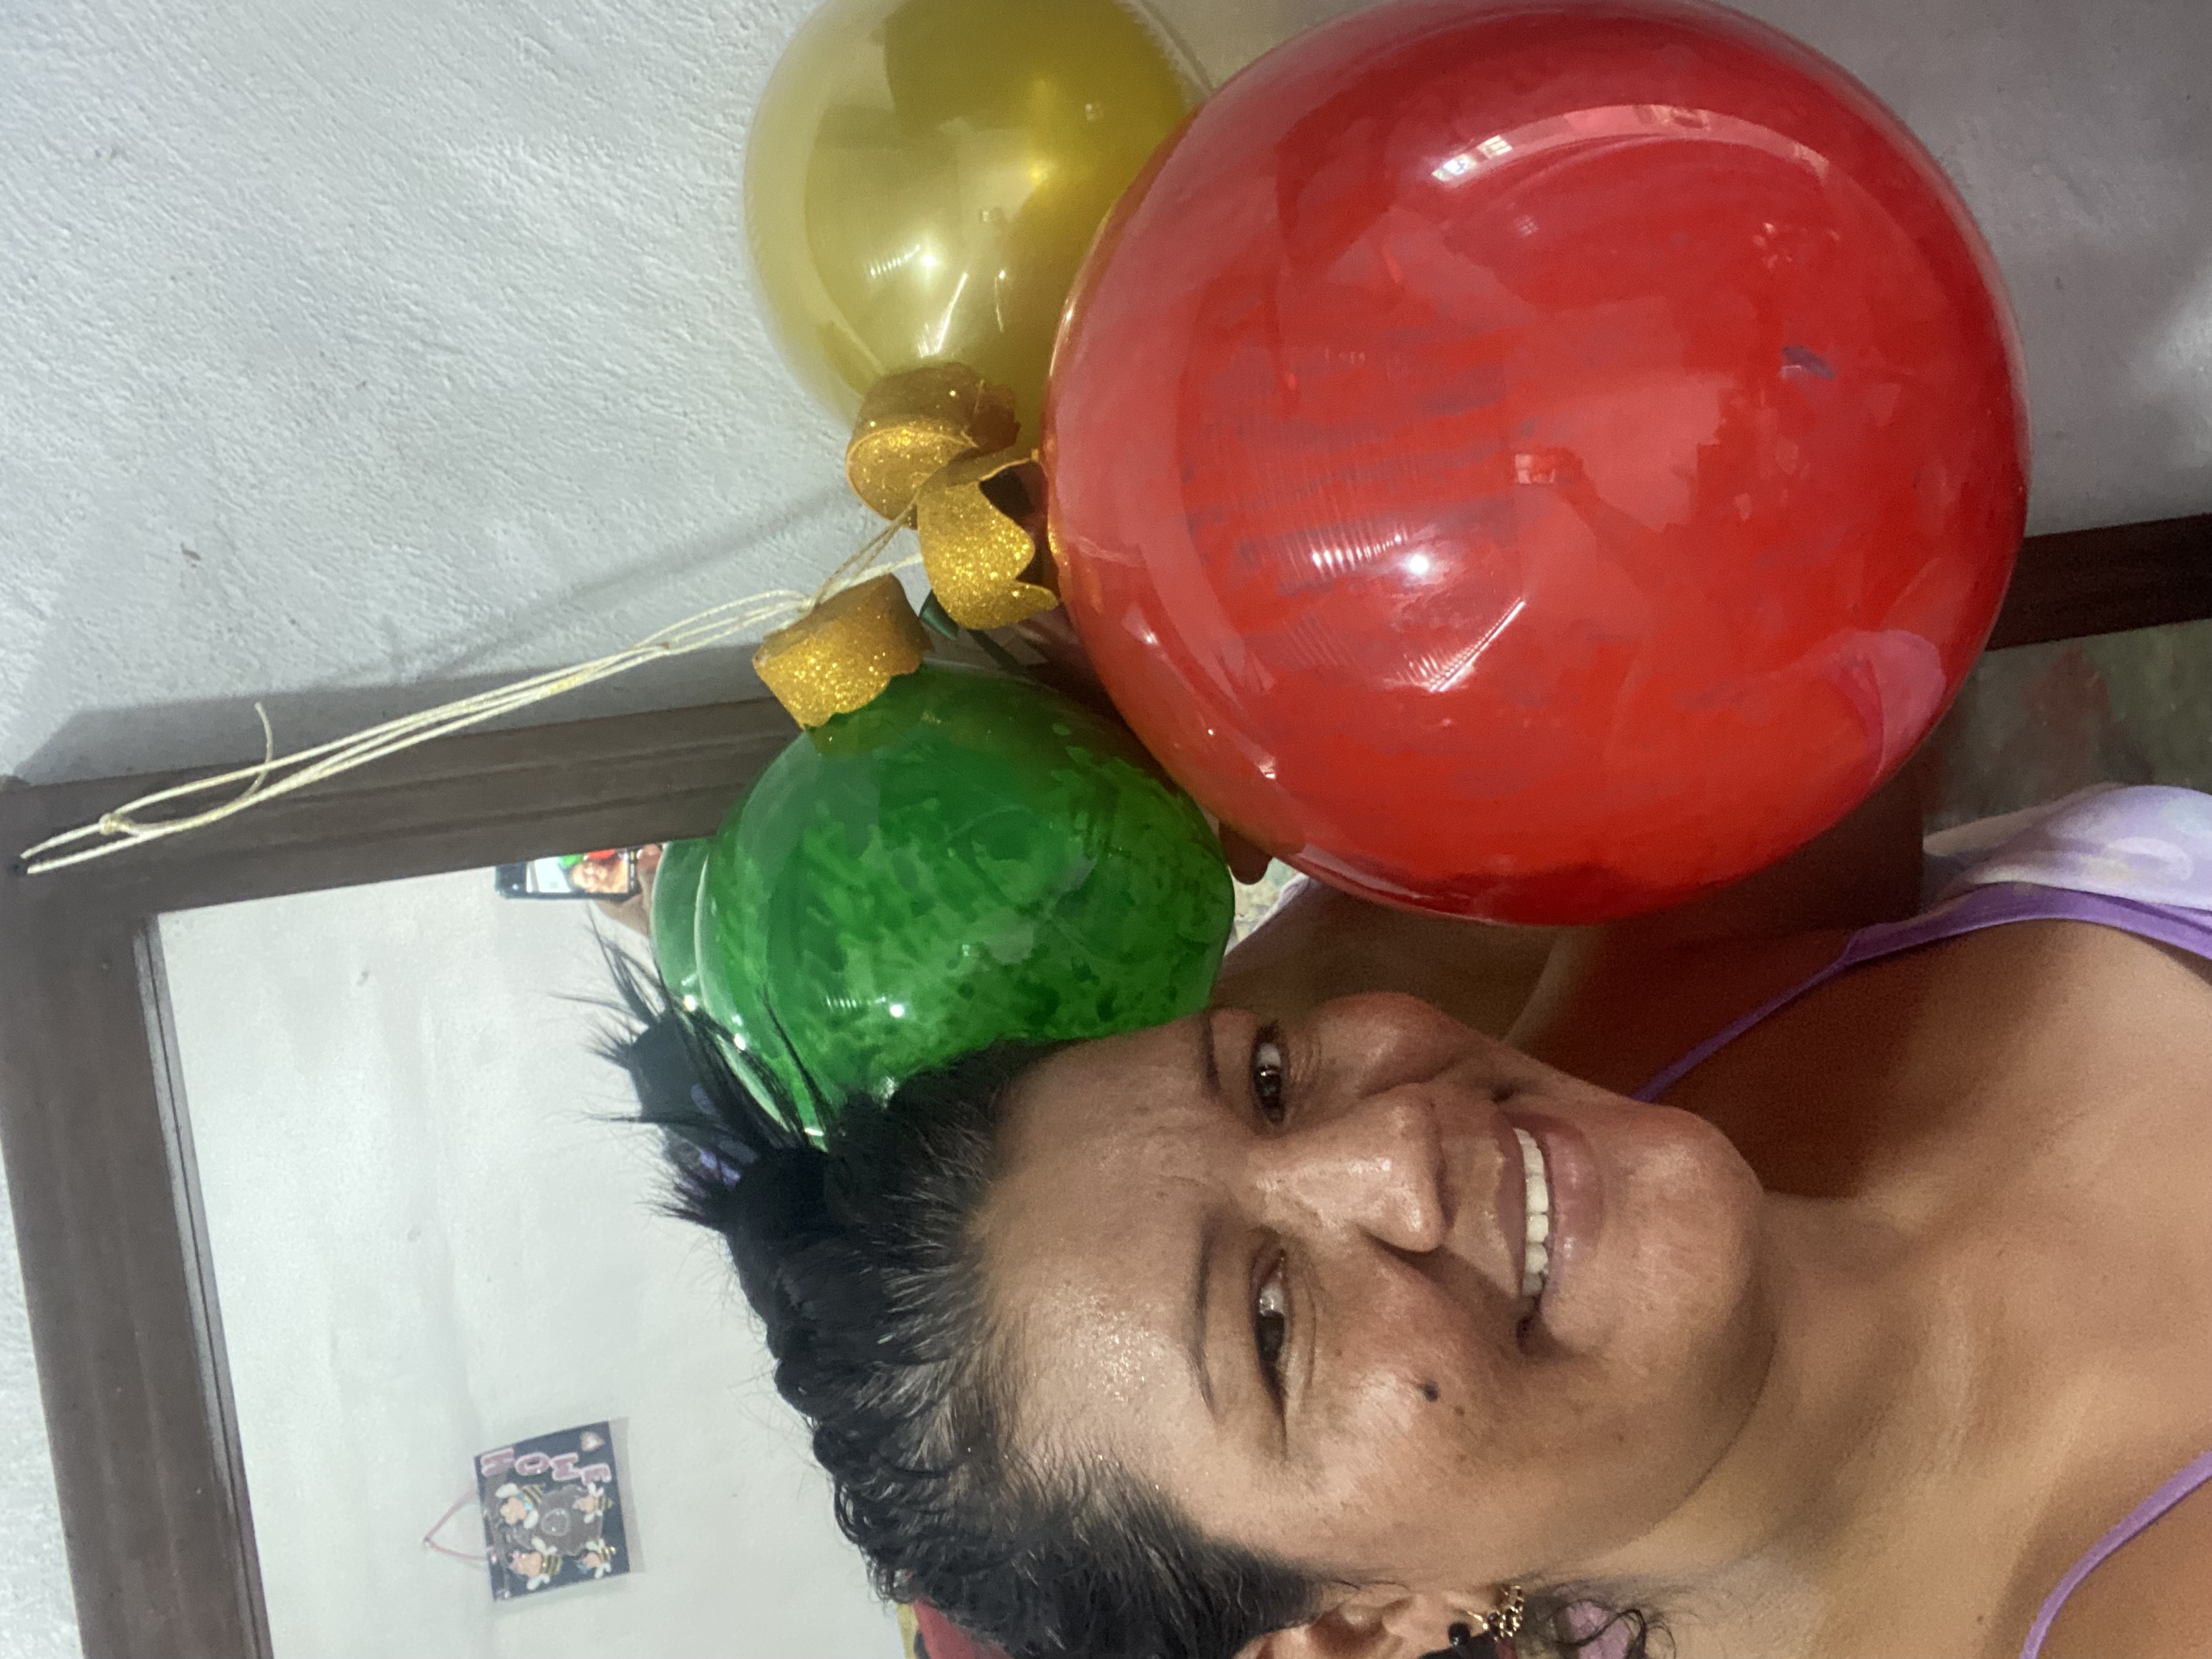
After placing the strip on the lids, we are going to tie them with our balloons to secure them well, and so these beautiful original baubles are ready to decorate your home this Christmas. I loved the result, now I want to make many and place them all over my home, ha ha.
Luego de colocarle la tira a las tapas vamos a anudarlas con nuestros globos para fijarlas bien, y así ya están listas estas hermosas bambalinas originales para decorar tu hogar en estas Navidades, amé el resultado ahora quiero hacer muchas y colocarlas por todo mi hogar, ja ja
 |  |
|---|---|
 |
I love Christmas and especially making lots of crafts to decorate my home. If you got this far, I am very grateful that you visited my post. I say goodbye for today wishing you a month full of blessings.
Me encanta la Navidad y sobretodo hacer muchas manualidades para decorar mi hogar, si llegaste hasta aquí estoy muy agradecida de qué hayas visitado mi Publicación, me despido por hoy deseándoles un mes lleno de bendiciones

las fotos aquí compartidas son de mi propiedad tomadas con mi teléfono iPhone 11, la edición fue hecha en Canva, para el inglés utilicé el traductor de Google

Beautiful one
Wow.
This is so creative and it's beautiful too.
Weldone and thank you for sharing
Thank you very much 🥰
My pleasure 😊
Qué estupendo, amo las bolas de navidad enormes, esta es una genial idea. Os cuento que nuestras normas en la comunidad cambiaron recientemente. Te invito a leerlas para que las tengas presente en tu siguiente post.
https://peakd.com/hive-130560/@hive-130560/actualizacion-de-nuestras-reglas-en-la-comunidad-updating-our-community-rules-espeng
Hola, muchas gracias por la sugerencia para mi próximo post haré mi mayor esfuerzo, gracias por comentar 🥰
Qué bonitos recuerdos de aquella época @marlynmont siempre hubo ese ánimo de crear contra todo pronóstico, hoy estamos en una sociedad más adaptada a la tecnología, que nos ha ayudado a innovar en ideas tan bonitas como la que nos compartes, felicidades.
Así es amiga 🥰 gracias por comentar ❤️
❤️🤗
Sending you an Ecency curation vote!
Thank you 😊
My pleasure
!INDEED
(7/50)
@marlynmont! @melinda010100 Totally agrees with your content! so I just sent 1 IDD to your account on behalf of @melinda010100.