Strawberries.. Strawberries...
Who doesn't like strawberries.. Although in my area the taste of strawberries is identical to sour. But strawberries are still fresh especially if we eat them immediately after picking them..
So this time I will try to make DIY origami paper strawberries.
Materials needed:
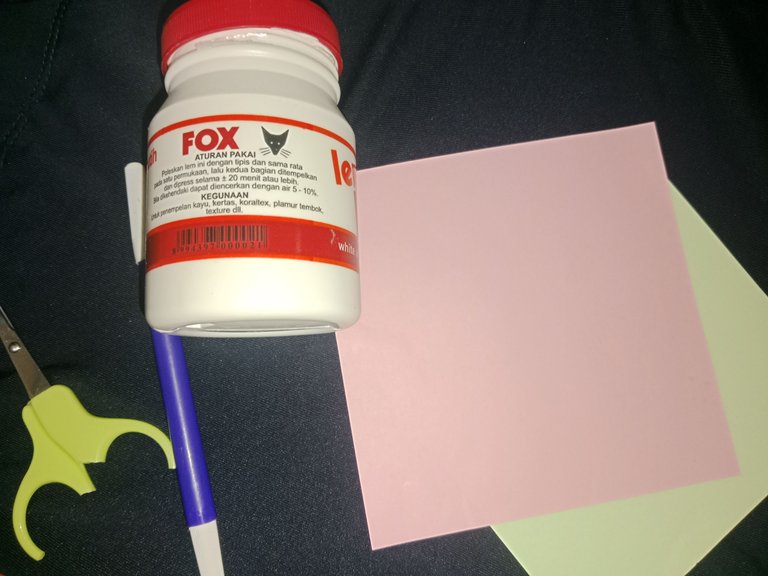
- Paper Glue
- 2 sheets of origami paper
- Scissors
- and marker/pen
Instructions for making:
- First, take the pink origami paper, then fold the paper into 2 and do the same on the other side to create a line pattern.
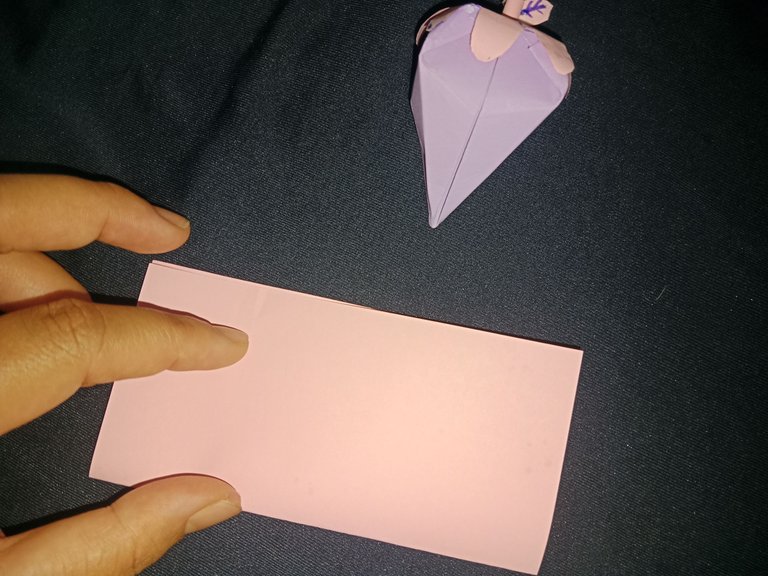
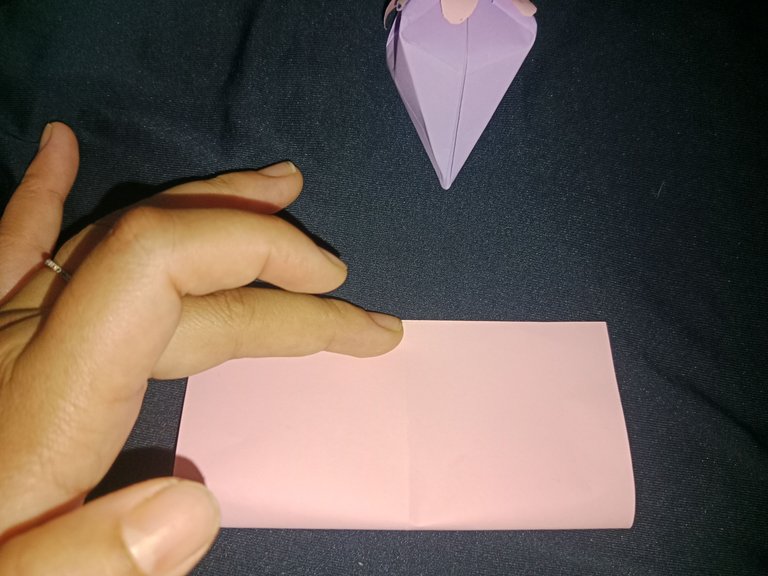
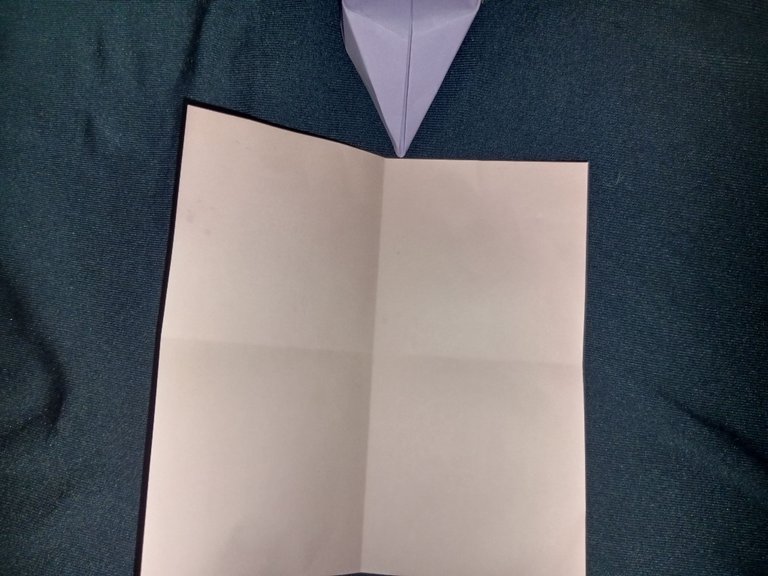
- Then fold it into an isosceles triangle to create a diagonal line pattern. and do the same on the other side.
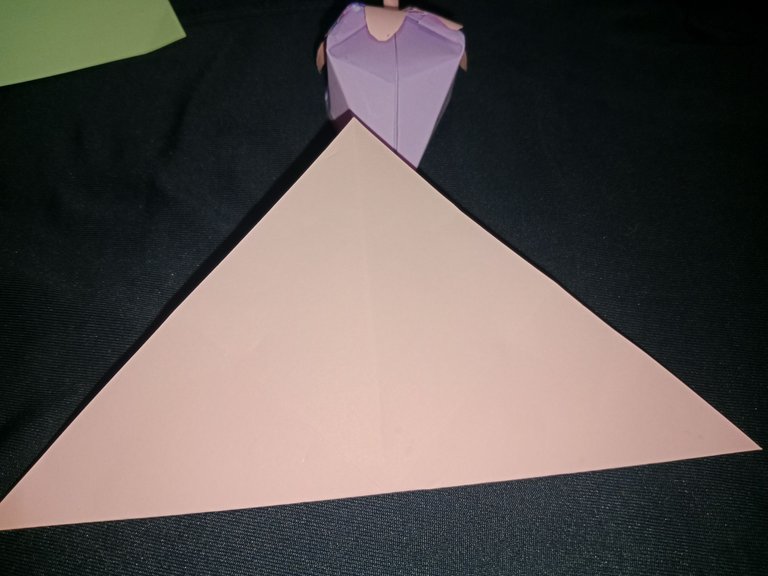
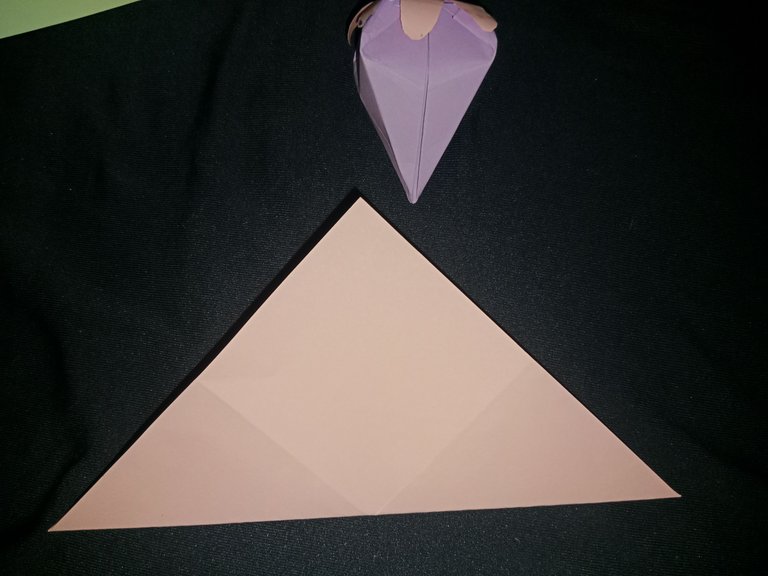
- After all the patterns are visible, fold the paper following the pattern results as shown in the picture.
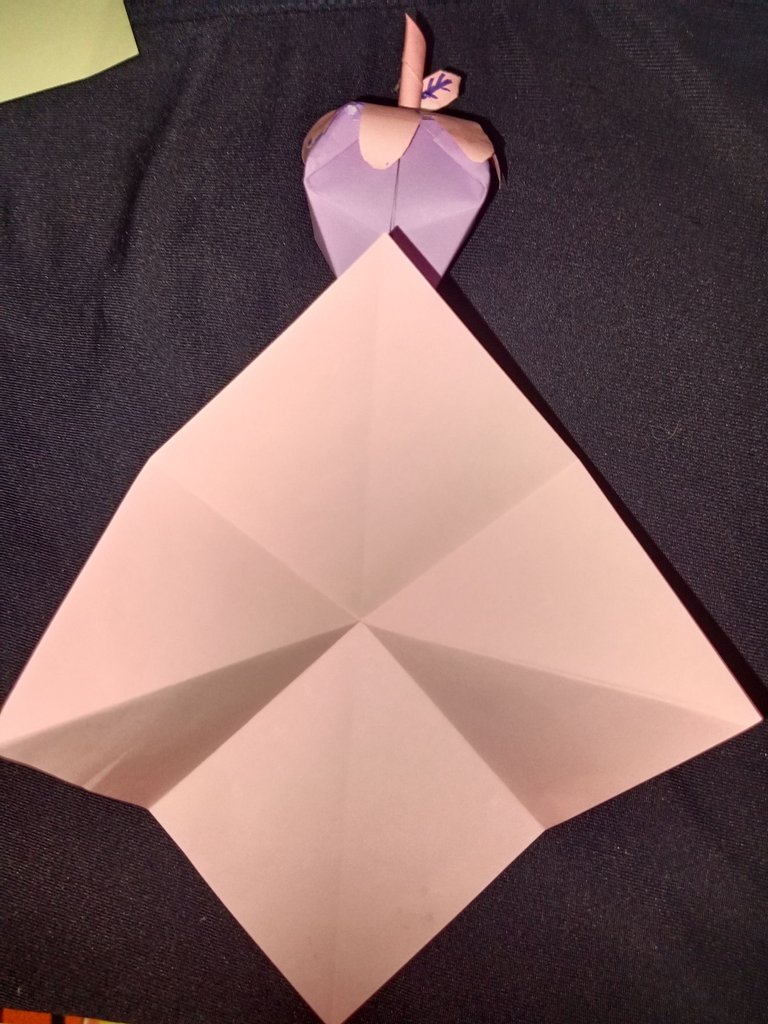
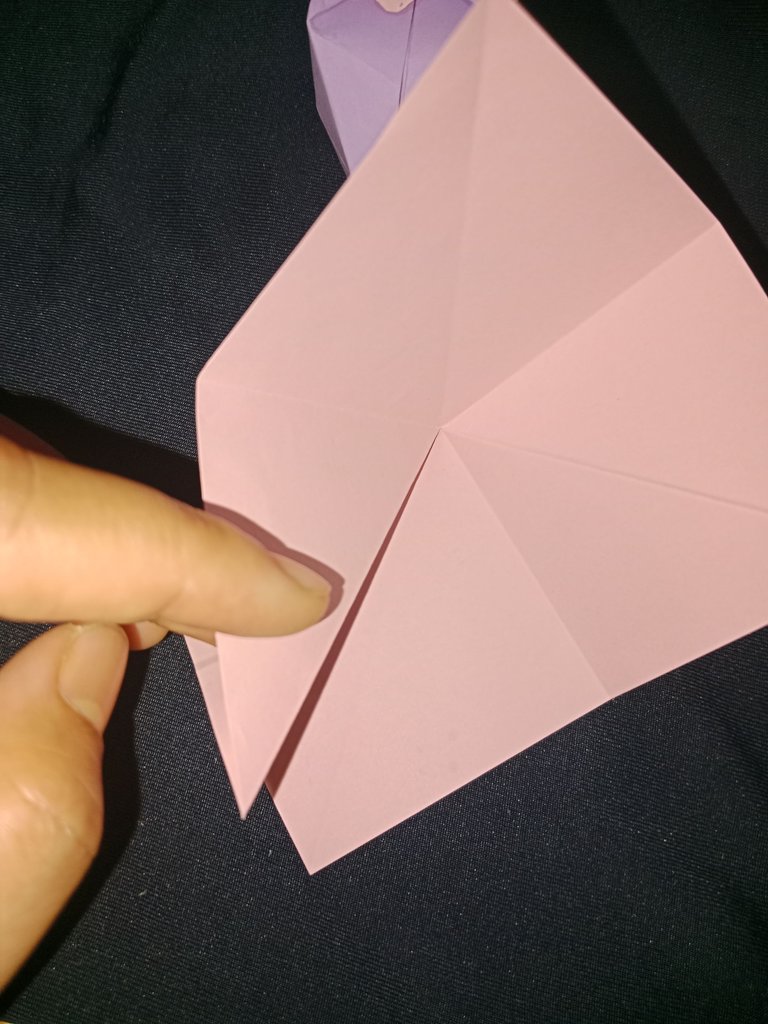
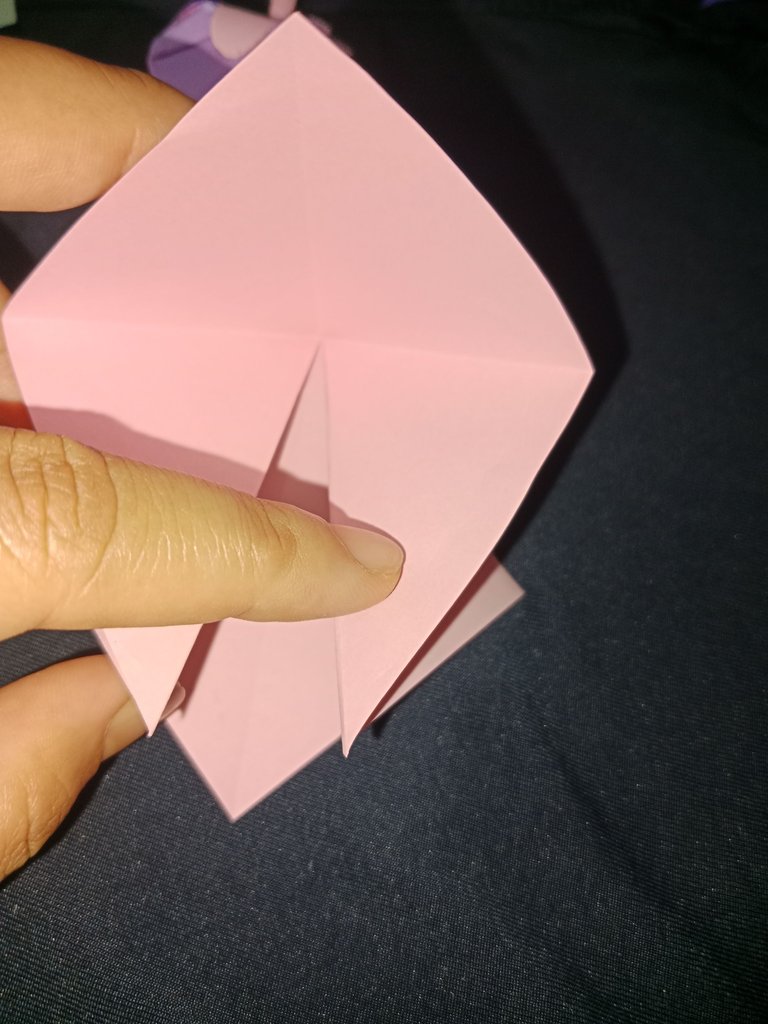
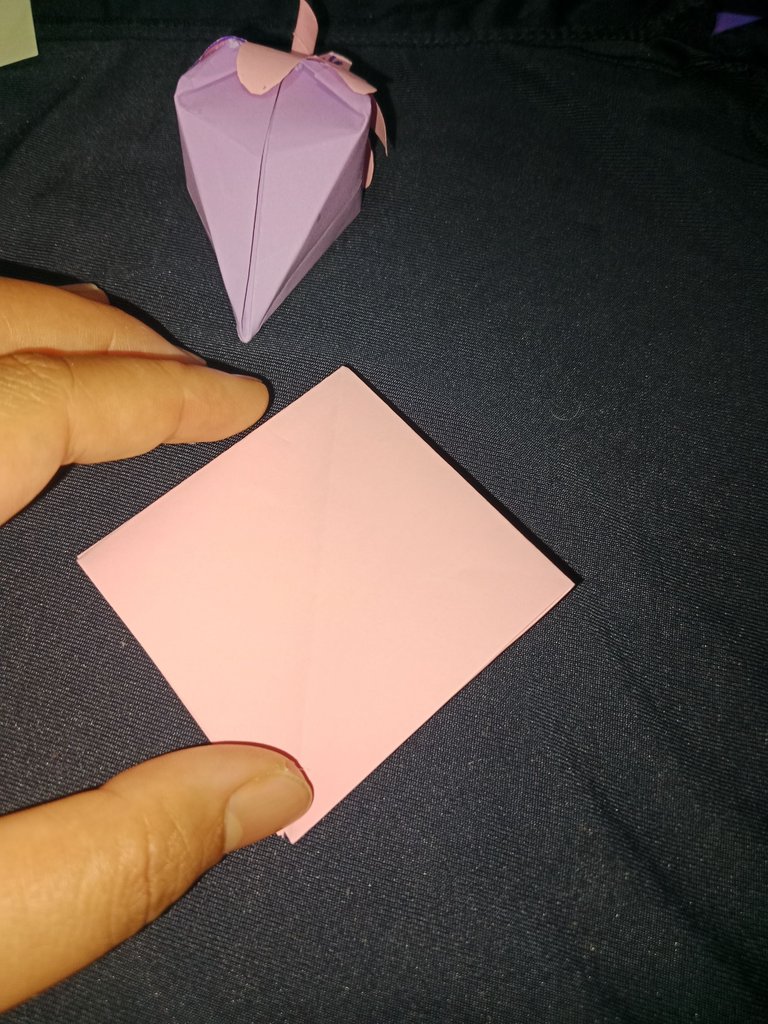
- Then, fold the right and left sides of the paper at the top, so that it forms an upward arrow. and do it on the opposite side.
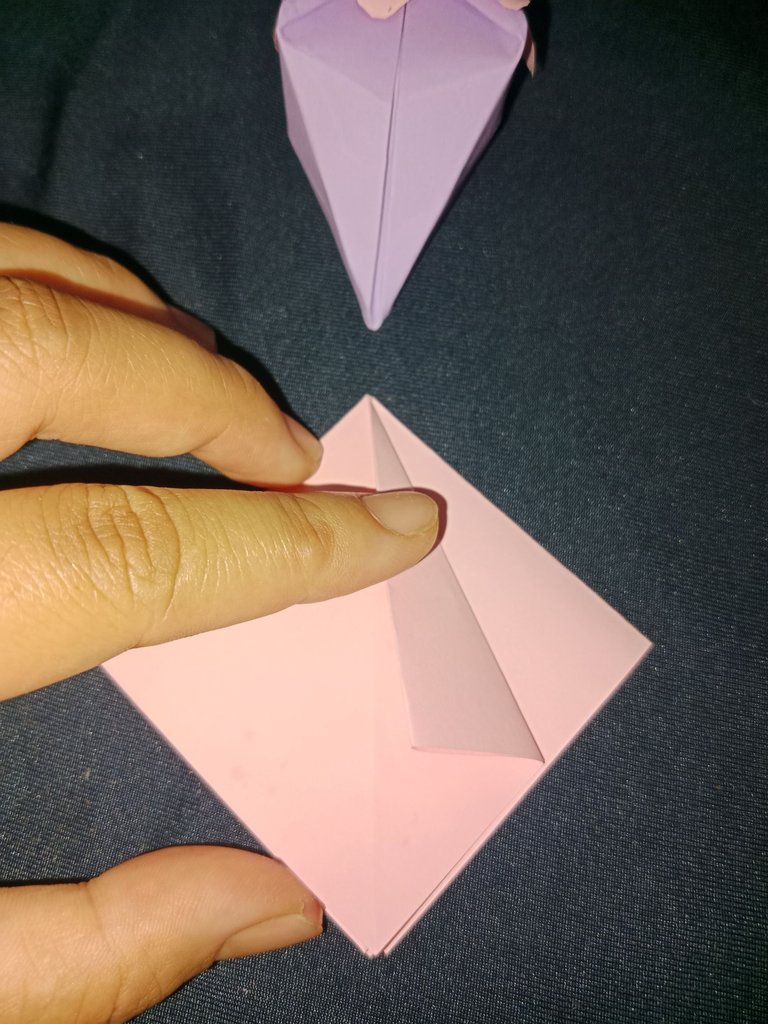
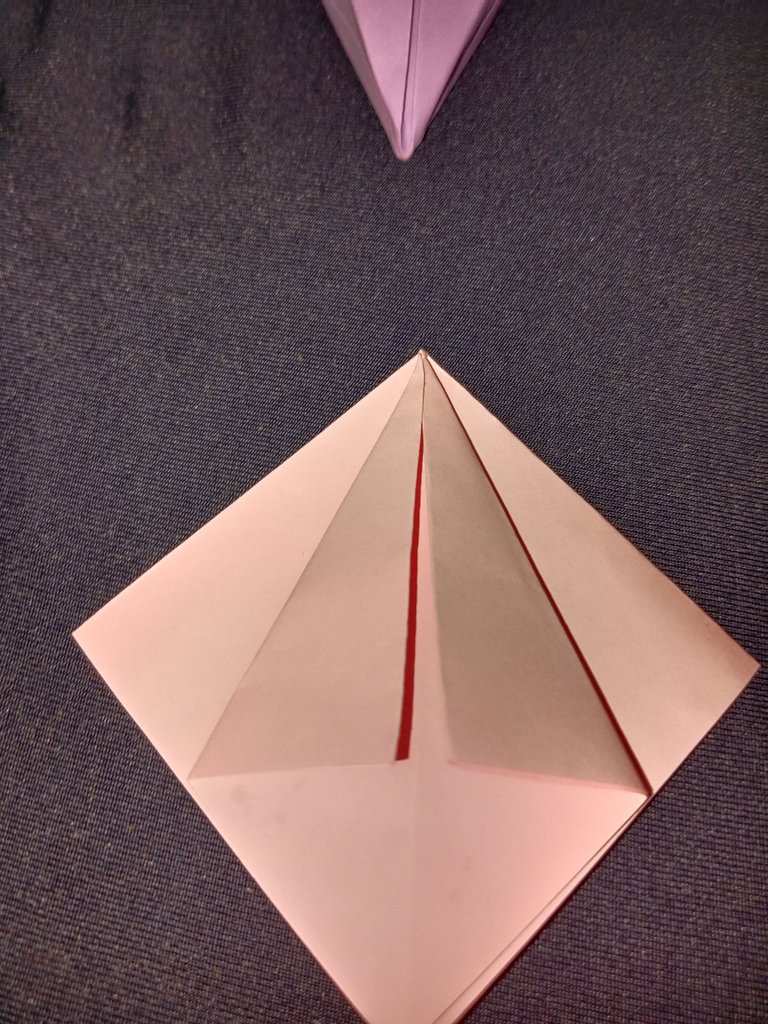
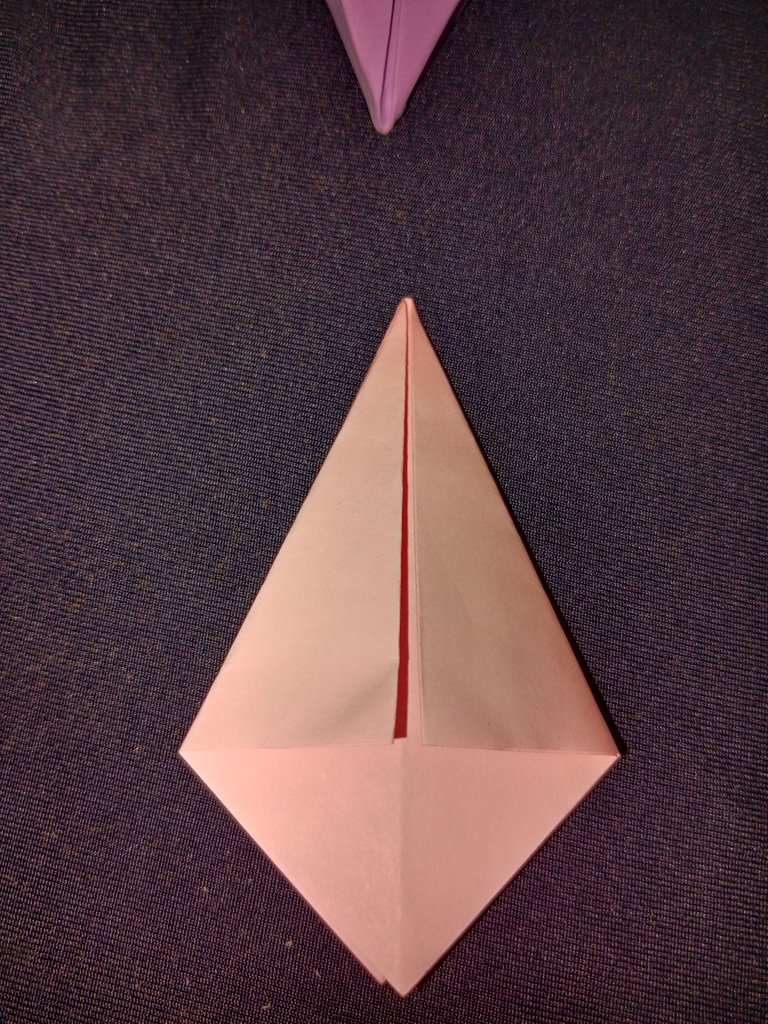
- turn the top part to the bottom, then fold it again
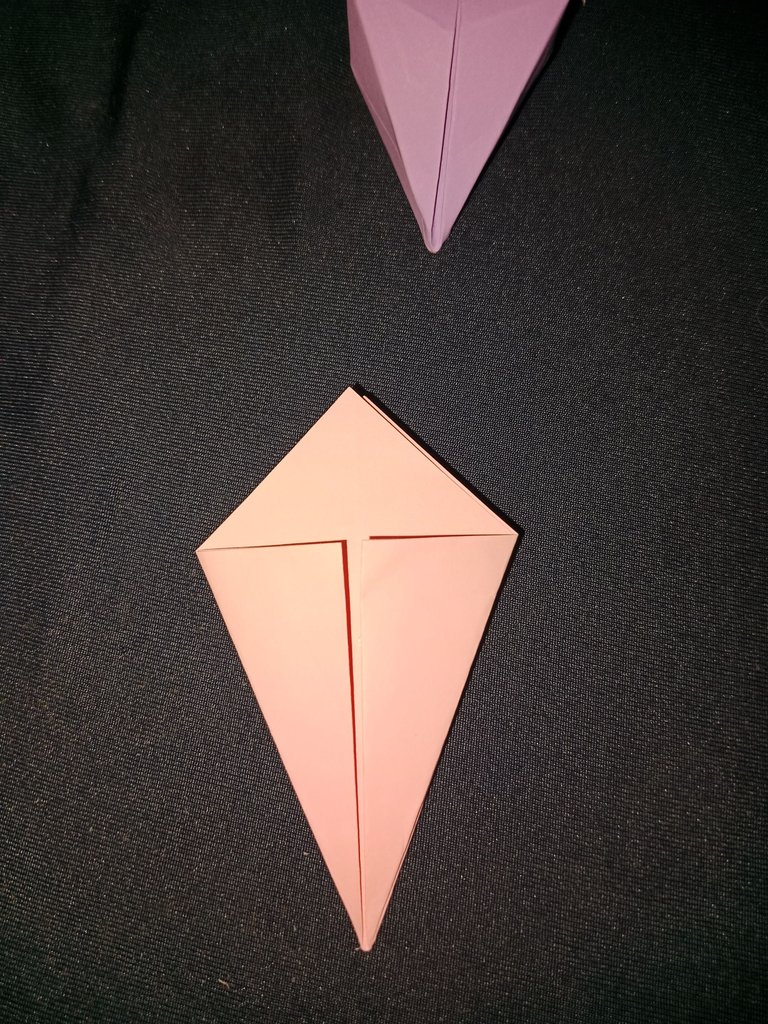
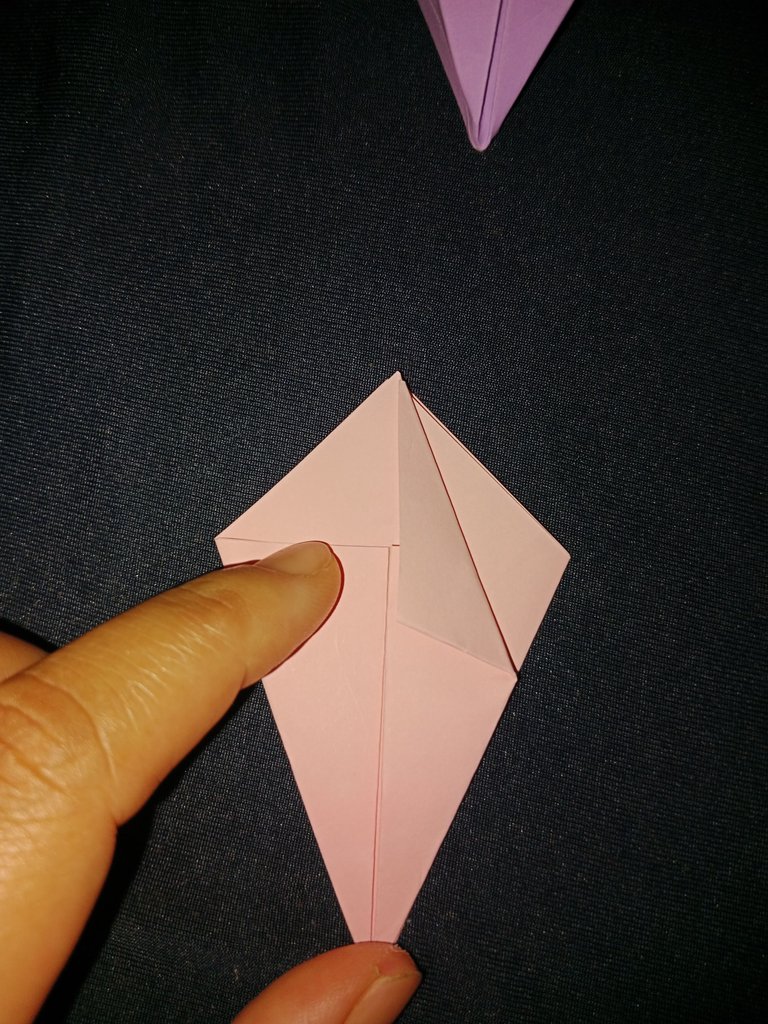
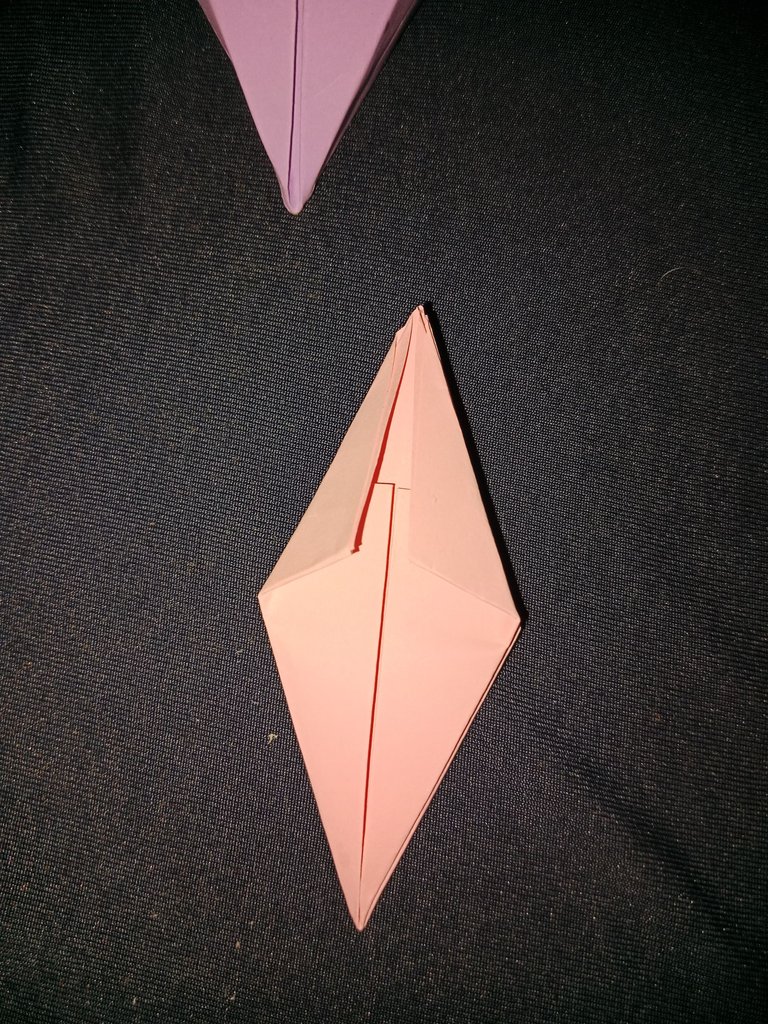
- Open the top fold that we folded earlier, do it on the other side.
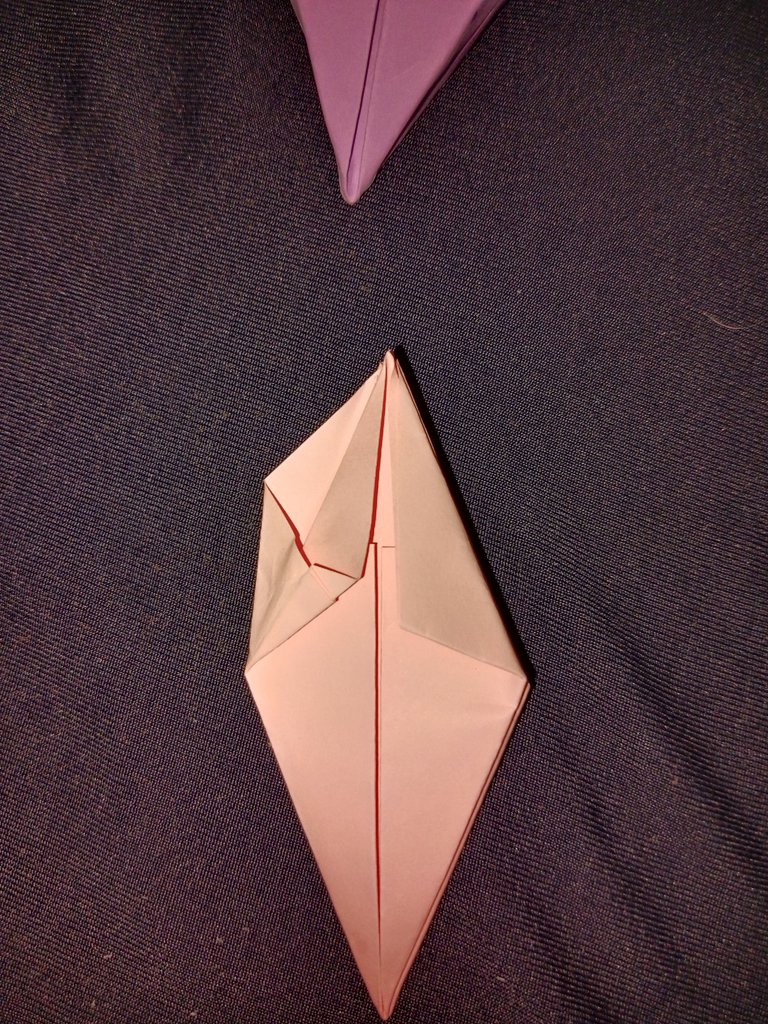
Then put the opened parts together, until the open fold is not visible
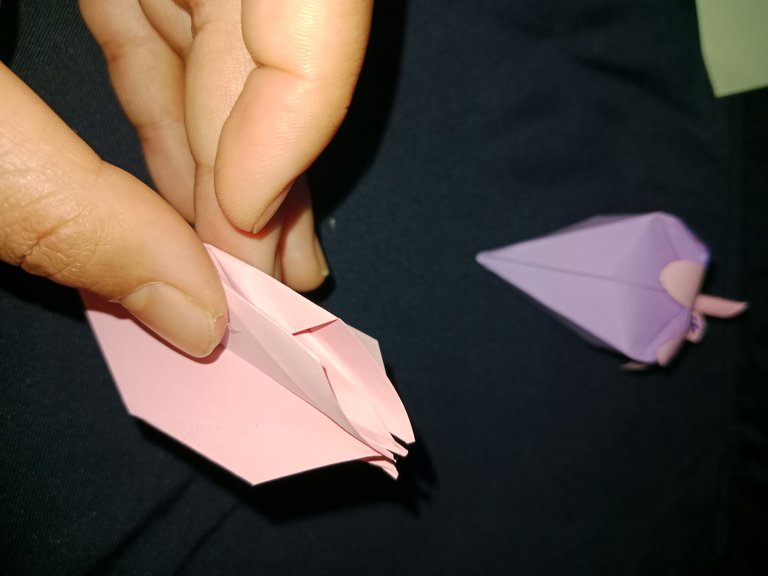
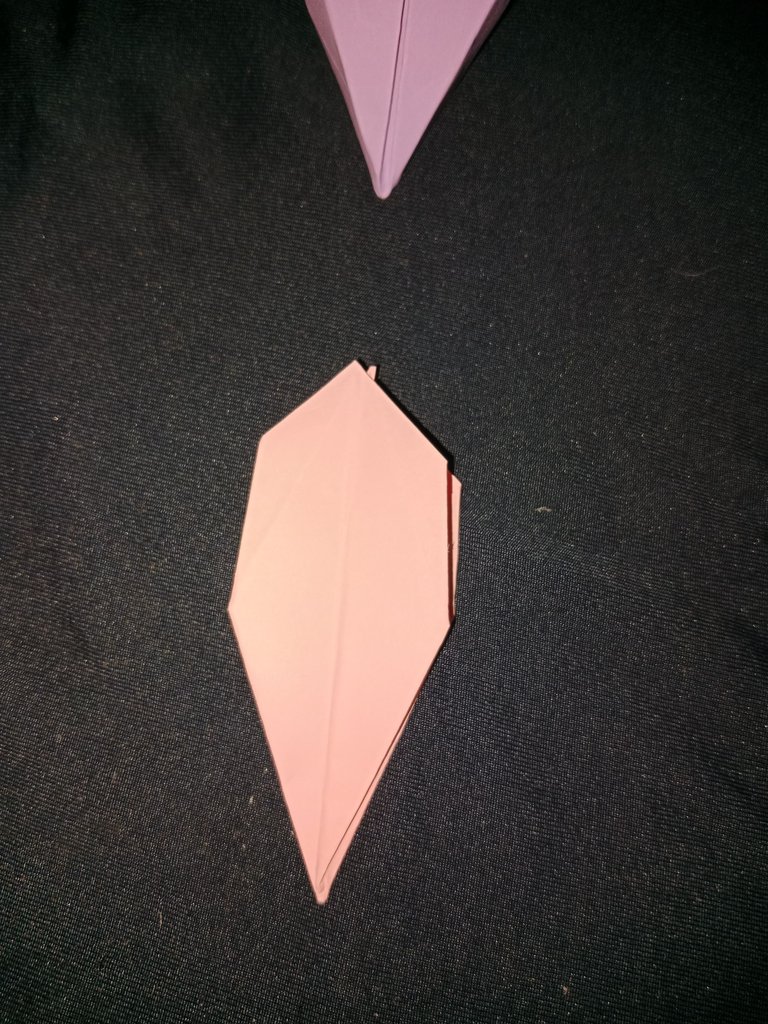
- Fold it back and do it on the other side.
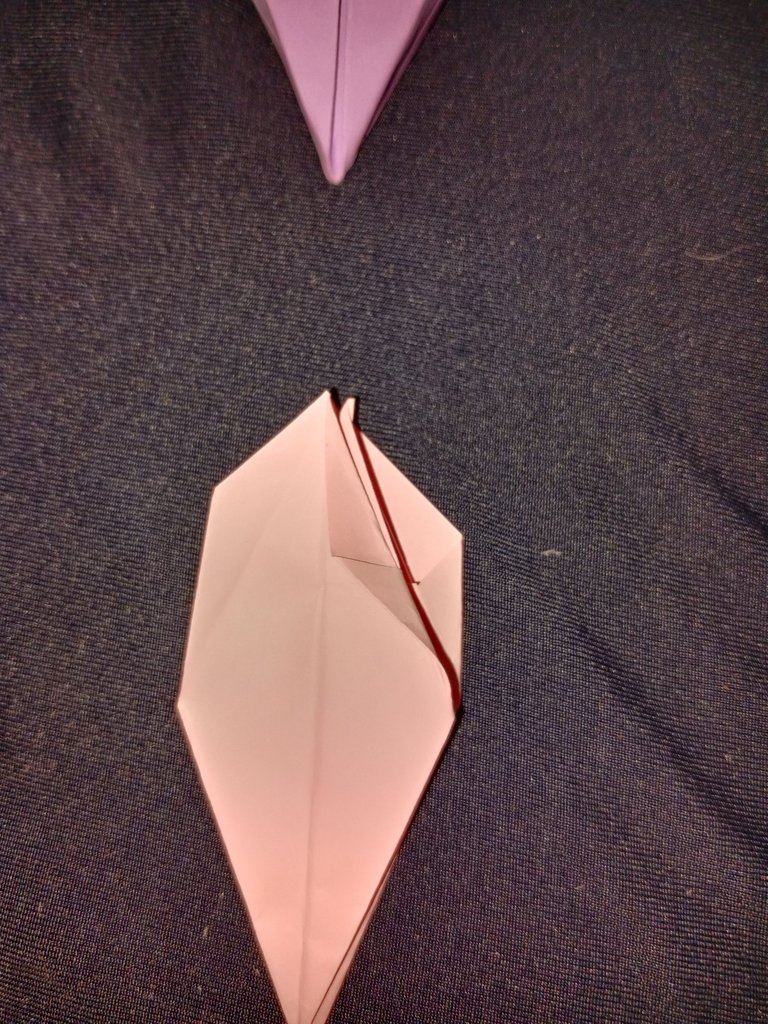
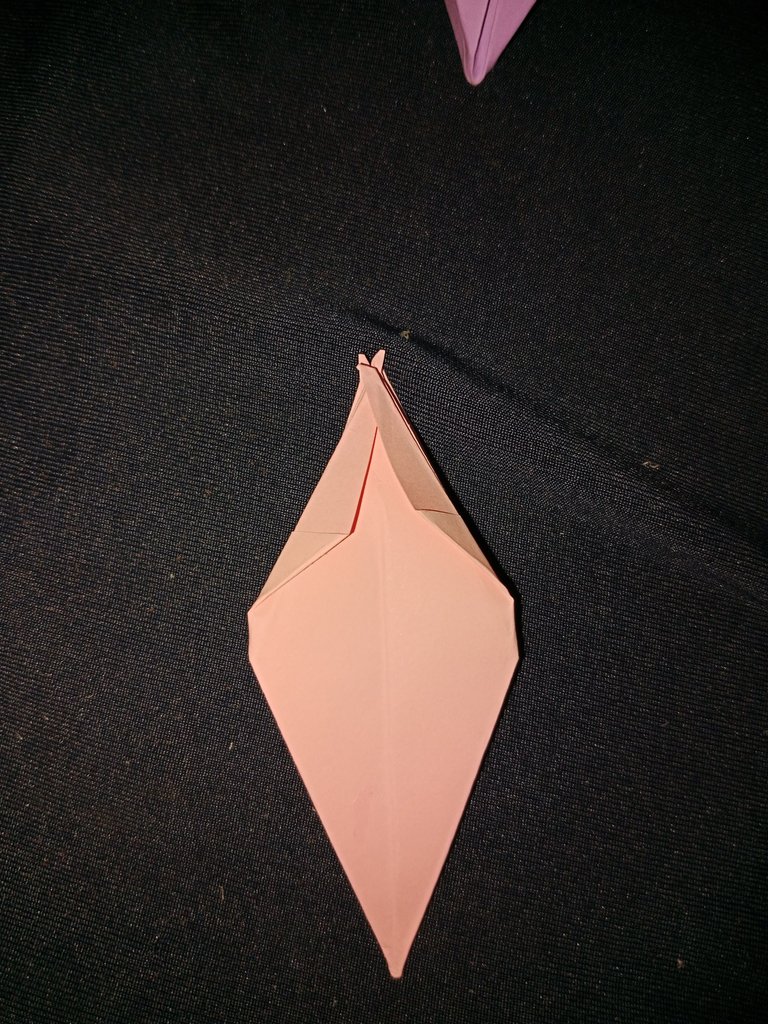
- Once all the parts are folded, fold them back down, and do the same on the other side.
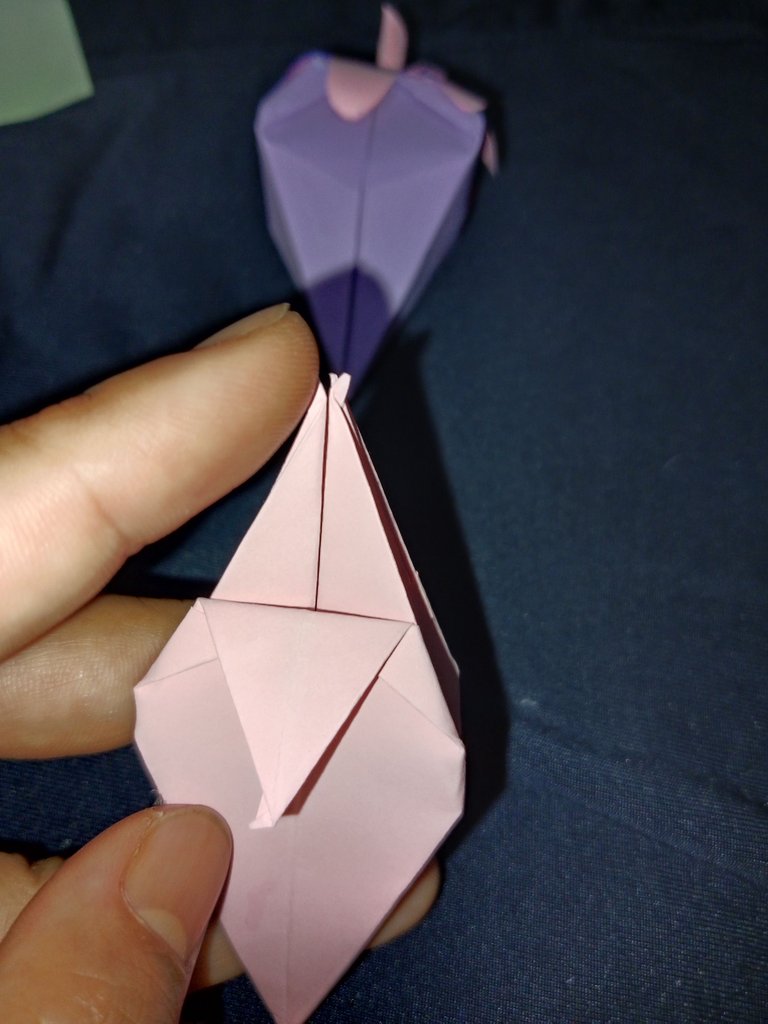
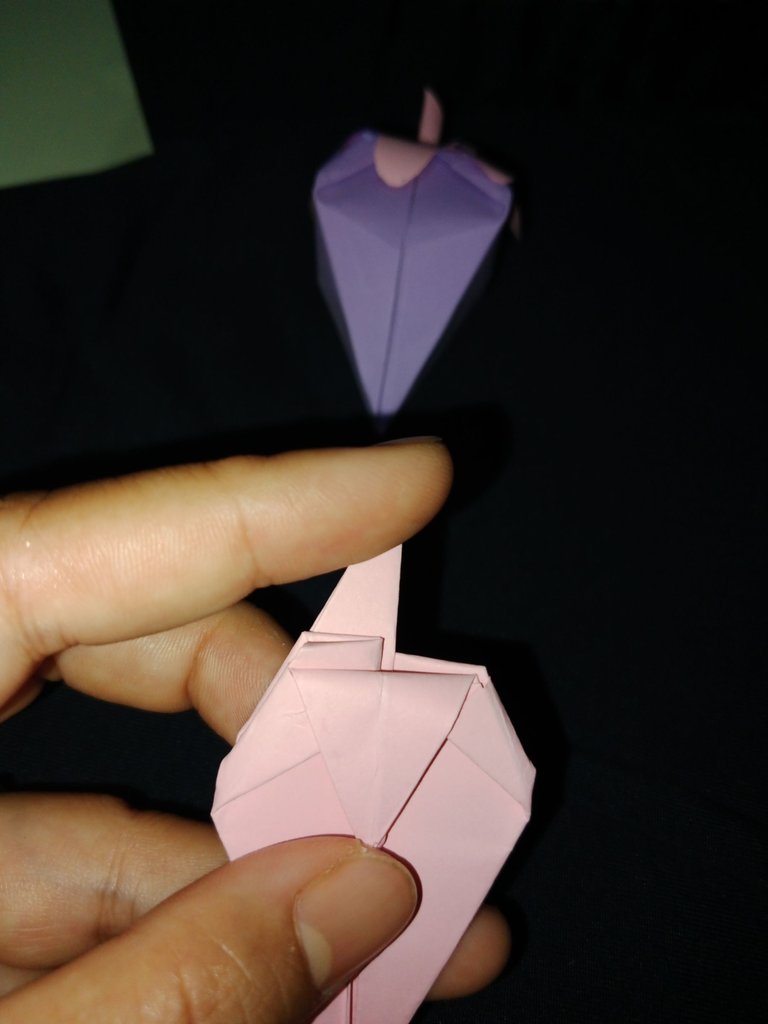
- Unfold the paper
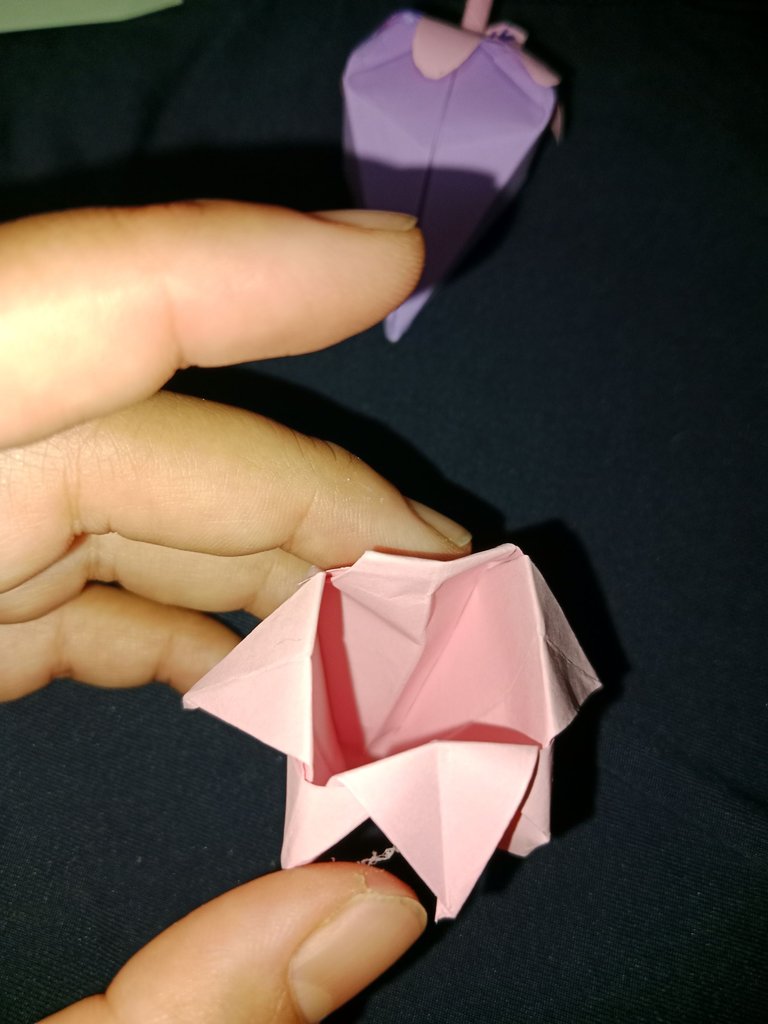
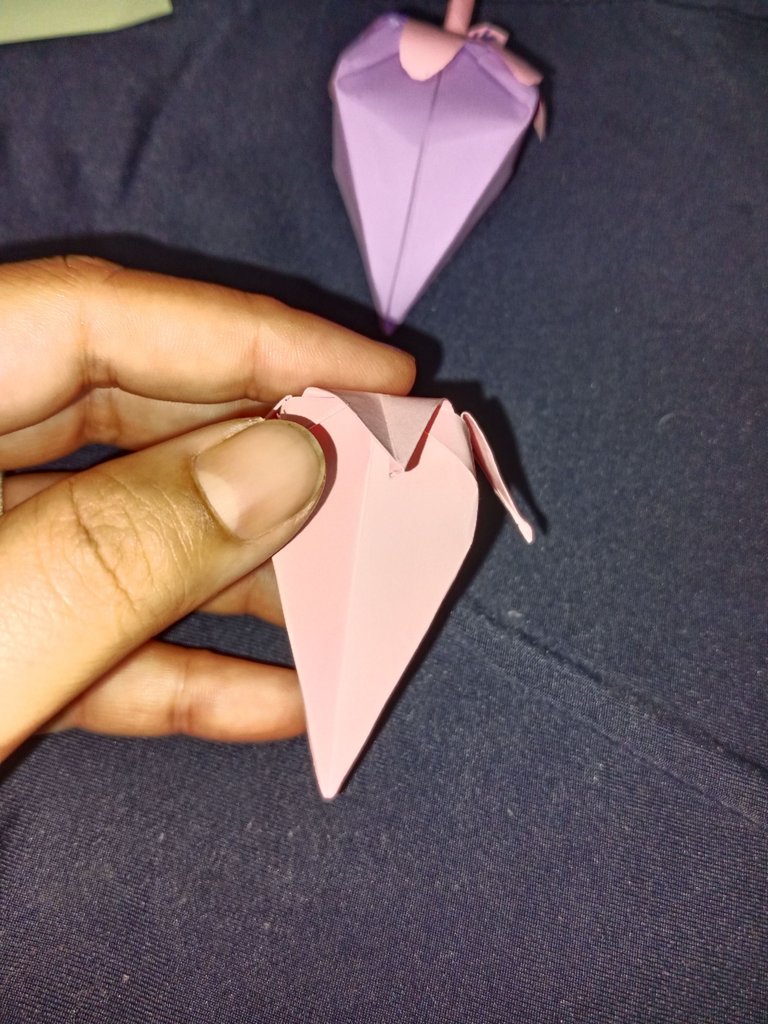
Put glue on the end of the paper and insert the paper inside.
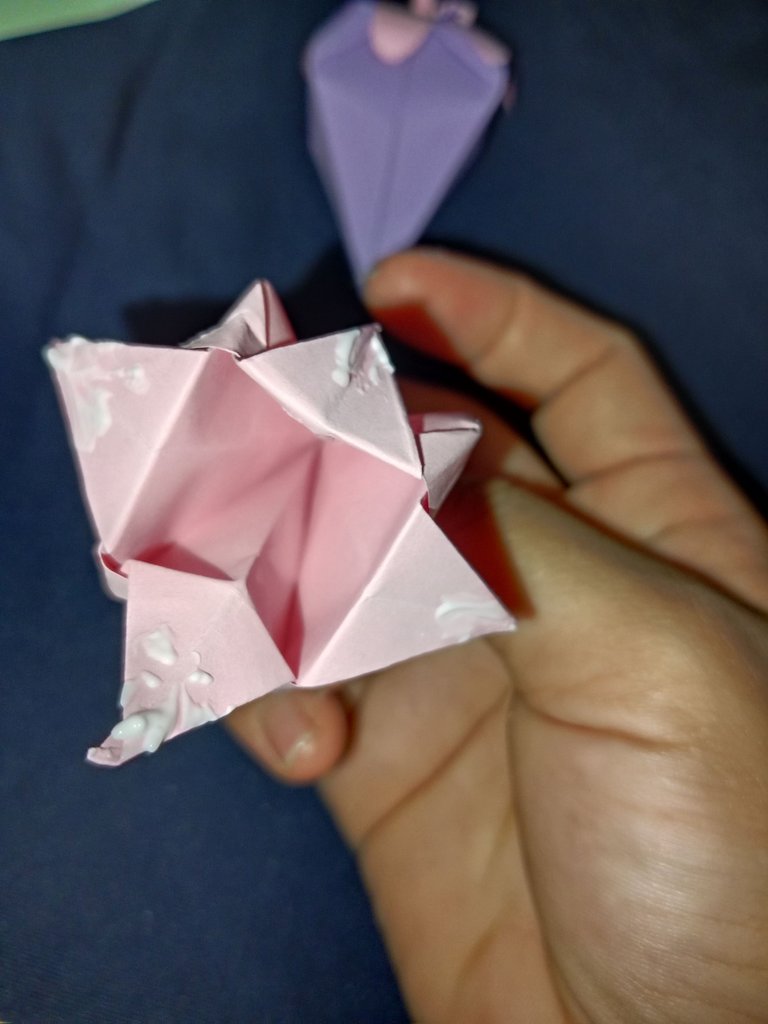
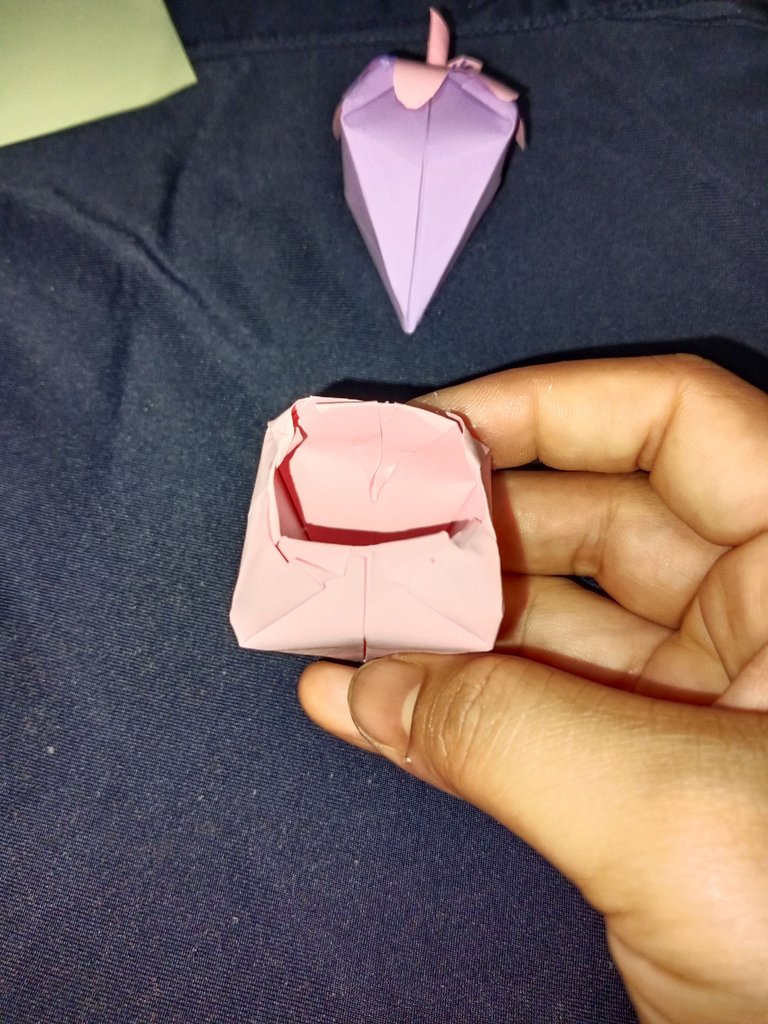
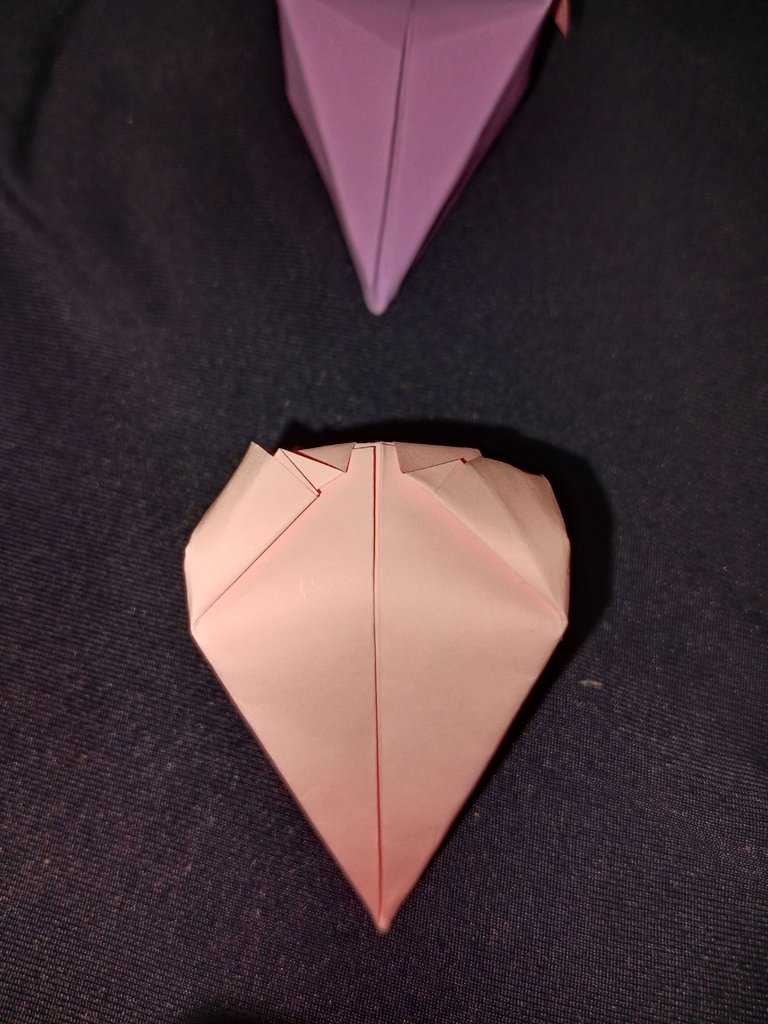
The strawberries are ready. Then we move on to the leaves and small stems of the strawberries
- Prepare green origami paper, then cut it into 4 as shown.
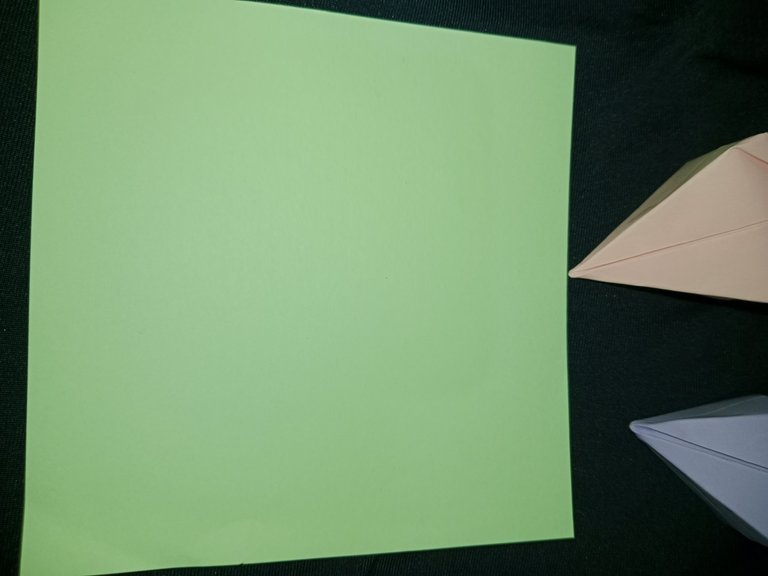
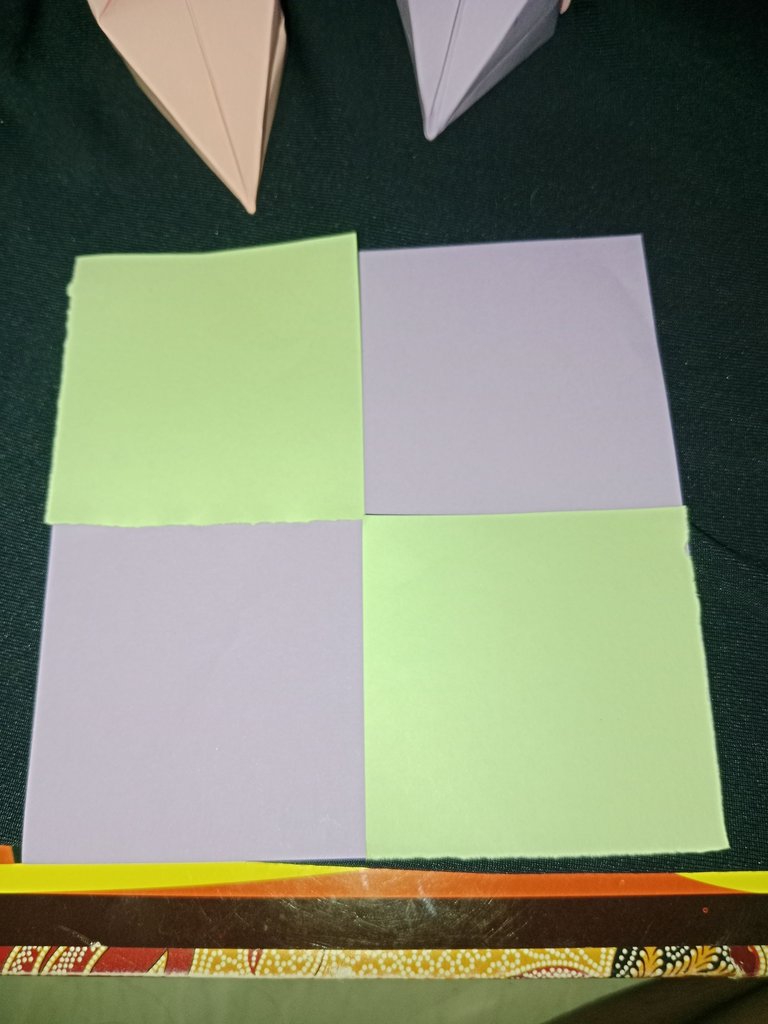
- Take 1 paper that has been cut. then fold it into a triangle, repeat the fold again until the triangle becomes smaller.
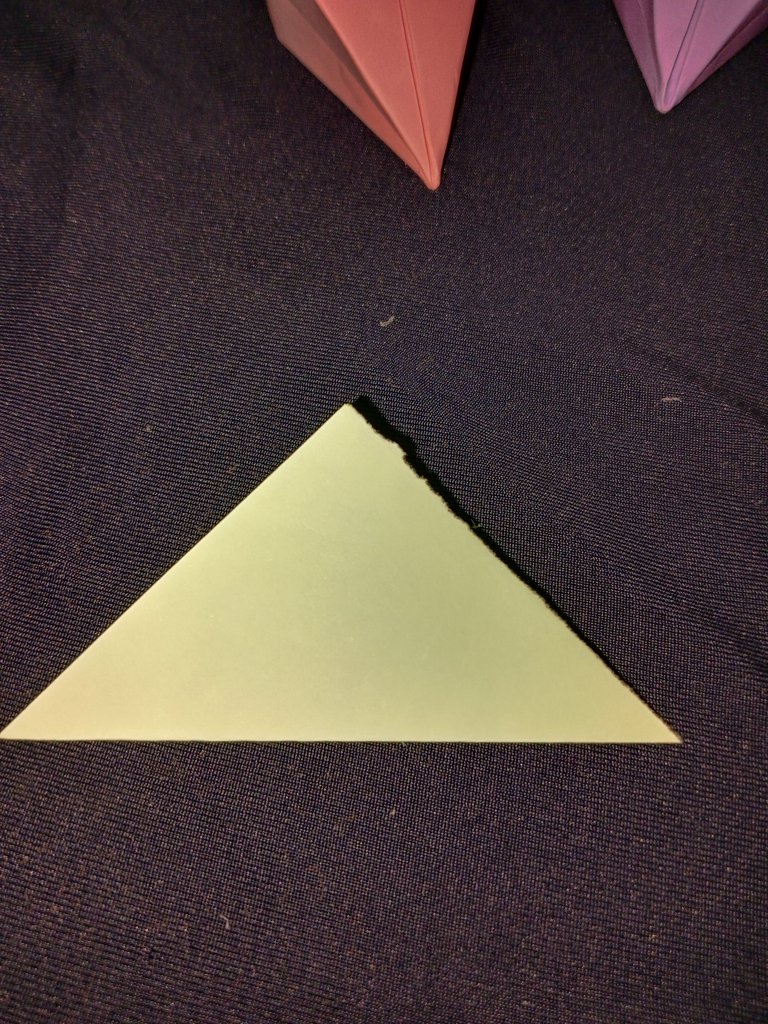
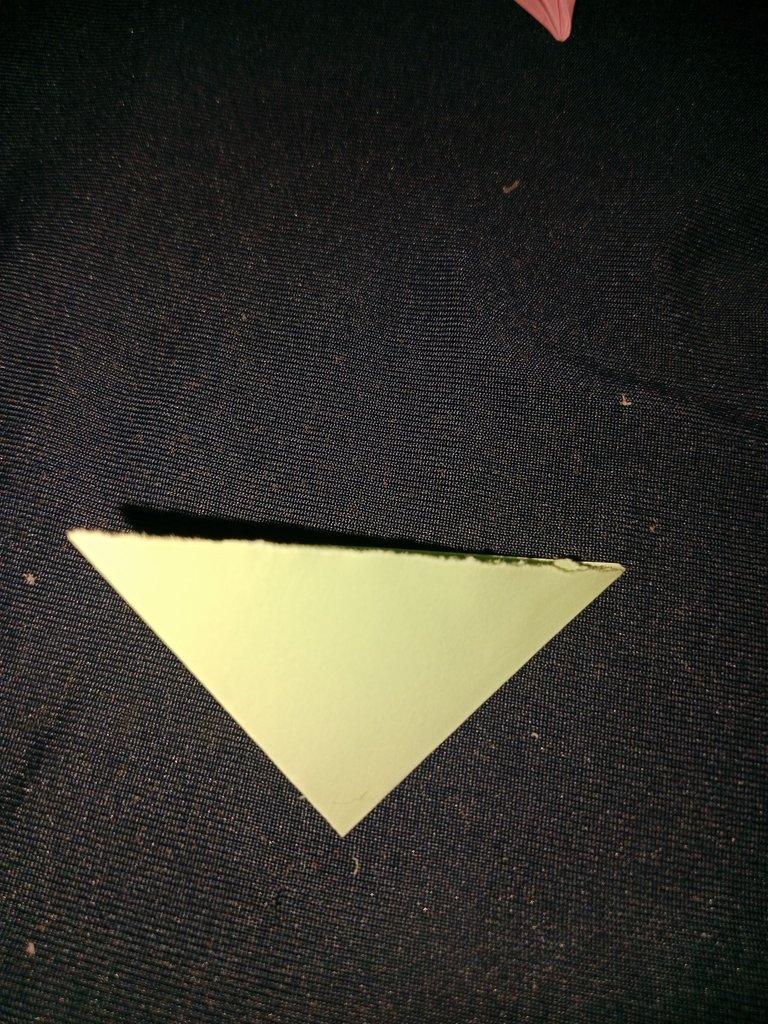
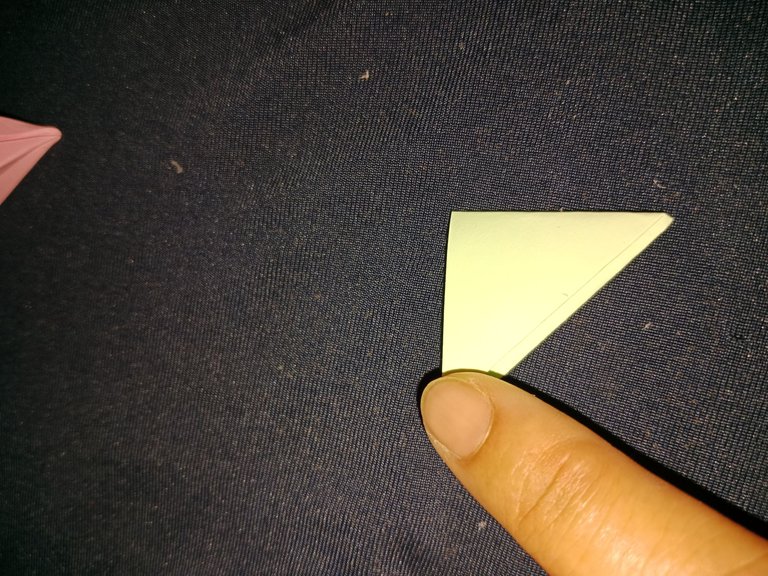
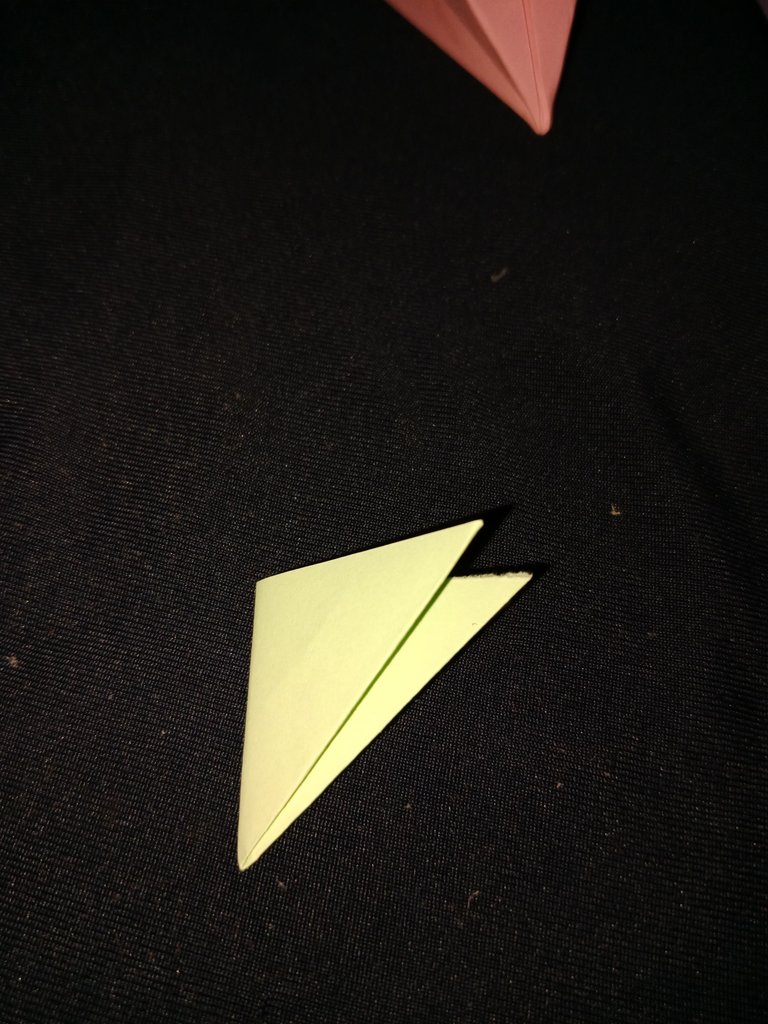
- Then, draw using a marker. and cut out
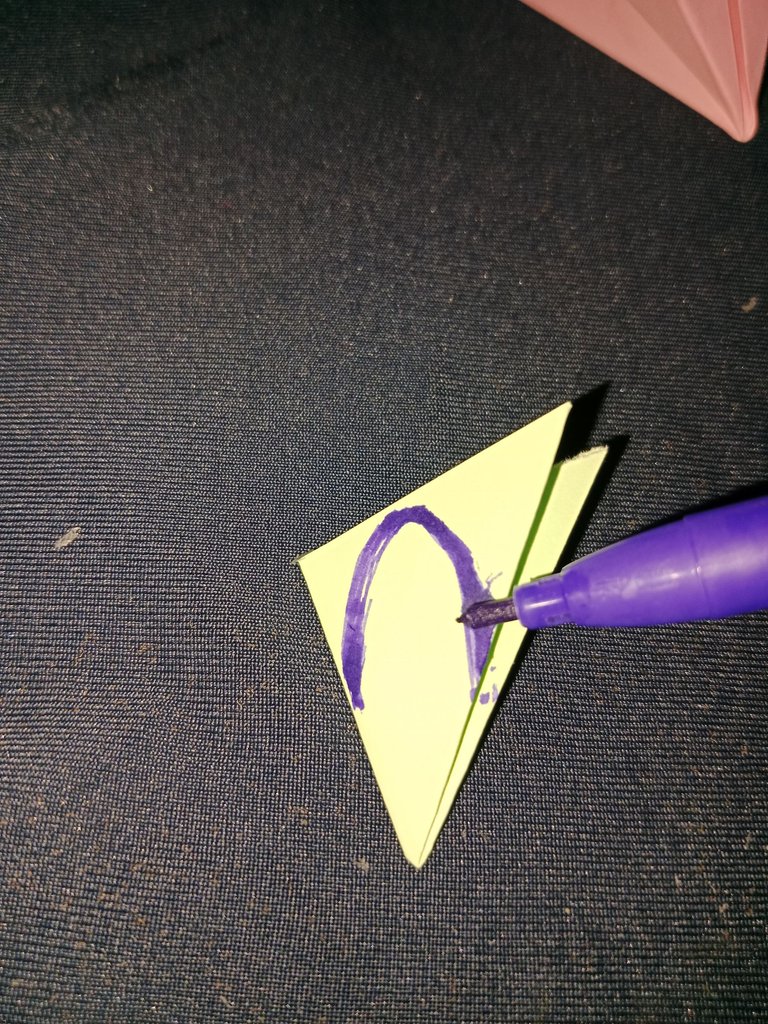
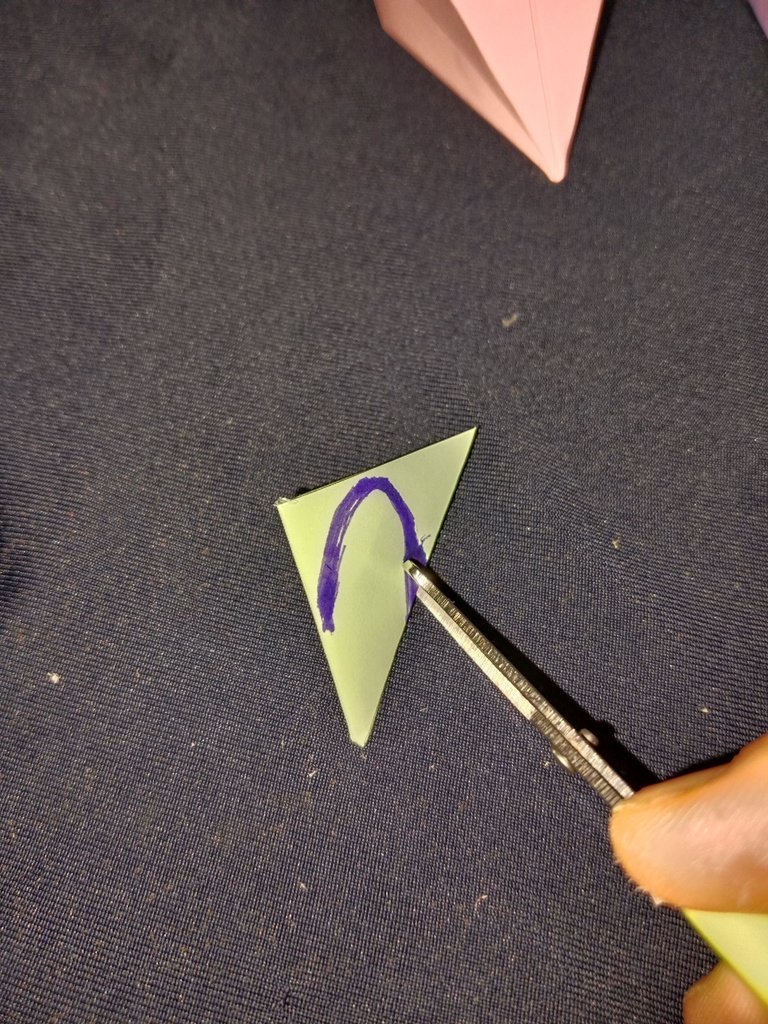
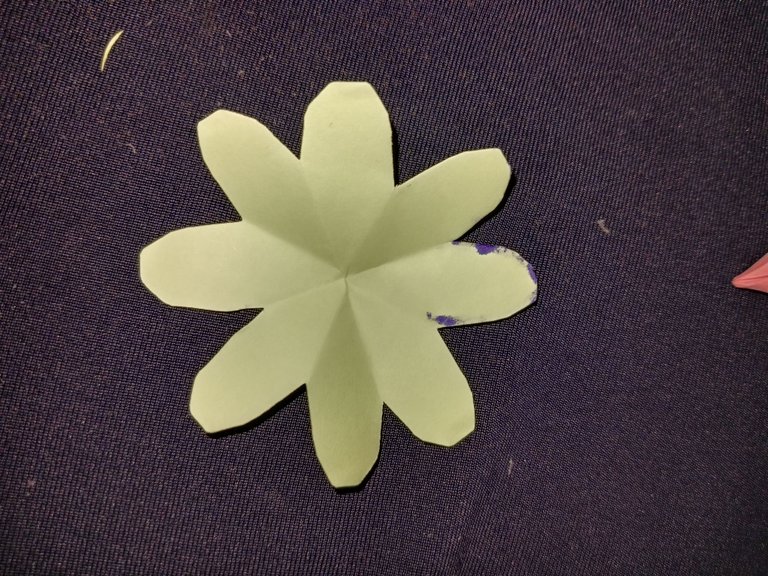
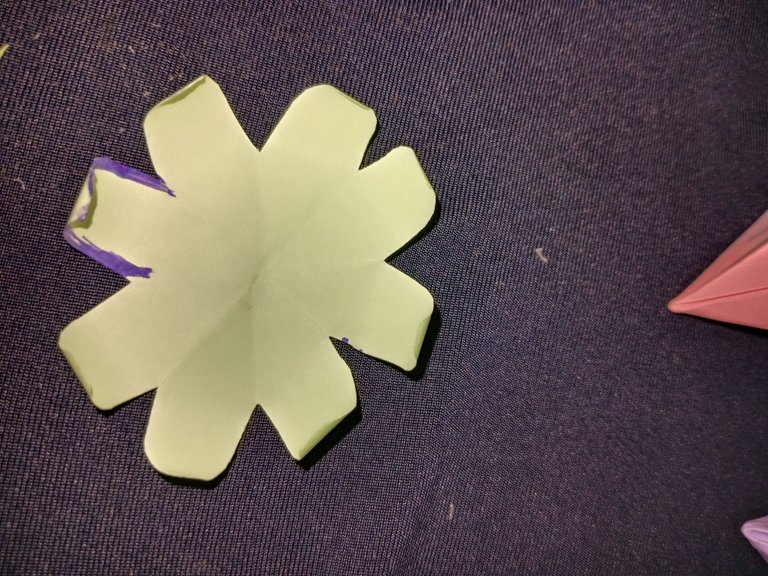
- then put glue on each side of the paper and stick it on the strawberry that we made earlier
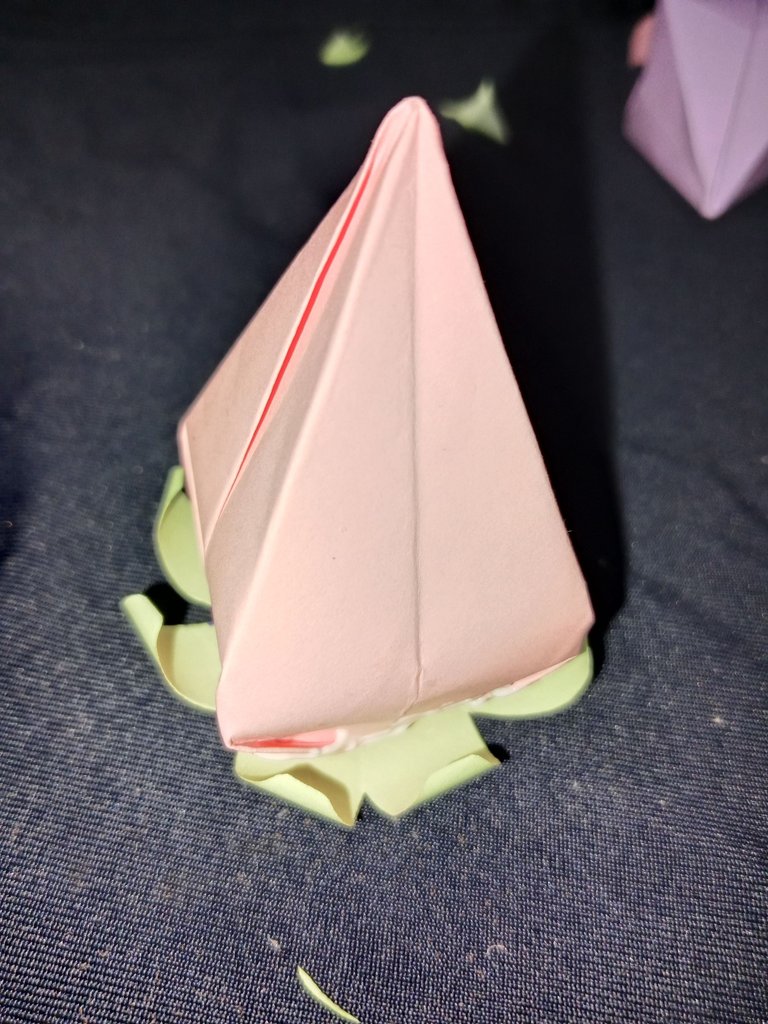
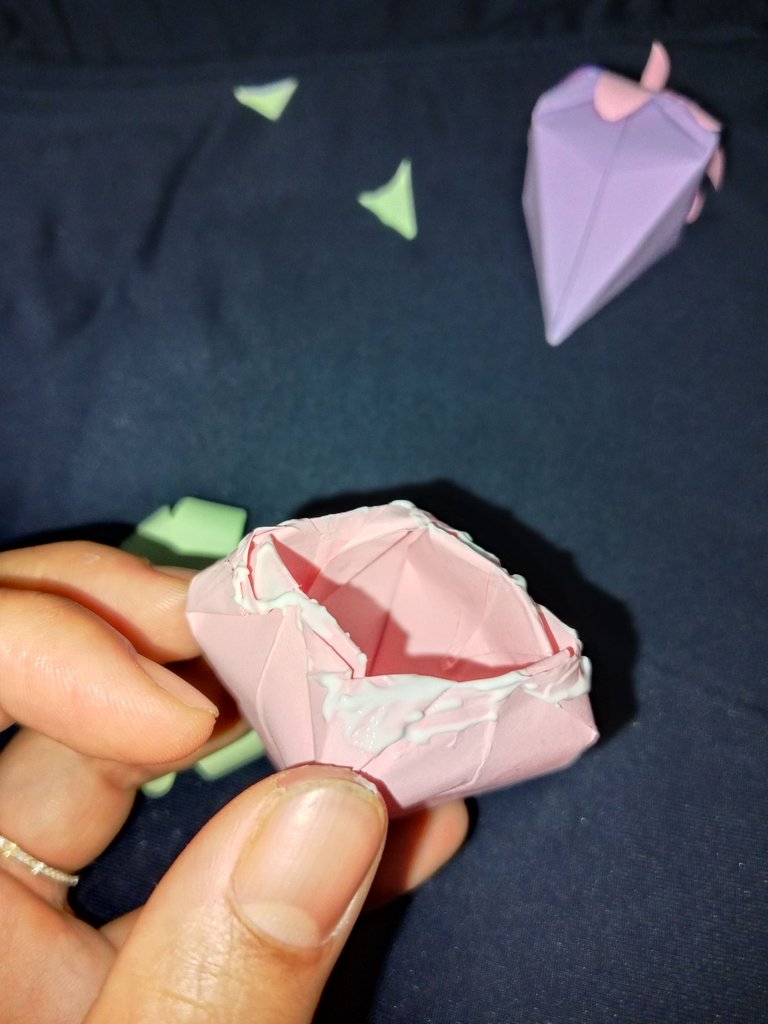
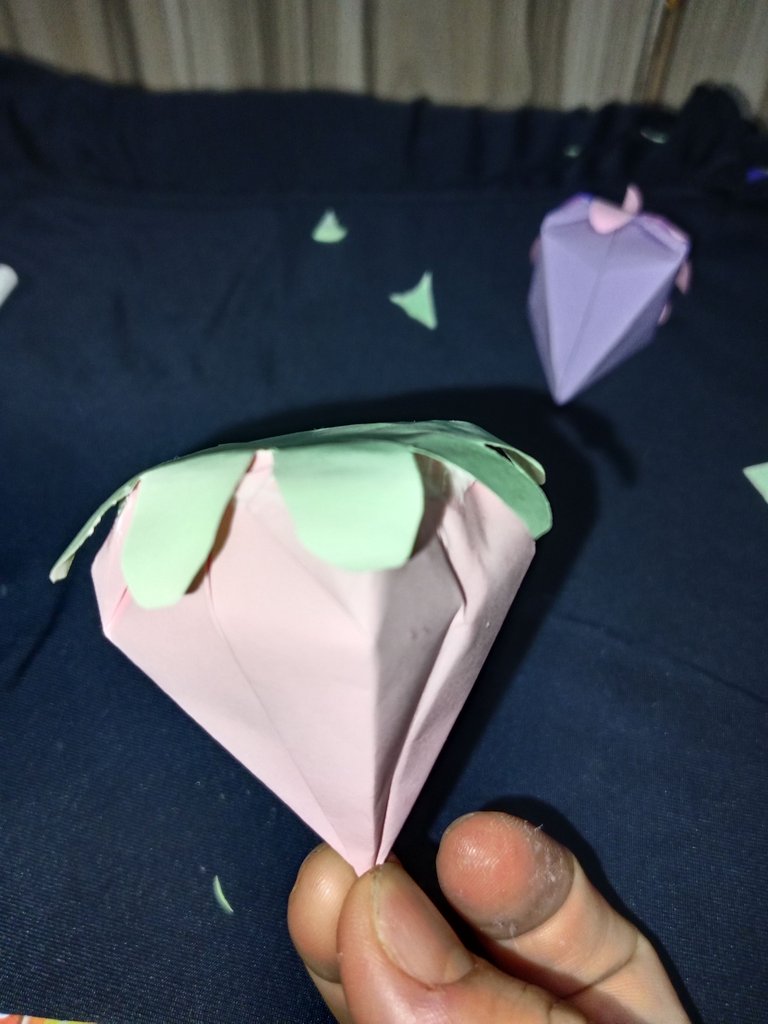
The last is to make the fruit stem. Take another piece of paper that we cut earlier, roll the paper. and put glue on the end of the paper.
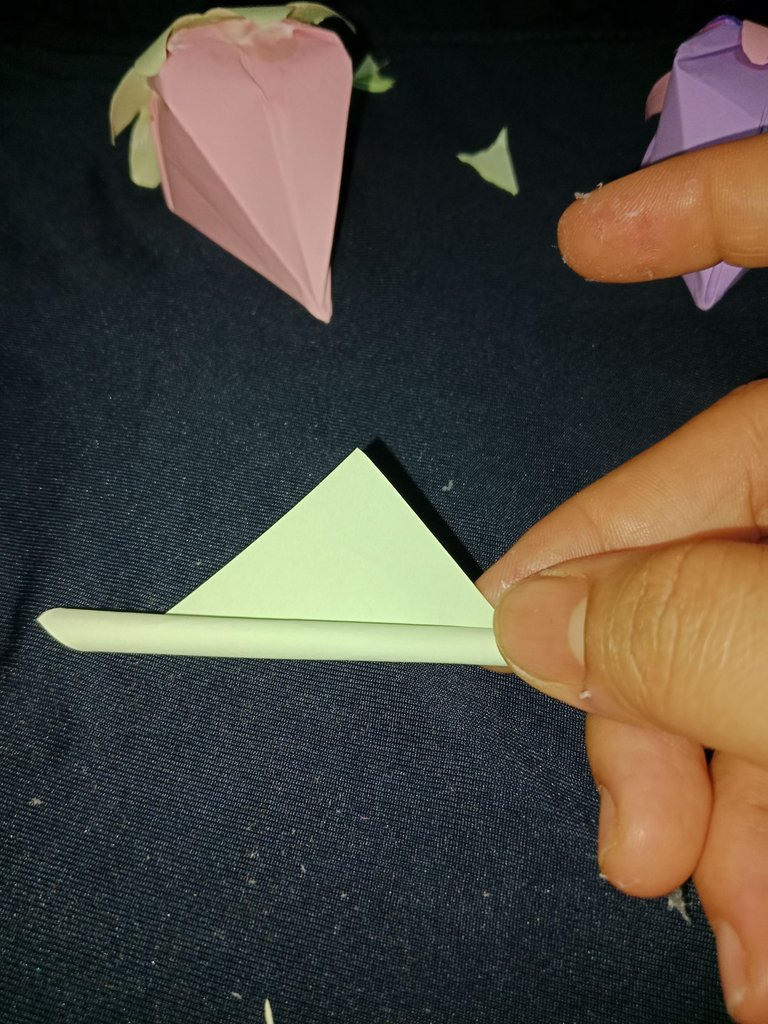
- Then make a small hole in the middle of the paper to insert the stem into the fruit.
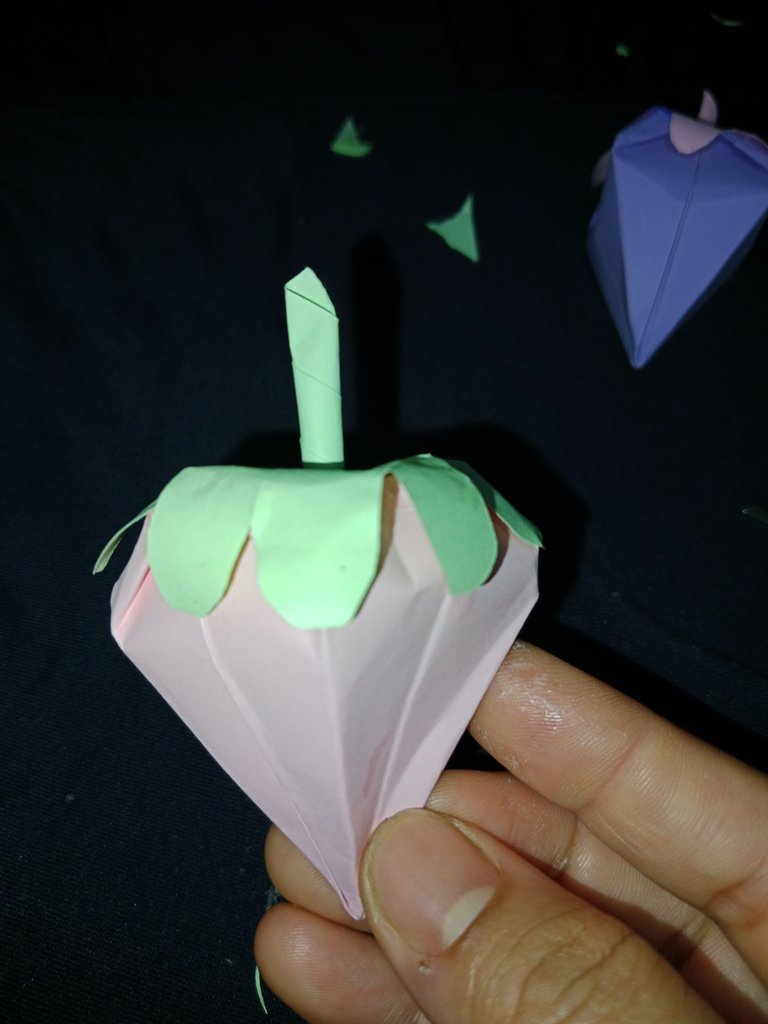
The strawberries are done.. I'm sorry if it's too difficult to explain the tutorial, friends..
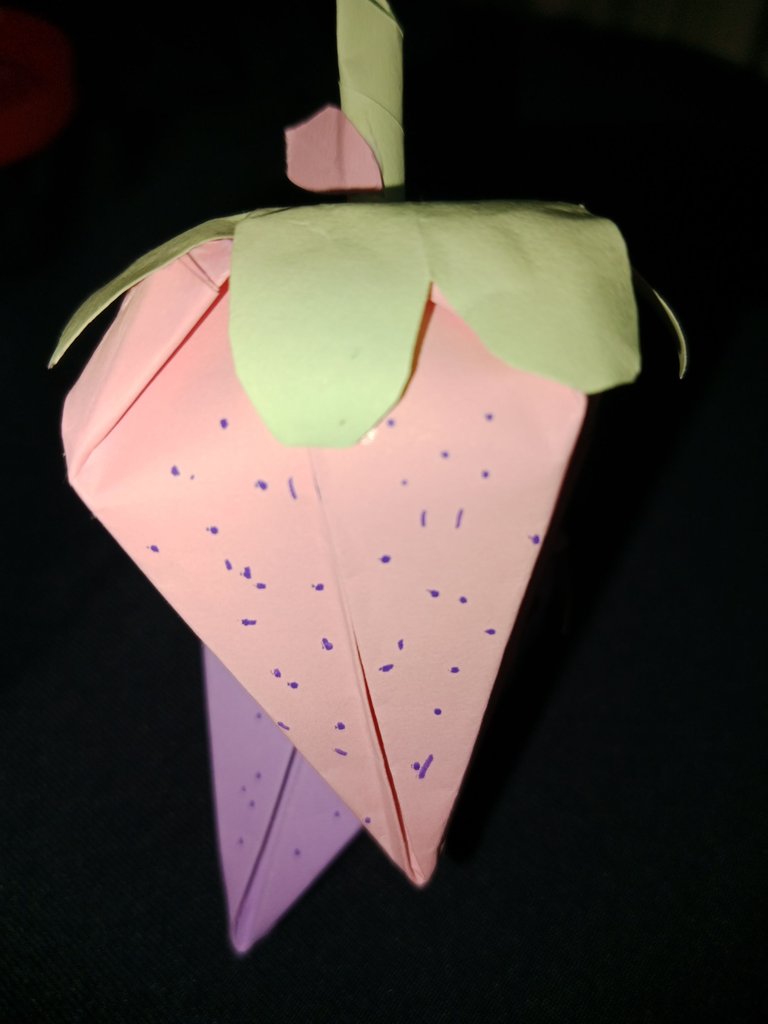
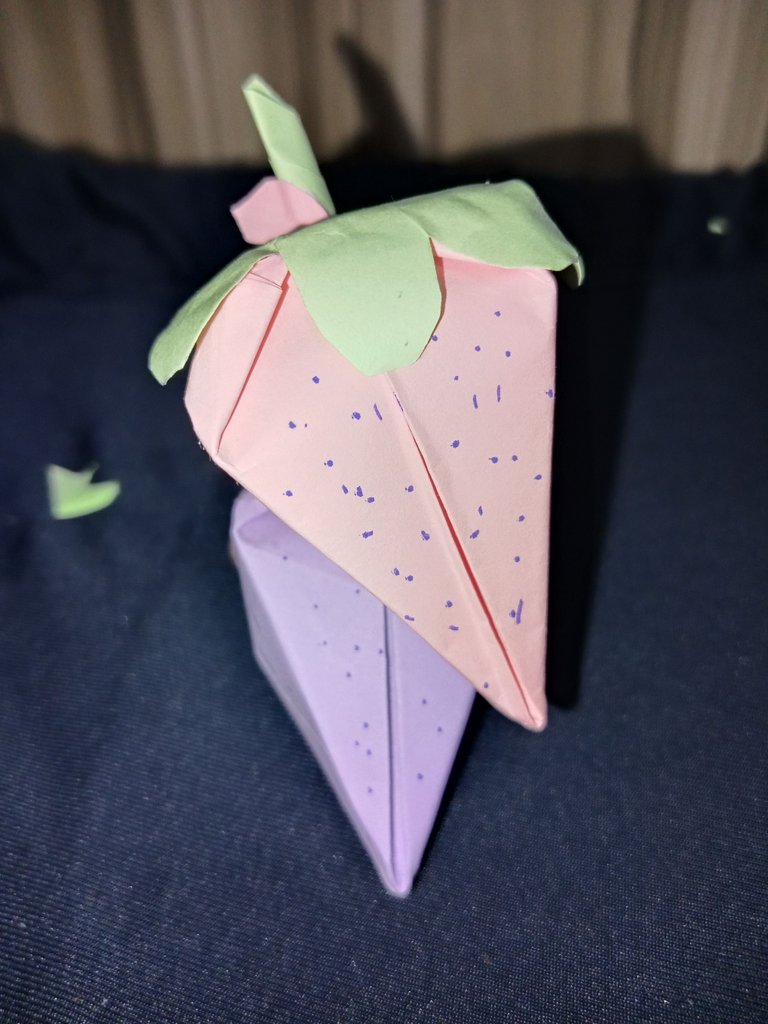
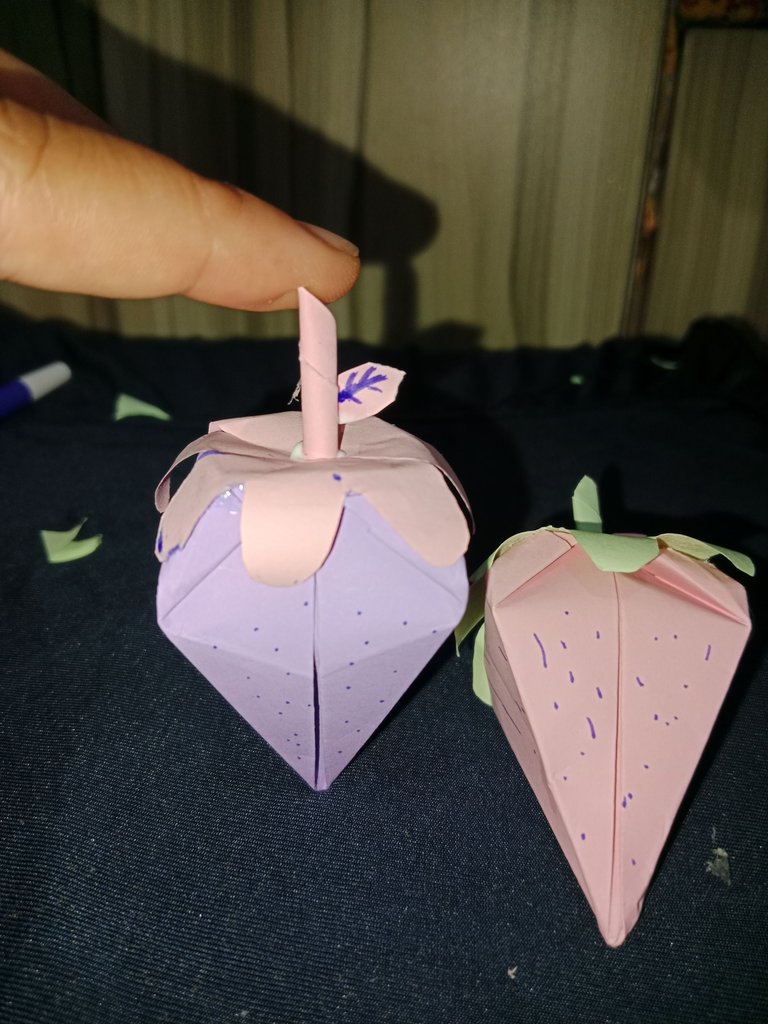
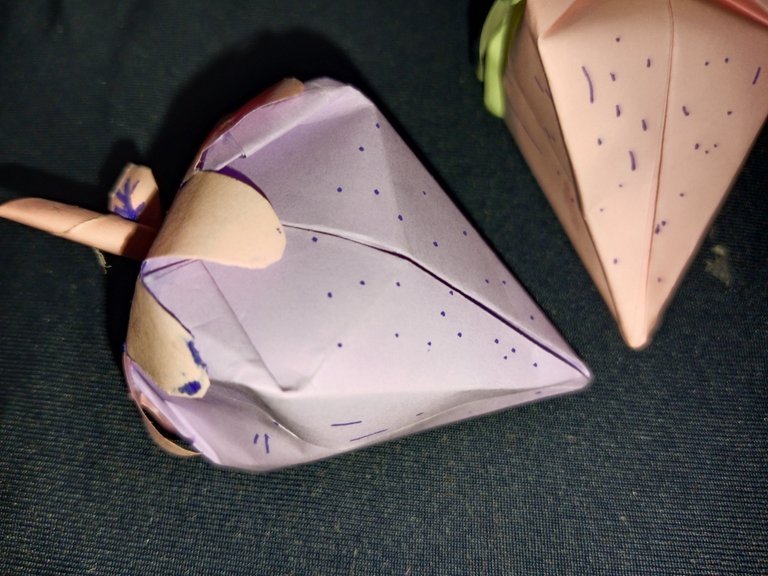
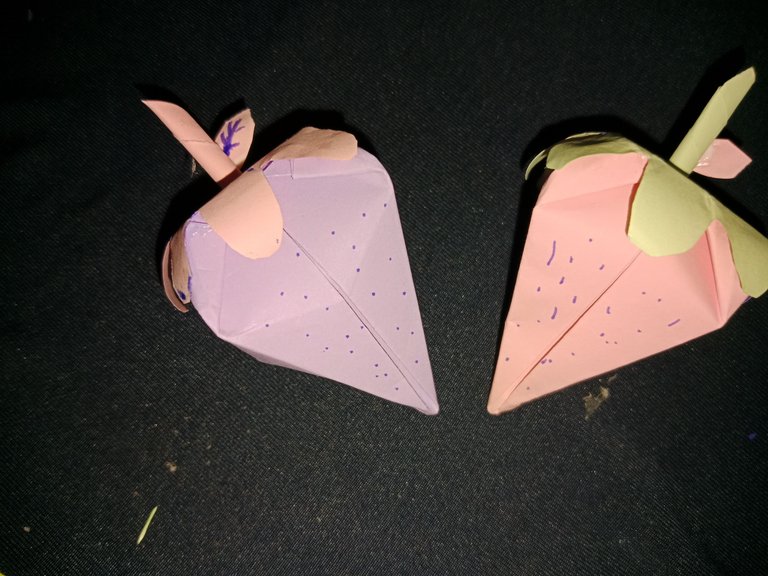
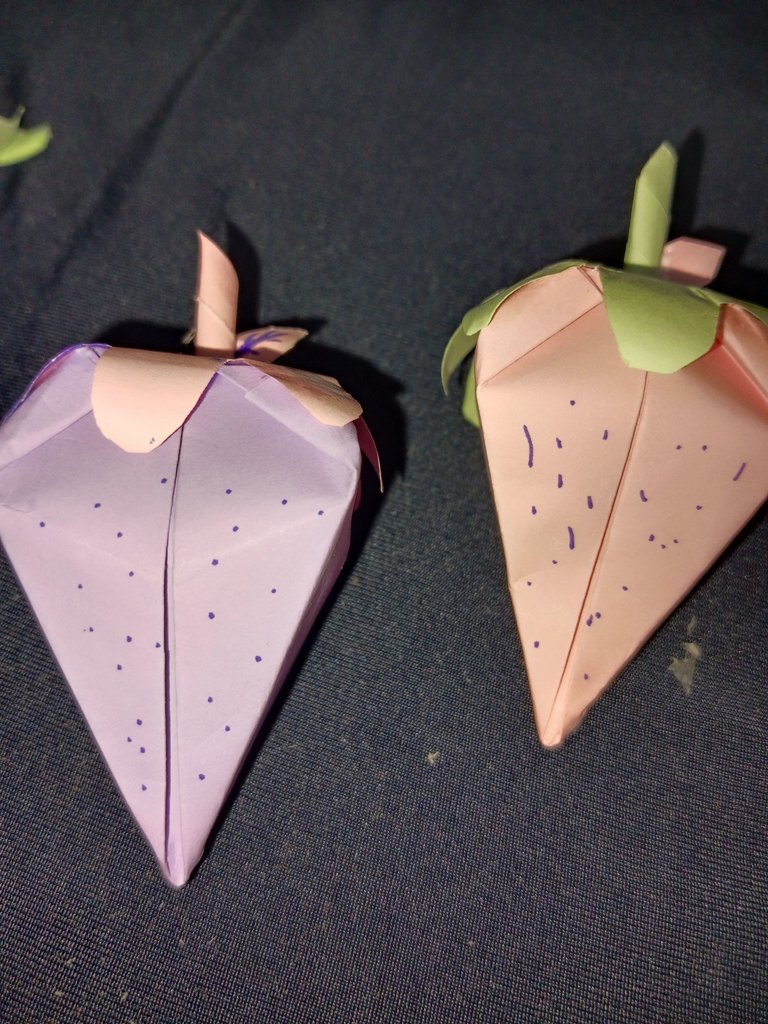
For the sweetener, you can add leaves and dots on the strawberry part.. and the result is the strawberry will look like the real thing..
Hello This is Nisa, an amateur writer (I apologize if there are any errors in writing or in the wrong translation of words in writing, and I am very grateful that you have visited my blog. See you in other posts)

This is a really nice and well detailed origami. Nice work.
Haiii.. Thanks u very much 😍
Congratulations @cacasa26! You have completed the following achievement on the Hive blockchain And have been rewarded with New badge(s)
Your next target is to reach 1750 upvotes.
Your next target is to reach 600 comments.
You can view your badges on your board and compare yourself to others in the Ranking
If you no longer want to receive notifications, reply to this comment with the word
STOPThanks You 😍
You're making a big impact @cacasa26! Keep up the fantastic work and you'll reach your Hive target in no time.
BTW, we noticed we miss your support for our proposal. Mays we ask you to check it out and consider supporting it?
All you need to do is to click on the "support" button on this page: https://peakd.com/proposals/248.
Thank you!