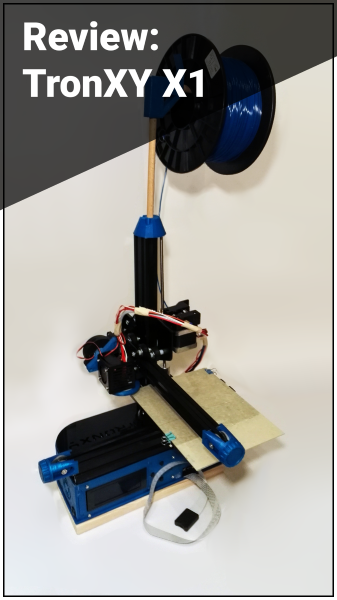
My 3D Printing Tower
<======== Introduction ========>
After watching many 3D printing video on YouTube I decided that I need an own 3D printer for ... reasons. And so I looked at some low cost printers with modding capabilities and good printing quality potential. I did not searched for a very good printer, I searched for a good project. My initial thoughts was no to print thinks, I wanted to build a printer and learn all necessary knowledge along the way. Along a cheap way. The TronXY X1 was promising.
I bought the printer and here are my experiences.
<======== Data ========>
| Build volume: | 150x150x150mm (but some clamps holt the plate in place) |
| Print Bed: | Acrylic (flexible and detachable) non heated |
| Material: | PLA (1,75mm) |
| Print Via: | USB Type-B (cable included), Micro-SD (card included) |
| Price: | Between 100€ and 130€ |
| Type: | Kit |
| Controls: | External box with wires |
| Power supply: | DC 12V 5A (Laptop type) power adapter |
| Control-Mainboard: | Melzi 2.0 V5 |
Other sites show other values but all I wrote are tested by me.
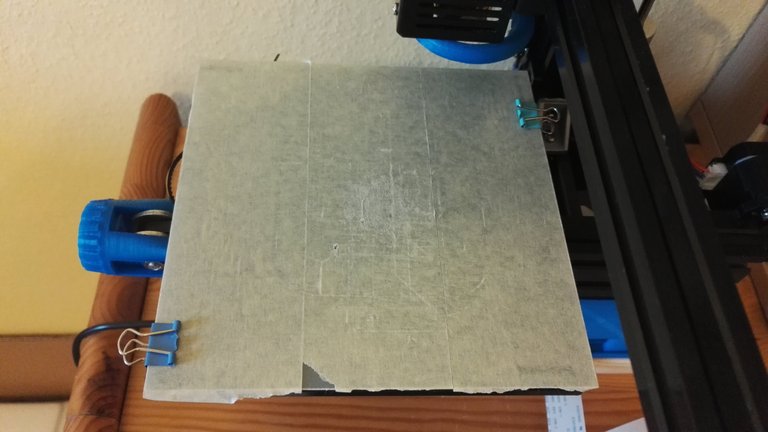
Print Bed
<======== Obstacles / Usage ========>
The kit came with all the necessary tool to assemble the printer. The description is a PDF-File stored on the included 8GB SD-Card. The average technical affine person could build it without much of a problem. It is not so complicated but also not to simple. It took my about 2-3 hours. Controlling the printer through the external control box is fairly easy BUT the buttons are a pain. They don't always register a click and changing from one point in the menu to an other triggers a really annoying scroll animation.
While building there ware a couple of think that ware a problem:
- The 3 wheels on the print bed has to be pressed to the center while tightening the screws.
- And the 3 wheel, that move the Z-Axis up and down, has also be pressed to the center while tightening the screws.
- The stepper motor for the Z-Axis need a little spacer so that the threaded rod is parallel to the Z-Axe.
- The threaded rod needs a bit oil.
After building, the printer was ready to use. My first print was the test gcode-File on the included SD-Card. After this I printed a spare Z-Axis motor holder, in case the original breaks. Another very important print was a holder for a part cooling fan. But my first approach at designing one was not so successful. I designed a long bar with mounting holes for the fan and it looked ugly and was not really stable. All the hassle because ...
The Printer don't have a part cooling fan!!!
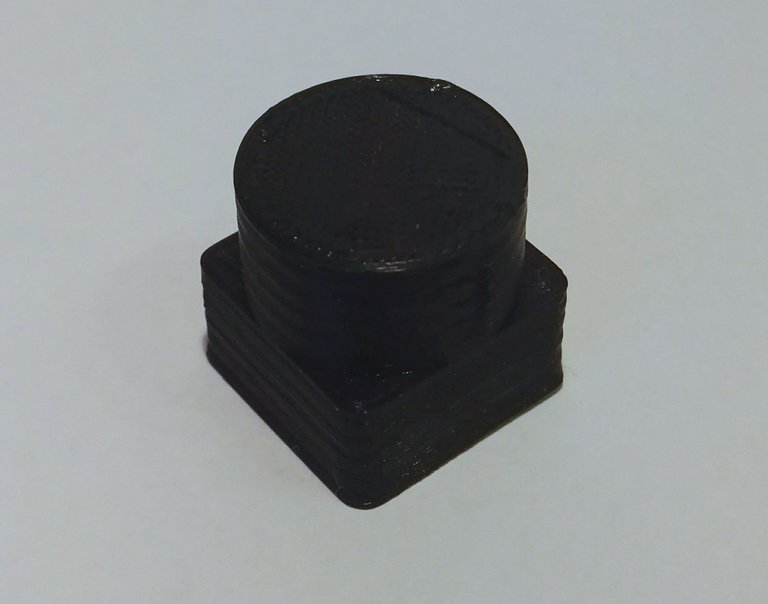
Test gcode-File
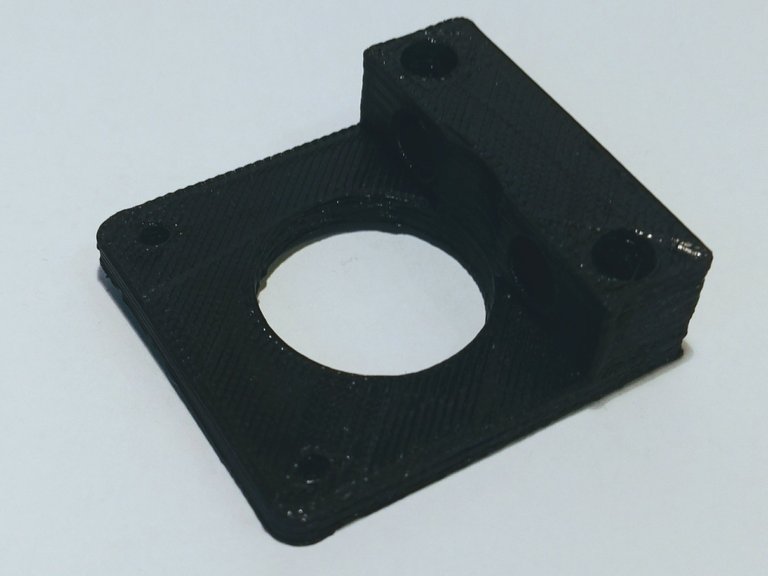
Z-Axis motor mount reprint
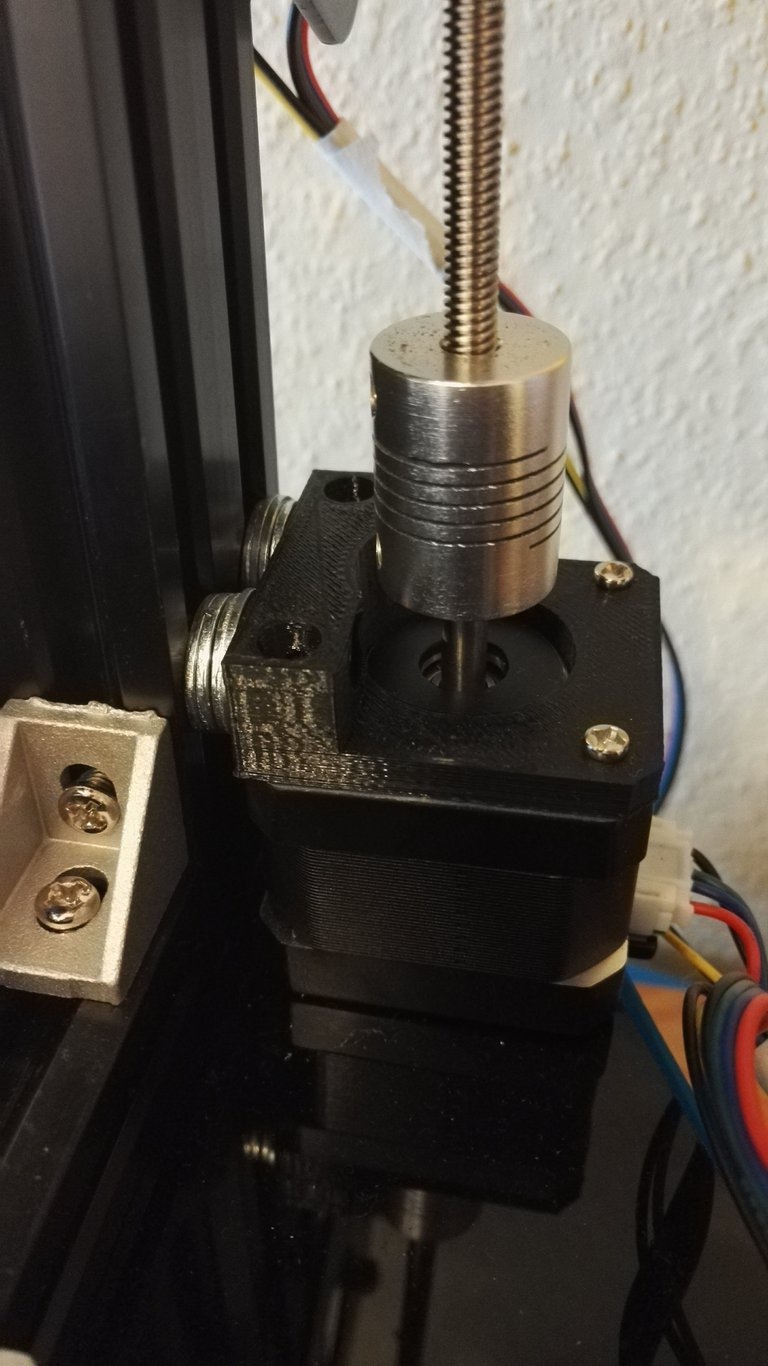
Z-Axis Assembly
So in a wise sense I also bought a fan with the Printer. And with this holder(https://www.thingiverse.com/thing:2330698) and this centered fan nozzle(https://www.thingiverse.com/thing:1620630) the prints where much more cleaner. The next thing for me was to find a good Slicer profile and tweak it. I used this Simplify 3D profile(https://www.thingiverse.com/thing:2703163) and changed the following parameters:
| First Layer Hight: | 100% |
| First Layer Width: | 100% |
| Starting Script: |
G28 ; home all axes |
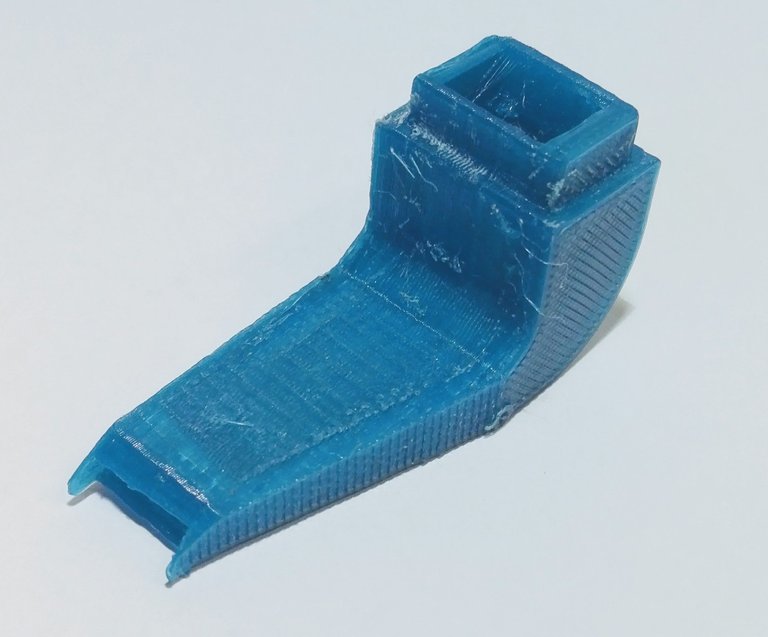
First approach for a part cooling fan
With this settings and a leveled bed, I hade some good prints.
<======== Mods ========>
To further enhance the printing quality I printed a belt tensioner (https://www.thingiverse.com/thing:2502801) for the X and Y axis. These allow me to easily change the tension of the belts. An other quality of life mod was a new case. Mine original external case had a broken food and took a little too much space in my opinion. With these mod (https://www.thingiverse.com/thing:2354771) all components are together and take only a little space. The Problem now is the SD-Card slot. With the new case the slot sits a bit too deep. But with a cheap micro SD extension, this is no problem anymore. I used some like this (https://www.amazon.com/LANMU-Extension-Flexible-Monoprice-Raspberry/dp/B01D9JIUU0/ref=sr_1_3?ie=UTF8&qid=1520167261&sr=8-3&keywords=sd+card+extension)
To complete my little printing tower I designed a spool holder on top of the printer (https://www.thingiverse.com/thing:2798060). It consists of 3 parts and is hold together by 2 wooden rods.
The printer comes with an acrylic plate as the printing surface. I got the first print to stick on the bed without any supplements but after that, noting stuck anymore. Maybe it is a problem with the level or it needed to be more cleaner.But I got a better result with some painters tape and after I changed the plate to a glass plate with painters tape I hade no issues anymore.
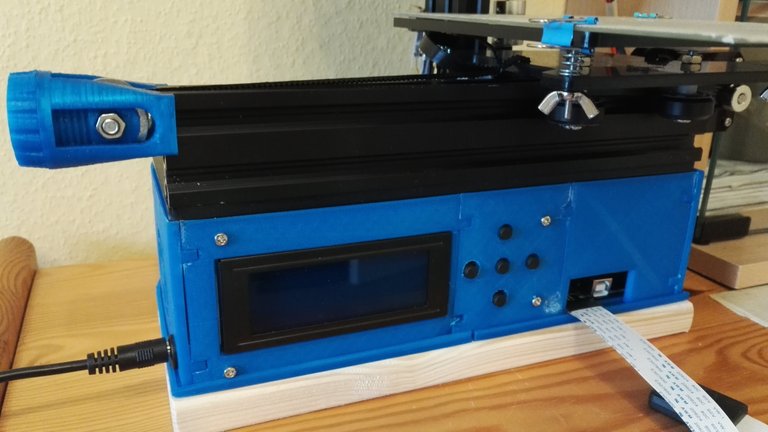
New Case
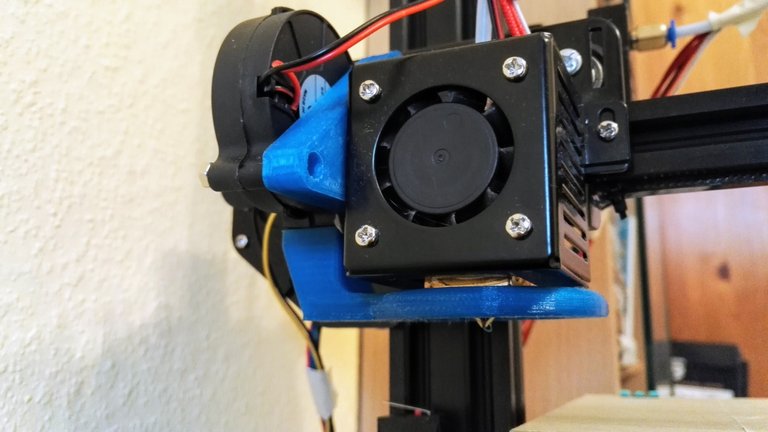
New Part Cooling Fan
<======== Final thoughts ========>
I think this printer is a very cheap entry in the world of 3D printing and worth buying for all people who have an affinity for technical things. And even if you don't need to print things, This is also a good project to learn a lot about 3D printing. This Printer with some modifications it is small enough to put it on a shelf and to look technical. It is fun to design part by myself and printing them or look through all the available things other people made. 3D Printing i cheaper than ever and fun for old and young.
This or other 3D printer can also be an entry to other hobbies like Table Top Games or Drone Racing. The possibilities are endless.
<======== Some more Prints ========>
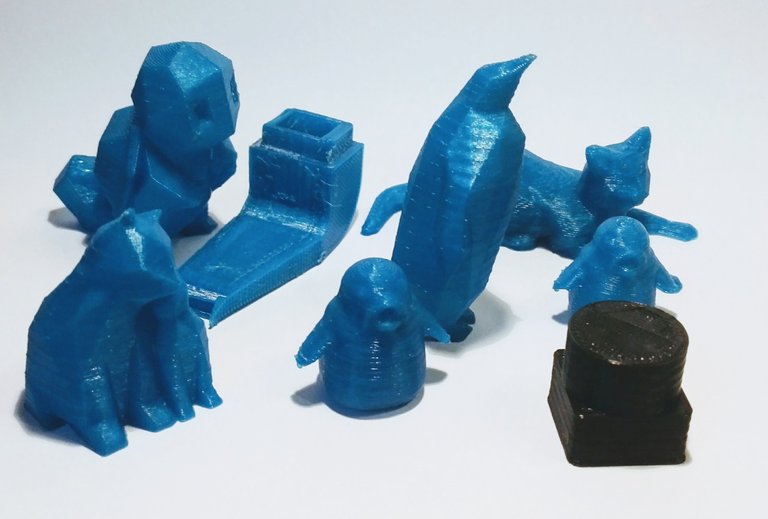
Some Prints
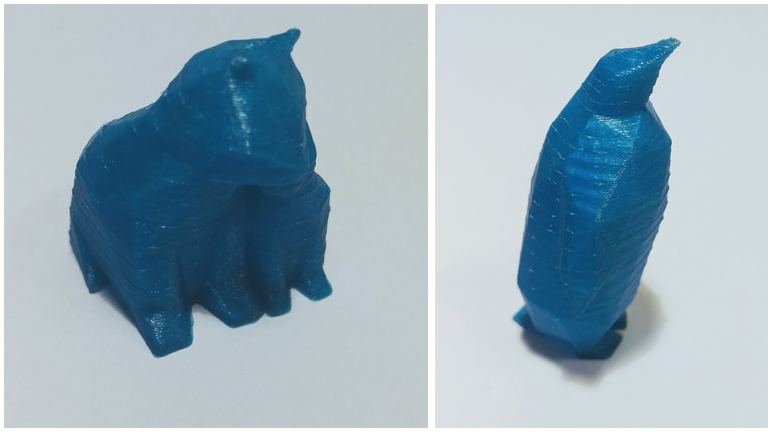
Hollow Cats an Penguin
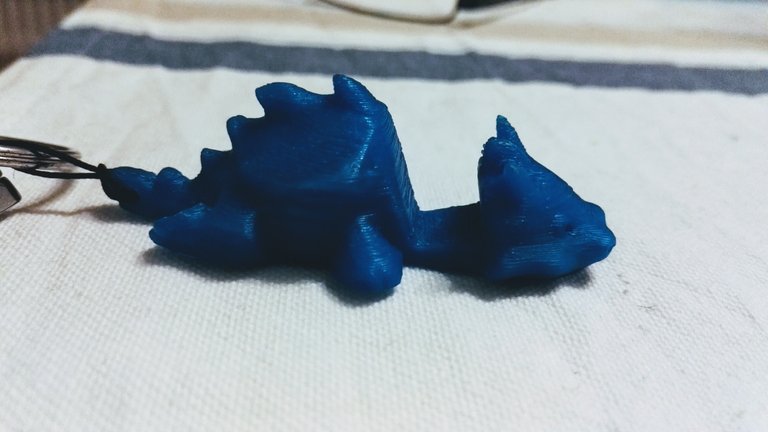
Keychain / Smartphone Stand Dragon
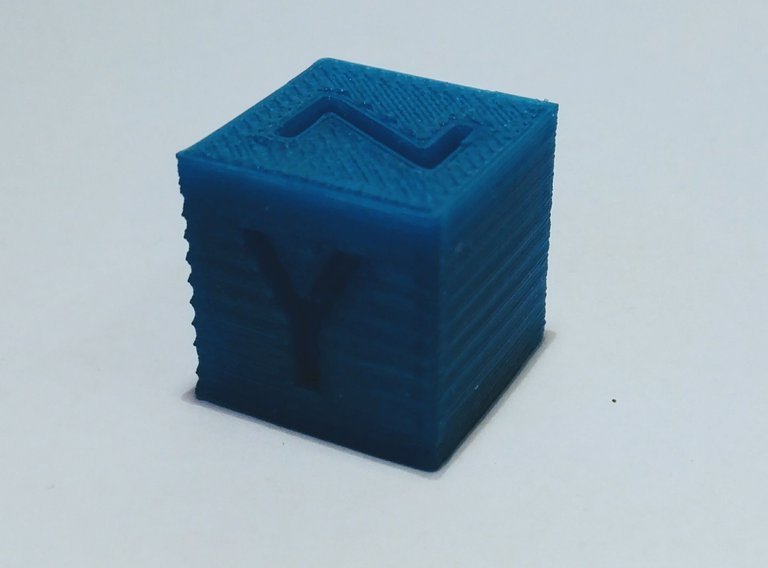
Calibration Cube with some Wobble
Thank you for reading.
Hope this helps,
Daniel