I am studying digital art using the Sketchbook app. This is a simple application for drawing. Sketchbook provides several tools, such as pencil, paintbrush, and chisel tip pen. It's all enough to draw anything in color or black and white. But, I prefer black-and-white sketche. Even if I need color, I prefer gray.
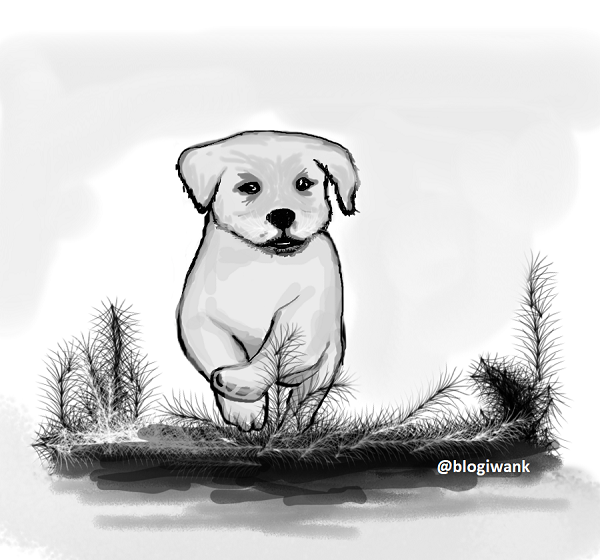
Picture 4. Final Sketch
This time I will describe my creative process. The idea is I want to draw a dog walking on the grass.
First of all I make a soft line sketch to outline the position and motion of the dog. This pattern must be quite smooth but also still easy to see when lines or colors overwrite them.
Sketchbook is not an image editing application like layer-based Adobe Photoshop. Sketchbook doesn't have layers. In other words, the lines and colors given after that will overwrite the previous lines and colors. If you delete the line, all the lines and colors below them will also be erased. This made me have to carefully draw the line and imagine what lines and colors would later overwrite them. (See Picture 1.)
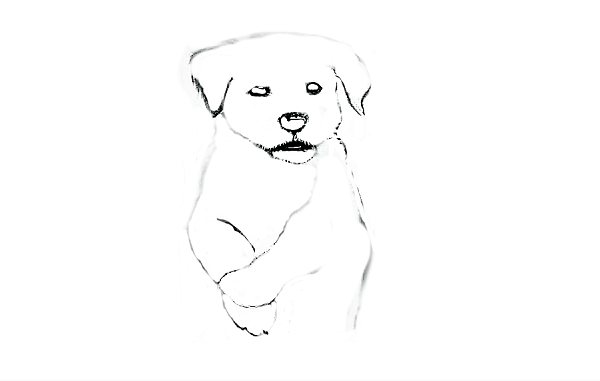
Picture 1. Sketch with soft pencil
Next I focused on the dog's head. This is a complicated part because it deals with object contours and expressions. This is the longest part I worked on. In my opinion, the hardest part of the dog's face is its eyes and muzzle. The dog's muzzle is unique because it unites his nose and mouth. Everything must be drew proportionally to produce a natural dog face. (See Picture 2.)
Body and legs I make later. This must be done simultaneously because the body and the feet unit following the body's position. I keep the initial sketch. This helps me drawing a more tangible lines of objects. Actually I often replace the initial sketch pattern so that the final result can be much larger or the position deviates from the original plan. But not now. (See Picture 3.)
Finally, I add lines that form grass as the foreground of the object. I put together some lines, thin and thick, and color, black and gray, to produce the effects of grass and soil. Then add the background. (See picture 4)
This is how this creative process works. Hopefully it is useful for you.
Regards.
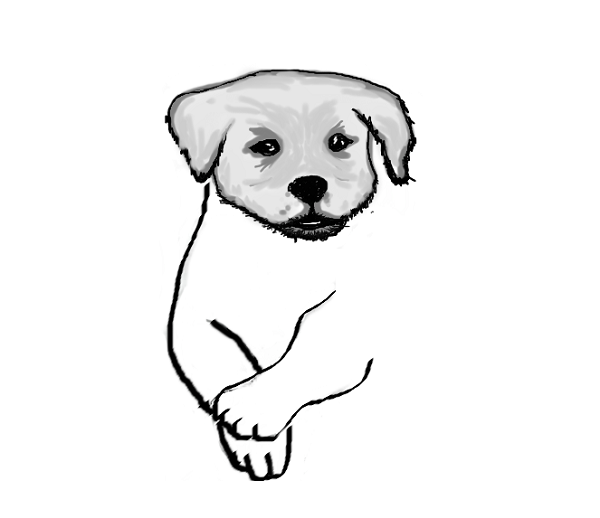
Picture 2. Focus on head

Sketsa Anjing yang Melangkah, Catatan Proses Penciptaan
Saya sedang belajar digital art dengan menggunakan Sketchbook app. Ini aplikasi sederhana untuk menggambar. Sketchbook menyediakan beberapa tools, seperti pencil, paintbrush, dan chisel tip pen. Itu semua cukup untuk menggambar apa saja dengan warna atau hitam-putih.
Tapi, saya lebih suka sketsa hitam-putih. Kalaupun perlu warna, saya lebih memilih abu-abu.
Kali ini saya akan menggambarkan proses kreatif saya. Idenya adalah saya ingin menggambar seekor anjing yang sedang melangkah di rerumputan.
Pertama-tama saya membuat sketsa halus untuk menggambarkan posisi dan gerak anjing. Pola ini harus cukup halus tapi juga masih mudah terlihat ketika nanti ditimpa warna atau lain. Sketchbook bukan aplikasi penyunting gambar seperti Adobe Photoshop yang berbasis layer.
Sketchbook tak punya layer. Dengan kata lain, garis dan warna yang diberikan sesudahnya akan menimpa garis dan warna sebelumnya. Kalau kau hapus garis itu, maka seluruh garis dan warna di bawahnya juga akan terhapus. Ini membuat saya harus hati-hati menarik garis dan membayangkan garis dan warna apa nanti yang akan menimpanya. (Lihat Picture 1.)
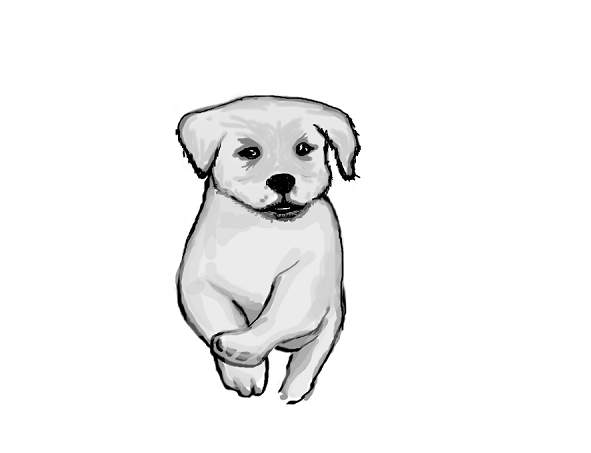
Picture 3. Finalizing body
Selanjutnya saya berfokus pada kepala anjing. Ini bagian yang rumit karena berkaitan dengan kontur dan ekspresi objek. Ini bagian paling lama yang saya garap. Menurut saya, bagian tersulit dari muka anjing adalah mata dan moncongnya. Moncong anjing itu unik karena menyatukan hidung dan mulutnya. Semuanya harus digambarkan secara proporsional untuk menghasilkan wajah anjing yang natural.(Lihat Picture 2.)
Badan dan kaki saya bikin kemudian. Ini harus dilakukan bersamaan karena badan kaki menjadi satu kesatuan mengikuti posisi tubuh objek. Sketsa awal saya pertahankan. Ini membantu saya menarik garis yang lebih nyata terhadap objek. Meskipuna ketika menggambar saya sering menabrak pola sketsa awal sehingga hasil akhir bisa jauh lebih besar atau posisinya menyimpang dari rencana semula.(lihat Picture 3.)
Terakhir, saya menambahkan garis-garis yang membentuk rerumputan sebagai latar depan objek. Saya menggambungkan beberapa tarikan garis, tipis dan tebal, dan warna, hitam dan abu-abu, untuk menghasilkan efek rumput dan tanah. Lalu menambahkan latar belakang. (Lihat Picture 4.)
Demikianlah proses kreatif ini berjalan. Semoga bermanfaat bagi anda.
Salam.

Picture 4. Final Sketch
#blogiwankwriting #blogiwankphoto #ksijakarta #jakarta #indonesia #steemitbudaya #steem #steemit #budaya #life #culture #writing #story #literature #literary #book #eskimo #inuit #alaska #polar
Recent Posts
- Eskimo Folktales #8a - The Strong Man and The Wizzard (Part 1) | Si Kuat dan Penyihir (Bagian 1)
- Eskimo Folktales #7 - The Boy Who Passed to the Land of Ghosts | Bocah yang Pergi ke Dunia Hantu
- Crismonita Winding Path | Indonesian Cyclist in Asian Games 2018
- Eskimo Folktales #6 - The Man Who Ate His Wives | Lelaki yang Memakan Istrinya
 | I hope you like my work. Please upvote and resteem this post and follow @blogiwank if you support me. |  |