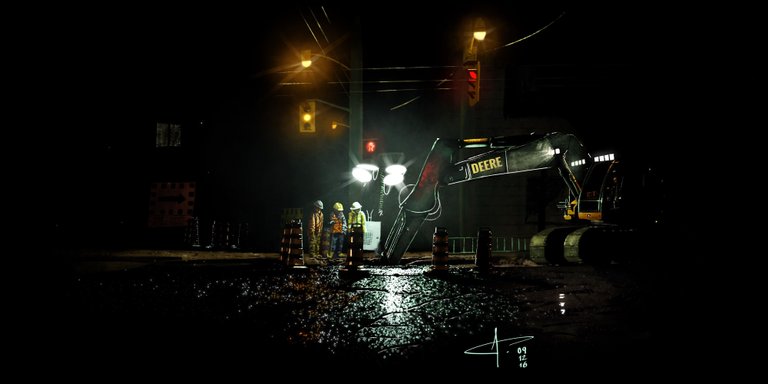
I present this illustration of a wet night in any city where some workers observe the movements of an excavator.
I would like to share with you some tricks that I used for composition and light effects.
The approach is basic
Before starting for me, the approach is fundamental. Specifically, I refer to the order of the layers that I will place in my project. What is the question I ask myself? I wonder what is the order of all the elements with respect to the Z axis. In this example, the depth of this particular scene is:
- The Darkness of the night.
- A background window, elements of work and the floor.
- The posts of the streetlights, traffic lights and power lines.
- The lights close to the workers.
- The workers.
- The excavator.
- The cones.
It may be that each of these parts that is named is not just a layer, it may be a group of layers. For example, the group of layers of the lights of the traffic lights and lampposts has a layer on them that is responsible for creating the transparent halo of each light.
Another trick that I usually use to create the most realistic electrical line is to draw the lines of the wires of the same color as the background, in this case black. Then lock the layer so that the lines do not come out and with a color of the tone of the lights I draw the brightness that is seen in this capture. If you do it this way you will see that you have absolute control over the texture of the cable and its diffuse color changes.
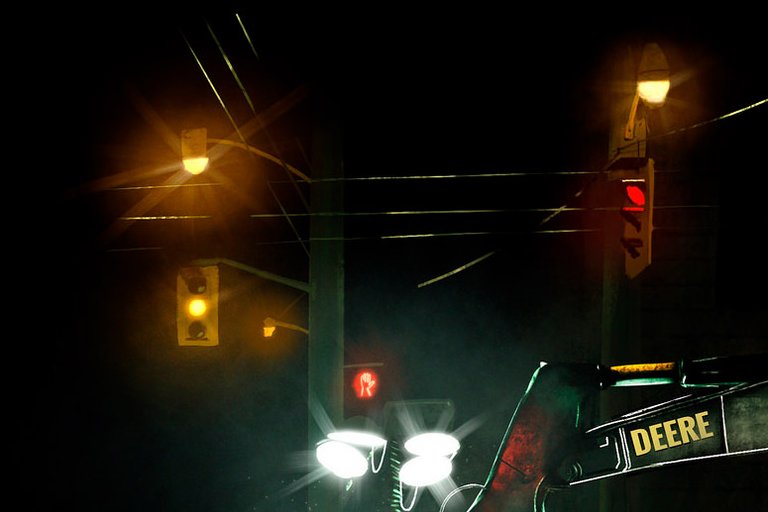
Preliminary sketches
When I start to draw I like to create the silhouettes of my objects in each group. Once created, I can play with them and reposition or scale them, to create an attractive composition. This is important if you want to take into account the proportions of your canvas, in this case the proportions were clear and the drawing adapted to them. In this way you have a collage without movement restrictions.
Erasing is also drawn
As I said before, I like to make silhouettes first and without much detail. I know that after I can outline my objects with the eraser, as each object is in order in the hierarchy of layers, what I erase from a silhouette will let me see what I have underneath. In the Speedart you can see that the characters start being black silhouettes, and then it looks like I define them progressively. The same with the excavator, cones ...
The Texture of Asphalt
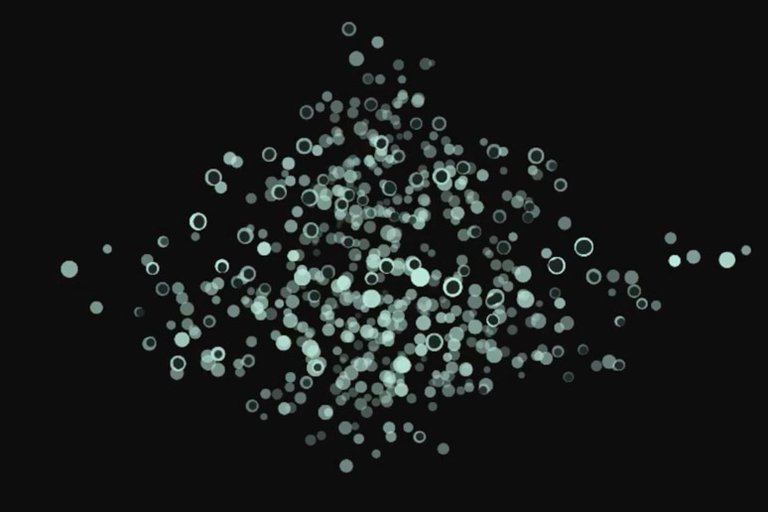
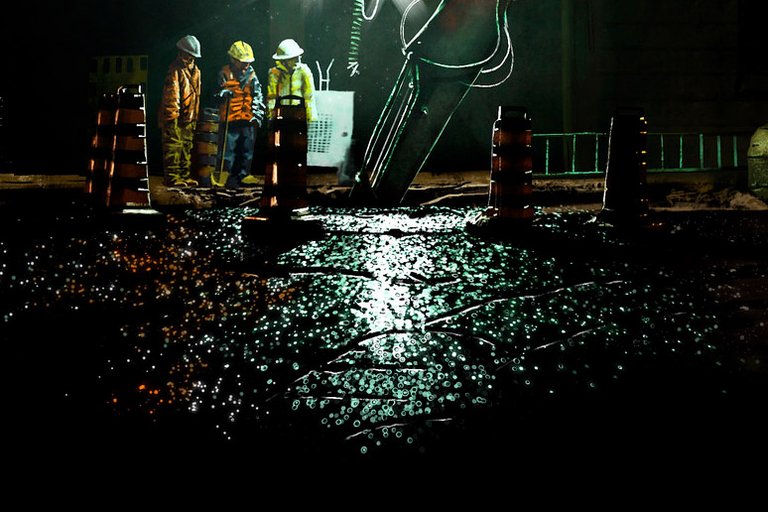
My great interest as an illustrator was to get above all the effect of wet asphalt. Recreate the broken reflection by its irregular texture.
As you can see in the SpeedArt video below, at minute 00:37 a series of rings of different colors appear for a few seconds. These rings appear in front and at this size because then, using the perspective tool, I can place it in the scene forming the bases of the asphalted ground. Then with the eraser I draw the brittle lines.
More examples
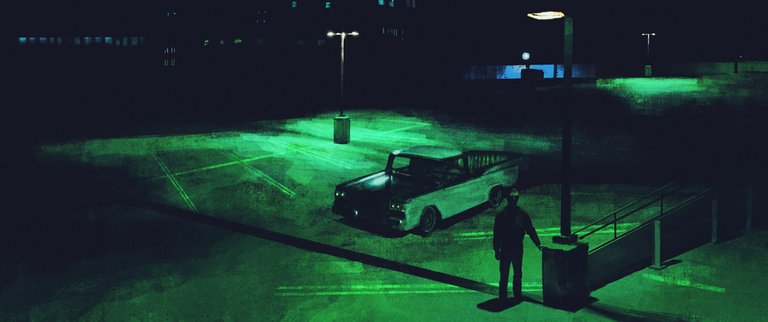
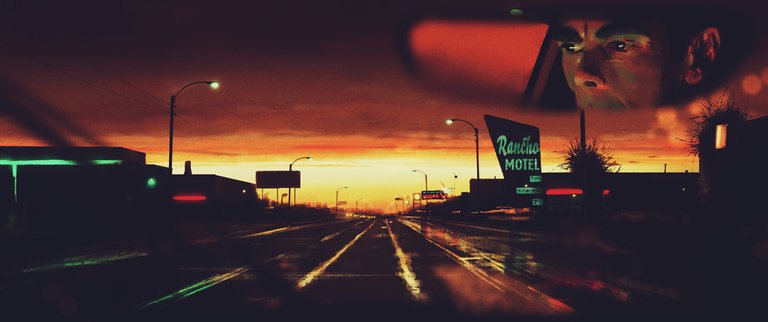
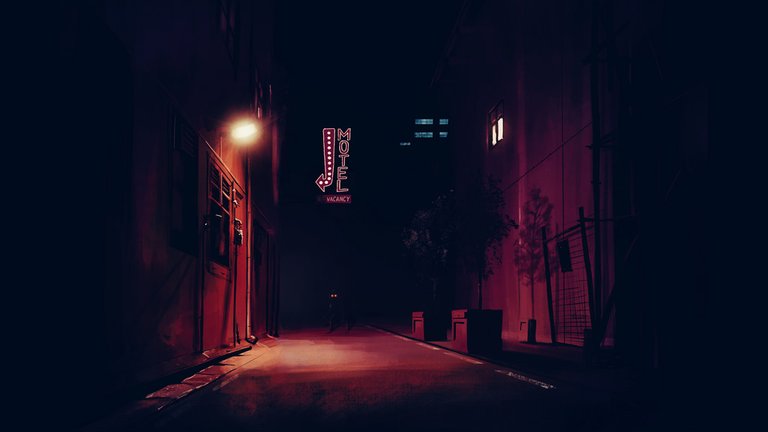
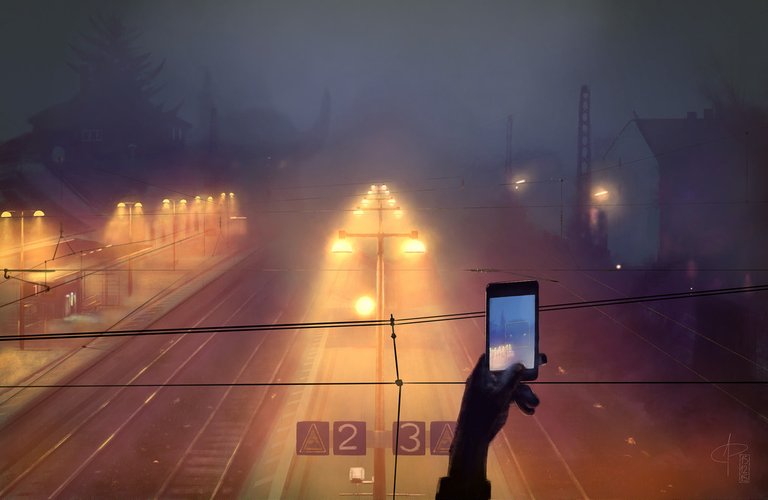
One of my artistic interests is the study of the nocturnal scenographies, along these last three years and I have been creating several illustrations for this purpose, I am delighted to share them with you and I hope you have been helpful. Do not hesitate to comment on anything either to debate a point or to ask me something if I do not know how to explain, I will be happy to discuss it with you.
Congratulations @capitanart! You have completed some achievement on Steemit and have been rewarded with new badge(s) :
Click on any badge to view your own Board of Honor on SteemitBoard.
For more information about SteemitBoard, click here
If you no longer want to receive notifications, reply to this comment with the word
STOP