Introduction
Dear friends today I want to show you as you can create a brush for app procreate with the help of another successful app in this 2018, is called iornament and is used to create great mosaics with the ability to export.
For this tutorial we will create the skin of a snake therefore first of all is to study the pattern of scales. Looking on the Internet I found this drawing showing graphically as is your geometry.
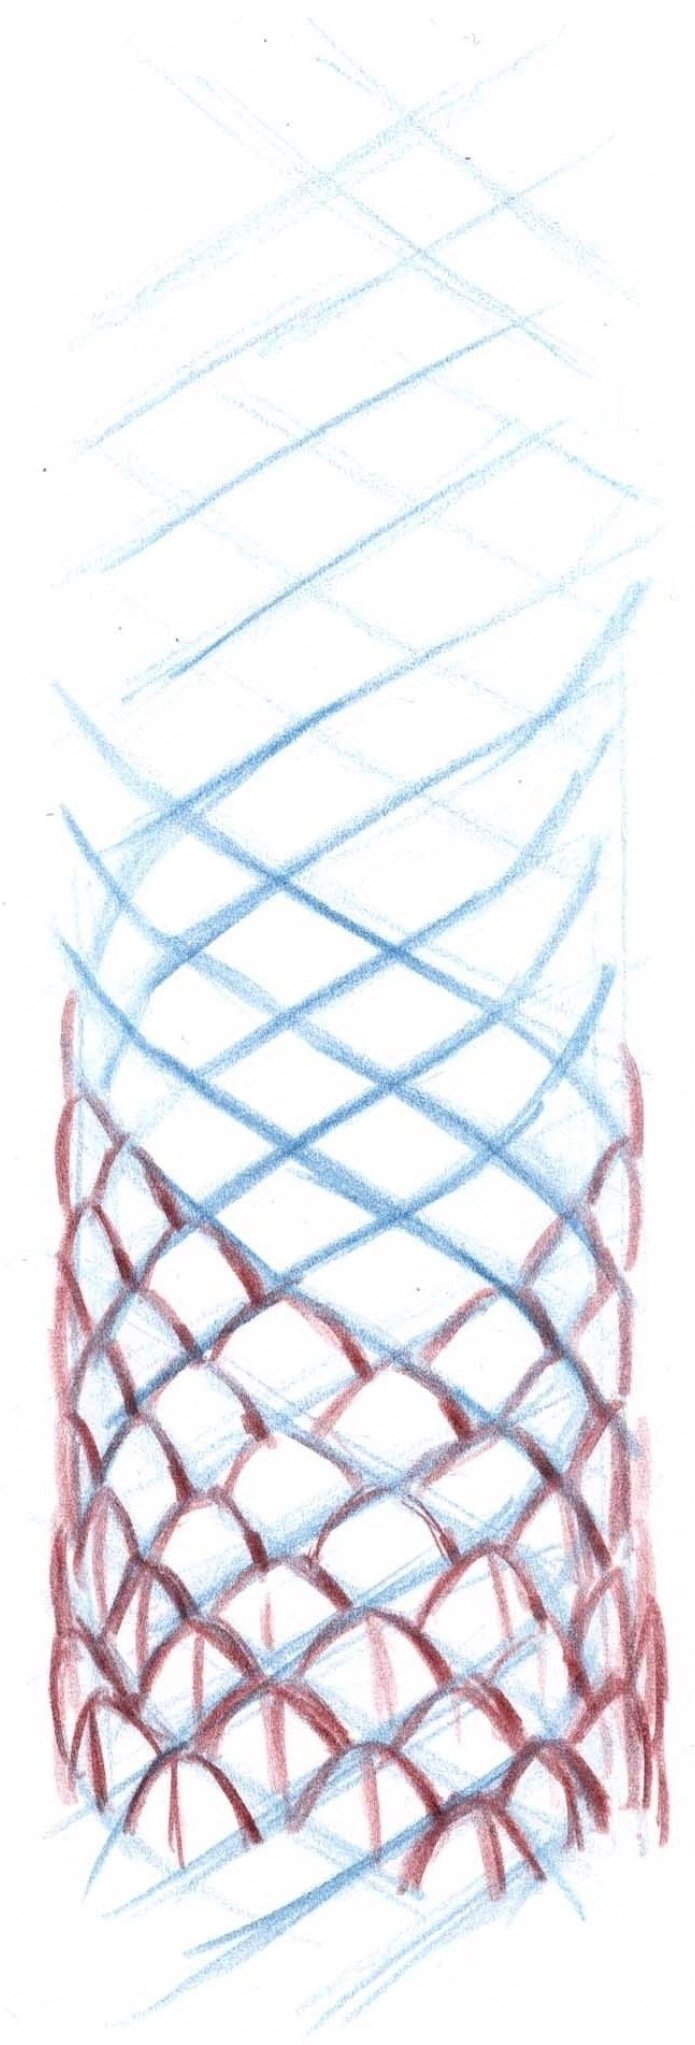
IOrnament
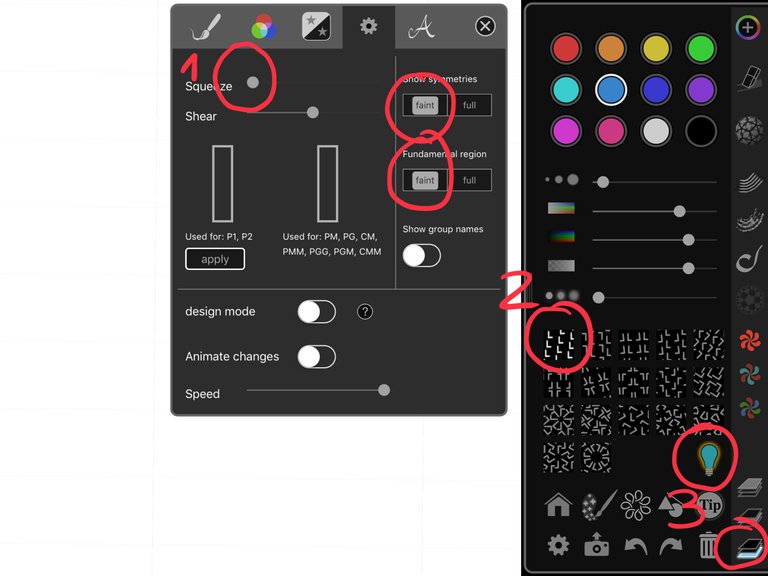
well started with iornaments, we will set the canvas. pulse on the button configuration and will open this window. We have to have four things note:
- the configuration window carry the value squeeze to a value as that of the image to get a rectangle vertical for our mosaic. Active faint in show symetries and critical region.
- choose the first table geometry (wallpaper group)
- make sure you have selected the tools extras with the button in the form of light bulb
- start using the latest layer that will serve US to make the outline.
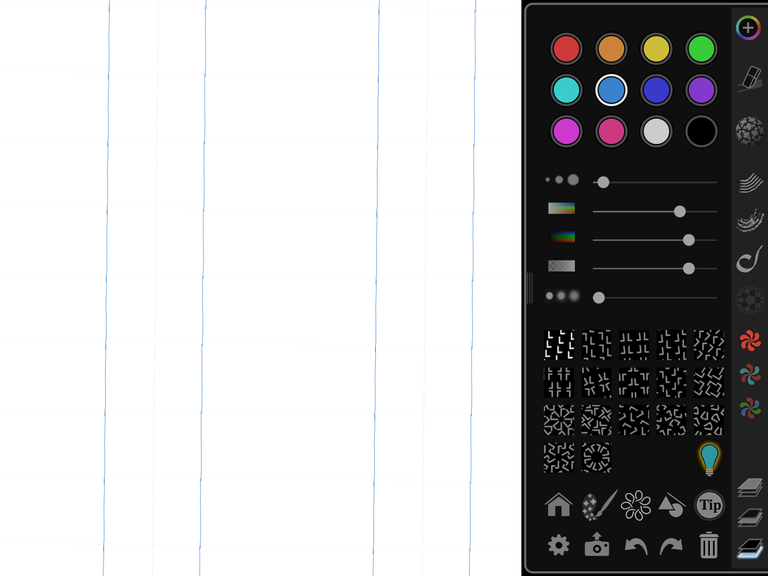
Tour the canvas for our rectangle this horizontally.
With a Blue and thickness very fine draw two lines we will be used to define the width of the snake. seeks to not get to the end of the rectangle.
Then draw the front left to right to form the geometry of flakes a band to the other (I am going to do in pink for you see the movement).
The following line will be the same but right to left.
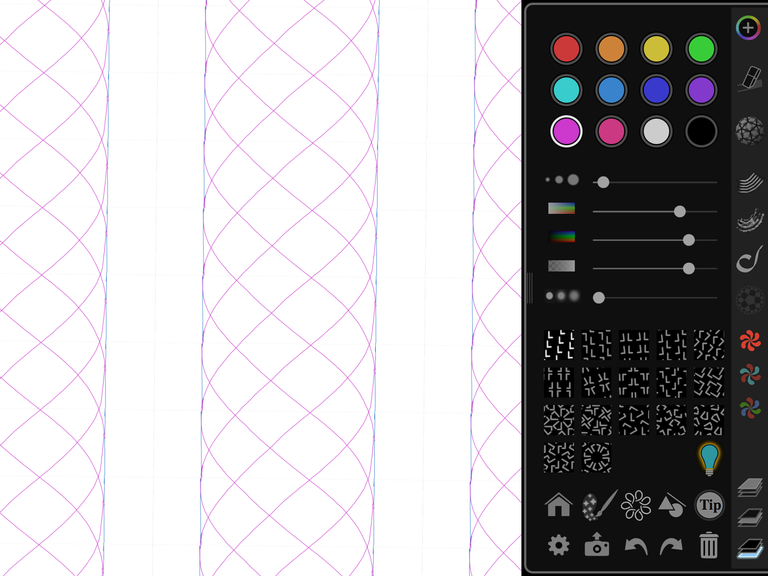
Repeat the last step, should stay something.
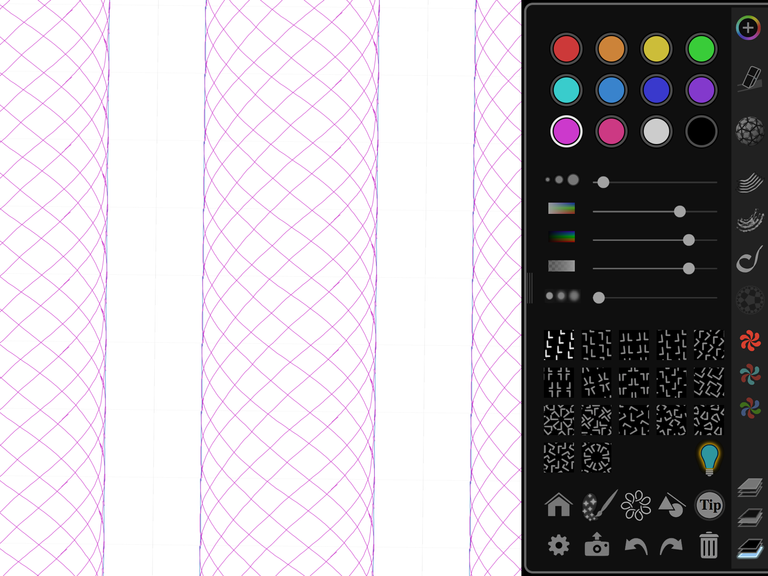
And we have the template that will serve us to draw flakes !! changes of layer and black to begin to draw.
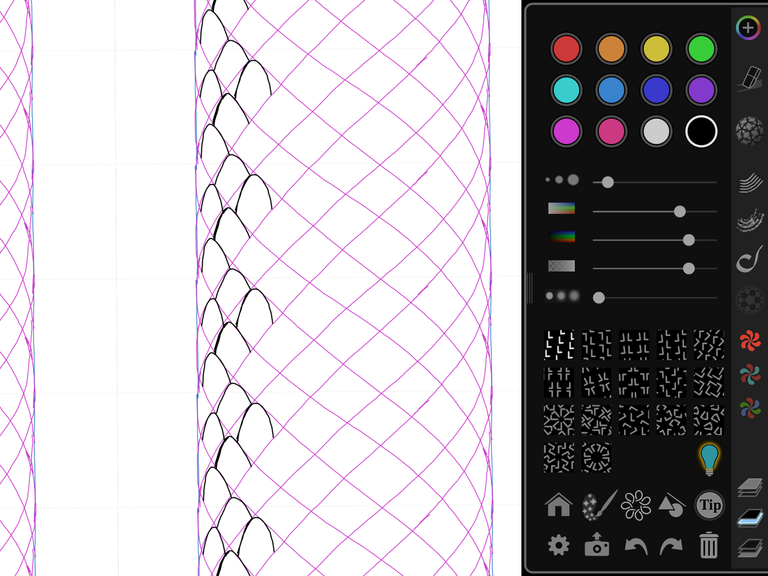
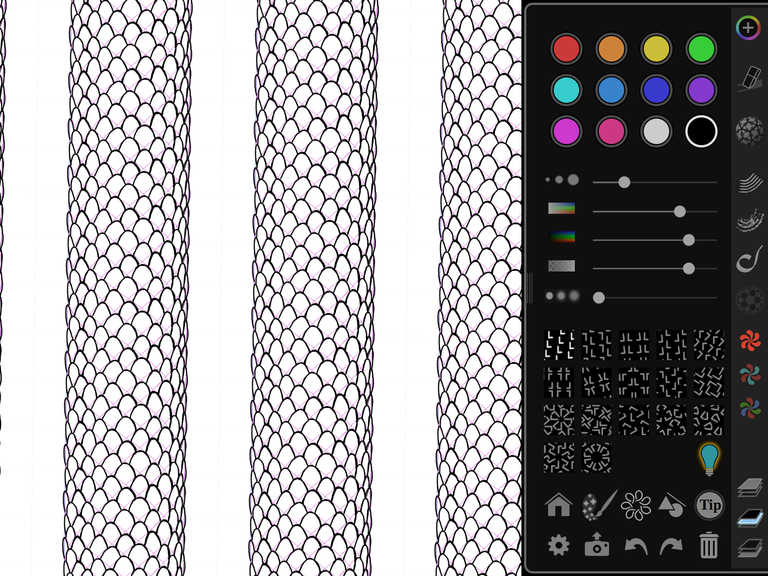
From now we can return to the bottom layer and delete template to stay only scales.
Exported to procreate
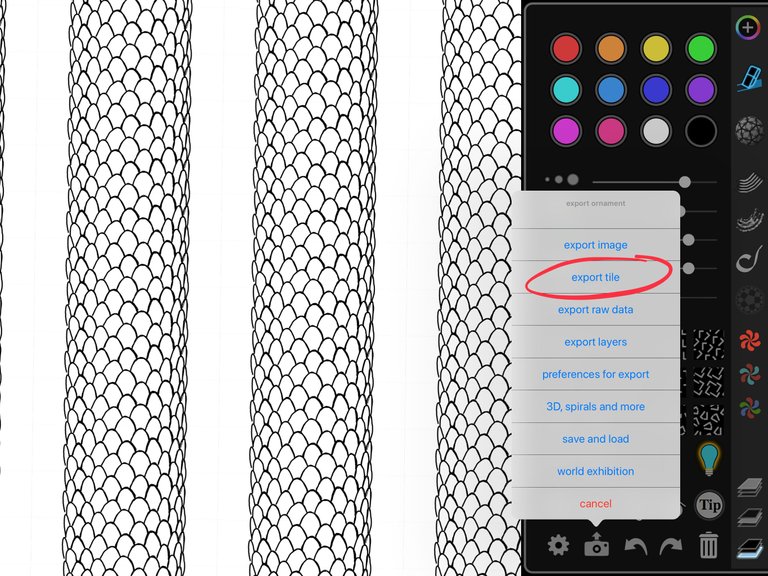
As you can see needless to draw all scales, to be a mosaic what draw in a place is repeated above or below. When we have finished we have a snake infinite !! now plays export to Procreate. This is what we can do if pulse on the camera there in the palette tools and choose export tile / save image.
We're now procreate and we create a canvas square, default to install the app one of the templates is square of 2048x2048 pixels, this will be enough. Now within the canvas we choose action / image / import Photo / and select the recorded image above. This canvas will be our brush.
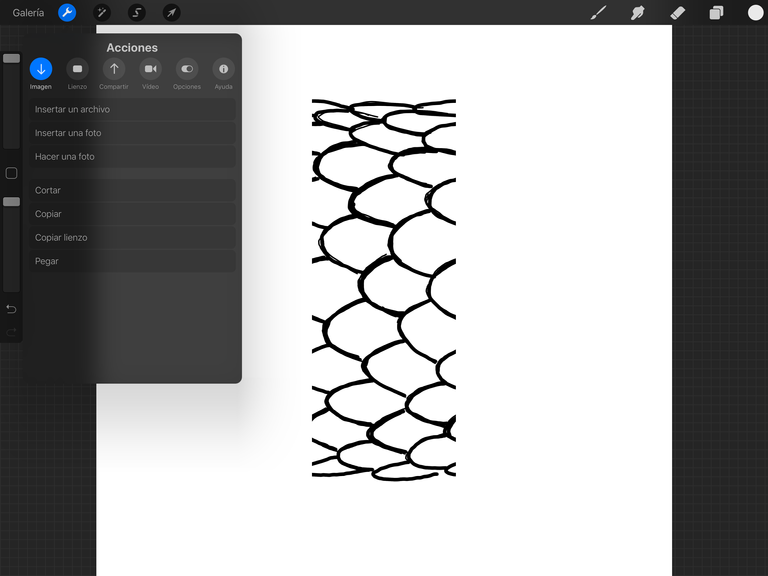
With a gesture of three fingers down copy around the canvas, if you don't out this gesture, you'll be able to find the same option to copy to actions / image / copy canvas.
It's time to go to the tool brushes and Press on the symbol +
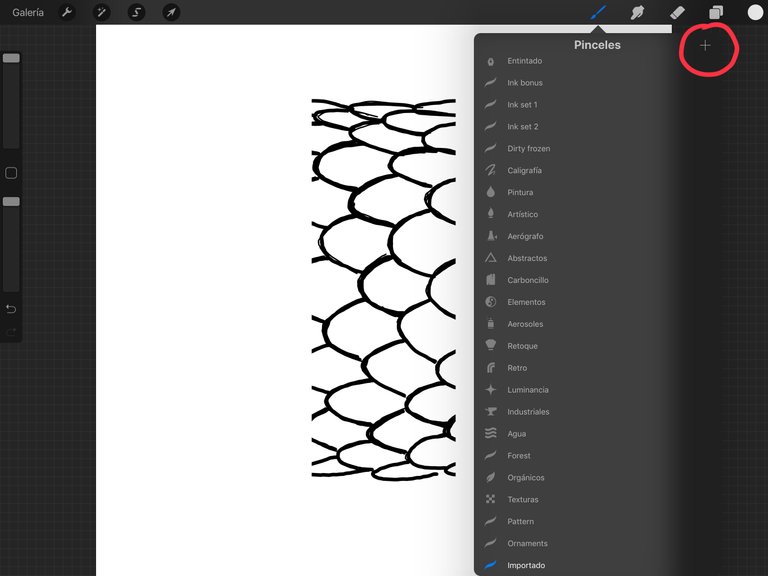
We appears a brush new by edit, paste in the square so what we have copied to clipboard.
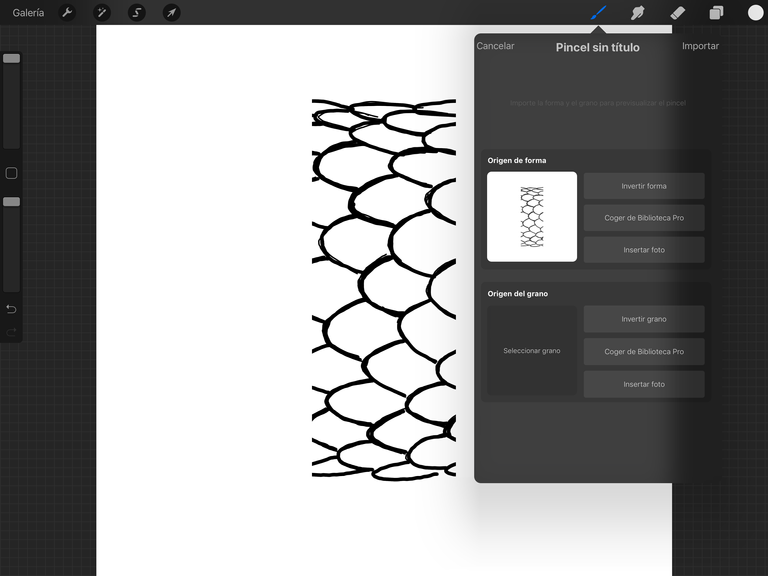
And in table grain choose for the library of procreate a box fully White. Before follow re-family home and invests square shape by pressing with two fingers.
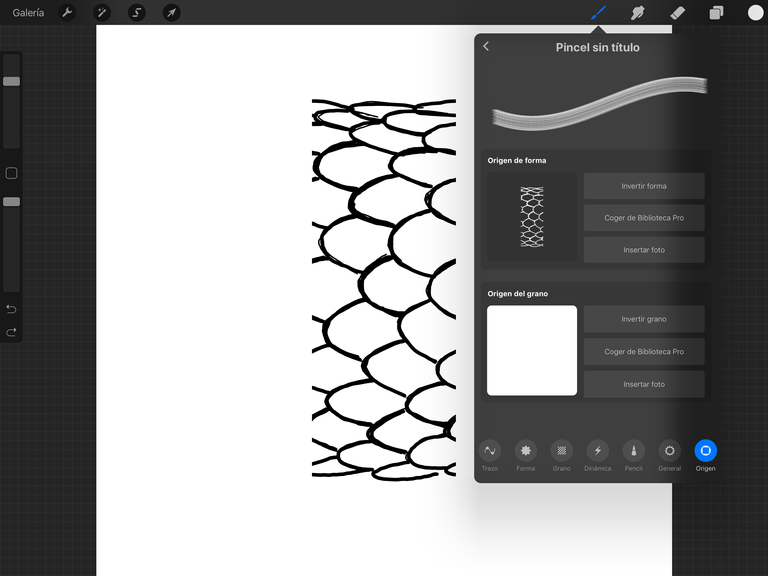
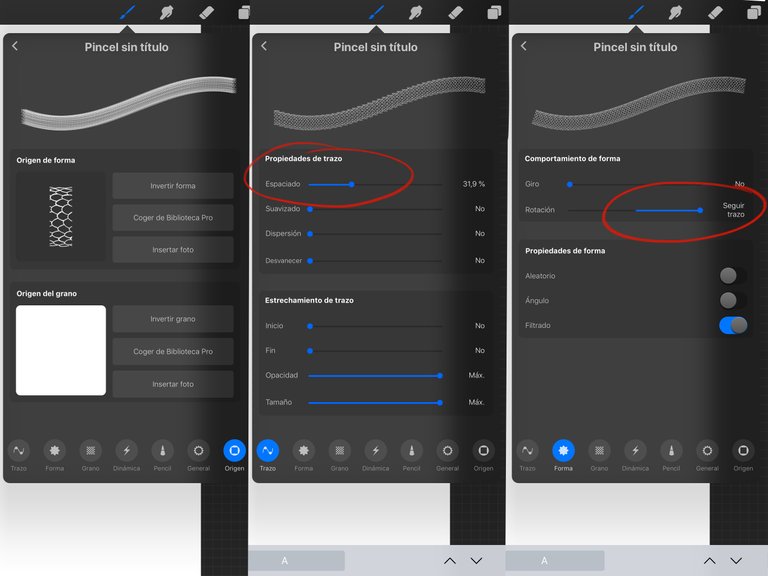
As you see Procreate managed very well with gestures, once you get used is very useful and intuitive. Right now our brush not fits well, we have to do some settings. We split:
- strokes looking for a spacing maintain a distance suitable for each court brush.
- form we do that the rotation is mode follow stroke.
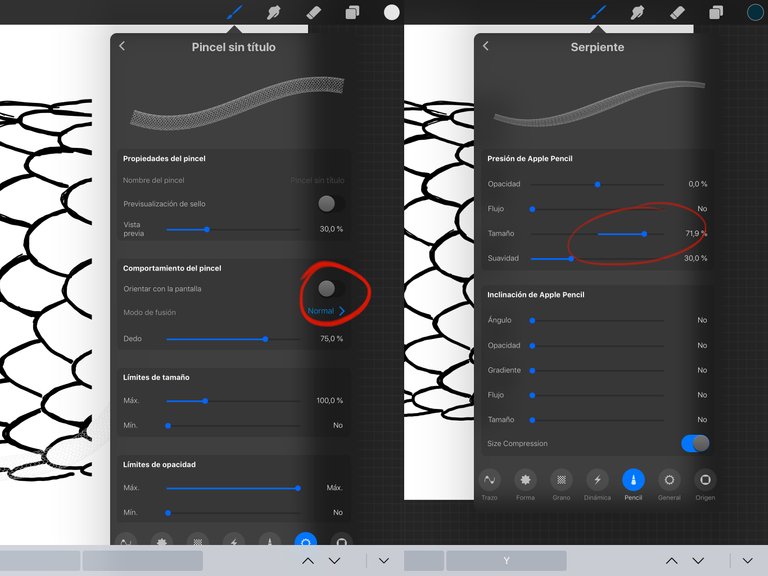
- general disable the option of target with the screen.
- pencil we value high the size in the field of pressure Apple pencil.
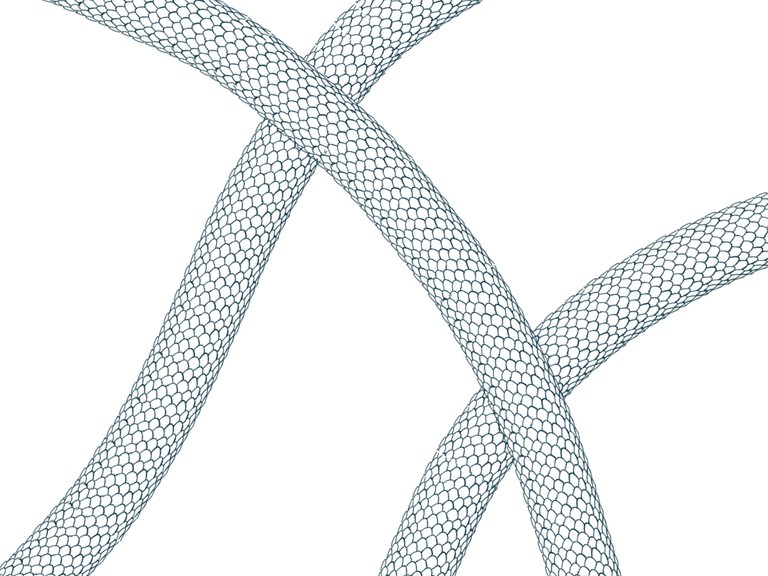
And is now, as we have our brush simulates a body of snake !!!
Thank you for voting I will continue to rise tutorials !!
A promise is a promise @kevinwong
Oh I'm so gonna try get my hands on an iPad now.. thanks @capitanart, it's a good entry point to get back into what I've been (or any iPad users) missing out!
You're welcome, I'll keep uploading tutorials like this one. To draw!