~ My Sweet Sophia ~
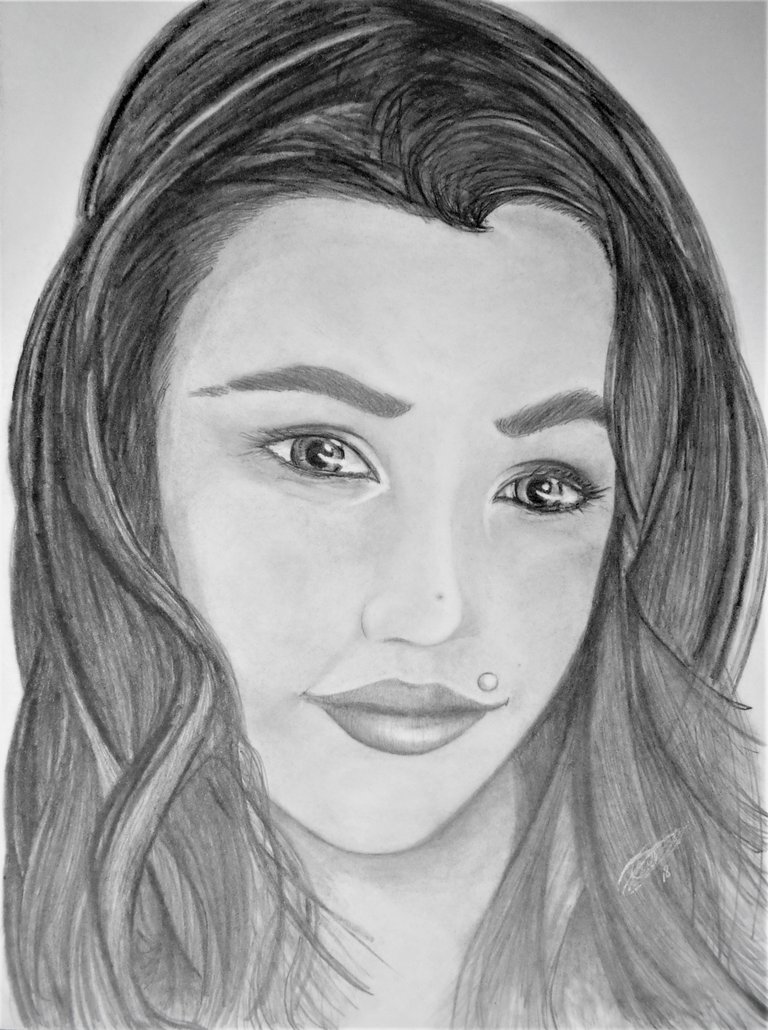
I finally completed this portrait of my lovely lady! It's not perfect, but I am more than happy to call this my creation! If you read my last post then you understand this has been an uphill battle and quite the labor of love! But, If this was a Death by a thousand cuts, then it looks like we killed this one!
~ Get Up To Speed ~
You can see the source photograph for this portrait and some other images of the process in my first two portrait posts from the following links below.
- Masterpiece In The Making! ~ Art Imitating Life ~
- Art Imitating Life ~ Lingchi ~ Death by a thousand cuts!
Deciding which images to use here to show the progression will be almost as challenging as doing the art itself. I suppose we will begin with the tools I used for this portrait.
~ Tools of the Trade ~
Here, I used a standard number 2 pencil made in the good 'ol USA. I also used 2 (only one present for picture day!) Derwent graphite drawing pencils made in England of 4b and Hb values. I also used one of my German Staedtler mechanical drafting pencils towards the end once I got a little bold. The Pentel silver gel pen was just for the signature on the hair in the bottom right.
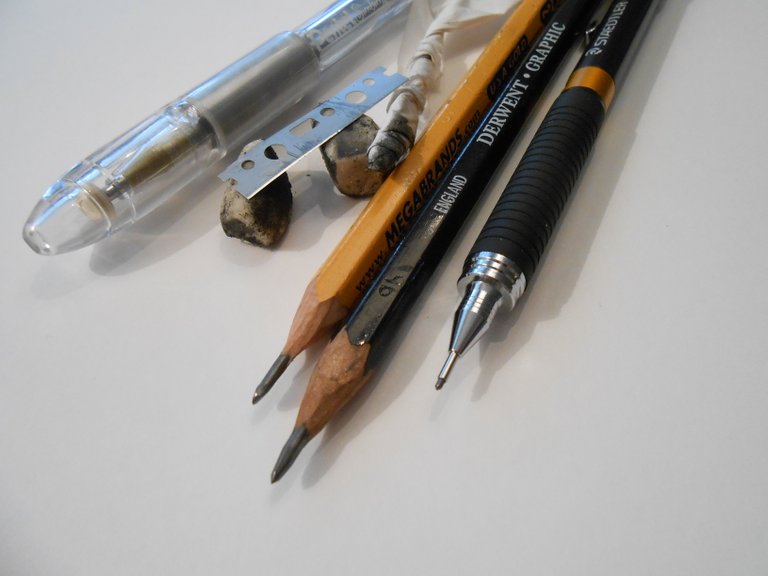
If you look close enough... you will notice that I have hand sharpened the pencils to expose more of the pencil cores. This not only extends the pencil tip, but also gives a chisel tip... should you want one! I have come to find this very advantageous for certain techniques. So, this is why I also showed the MagicRub eraser bits as well as the razor blade. I also created my own make-shift tortillan for my blending needs as well.
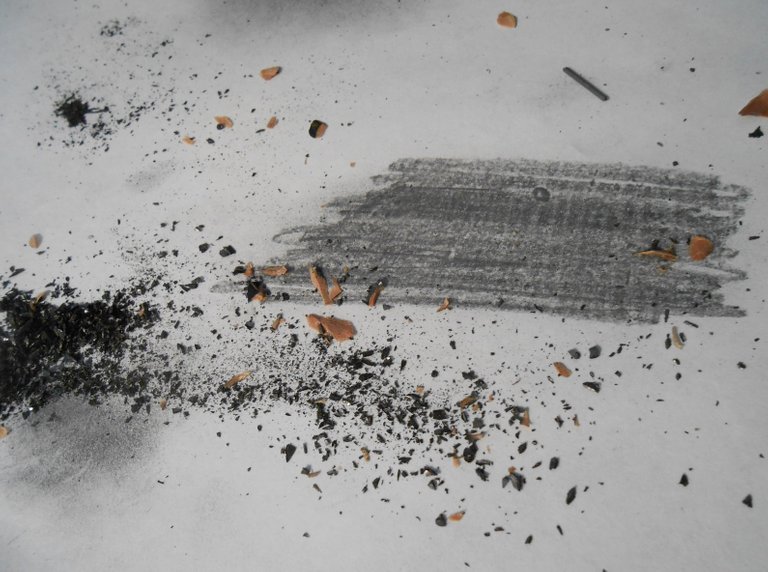
While I didn't employ this technique much in this artwork, you can use the pencil shavings to shade with if you want. A finger, tissue paper, cloth, or a blender can be dipped in the shavings and the dust can be used to spread the shade around! This is an especially handy trick to use with stencils. I will make a tutorial about this technique soon because I think y'all would find it fun.
~ Feature Forms & Contour Curves ~
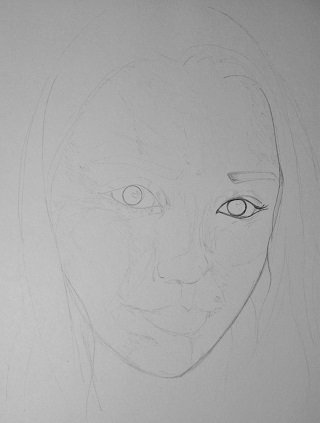
Let me start from the beginning. I got the simple form in a few strokes of the regular number 2 pencil. This gave me the lines I needed to move around for the shading. The pencil graphite spreads pretty well with the tortillan for my blending purposes. The shading gives the illusion of dimensionality and texture. I was taught that LINE should be used very sparingly if you are going for a realistic look to your art. Most things we see have contours and not just outlines. Playing on the light values gives the feel of shape, most of which is done with the blender and not the actual pencils.
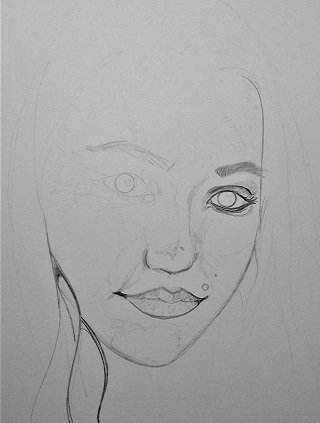
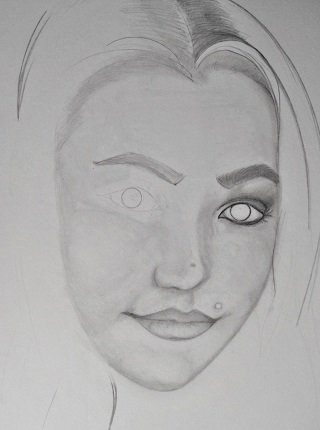
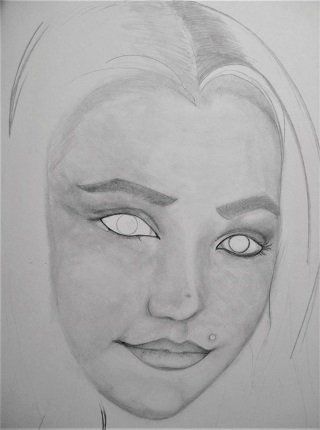
I always say that it isn't great tools that create great art, but great artists make great art regardless of their tools.
No fancy stuff going on here! Just a number 2 pencil and the piece of paper I used to make the blender. Sometimes, less is more! I wish I had taken that wisdom and applied it earlier on! For the paper's sake at least! hahhaha
~ Card Stock Paper ~
MY FIRST MISTAKEMy first major mistake was in the paper selection. I chose to use a thicker card stock paper because I thought it would hold up better. It had been so long since I had worked on a portrait that I forgot that less is more.
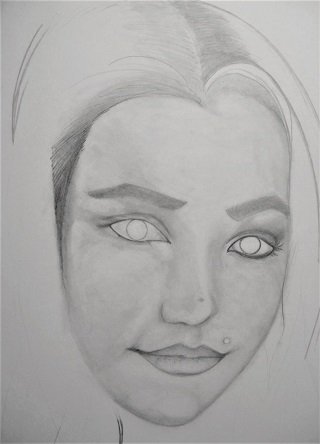
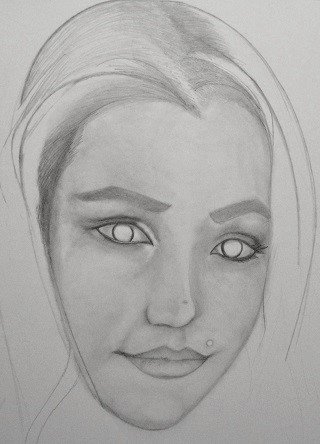
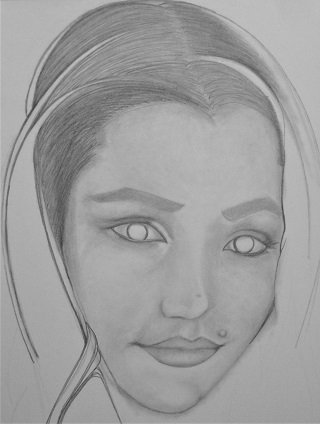
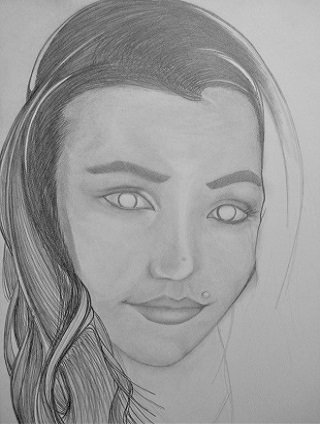
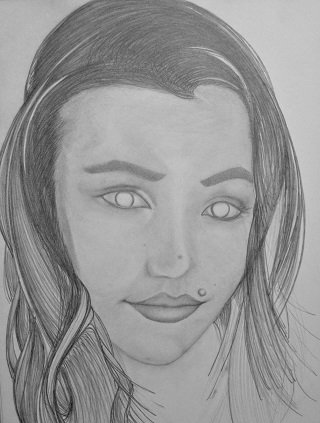
The paper became a cruel reminder of that fact. Since the paper has more thickness it becomes prone to becoming indented. Once an indention is in the paper it changes the way the blending and shading work over that spot. This is where having a heavy hand or getting too far ahead of yourself can really make you suffer the consequences. I got a little carried away with the hair.
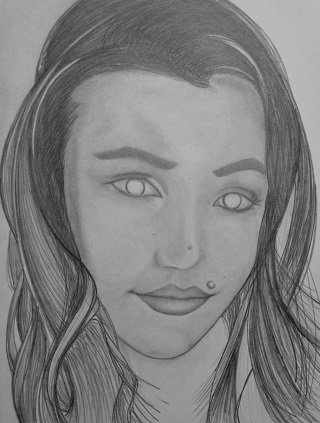
~ APPLE of the EYES ~
I took a very long pause in between starting and finishing this portrait. I started it over a year ago back in Texas before I ever met these eyes in person. Now, I am here in Sweden getting to look into these very eyes. Her eyes are one of the parts I was excited to get back to after all this time. I usually save my favorite portions of the design for last.

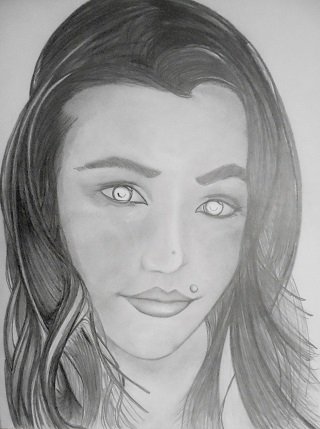

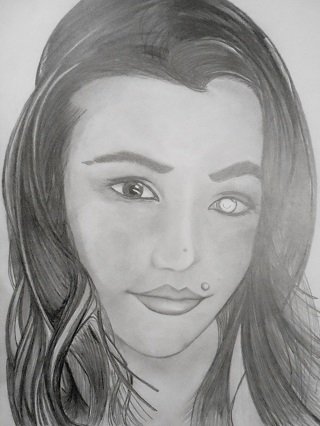


Of course, at the last second, I decided to switch the twinkle in the eye. You can look close and see the difference for yourself. I think that last little correction did the job. I didn't show you me erasing the eye multiple times and I skipped many of the back and forth steps to save you a little bandwidth reading my post here! You can see the finished eyes here below!

~ Hasty Hair & Last Minute Lips ~
I mentioned in my Lingchi post how it felt like I was taking 9 steps backward for every 1 step forward. I wanted to soften the hair a little and give some more depth and dimension to the layering. This is normally not a complicated thing to do... normally! I had not blended the hair initially and when I did, I over blended. This made the hair look flat in tone unless the light hit the paper just right... and you really don't want to depend on that for the illusion of texture. Then, of course, you don't have to basically start over either!
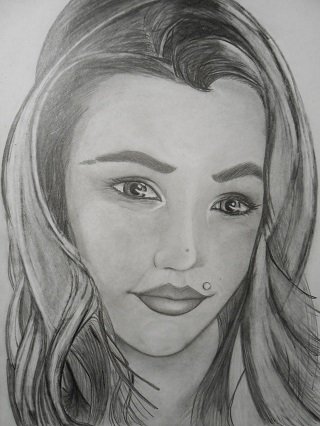
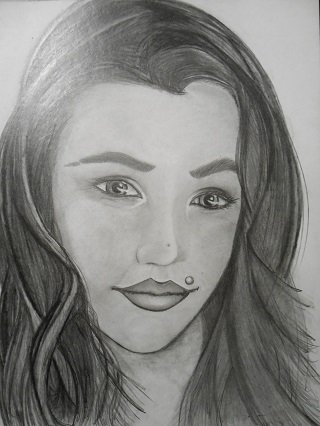
"Just when I thought I was out...THEY PULL ME BACK IN."
from Godfather 3
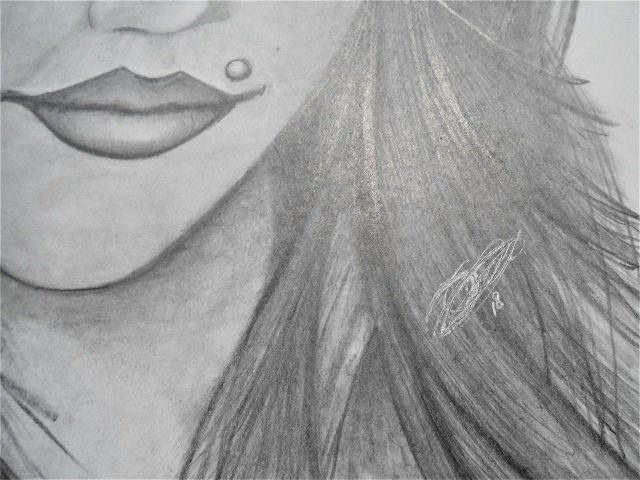
I even signed the thing...
(which I don't like to even do!)
.... but no no those lips gotta go!
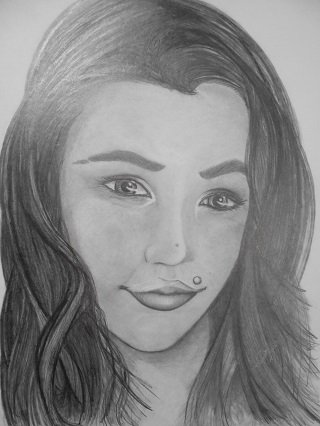
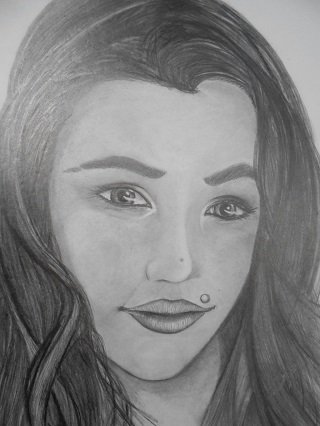
A Masterpiece is Never Finished!
"after he had lingered over it four years, [he] left it unfinished" - Giorgio Vasari, contemporary to Leonardo Da Vinci. Clark, Kenneth (March 1973). "Mona Lisa". The Burlington Magazine (vol 115 ed.)
I am no Leonardo Da Vinci but I can't help but to be reminded that he didn't paint the Mona Lisa in a year either! I lingered over this portrait for a year or so.... and it has plagued my mind. But I am thankful to announce that the image below is the last capture I have of the lips before the second final copy of the finished piece. I really could have worked on this forever... but I figured I should quit while I am still ahead for a change!
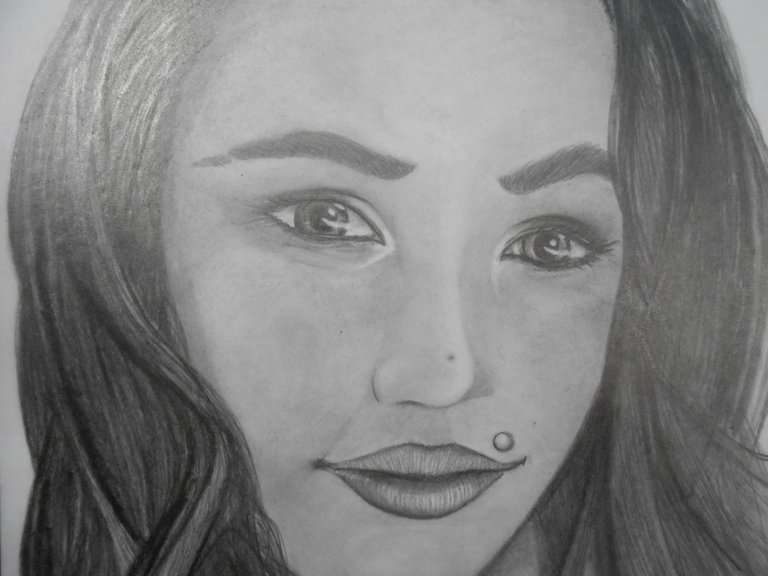
It is finished! The first image in this post was the brightened version and this final image is the truer to light photograph of the final work with no editing. I know that my dad would be proud to see how far I have come, not just in life and all the way to Sweden, but in my art. He was always my biggest fan! I think making this post was more difficult than making the actual artwork! I really think he would have been tickled to see this post if he were here! I know my lady is sure happy and my mother couldn't be more proud to see me carrying on the legacy he left me.
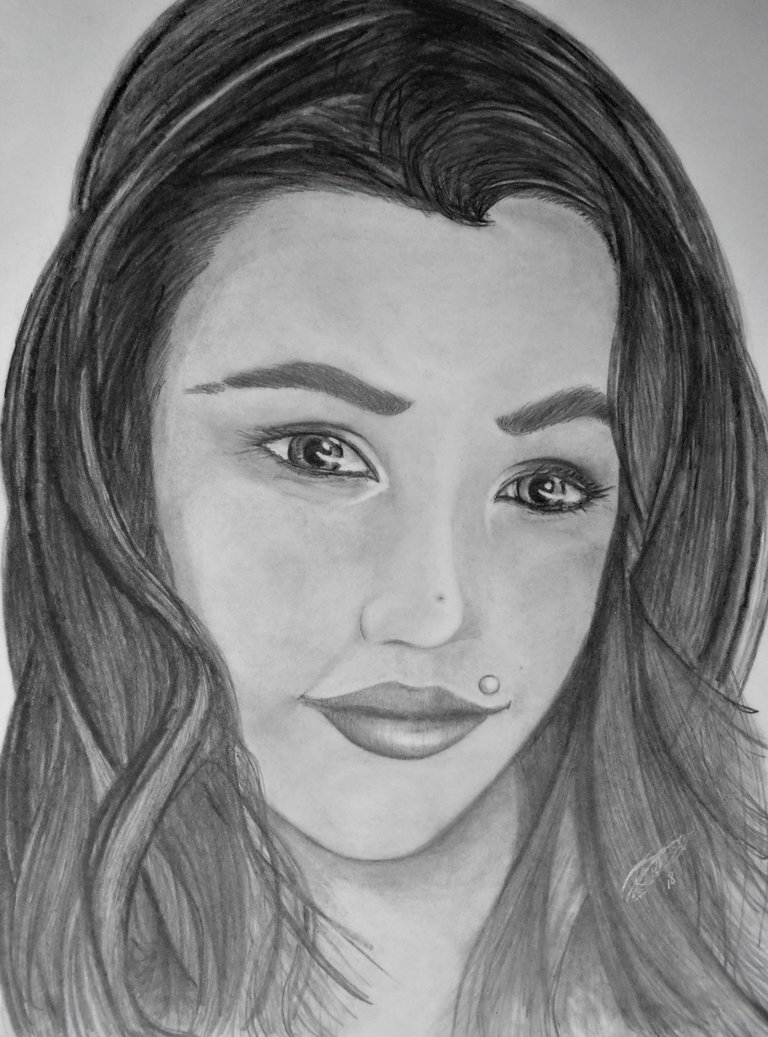
Thank you so much for stopping by and I truly hope you appreciated the art. I could have gone into more details and minutia about the process and added a zillion more transition photos. I think this will more than satiate your interest in the project! I appreciate you taking the time to check out my art and share in the beauty with me. I was reminded by a post earlier today not to take things for granted so I will leave you with this final quote.
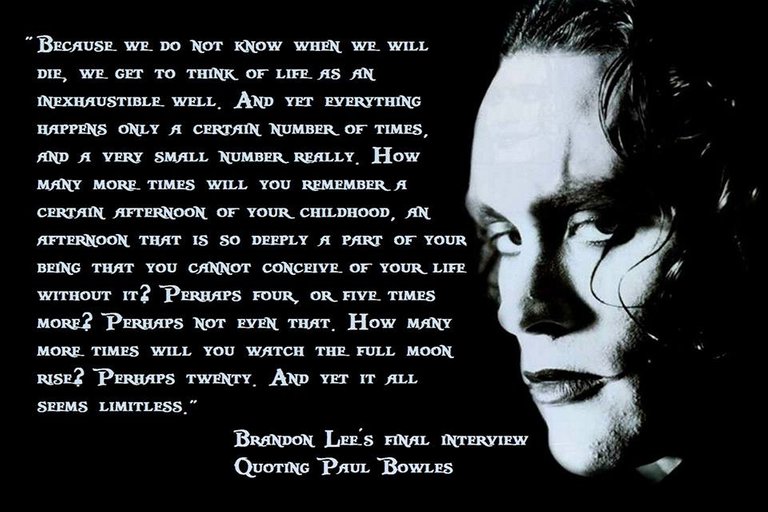
Don't Take Anything For Granted!
NOTHING IS TRIVIAL!

&
STEEM ON MY FRIENDS
Who is @castleberry?
See my intro and art Here... but don't upvote the old thing!

It's not just perfect but it is an exact copy :)
Because I know Sophia my beautiful daughter. I'm very proud of you Timothy .......
Momma Knows Best! hahahha

Welldone brother, finally you've completed the masterpiece :D Eyes as awesome :))
It IS FINISHED! I appreciate you bRO!
This is art!
I am glad you appreciate it!
That turned out real good, buddy! I'm sure it was one helluva a learning process and the next one will be even better. Congratulations!
Just like me getting to Sweden... my learning that I have the ability to do portraits is a long story too! Every piece of art has it's own learning process... but this one was particularly unforgiving. But, now I recall how to get 'er done more efficiently. I thought many times... it would be easier to just start over. Thanks for stopping by and appreciating the art and beauty with me! The next one will be EVEN BETTER!
I think Hulk vs. Wolverine is next on the list... but I can always work on more than one project at a time! hahhaah
Take Care Folker!
Hey, all I can do is stick figures and even those turn out wrong somehow. A pencil is something I can use to mark a board before cutting, and I better hadn't wave a brush around to paint the finished project, or the paint goes everywhere ;-)
So I greatly admire people who can use these tools to create real art. Keep it coming; it'll be my pleasure to watch you suffer. The process is almost more interesting than the finished product. You take care, too.
I look forward to bringing it!
I will do a stick figure tutorial soon that
I EXPECT YOU TO PARTICIPATE IN!
Hahaha! Stick figure tutorial, ey? Like so:
Figure 1 - Stick pencil in tutor's eye, pointy end first.
Yee Haw!
This is really great quality stuff the portratit and the post itself. You made it look as easy that seems like if all of us could do such things, noooo for sure lol.
The other day was about to tell you about the bottom lip but I've noticed you just solved it. I read on some of the guides that making not positive comments were not a good thing but I don't think that pointing out some tips on a working process can be seen as negative, however I prevented myself from telling anything
I'm quite sure your father would be proud of you.
Thank you so much for your hard work on this piece and post, keep on my friend!
hahaha I could have kept correcting and correcting on this one so I just stopped while I was ahead.
I appreciate your time and kind words!
Take care and STEEM ON MY FRIEND!Thanks @drakernoise! I appreciate you brother! I am always looking to improve so if you ever see any corrections let me know... Don't be shy! You were right about the background on Carnage too. I just didn't plan on doing the cityscape. I did Carnage and Spider-Man just to get in the groove to finish this one!
beautiful i really like this. It was a labor of love. I sent you an invite for my face book page. sorry it is not a bigger group yet but just started it. Well I love it can't wait to see what is next.
World of Photography Beta V1.0
>Learn more here<
You have earned 5.15 XP for sharing your photo!
Daily photos: 1/2
Daily comments: 0/5
Multiplier: 1.03
Server time: 16:01:15
Total XP: 275.50/200.00
Total Photos: 48
Total comments: 9
Total contest wins: 0
Follow:
Join the Discord channel: click!
Play and win SBD:
Daily Steem Statistics:
Learn how to program Steem-Python applications:
Developed and sponsored by: @photocontests@fairlotto@dailysteemreport@steempytutorials @juliank
amazing one wish i can drow like this, i do love to draw but i'm not talented.
Your talent is hidden behind much practice! I bet it's there... you just have to awaken the skill dormant within! I would encourage you to post me your attempt at some form of art here! Don't be critical... just create.