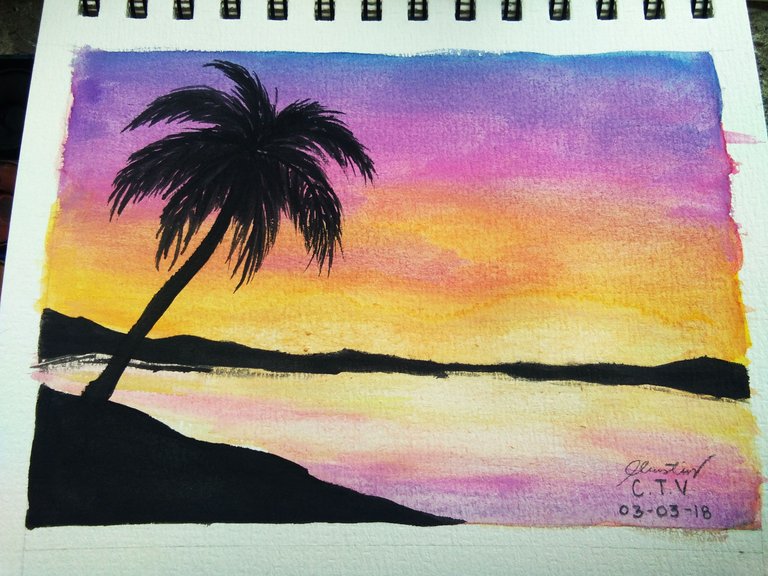
Good Day Steemians!
I would to share with a tutorial on how to paint a beautiful sunset with very easy steps. I think most of us love sunsets, right? I, myself, is a sunset person and I really love it whenever I see a beautiful sunset. It's like the sunsets are telling us that ending can also be beautiful. There are different kinds of sunsets like golden sunset where the skies is darker orange, lilac sunset and many more. I will show you and teach how Ito paint a beautiful and colorful sunset.
To have a nicer effect, we need to use a watercolor paper since we are using a watercolour as our medium.
Materials
• watercolourpaper ( I used berkeley watercolour pad 190mmx270mm, 180g/m^2
• brush- round brush and flat brush
(provide smaller brush for details)
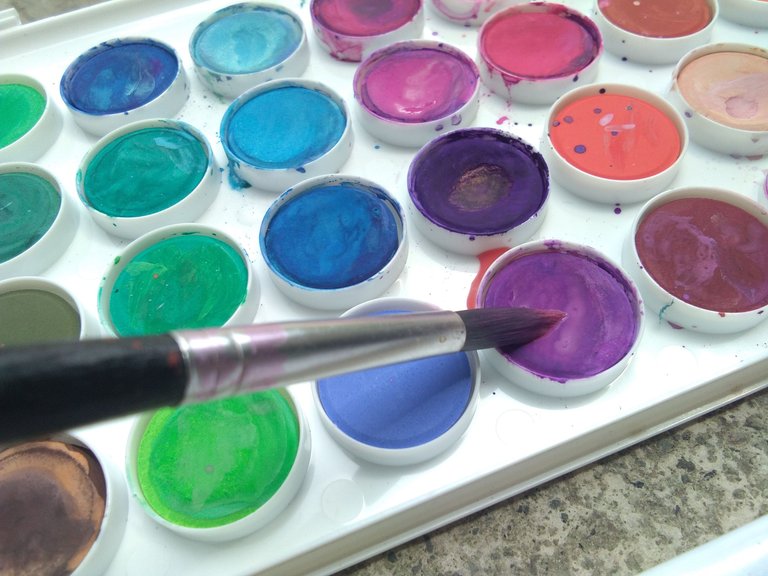
• watercolour
• palette board ( for mixing colors )
• a jar of clean water
• tissue paper ( for cleaning the brush )
THE PROCESS
STEP 1:
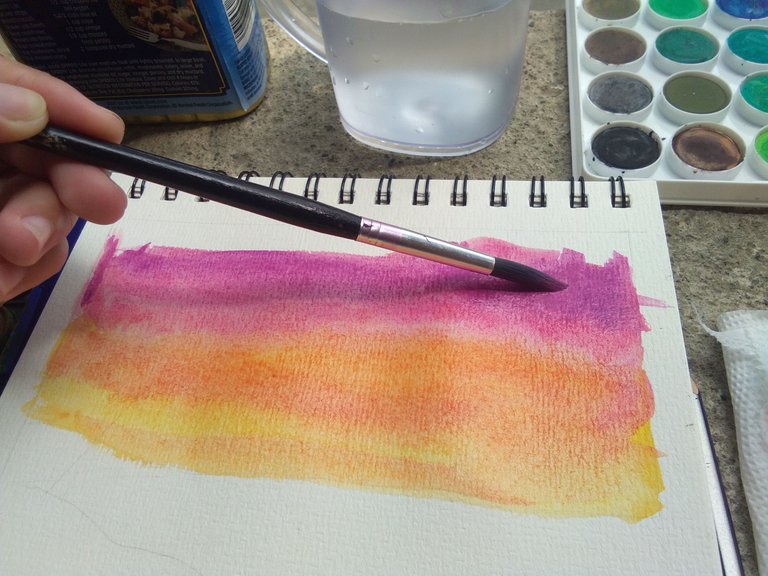
Let's first start with a golden yellow color ( if you don't have this kind of color, just mix your yellow color with a little bit of orange )
You just brush it slowly to left and right.
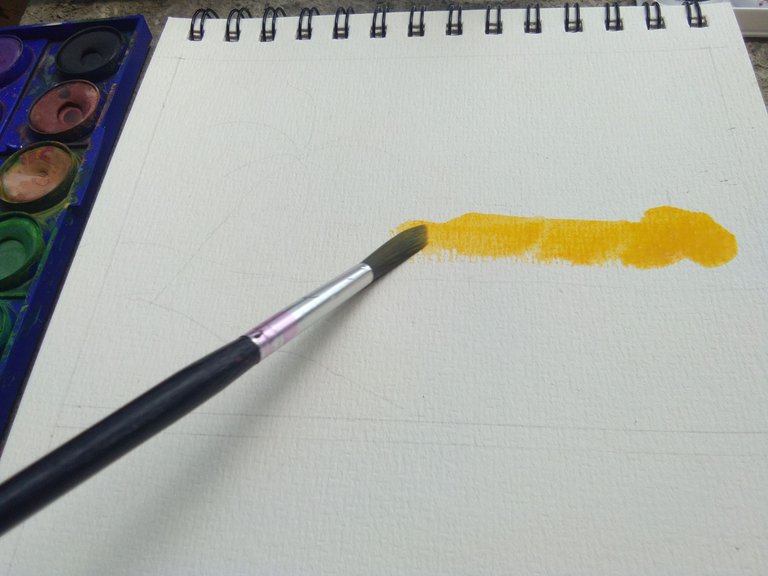
To create a fading effect, just add a bit of water to your brush. Be careful in putting much water to your brush. If you put a lot of water, just slightly tap your brush on a tissue paper. The tissue will absorb the water in your brush.
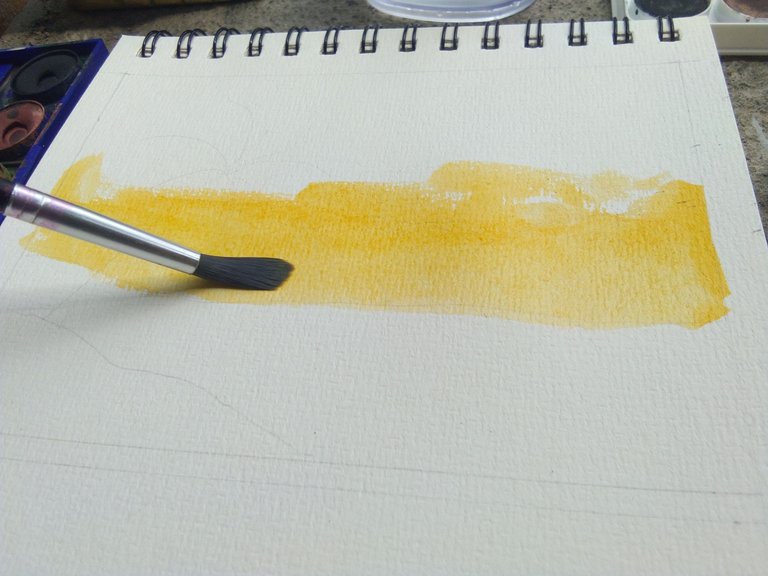
STEP 2:
Add another color. Then brush it side to side. If you happen to have a strong color of pink, just add a bit of water to it.
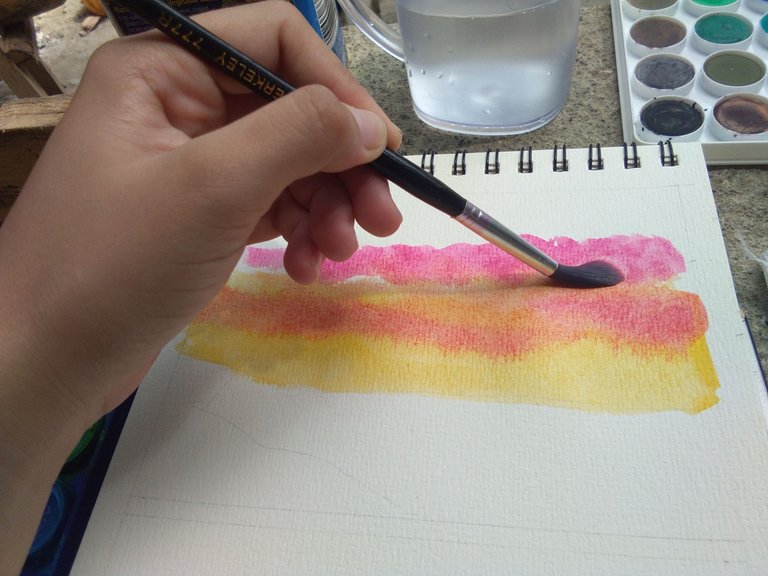
STEP 3:
Add another color. Ten slowly brush it down to mix it with the previous color we had.
STEP 4:
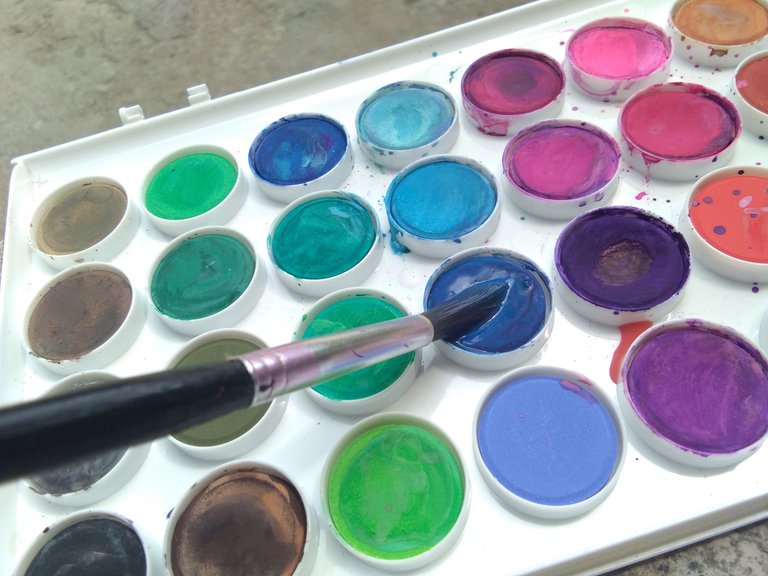
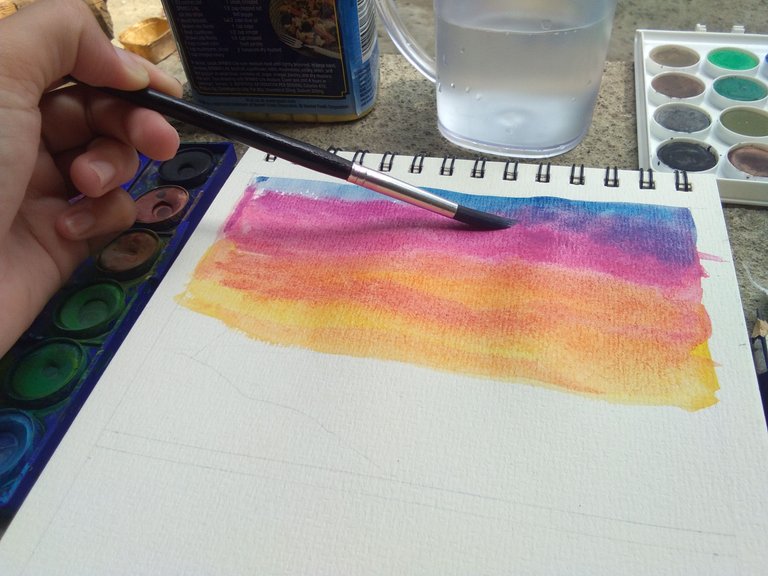
Add a dark blue and violet to tour work. This will create the night effect. Then brush it down to mix it with the other color.

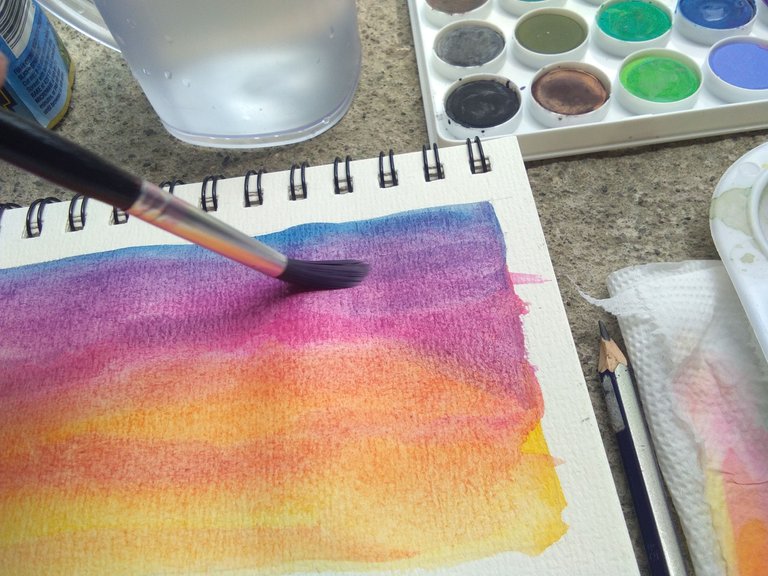
STEP 5:
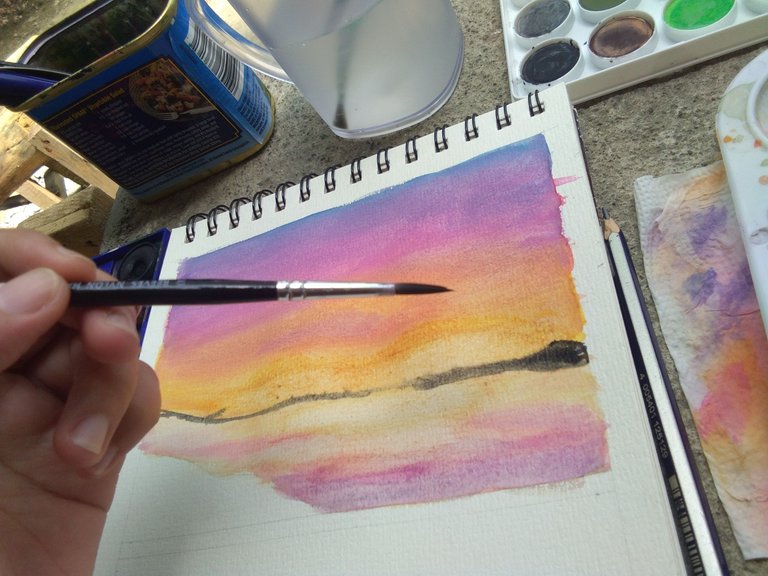
Let's create the water with the sunset's reflection. Just brush it with ordinary yellow then mix it with a bit of water to have a fading effect.
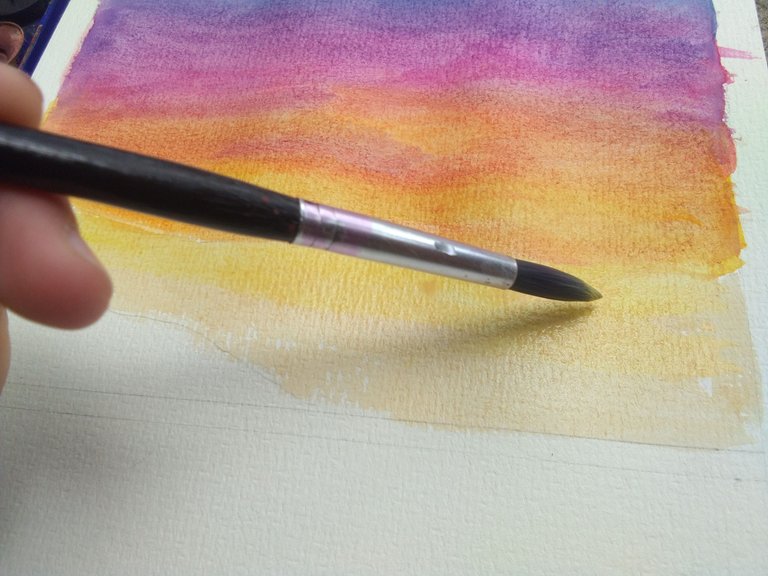
To emphasize the sunset reflection in the water, I used a small round brush and stroke a light shade of pink to the side.
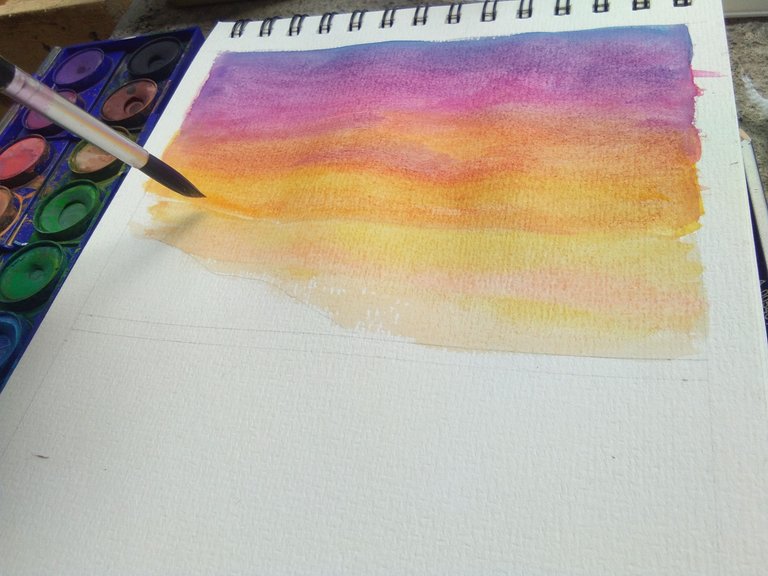

STEP 6
Use a wet flat brush to remove some Watercolour pigment in your work. This will be the lighting reflection in the water.
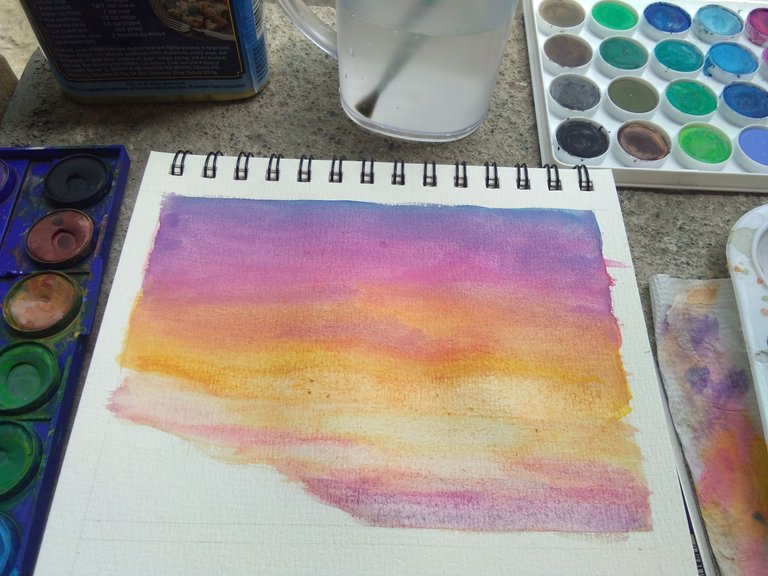
STEP 7:
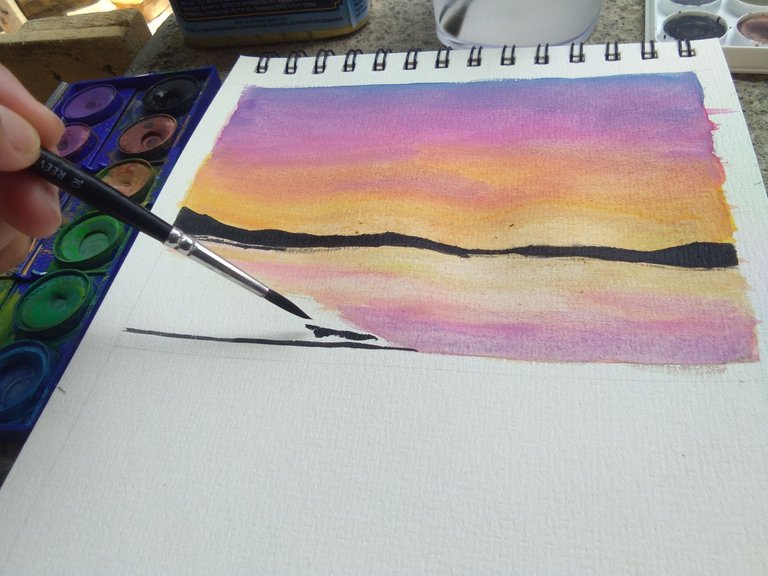
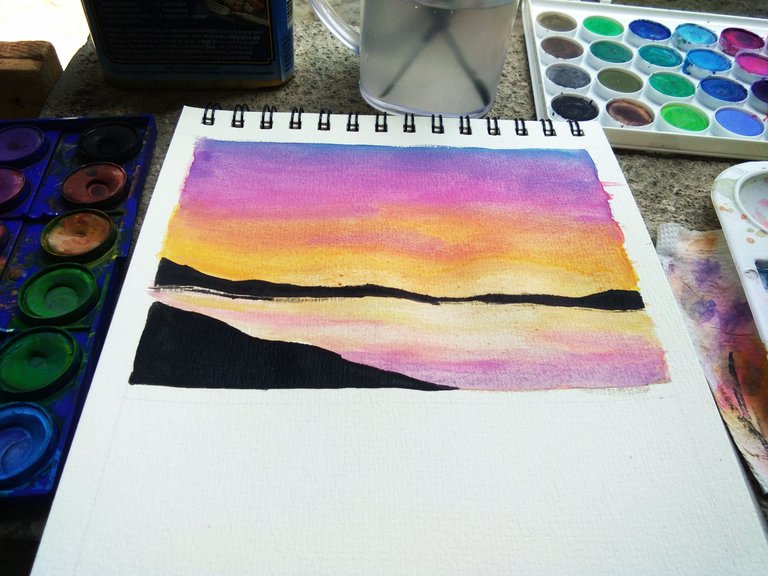
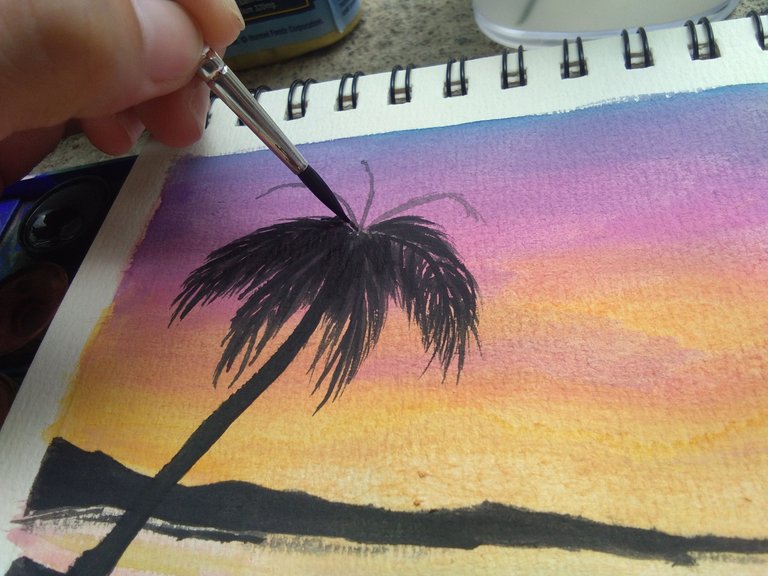
Use a no. 4 round brush or any small brush for the mountains. The mountains are silhouette so, we'll use a black color. We'll also paint the land part and the palm tree.
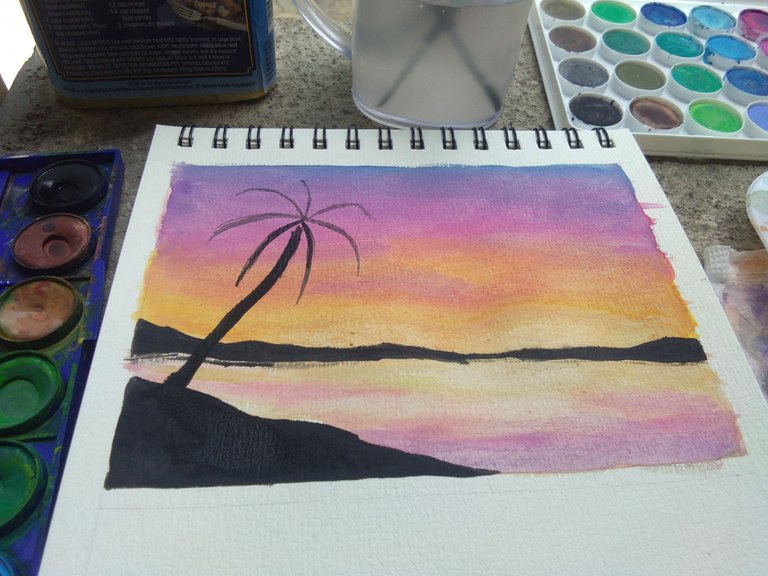
We are done!!!!

I painted a thumbnail of different kinds of sunsets. So here they are.
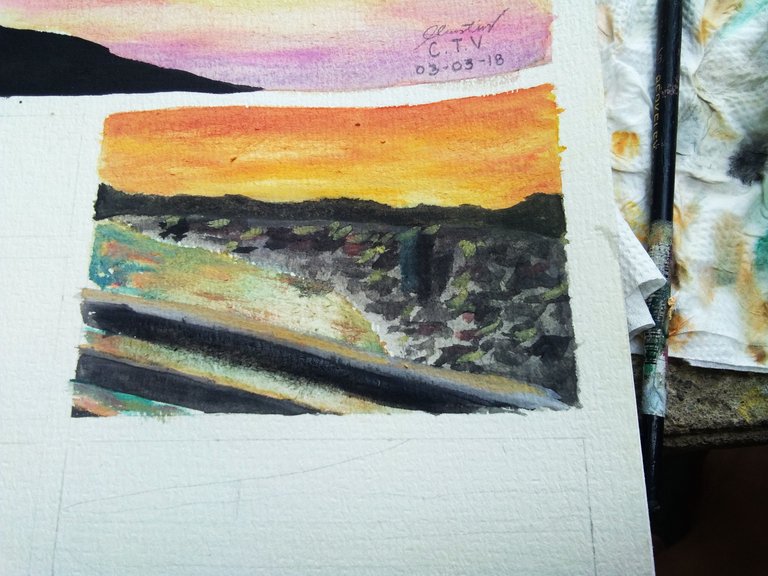
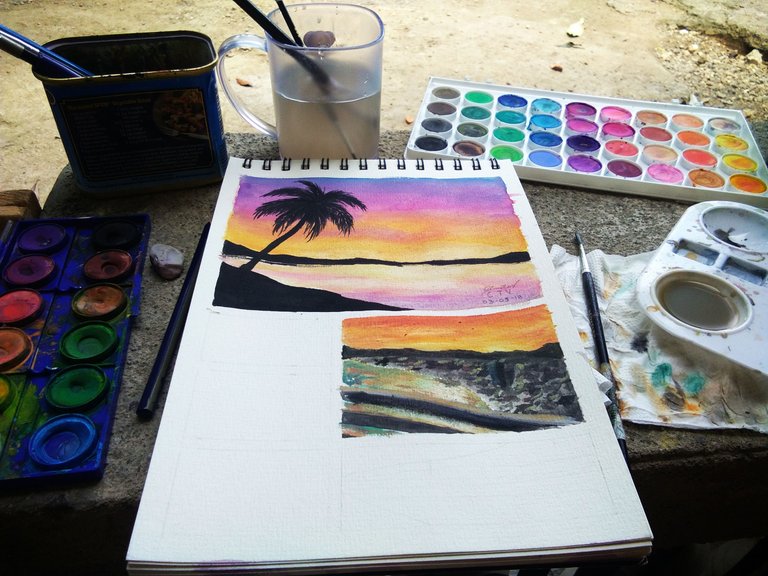
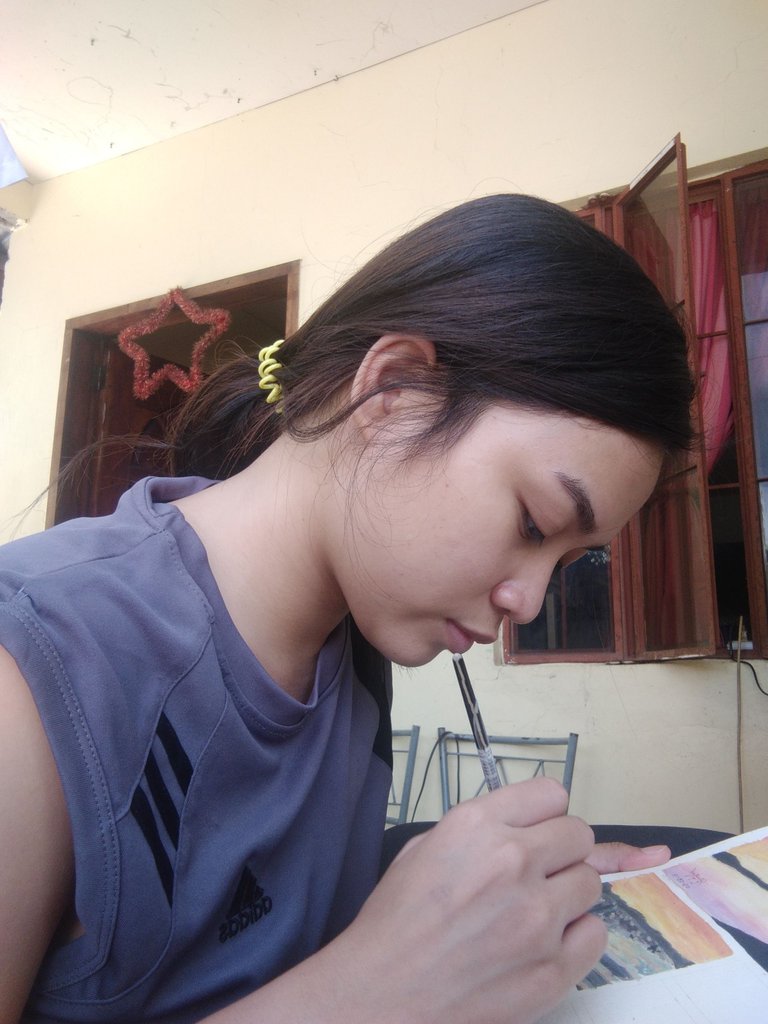
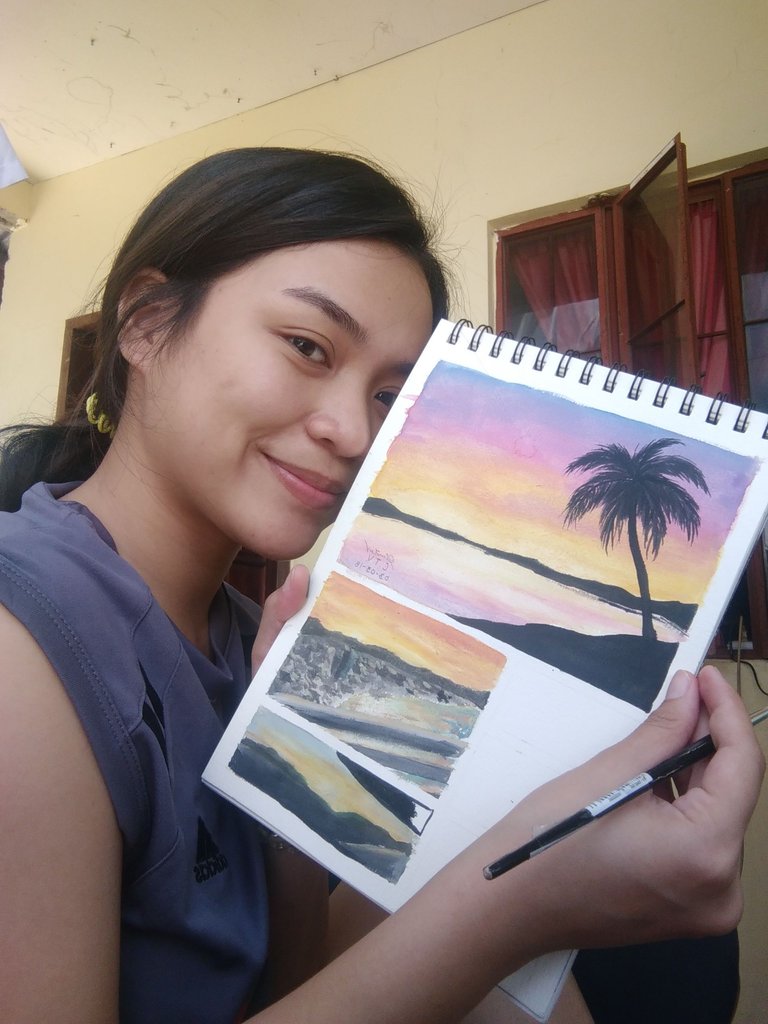
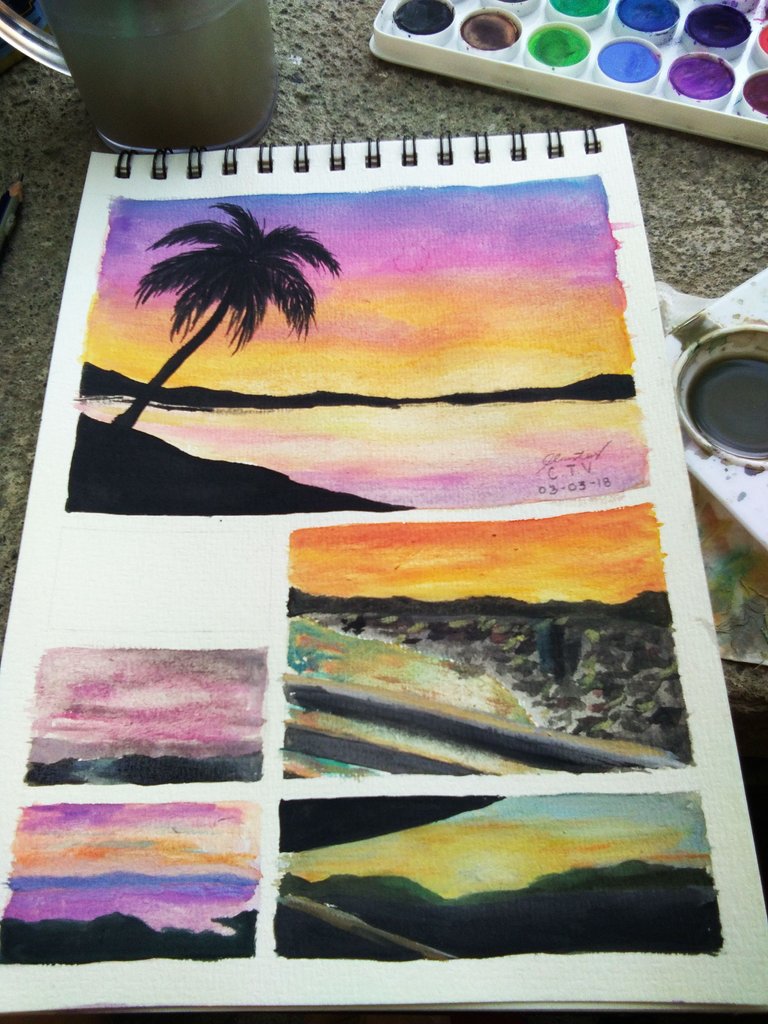
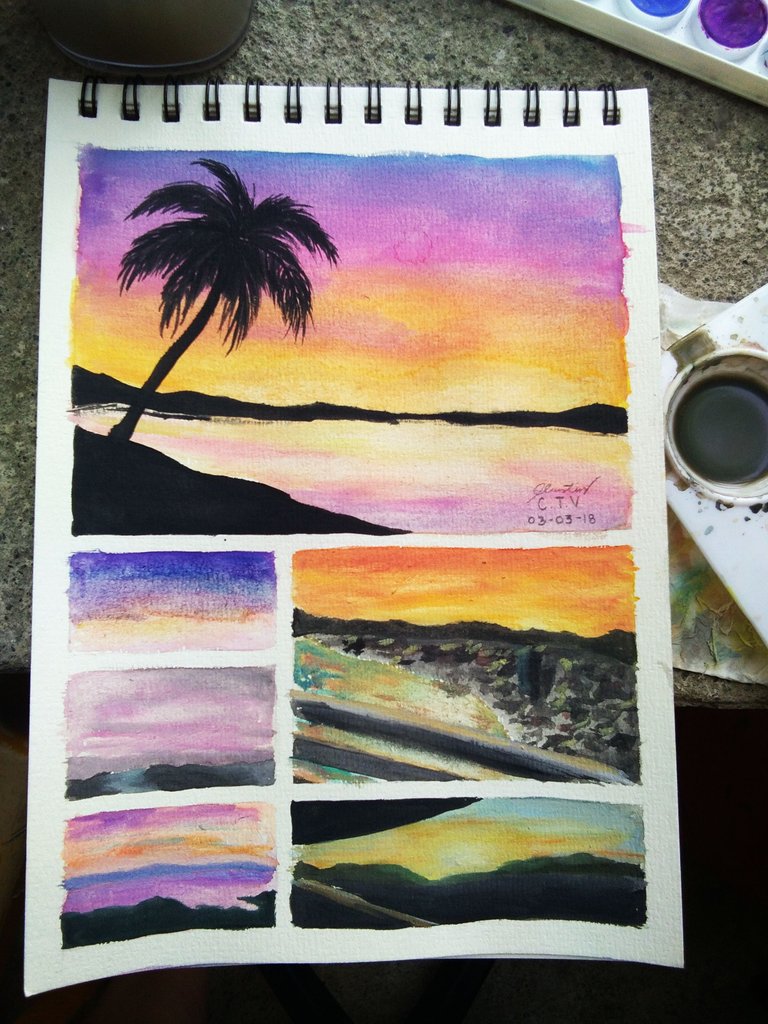
Did you guys have fun? If you do, feel free to comment down your thoughts about this watercolour painting tutorial.
THANK YOU AND HAPPY STEEMING!


@originalworks
@bayanihan
@artguildph
@steemph.cebu
@steemartists
Wow, maya jud nimo mu paint tin oy!
Heheh thank u bob 😁