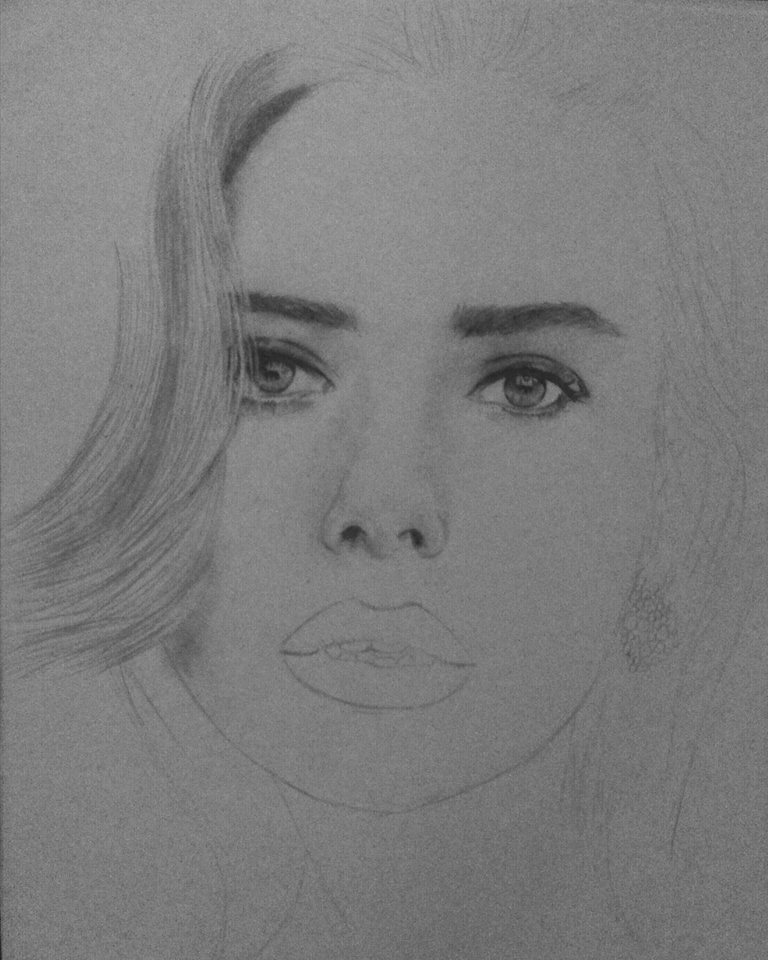
Step 1 - The sketch
In this step we will have our base (sheet or cardboard, in my case cardboard). We will make the strokes corresponding to the photo or image that we have at our disposal, in my case, the image of scarleth. Here it is only a sketch do not bother with the details just seek to shape the portrait (face).

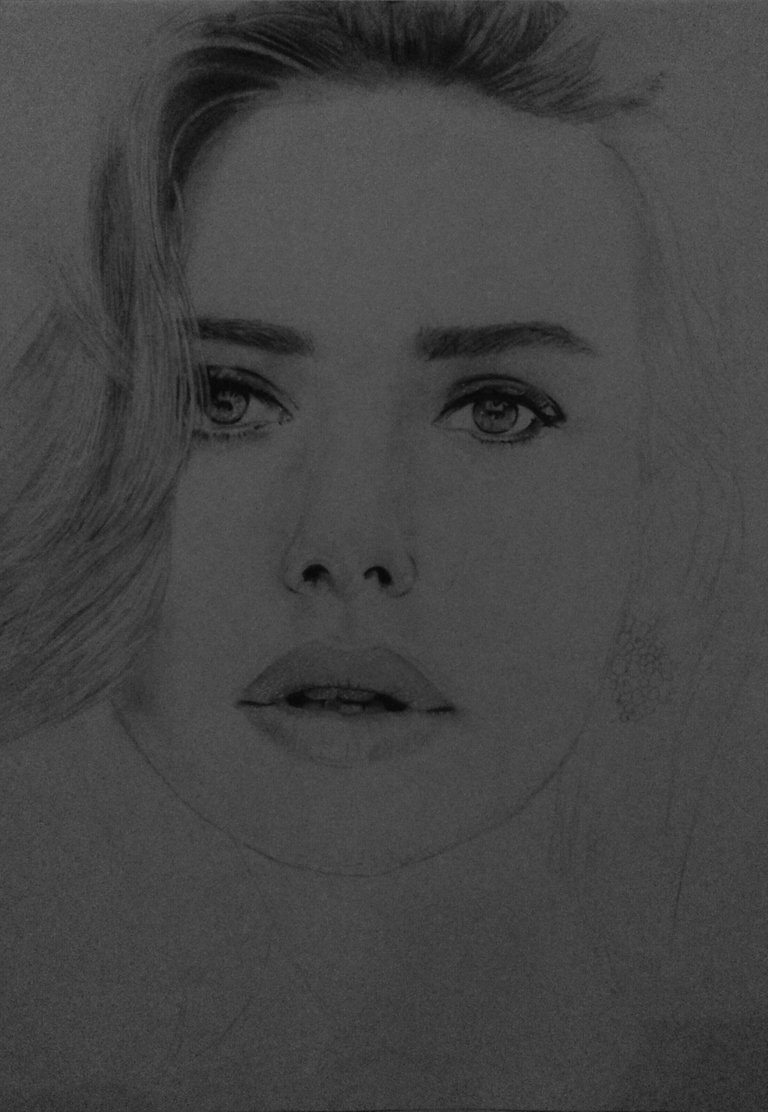
Step 2 - Details (Shading and Outlining)
This is where the drawing will become more difficult since we must carefully look at the details of the original and translate it into the portrait. In the previous step we used fine graphite pencil to not highlight so much, here we will use a darker one to give tonality and a blending brush to shade and give depth to the details. You can use swabs, cotton or napkin. Or as I sometimes do, use my finger.
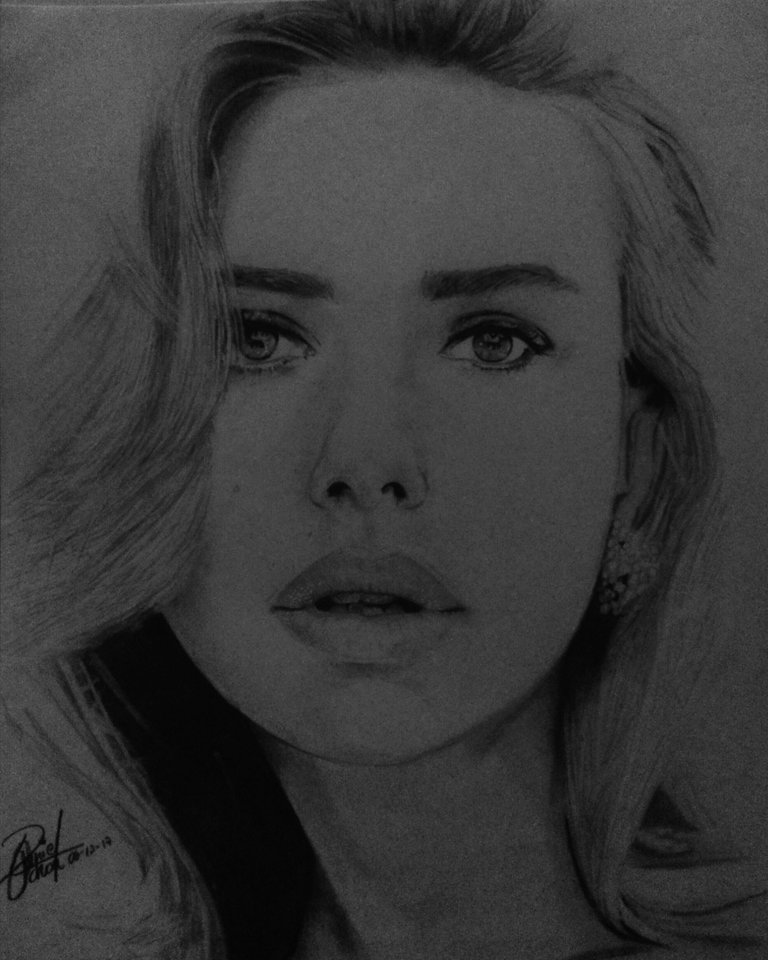
Step 3 - Almost the end (eraser and liquid corrector)
This is where we will delve into the portrait to give it more reality. For hair you can use light and dark graphite pencil, light to give blonde and dark hair shade for shading. Blend and make fine strokes with the eraser on the hair to give it a shine reflection. Use liquid concealer on the lip if necessary to give it shine and life.
Step 4 - Finish
Carry out and put into practice the previous steps to complete the portrait.
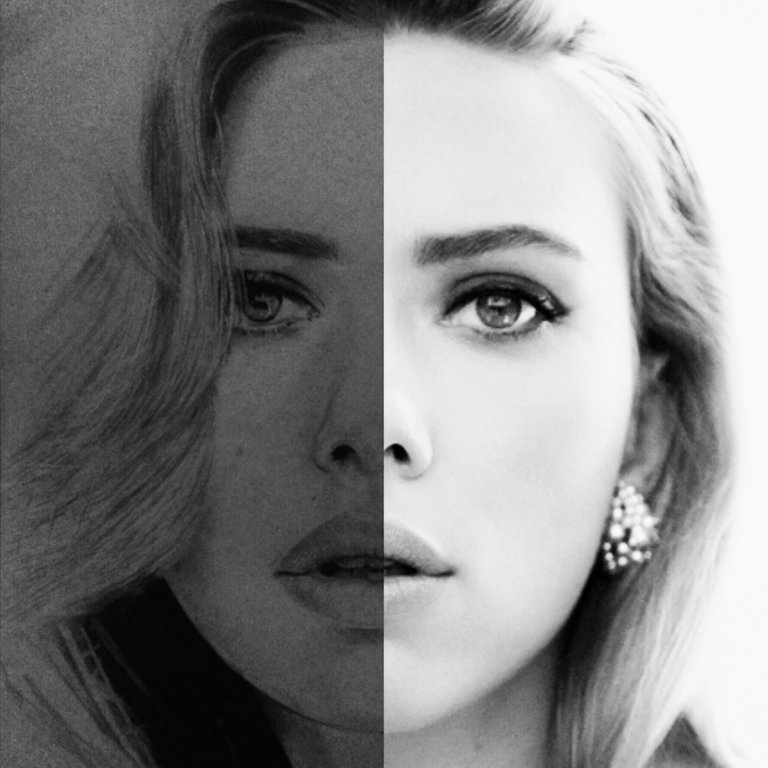
DRAWING - ORIGINAL
USED MATERIALS:
- Clear graphite pencil
- Dark graphite pencil
- Blending brush
- Correction fluid
- Fine eraser
- Cardboard
Copying and pasting previous posts or significant parts there of could be seen as spam when:
Source
Copying and pasting previous posts or significant parts there of could be seen as spam when:
Spam is discouraged by the community and may result in the account being Blacklisted.
Please refrain from copying and pasting previous posts going forward. If you believe this comment is in error, please contact us in #disputes on Discord