How to: Weekly. And of course, ain't gonna teach you technical stuffs because I myself knew that I suck at it. So let me just share to you my latest work of watercolor, a mountaineer galaxy watercolor.Hi Steemians! Your frustrated Artist is back once again to join this Awesome contest by @howtoweekly's contest of
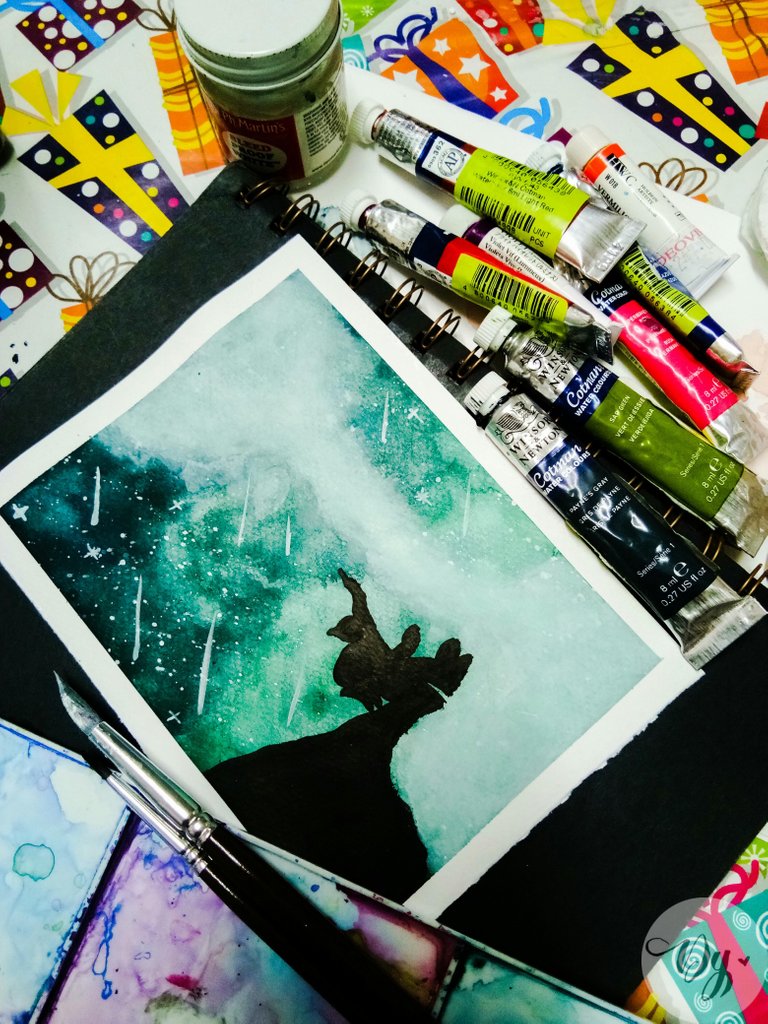
And oh, it's almost a year since the first time I hike. It was a bad and good experience though. But nonetheless, I am not here to make any drama but I must admit that this is one of my Inspiration upon doing this watercolor.
Now here is the step by step process on how I did my Mountaineer Galaxy Watercolor
STEP 1
I prepare all the materials I need, below are the list of materials I used
Paper - Canson watercolor paper (200gsm)
Watercolor - Winsor & Newton Cotman
Brush -Raphael Petit Gris No. 8
Ink - Sumi Ink &Dr. Ph Martin Bleed proof
Clip Board
Scotch Tape
Palette
After I prepare all the materials to be use. I taped the 1/4 of watercolor paper in the clip board using the scotch tape. This is to prevent the paper to move and to add a border.
STEP 2
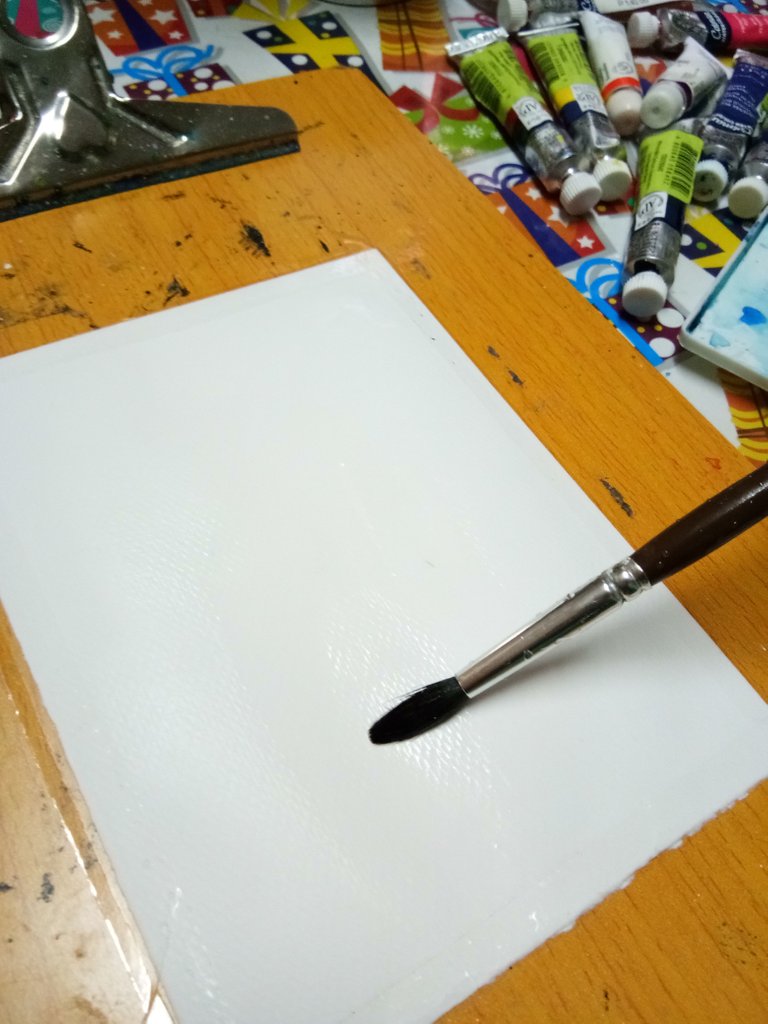
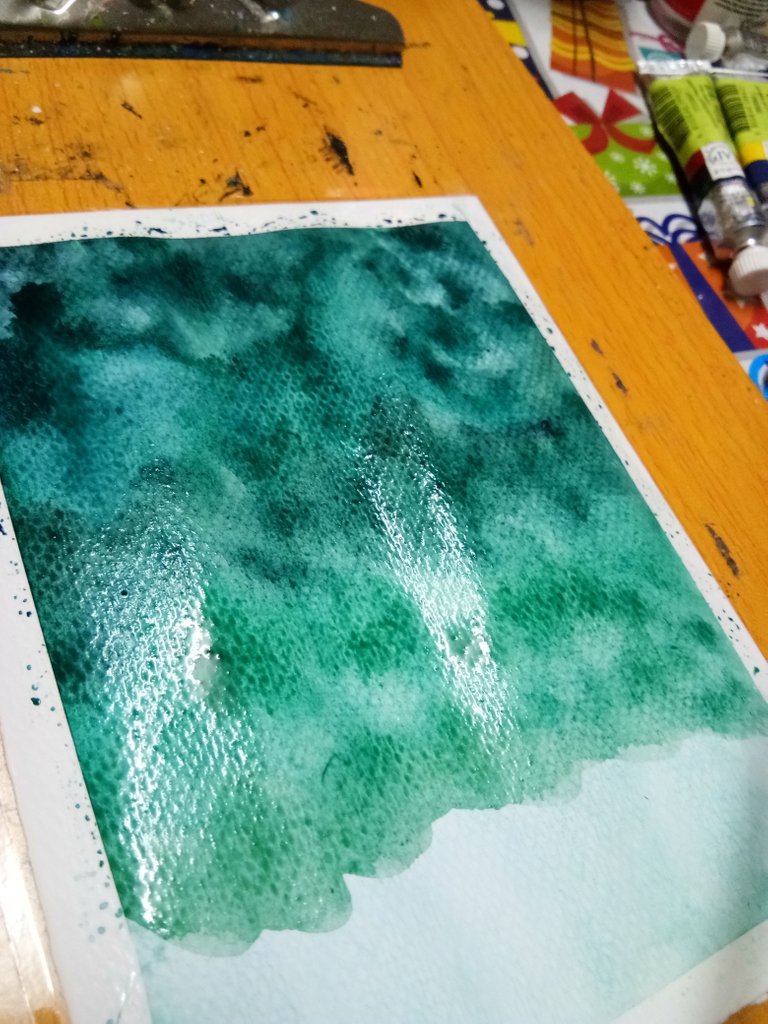
I used wet and wet technique, that is why before I put some colors to the paper I put some water first. With this, the paint will spread rapidly without any difficulty.
Before I put the paint to the paper, I tend to study the hue of the watercolor. To decide what color I will use and to mix it with. This time, Im using a combination of Sap Green, Intense Blue and payne's gray.
STEP3
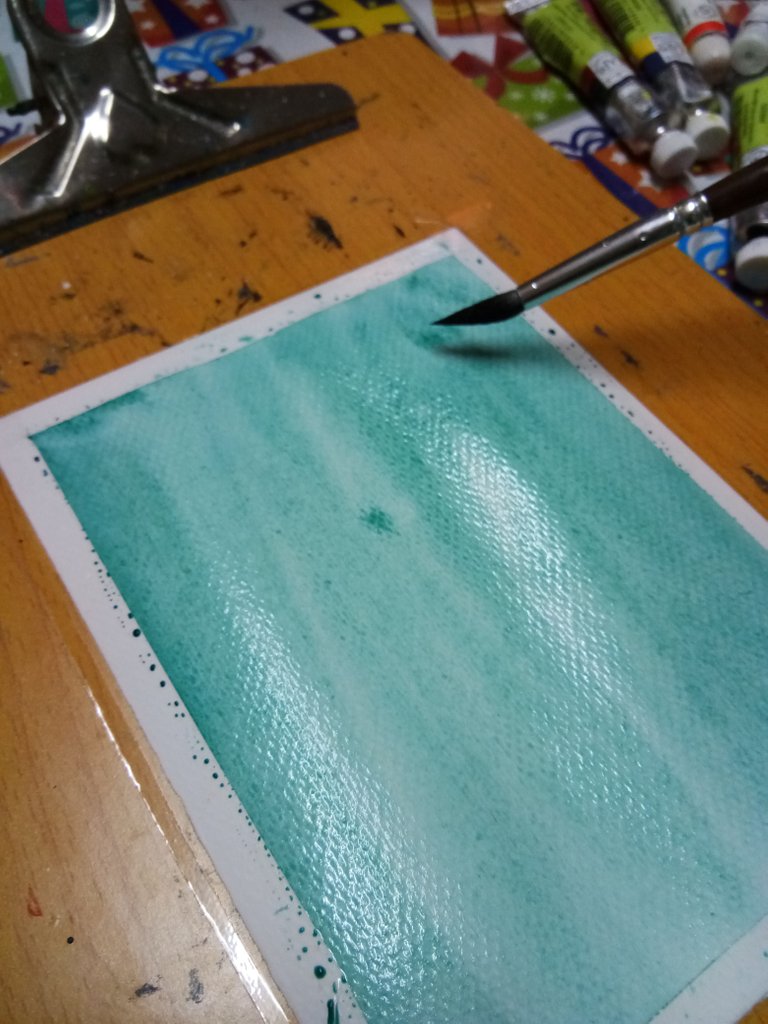
I applied the mixed of paints to the paper to have the first layer. And as soon as the paint spread, I added some paint in the op the have some gradient effect (Its up to you on how many layers of paint you want to put)
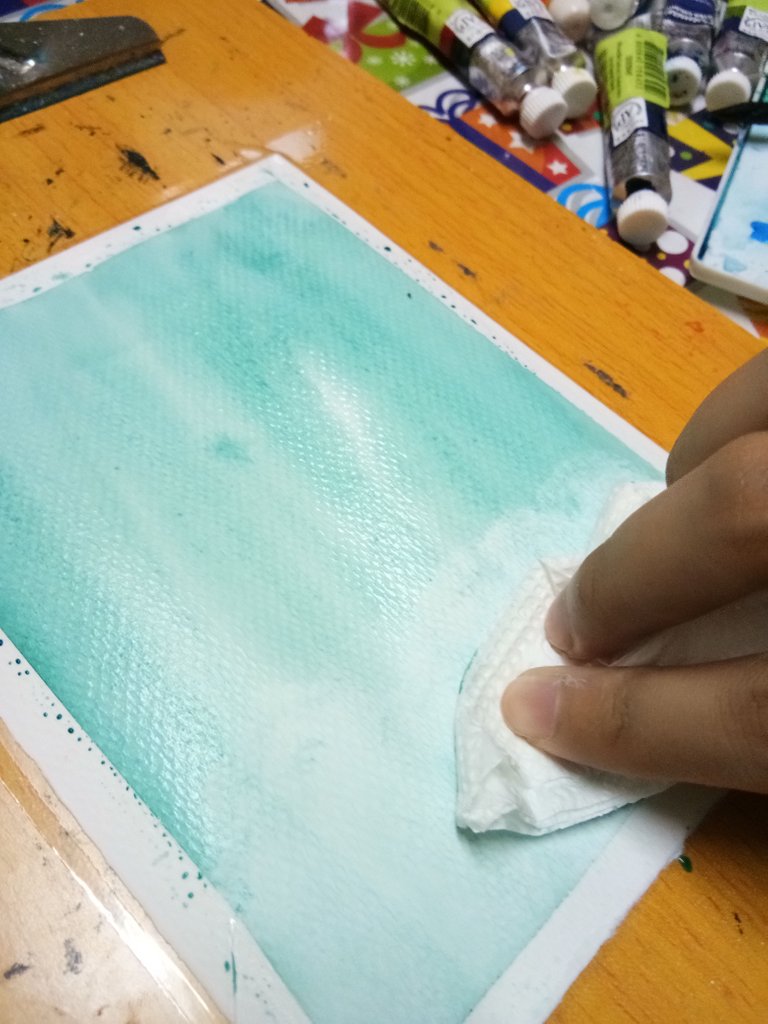
While the paper is still wet, I used some tissues to dry the bottom part of the paper to have some white meteor effect in the end. Then I have to add some Payne's gray at the top to make a darker effect in the top view.
STEP 4
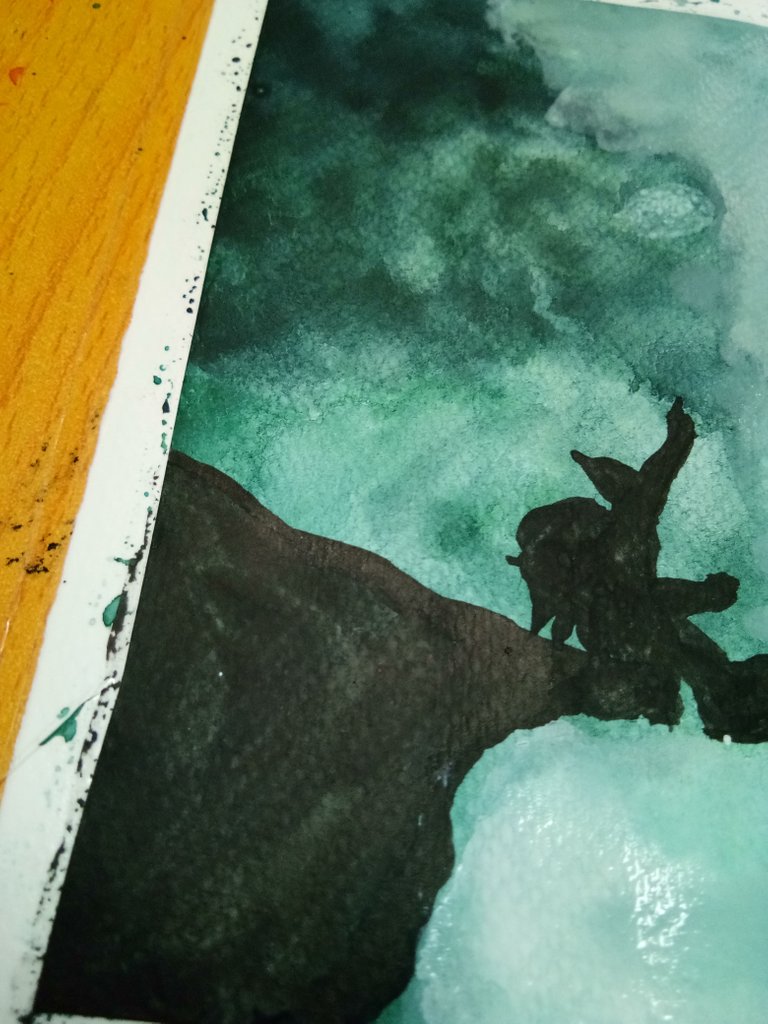
Then finally I draw the mountain and the mountaineer using the sumi ink to have a silhouette effect. (It wasn't seems a human tho, I still need to practice my sketching skills you know) The mountaineer is pointing towards the sky.
STEP 5
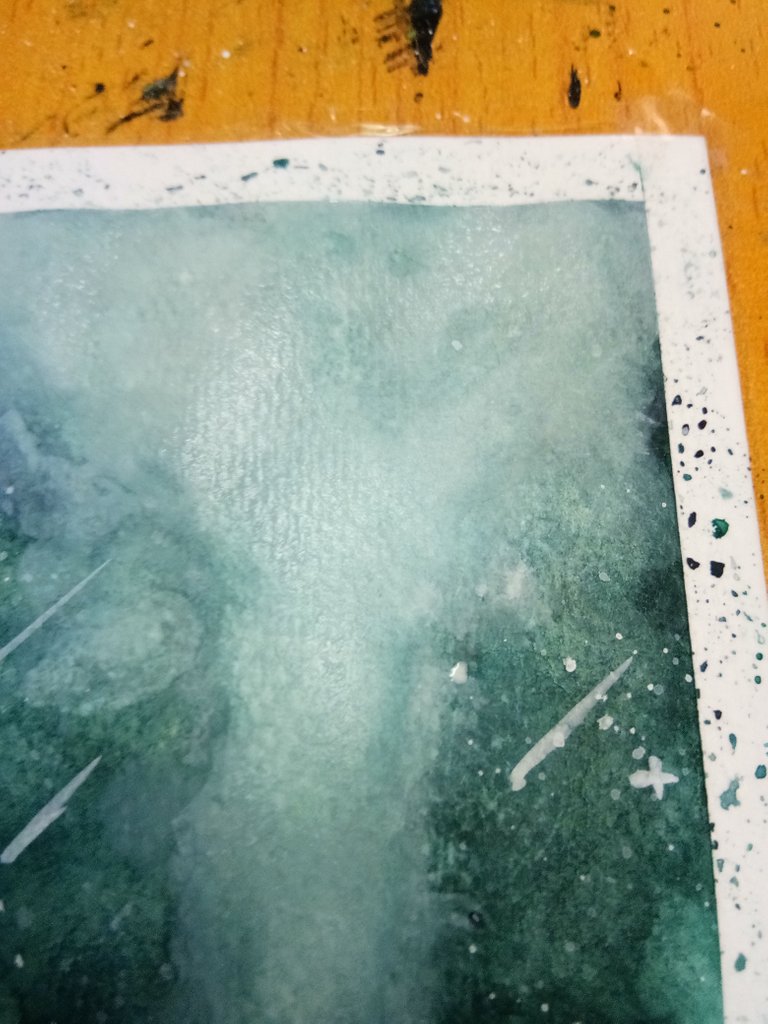
After I draw the mountain, I proceed with the white meteor effect using Dr. Ph Martin's white breed proof ink I also added the stars and comets using the same ink. (Which is my favorite part)
Wait for it to dry all the inks and paints then there you have it! A watercolor of Mountaineer Galaxy! Hope this step by step help you to make your own galaxy painting too.
Also Here are some of my galaxies and anime inspired collections of watercolor!
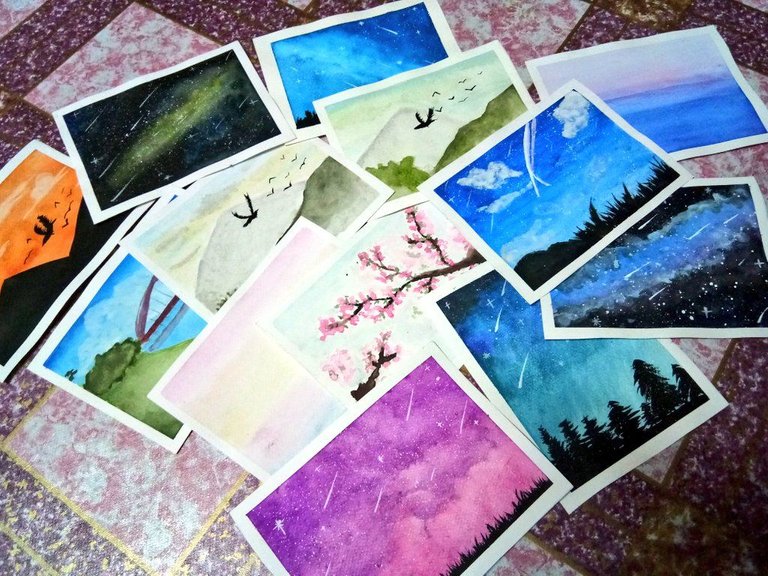
Thank you for reading! ✨
Congratulationsdaily compilation 227!, your post was discovered and featured by @OCD in its
Gems! We strive for transparency.You can follow @ocd – learn more about the project and see other
here.If you would like your posts to be resteemed by @ocd to reach a bigger audience, use the tag #ocd-resteem. You can read about it
SteemConnect or on Steemit Witnesses to help support other undervalued authors!@ocd now has a witness. You can vote for @ocd-witness with
Thank you so much for the feature!
It looks so mystical and pretty! These are stunning!
Thank you so much 😊
You got a 15.49% upvote from @pushbot courtesy of @howtoweekly!
This is a nice demonstration of the "wet on wet" watercolor technique. Your step-by-step process is much appreciated. The #howtoweekly contest sounds like a neat initiative.
Thank you so much!
This is a lovely demonstration of watercolor painting. I look forward to seeing more of your artwork in the coming weeks :)
Yay thank you! 😊
I really like the simple and beauty way you show how to make those so artistic watercolors! Congrats!
Yes it as very simple technique! Thank you 😊
hoooo it looks pretty cool!!!well done
Galing! Nakatrenta 👏🏼😊
Hahaha tyamba ng lola mo 😂