For begin you need to download those pictures and textures:
- Create a background
Step 1
Create a new document of 1500 x 900 pixels with the following parameters:
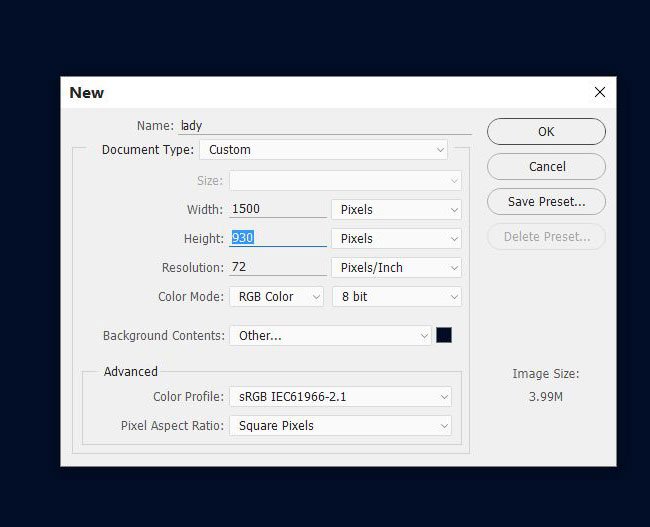
Fill the background with the color # 010e27.
Step 2
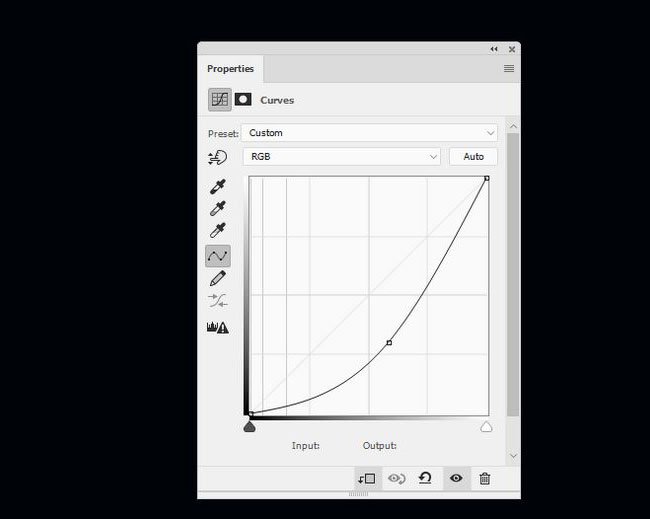
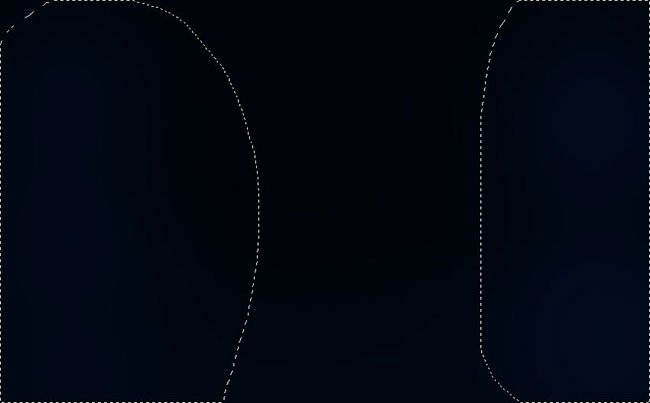
Go to Layer - NewAdjustmentLayer - Curves and reduce the brightness by pulling the diagonal line down. In the layers pane, select the correct layer mask and activate the BrushTool (B) (Brush). A soft round brush of black color on the sides of the document so that in these areas the background was not too dark. Later we will add details.
Step 3
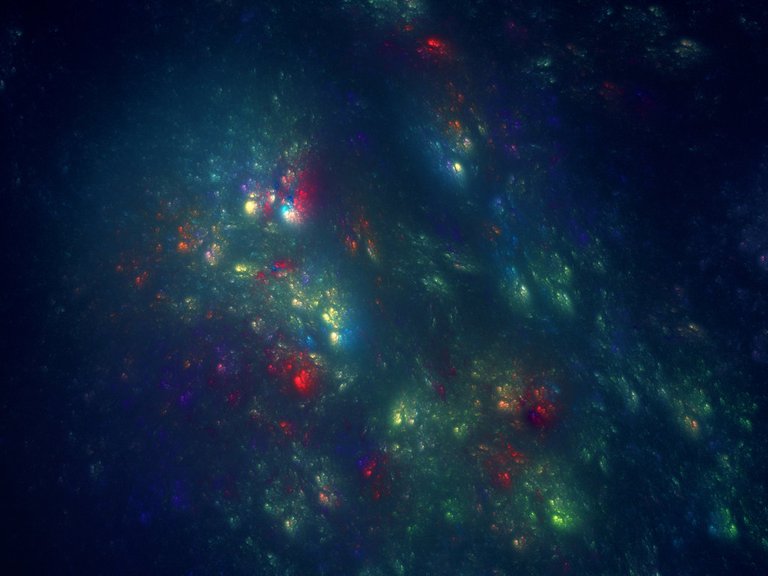
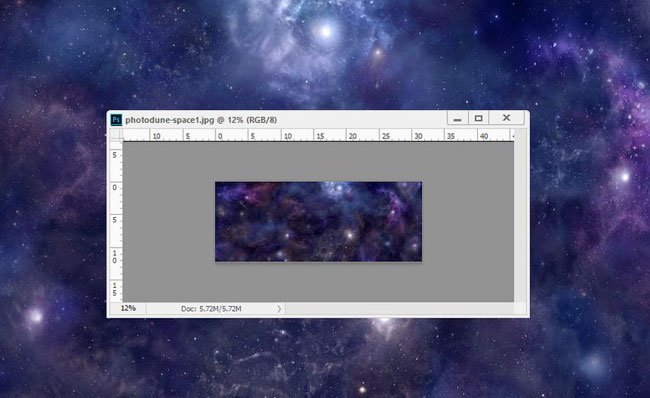
We move the cosmic background on the working sheet and change the layer blending mode to Screen (Lightening) with a 100% opacity.
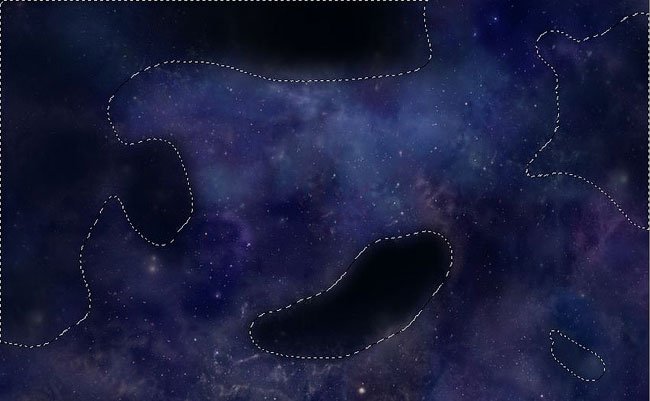
At the bottom of the layer pane, we click the add layer mask button  to add a mask to the layer with a cosmic background. A soft black brush is chaotic to paint some areas in the center and on the sides.
Step 4
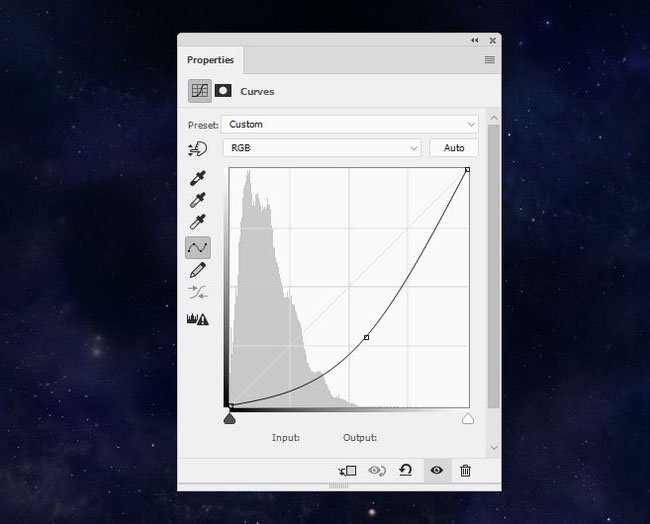
We add the curves layer Curves above and transform it into a clipping mask with a combination of keys Ctrl + Alt + G. Reduce the brightness of the picture to get a softer and more accurate effect.
- Add a model
Step 5
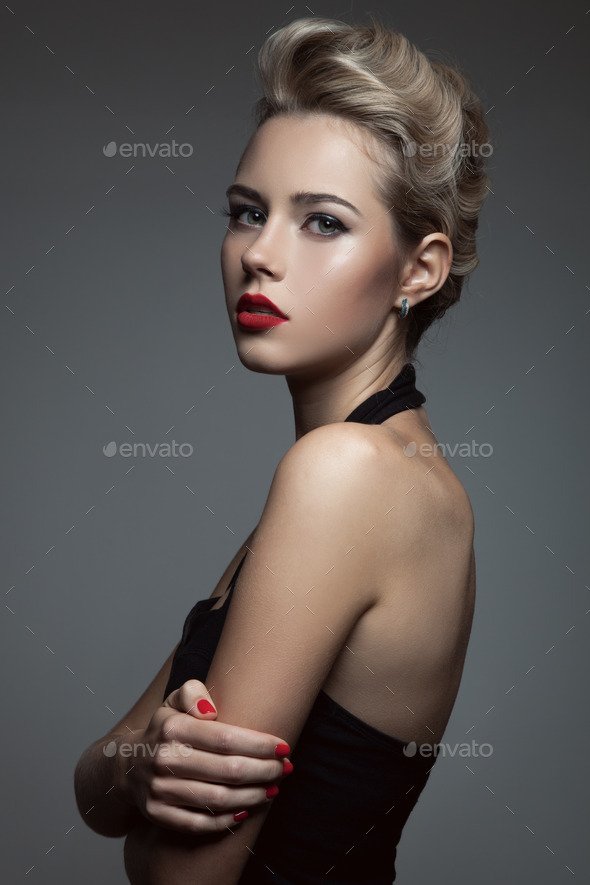
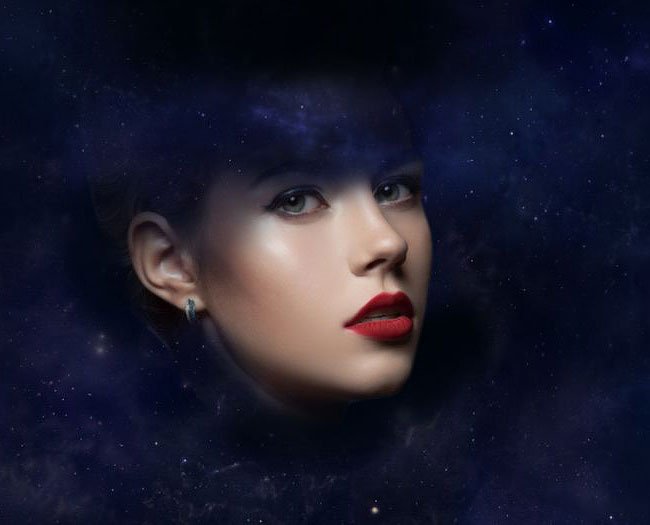
Open the photo with the model, cut it out using the PolygonalLasso Tool (L), and move the MoveTool (V) (Move) tool to the center of the web.
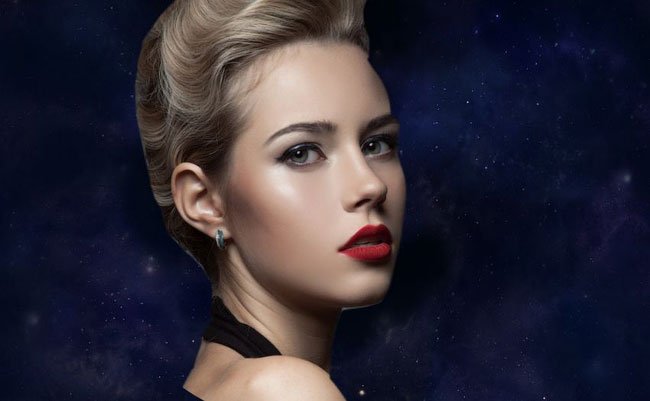
Use a black soft brush to edit the mask to hide the neck, shoulders, hair and forehead of the model.
Step 6
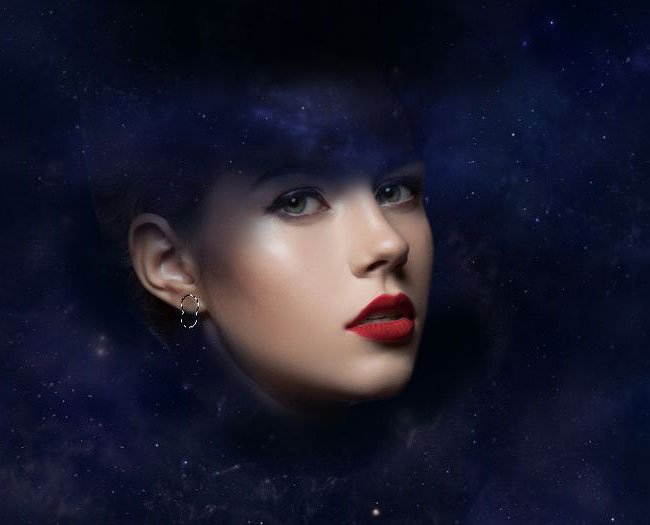
Create a new layer and transform it into a clip mask (Ctrl + Alt + G). Activate StampCloneTool (S) (Stamp)  and remove the earrings:
Step 7
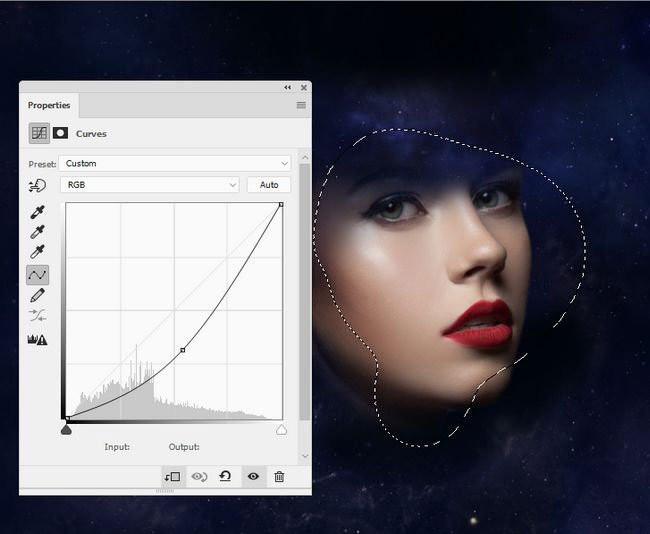
Add a corrective layer to reduce the brightness at the lower edge of the chin and cheeks. With a soft black brush, we edit the mask in those areas where we do not need the effect of the correction layer.
Step 8
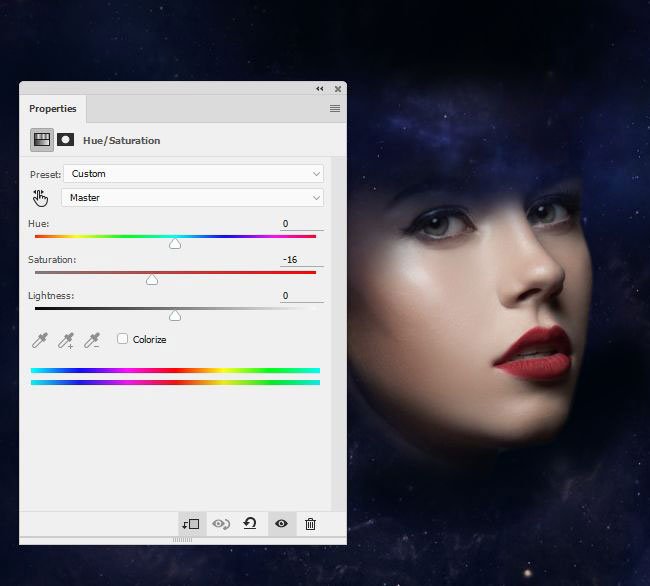
Add the Hue / Saturation correction layer and reduce the Saturation to -16:
Step 9
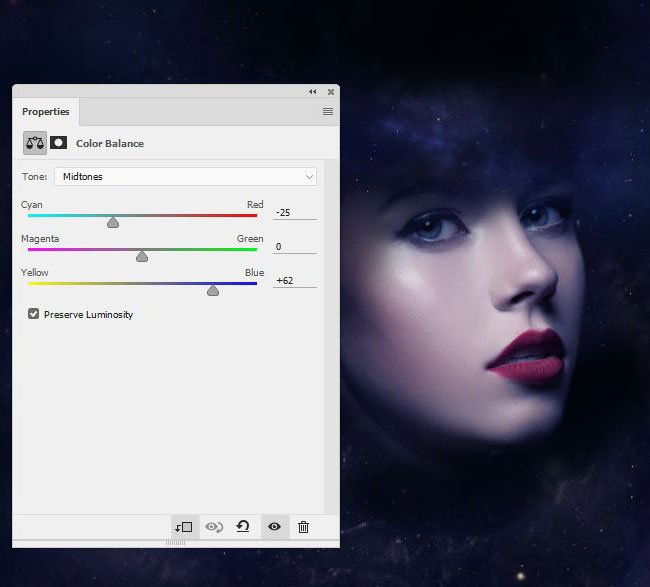
Add a ColorBalance correction layer to adjust the color of the model according to the background. Configure Midtones (Medium tones):
Step 10
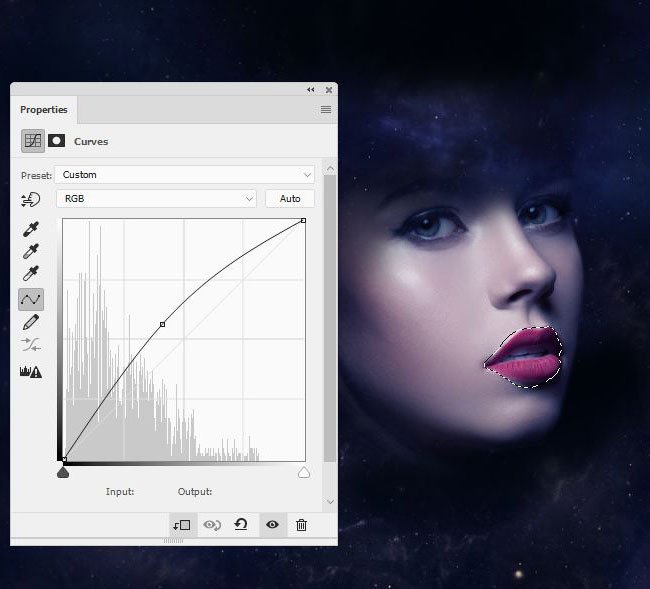
Then take LassoTool (L) (Lasso) and we release our mouths. Then go to Layer - NewAdjustmentLayer - Curves (Layer - New Correction Layer - Curves). We increase the brightness of the lips.
- Create makeup
Step 11
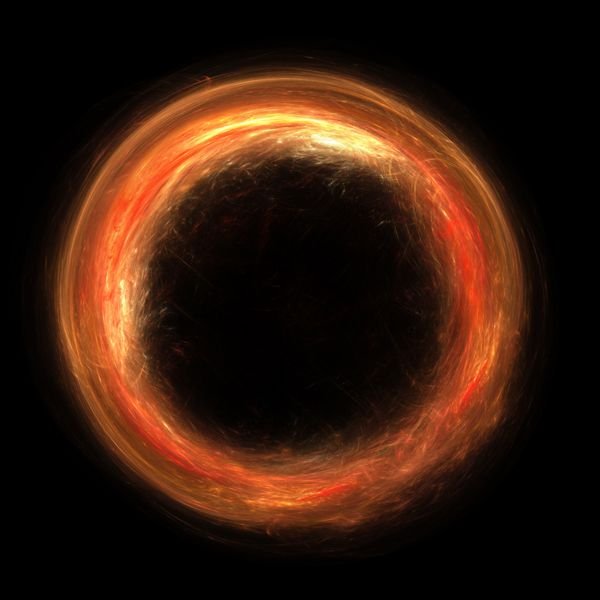
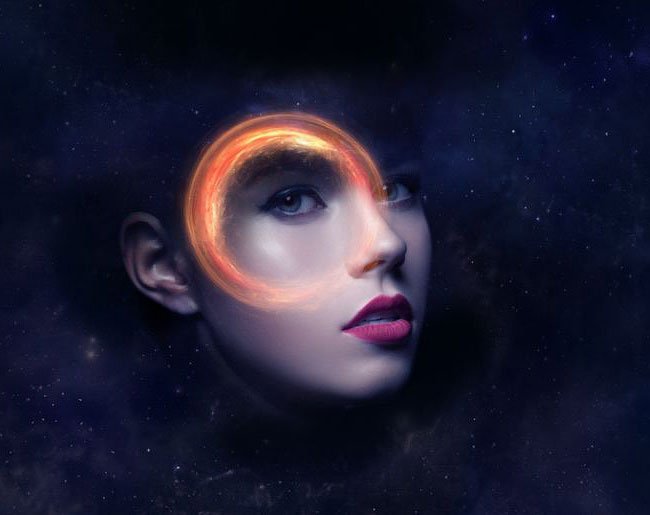
Open a picture with a light ring and insert it into a working document using MoveTool (V)  (Moving). Change the mode of mixing this layer to Screen (Lightening) with an opacity of 100%.
Step 12
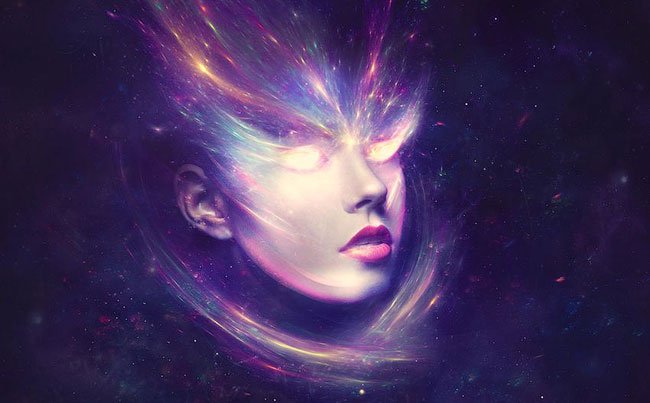
Pass Filter - Liquify and activate TwirlClockwiseTool (C) (clockwise twist). Then twist the ring until we get the result, as in the picture below, pay attention to the central area in the form of the eye. Transfer the resulting figure to the eye of the model.
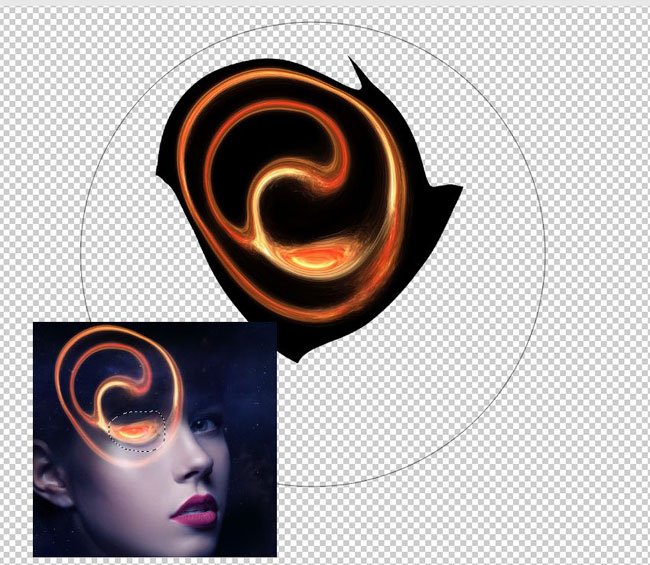
With the help of a mask we remove extra parts.
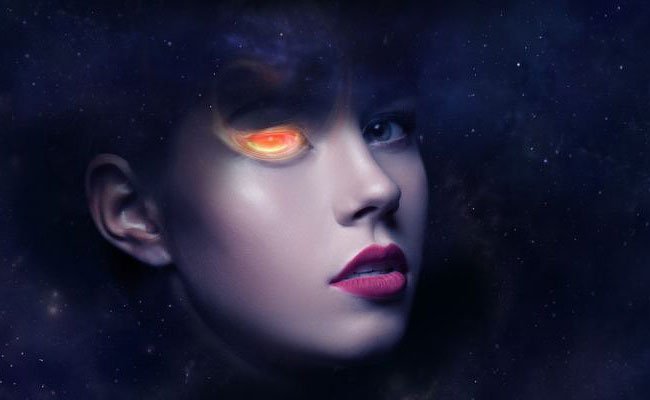
Step 13
Duplicate the layer (Ctrl + J) and reflect the copy Edit - Transform - FlipHorizontal (Editing - Transform - Flip horizontally). We move the copy to the second eye.
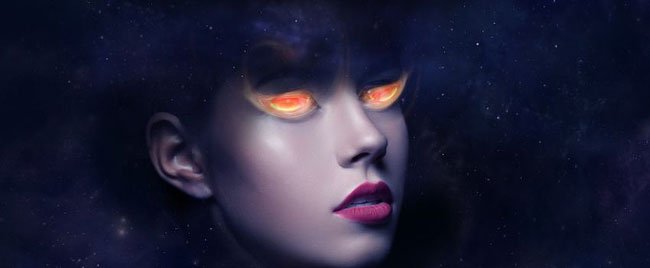
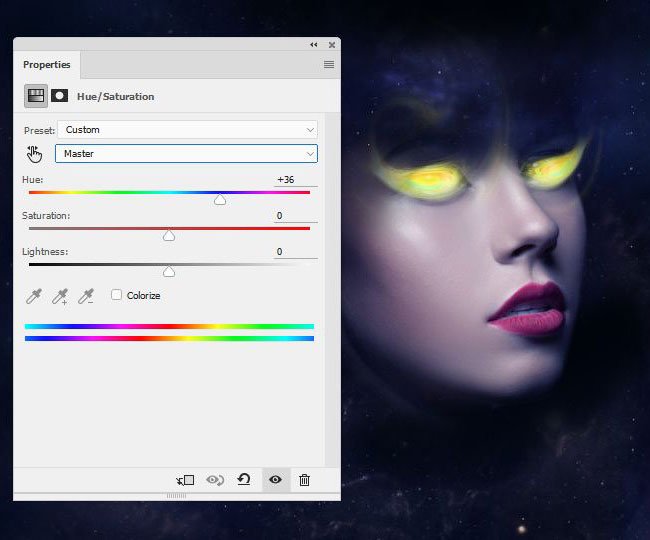
Step 14
Select both layers with the eye and press Ctrl + G to add them to the group. Change the blending mode of this group to Screen (Lightening) with an opacity of 100% and above, adding a correction layer Hue / Saturation to change the eye color.
Step 15
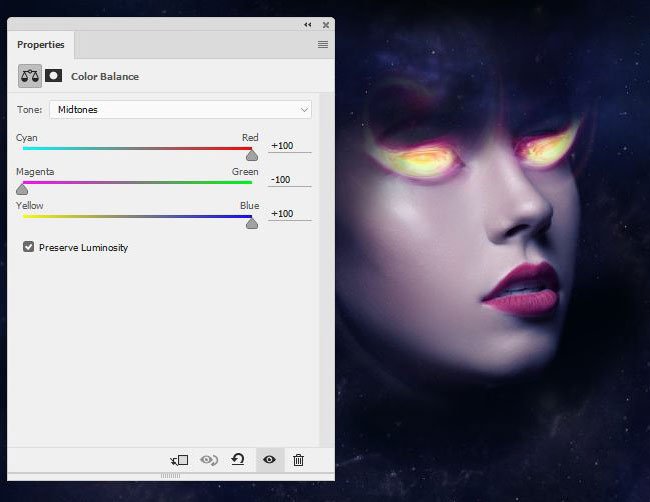
Create a Color Balance Adjustment Layer and adjust the Midtones (Medium Tones):
- Adding nebula
Step 16
We move the image of Nebula 1 to the working document and change the blending mode to Screen (Lightening) with an opacity of 100%. We go over Edit - Transform - Warp (Editing - Transformation - Deformation) and distort the form of the nebula to match the perspective of the head and eyes.
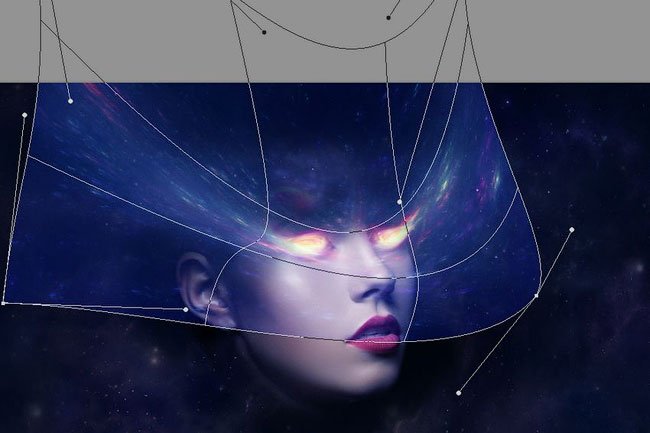
Using the mask, we adjust the edges of the nebula.
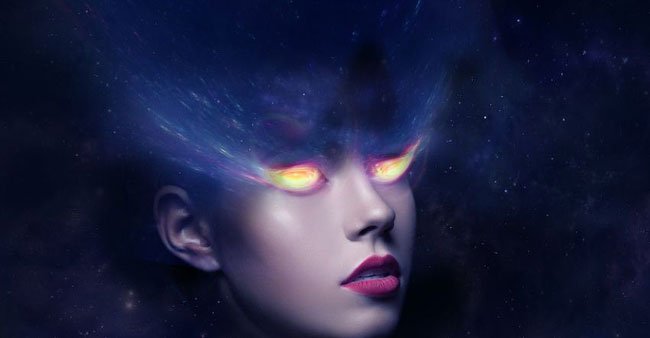
Step 17
Duplicate this layer several times (Ctrl + J) and distribute copies around the head and face, trying to achieve a clearly visible effect on the cheeks. If necessary, use a mask to get rid of unnecessary details.
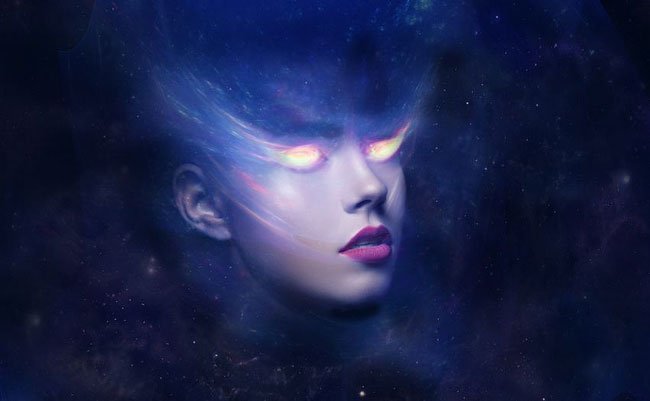
Step 18
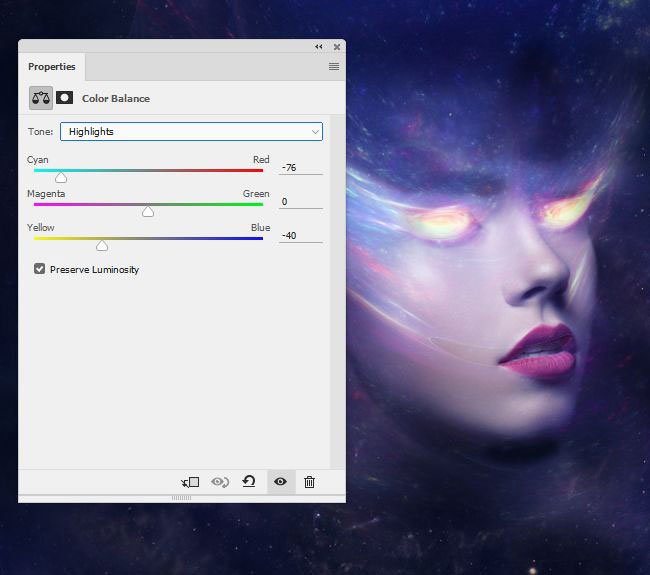
Select all layers with the nebula and add it to the group (Ctrl + G). Set the group blending mode to Screen (Lightening) with an opacity of 100%. Then add a ColorBalance correction layer and adjust the Midtones and Highlights:
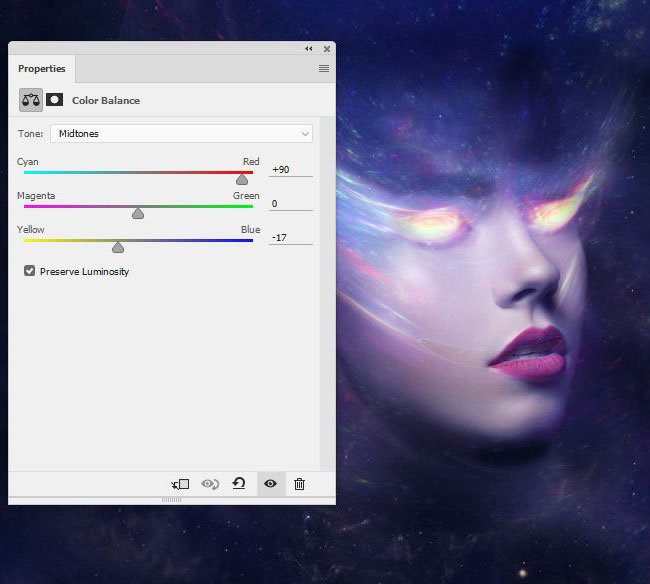
Step 19
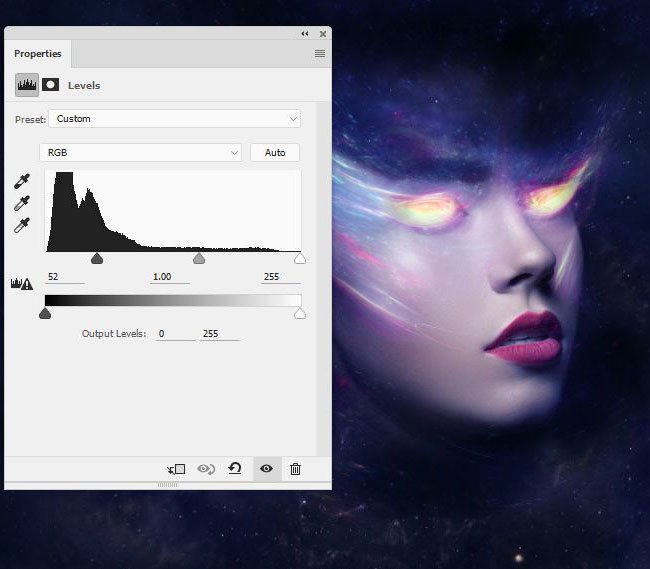
Add a Levels correction layer to hide the remaining borders and slightly soften the effect.
Step 20
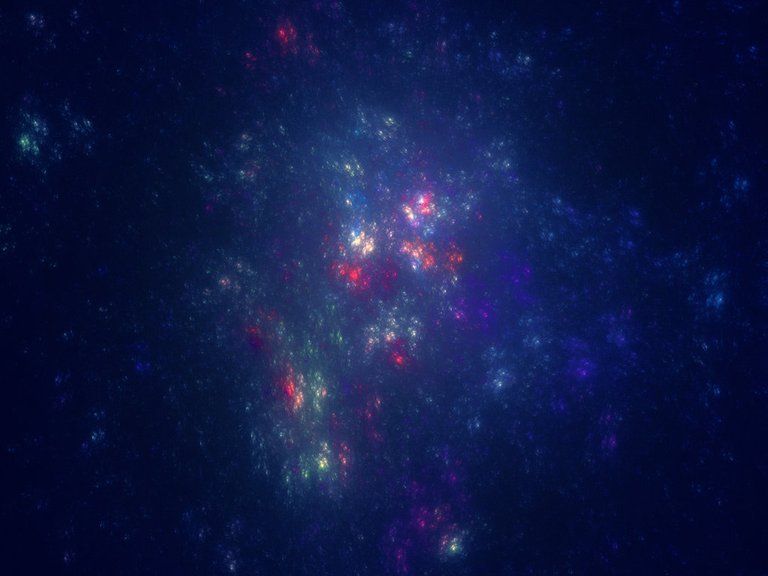
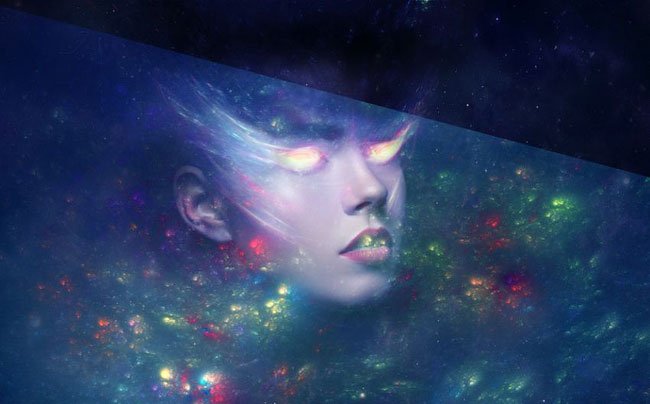
We add to the working sheet the second image of Nebula 2 and place it in the lower part. Activate the free transformation (Ctrl + T) and rotate the image as shown below. Set the layer blending mode to Screen (Lightening) with an opacity of 100%.
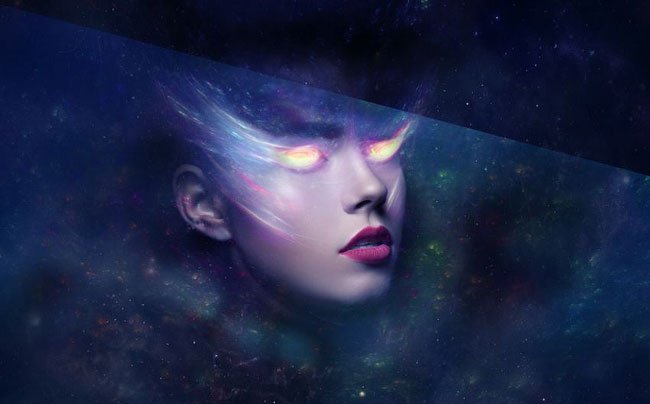
That's all for now add we will continue in part 2
Source: https://design.tutsplus.com/tutorials/create-a-fantasy-sci-fi-portrait-photo-manipulation-with-photoshop--cms-28494
Not indicating that the content you copy/paste is not your original art could be seen as plagiarism.
Repeated plagiarized art posts are considered spam. Spam is discouraged by the community, and may result in action from the cheetah bot.
#art (https://steemit.com/trending/art)
Please refrain from using “art” tag for posting other people's creations without proper attribution or explicitly stating it's not yours.
If you are actually the original author, please do reply to let us know!
Thank You!
More Info: Abuse Guide - 2017.
This post has received gratitude of 1.00 % from @jout