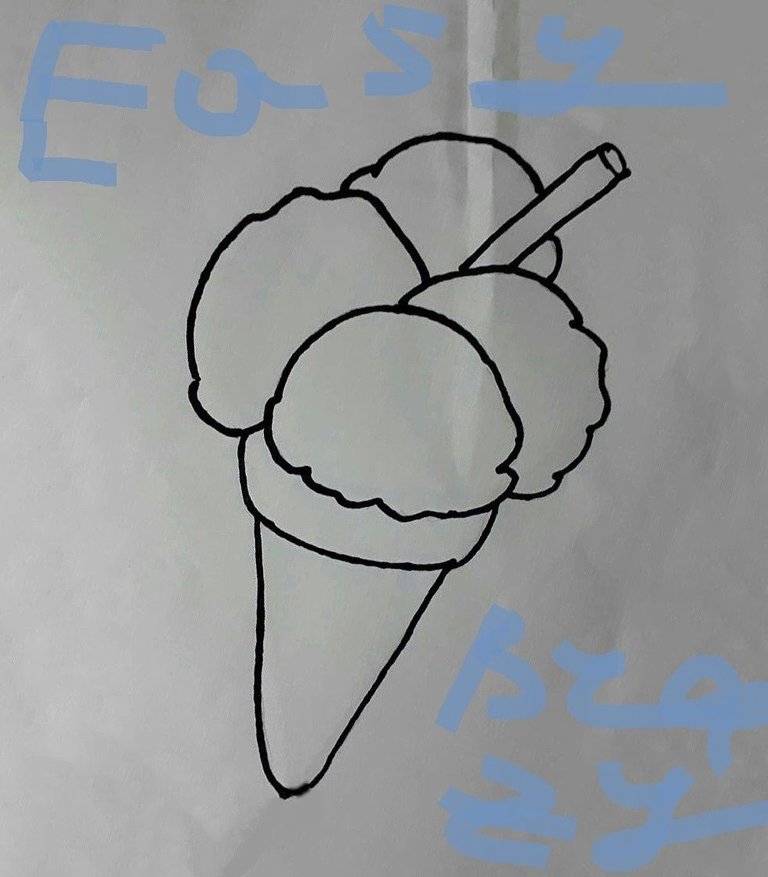
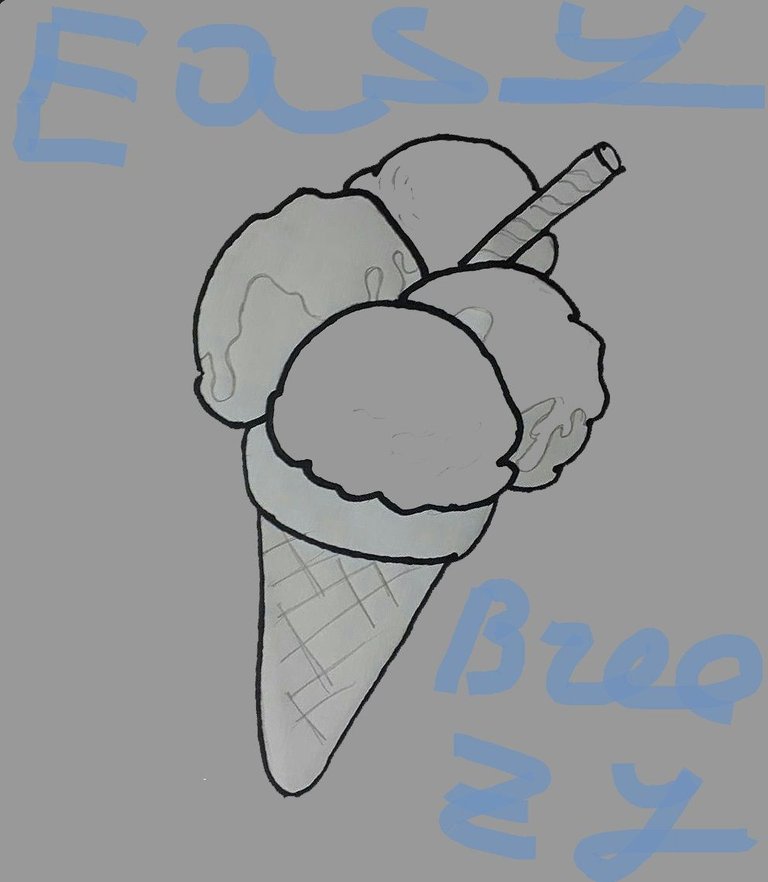
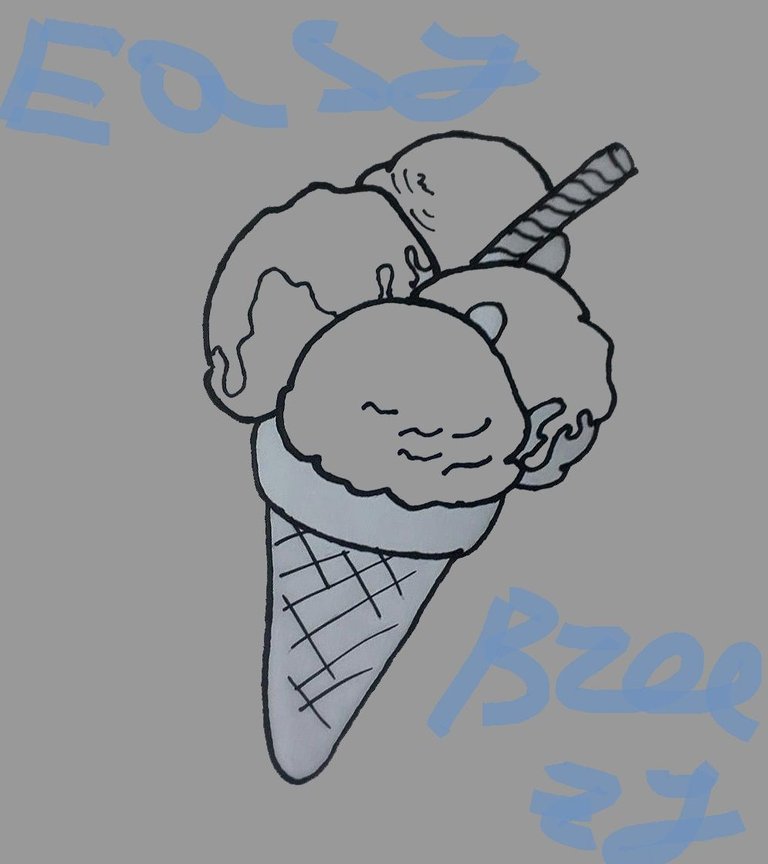
Final Results:
Version 1
Version 2
Version 3
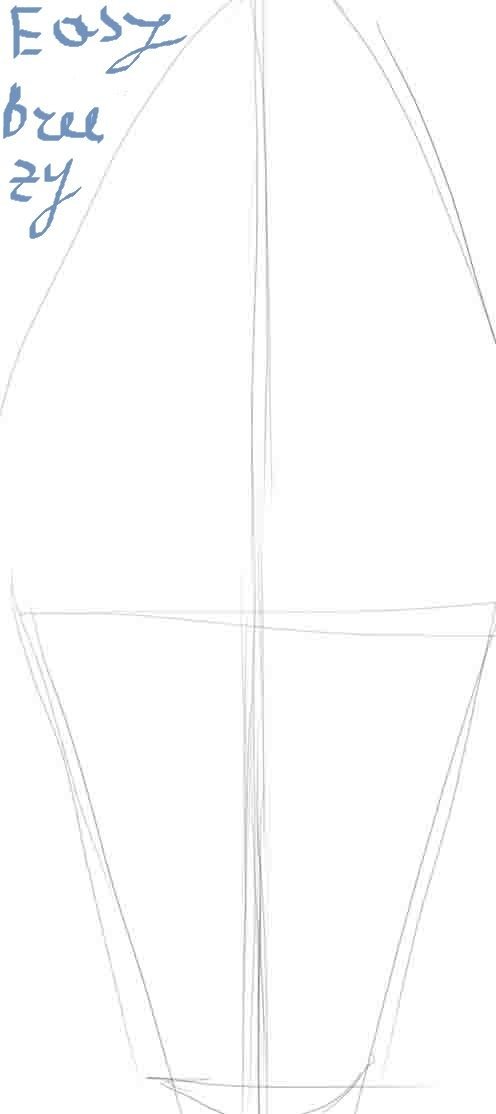
Version #1
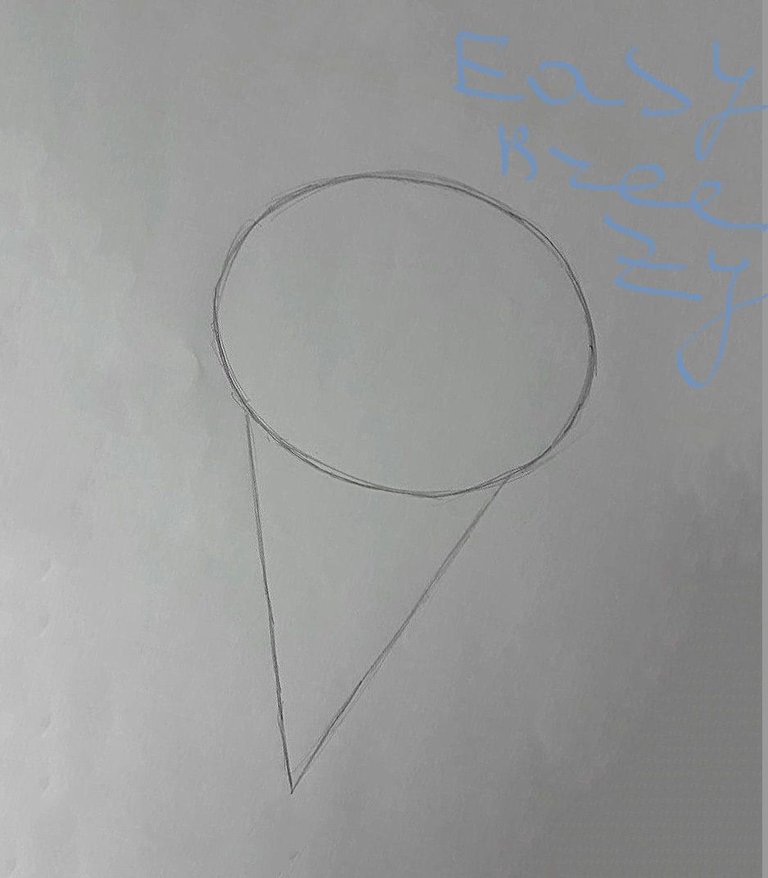
Step 1
Draw a diamond on the paper and divide it into equal parts.
Step 2
Separate the waffle horn and ice cream on it.
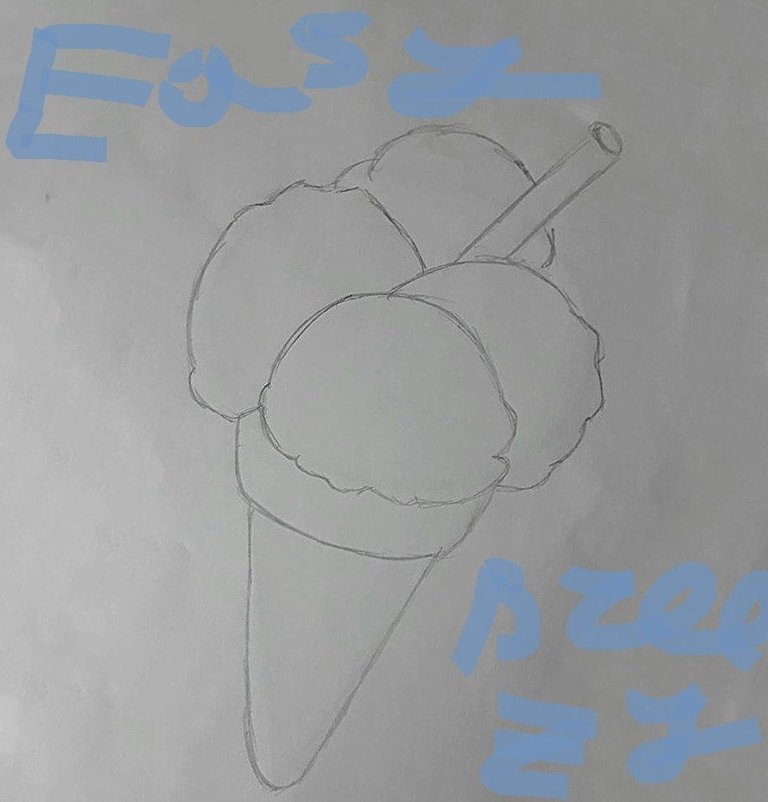
Step 3
Circle the contours of the tasty pencil, just correct the internal lines.
Step 4
With eraser remove the diamond line, clean the picture, draw the waffle horn shadows and add a few strokes on the white cream.
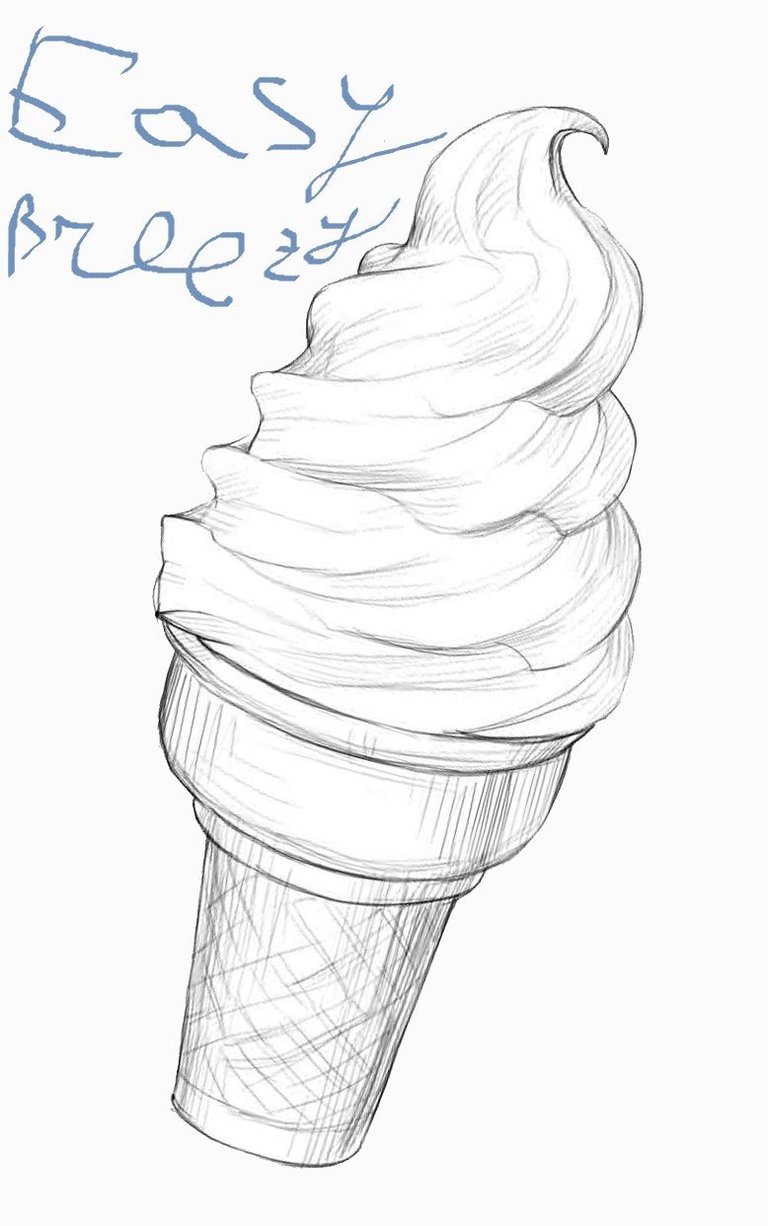
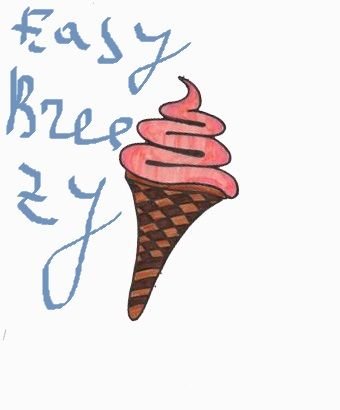
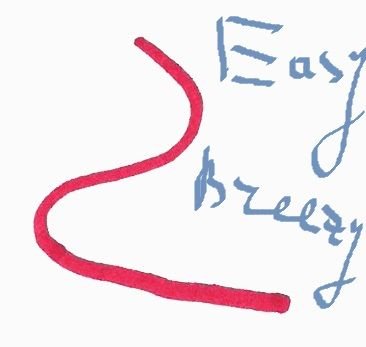
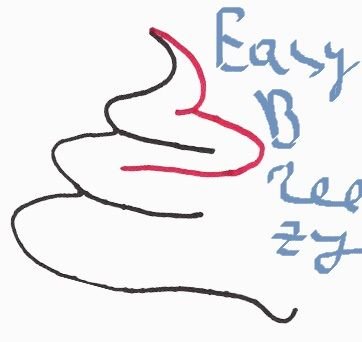
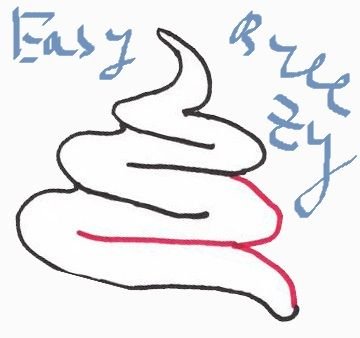
Version #2
Step 1
First draw a curved line in the form of the letter r, this will be part of the ice cream filling.
Step 2
Now draw the filler layers as shown in the picture. Note that the bottom layer is the largest in length, the second layer is medium, and the top layer is the smallest.

Step 3
Start drawing the second side of the filling of frozen yogurt.
Step 4
Finish drawing the second side of the filling, making the stuffing ready.
Step 5
Now draw the shape of the cone at the bottom of the filling, it will be a wafer tube.
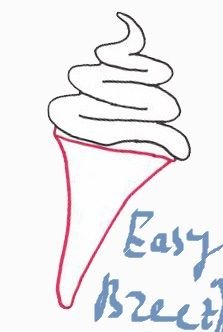
Step 6
Make a pattern on the wafer tube, as shown in the picture.

Step 7
Circle the ice cream sketch with a black felt-tip pen and sharpen the pencil. At the end, decorate the ice cream. Fill the ice cream with pink. Waffle tube decorate in a light brown and dark brown color. Everything, an ice cream cone with yogurt stuffing is painted!
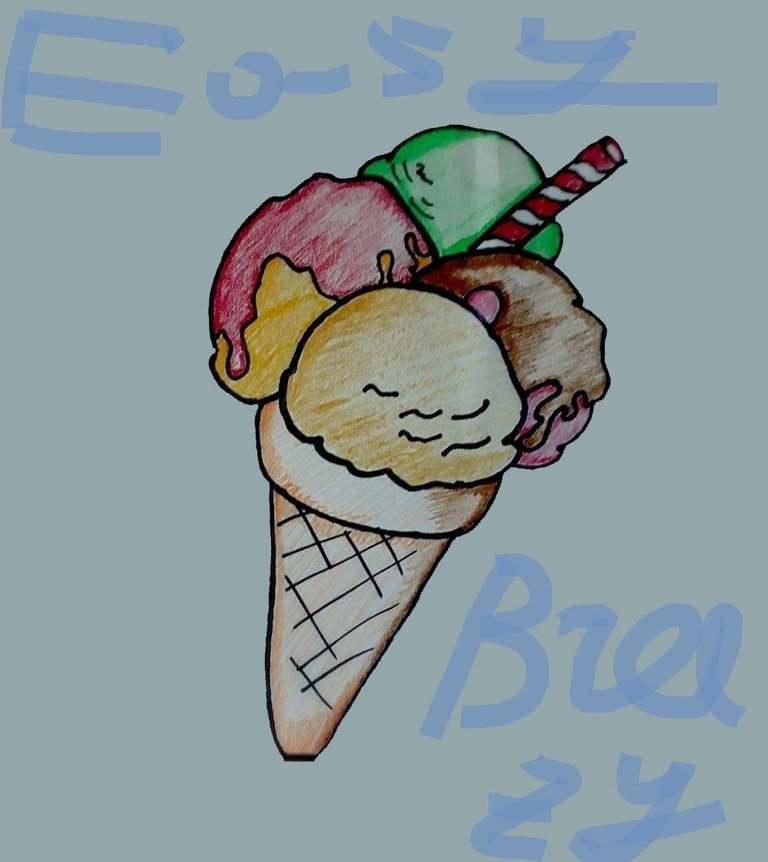
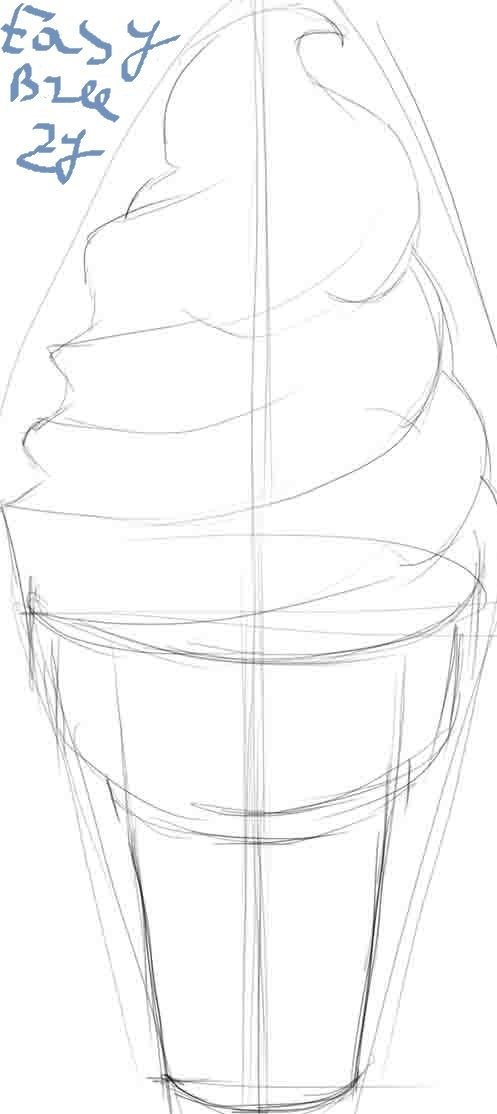
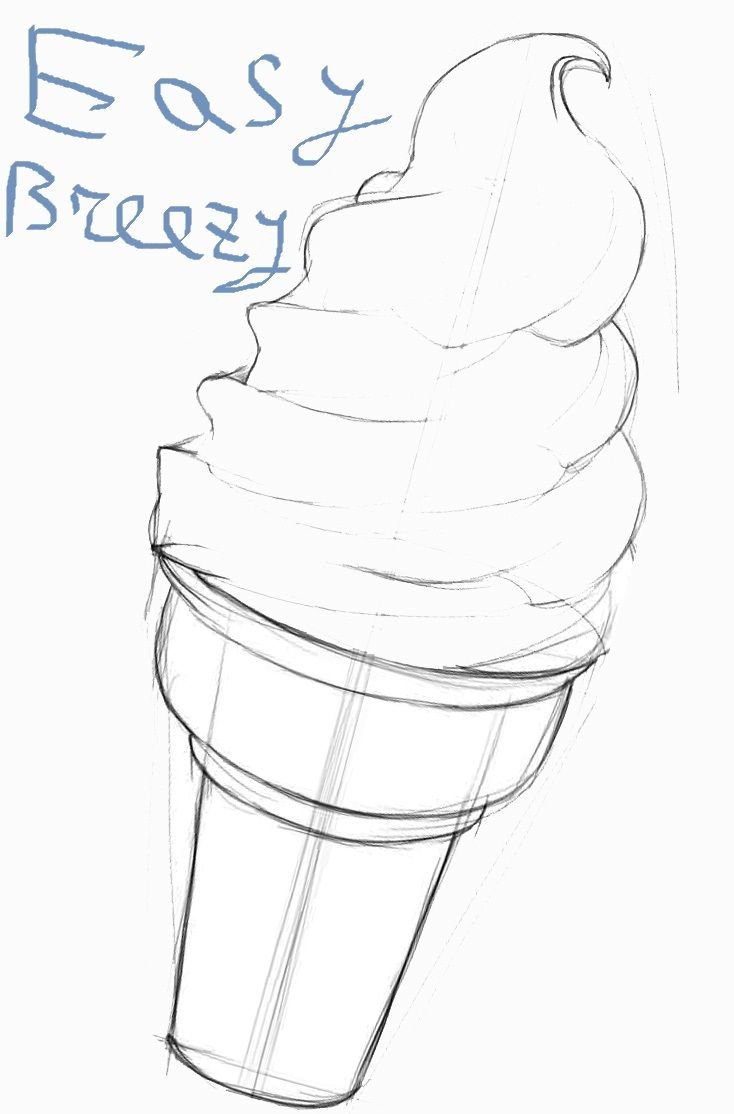
Version #3
Step 1
Draw a pencil outline of our future ice cream, on which we will navigate.
Step 2
Create a sketch of ice cream, with the help of the previous version.
Step 3
Circle the marker, pen or felt-tip pen. In my case, I took a marker.
Step 4
Draw additional "accessories" for our got this ice cream.
Step 5
Repeat all the same as in step 3, only now with additions
Step 6
The last finishing stage, the coloring of the ice cream itself. You can and do not do this, just add shadows, I decided to make the drawing color and added the paint. (Council) paint everything in one direction.
Nice post keep it up!
thx for reply sure i will make more because i like to do it.