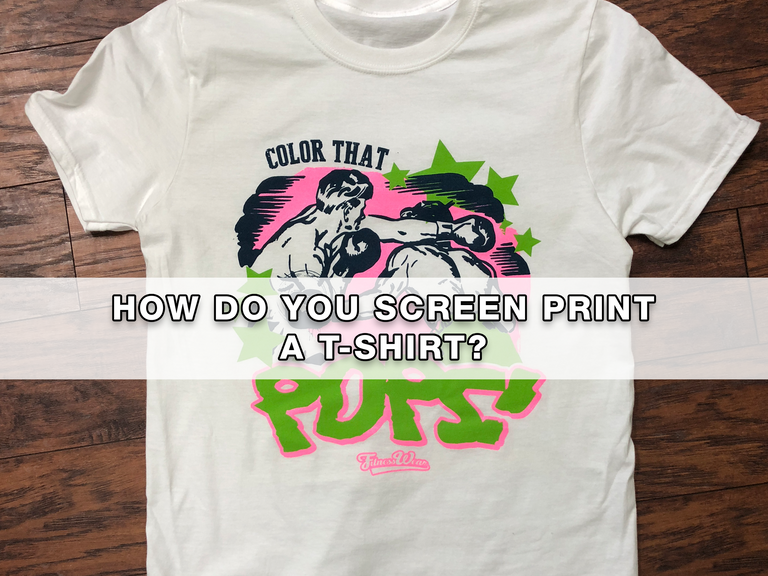
Part 2: THE PRINT RUN
This post is the second part of a 2-part post.
Part-One: Pre-Production can be found How Do You Screen Print A T-Shirt: Part 1, Pre-Prouction — Steemit
PRODUCTION
We now have our screens made and we are ready to put them on our screen printing press to begin printing. Let us take a step back for a moment to gear-up.
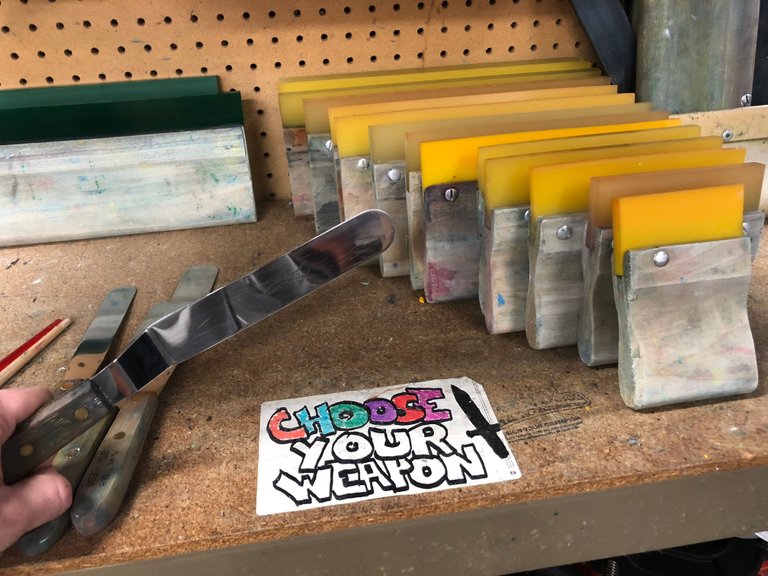
Choose Your Weapon
In order to spread ink through the stencil we need a squeegee. There are many different squeegee types for different conditions. For ink that is very viscous, you will want a hard squeegee to work through the ink easier. For a larger format design, you will need a squeegee spans the width of the design. Once you pick a proper squeegee for each screen, we will then grab the proper inks.
Get Inked Up
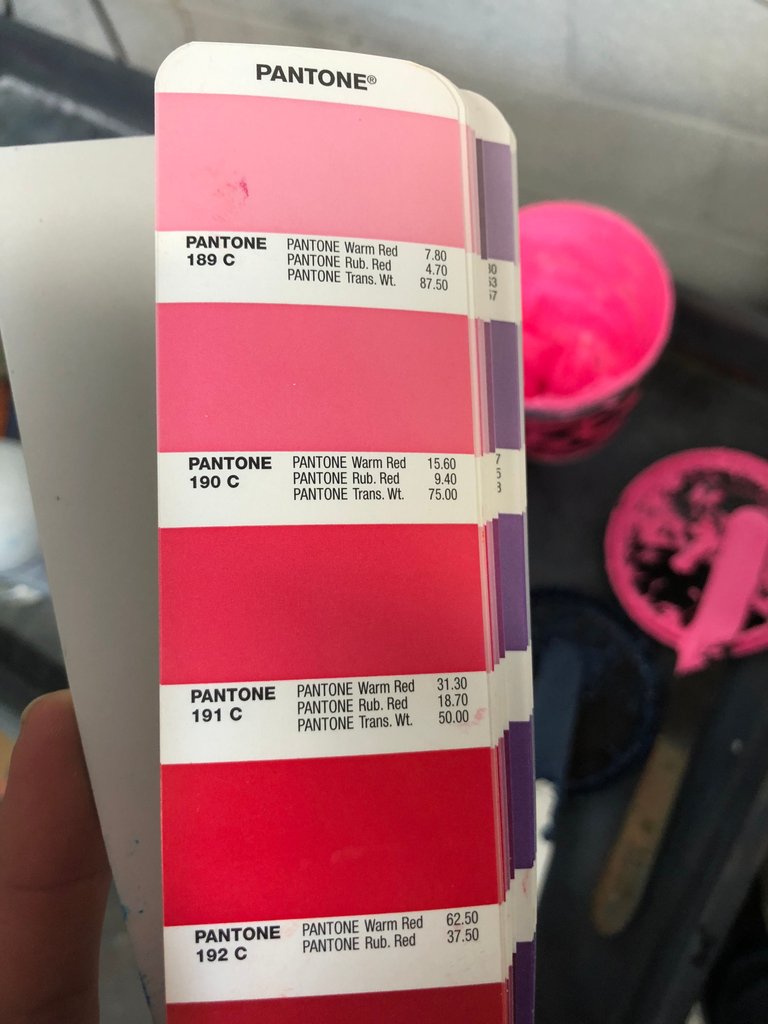
Color is a tricky SOB. Everyone has their own opinions on what “dark red” is. In order to be consistent in matching color to expectations, we use a universal color coding system.
A Pantone Chart contains every color and shade. Each color and shade is labeled with dedicated numeral code. When someone tells you that they need the PINK PMS 224C, you can easily find that exact pink in the Pantone Chart along with its formula for mixing that specific ink. There is no debate on what color to expect when using a Pantone PMS Chart.
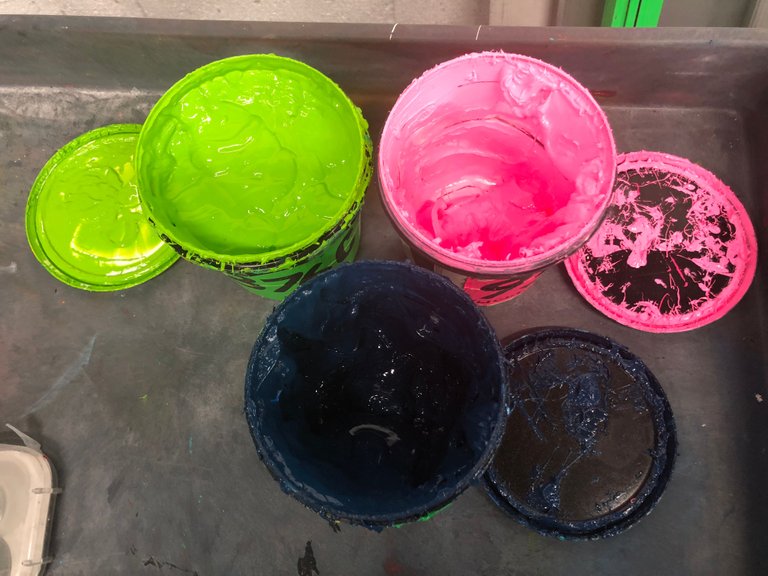
Either a customer will give us these Pantones, or we will pick a Pantone with them. Once we have our PMS Color Codes we can grab the dedicated inks.
Now we are ready to register our screens.
Registration Nation
We have already separated each color onto their own screens. Now we have to piece them back together. To start our registration process, we will take a “key” film and place it on the press platen in relation to where it will be on the shirt. The design we are printing will be a “Standard Full Chest” placement, which means we will place the logo 3” from the top of the board. This is equivalent to being 3” from the collar of the shirt.
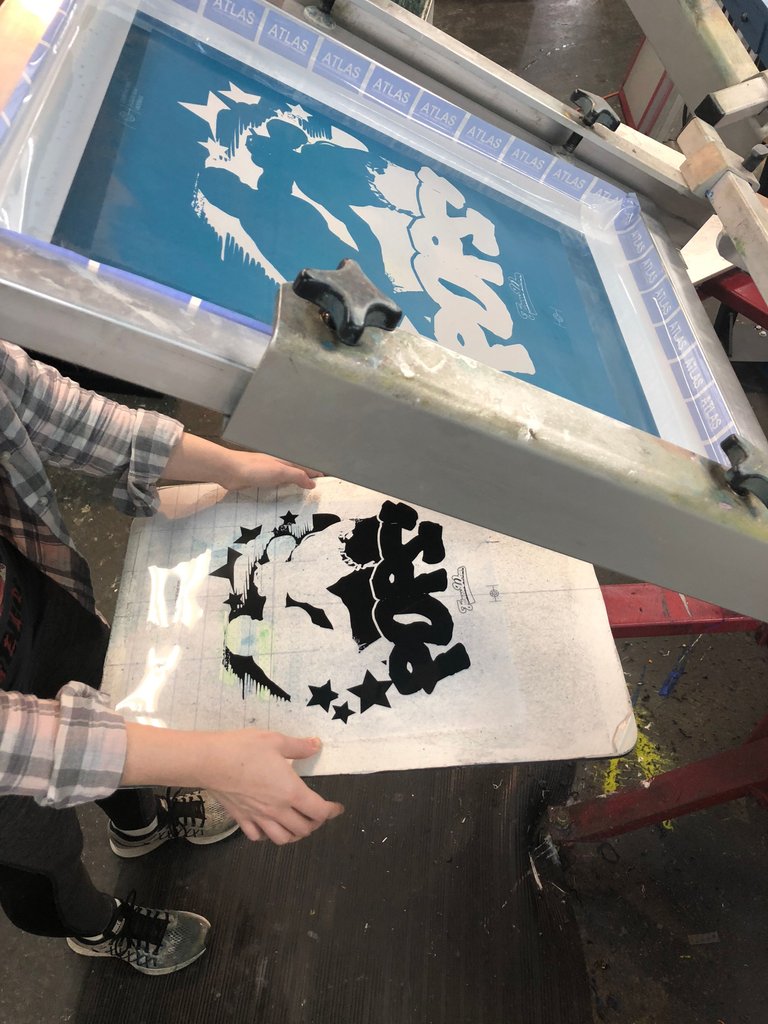
You may have noticed that there are little crosshairs on both the film and screens. The purpose of these “registration marks” is to help us line up the screen with our film. We know exactly where our design will land based on our film, so we line-up the first screen with the film and lock it into place. This process is done mostly by hand, and then refined using “micro-registration” knobs and dials.

Once the first screen is lined up, we can pull a shirt straight onto the platen and lay down our first layer of color. We take our first ink color, spread it on the screen, and then with our squeegee spread the ink onto the shirt. The stencil we created with emulsion will only allow ink to pass through the areas we washed away with the exposure step.

Now, we can’t pull the next layer onto wet ink or else you will smear that first layer. We will give the first layer a blast of heat in order to “cure” it. We put that first layer under a flash unit which will activate the ink and harden it. allowing us to pull down our next layer.

We can then register our second layer to our first printed layer (just like we did using the key film).
Once that layer is registered and locked in place, we can print our second color.

We then repeat then flash that layer and repeat the registration steps for all remaining layers.

Once everything is locked into place and registered, we can then go ahead and start the print run by repeating the print process over…and over…and over… and over…

Once a shirt has all layers printed, we need to cure the entire print. To do this we put it through a big conveyer belt dryer. This will blast the ink with even more heat and give a final cure to the ink. Uncured shirts will smear and wash and fade in the laundry.

https://d.tube/v/finkgraphics/fo5qd039
Enjoy Your Shirt
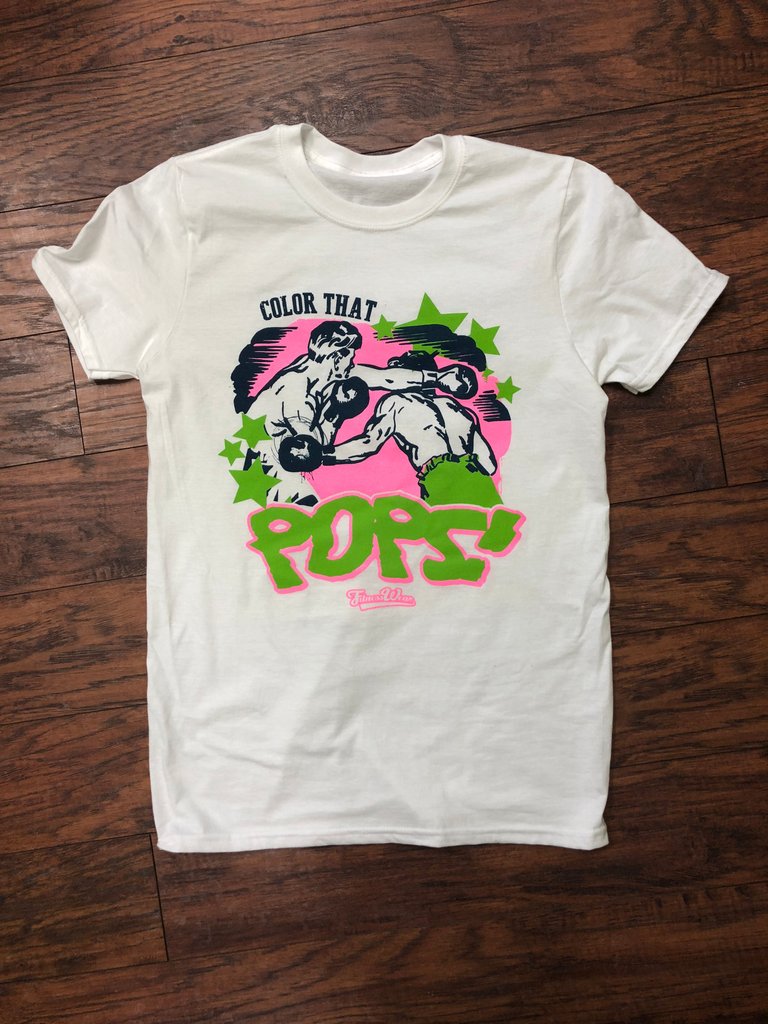
Well, that pretty much sums it up. You have received the crash course on what goes into printing a T-Shirt. I hope you learned a little bit about the process of screen printing and the many steps that go into making a design concept into a real shirt.
The process of screen printing is a fantastic art form and I plan to post more tips, tricks, and techniques. Keep your eyes peeled!
Thank you,
Justin
You can find out more about my shop at FitnessWearInc.com
Follow us on Instagram: fitnesswearinc
Like us on Facebook: fitnesswearinc
cool stuff i def want to mess around with tshirt printing one of these days nice tutorial
Thank you @wovenone They sell some pretty basic kits so you can jump in and try it out. The good thing about screen printing is that you really don't need all the machinery that I feature in this post. Everything can be done with some basic stuff. For exposure, you can even use a standard UV lamp (or even sunlight). It will just take a longer. But it works.
This is a thorough tutorial! Great job. I went to art school for one term and really enjoyed screen - especially the black room. Join the steemitartists on discord and post your tutorials there. Have a great day!
Cool! Thanks for the discord tip! I appreciate the comment!
Hey, Do you have a discord invite code to this group? I am unfamiliar with where to find it. Thank you!
Try this one https://discordapp.com/invite/KSXqztn
Thank you!
Congratulations @finkgraphics!
Your post was mentioned in the Steemit Hit Parade for newcomers in the following category:
\nIf you Like my work to promoting newcomers and give them more visibility on Steemit, feel free to vote for my witness!\nYou can do it here or use SteemConnect
Cool! Thank you!
thanks for posting! <3 <3
Thank you for commenting and resteeeming!
I bought a screen-print T eight years ago- and I still wear it. It looks new. Other Ts I wear once and the ink is broken. I'd always assumed the difference was ink quality.
It is either the screen printer didn't cure the ink properly or it is a different method of printing (DTG) which isn't as long lasting. There are many factors that can lead to a bad print lifespan, but when done properly, the printing should outlast the shirt.