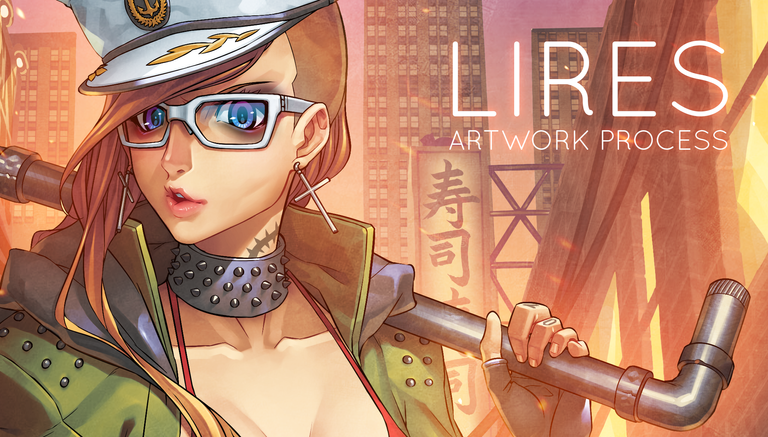
Hey you guys! Back with another tutorial. This time, we're going to render in B&W then color our artwork using Gradient Map in Photoshop.
Before I begin, I would just like to suggest that you vote for @curie for witness here https://steemit.com/~witnesses. @curie has helped a lot of artist who's just starting here on steemit, just like me.
And also check out @smartsteem! I think they're onto something amazing for quality-post steemers!
Sketching
The original idea I had was a police woman. Gangster girls are more bad-ass!
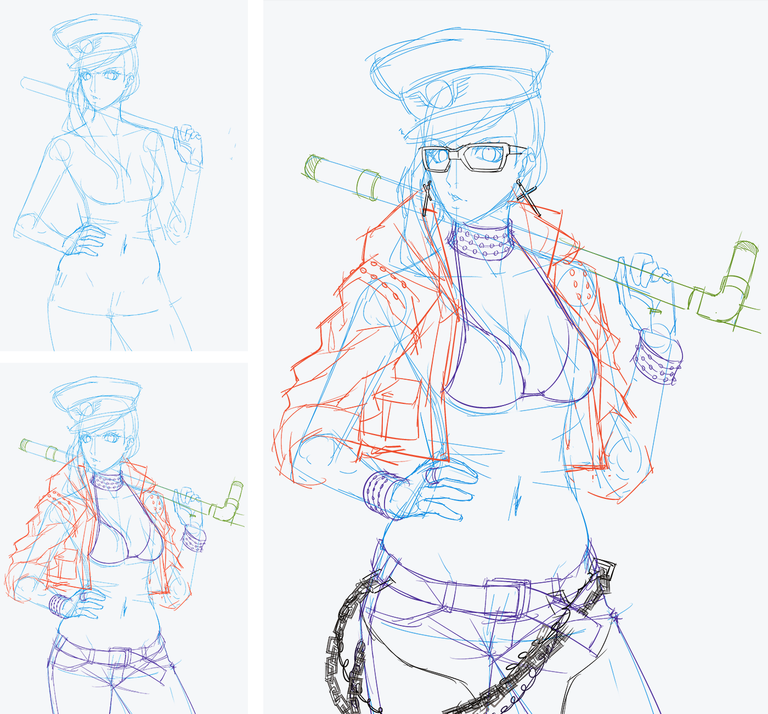
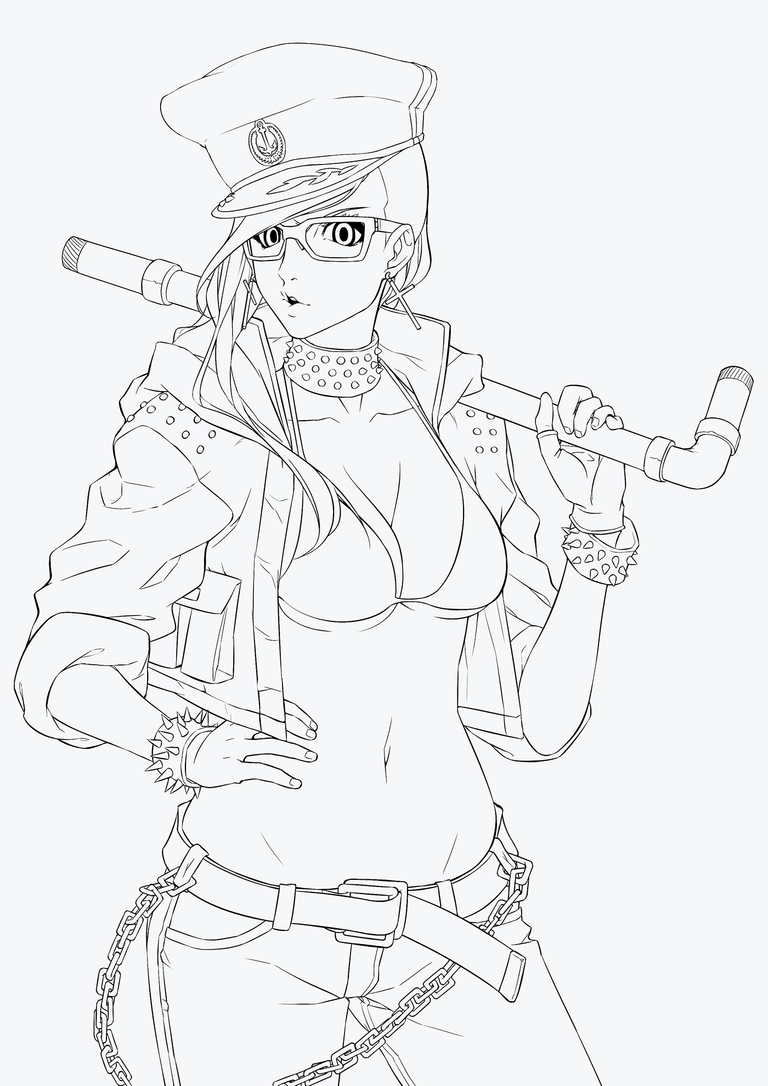
Inking
I will never ink chains and studs ever again. Ever.
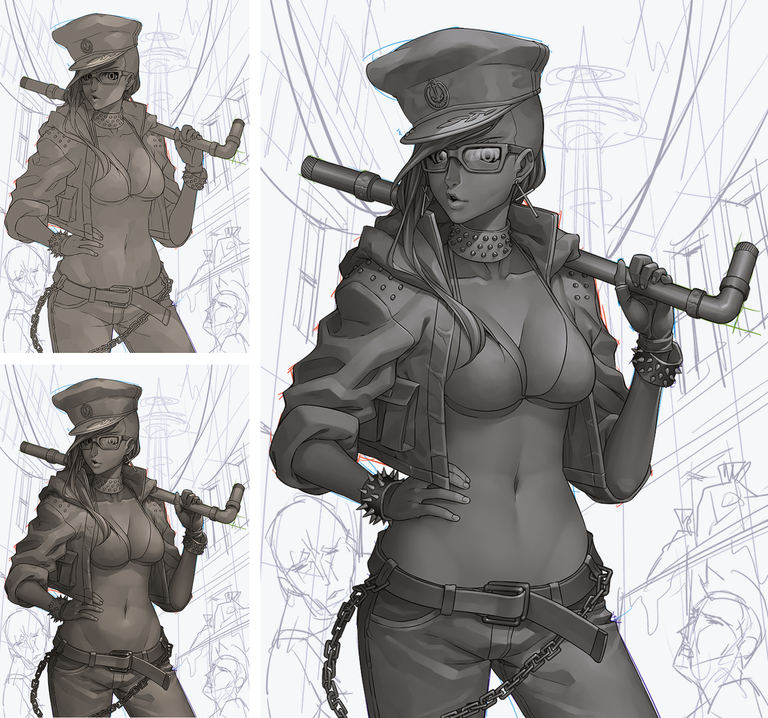
Rendering in B/W
Since I won't be making flats, I'll render this one in whole. Starting with the Mid-tone, adding Highlights then Darker Shadows.
Applying Gradient Map
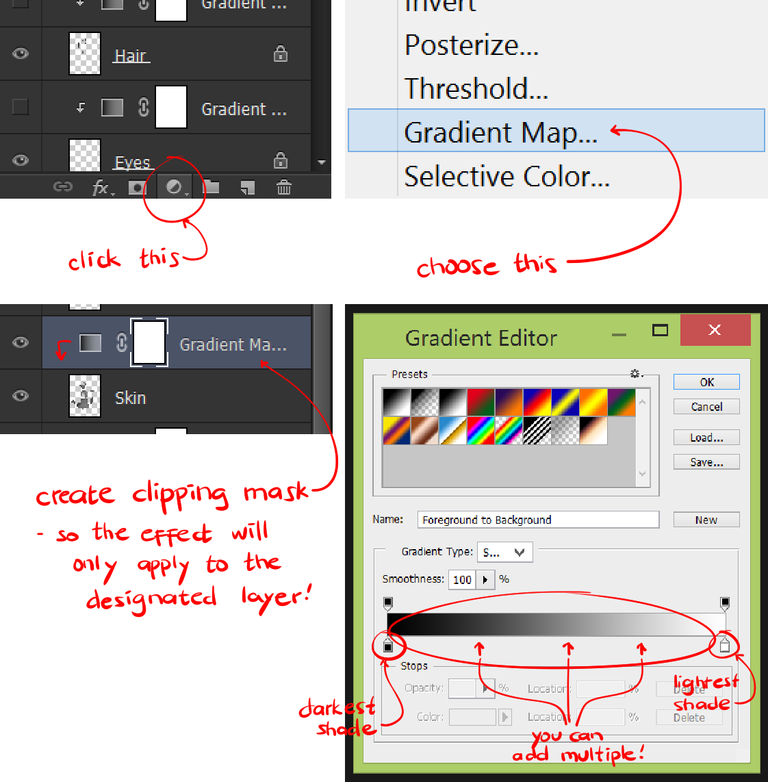
After I render her completely, I separate the parts with same colors to different layers. And I go to PS to apply the gradient map.
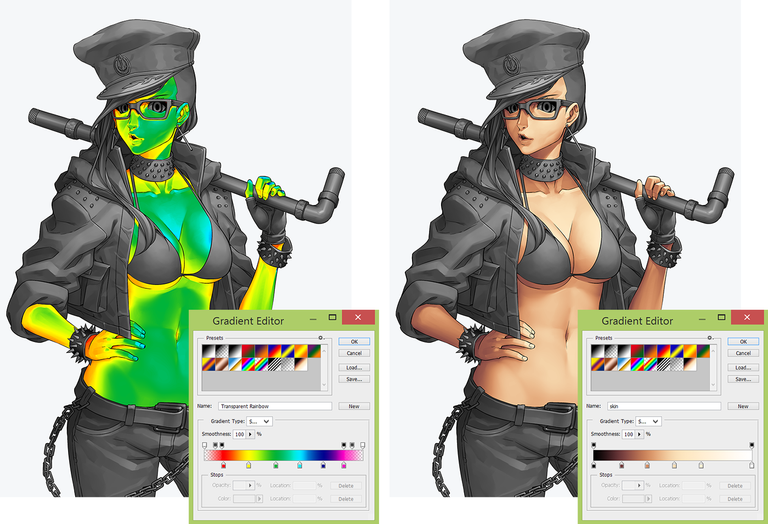
As you can see by choosing some of the presets, you can get a glimpse or an idea of how Gradient Map will have an effect to your artwork. The second one though, is not a preset. I made dis.

This is how it looks like after I've applied Gradient Map to every part of her.
Background
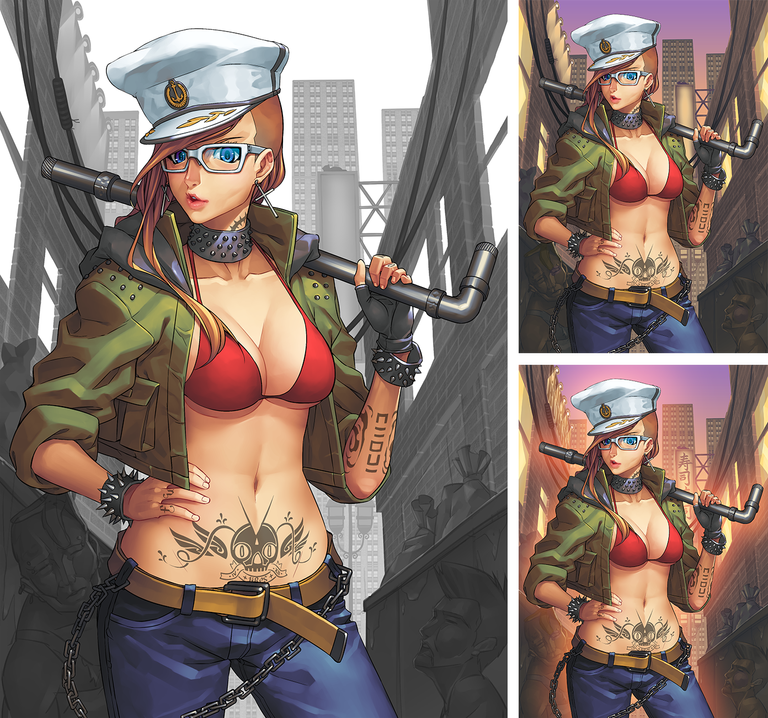
I've also rendered the BG in B&W and also applied Gradient Map.
Finishing Touches
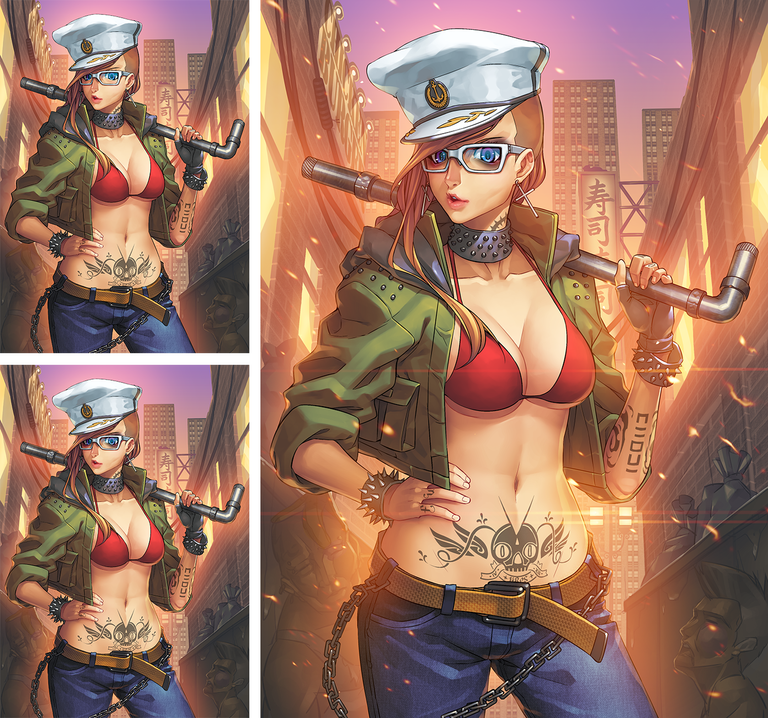
Added textures, back-light, and lens flare!
Final Product
Done!

I hope you found this art process useful. I'll try to post more tutorials. ^-^
Bye for now!
-lires
Simply amazing!
Thanks!
ohhh my goodness this is so helpful! I've been looking for tutorials explaining how to go from grayscale to color, and this was one of the best! I didn't even know the gradient map existed T-T. Thank you so much for this! One quick question: how did you separate your "same colors" into separate layers? did you magic wand select based on the lineart, switch to the grayscale, and then created a new layer from selection? Additionally, I noticed you used the same general value for the entire character in gray scale (ex: the hat midtone appears the same as the skin midtone, even though the hat ended up white). Was there a reason why you didn't put in overall base values, aside from highlights/shadows?
Thanks, Corinne! I'm glad you'll find it useful. :D
Q: How did you separate your "same colors" into separate layers? did you magic wand select based on the lineart, switch to the grayscale, and then created a new layer from selection?
A: I cut them in SAI. Since SAI has the best Magic Wand in all the programs I use. I basically just:
Q: Additionally, I noticed you used the same general value for the entire character in gray scale (ex: the hat midtone appears the same as the skin midtone, even though the hat ended up white). Was there a reason why you didn't put in overall base values, aside from highlights/shadows?
A: It would be much easier for me to color the character as if she was a statue. Since you can control the colors in gradient map anyway.
Thanks for sharing your technique - from black and white to colourful painting! 😊
Never thought about using the gradient tool like that. I really need to try this out ...
You're welcome, @artbunny! Gradient Map is really an amazing tool! You can even use more than 2 colors.
There is so much in this post that I have never practiced before, but I think would be so much fun to give it a try. I have used gradient maps before in photo restoration, but I never thought to use it when making art. Thank you so much for going in details and showing the steps! Why is it that your initial sketch uses several different colors?
Cool! :D
Well, sketches can be messy sometimes. And I tend to forget to what part a sketch I did belong to after a while. So, if I sketch every part of the jacket, for example, in red, I'd know that every part that's sketched in red is a part of the jacket. ^-^
I love the art style!
Thanks! :D
This post has received gratitude of 28.46 % from @appreciator thanks to: @lires.
This is awesome!!! Thanks for sharing.
Sure thing! :D
This post has received a 8.12 % upvote from @buildawhale thanks to: @lires. Send at least 1 SBD to @buildawhale with a post link in the memo field for a portion of the next vote.
Steem WitnessTo support our daily curation initiative, please vote on my owner, @themarkymark, as a
Thank you for sharing, love it. :)