![]()


The most important element in the creation of graphics is the selection of appropriate dimensions, but it is best to do it in a higher resolution than is given to us, because you can always reduce it, and when zooming will lose quality.
As we know, the avatar has the shape of a square, and mainly dimensions are:
- 150x150
- 200x200
- 250x250
Therefore, it is best to create it in dimensions 500x500 or larger.

If you have no idea on what topic to create your avatar, think about your favorite game, character, pet or something that describes you. There's a lot of options.

Normally the coloring is selected under the background or some element on the avatar, which occupies a significant part of the space.
In this guide you will be able to choose the color you want.


After creating a new 500x500 or larger image, we choose the background that we want to use (https://www.google.com/imghp?hl=en)
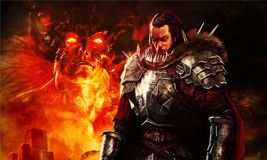
∟ In my case, this is the background from Bound by FlameThen set the background in our image as it suits us
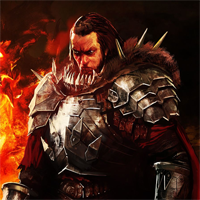
∟ I wanted to take the hero, not the demon, so I did it that wayUnder the layer with the background, we put the color 10;10;10 | #0a0a0a on the RGB scale and then set the opacity of the layer with the background to 10%
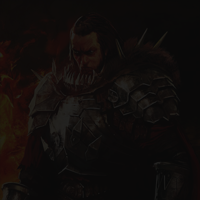
∟You should get something like thisWe add another layer in the color in which we want to make our avatar and change the layer mode from ordinary to color
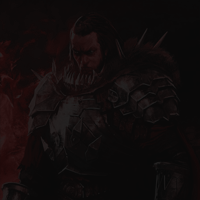
∟My avatar will be in red 245;15;15 | #f50f0f on the RGB scaleNow the only thing left for us is to paint on the top and bottom with this brush in this way
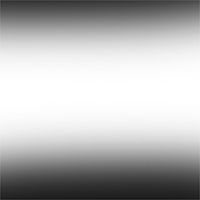
∟We do this to emphasize the center
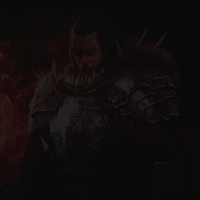
∟ And this is how our background should look like

We create a inscription that takes a little more than half the width of our avatar and set it in the middle
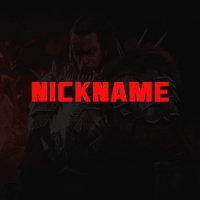
∟It is important to choose the right font. In my case this is the font "Jhiaxus"
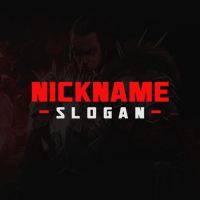
∟If you want, you can also add a slogan or signature. When you decide to make a slogan / signature and if you want it to be in white, make it in light gray I suggest color 230;230;230 | #e6e6e6 on the RGB scaleNow we are going to edit the text. We add a top --> down (-90 °), gray --> white gradient to it a scale over 100% and the "Linear dimming" mode
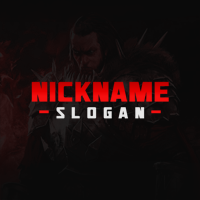
Then, we add to both our nickname and the slogan / signature an internal glow, whose range is 1%, opacity is 80%, and the "Soft light" mode
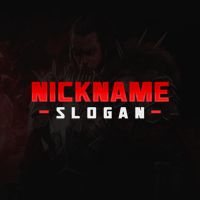
∟ That should be the end result of our work


Najważniejszym elementem podczas tworzenia grafiki jest dobranie odpowiednich wymiarów, ale najlepiej jest zrobić w większej rozdzielczości niż jest nam to podane, ponieważ zawsze można go zmniejszyć, a podczas powiększania straci jakość.
Jak wiemy avatar ma kształt kwadratu, a głównie jego wymiary wynoszą:
- 150x150
- 200x200
- 250x250
Dlatego najlepiej go tworzyć w wymiarach 500x500 lub większych.

Jeśli nie masz pomysłu na jaki temat stworzyć swój avatar, to pomyśl o swojej ulubionej grze, postaci, zwierzaku lub o czymś co cię opisuje. Opcji jest naprawdę wiele.

Normalnie kolorystyka jest dobierana pod tło lub jakiś element na avatarze, który zajmuje znaczną część miejsca.
W tym poradniku będziecie mogli wybrać kolor dosłownie jaki chcecie.


Po stworzeniu nowego obrazu 500x500 lub większego, wybieramy tło, którego chcemy użyć (https://www.google.com/imghp?hl=pl)

∟ W moim przypadku jest to tło z gry Bound by FlameNastępnie ustawiamy tło w naszym obrazie tak jak nam pasuje

∟ Ja chciałem wziąć na pierwszy plan bohatera, a nie demona więc zrobiłem to w ten sposóbPod warstwę z tłem podkładamy kolor 10;10;10 | #0a0a0a w skali RGB po czym ustawiamy krycie warstwy z tłem na 10%

∟Powinno wyjść coś takiego
Dodajemy kolejną warstwę w kolorze, w którym chcemy zrobić swój avatar i zmieniamy tryb warstwy ze zwykłej na barwę

∟Mój avatar będzie miał kolor czerwony 245;15;15 | #f50f0f w skali RGBTeraz jedyne co nam pozostało, to na górze i na dole pomalować pędzlem w ten o to sposób.

∟Robimy to po to, żeby uwydatnić środek

∟ A tak powinno wyglądać nasze tło

Tworzymy napis który zajmuje trochę więcej niż połowa szerokości naszego avatara i ustawiamy go pośrodku

∟Ważnym jest wybrać odpowiednią czcionkę. W moim wypadku jest to czcionka "Jhiaxus"

∟Jeśli chcesz możesz również dodać jakiś slogan lub podpis. Jak zdecydowałeś się na zrobienie sloganu/podpisu i jeśli chcesz by był w kolorze białym, zrób go w kolorze jasno-szarym proponuję kolor 230;230;230 | #e6e6e6 w skali RGBTeraz przechodzimy do edycji tekstu. Dodajemy do niego gradient góra-->dół (-90°), szary-->biały w skali ponad 100% i trybem "Ściemnianie liniowe"

Następnie zarówno do naszego nicku jak i sloganu/podpisu dodajemy blask wewnętrzny, którego zakres wynosi 1%, krycie wynosi 80%, a tryb jest ustawiony na "Łagodne światło"

∟Taki powinien być efekt końcowy naszej pracy
Congratulations @lizcon! You received a personal award!
You can view your badges on your Steem Board and compare to others on the Steem Ranking
Do not miss the last post from @steemitboard:
Vote for @Steemitboard as a witness to get one more award and increased upvotes!
Congratulations @lizcon! You received a personal award!
You can view your badges on your Steem Board and compare to others on the Steem Ranking
Vote for @Steemitboard as a witness to get one more award and increased upvotes!