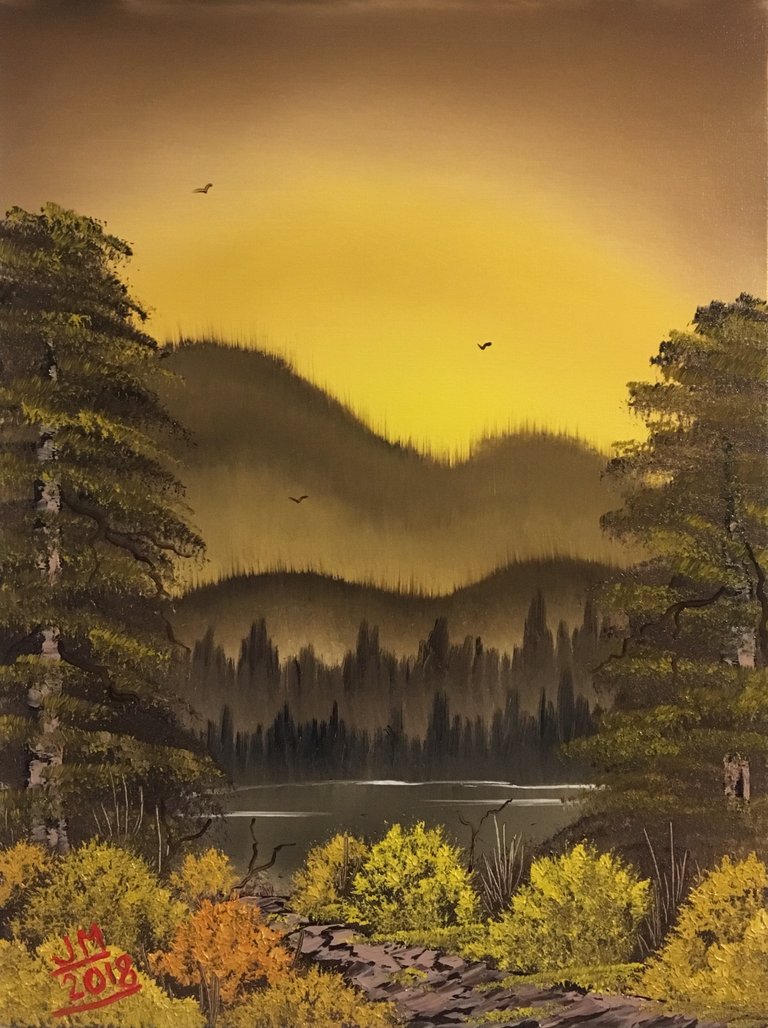
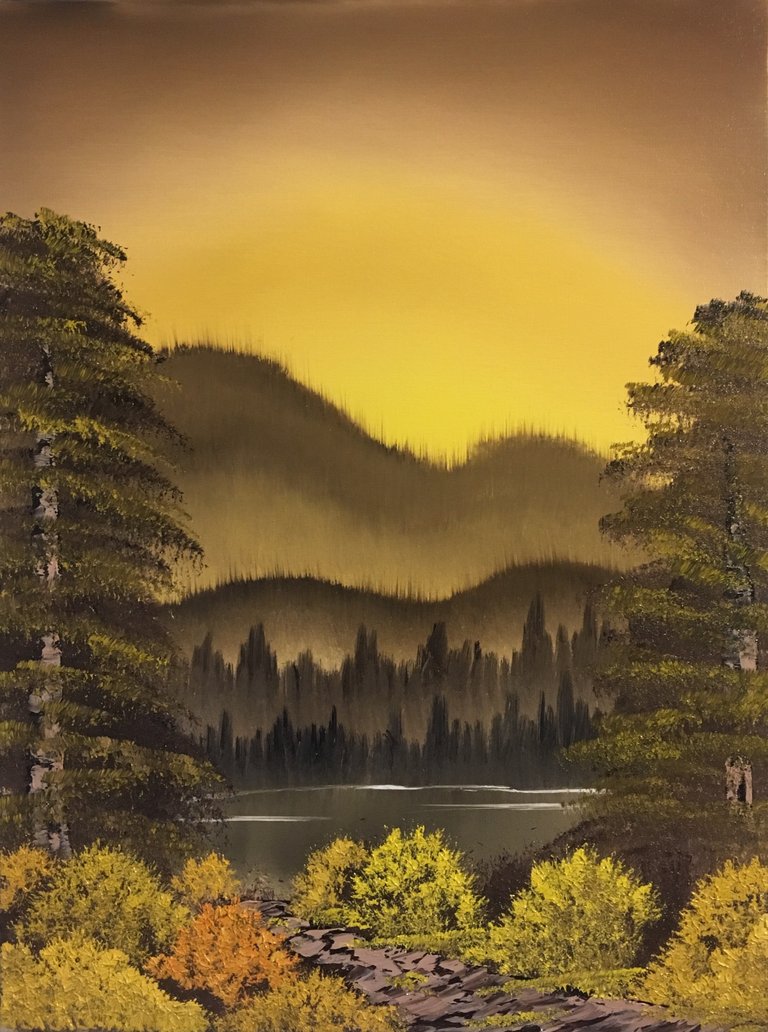
Hey Steemit Friends! Here's the step by step process of my painting, "Autumn Evening".
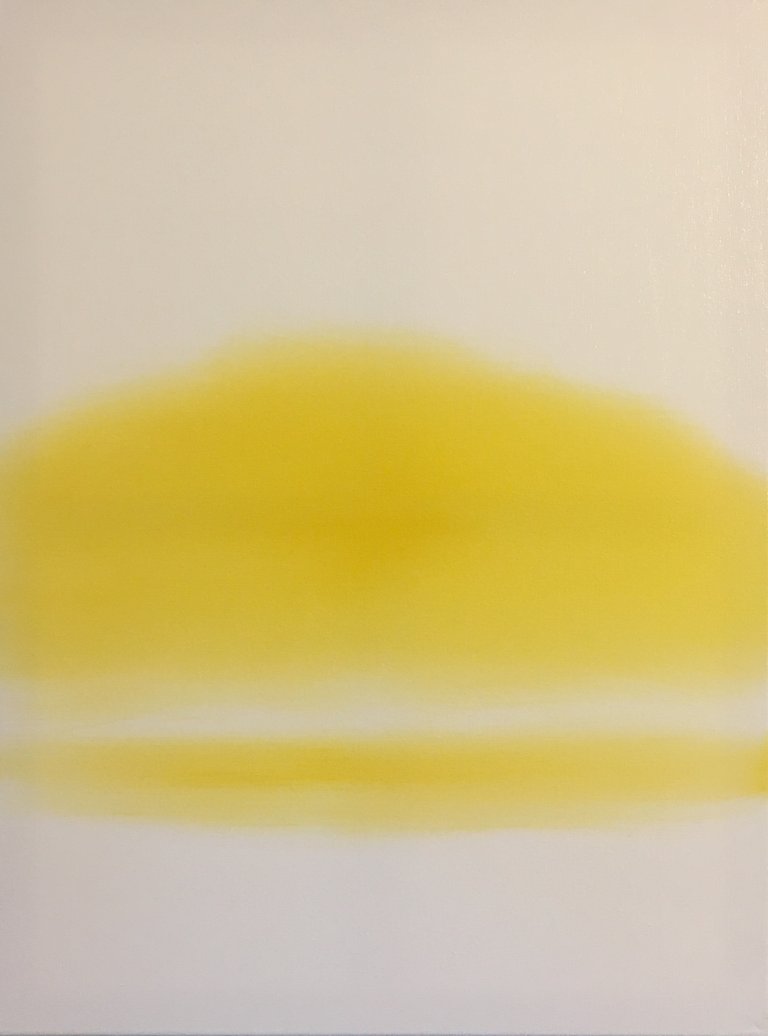
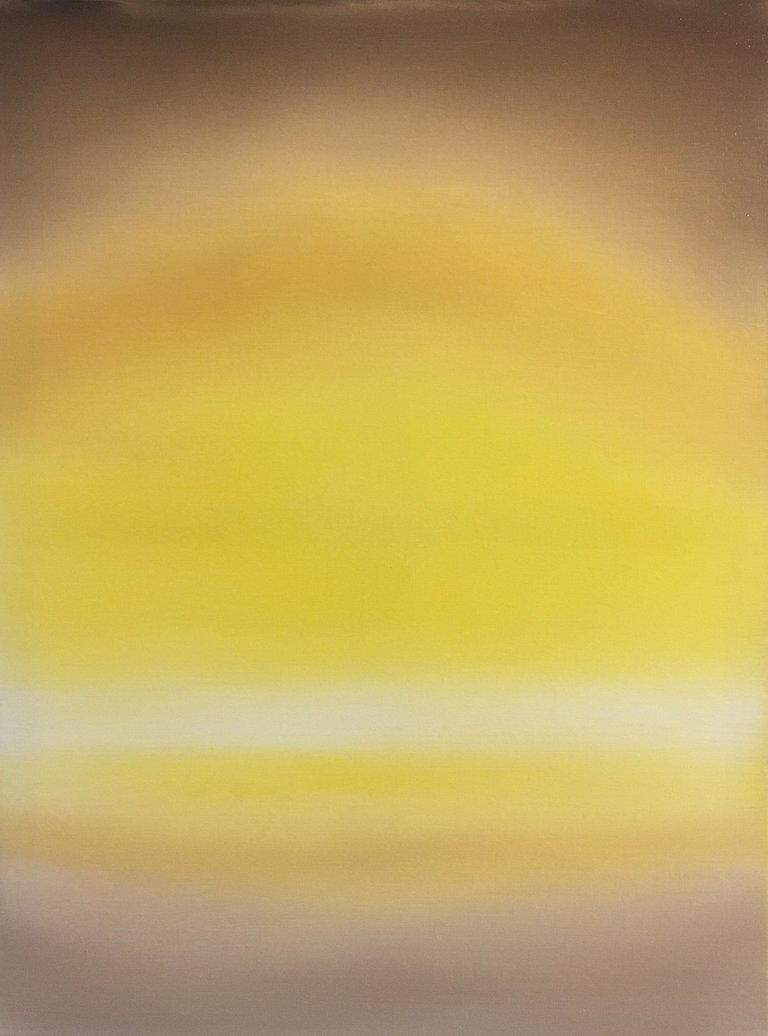
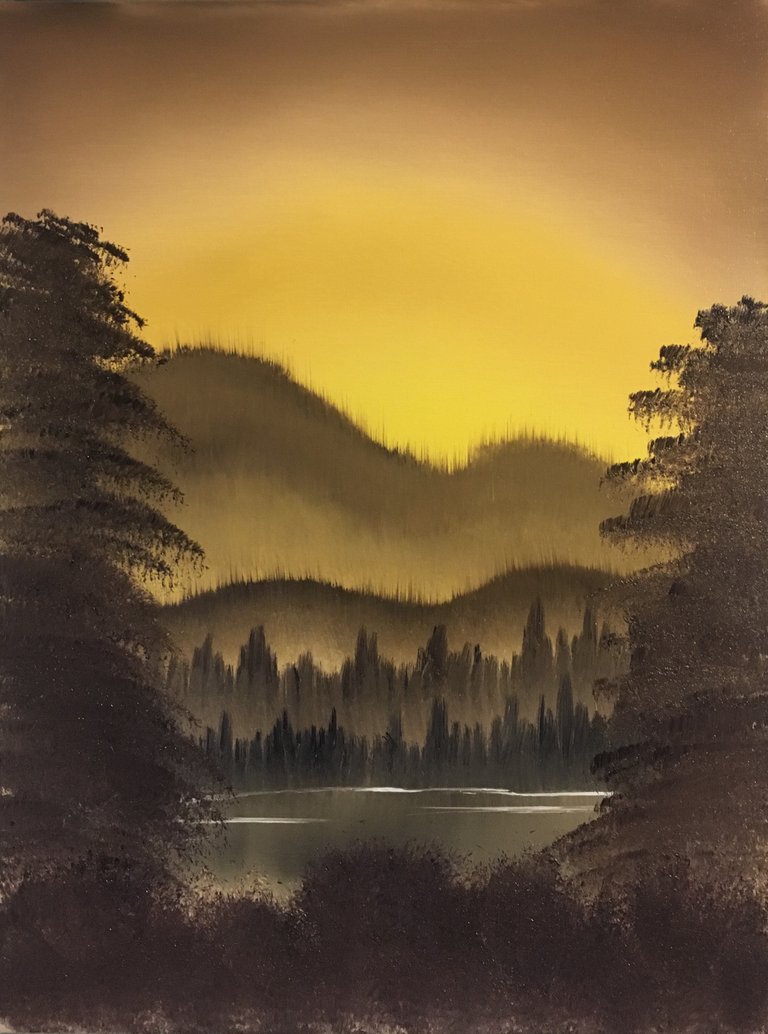
The first thing I did is put on a thin even coat of the Liquid White, and then I got my 2-inched brush and coated it with just a little touch of the Indian Yellow and used criss-cross strokes and put some of the color in the middle of the canvas, and a little on the bottom for the reflections since they'll be water.
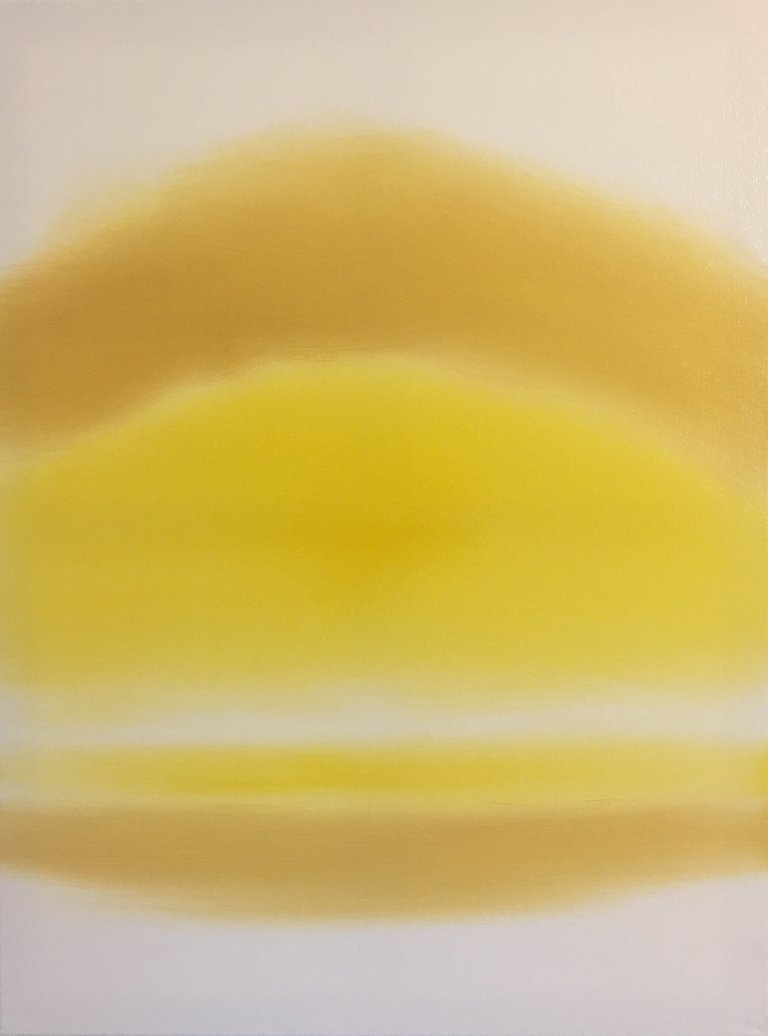
Without cleaning the brush, I coated it with some Yellow Ochre and did some strokes on top of the Indian Yellow and added some on the bottom as well.
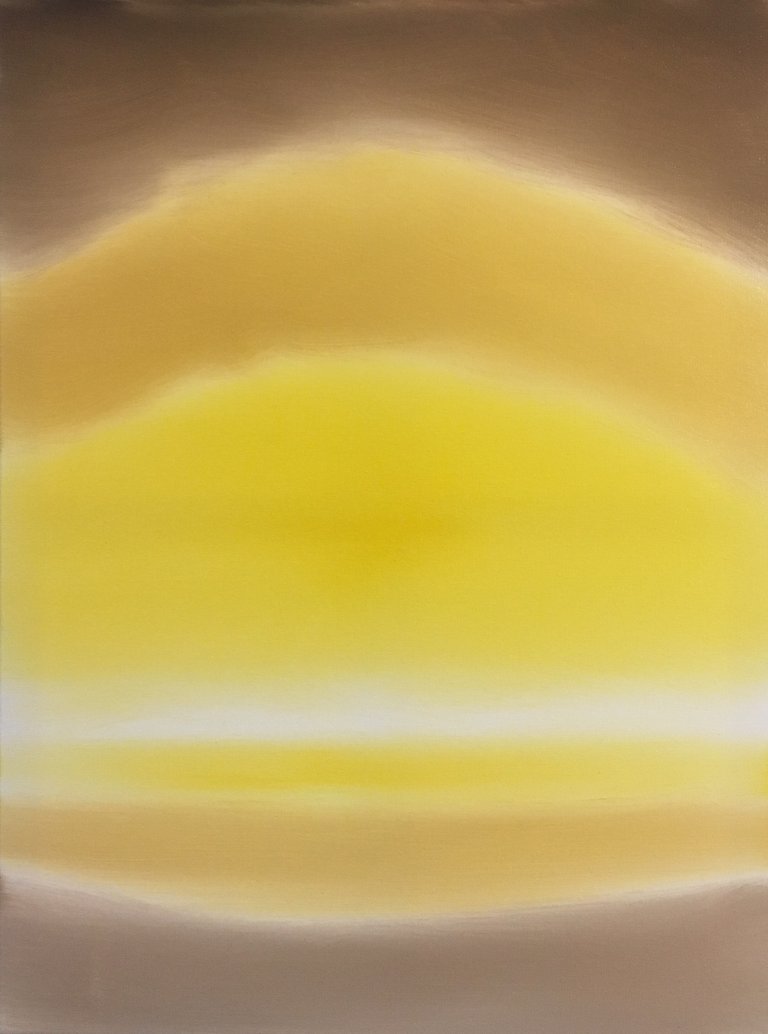
Then with my Palette Knife, I mixed together some Alizarin Crimson and Sap Green to make a beautiful chocolate brown. After cleaning my 2-inched brush, I coated it with the brown color and painted some criss-cross strokes from the top of the canvas and worked downward toward the Yellow Ochre, and toward the bottom to complete the sky reflections. Afterward, I cleaned the brush with paint thinner, dried and beat the devil out of it, and then I blended the whole sky and reflections to blend in and soften the colors; the sky and the reflections.
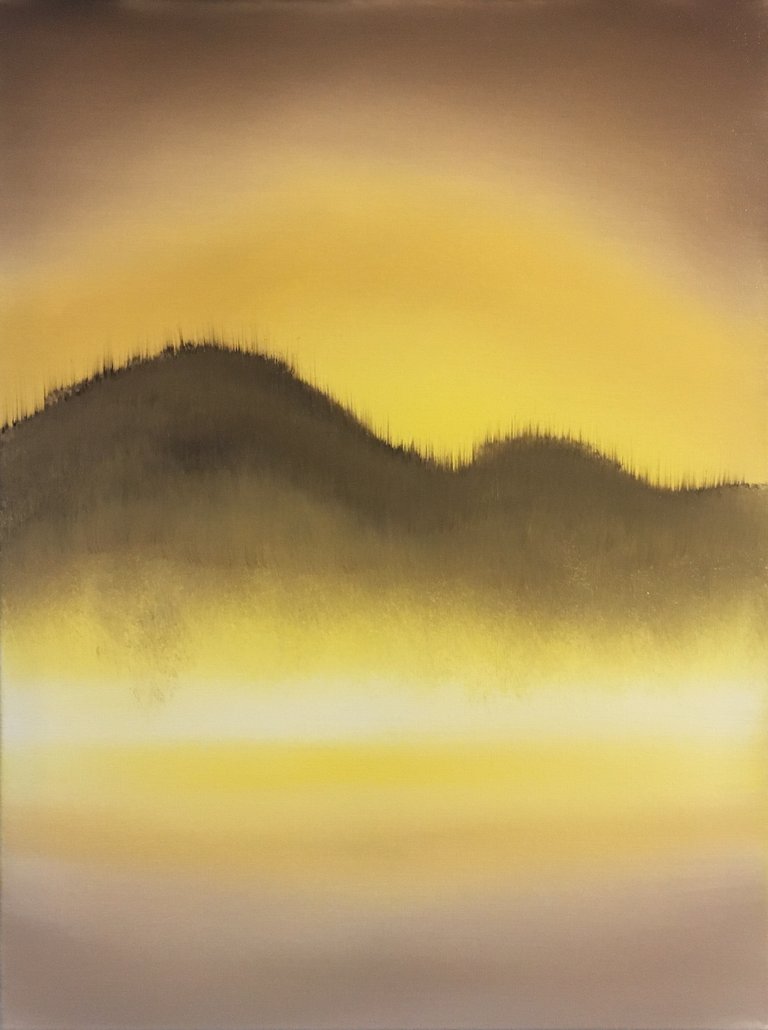
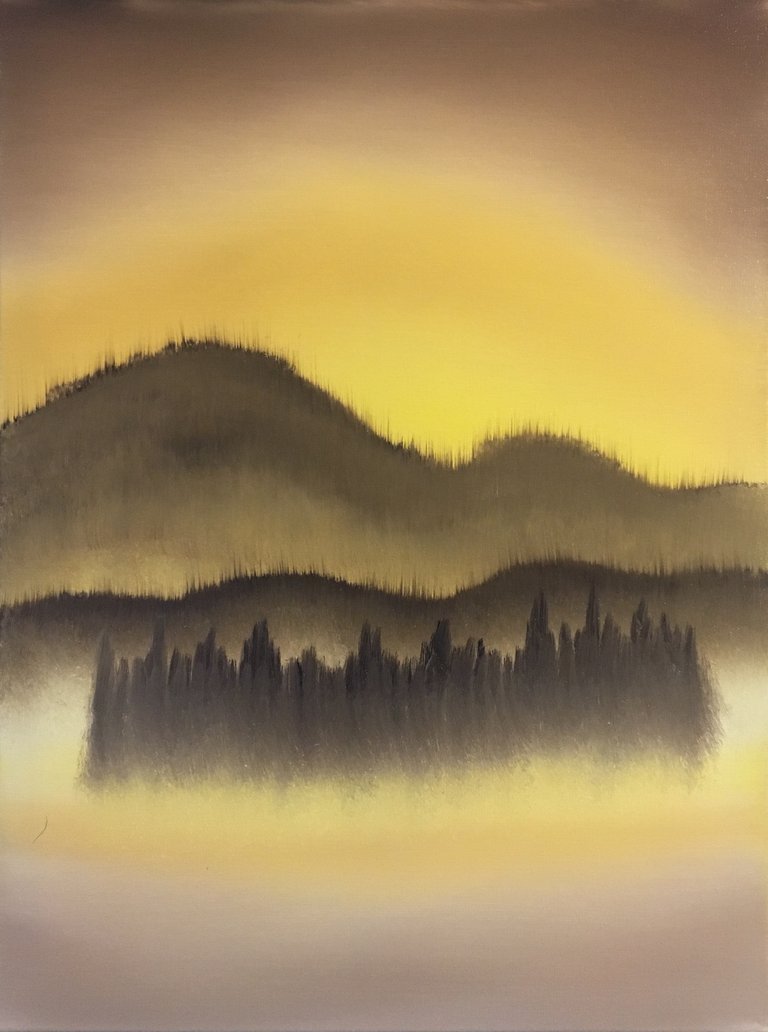
Next I took my Knife and mixed Van Dyke Brown, Midnight Black, and Dark sienna to make another brown color. Then with another dry 2-inched brush, I coated it with the brown color, tapping firmly into the bristles of the brush. Now, by just tapping firmly onto the canvas I've created a big foothill in the distance, working downward. With another dry 2-inched brush, I lifted the color up a little to make the distant pine tree look, and afterward I went toward the bottom of the foothill and tapped firmly to make the allusion of mist.
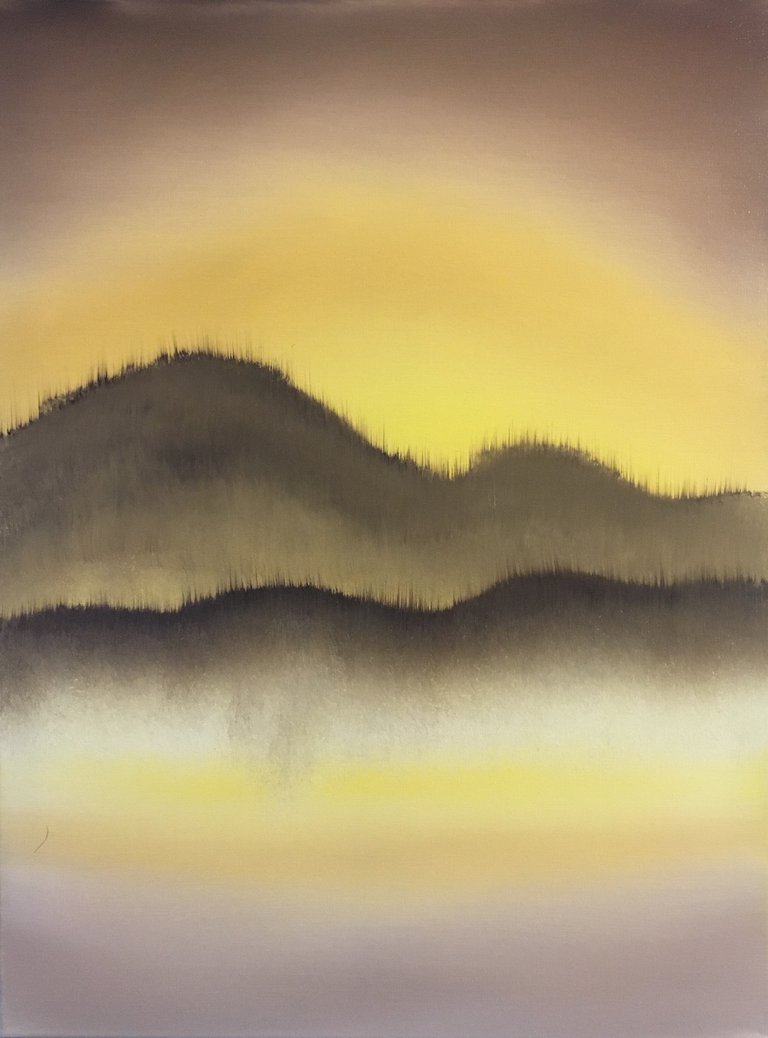
With the same dirty brush, I got more of the brown color and painted in another foothill, giving the other foothill a friend. As Bob would say, everybody needs a friend. Then lifted it to make the distant pine tree look, and tapped firmly making the mist.
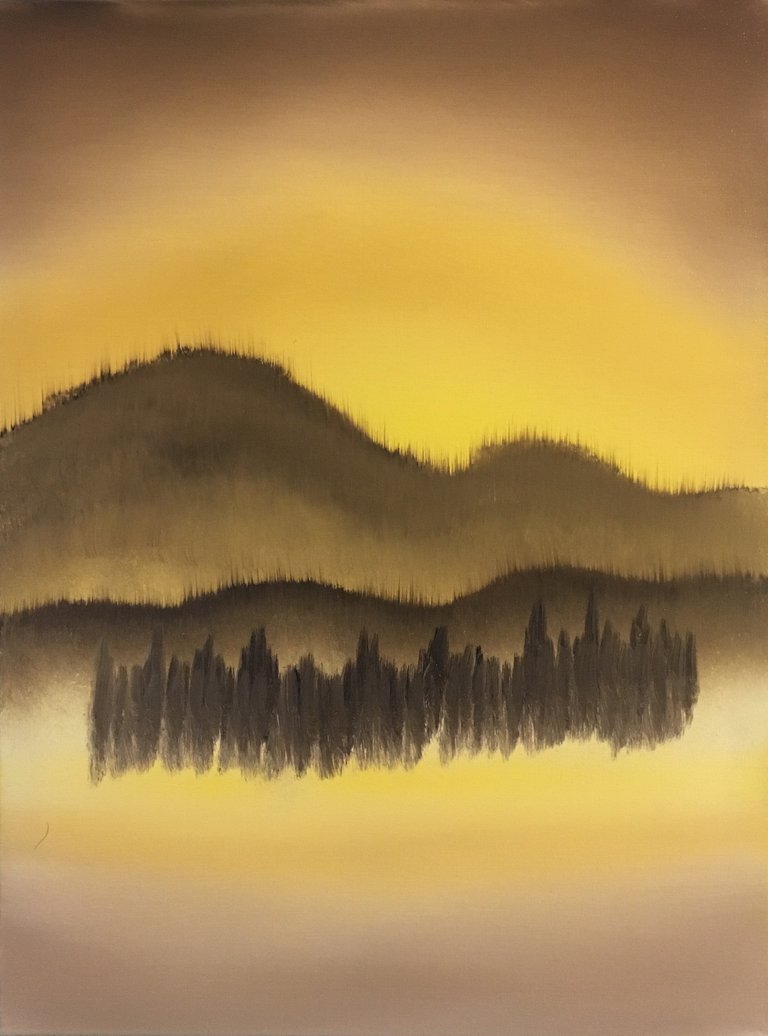
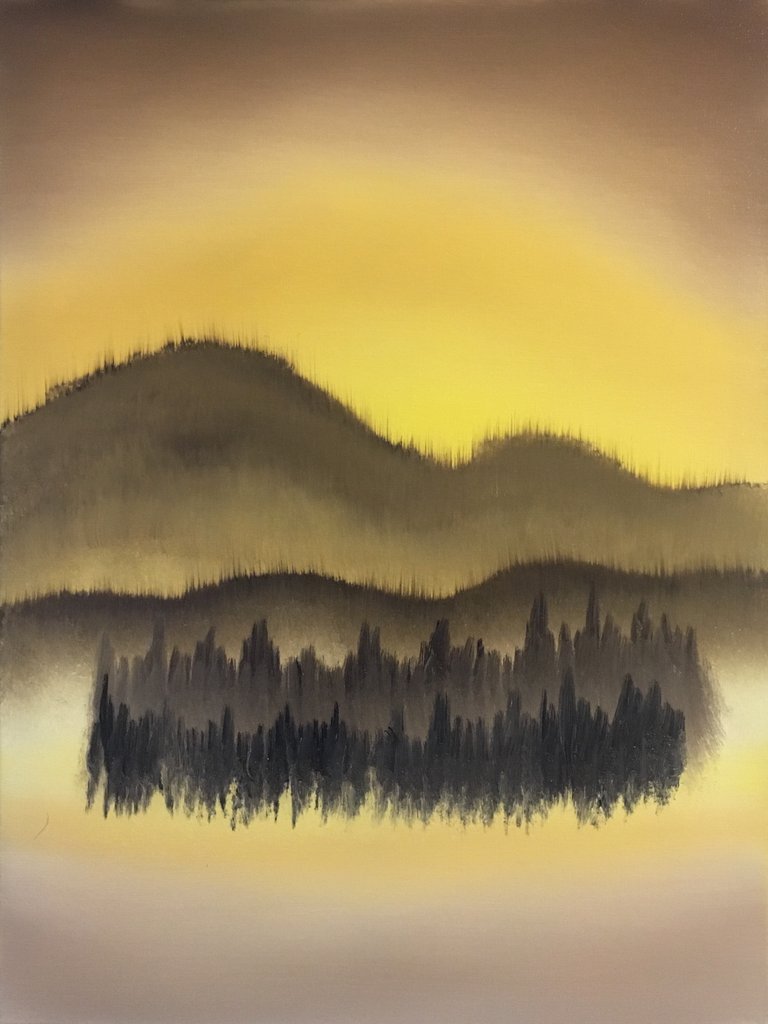
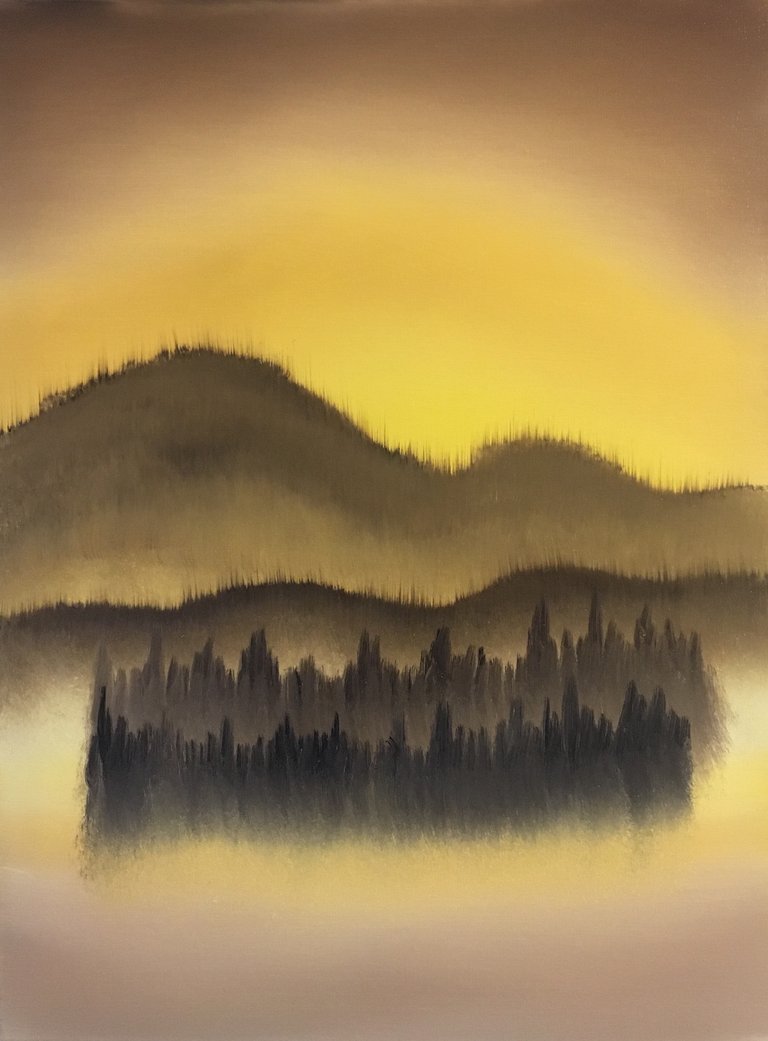
Now, it's time for some Happy Little Evergreen Trees in the distance. I grabbed my Fan Brush and coated it with the brown color. Got a lot of the paint on the brush, and tapped down over the fan brush. I then grabbed a dry 1-inched brush and tapped firmly making more mist. Then I got my fan brush again, adding just a bit of Midnight Black to the brown color and made more evergreens in the distance, grabbed the 1-inched brush once again and created more mist.
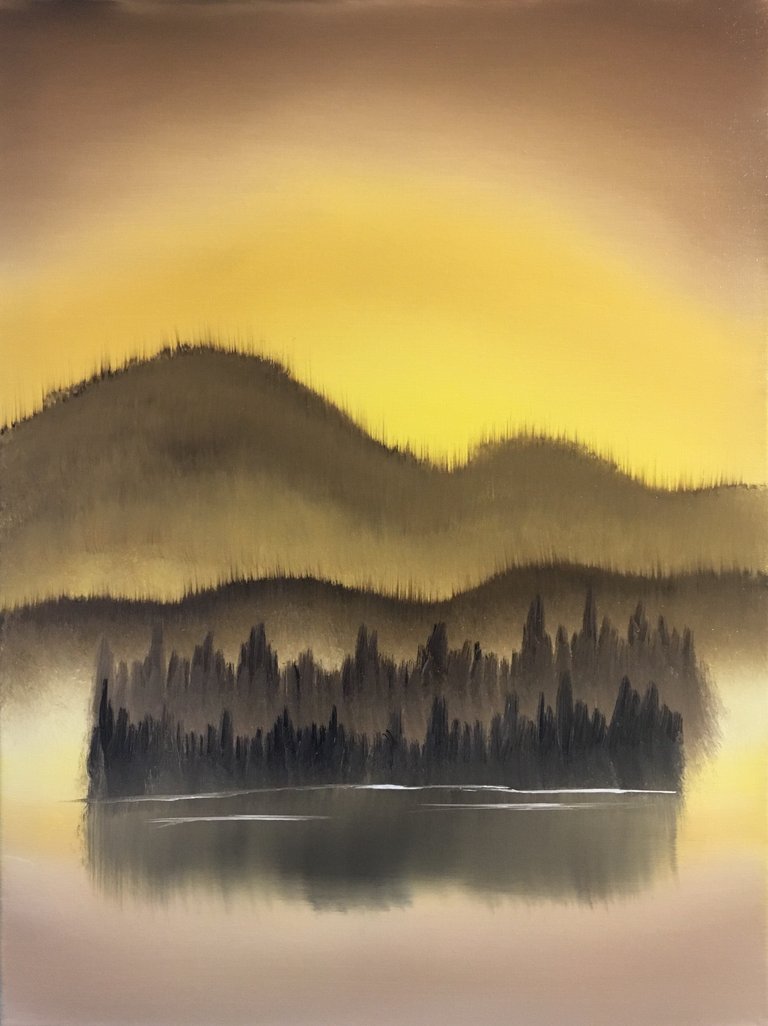
In this painting there is water. With my 2-inched brush, I coated it with just "a little" of the brown color, went to the bottom edge of the evergreens in the distance and pulled down, creating reflections of the evergreens. Then I grabbed my Palette Knife and with some Liquid White and Titanium White, I cut across on the knife, with just a little white on the edge of the knife, created some waterlines.
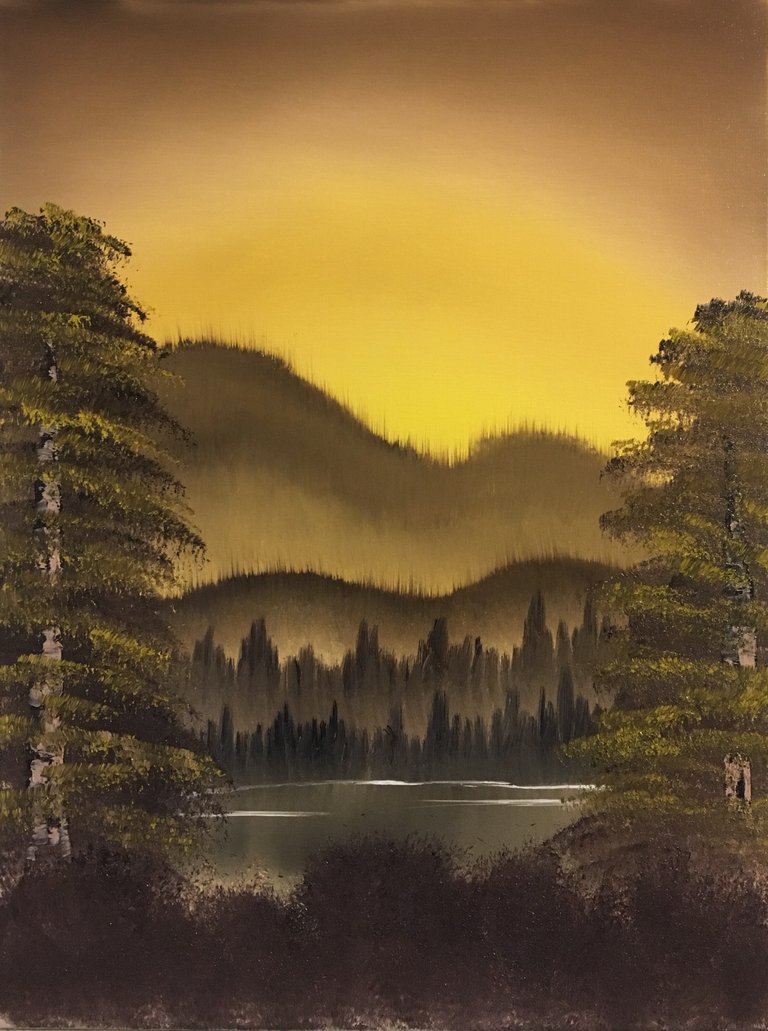
Once again with my 2-inched brush, I coated it with the same brown color, loaded up with a lot of color, and by tapping on the left and right sides of the canvas, with just the "corner" of the brush, created some big trees. Next it was time to paint in some bushes; so with the same dirty brush, I coated it with some more color by just pulling in one direction until you see that rounded corner on your brush, and then tapped toward the whole bottom of the canvas. Just tapping.
It was then time to make the highlights on the trees, but first I needed to paint in some tree trunks on the big trees. So I grabbed my knife, and then a little bit of Van Dyke Brown, starting at the bottom and working upward of the trees. Then with some Titanium White and Dark Sienna mixed together, I added some highlights on the tree trunks. Now with a mix of Sap Green, Cadmium Yellow, Yellow Ochre, a little Indian Yellow, and a little Liquid White I loaded my 2-inched brush with the color. By using the corner of the brush, I tapped gently onto the trees. If you try this at home, don't add a lot of pressure while tapping because your highlight color with immediately darken and you wouldn't want that. I wanted to see good highlights on the trees.
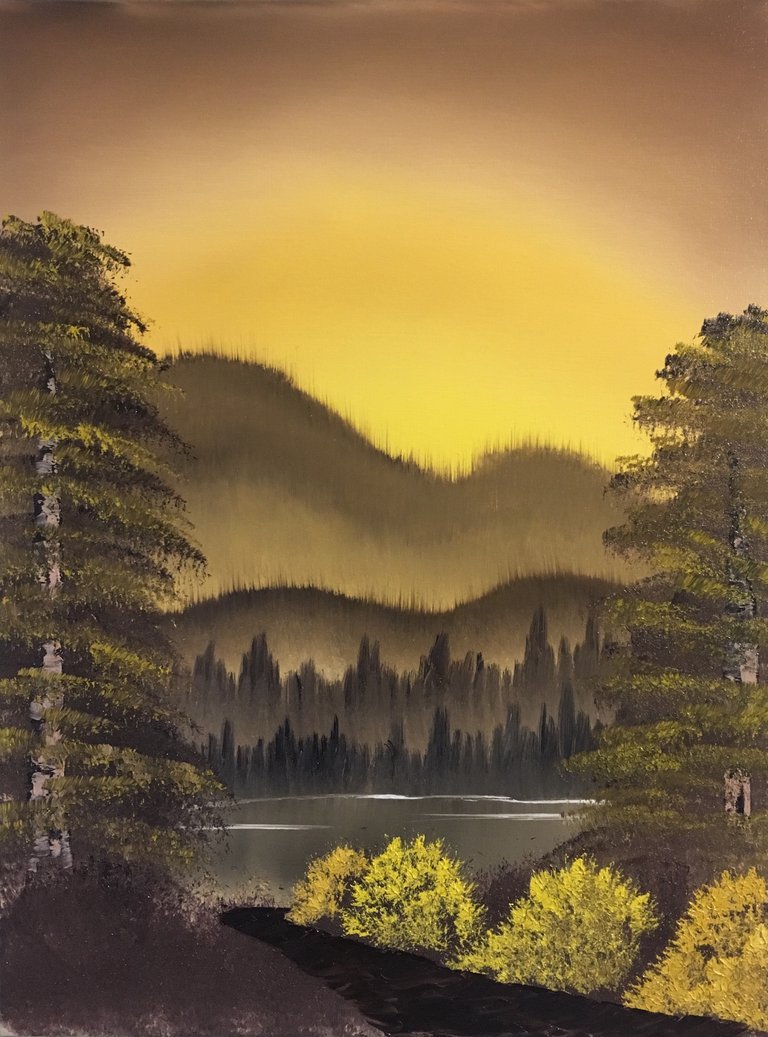
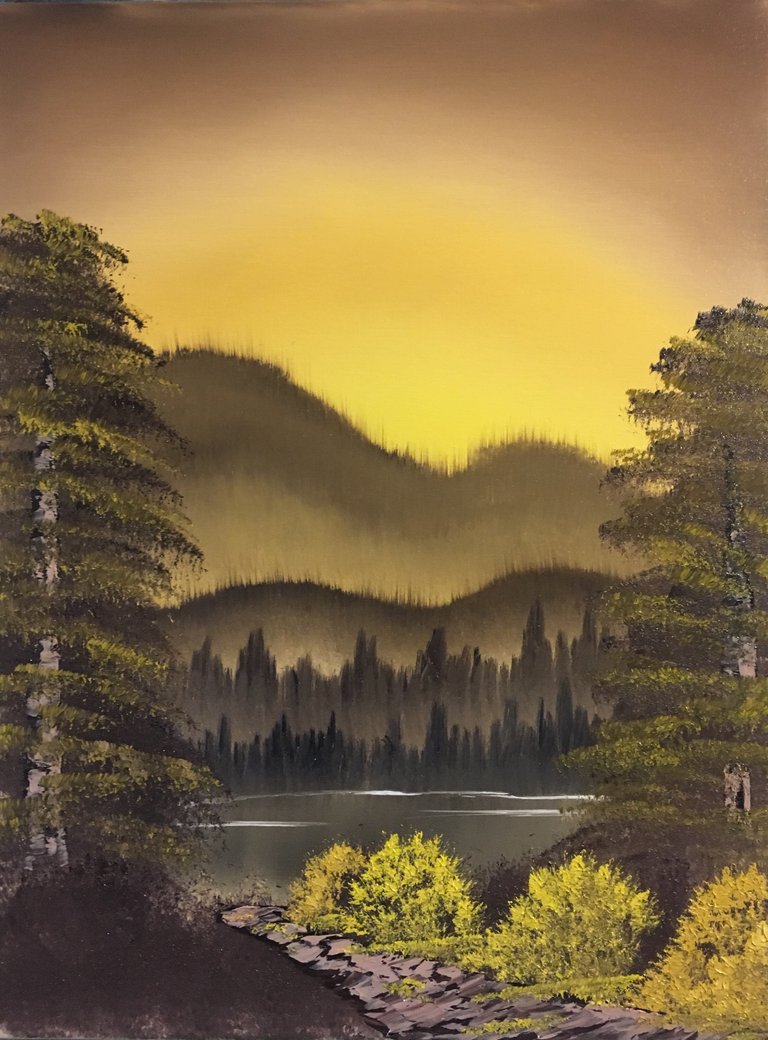
Time for some highlights on the Happy Little Bushes. With a clean 1-inched brush, I loaded with a touch of the Liquid White, then a mix of some of the tree highlights, and a little Bright Red. Loaded it by pulling in one direction on the Palette. Pull in one direction until you get that rounded corner that goes toward the top. While painting bushes, don't push hard. Just gently put it onto where you want your bushes to show; barely using pressure. Before going further with the bushes, I decided I wanted a pathway. So with my Palette Knife and a little brown, I created the pathway. Now with some of the tree trunk highlight color, I grabbed my knife and a little bit of the color and I "gently" let it slide onto the pathway. With the same dirty 1-inched brush, I added some little grass areas by the bushes and added just a tiny few spots on the pathway.
Bob Ross said while you paint your own world, make up stories while you paint. It really helps if you know in your mind what your world will look like. Then it's more personal to you and you'll have a better time painting. I've done so and it's a lot of fun. It's fun to make up stories.
Now with the same dirty brush, I've added some more bushes toward the other side of the path. Again, while loading your brush with color, add Liquid White before loading the color onto your brush to thin the paint since the paints we use is thick. And pull in one direction until you have that rounded corner on your brush. Tap gently onto the canvas.
Now... to finish up the painting there's just a few things. First I took my knife and scratched in some sticks and twigs showing/sticking out from the bushes. With my Script Liner Brush, I took some Paint Thinner, and thinned down some brown until it's the consistency of ink. Then I decided to add in some tree branches sticking out from the big trees and also decided to add some big sticks/branches sticking out from the brushes.
Now when I first painted this back in 2016, this was a last minute thought before signing the piece: I decided to paint in some birds flying in the distance. If you do this at home and you don't want birds, that's totally fine. It's your painting. You can do whatever you want.
And with that, we have a finished painting. I cleaned the Script Liner Brush, and then thinned out some Bright Red, and then signed it. Bob did say when you sign your work, you can sign it any way you like. It doesn't matter what color you use either. You don't have to use red, it can be any color you want. I chose red because it's a good color. Again, you can sign your work in anyway you like; it can be your last name, an initial, a symbol or whatever you want. It's your painting... your world, and you can decide what to do with it. Remember that.
I hope you enjoyed this step by step process. This is an original piece by me. I've been thinking about sharing a step by step process of my own work and plus I got a request here on Steemit to do one and I kept my promise. This is a piece where it can teach you how to use most of the Bob Ross equipment. Give this painting a try and let me know what you think. I bet you'll really enjoy it. If any questions, like I've said before don't hesitate to ask me. Find me on Facebook or Instagram as "Meyerpaintings" if you'd like to see more works of mine or updates on future projects. As Bob Ross would say, Happy Painting and God Bless. Goodnight and thank you very much!
Your paintings are amazingly beautiful! I love that you also share the creation progress, those are always interesting to see and your Bob Ross styled comments are very entertaining to read. Happy painting and God bless!
Thank you very much @link-ger !
Very, very beautiful drawing! Pleasure for the eyes)
@vilma17 thank you very much!
Love the birds.
Thanks @arinfinite !