# 3 DIGITAL ILLUSTRATION - STEP BY STEP - practicing the composition of the design. #3 ILUSTRACIÓN DIGITAL - PASO A PASO - practicando la composición del diseño.
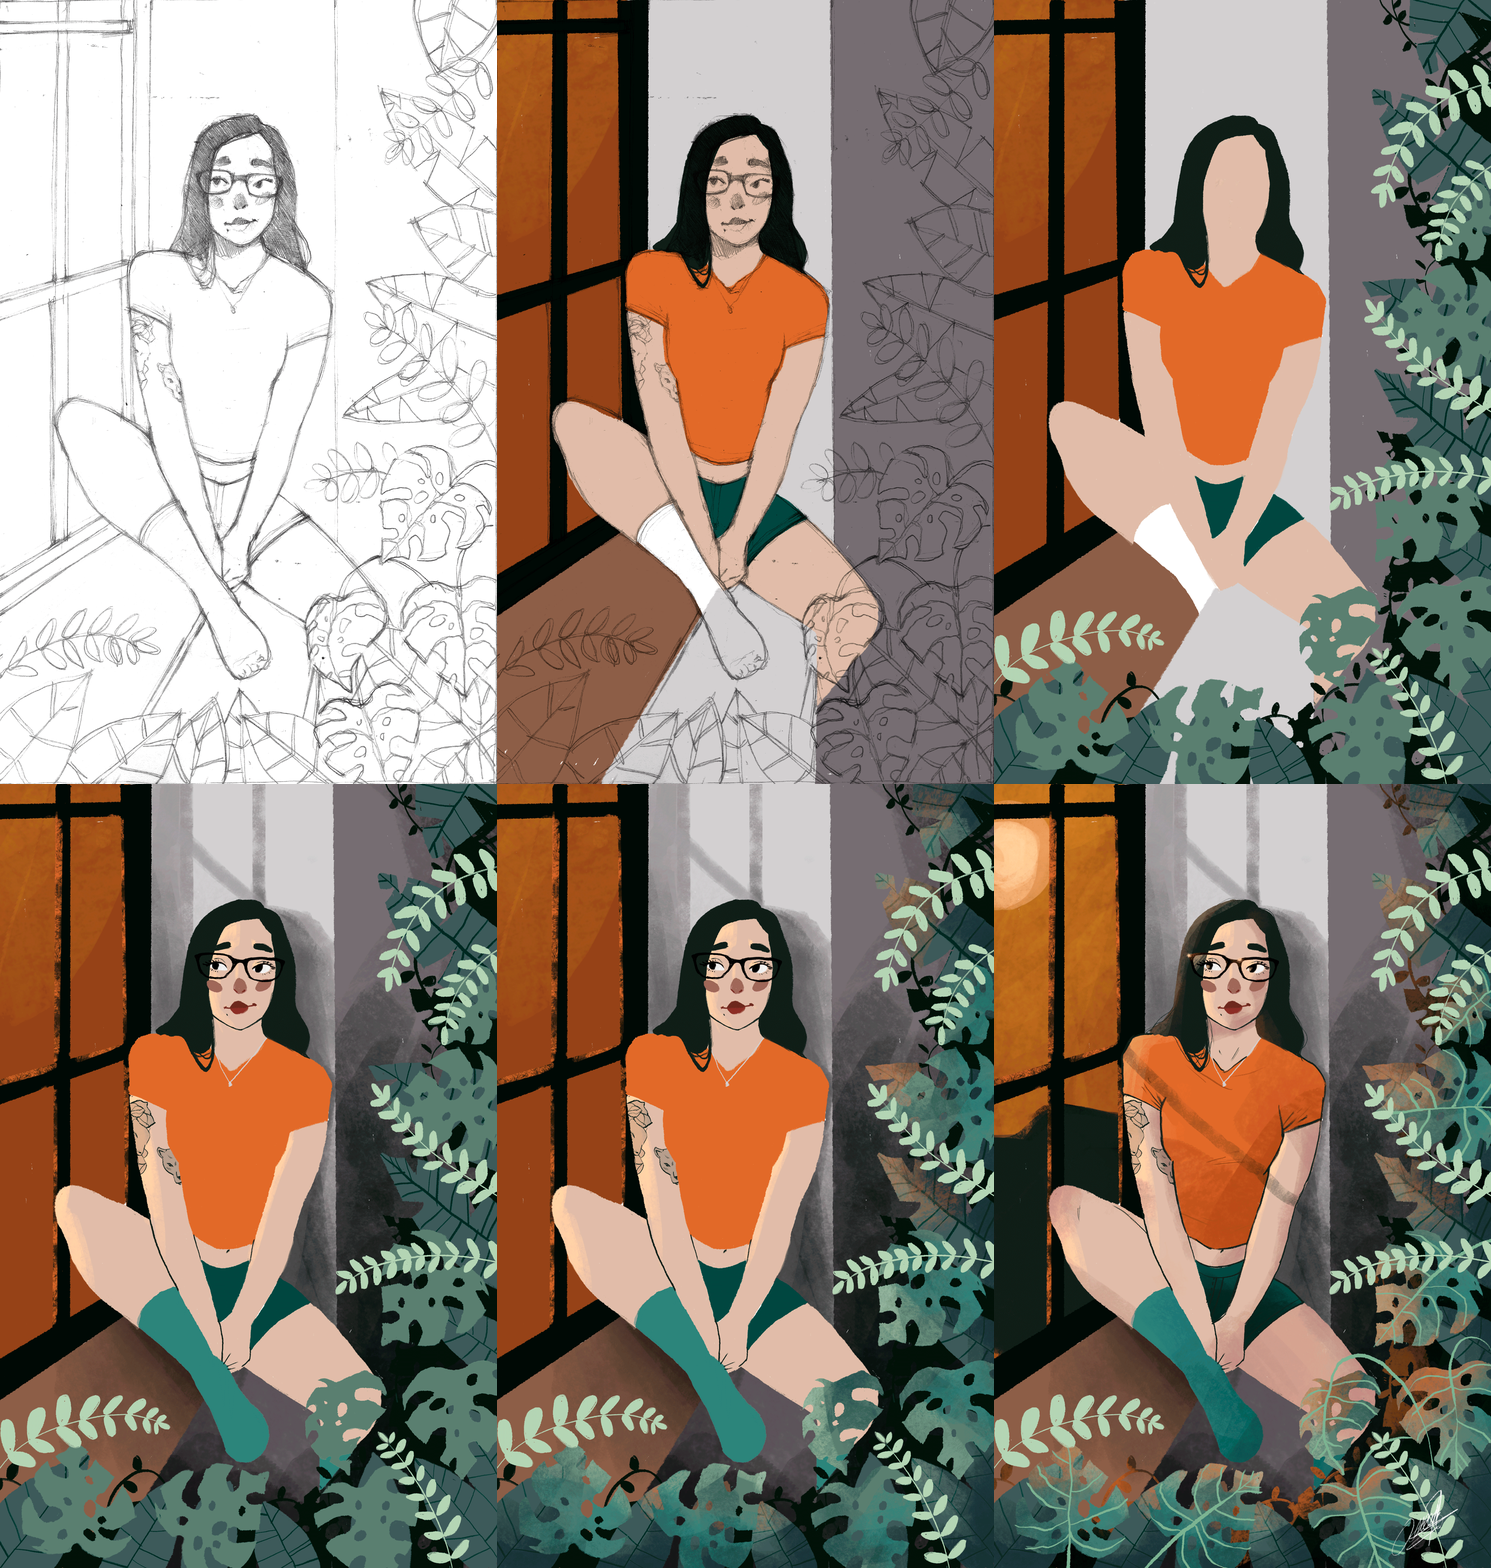
Hello to the entire Hive Blog community, both Spanish-speaking and English-speaking. In this post as in the last ones I have published, I will show you the last illustration I made, with the process synthesized in 8 steps, as I do it.
It should be emphasized that I am just learning, I still have many errors, such as composition, anatomy, leftovers and lights, among others. But taking advantage of this quarantine and working at the same time with my studies I have practiced to improve many of the named errors and also to establish the style that I am implementing.
Hola a toda la comunidad de Hive Blog, tanto la hispano hablante como los de habla inglesa. En este post como en los últimos que he publicado, les mostraré la última ilustración que realicé, con el proceso sintetizado en 8 pasos, como yo lo realizo.
Cabe recalcar que yo apenas estoy en aprendizaje, tengo muchos errores todavía, como la composición, anatomía, sobras y luces entre otras. Pero aprovechando esta cuarentena y trabajando a la vez con mis estudios he practicado para mejorar muchos de los errores nombrados y aparte establecer el estilo que estoy implementando.
Step #1 - Paso #1
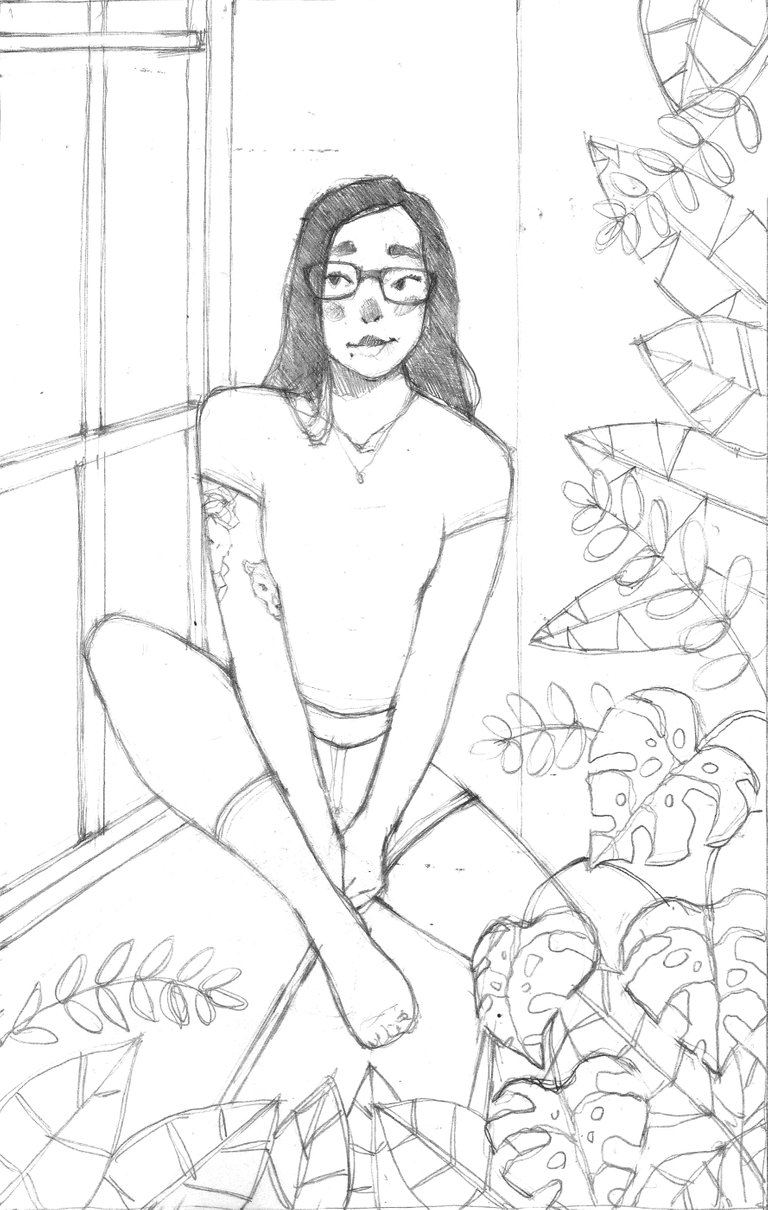
As always in my steps there will always be a pencil sketch, then I scan it or take a photo of it, trying to take it totally perpendicular so that the perspective does not distort the image
In this case I wanted to portray a girl, I wanted to practice the pose and try to generate a composition within a space.
_
Como siempre en mis pasos siempre va a estar el boceto a lápiz, después lo escaneo o le tomo una foto, procurando tomarla totalmente perpendicular para que la perspectiva no deforme la imagen
En este caso quise retratar una chica, quería practicar la pose y tratar de generar una composición dentro de un espacio.
Step #2 - Paso #2
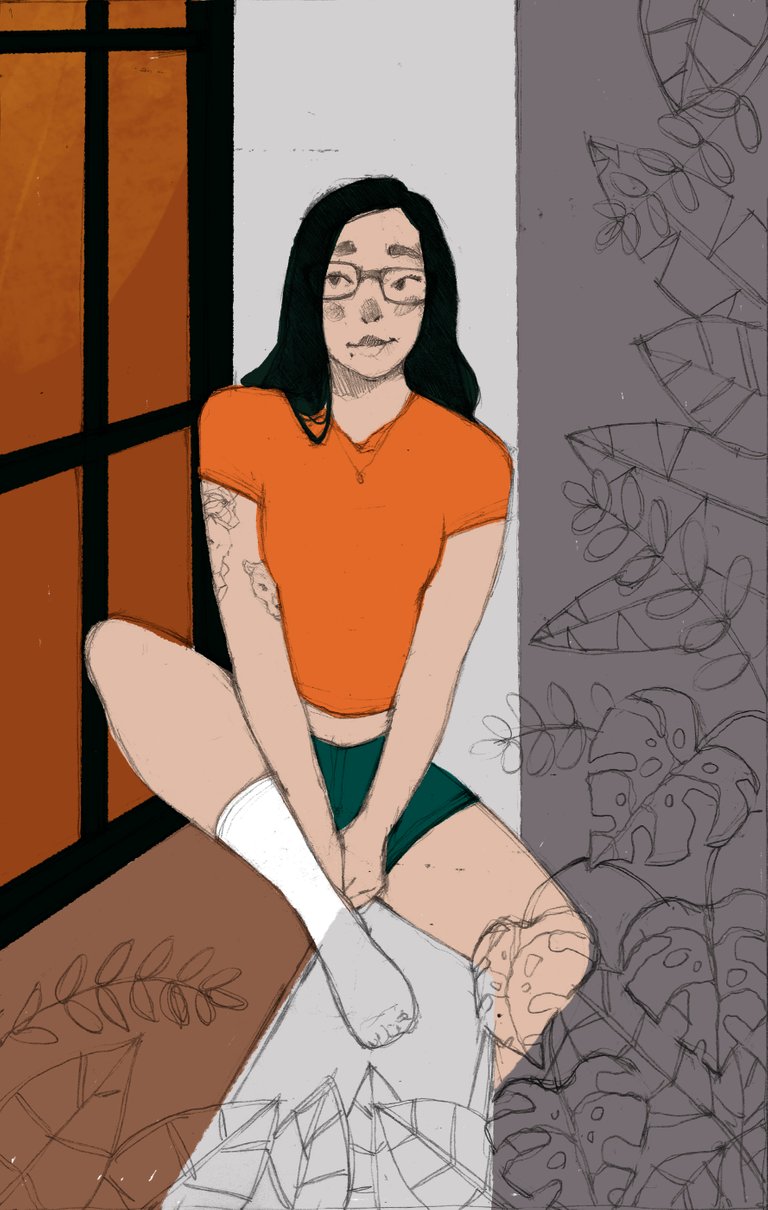
For this step it is very important to choose the color tone that you want to implement in the design. For that, I searched for color palettes on Pinterest and chose two, one of a contrasting hue between oranges and blues, and the other very natural, soft, pastel-like greens. .
Para este paso es muy importante escoger la tonalidad de colores que se quiere implementar en el diseño. Para eso, busqué paletas de colores en Pinterest y escogí dos, una de tonalidad contrastada entre naranjas y azules, y la otra muy natural, verdes suaves, tipo pasteles.

Step #3 - Paso #3
Here I start taking each selected color and start making a solid fill on every element in the scene.
Aquí empiezo a tomar cada color seleccionado y empezar hacer un relleno sólido en cada elemento de la escena.
Step #4 - Paso #4
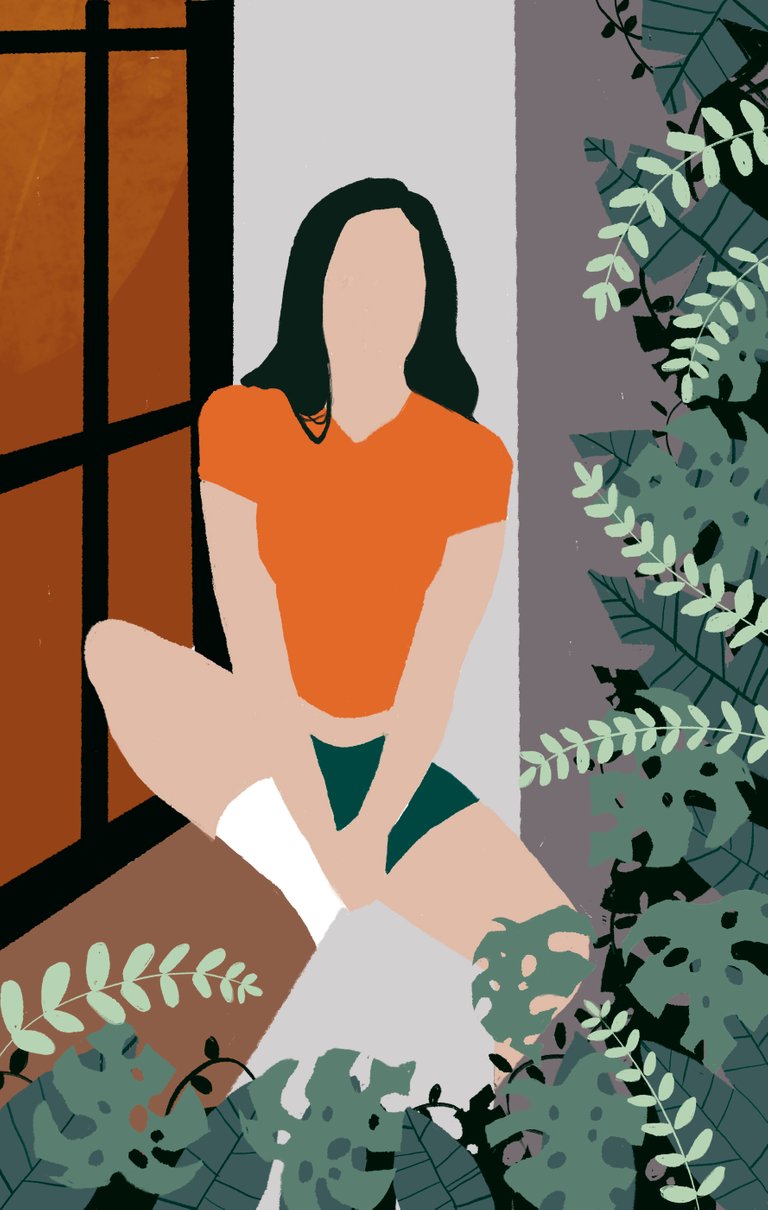
Here I do the same but using the shade of greens for the vegetation of the drawing.
Aquí hago lo mismo pero usando la tonalidad de verdes para la vegetación del dibujo.
Step #5 - Paso #5
I begin to detail the shapes a little, putting scattered lines, so as not to border the whole drawing but some sectors.
Empiezo a detallar un poco alas formas, poniendo lineas dispersas, para no bordear todo el dibujo sino algunos sectores.
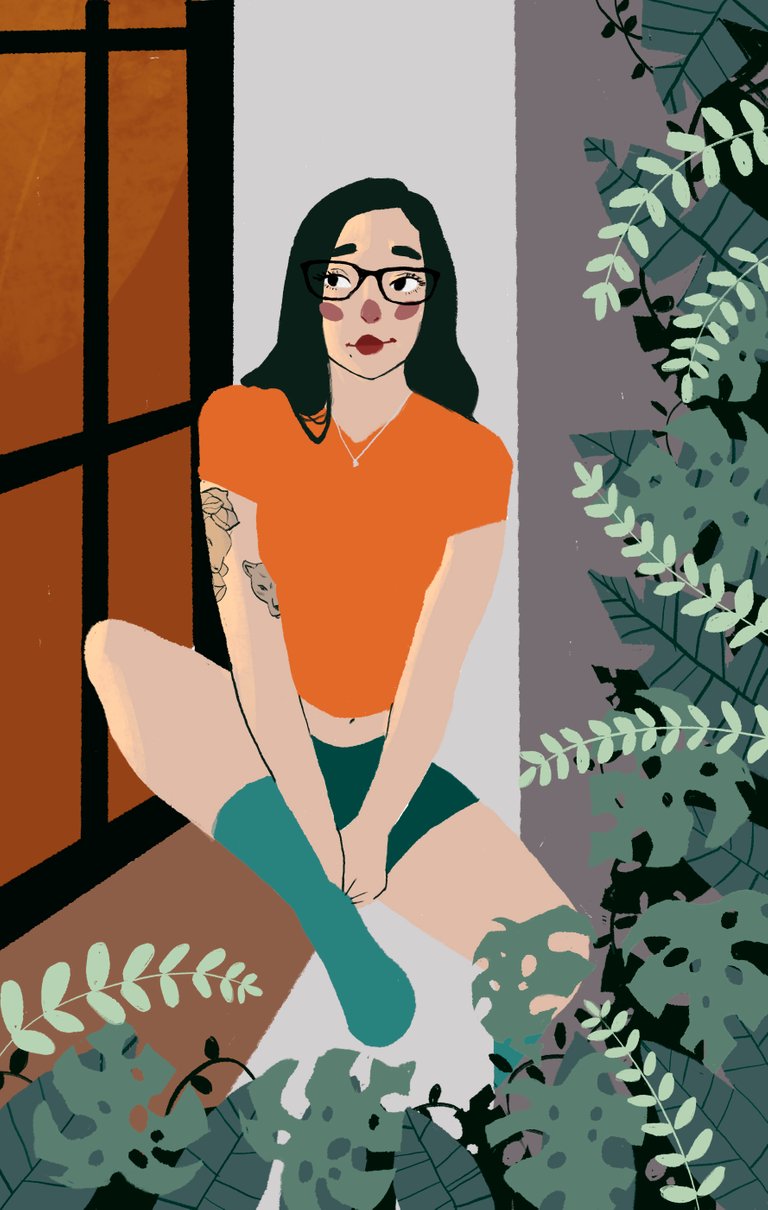
Step #6 - Paso #6
Here I start applying depth to the drawing by means of textured brushes, to generate a crayon or graphite-like texture.
Aquí empiezo aplicar profundidad al dibujo por medio de pinceles texturados, para generar una textura tipo crayón o grafito.
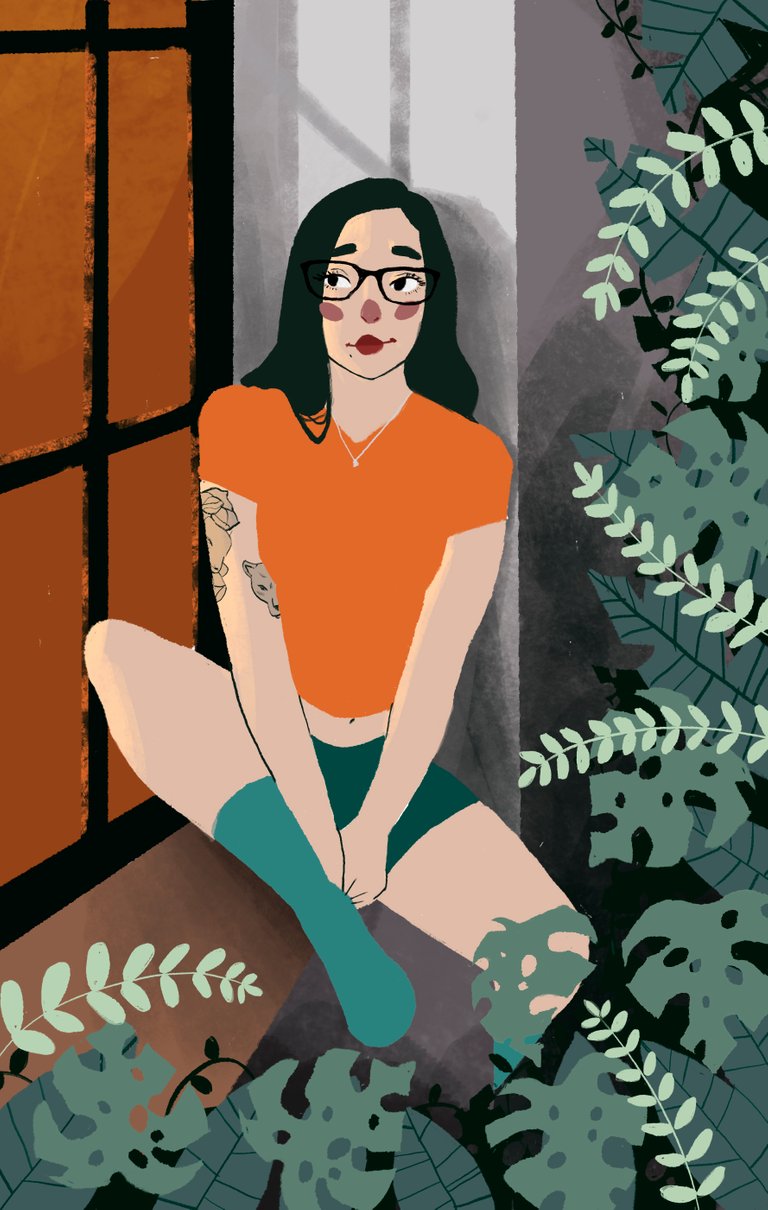
Step #7 - Paso #7
Here I keep adding textures but to the vegetation, so that it does not remain flat but with shades of green and some oranges these elements take on more life.
Aquí sigo agregando texturas pero a la vegetación, para que no quede plana sino que con tonalidades de verdes y algunos naranjas estos elementos tomen mas vida.
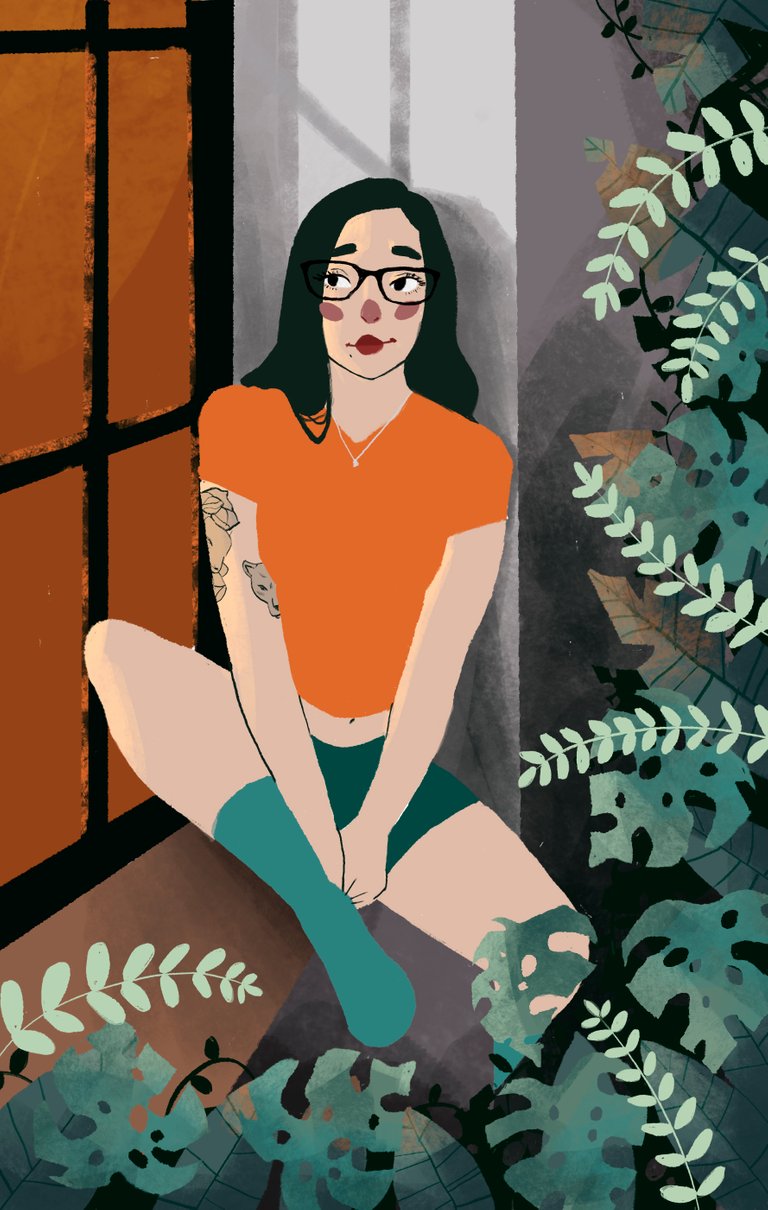
Step #8 - Paso #8
Finally this step is to touch up, add the last details, practically this is the end result.
Finalmente este paso es retocar, agregar los últimos detalles, prácticamente este es el resultado final.
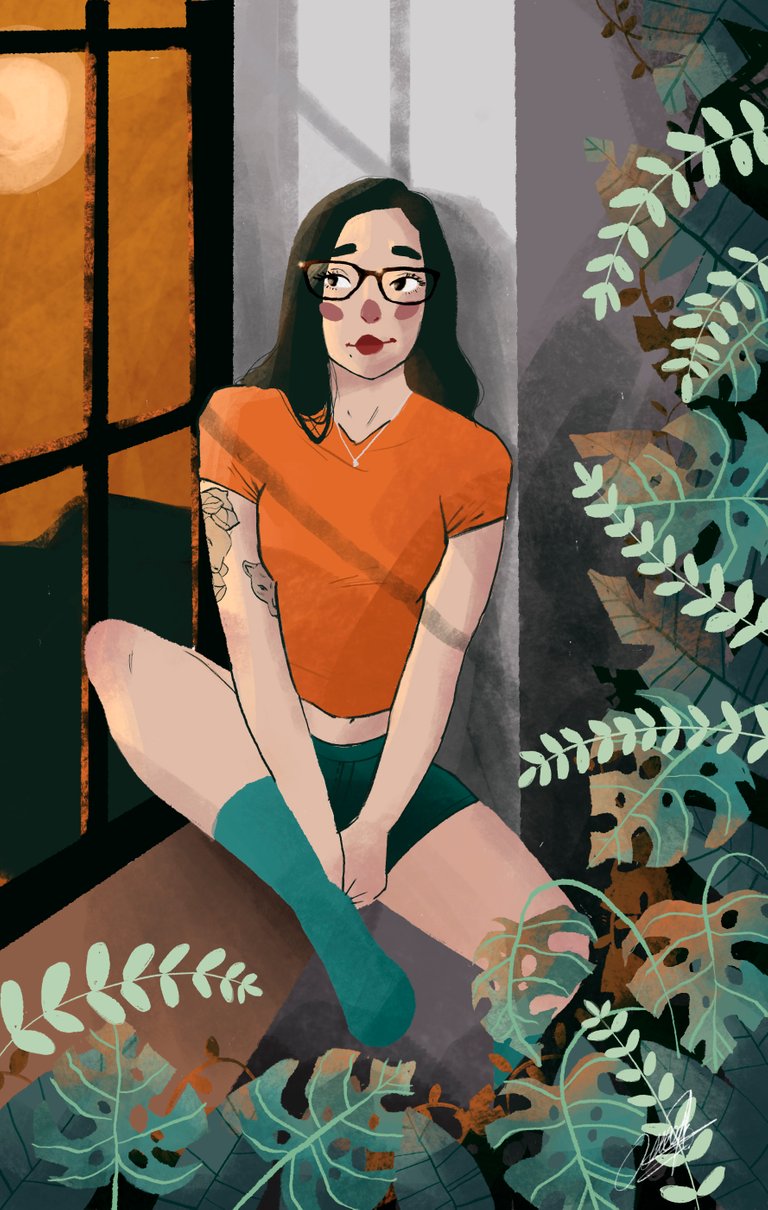
Thank you very much for your time and for your vote, I hope you liked the final result.
Muchas gracias por su tiempo y por su voto, espero le haya gustado el resultado final.


Hola @pipearq95. Es una muy buena ilustración, gracias por compartir. Saludos desde Colombia.
No Olvides que la Plataforma es HIVE y no Steemit.
Congratulations @pipearq95! You have completed the following achievement on the Hive blockchain and have been rewarded with new badge(s) :
You can view your badges on your board And compare to others on the Ranking
If you no longer want to receive notifications, reply to this comment with the word
STOPSupport the HiveBuzz project. Vote for our proposal!