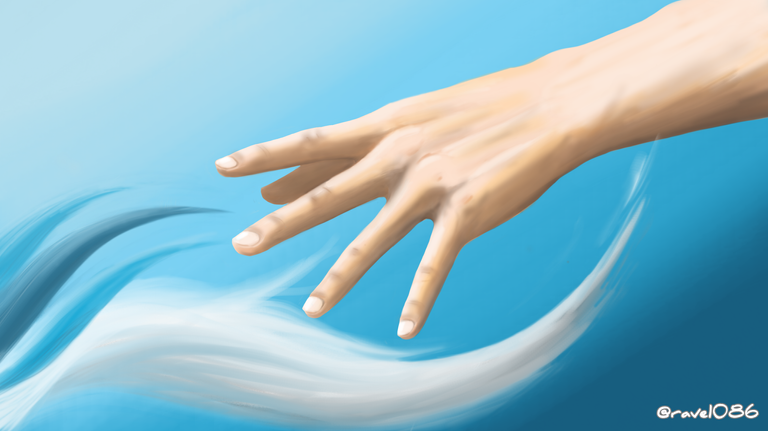
Greetings to all my fellow steemians! Rave here once again. And I am sharing you my recently made work of art. Since I got a very hectic working schedule, I made it little by little whenever I got a vacant time and i can say that i really enjoyed every single minute I spent doing it. When I was a high school student, "hand" was one of the subjects that I loved to draw. I used to draw it in different angles and in different positions. I am really fascinated by artworks that have something to do with hands so I learned how to draw and paint it. I find it cool when I see drawings or paintings of a hand and probably, I'll make one also. And I did it once again right at the moment.
But this time, I drew it with a twist to make it connected to the paltform. I called my artwok "Reach for the Steem". This digital painting of a hand portrays a steemian that is reaching out for the "steem" which is a part of our goal here. We learn, we share, WE GET STEEM and we gain. The steem on the drawing is the steem power that a steemian should reach and must have in order to "have more control over post payouts and allows a member to earn on curation rewards" as indicated on the SP description.
Speaking of "digital painting", I am really amazed with the high-tech drawing applications we have nowadays. Especially those mobile drawing apps we use in creating artworks. Using only a mobile phone, a drawing app and a stylus, anyone can do cool and amazing artworks without the help of any tradional tools. But I am not saying that digital painting is better than traditional. Nothing beats the tradional way of making an art.
The next part will be the drawing progress. I am going to show you the step by step procedure how I made this art.
Like I said, the materials used are stylus(universal), mobile phone and this mobile app so called "Autodesk Sketchbook".
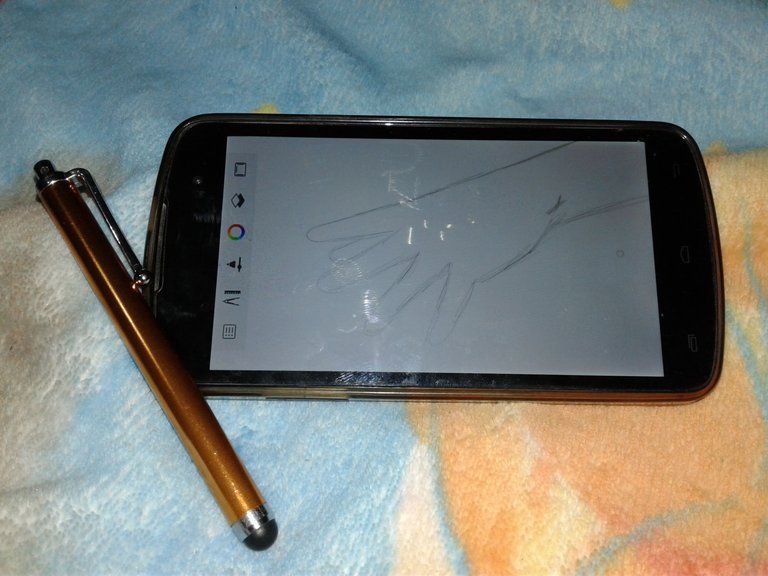
So let us go on. I started making the layout and sketching. For this part, I used the digital tool graphite pencil 4H (3.0). You can change pencils or tools by tapping on pencil/tool icon at the left hand tab. There's a lot of tools to choose from so enjoy exploring the library.
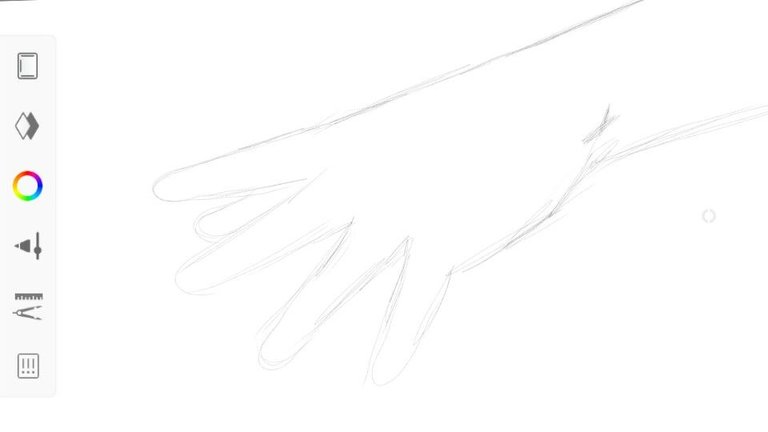
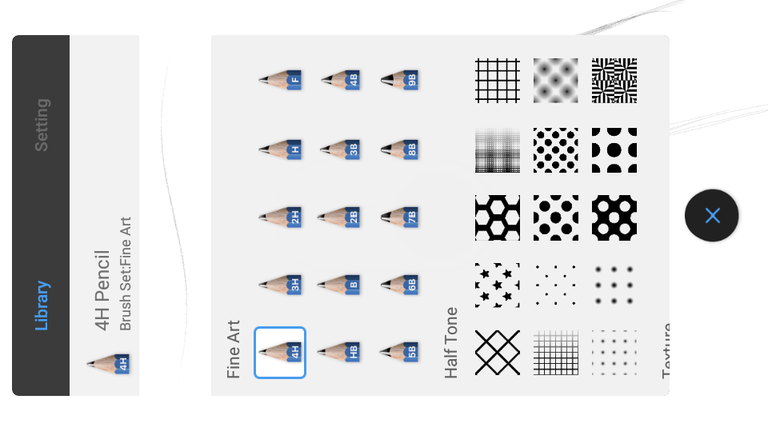
Next is, highlighting the edges of the layout. Continous sketching to bring out the image of the hand. Isn't it amazing how the digital graphite pencil simulates the real one? It gives almost the same output as the traditional.
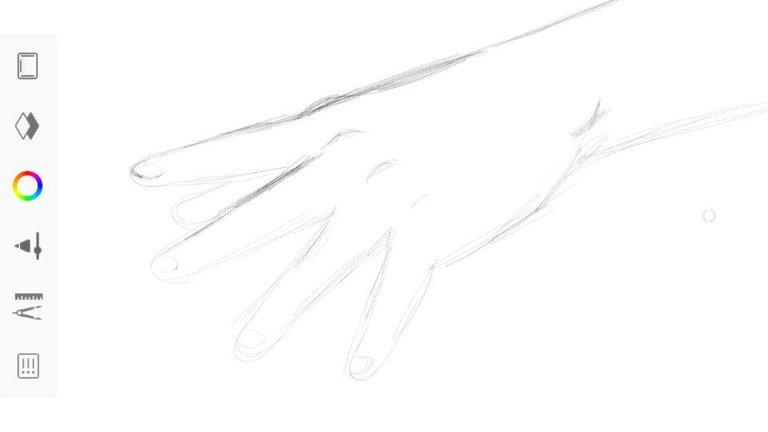
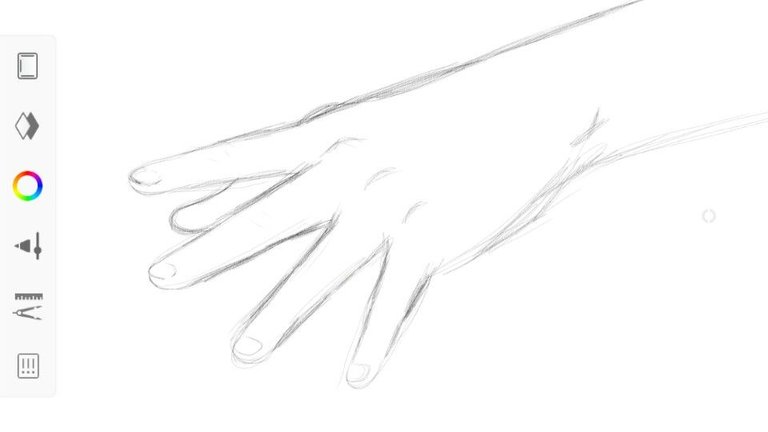
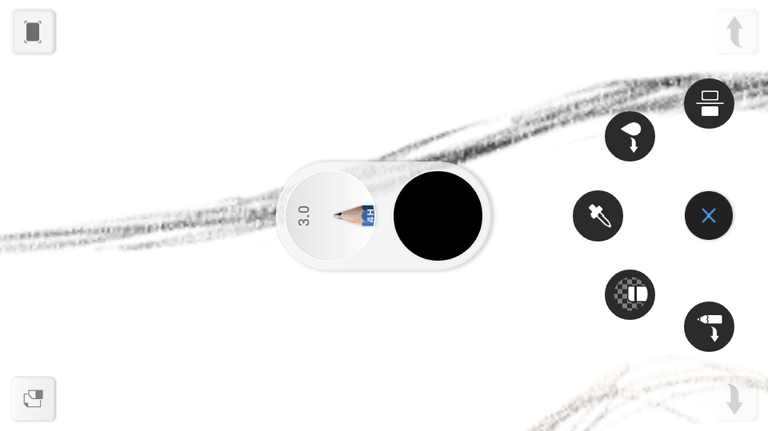
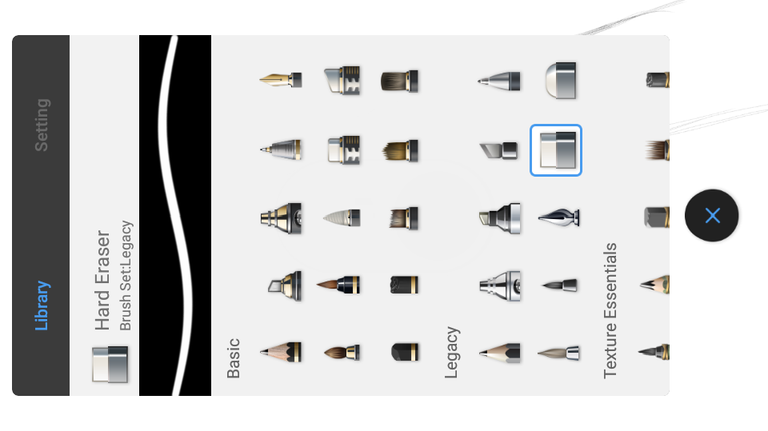
After that, using the eraser, I started cleaning the sketch by shaving the excess lines and burrs on the edges.
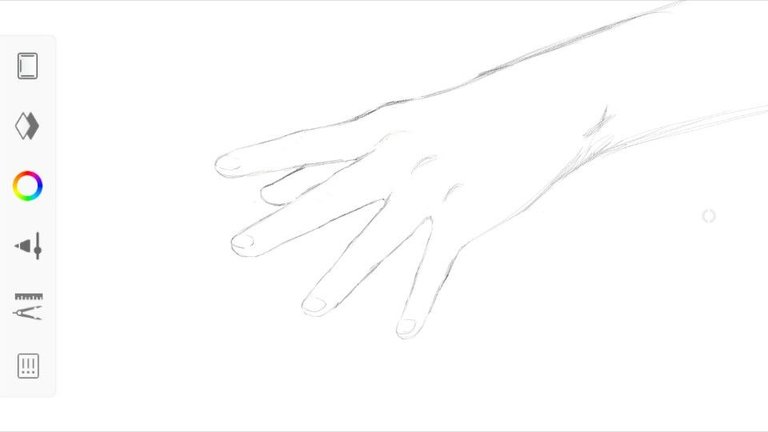
Next step will be the coloring. I used the airbrush tool. A great tool for fast and easy filling the entire drawing with paint.
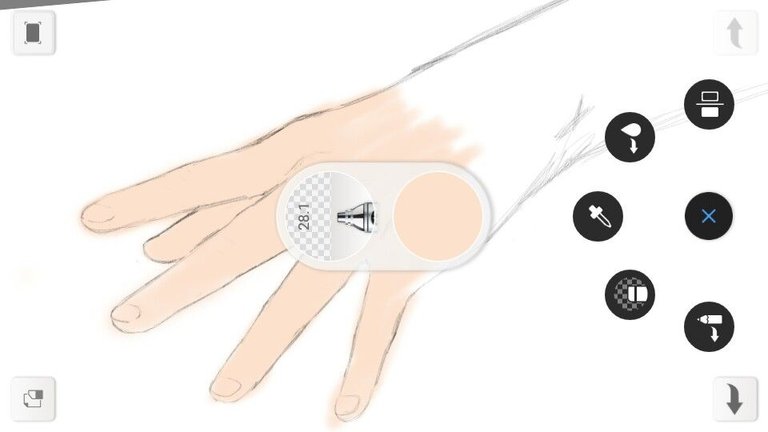
One of the things I like about digital drawing is that it has the layering method. I added another layer for the color and locked up the first layer to prevent the paint mess with the sketch. About the lock, just tap on the padlock icon at the top tab to unlock it.
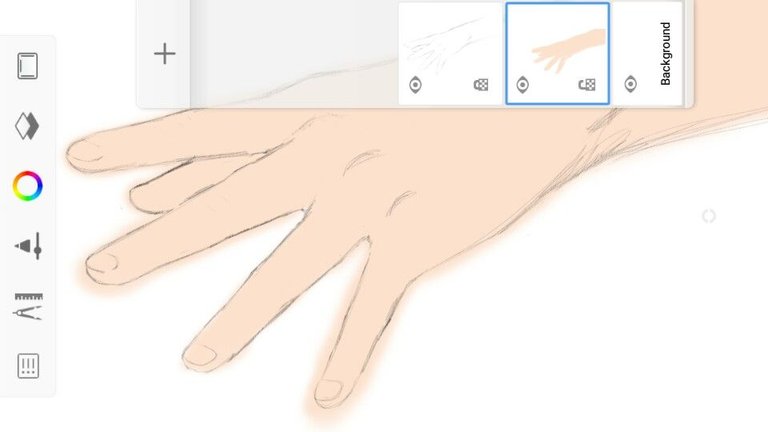
You can notice that the paint just overlapped! But no worries. Our buddy eraser is just on the side and the precious sketch is safely locked by a friendly neigborhood! Thanks to yah dude!
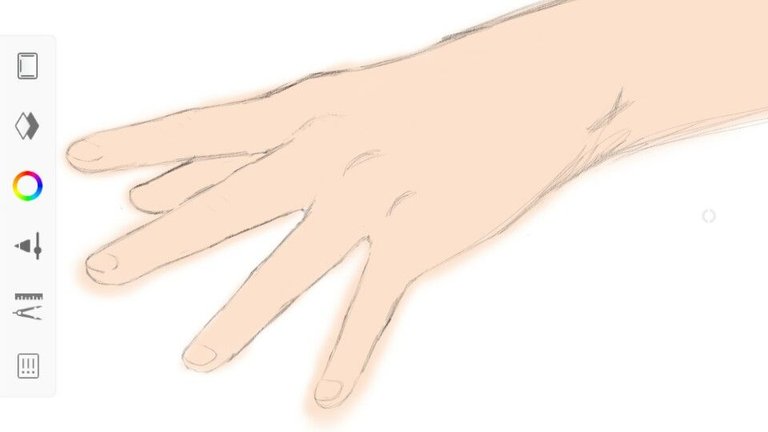
And it should look like this. "So clean, So good" haha. Naah, I am not referring to something. That're just the perfect words for it.
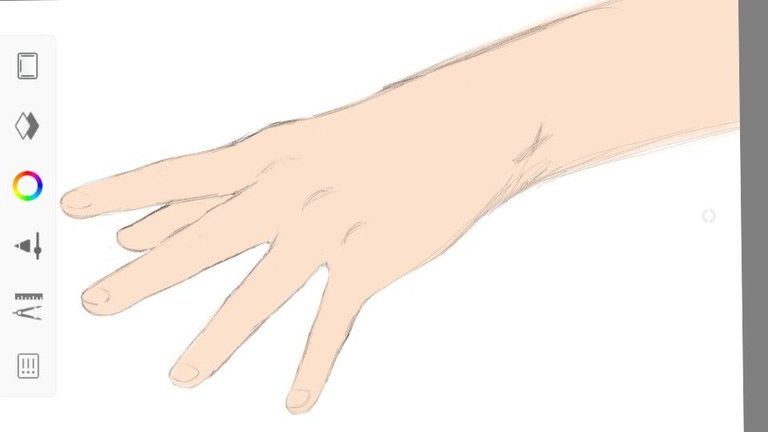
And then we go to the shading process. I picked a darker color and again I used the airbrush on this part. I chose this tool because it somewhat blends with the first color and softly applies the paint which is also perfect for shading. By the way, I used another layer for this and locked the second one.
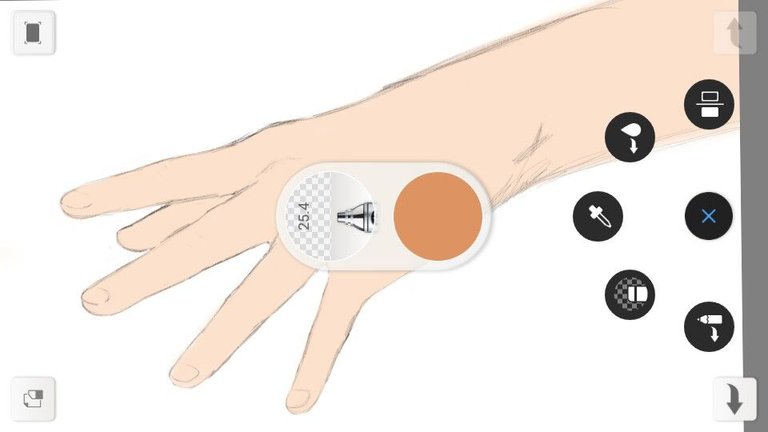
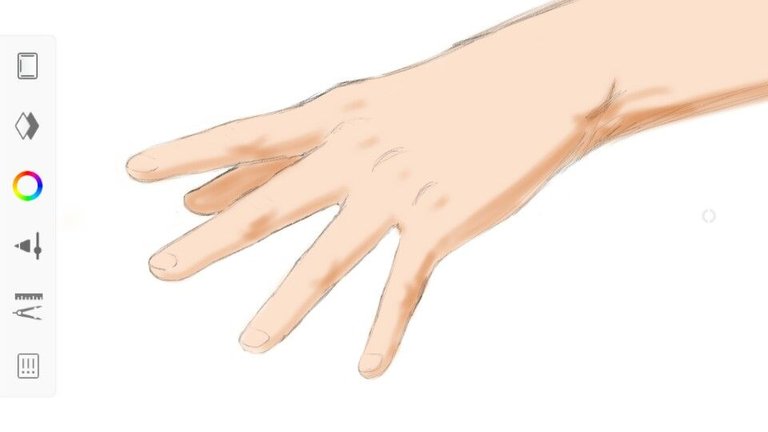
The next thing is the smudging process which I think, the best feature of digital drawing apps like Autodesk. It simulates the traits of a real paint using a digital smudging pen. From the blending of the color up to the flow of the paint. Just like the real thing! How cool!
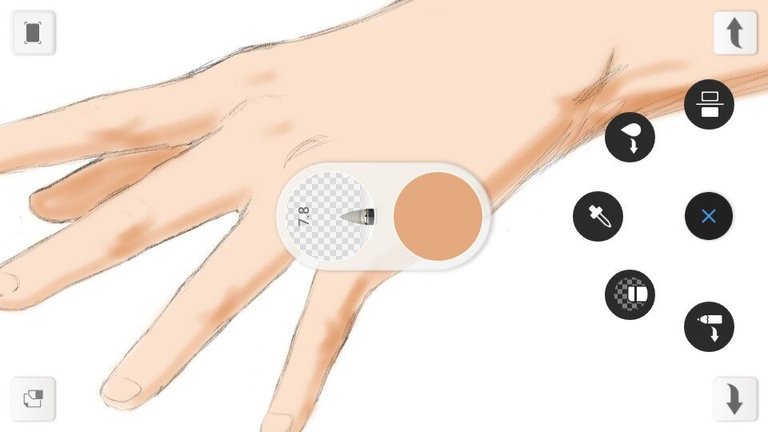
The airbrush and smudge pen basically the best tool-combination that I could recommend when using this app. So after smudging all the shades, it should look something like this.
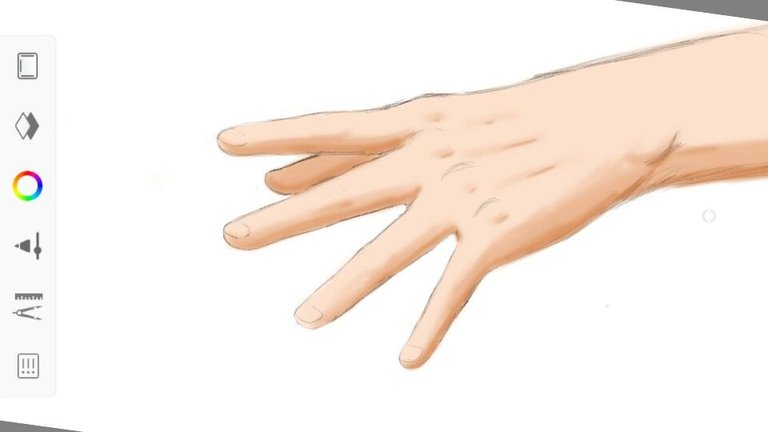
The next step I did was to hide the first layer that holds the initial sketcking by tapping on the eye icon at the top tab since the sketch may not be necessary 'coz it only serves as a layout for the painting.
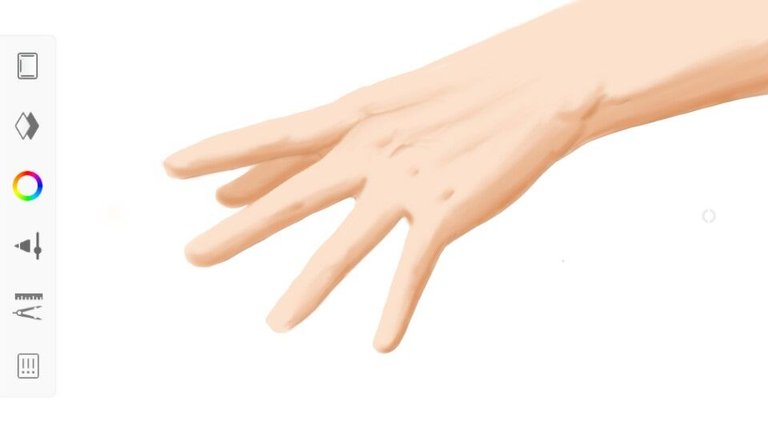
We are almost there so let us put the fingernails on. I started looking for a brighter color that would suit for it. And yeah, the color below was perfect. And I also used this for the shine effect. If a drawing needs shadings, it is longing for brighter colors as well. The combination of the two unleashes the realistic effect of any drawing or painting. See the index finger? It looks more real compared to other fingers since I already put a brighter color on it.
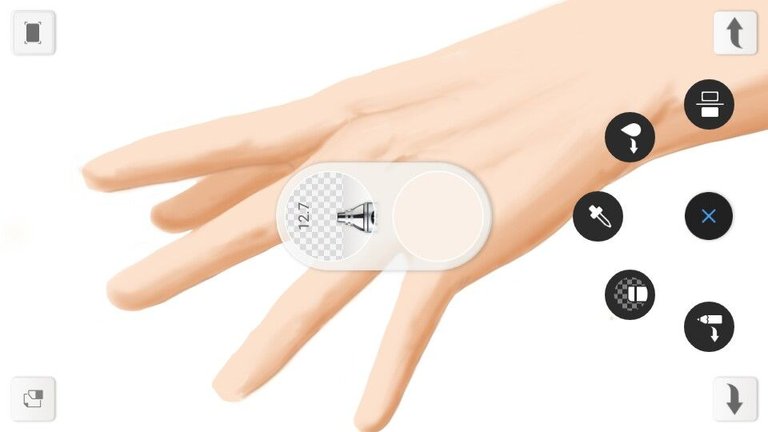
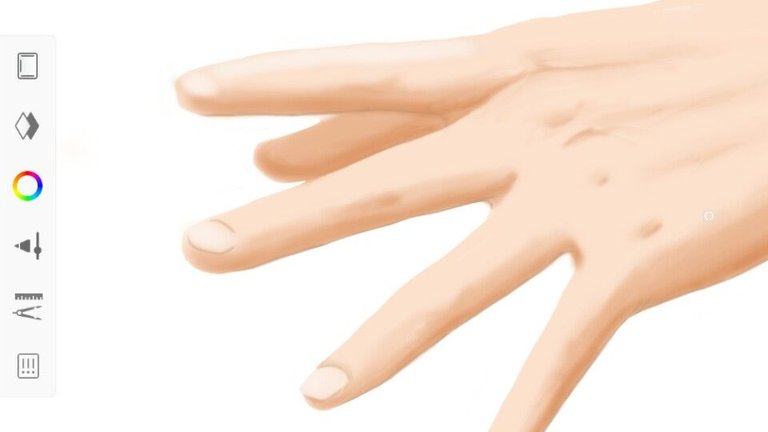
The next picture is the result of adding some more colors, shadings and continues smudging. It looks somewhat real but still lacking of something. Looks dull and flat.
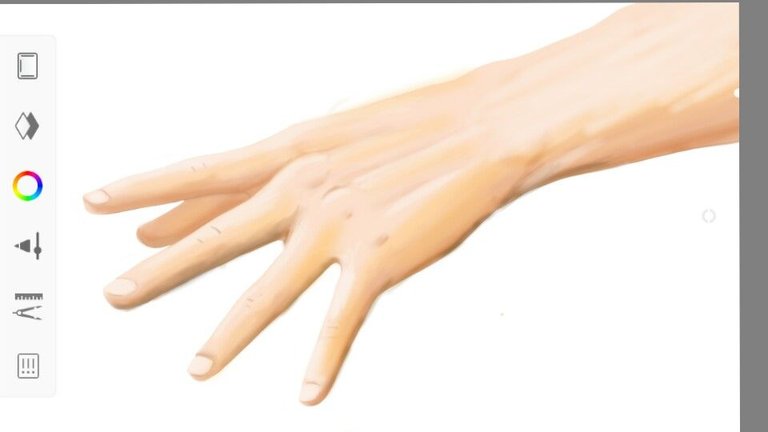
So I gave it the final shot! The shadowing! The third and also essential technique for boosting the realistic effect of an art work. Shadows turn a one-dimensional drawing into 3D looking one. And again, I made another layer for the shadows.
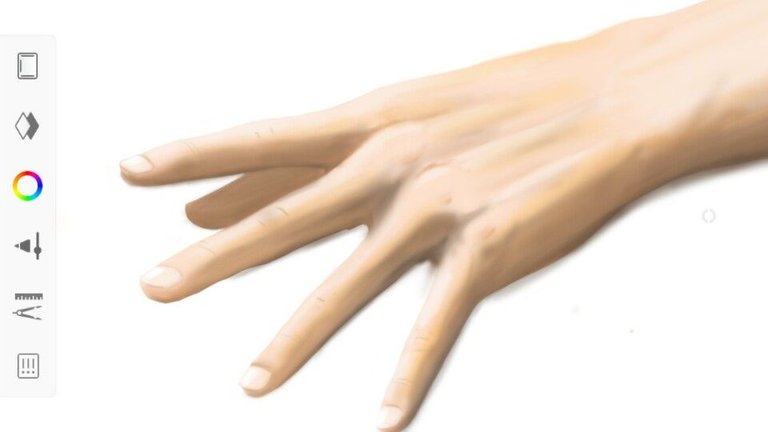
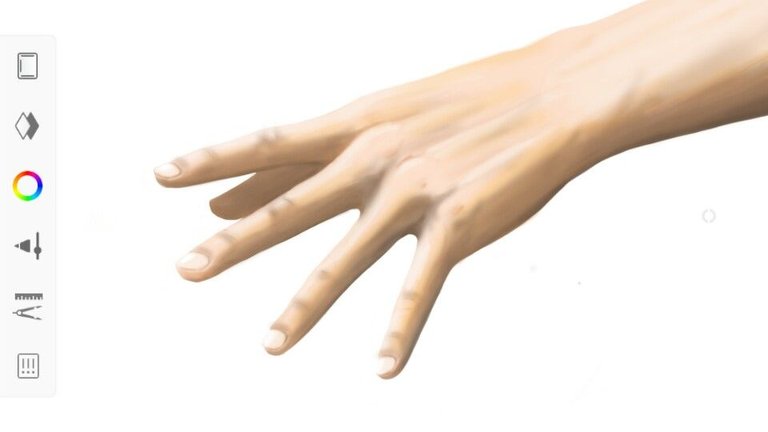
And lastly, here is how I made the background painting. I added a brand new layer and started filling it with these four relative colors (from brighter to darker) using the digital brush called "Color Builder" which gives a rich and thick amount of paint that can fill a large portion of the layer in seconds. You can find this brush in the tool library. Sorry, I forgot to take a screenshot of it. 😂
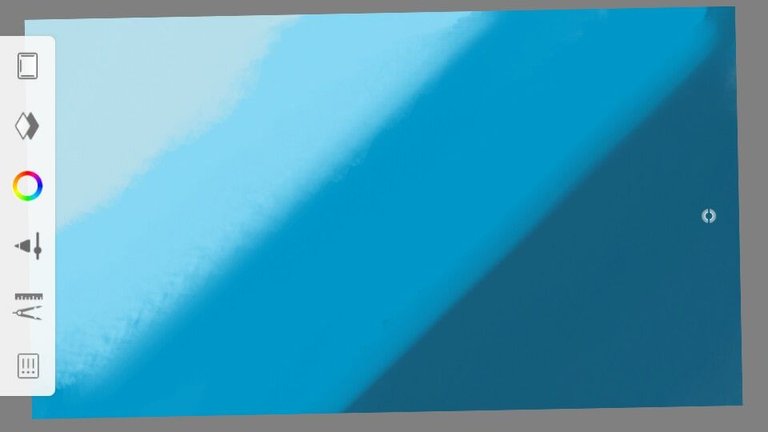
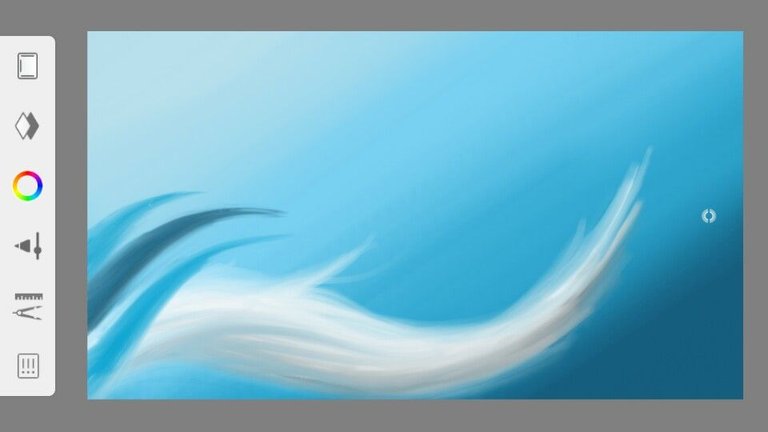
And then I applied the same technique "smudging" to achieve this outcome. Cool, right?
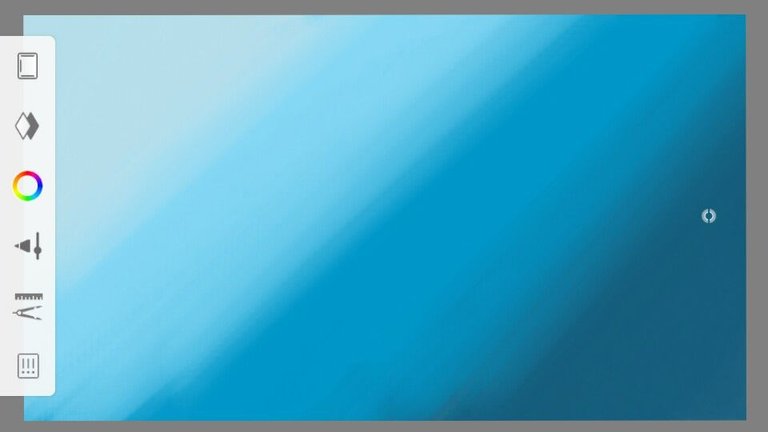
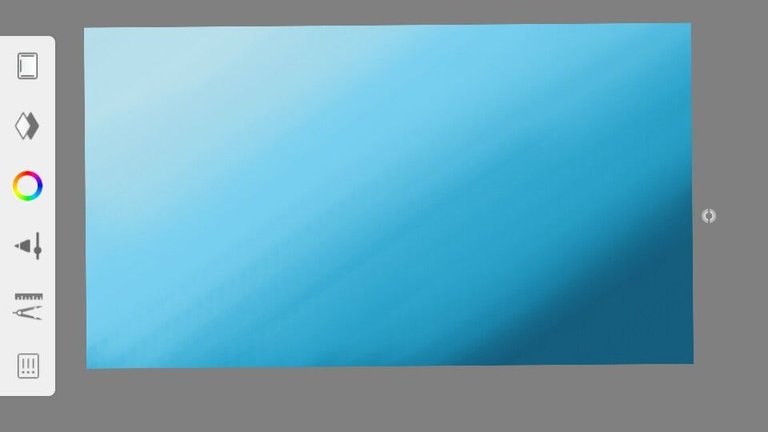
The next subjects will be the final entry for the painting. The mist and the steem! I don't know but these two just came up to my mind when I was almost at the tip of finishing the art work.
First, was the mist. I used the Paintbrush 3 for this.
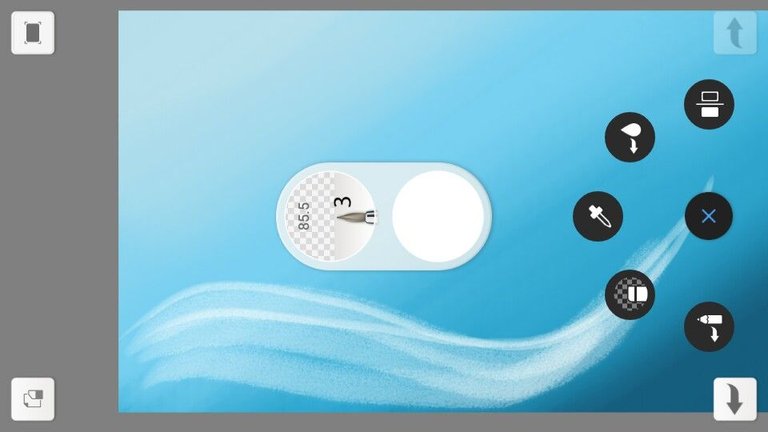
For this part, I just unhid the first layer to make sure that the mist was not covering the main subject which is "the hand".
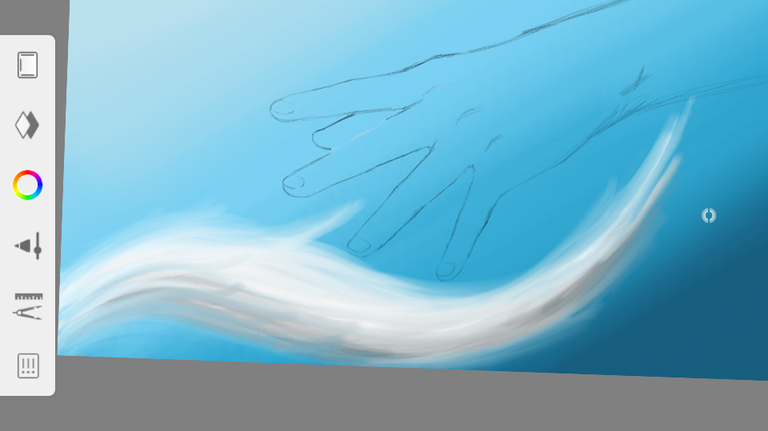
After the mist, here comes the steem (steempower). Same tool was used. All I had to do was stoke here, stroke there and stroke everywhere and then boom! After 48 years it's finally finished. Wew...
And here's the final look.

That would be all folks. Thanks for dropping by. Hope you like it. ☺

Nice rendering
Hello! I find your post valuable for the art community! Thanks for the great post! ARTzone is now following you! ALWAYs follow @artzone and the artzone tag, and support our artists!
Thank you @artzone for the support. I appreciate it very much.
nice talent bro...i want to try the apps also eventho im not good on art but i can practice...