I made books in my home when the normal publishing route proved difficult.
A few months ago I decided to take a look at my art catalog of all the things I've made, and picked some to turn into line art for coloring.
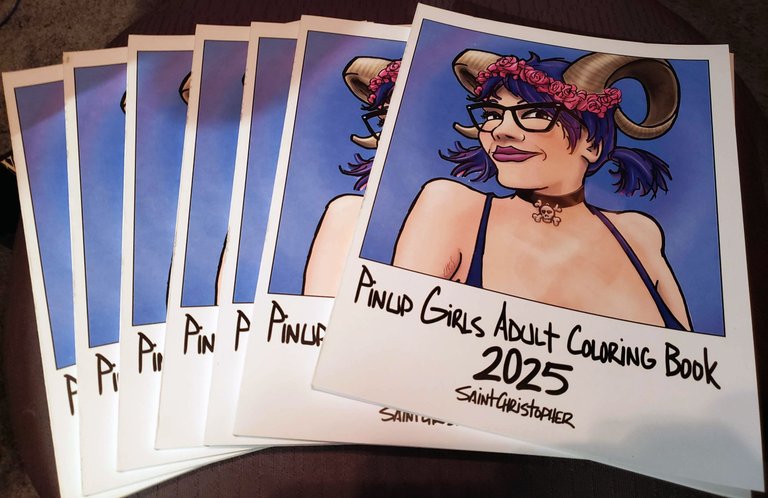
I ended up with 66 pages of sexy art drawings, mostly pretty tame with a few images being more explicit.
I had all the graphics prepared and chose Amazon's publishing division KDP.
The book passed checks and approvals and was added to the marketplace only to be taken down a week or so later by Amazon because they deemed it inappropriate for the marketplace, but offered no guidance on how to make edits they would be okay with. I was willing to substitute pages for something else.
But no, and was encouraged to try it again from the start.
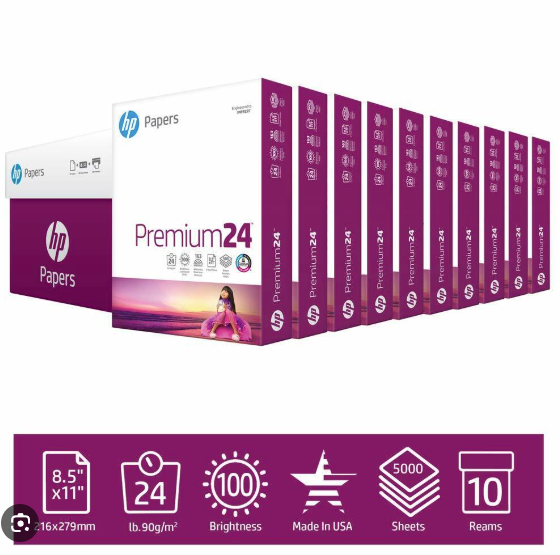
I thought about it, and I was able to make a small inventory of books with just a few things. What I did was get a few reams of 24lbs white letter paper paper (8.5inx11in), it's slightly thicker paper than the standard 20lbs bond that normally goes through your printer.
Then a ream of tabloid size cardstock (11inx17in) This needs to be a heaver and stiffer sheet and also double the size of the letter paper, making it ideal as the cover for this book. My printer at home only prints letter size paper so for the covers I will need to go to a facility like a FedEX Office or an Office Depot to make those prints.

I chose not to allow any images on the pages to bleed off the edge of the page and I also took this approach with the cover to save costs and steps in the process. I printed all of the pages, two-sided prints, on the letter-sized paper, making sure to bundle each set together in their own stacks.
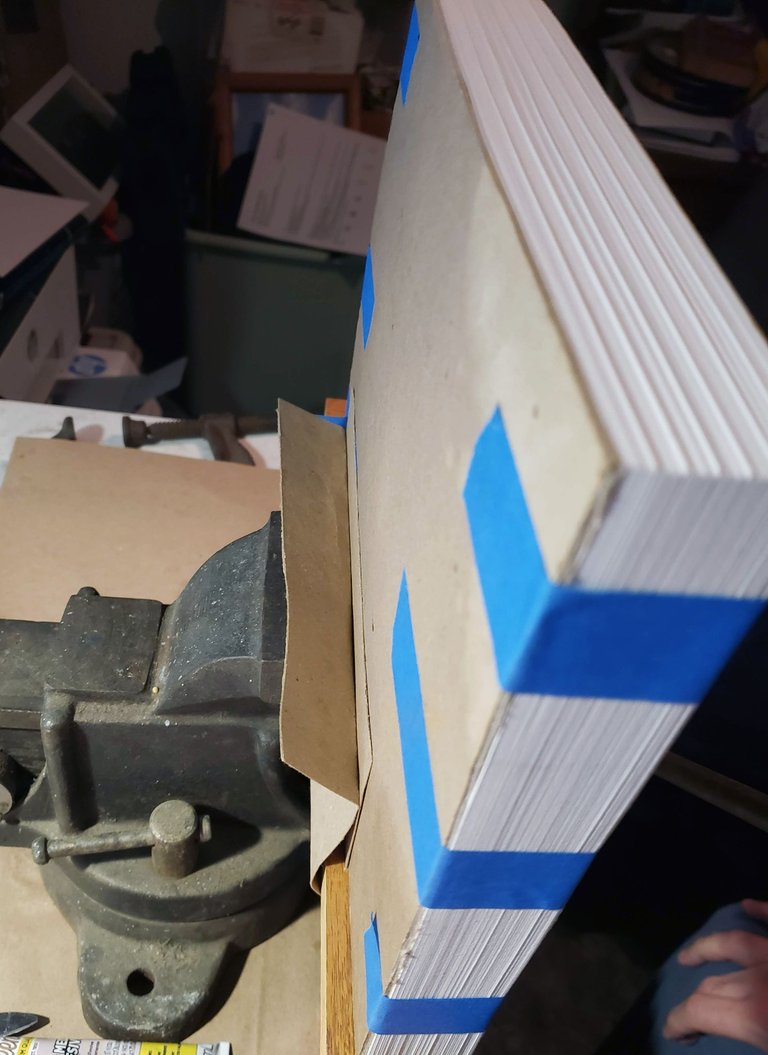
For each set I added a blank sheet to the top and bottom and straightened them out so they were all stacked evenly. I put together several sets, about 5-7 sets in a big stack. For each big stack I added chipboard, or pad backing to the top and bottom to help cushion the stack as I bind them together. I get a stack wrapped and clamped, leaving the edge I plan to paste exposed.
I use this tube of Mixed Media Adhesive and I paint it onto the edge of the paper stack.
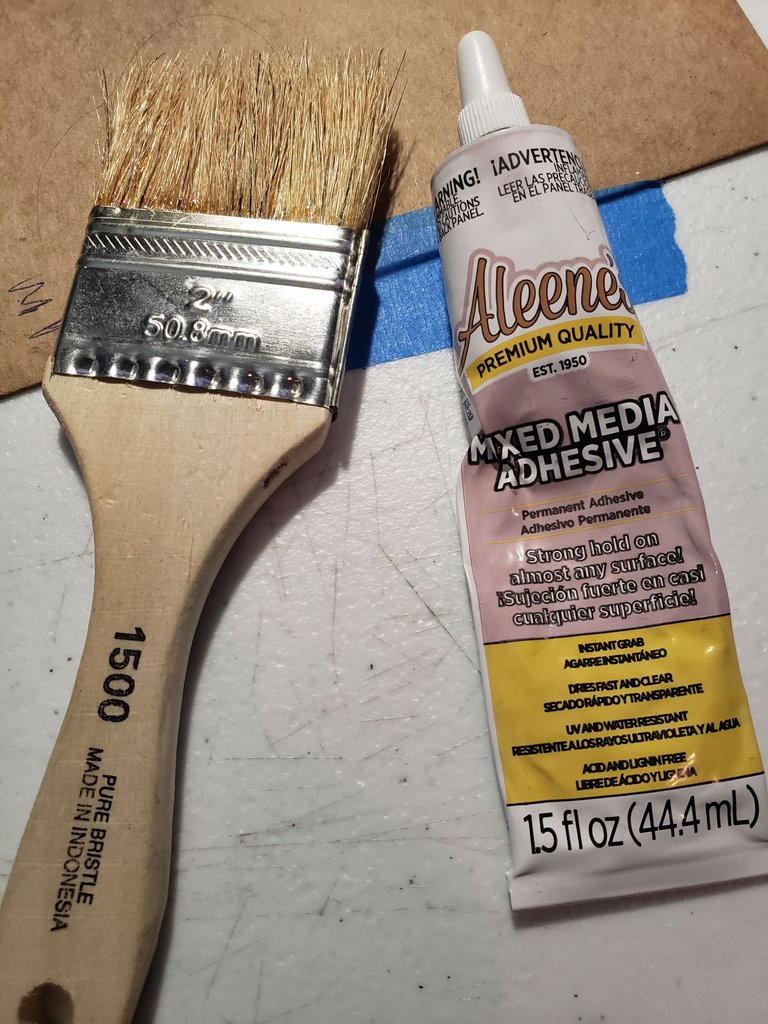
I let it dry and then I add another layer. I do this once more. After the full stack was dry after leaving it to sit overnight, I then used a knife and carefully sliced each set, just between the blank pages.
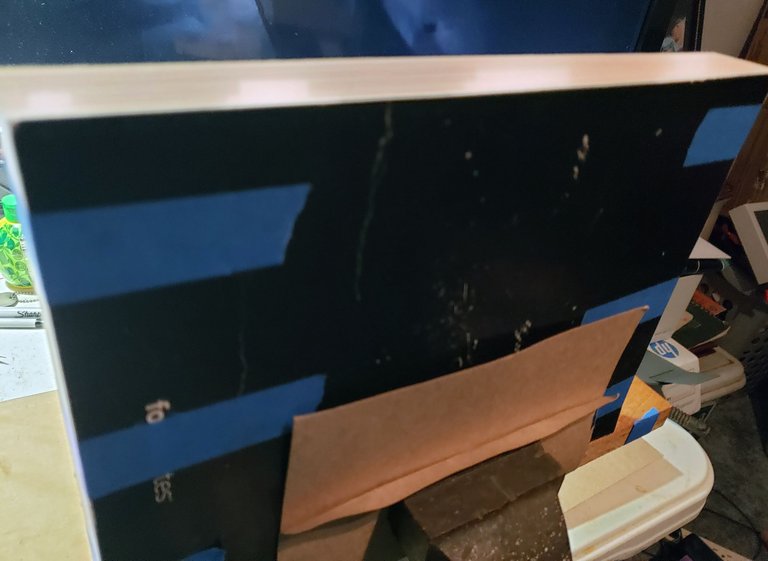
Now having all my sets padded and cut, I can add the covers which I had printed at Office Depot. I folded sheets down the center where I placed the book spine in the design. I account for 0.125" of width for the book spine.
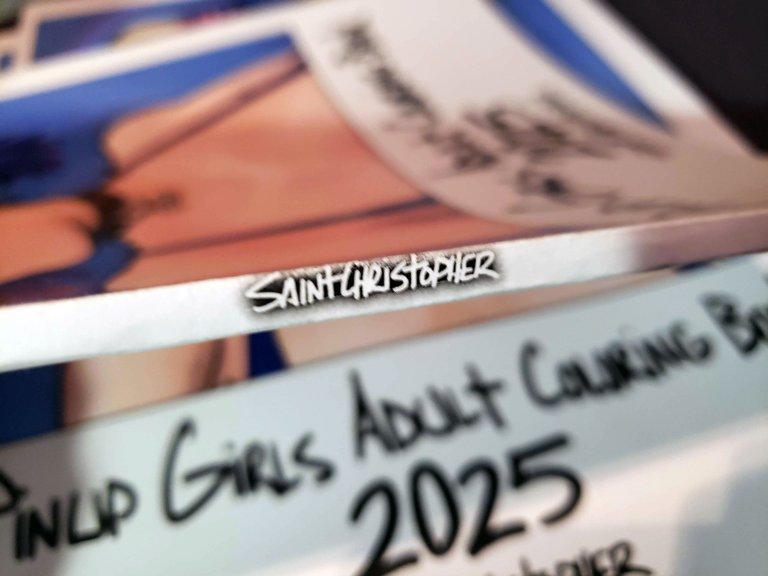
The glued edge of a set fits into the book spine crease of the cover, so I add more adhesive to the glued edge of the set and I carefully place the set of pages into the book spine crease.
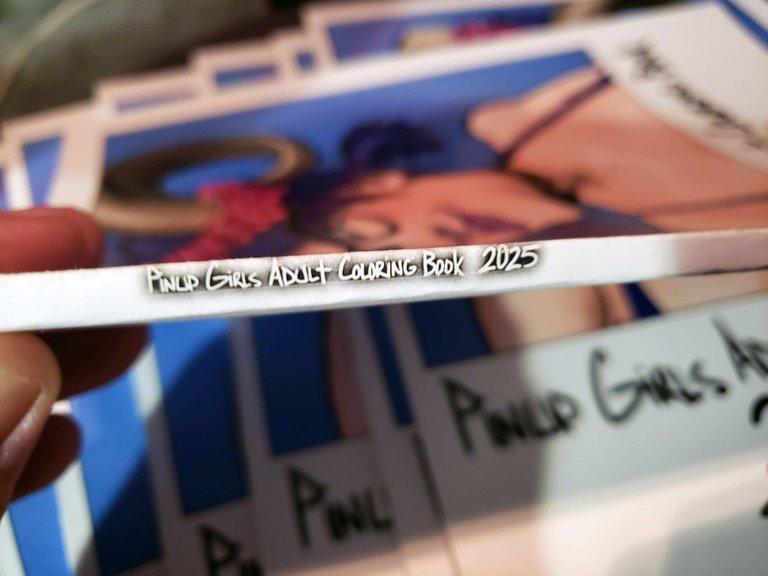
I straightened it out and I press it firmly allowing it to nearly dry before folding it over completely.
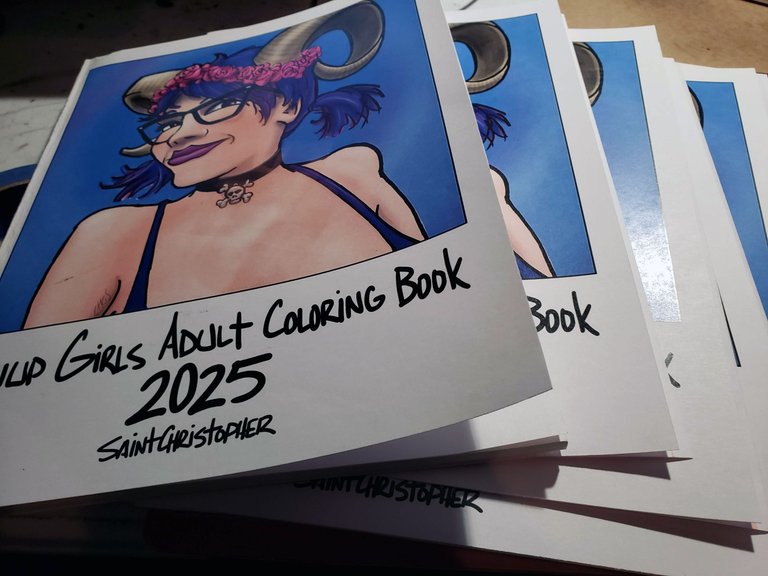
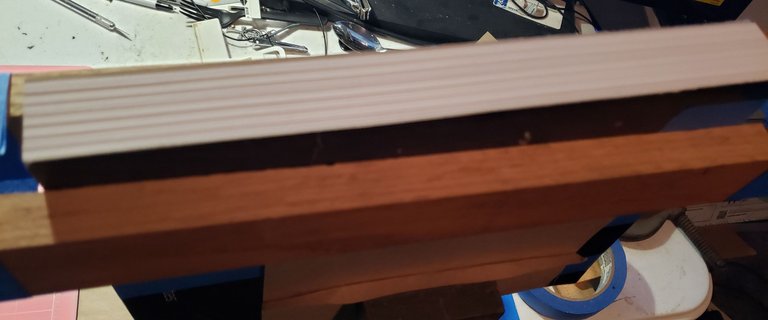
I get the whole stack covered, straightened, pasted, weighted with a couple of pieces of wood, and some clamps.
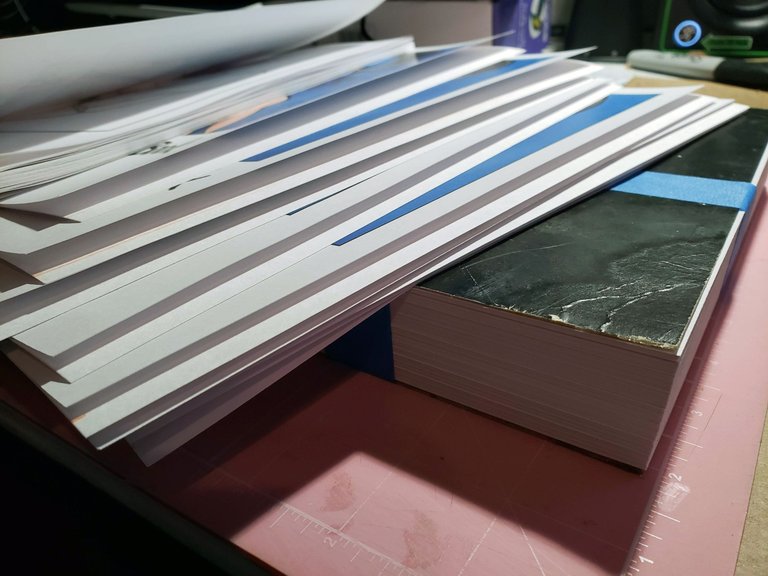
The edge of the book that opens is uneven. So to make the edge flush and smooth and professional-looking I take the book back to Office Depot and I allow them to trim the edges altogether in a uniform chop. Now I have my own books that are sturdy, neat and cleanly made for very little money.
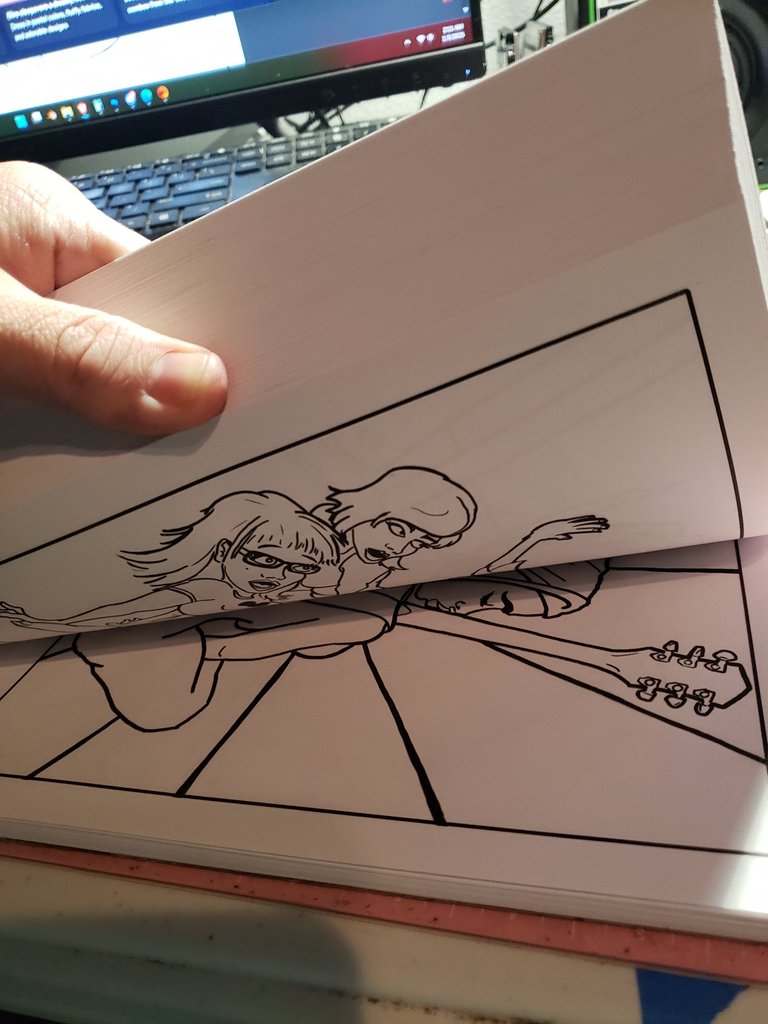
Take a look at these pages!
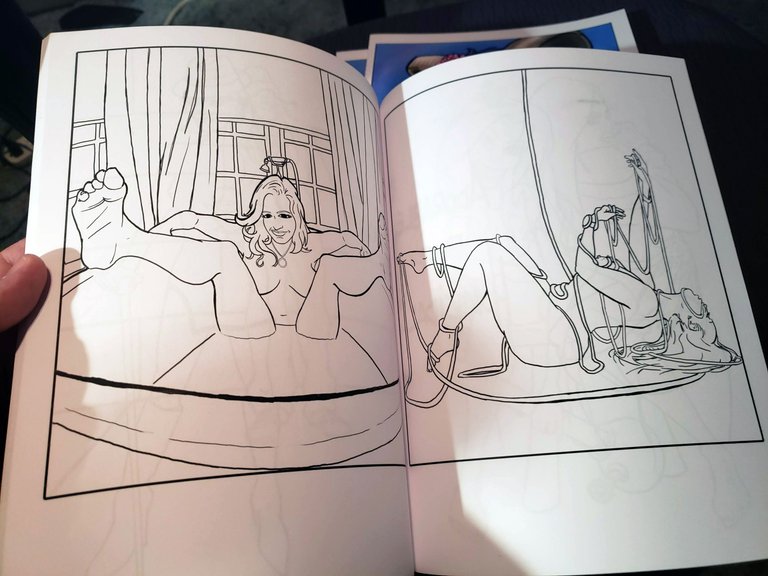
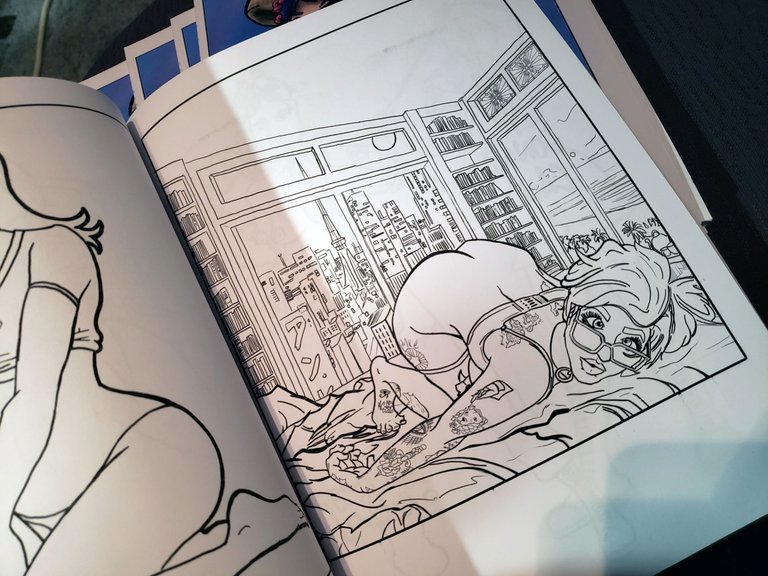
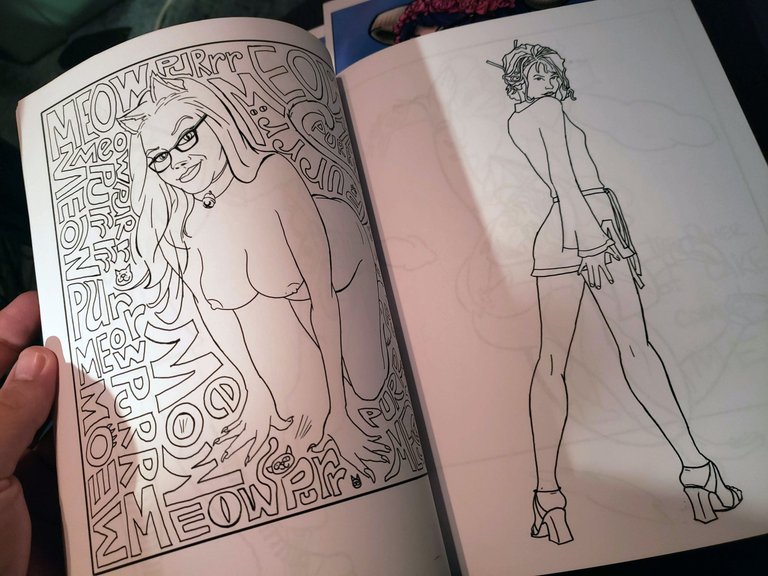
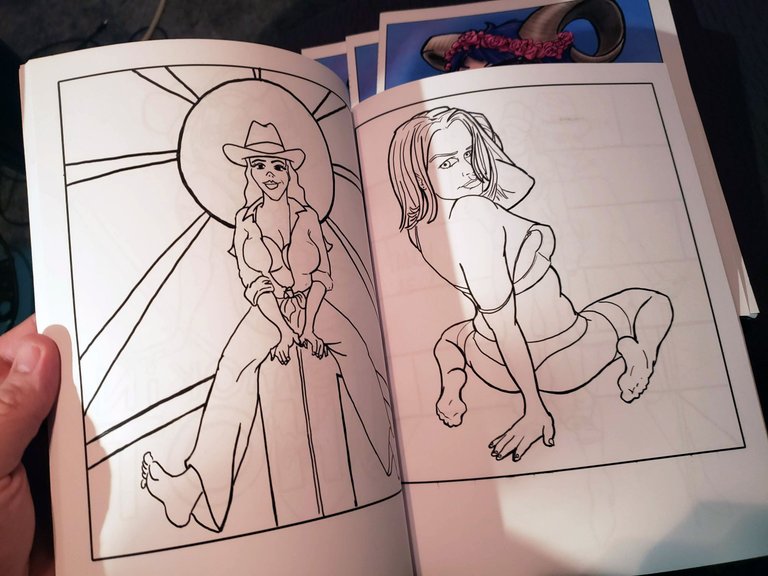
I covered my orders and I have a small inventory for more sales.
Anyone wanna buy a coloring book full of naked women?
Your level lowered and you are now a Red Fish!@saintchristopher, sorry to see that you have less Hive Power.
Check out our last posts: