Hello Steemers
Continuing the theme of painting mountains following my blog last week on painting mountains outdoors and my recent painting tutorial video, I am going to show you how I painted this small studio painting of Mt Talbot and Mt Crosscut in New Zealand. I have painted these mountains many times as it's one of my favourite places in New Zealand.
I'm going to be making a painting tutorial video for my YouTube and DTube channels on how to paint this art work so stay tuned for that.
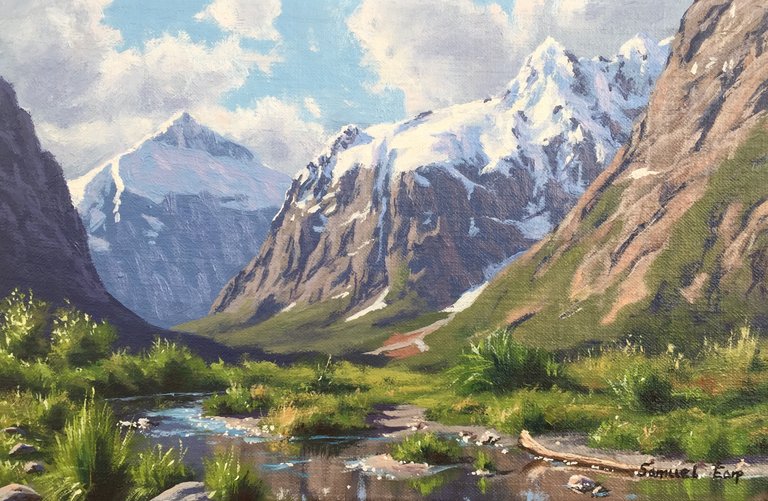
Mt Talbot and Mt Crosscut, 8" x 12", oil on canvas panel.
I love painting small art works, they are great especially if you are a beginner. You can paint them more quickly, they are good for practicing your painting techniques, they make great little paintings, they are easier to sell and you can use them for colour studies for bigger paintings.
CREATING THE COMPOSITION
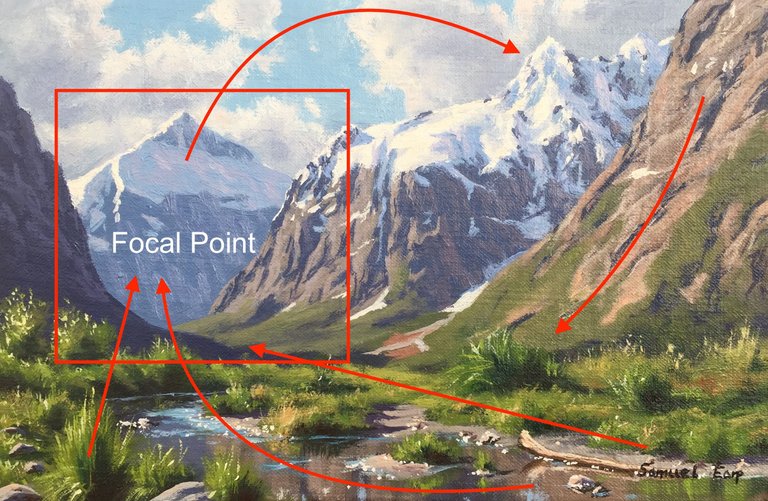
Mt Talbot which is the distant mountain within the red square is the focal point of the painting. The actual location itself is not too dissimilar to the composition in this painting so it didn't require too many changes.
When painting a landscape it's a good idea to establish a focal point in the painting. Your focal point should never ever be in the middle of your painting as it's boring and distracting.
Having decided on where my centre of attention will be in the painting I then add other elements, forms and vectors to subtly lead the eye to the focal point. In this case the direction of the stream and the log leads towards Mt Talbot. The direction of the clouds directs the eye to Mt Crosscut, the mountain in the mid ground. The slope of the mountain on the right side of the painting leads the eye back towards the stream helping to keep the eye on the painting.
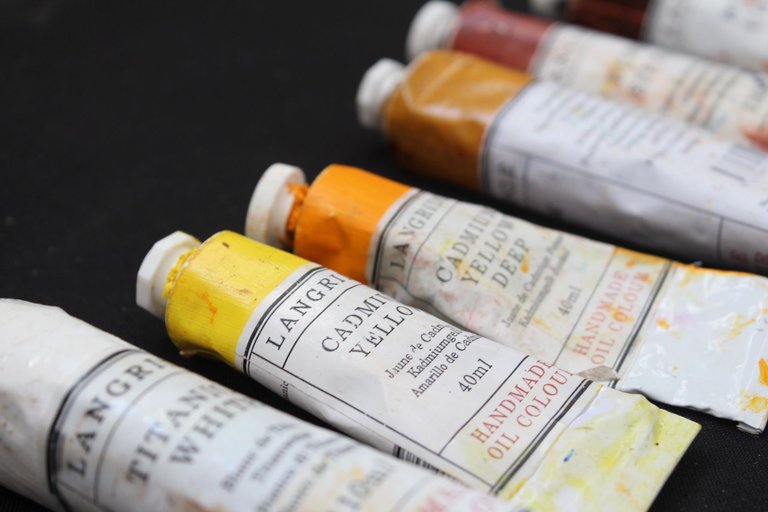
MY COLOUR PALETTE
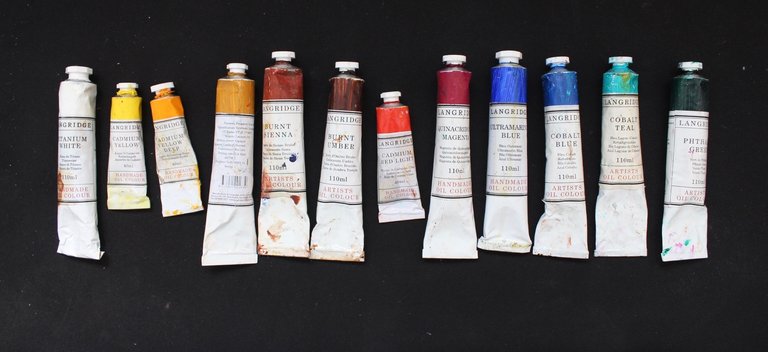
I am using Langridge Handmade Oils and I'm using the following colours:
Titanium white
Cadmium yellow
Cadmium yellow deep
Yellow oxide
Burnt Sienna
Burnt Umber
Cadmium red light
Quinacridone magenta
Ultramarine blue
Cobalt blue
Cobalt teal
Pthalo green
BLOCKING-IN THE PAINTING
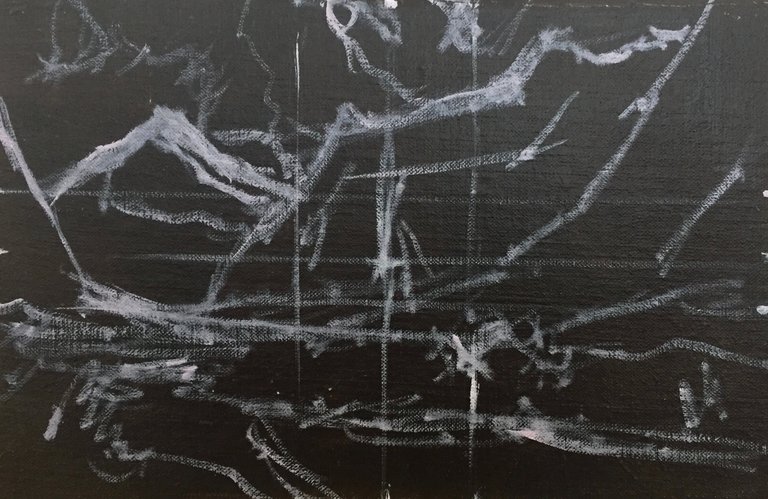
I start with my canvas panel which I prepared with a layer of ultramarine blue mixed with burnt umber. This creates a near black but it means my colours will jump out at me when I start painting this art work and it won't have a distorting effect on the colours which can occur when painting on a white surface.
I sketch out the scene using titanium white mixed with a little quinacridone magenta and liquin original.
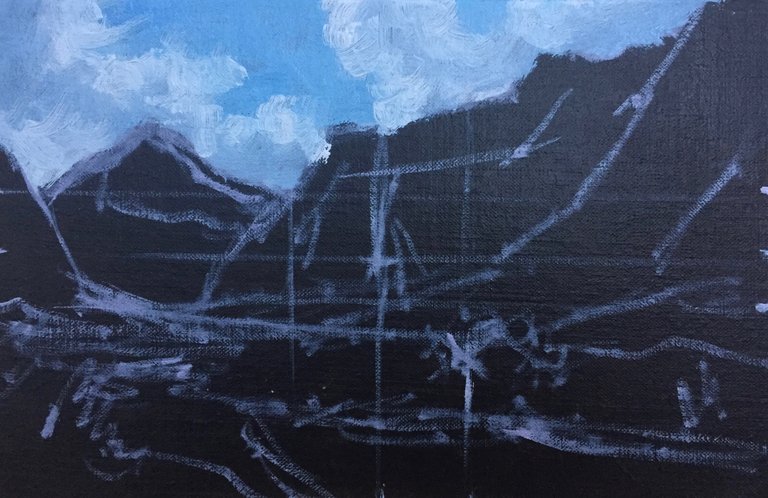
Once I have sketched out the scene I start with the thing that is furthest away in the painting, the sky. I mix the sky with cobalt blue, cobalt teal and titanium white.
I mix the colours for the clouds with ultramarine blue, burnt umber, quinacridone magenta to give the clouds a little violet tint and titanium white.
For the highlights of the clouds I use pure titanium white as I know it'll mix with my shadow colours and that I'll be returning to it later on in the painting.
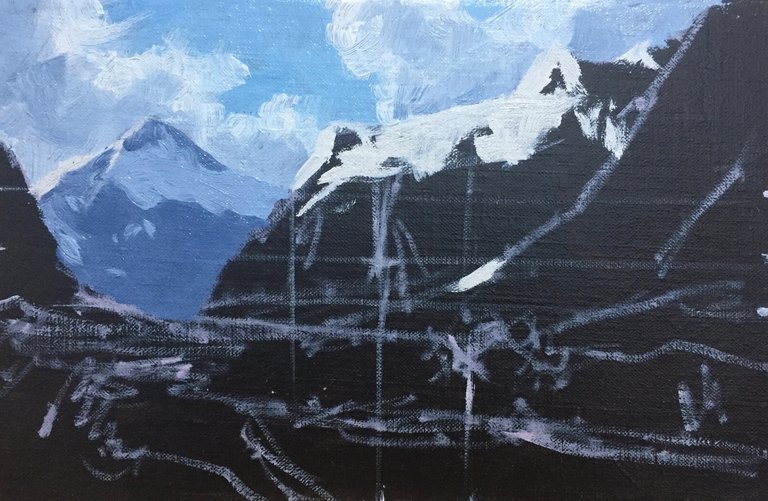
I start painting Mt Talbot the distant mountain. Whilst this mountain will be tonally lighter than the other mountain it still falls within the mid-tone range. Here our darks are not quite dark and our lights are not quite light.
I mix the shadow of the mountain using ultramarine blue, burnt umber to reduce the saturation of the blue, quinacridone magenta which gives it a violet tint and a liberal amount of titanium white. These are the same colours I used in the clouds which helps to create colour harmony in the painting.
I use the same colour combination for the shadow of Mt Crosscut, the mountain in the mid-ground as I used in for Mt Talbot but with a little less titanium white as the shadow becomes darker.
I block in the snow which where in shadow I use ultramarine blue, cobalt blue and titanium white. If it's too saturated I can knock it back with a little burnt umber.
The sunlit areas of the snow at this stage of the painting is not quite white as I want to save my lightest tones until the end of the painting, so I mix in a little of my cloud mix colours to darken the tone a little.
The sunlit face of Mt Crosscut was painted using burnt umber mixed with ultramarine blue and titanium white.

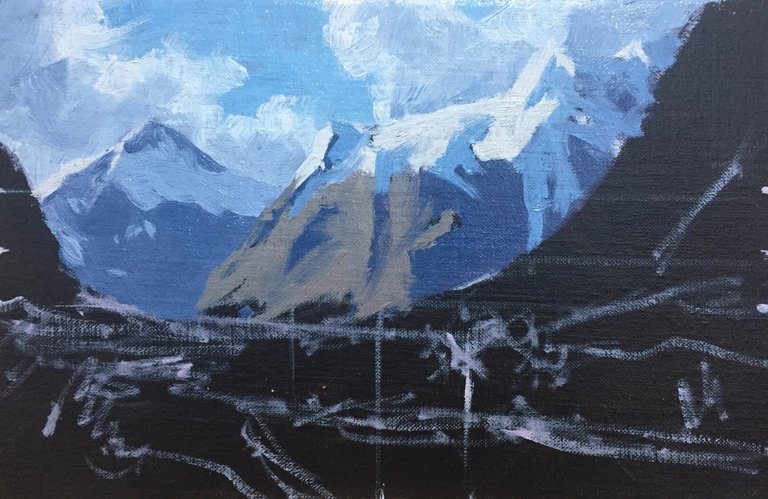
Next I start working on the distant foliage. Greens don't travel well over long distances so the colour becomes more desaturated the further into the distance it becomes.
Think of the saturation of colour like turning up the volume on your stereo, the further forward in the painting you come the more saturated the colour with be, like turning up the colour intensity!
I mix the distant greens using yellow oxide, ultramarine blue, titanium white and burnt sienna.

To complete the blocking in stage of the painting I paint the foreground. Here I will use my most saturated colour.
I paint the mountain stream using the same colours as I used in the mountains as the water is running quite still it's reflecting the mountain colours.
I block in the shadows of the foliage using pthalo green mixed with quinacridone magenta which creates a very dark tone.
The colours I mixed for the grasses include varying amounts of cadmium yellow deep, ultramarine blue, pthalo green, titanium white and burnt sienna. This creates a much more saturated green.
Stay tuned for Part 2 of this painting tutorial coming soon........
I hope you enjoyed this blog post and if you found this blog post interesting and helpful and you like what I do, any tips to help support my art career would be greatly appreciated.
Bitcoin: 1Px9bSmVfw69F2uEUso8Zz46BV2DmGLZJg
Litecoin: LQYz47A7pZfMLRjqpR29YbxnY36aoLrFAT
Dash: XmHqFwzmyhax3zm2Q3hVhqAYfMZ2AqaZ3f
Check out my website for more painting demos and my art: samuelearp.com
Subscribe to my mailing list for news, new paintings and art tips and receive a FREE DIGITAL ART PRINT DOWNLOAD of one of my seascape paintings suitable for printing an image of any size: https://www.samuelearp.com/subscribe/
Wow, this is amazing!
Thanks @askaran :)
Thank you for this helpful and clearly explained tutorial.
Glad you liked it @deemarshall, I'm going to be making a video on how to paint this for my YouTube channel.
Stay tuned for part 2......
As s photographer, I can say, very good work!
Thanks @fotomindo :)
Great tutorial, it is explaining the process very well.
Thanks @mitchhunter, stay tuned for the painting tutorial video I'm making at the moment :)
Gosh, I have always loved your work. I feel like we have our own Bob Ross here :D
Thanks @sjennon :)
Great art work!
Thanks @pureandluminous :)
nice art
Fllow upvote me i already flow you and upvote you
https://steemit.com/@shana420
Thanks
thank you! very usefull info!
Thanks @prostosun :)
Finally a beautifully executed how-to! Beautiful painting, Sir! I love those brushstrokes!
Thanks @ablckbrd, I have more painting tutorials on my website:
https://www.samuelearp.com/new-blog/
Wow, this is awesome.You are very talented. Thanks for sharing.
I very much appreciate your instructions. Man is still learning.
Resteemed because I so love it dear.