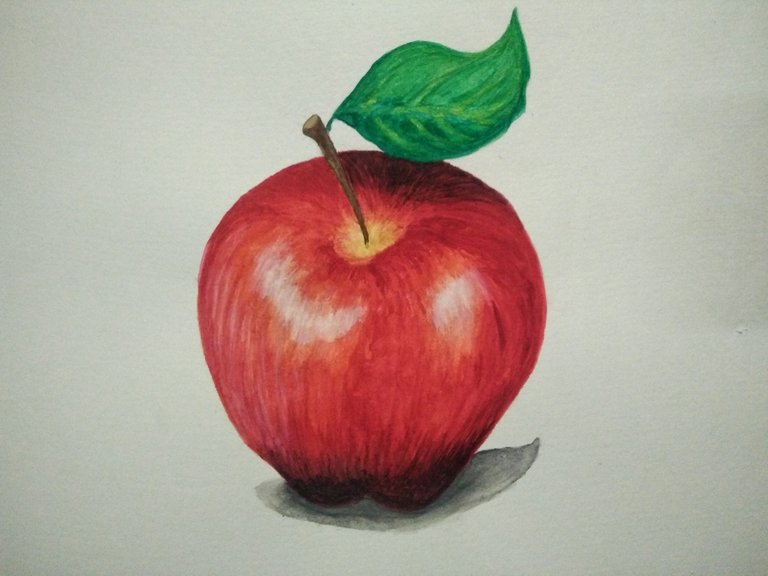
It’s been a while since I last posted about painting and I missed it so bad. So bad that my watercolours, paint brushes, and all-purpose table earned a dusty reputation.
As a newbie I am a bit aloof on showing my skills in art especially here on Steemit because there are lots of steemians who are veteran and a connoisseur when it comes to art. They are so good that I felt like someone that does not exist. (Who am I? I am just a newbie by the way with barely 48 days on Steemit.) They make me feel that I need to learn more and challenge myself to be better everytime I do a project.
I actually followed them so I may gather new ideas and techniques to improve my ability so I’m giving it a try again. Please support me and thank you in advance.
My blog today is a step-by-step tutorial on achieving a realistic image of an apple using watercolour as medium. I chose an apple as a subject for my project. An apple of which most of us would love to bite. An apple of which it represents the world - an apple of the eye and an apple of intelligence.
I like apple because it is very nutritious for my tummy as a cliché says, “AN APPLE A DAY KEEPS THE DOCTOR AWAY.” I like apple too because of its catchy colors and smooth structure. It is a perfect subject for painting.
Let’s proceed!
MATERIALS
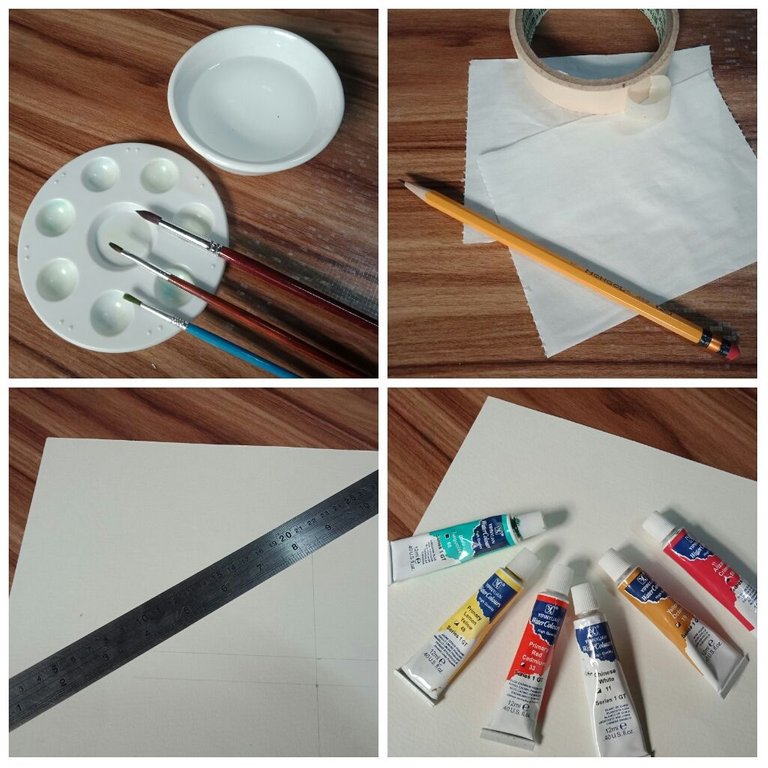
»Palette
»Water (for the colors and to clean the brushes)
»Tissue Paper
»Pencil
»Masking tape
»Ruler
»28x36 cm cream watercolour paper
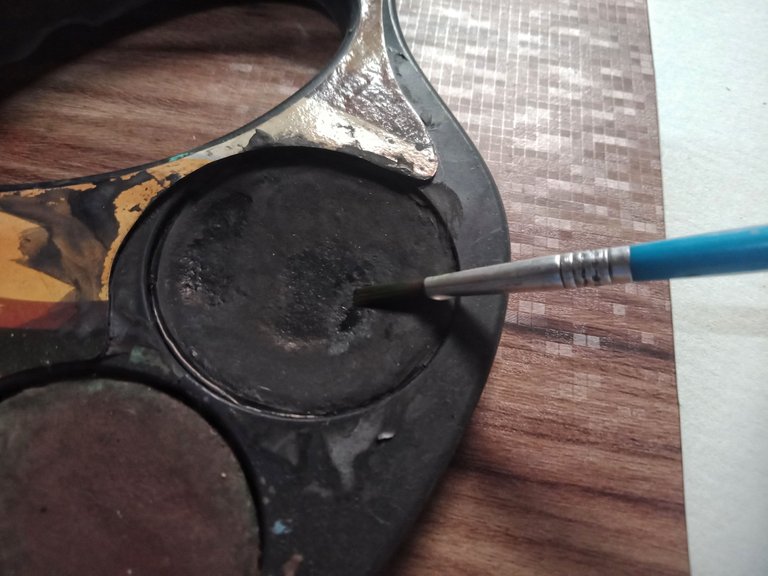
»Watercolours
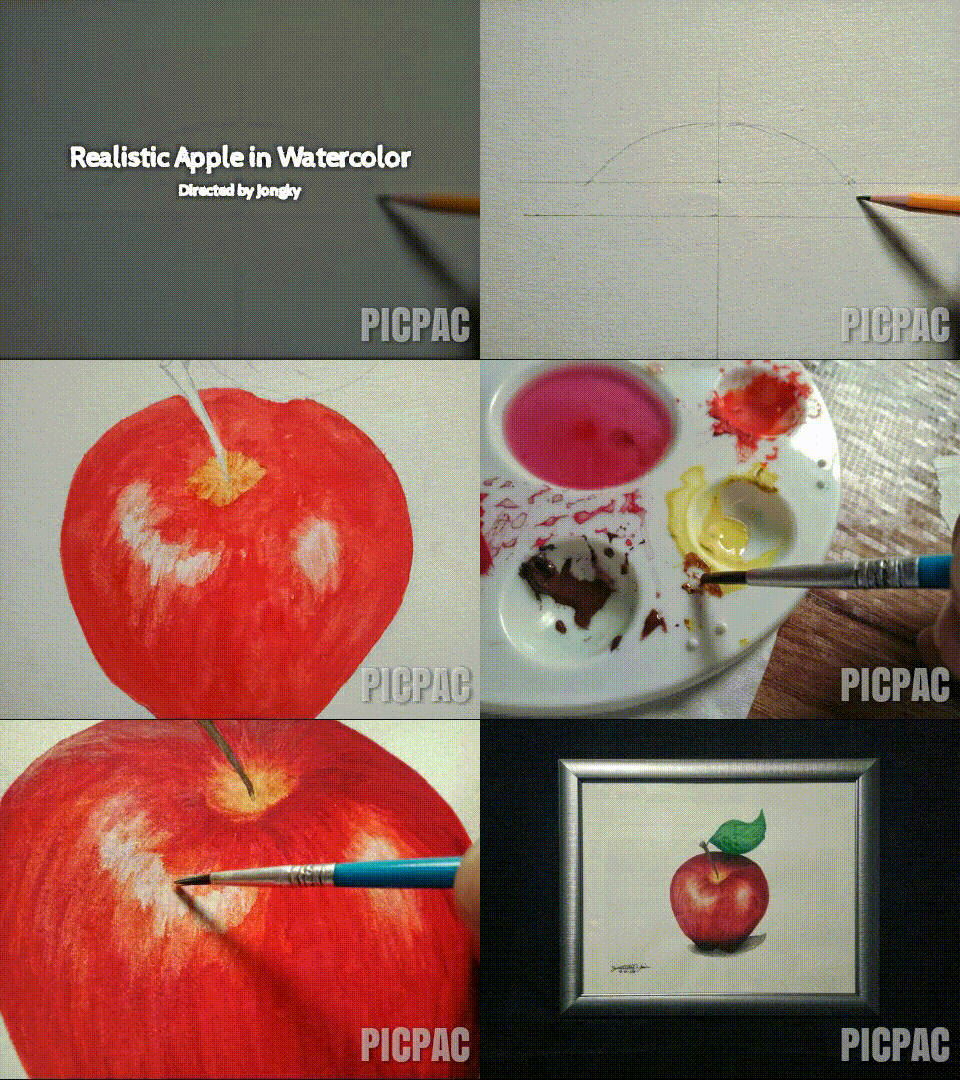
I used Photogrid to combine some of the processes because I had almost a hundred of photos taken just to keep this documentation detailed and easy to understand. Please have patience as I did in capturing photos while painting. Lol
[THE PROCESS]
Use the ruler to determine the center point of the 28x36 cm watercolour paper. First, outline a horizontal and vertical line to form a cross. Then an inch below the center point, draw another horizontal line.
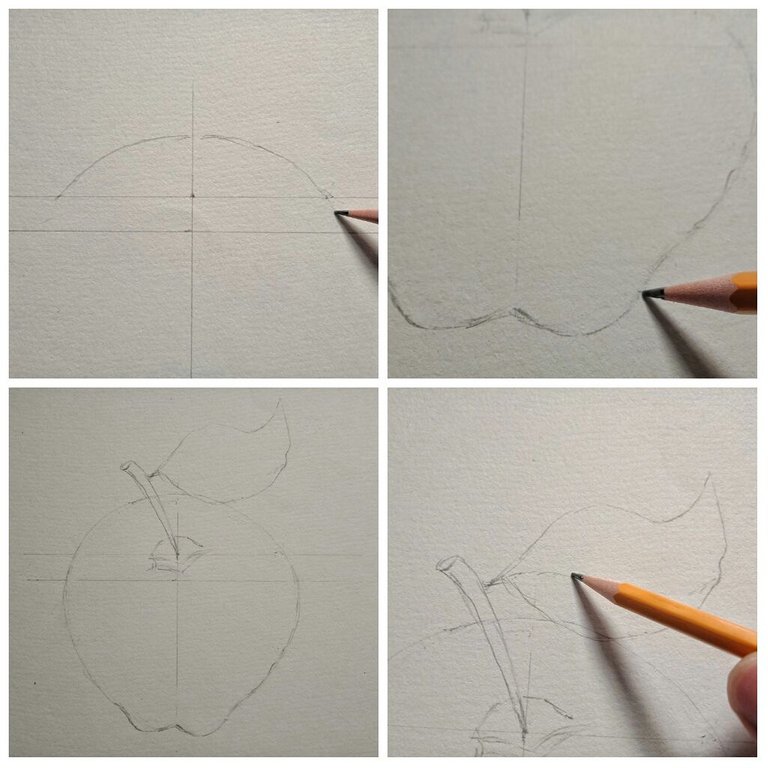
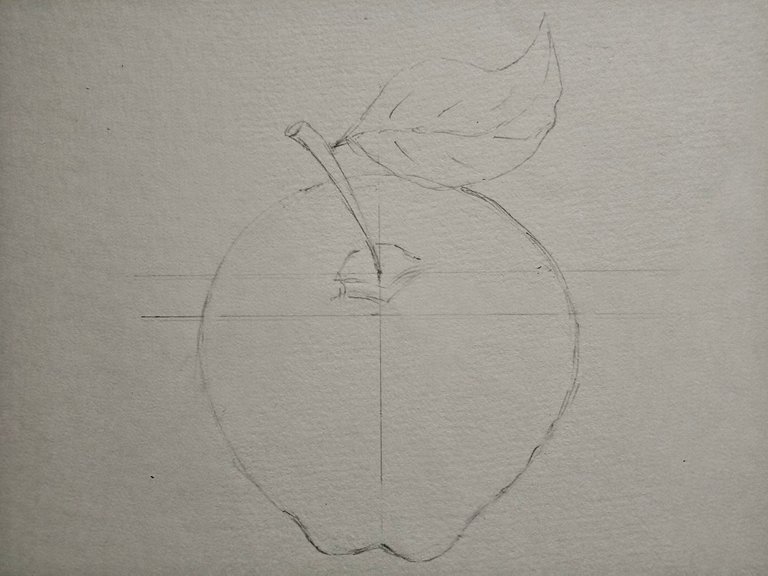
Start sketching the apple. Be sure that the outline is not too dark that it is too hard to erase, and not too light that you couldn’t decipher the pattern. Draw the body, the stalk, and then leaf.
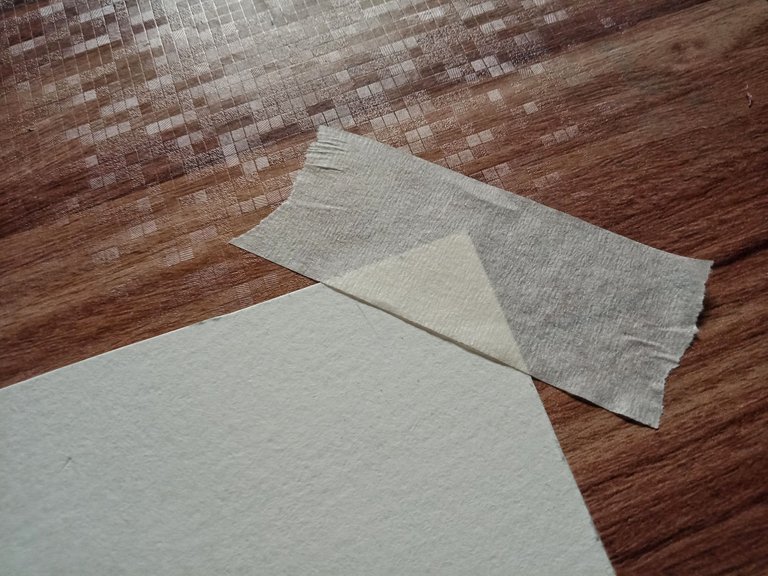
After sketching, be sure to remove the pencil dusts and keep the watercolour paper steady by placing masking tapes in its four sides.
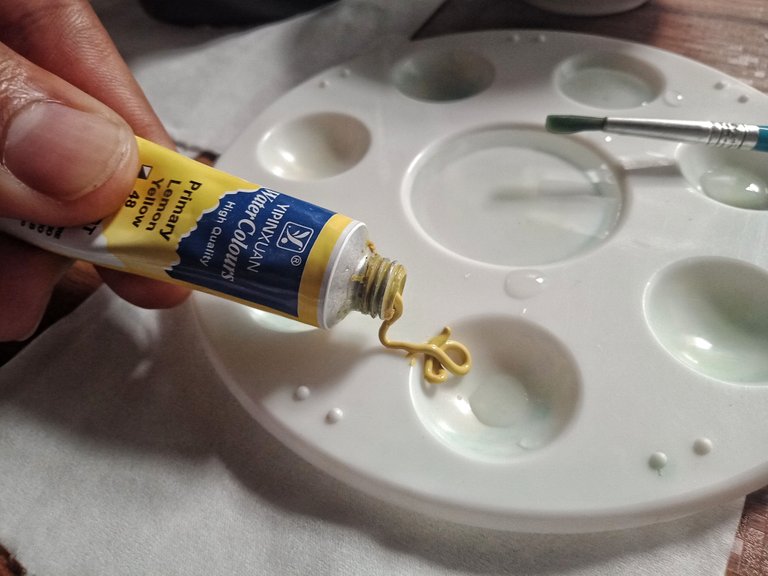
Using the Hanmade Royal Art Brush No.5 with Primary Lemon Yellow, color the little basin part on the upper center portion of the apple.
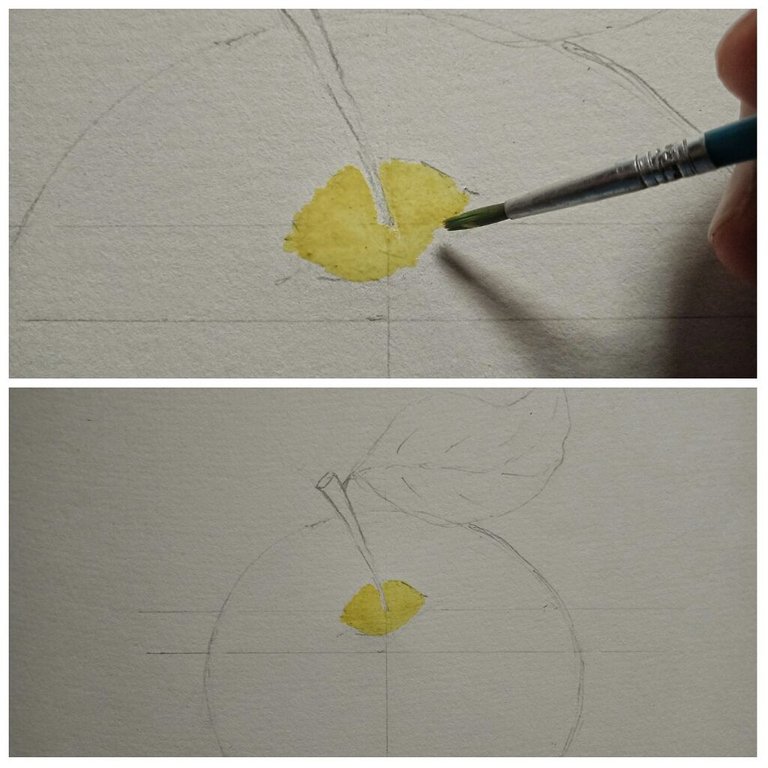
I want the apple to look very fresh and shiny so we need to leave a space on the upper left and right chamber of the apple by marking it with an outline of as if stalactites and stalagmites (atleast to keep the shimmer more natural).
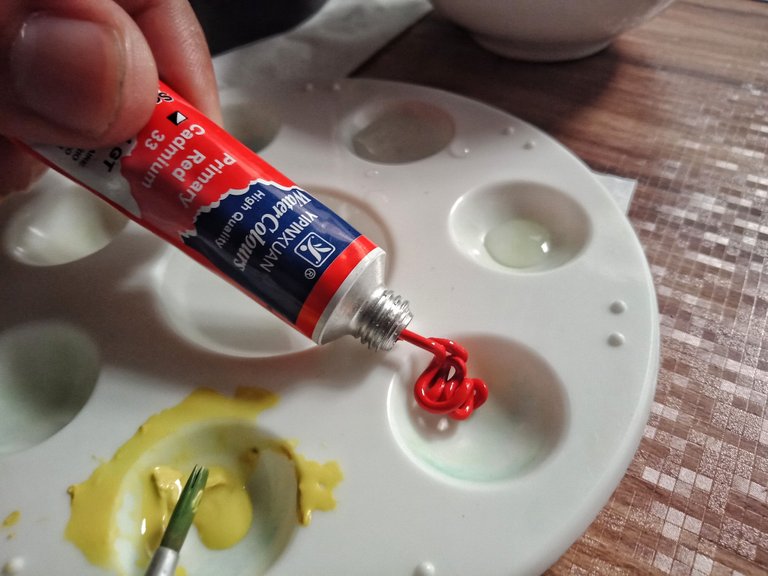
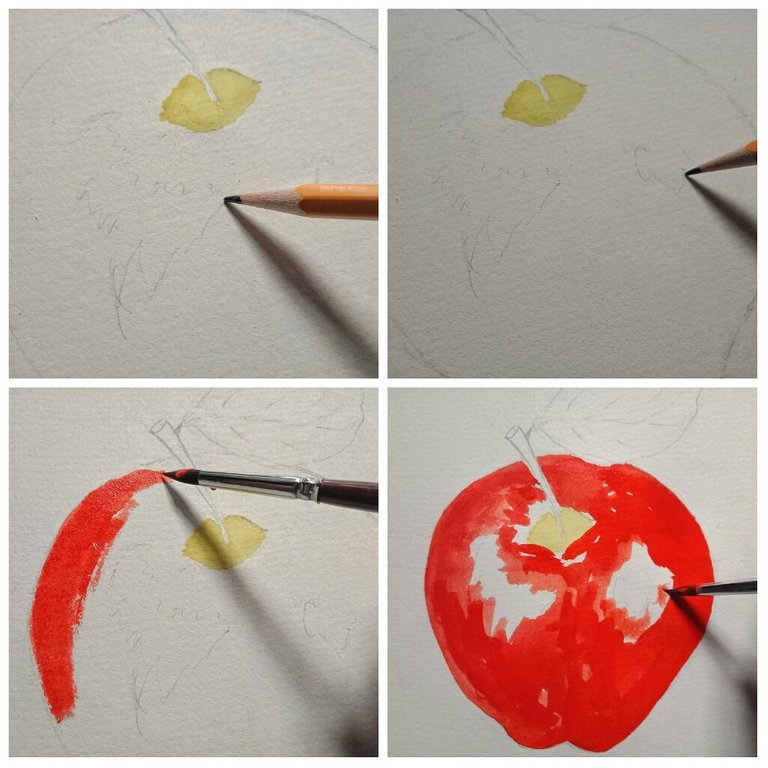
Start coloring the body using the Primary Red Cadmium. Begin with the inside boundaries of the apple. Enjoy splashing but do not color the Stalactites and stalagmites. Let it dry.
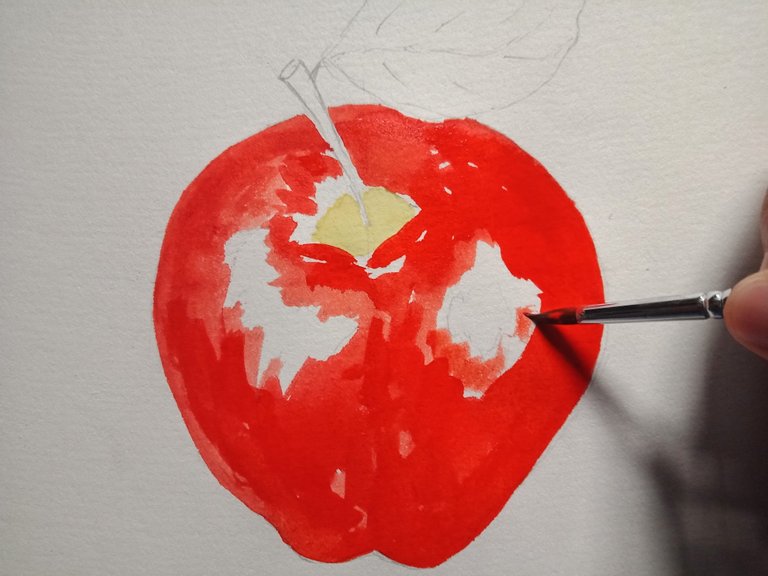
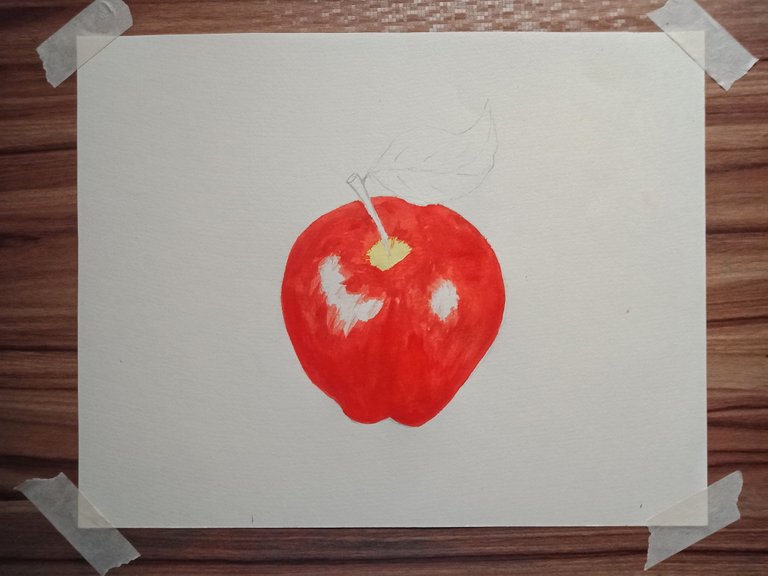
I call it bridging because it’s like bridging the gap. Without using any colors wet the paint brush (Pentel no. 0) and connect the colors in a vertical strokes. Keep brushing lightly to create feathery illusion for the meeting of colors to seem occur smoothly.
As you progress you may erase the pencil outline to keep the apple neat and clean.
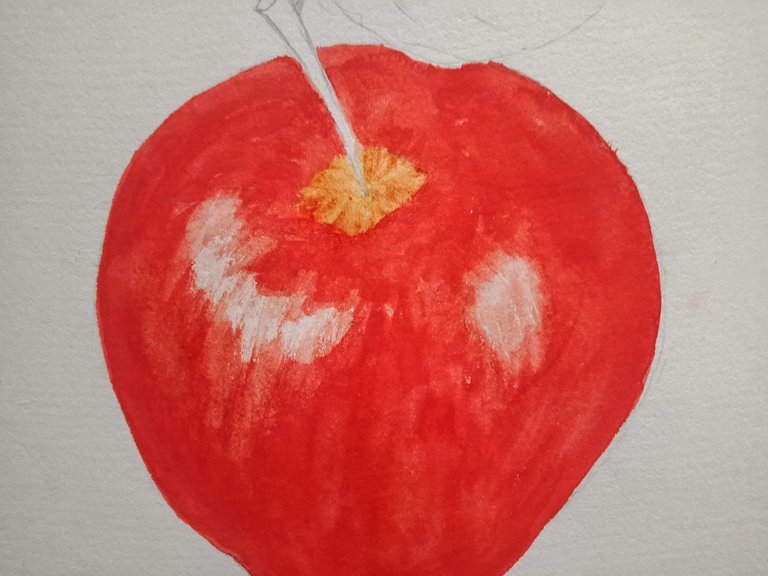
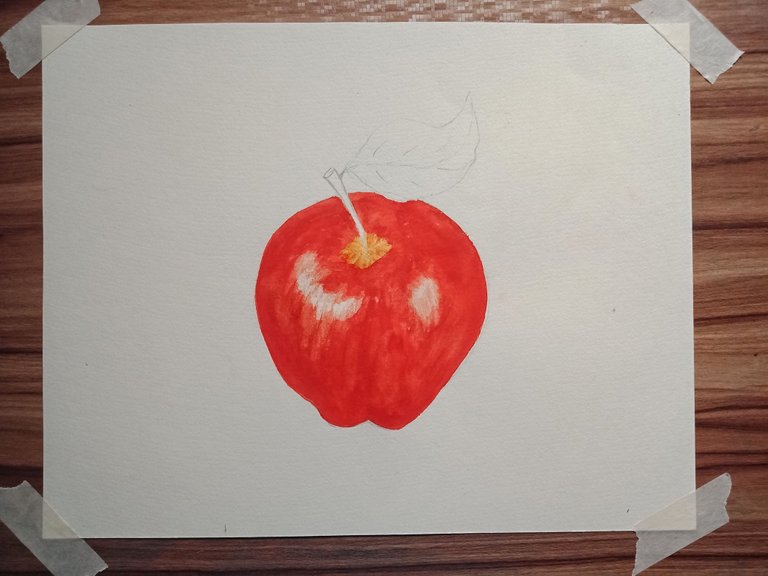
For the second coat, use a darker hue of red. I used Alizarine Crimson. Use whatever red you have just be sure that it is darker than your first coating.
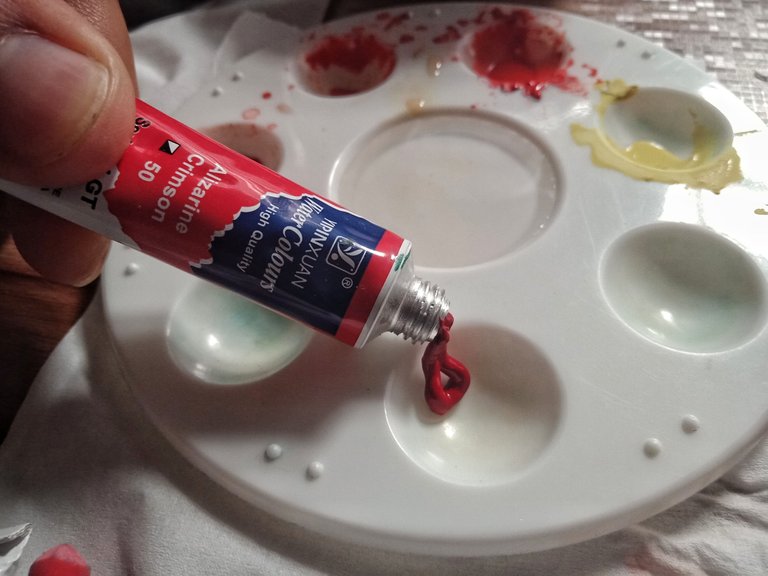
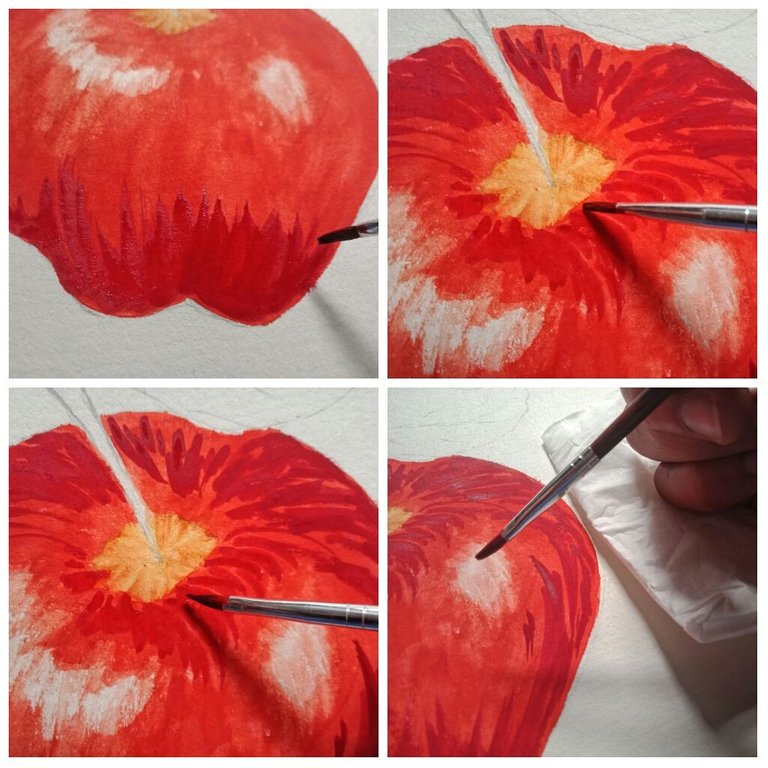
Begin at the bottom of the apple remember use your vertical strokes, it should settle with the shape of the apple. Then proceed at the top portion then into the apple’s sides.
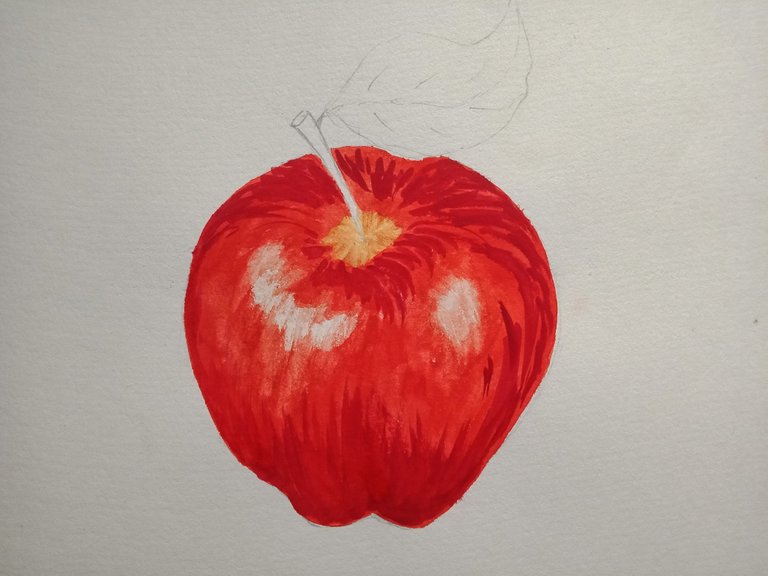
When it’s dried, use bridging technique again to blend the light and dark colors, but not too vigorously. Leave an ample existence of dark textures as you keep stroking lightly.
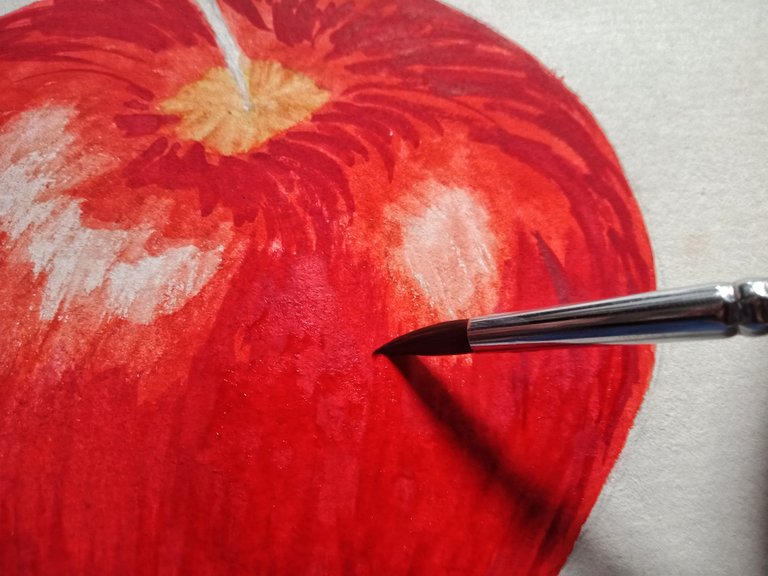
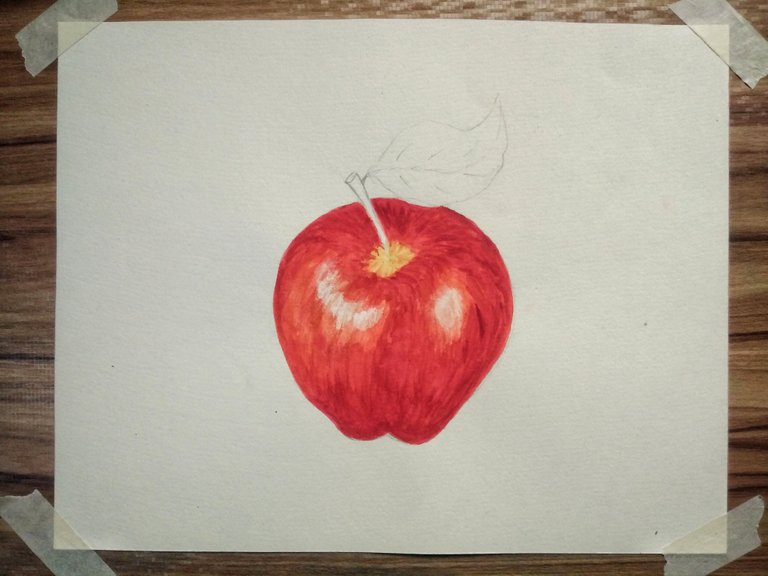
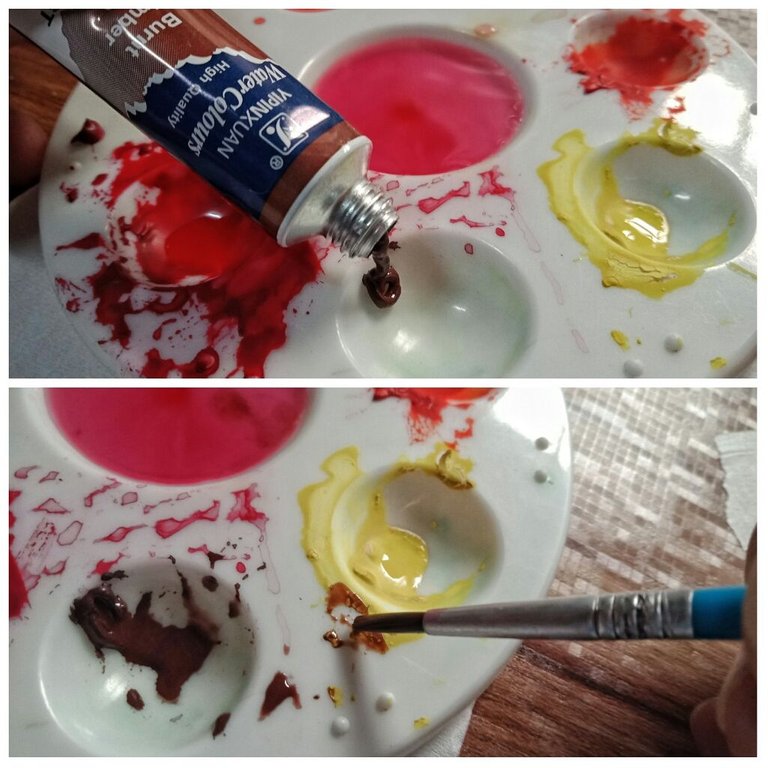
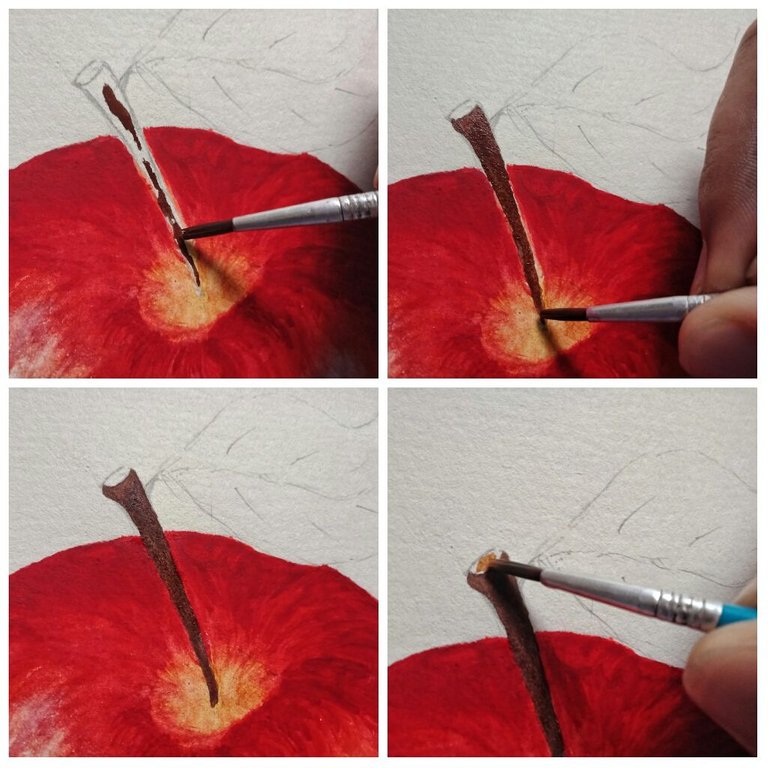
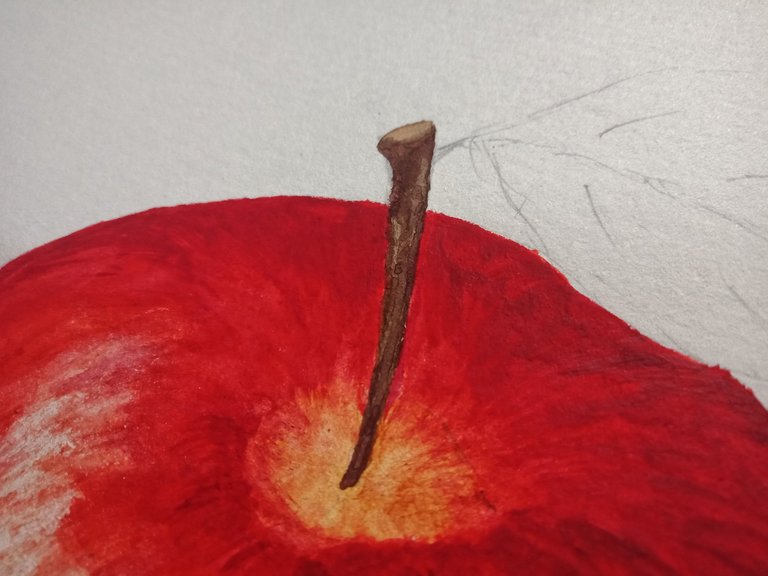
Burnt Umber is fitting to be the base color for the stalk. Use a lighter hue at the top of the stalk. I combined the Burnt Umber and the Primary Lemon Yellow to come up with a lighter hue.
Commence at the bottom of the leaf. Use lighter hue when doing a first coating. I combined Blue Turquoise and Primary Lemon Yellow to arrive at a lighter color. . Leave the sketch of the lateral veins of the leaf untainted.
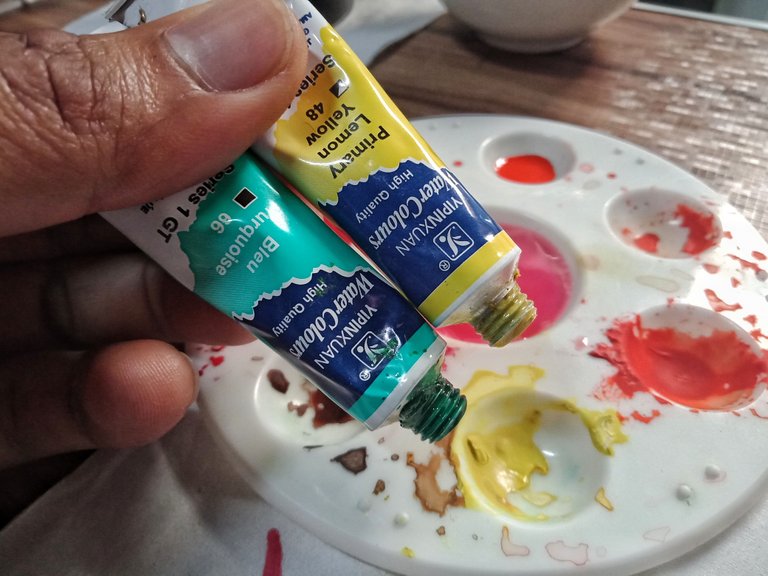
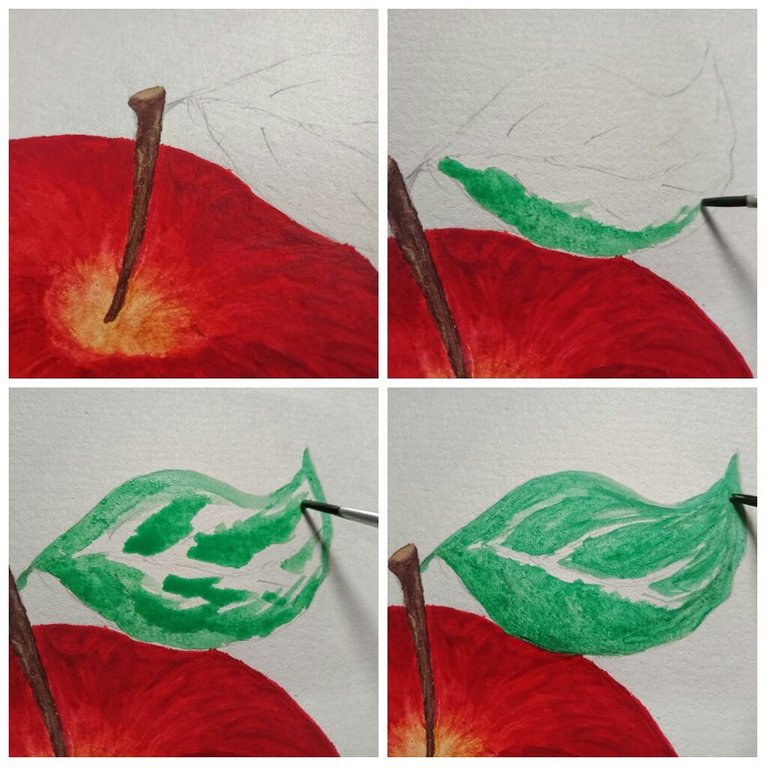
For the second coating use a darker hue to serve as shadow especially at the bottom of the leaf, I used Blue Turquoise alone. And for the lateral veins of the leaf, use Primary Lemon Yellow.
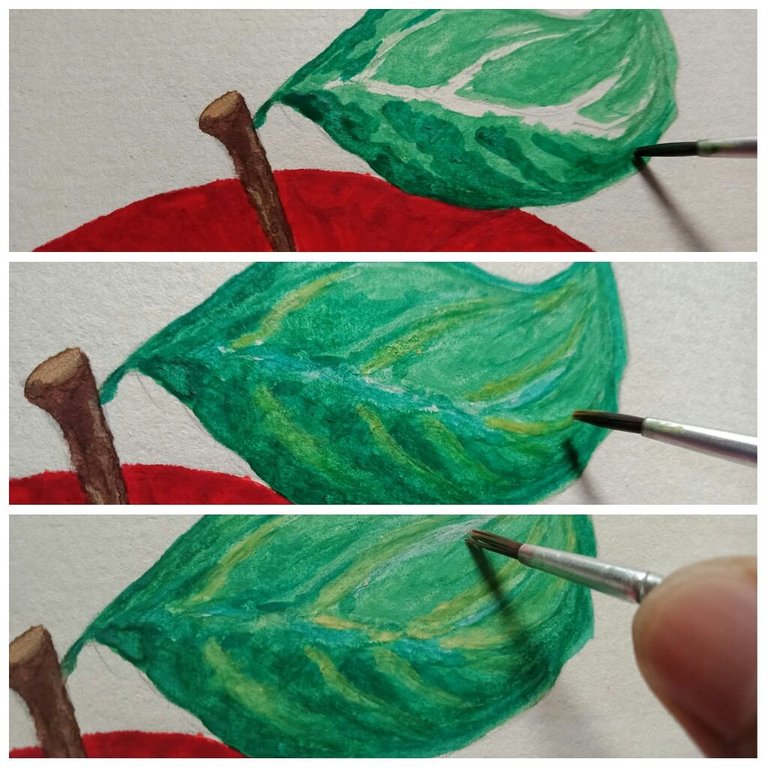
Let it dry and be sure to bridge all the gaps.
Here we go. We are just a few steps to go. Use black color. Begin at the upper portion of the apple right beneath the leaf. Then proceed at the butt of the apple through the right chamber of the apple. Create a texture through the basin by stroking vertically in accordance with the structure. When stroking, keep the brush lightly.
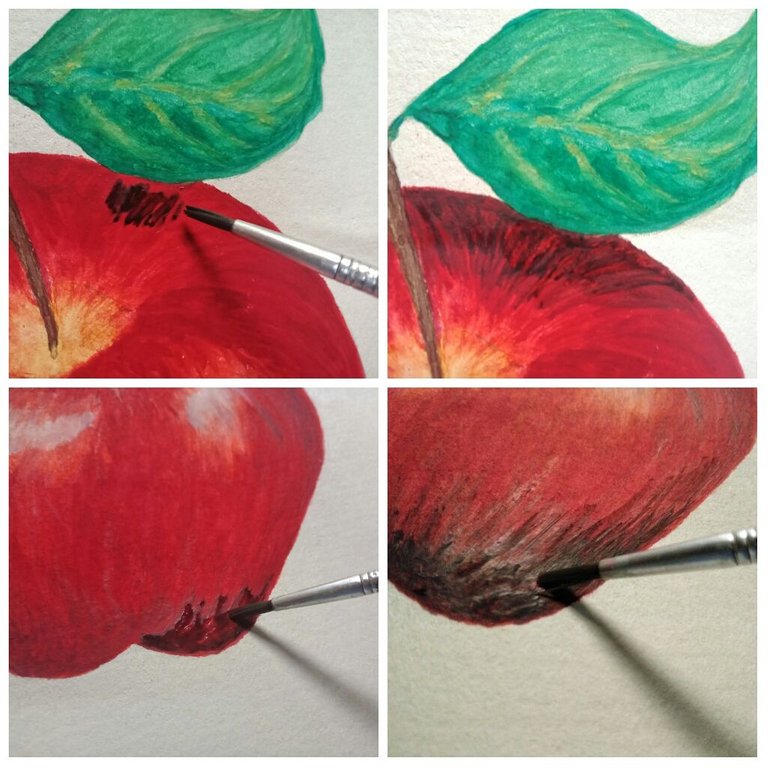
While letting the colors stick to one another, use Gray to produce shadow at the base of the apple. Our light source is coming from the left, striking the apple downward. The base must be darker and lighter as it is edging.
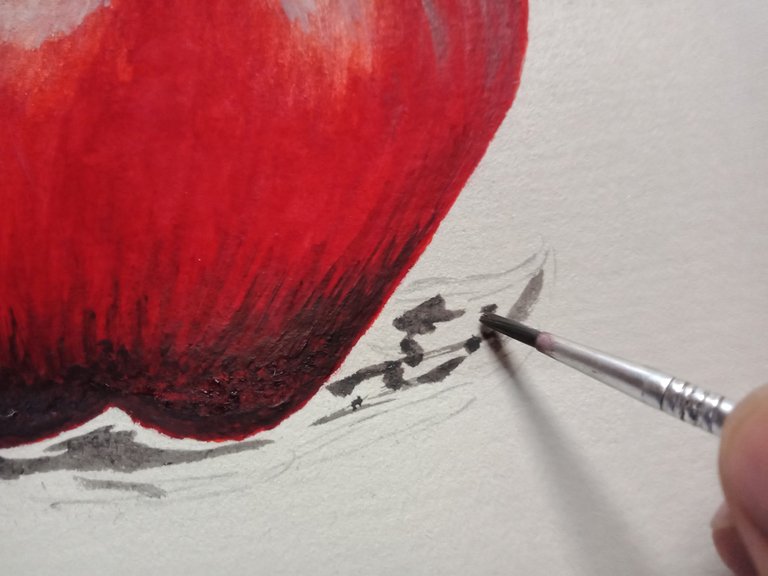
Patience, as what I mentioned above is really rudimentary for this kind of project.
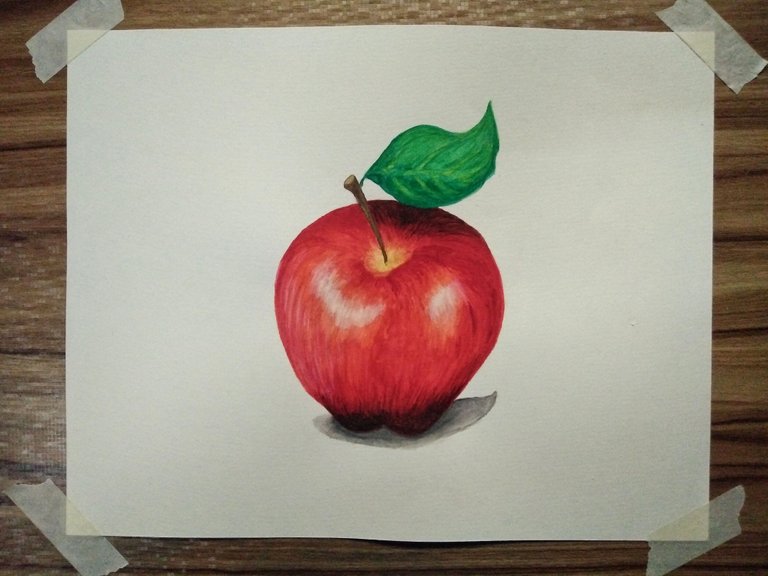
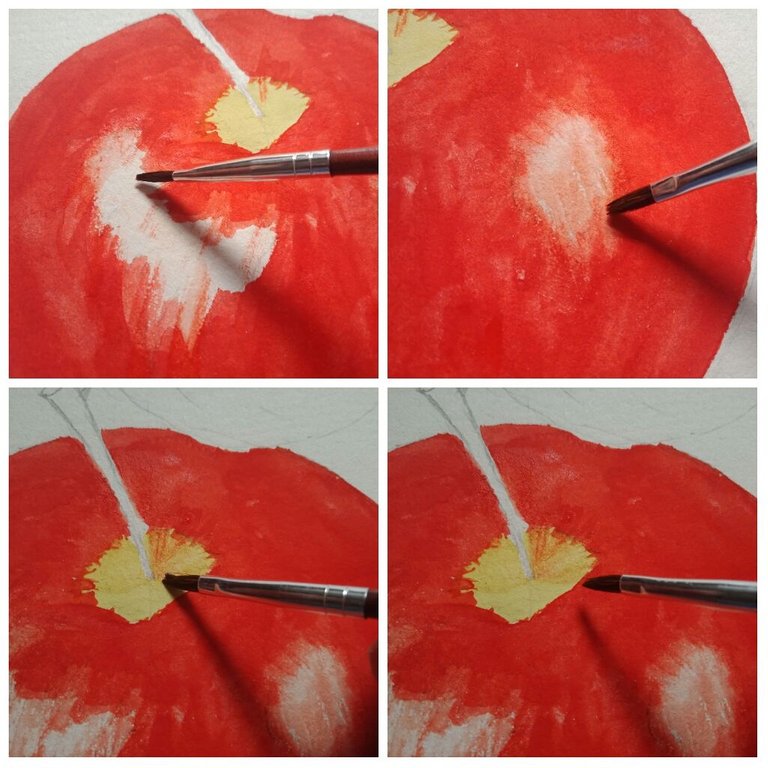
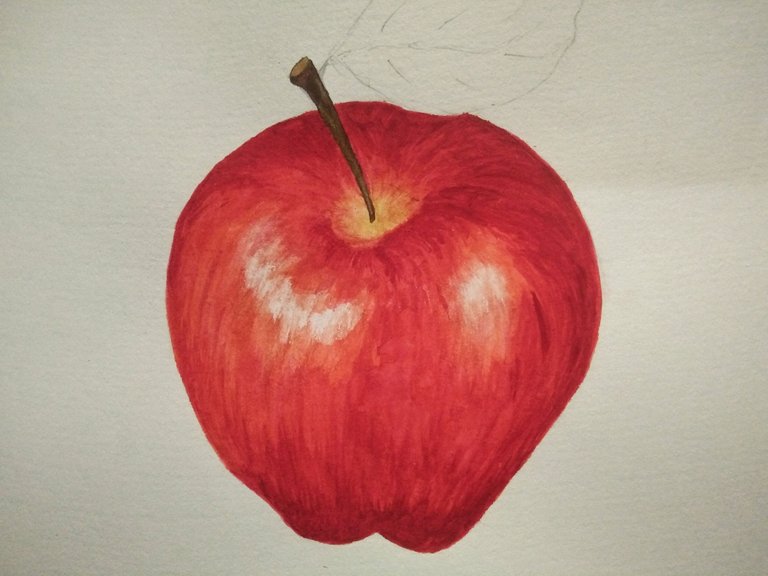
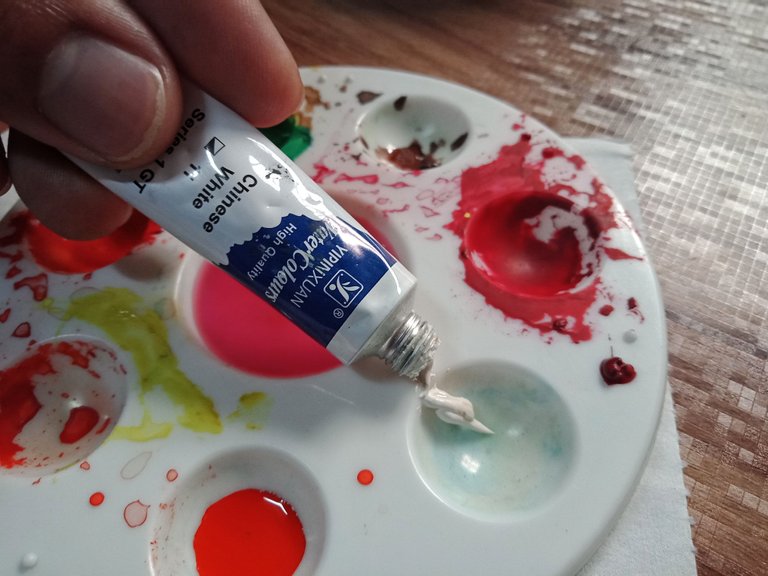
It is time to go back with our stalactites and stalagmites. Use Chinese white to mask it. Go at the center first through the edge to create a feathery illusion as if the colors are natural and shiny, and to make the light source visible as it has been reflected by the apple.
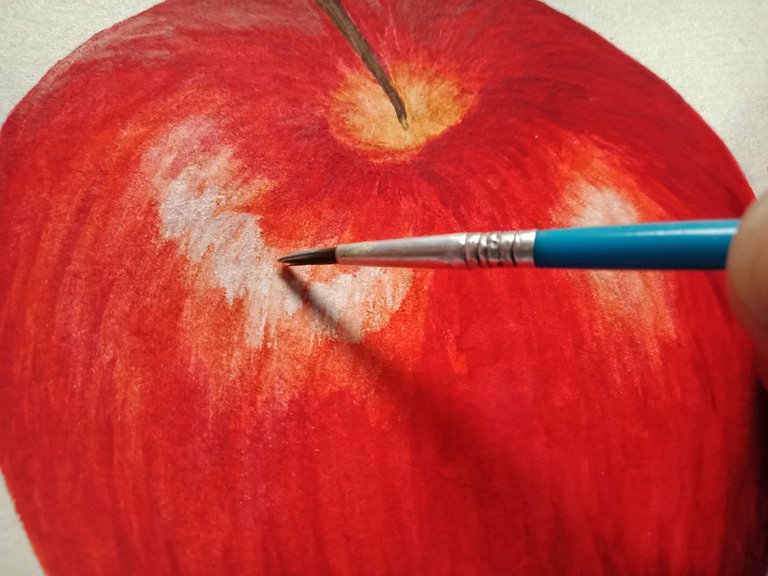
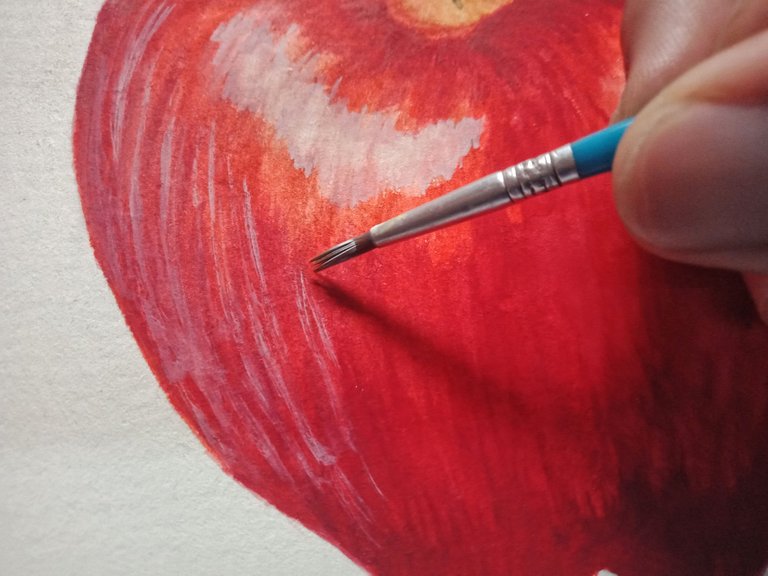
Proceed at the left chamber near its boundary and make some light vertical strokes. Put in mind that our light source is at the left portion, so the left chamber should reflect the light most. Practice bridging for the last time.
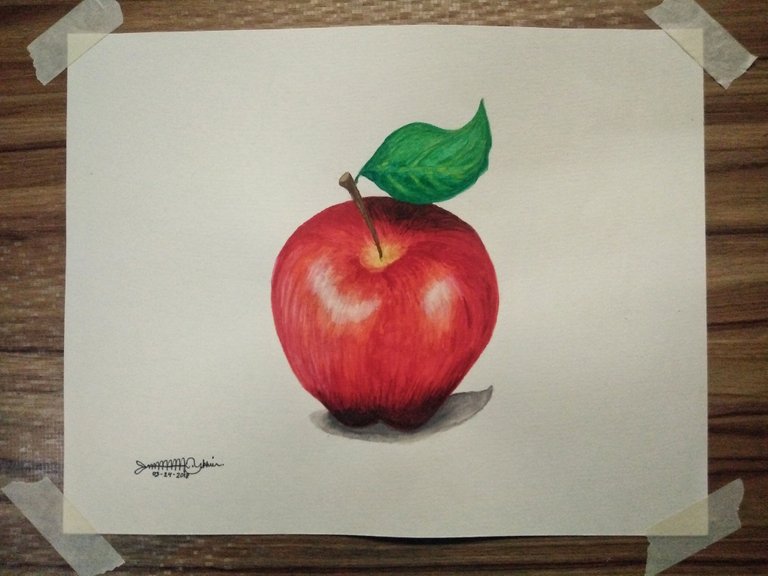
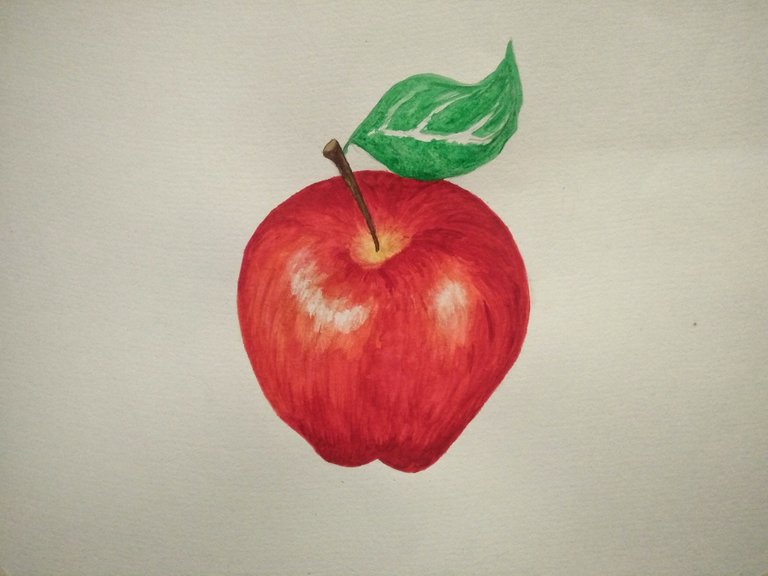
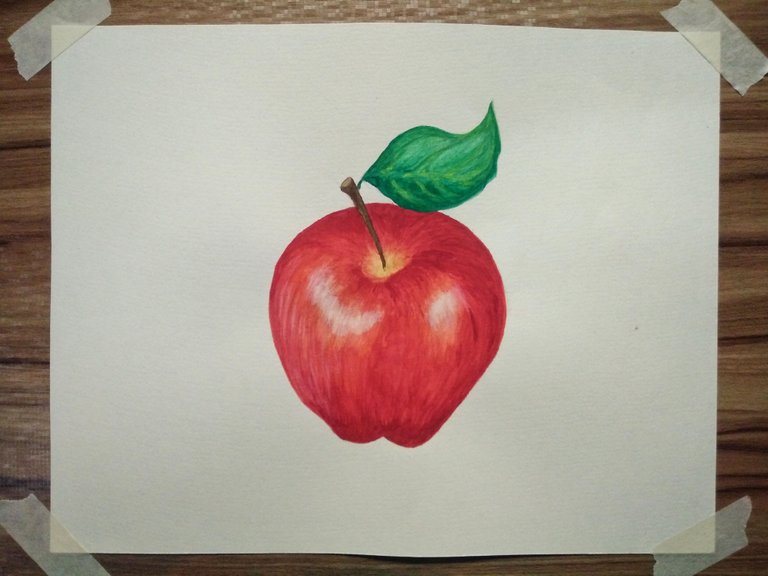
THE FINAL PRODUCT & THE MODEL
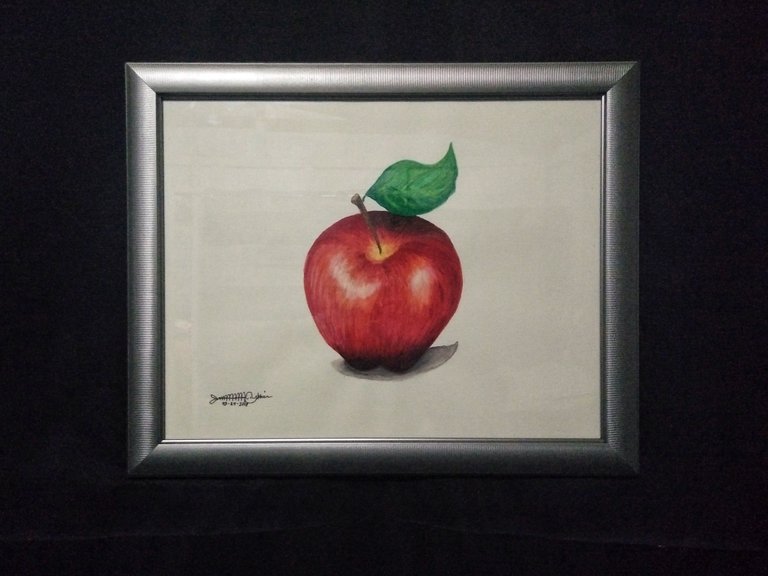
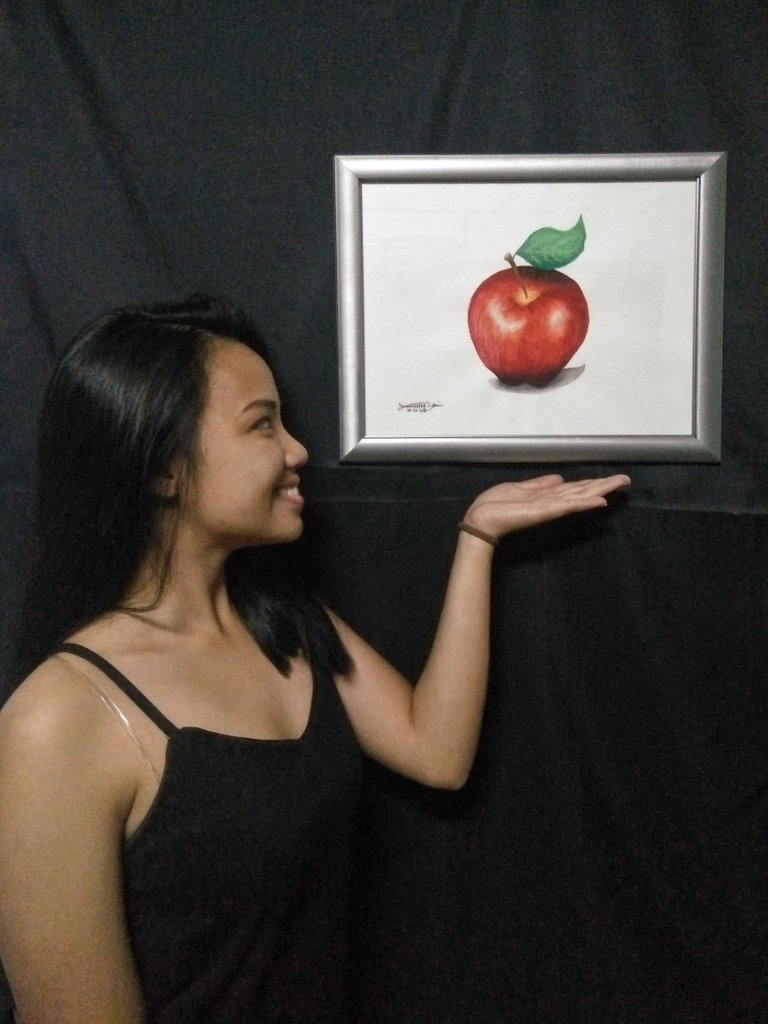
I hope you learned from me today guys. Remember that we can all do art. YES! All you have to do is put your heart on it...in everything that you do and you will be rewarded. Do not worry if it's not perfect it's still an art by the way so chin up and keep on doing things that you love and never stop learning. IT IS ALWAYS IMPORTANT TO HAVE FUN!
Thanks for dropping by!
Keep on steeming!
wow dapat itong mag trending
Hehehe thank you sir. Pero parang malabo eh. Di napapansin. Hehehe newbie kasi ako.
Anyway what matters most is the people's appreciation. Hehehe
hope maka pasa kay curie ito..
Wala pa ako masyado alam sir kaya come what may. Haha lol pero sana nga po.
oh kitam? aheheh na curie na ahehehe...tiwala lang aheheh,.padayun sa pag uswag bai. ahehe
This is great I thought totoo talaga siya, napaka realistic tingnan grabe ang talented mo naman, keep up the good work!
And since napaka creative mo, you might wanna click this link to showcase your talent more. =)
https://steemgig.org
Thank you Miss Ganda. Yes I will check on that. Thank you very much for appreciating my work.
You made it again, brah! Keep it up! Congrats!
@zoeroces and @iyanpol12 thank you po.
Congrats! Idol!
You're posts are always worth-reading...
You really deserved to be curied!
Ang galing talaga...
The procedure, the explanations, the introduction, the words used... the strokes... the curves... everything is perfect!
It inspires readers to try making some art... and that's the most important of all..
Good job! God bless!
Ate thank you very much! I just want to share and I see steemit is the perfect avenue to share what I have. I want also to inspire! Kasi hindi nan ako dati nang magaling... I just kept trying. And I want that to be mimicked by those who want to learn too.
Wow! You're a good artist @superjongky! I really don't know the technique of watercolor , at first I though it's a colored pencil but it's water color which is not easy to blend the color (in my own opinion) lol!!! Keep on making arts , you might get curie!
Thank you @tonie... Yup it is difficult to control the colors in watercolor. You should be keen and quick to achieve the necessary combination. Thank you once again for the appreciation and yes I will keep on doing arts. Hehehe
Congrats! Sabi ko na nga macurie post mo doc! Congrats ulit sa another curated post mo! :)
Nice kuya jongky! How i wish ganyan din ako kagaling sa arts 😊
Keep on trying...keep on practicing @karlazamora22 ...nagulat din ako na kaya ko palang magpaint ng ganyan. Just pour your heart out of it.
Thank you thank you ading.
This deserves a nod. I'll do something with it.
Sir idol... @iyanpol12 thank you sir, although I doubt a bit 'coz I am still a newbie. . .
look so real!good job!
Thank you thank you @junebride for appreciating my work.
yay na curie ka! congrats!
Hello! I find your post valuable for the art community! Thanks for the great post! ARTzone is now following you! ALWAYs follow @artzone and the artzone tag, and support our artists!
@artzone thank you very much. Yes I will use artzone on my arts. . . And I need support from my fellow artists too. Thank you so much
wow ang galing:-)
Thank you Mam @gyn
Wow, you are really awesome artist.
Thanks for sharing .
Thank you so much. I should be the one thanking you for the headturn on my work. Simple appreciations keep the drive stronger in any sense. Thank you
Wow, that was a very detailed step by step process you shared! Thank you for that. 😊 Nice watercolor painting, too. Though it kinda looks like you used acrylic paint because it’s not that diluted in water but that is still good, continue to discover different techniques in watercolor because that is quite challenging but beautiful medium to use. 😊
It is watercolor. Yes you are right, I put more water on the first coating and lesser on the second to achieve the blend I needed. Coz sometimes watercolor is about dilution.
Thank you very much for appreciating my effort. Godbless
Peace, Abundance, and Liberty Network (PALnet) Discord Channel. It's a completely public and open space to all members of the Steemit community who voluntarily choose to be there.Congratulations! This post has been upvoted from the communal account, @minnowsupport, by superjongky from the Minnow Support Project. It's a witness project run by aggroed, ausbitbank, teamsteem, theprophet0, someguy123, neoxian, followbtcnews, and netuoso. The goal is to help Steemit grow by supporting Minnows. Please find us at the
If you would like to delegate to the Minnow Support Project you can do so by clicking on the following links: 50SP, 100SP, 250SP, 500SP, 1000SP, 5000SP.
Be sure to leave at least 50SP undelegated on your account.
This is great. I think now if i try i can make it. Thanks for shearing it with us.
YES YOU CAN DO IT! Believe in yourself! Godbless and thank you.
Excellent tutorial and deeeeelicious result! Thanks for sharing your talents with us 😊
Thank you for the appreciation. I will keep on sharing my skill.
This post deserved to be curied, hope some curators will notice this.
Crossed fingers Sir Tirso. Thank you for dropping by.
see? nagdilang anghel na naman ako hehe, congrats!!!
wow! great apple and step by step!
Thank you @chinito you should try too. I hope I shared something.
@originalworks
Your post made me think that what you used to do (in this case it's painting) is worth a try. I badly want a try but I don't have idea on how to start it but with your post, you made it easier and inspiring dude. Thumbs up
You should try it dude. Keep practicing! You will find yourself getting better each trials.
Congrats sir jongky! Galing sir ^_^ keep it up sir
Thanks pre... Hehe
@surpassinggoogle