Last timeDaz 3D Studio for the first time, so I wanted to plow ahead., I showed you some of the steps I took to create my characters for my project. Normally, I'd leave more time between these parts, but @jamerussell has just downloaded
You can too - it's fairly straight forward and it's free - including free characters and accessories to get you started. Add in some freebies from Share CG and Renderosity and you'll be on your way to lots of fun projects.
However, sometimes (or often, even), you find the right item, but it's the wrong color or has a weird pattern you don't like. You could either look for someone who has made materials for the piece of clothing you like otherwise - or you can learn how to alter the color and appearance of the clothing.
So, last time, I finished with this image of my shortlisted set of models.

I don't like my lady's outfit at all. The shapes are great, but she is supposed to be wearing a very light color - which is splattered with mud.
At the right edge of the picture above, you can see where it says: "Diffuse Color" and also shows the object's map in that square to the left of it (bright pink right now.) When you hover your mouse over the square, it shows you the file location of the garment's color map.
When I found that, here is what I had:
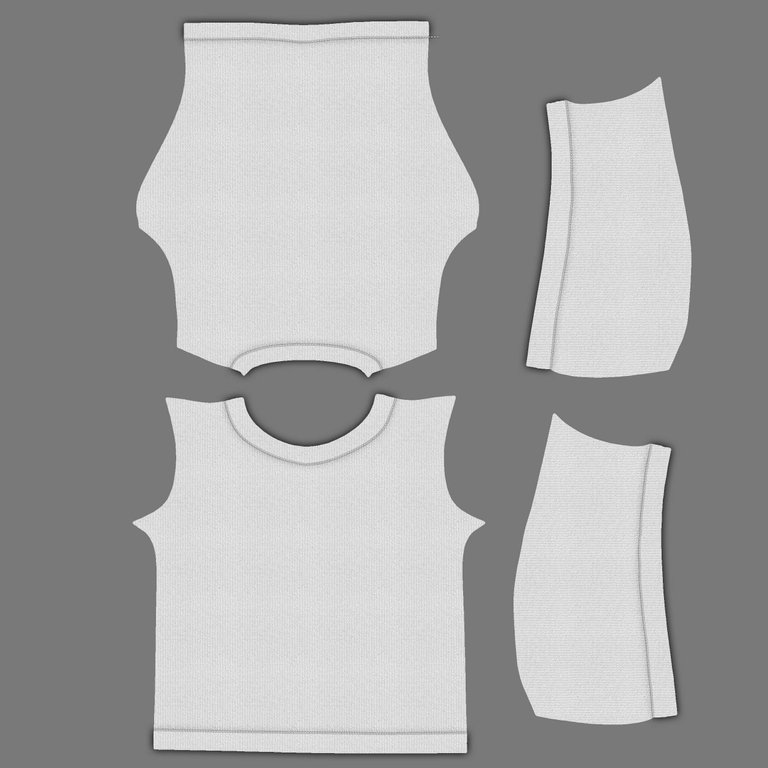
Many garments are quite simple, but because of some weird shadows beneath the image and the fact that I wanted to do the trim separate from the body of the garment, I made two layers.
Using the fuzzy select tool, I created a background layer (with gray only) and a foreground layer - with just the white shirt pieces. (I also had to use the eraser to get rid of those silly shadows... a bit tedious, but it felt necessary.)
Next, I created an extra layer with just the trim - that went in my top layer.
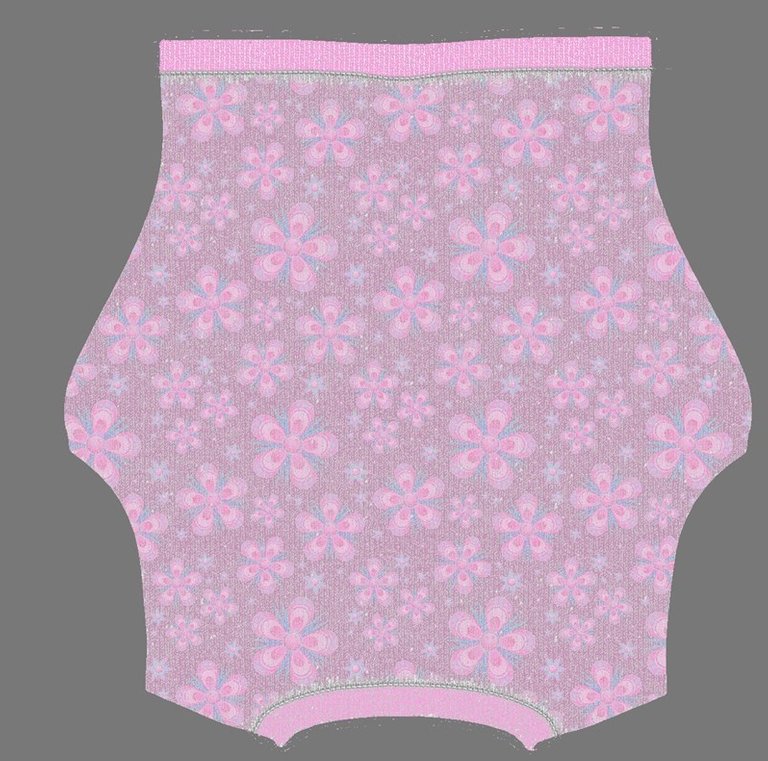
I filled the garment with a free pattern that I liked. Then, I did a bucket fill at about 50% opacity with a light pink. I hit the trim at 100%.
Then, I made sure the image was visible as I wanted it to look and hit the "export as" button. It was exported as a jpg into the same folder as the original shirt, just changing the name to be unique.
Here's what I have now. (I am only showing you the back because I'm lazy like that tonight.)
To put the new shirt on my character, I click on that little pink square we looked at earlier and click on "browse" - at the very top of the pop-up menu. You should already be in the correct folder to grab your new piece of clothing. If not, it's fairly easy to browse now - just make sure you're still using the same piece of clothing!
Here is the shirt on my Victoria character:
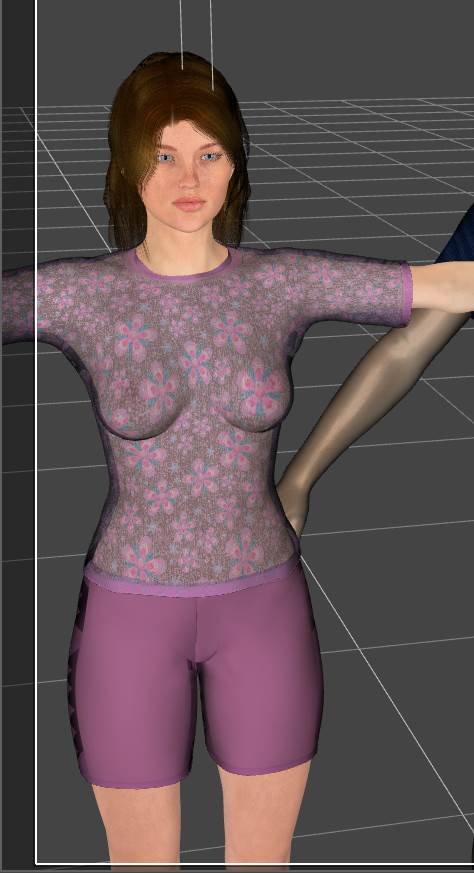
Note: this is pre-render, so don't panic yet about the color of the preview. Things often look a bit different when you take the picture.
However, I'm not done.
My two main characters have just had a bit of a swamp fight and are now very wet and covered with mud splatters, so I had to do a bit more to her clothes.
I went back to GIMP and added large brown splatter brushes to make it look like she's just lost a fight with a swamp monster. I also added a some swashes with a regular brush at about 50% opacity to give the impression of a wet and dirty shirt...
Here's my work:
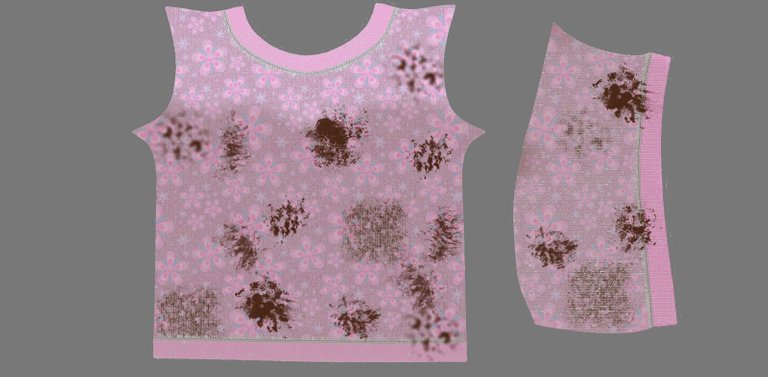
When I put it on her, it looks like this:
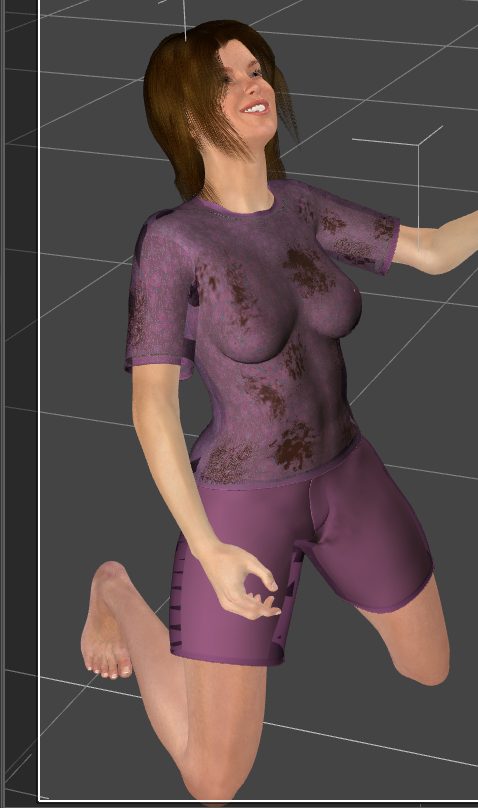
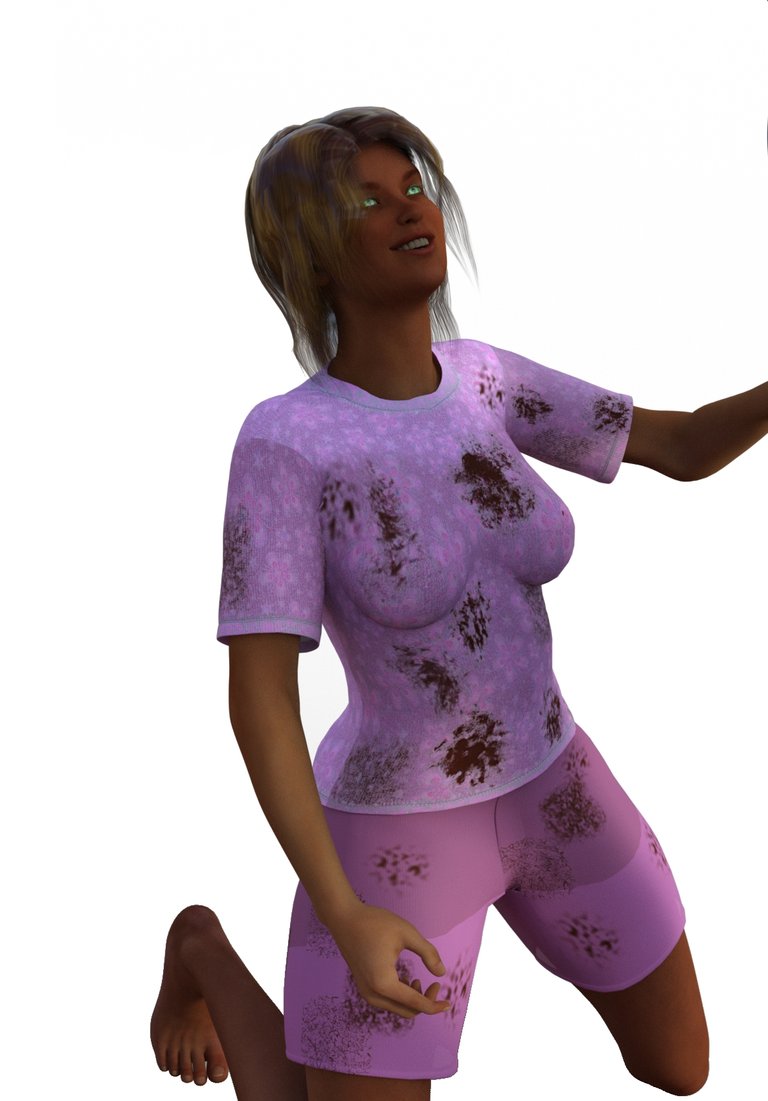
After rendering (and similarly fixing her shorts), my character Melia looks like this:
She's looking pretty wet and dirty now, I think. The bottom part of her shorts don't matter too much because I'm going to do more to her after my render...
(And yes, she is missing a foot right now because it's not needed for the final image - it just looked weird on this, so I decided to hide it.)
Next time, I'll go back to Daz and we'll get the render done. (Maybe I will get to it tomorrow, maybe not...)
Other parts of this tutorial: Part 1,
Past tutorials:
- Map Development for Alacantis (on GIMP), part 1, part 2, part 3, part 4
- Cover image for Acting the Part
- Cover image for Brighid's Blood (part of the update).
- Cover image for Birth of the Neví, part 1, part 2
- Map Development for Velantia, part 1, part 2, part 3, part 4
- Map Development for Kranisis, part 1, part 2, part 3, part 4
- Cover Image for Name of the Neví, part 1, part 2, part 3, part 4, part 5, part 6
- Beginning with Daz 3D Studio - my cover image for Mind of the Neví: part 1,
Photo salvages:
Droplet, Bellis Daisy, Baby Blue Flowers, version 1, version 2, 2-Spot Ladybug, version 1, version 2, Bridge Over River Kennet
Coloring Tutorials & Mini-tutorials:
Zen colouring #43, Zen colouring #39, Zen colouring #38, Zen colouring #37, Zen colouring #36, Zen colouring #35, Zen colouring #34, Zen colouring #33,
Butterfly Colouring #11, Butterfly Colouring #10
Miscellaneous Artwork:
Pumpkin Patch Harvest, Painting Wooded Easter Eggs
All work done by myself on Daz 3D Studio, GIMP, and/or Photoscape.
Crossposted at Steem, Whaleshares and WeKu.
Lori Svensen
author/designer at A'mara Books
photographer/graphic artist for Viking Visual
verified author on Goodreads
find me on Twitter
also on: Whaleshares, WeKu

Join us in the Official Whaleshares server in the text channel "the-phoenix-project"



Nice for part 2 of this...thanks @viking-ventures!
You're so welcome. I've played with this program for years now, and only recently realized how simple it was to edit the clothing!
Another DAZ Studio user... nice! I used to do texture design and pose sets, but now I just play around. Got a few works over on blog if interested. Good to see another 3D artist, haven't come across a lot.
I shall take a look. My motivation has been purely to create my own cover images for my works of fiction that I serialize on here. (New work begins on Tuesday.) Considering that (apparently) a good cover image could cost $600 or more, it's a good use of my time to do it myself. Thanks to Daz, Gimp and Photoscape, I can do just that.
Thanks for stopping by!
Interesting. I started doing this sort of thing for basically the same reason. Trying to create a cover for a sci fi book I wrote in University. Got hooked... gradually got into doing art for fun and a few sales back in the day. Good to meet another DAZ fan.