Hello Steemians!!!
blog. 3D artworks are artworks that are elongated in a top view in perspective but in a different dimension, you will see the actual image that is to be it. Just like the artwork that I made.Hi again!. It's me Adrian Abad AKA @badzkie123 on SteemIt. Today, I am making this blog as a tutorial for any 3D artworks in a basic way eventhough my skills were not professional enough as an artist. And also, a fulfillment of my previous
Note: I am no writer and no good in English, so please bear with me. I hope you'll understand my tutorial.
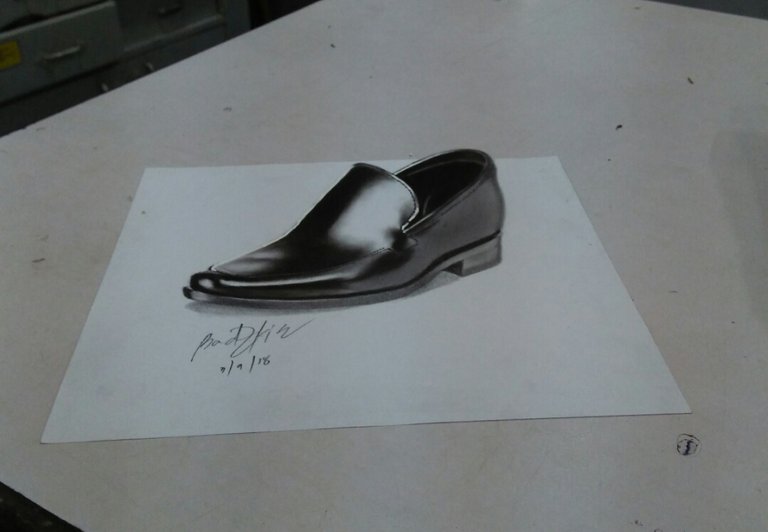
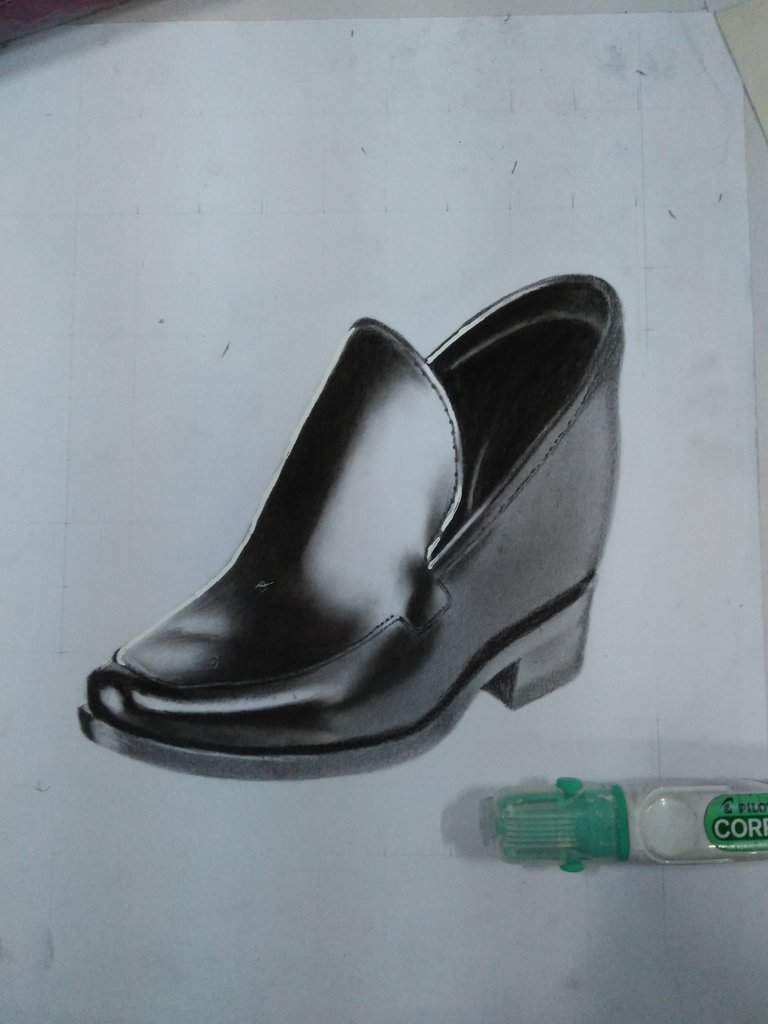
Interesting right ?! So grab any art materials and your phones if you want to try my tutorial that I've made. This tutorial is made up by my experience, my mistakes, tips from a professional artist, and learnings that I applied in every 3D artworks. I am so grateful that my talent is enhanced after years of practicing.
To start my tutorial, Here are my materials that I used:
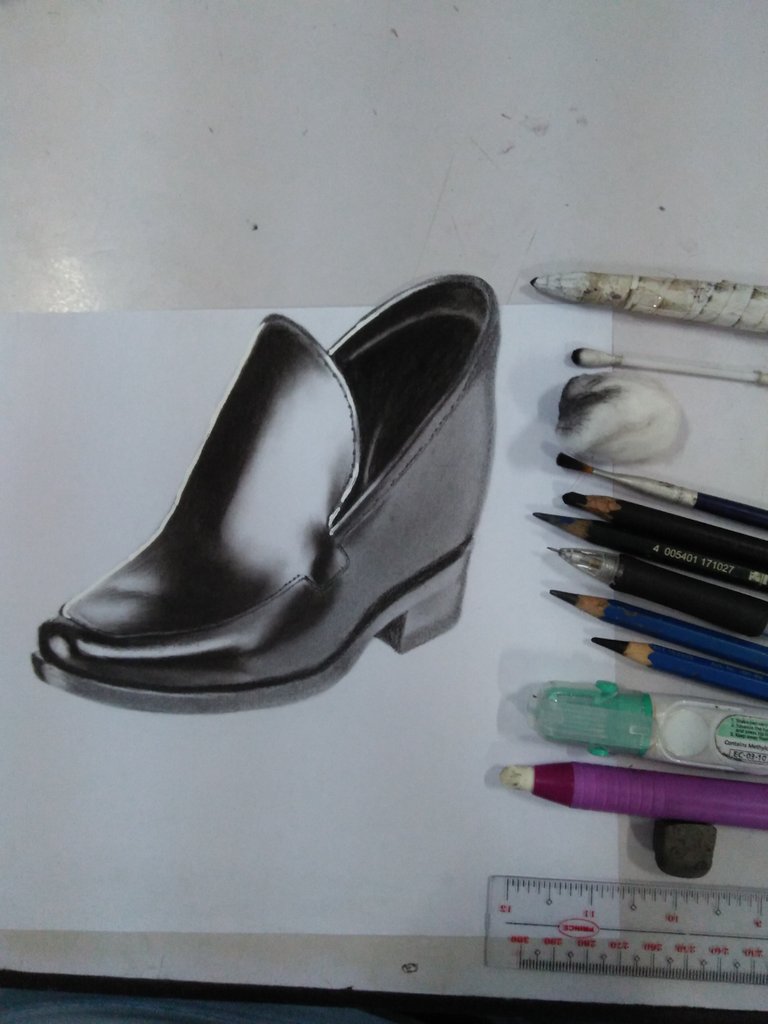
- shading stump
- cotton buds
- cotton balls
- yellow tip flat hard brush
- charcoal(soft and hard)
- 2b pencil
- mechanical pencil
- 6b pencil
- 8b pencil
- correction pen
- mono eraser
- eraser
- ruler
- bondpaper
Mobile applications that I used as a guide for my reference:

- Artist Grid
- Act Scanner
- Picsart
The Process:
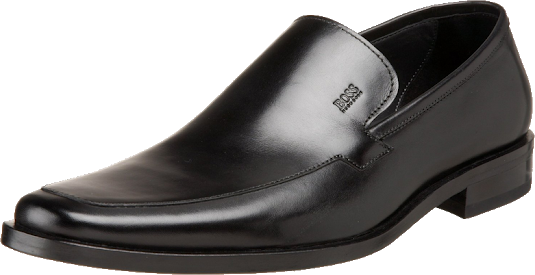
Step 1: Choose a reference or a photo that you want to draw. Much better that the image is in a ".png" file format or an image that has no background just like this picture.
Step 2: Take a photo in an angular perspective of your paper or canvas. Just like this photo.
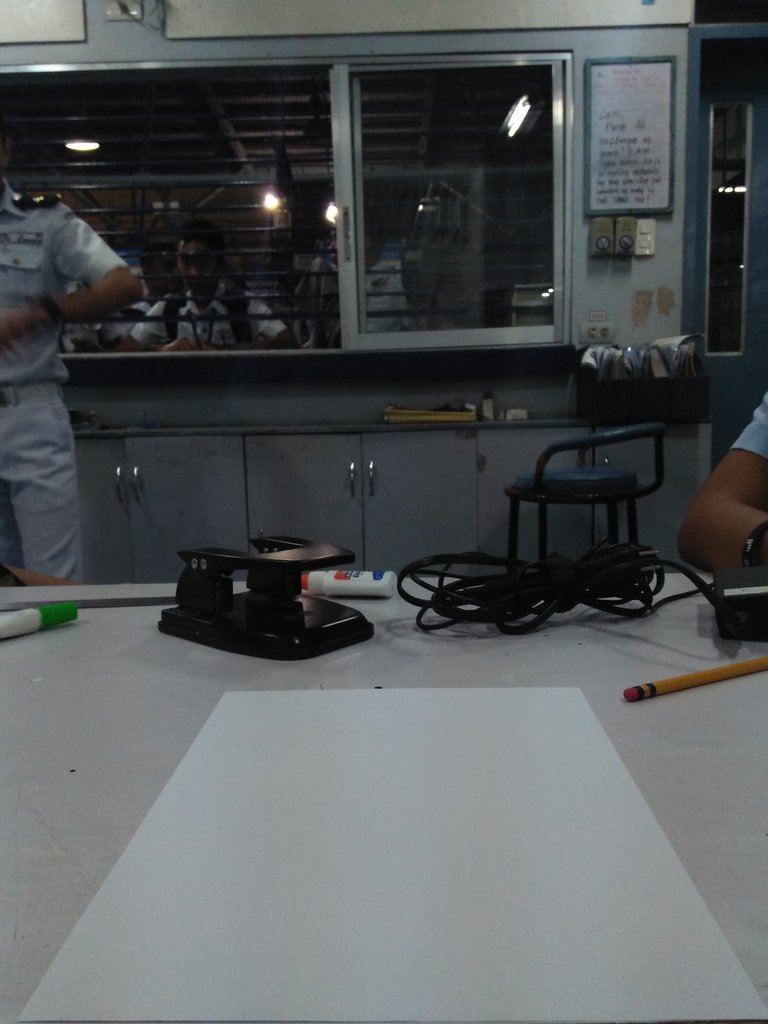
Step 3: Go to "Picsart" application >>Click Edit>>Choose the angular perspective photo refer in Step 2.
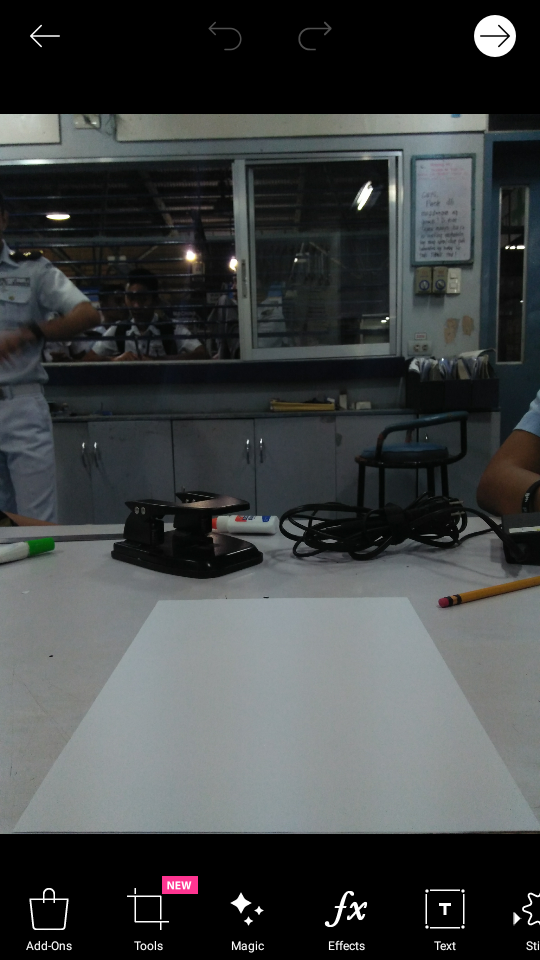
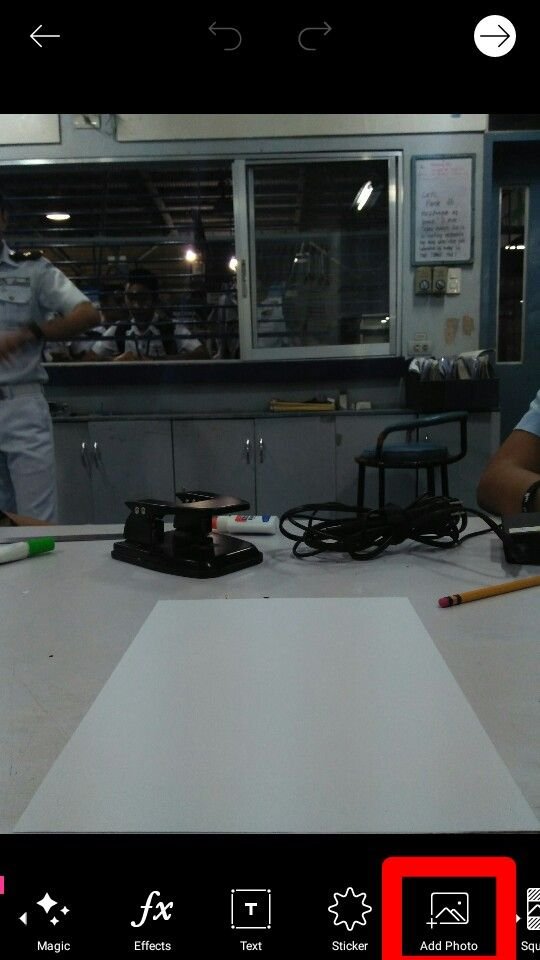
Step 4: After that, Locate "Add Photo" then click it.
Step 5: Choose your photo or image to be drawn in 3D then click it then Add.
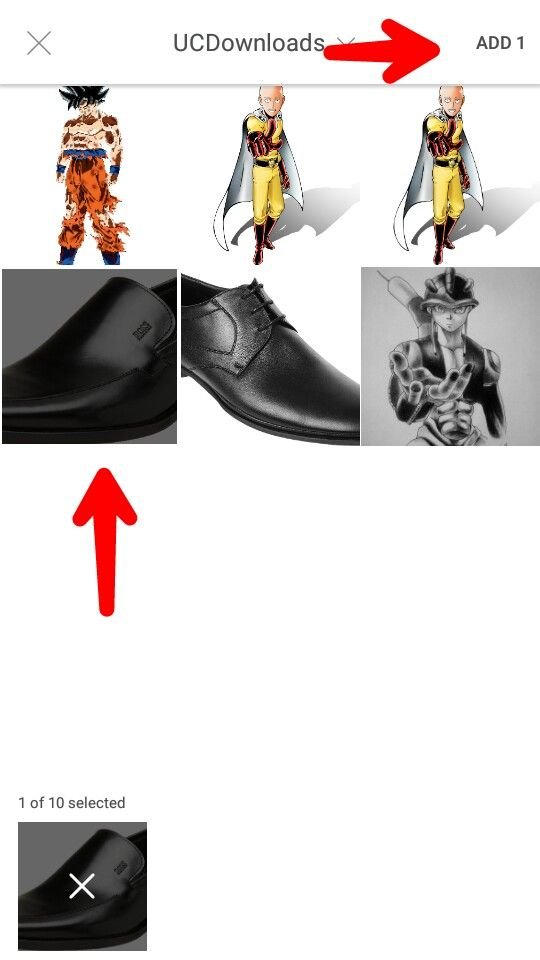
Step 6: Drag your desired photo on the paper. Make sure that your image does not overlaps the paper. The paper serve as your guide in drawing 3D. Then if satisfied, click the check button.
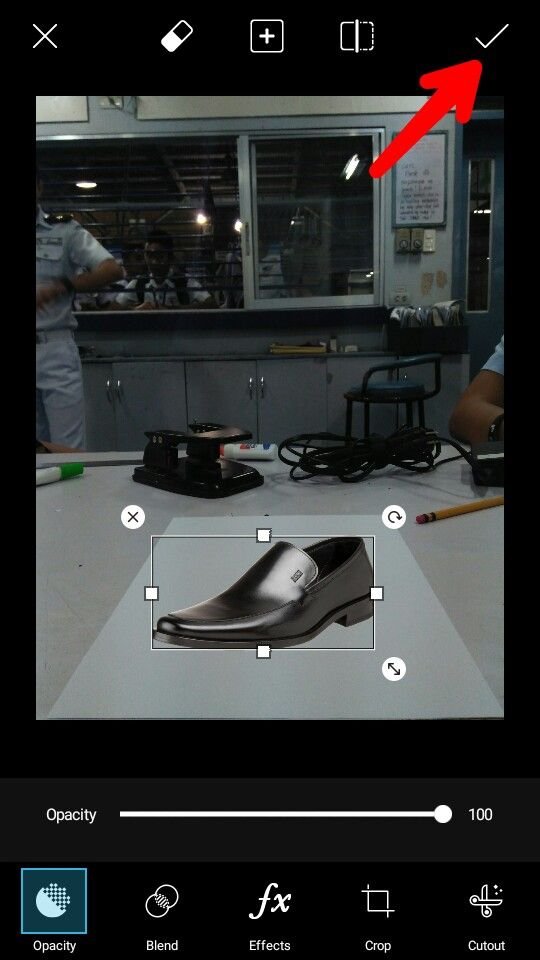
Step 7: Next, click the button on your top-right screen to save your image then export to "Gallery".
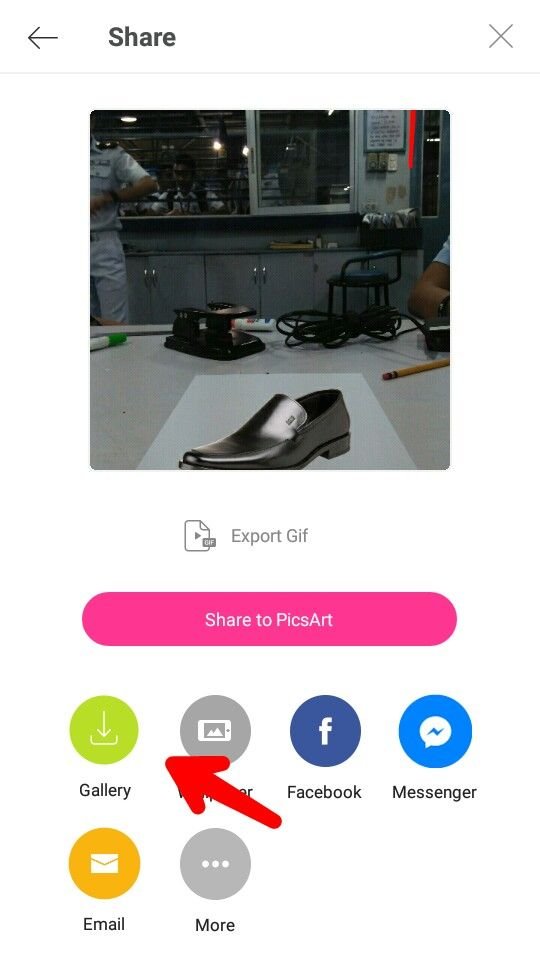
Step 8: So the image is being saved, Now go to "Act Scanner" application.

Step 9: Click "Gallery" then locate the image you saved previously. Particularly, Located at album named "Picsart".
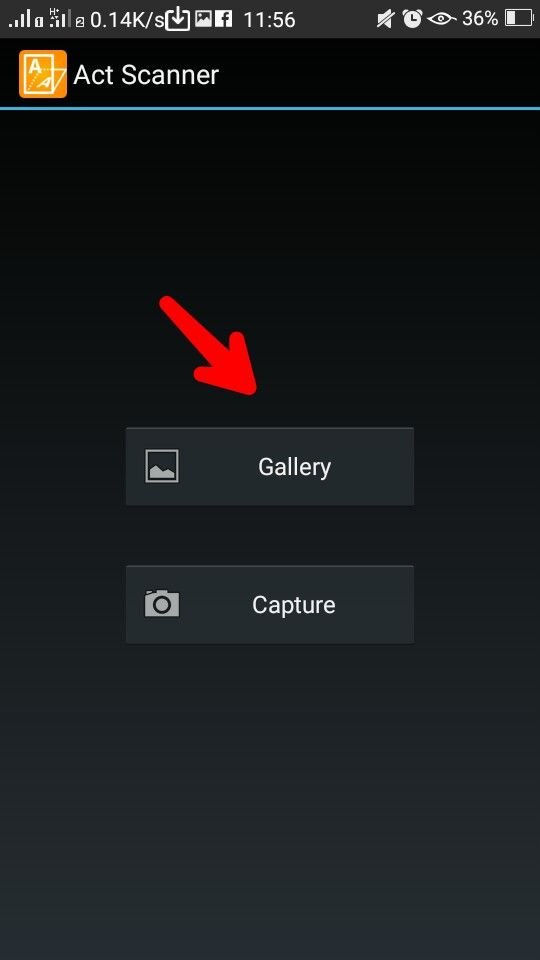
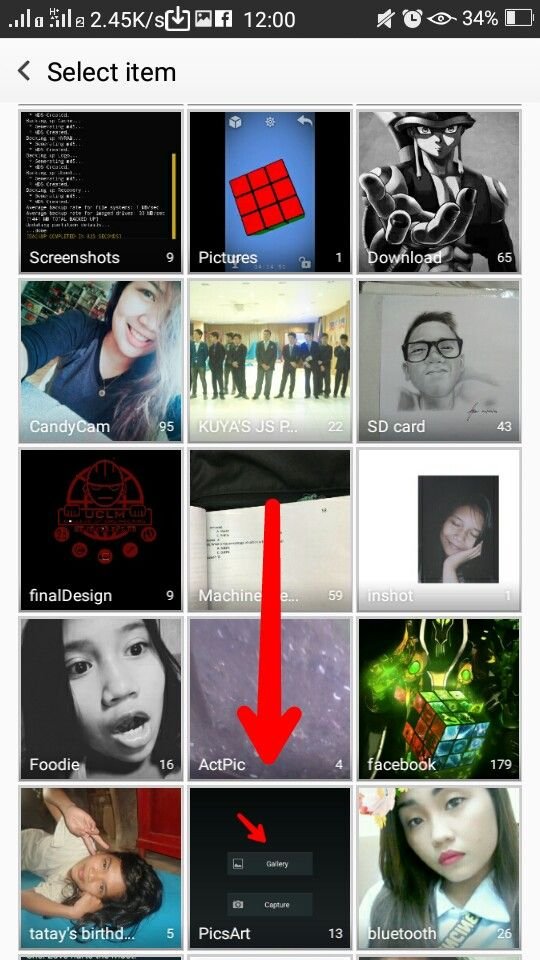
Step 10: After the image is clicked, you will see an oblique rectangle with sides have circles. Drag those points to the very sides of the paper as shown on the picture.
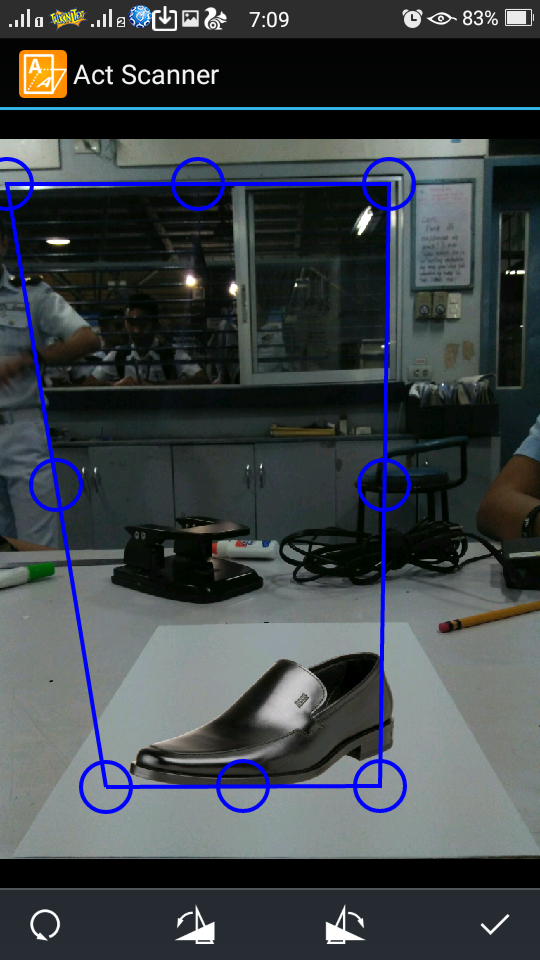
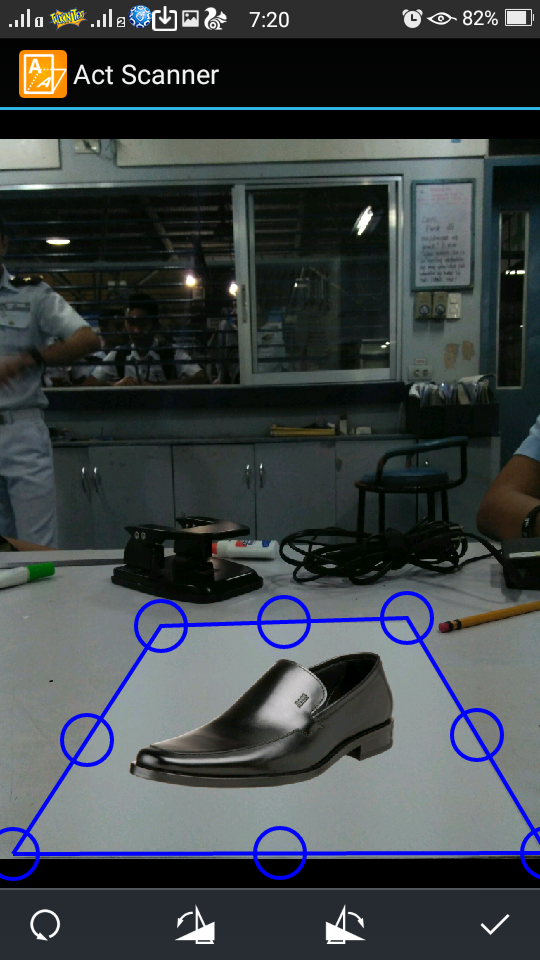
Step 11: After that, on the bottom-right on your screen. Click it.
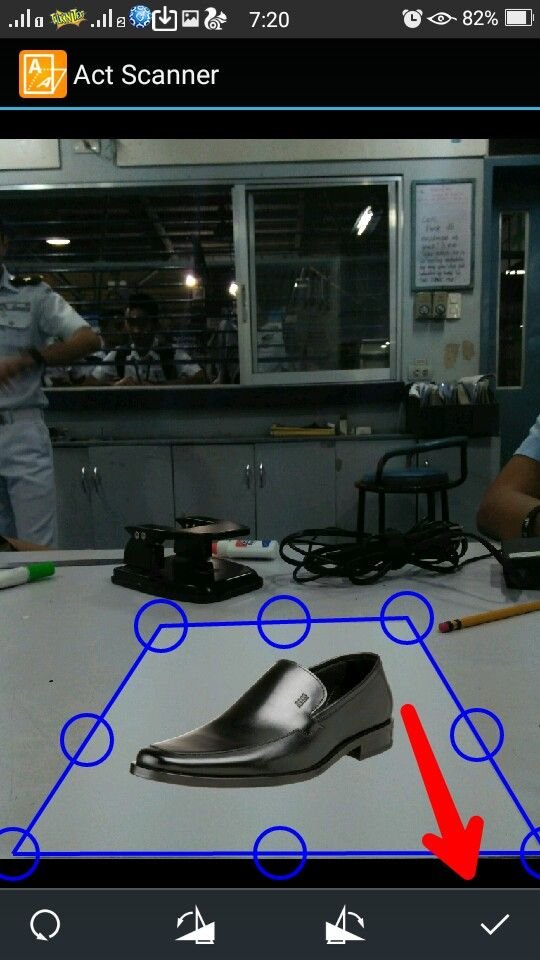
Step 12: After clicking it, you will see the cropped photo in a top view as shown on this photo. Next, click the "Save" button.
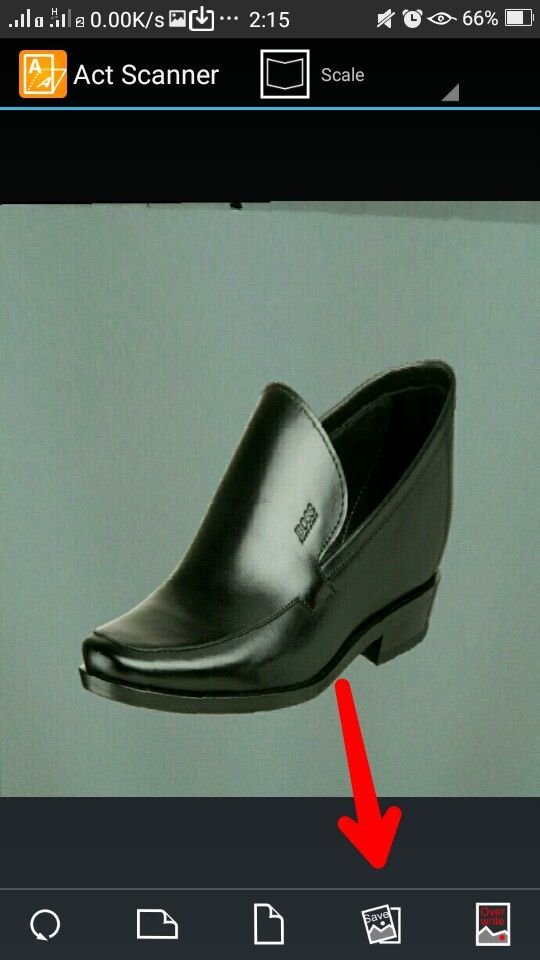
Step 13: So the modified photo is saved. In the gallery, locate the photo you saved previously. Commonly named album "Picsart or Artscanner" where you can find it. Just to be sure that your photo is saved.
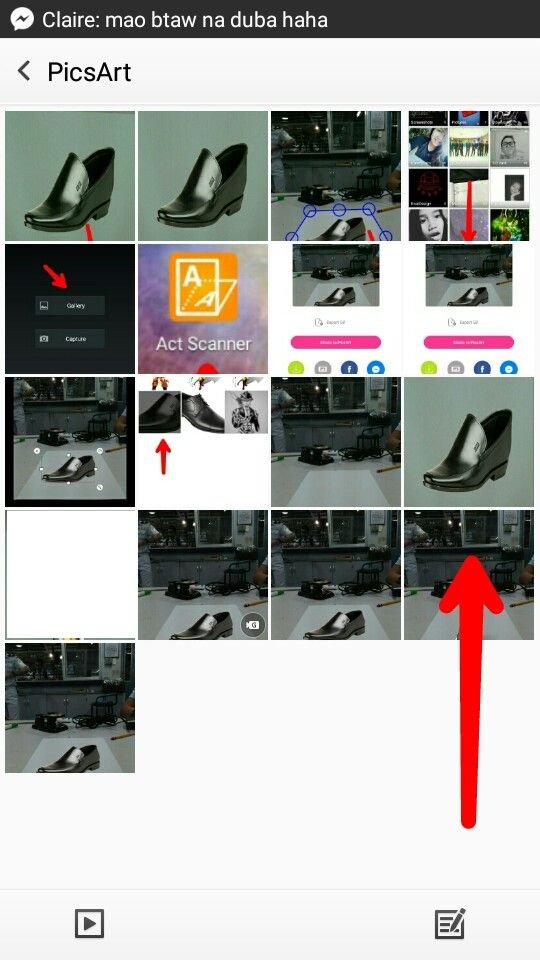
Step 14: Go to "Artist Grid" application, then locate your previously saved photo.


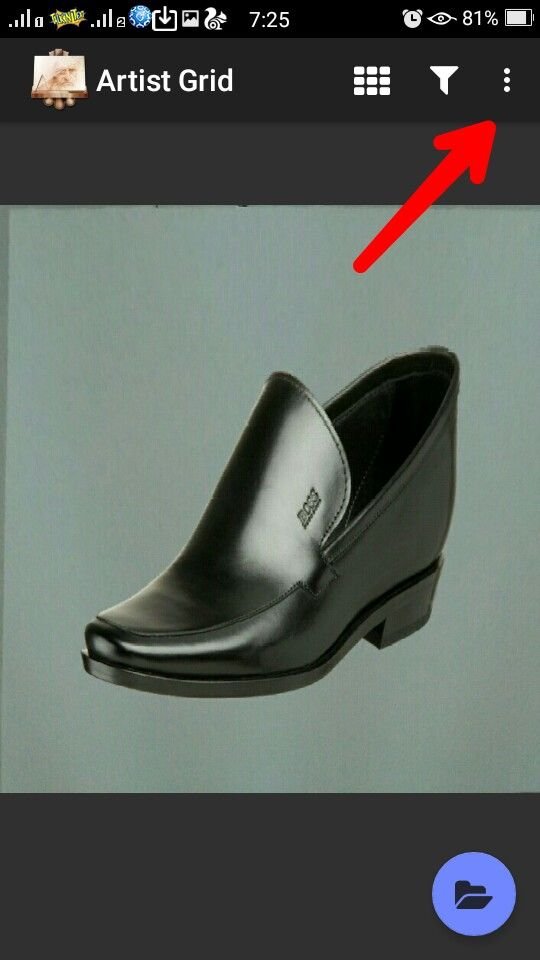
Step 15: On your top-right screen, click the three dotted button then click "Settings".
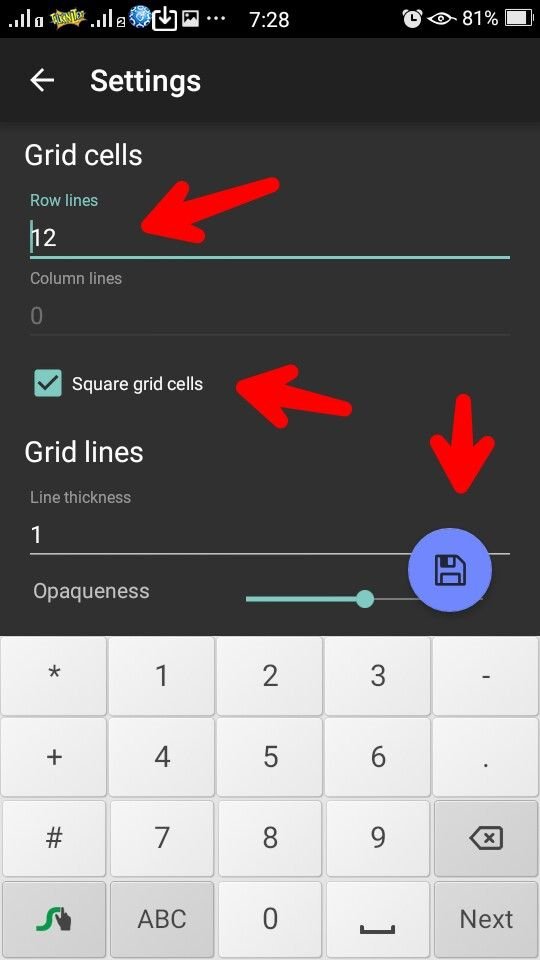
Step 16: After that, enable the "square grid cells" then assign how many row lines that you want. It is better to draw 10-16 row lines to get the proportion of your reference. Click "Save"
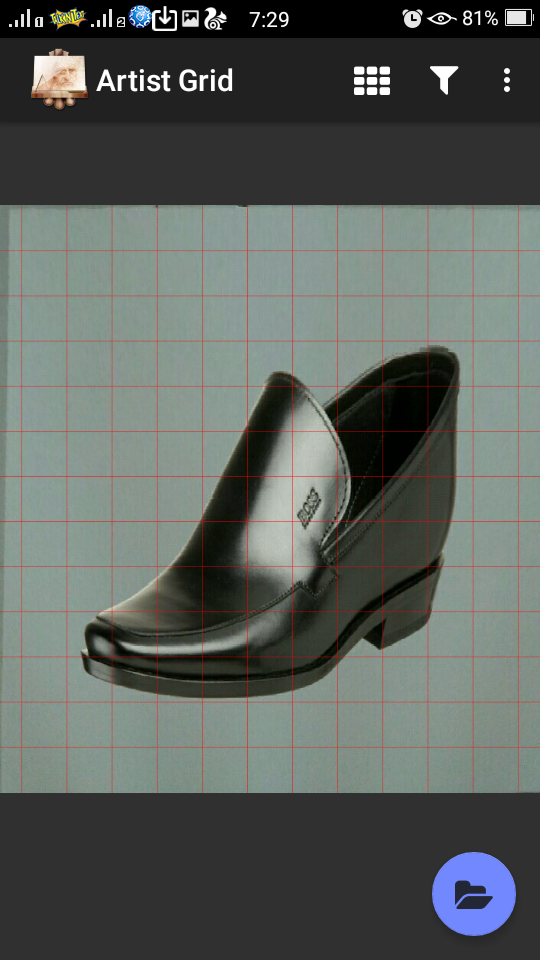
Step 17: At this point, you can now start making grids on your canvas or paper on how many boxes are there on your reference. This grid method is just like scaling your reference into your desired image size. This serve as a guide for the proportion of your reference and your drawing.
Step 18: I used a ruler and a mechanical pencil to make grids. The grids may be lessen depending on you as long as that the image is there. Just like what I did. Make sure that you dont apply too much pressure on the mechanical pencil for east erasure of the grids.
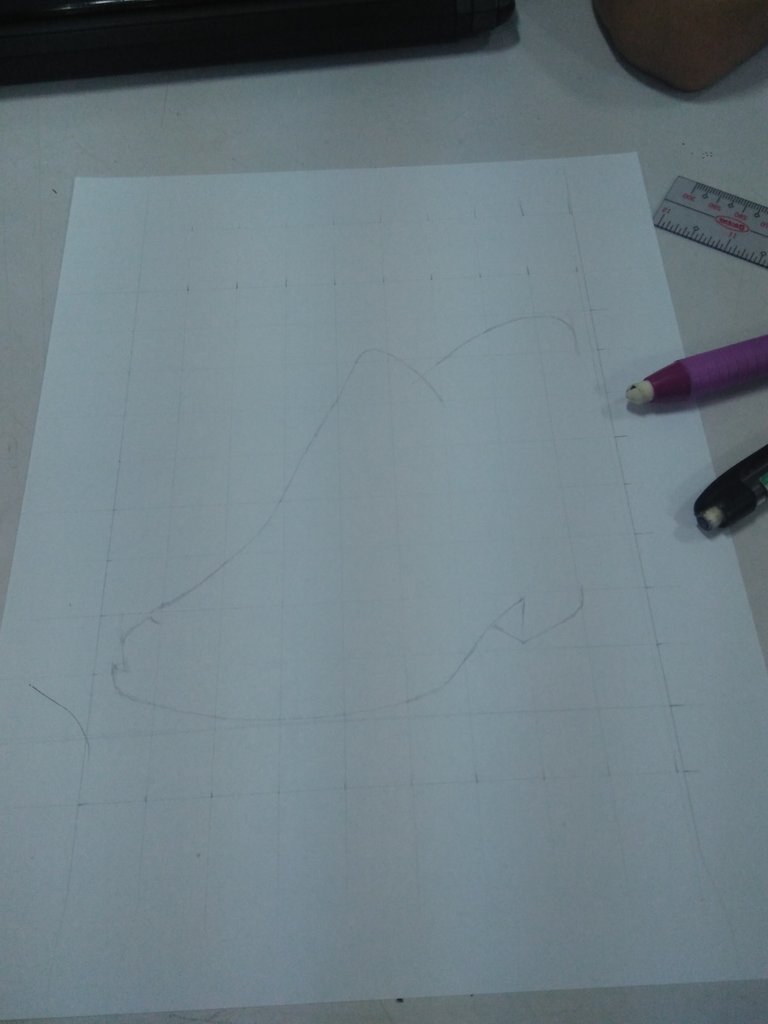
Step 19: I used mechanical pencil to make a sketch or a draft for my reference of the drawing. Make sure to copy all possible lines or curves has to be drawn. Again don't apply too much pressure on the mechanical pencil.
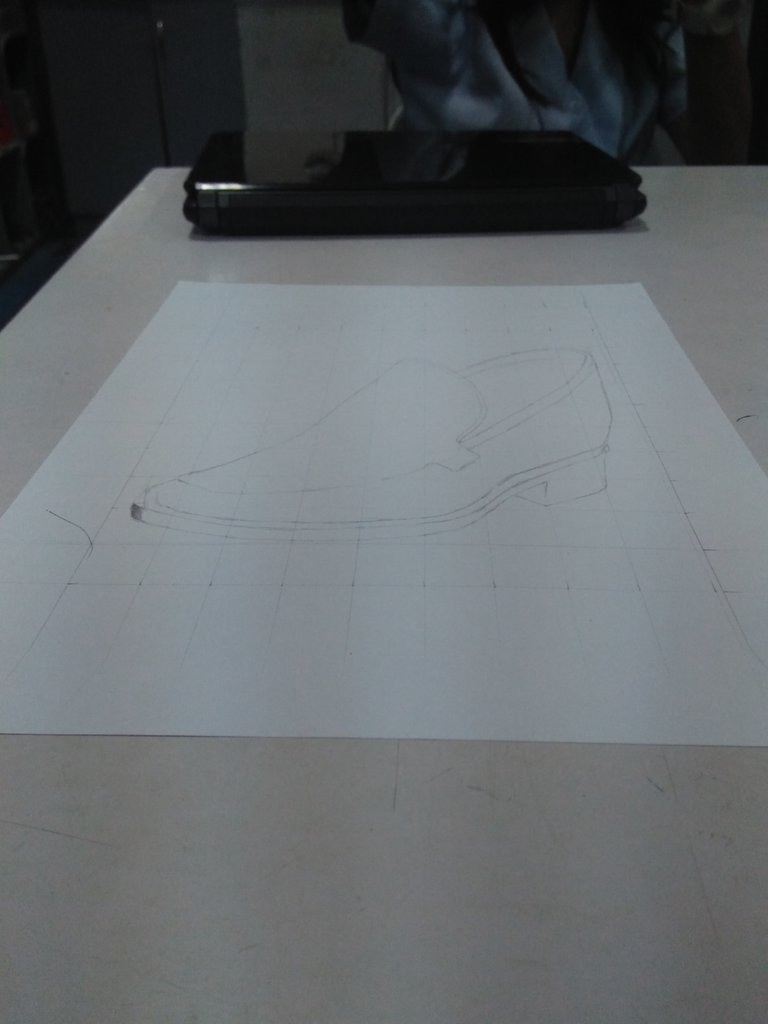
Step 20: I used 2b pencil on the lower part of the shoe then I used a shading stump to smudge the 2b shade to smoothen the texture in a circular movement with enough pressure.
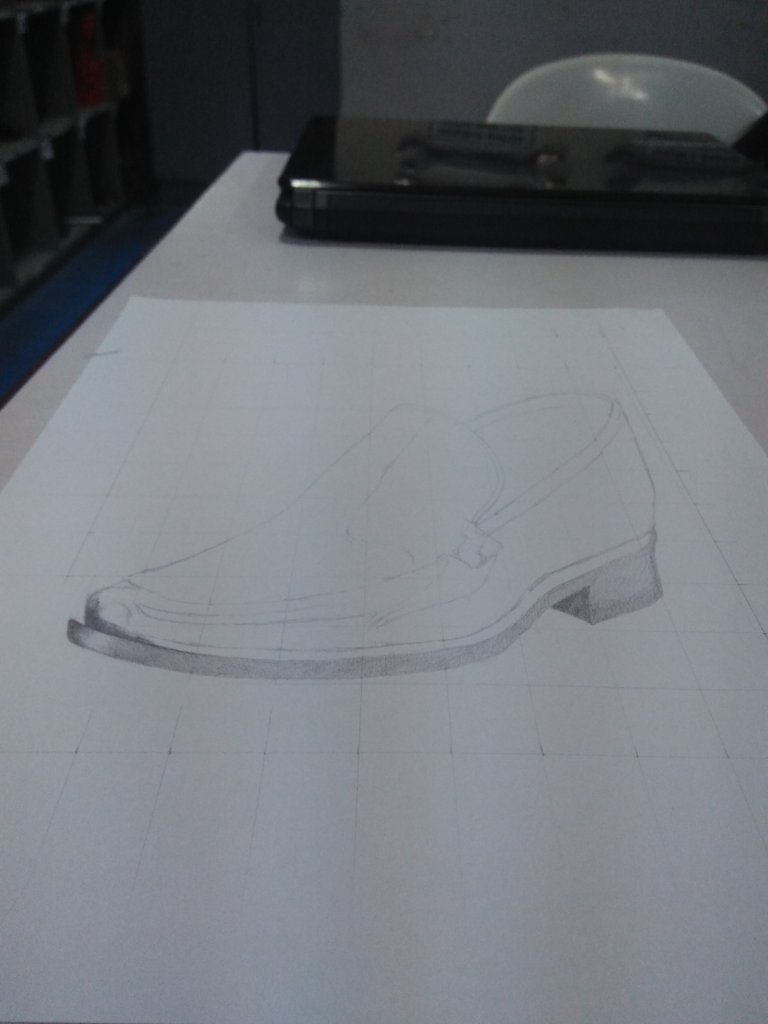
Step 21: I used 8b pencil on the black part of the shoe then simply smudge with hard flat brush to darken its shade in a one stoke movement.
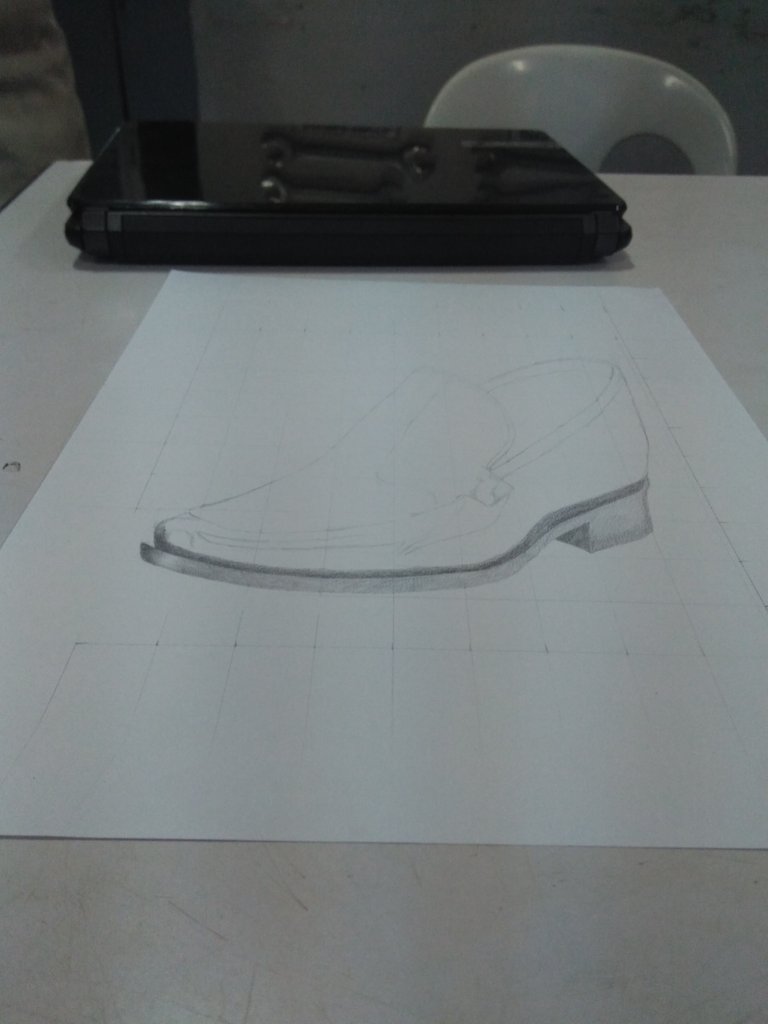
Step 22: Next, I used hard charcoal on the darkest part of the shoe then simply smudge with hard flat brush to darken its shade in a circular movement or one stroke movement.
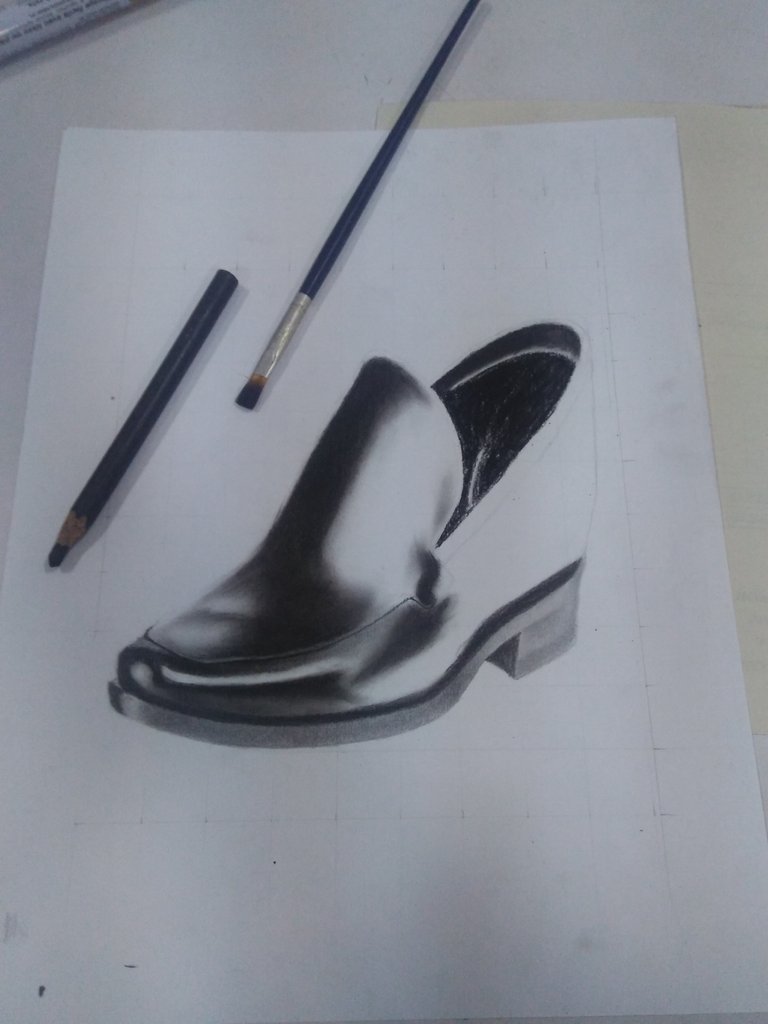
Step 23: Next, I used 8b pencil on the linings of the shoe and a 2b pencil to shade those light areas then simply smudge with shading stump in enough pressure for the desired shade and texture.
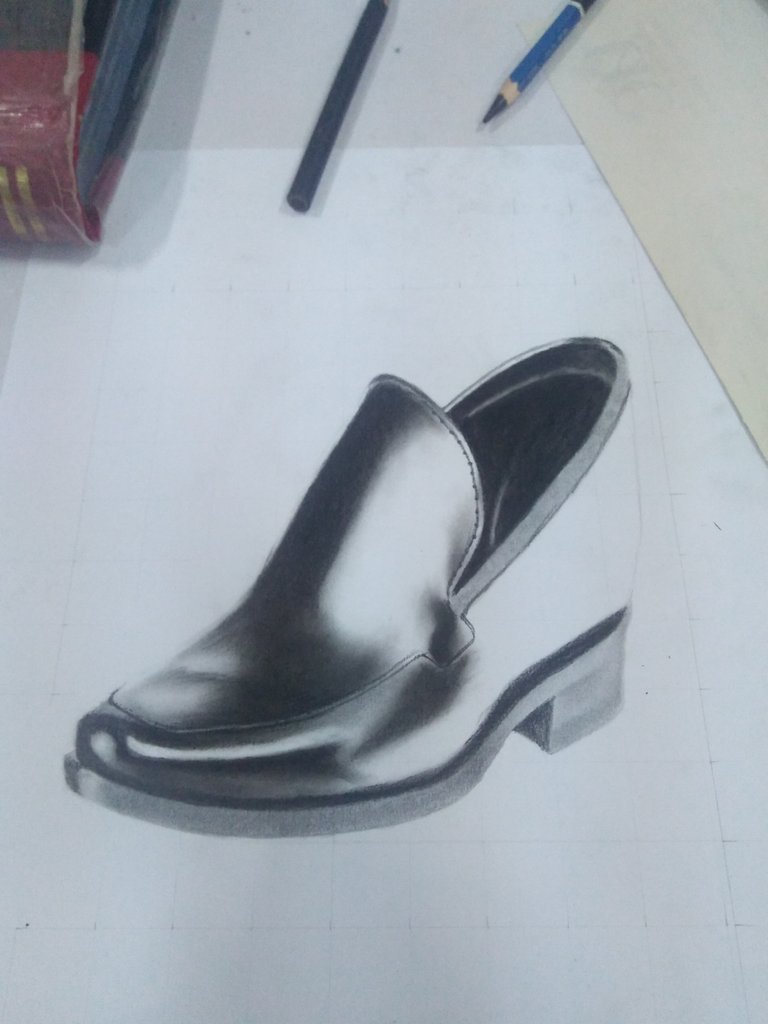
Step 24: I used soft charcoal to shade on the scratch paper then simply dipped the hard flat brush in a circular movement to grab some charcoal dust then wipe it to the portion that needed to be blended from dark to light shade.
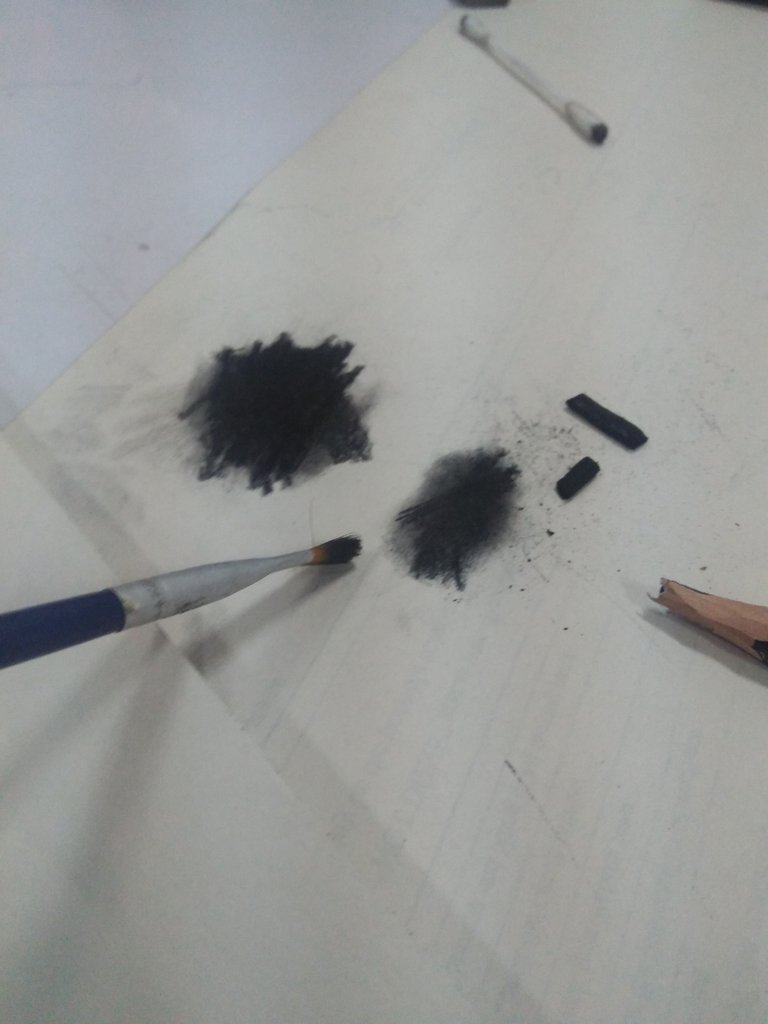
Step 25: Next, again I used 2b pencil to shade a shoe in its desired tone according to my reference. I had done some few layers of the 2b shade just to achieve that tone.
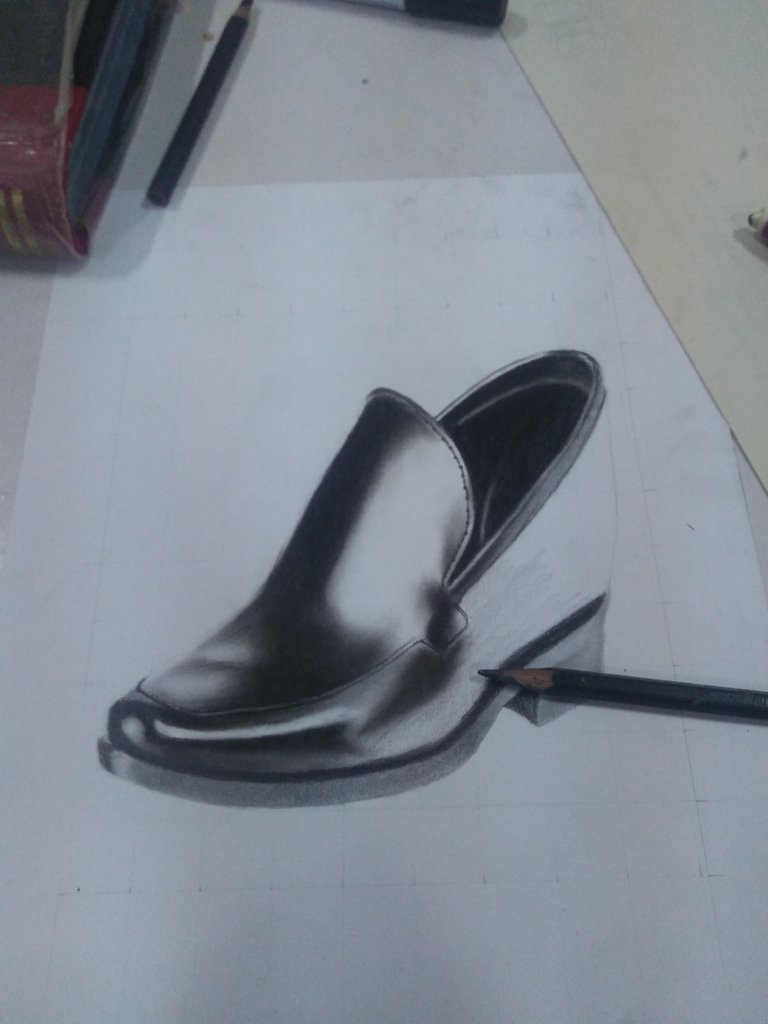
Step 26: I used 6b to shade the scratch paper then I dipped the cotton to the shade and did some circular movement to grab some dust on the shade then smudge it to my drawing to smoothen a little the shoe.
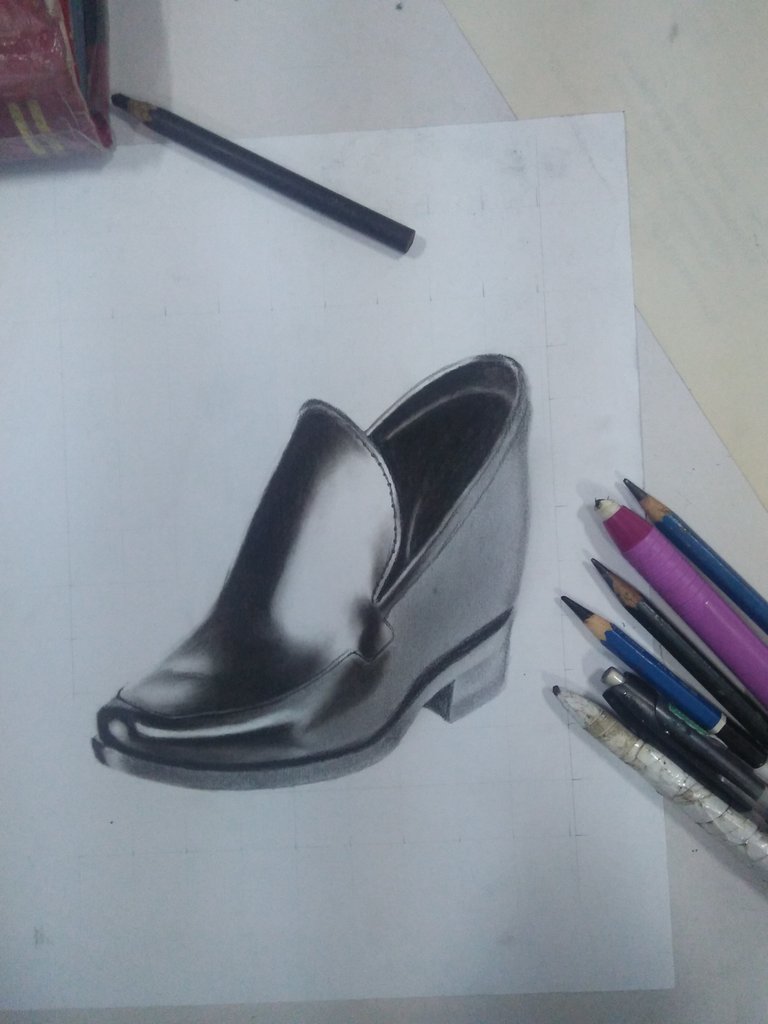
Step 27: I used mono eraser to erase some parts of the shoe that was highlighted as it reflected by the light then I used correction pen to make a more highlight that tends to be look realistic.

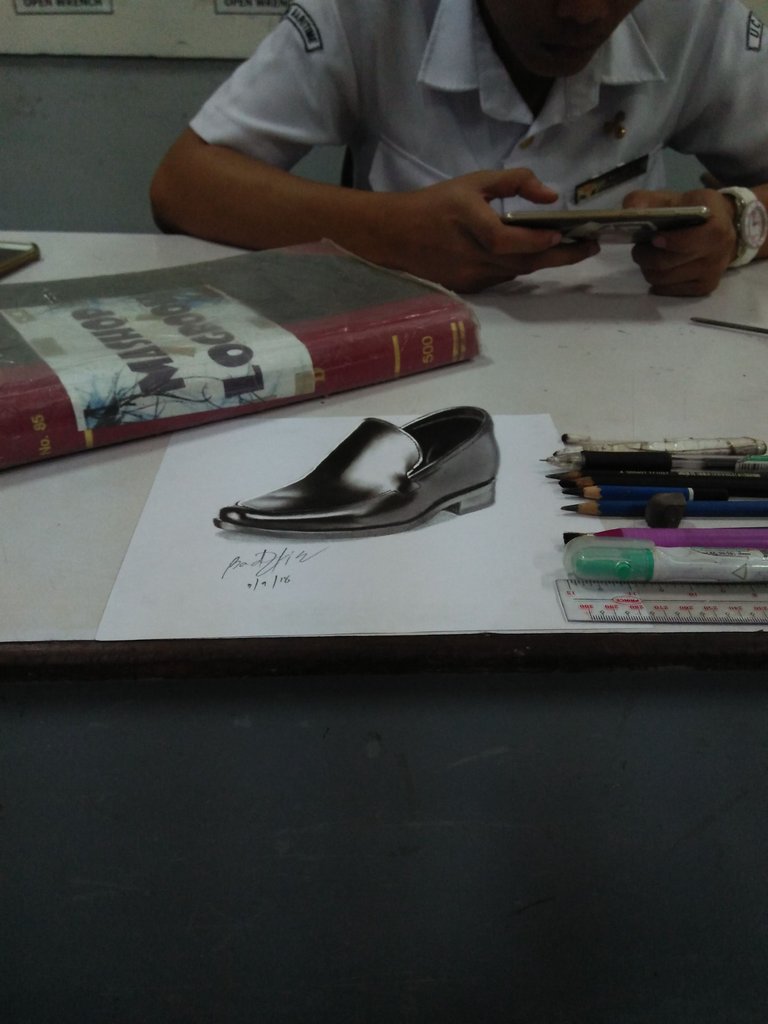
Step 28: I added some details on the shoe then simply cutted the paper as if it tends to be like a shoe that was placed on the paper.

Step 29: I took a picture of my artwork in an angular perspective that the image looked like the actual shoe. Then we are done !!!
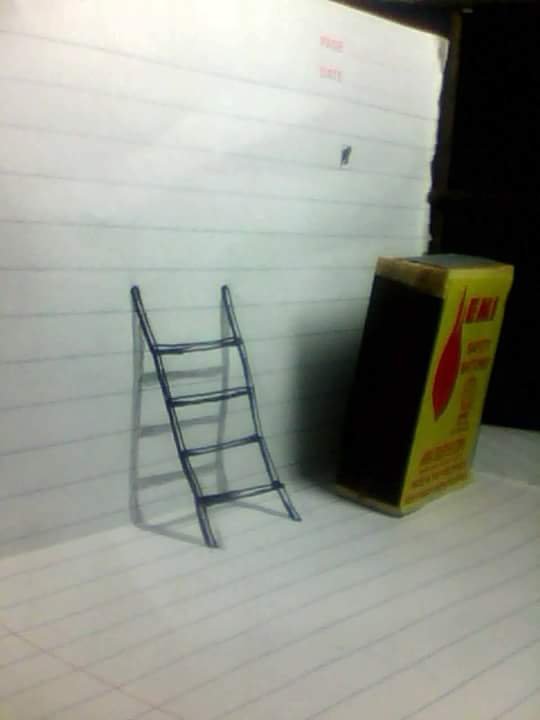
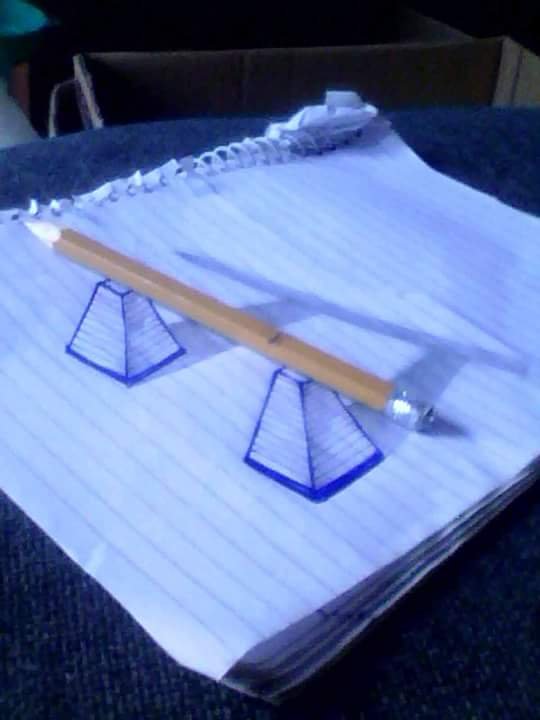
My previous 3D artworks 3 years ago:
For some additional information of my methods in making portraits, you can click here.
So that's the end of my tutorial. I had a great time that I made this tutorial in a basic, convenient and informative way of delivering my procedure. I do hope you understand it from beginning to until the last step of my procedure.
To end this blog, I am leaving this message to you "No matter how hard is your artwork but if you pursue it, you will be grateful and satisfied at the end. Artwork takes time, you must be a perseverant person".

Best Regards,
@badzkie123
nice :) gotta try that
so nice @badzkie123
This one is absolutely amazing!
Hae @badzkie123. You have a very superb artwork.
You may use artguildph as one of your tags. It is a communal group in the Philippines which supports outstanding masterpieces or artworks of Filipinos.
Keep steeming!
This is definitely a curie-worthy post . It is an exceptional blog that only few can do, I hope for the best for you bro! Keep it up!
Thank you very much bro for sharing your ideas to make a beautiful art. Charrr..
@badzkie123 ...Excellent masterpiece dong...You nailed it!..Wooooow!!!!
You're an indeed pro. artist🙌🙌🙌
I salute you in that field of arts👏👏👍....
wow this is awesome.. Very realistic..
wow we learn something new O.o
hala, are ko laban! galing kaayo :D