Hey dear steemians,
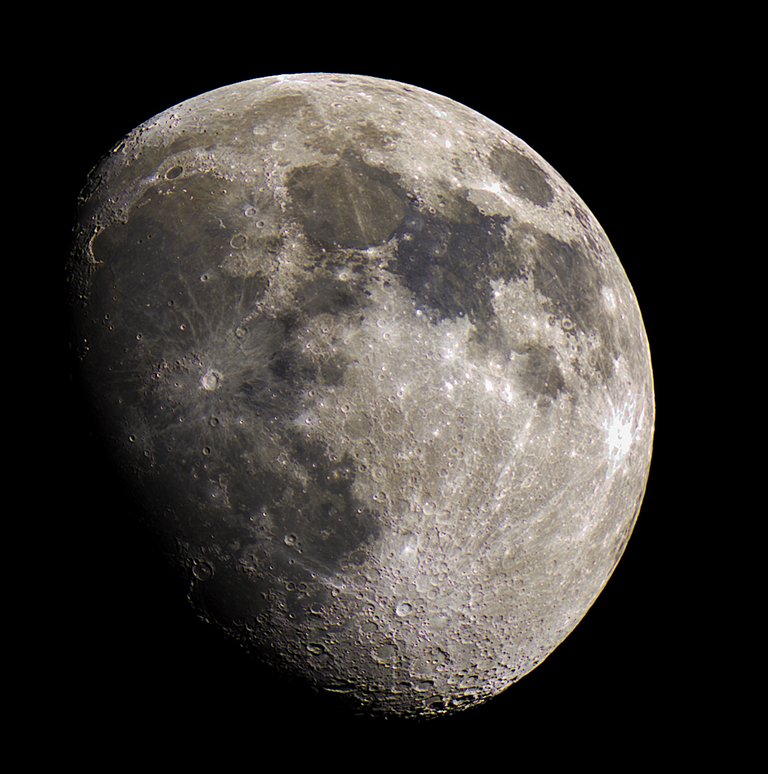
I have tried to take a picture of the moon with my small telescope and my guiding cam. This was some experimental, to test a different approach of the recording and to see what the QHY5L-IIC can afford.
There was something ingenuity required to get into focus with the small camera on the telescope. I had to extend the focuser by about 3cm.
This photo was taken by taking a lot of pictures, which are saved as a video. Due to the small chip of the guiding camera, the whole moon did not fit in one picture despite the low focal length of my telescope. So I had to create a mosaic of five panels. For each panel I have taken 5000 images, so all in all, I have made 25000 images of the moon.
Due to the high dynamic range of the moon and the small dynamics of the sensor, I had the problem that there are many burnt out spots, although the dark spots are still very dark. You can see that on the right side in particular.
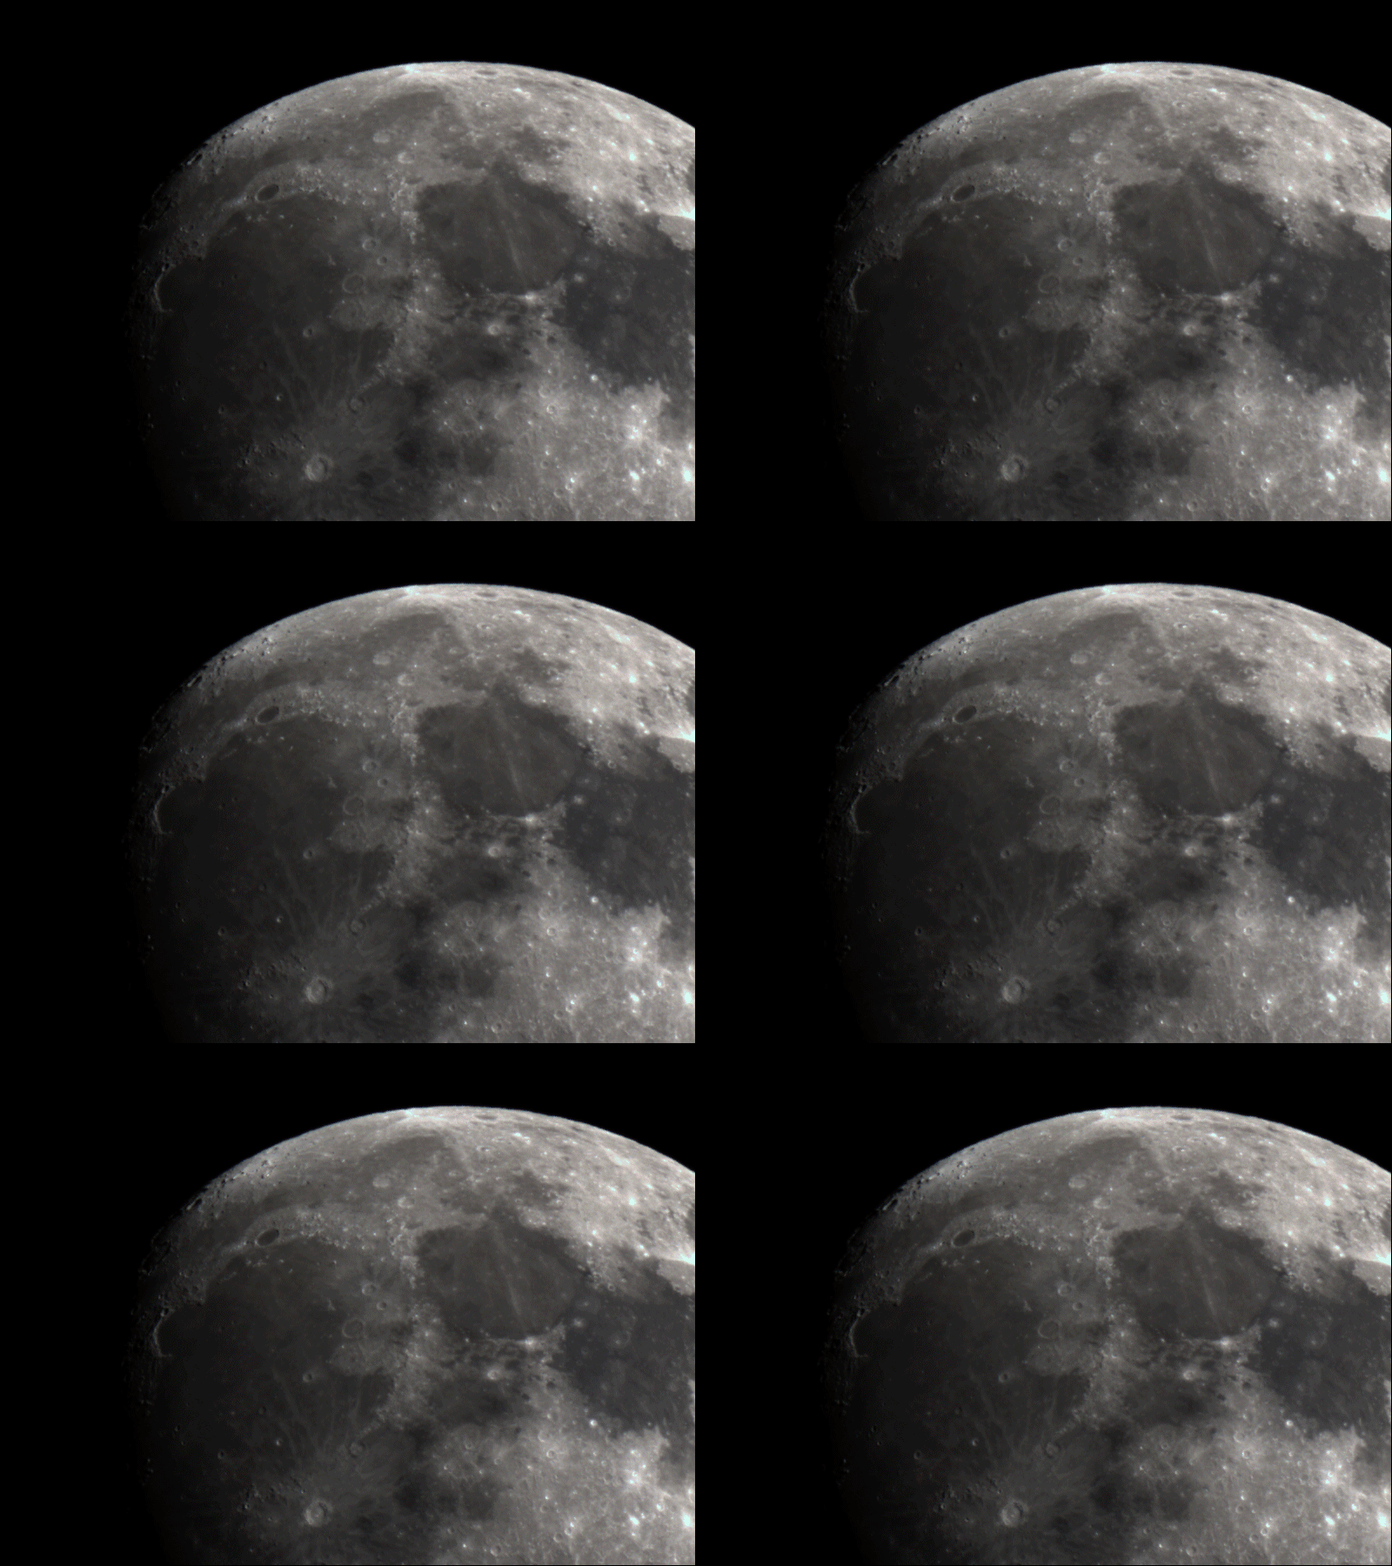
This animated gif shows some frames from one of the five panel-videos. As you see, even at a relatively short focal length of 420 mm, the air agitation let the moon wobbling a lot.

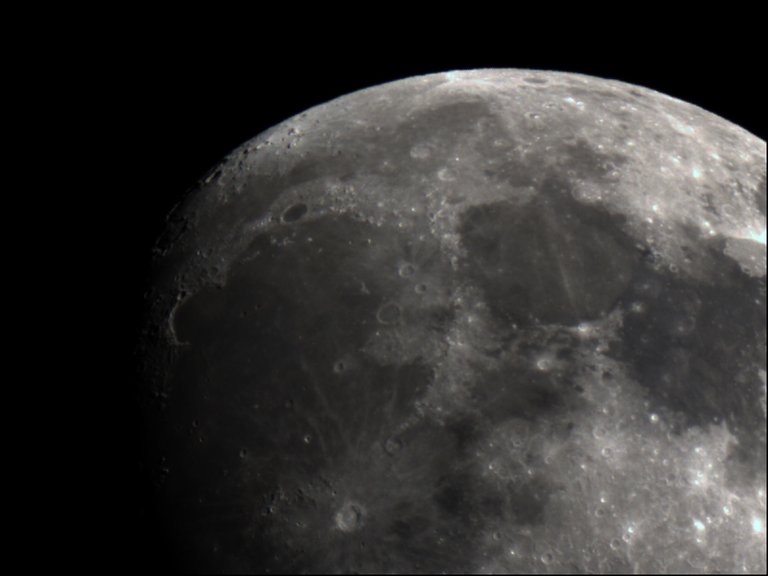
This image is just a screenshot out of the video.

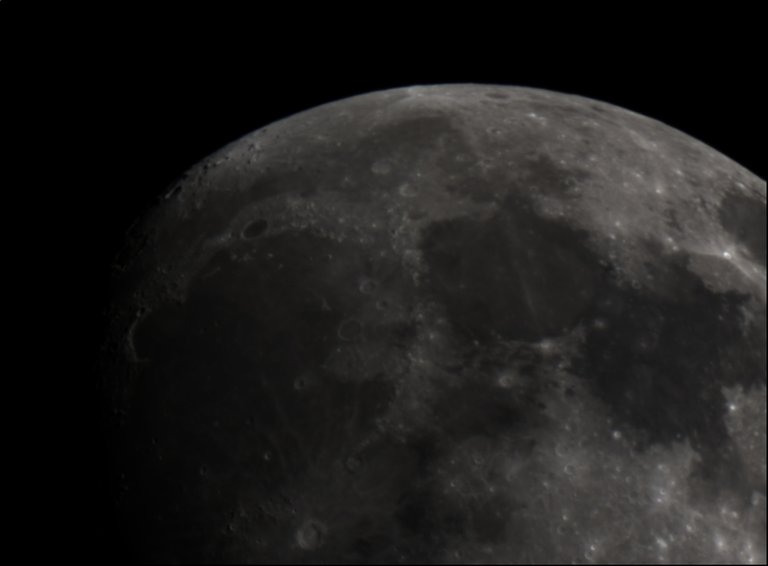
This image shows the same panel after stacking. As you can see, it is still very dim and blurry, and it looks even worse than a single frame at the first view. But thanks to the stacking, the sharpness, and the contrast can be worked out very well.

Details of the picture that was captured by me
The picture was taken from my backyard with the following settings and following equipment.
Light frames where captured as uncompressed AVI video with 5000 frames for each of the five panels. For stacking, I have used the 60% best images.
Camera: QHY5L-IIC
Scope: TSAPO65Q · 420mm · f6.5
Mount: Bresser EXOS-2 Goto
All was controlled from my Laptop.
Software: EZPlanetary, AviStack 2.0, Photoshop CC
Thank you very much for visiting and reading!
I hope that this has been a useful article for you. If you have any questions or suggestions, please don't be afraid to let me know of anything you thought about this post!
Yours,
@astrophoto.kevin
All images, otherwise clearly indicated, in this post are my own work.
You can use it for free if you credit them to @astrophoto.kevin.

Real love lies in space. Brilliant astrophotography.
You CAN'T lose @doublesteemit
Vote for 11 of our posts a day to make hundreds of dollars every day.
Vote for any one of our posts first, and at the very least DOUBLE your money. A win-win proposition!
Competition - Buy A Dollar For A Penny!
You CAN'T lose @doublesteemit
Thank you very much @dolon
nice shots!
Thank you very much :-)
Well done!
My pictures are no match at all with my standard tripod and a 300m f6.3 lense...
Thank you very much @argalf
Even with a standard tripod and a 300mm lens you can make very good pictures of the moon. You just need to keep the exposure time at around 1/100 or 1/250 second.
I've already started some trials, as you can see here, but there's much room for improvement...
Thanks for your encouragement!
This looks pretty good @argalf
I think the focus is pretty close, maybe a little bit „unsharp mask“ in image editing will do the trick. As you write in your post, optics with mirror and a big obstruction (secondary mirror) are a little less sharper then lenses. But it could also be caused by turbulences in the atmosphere, they will also make the image looking a little bit blurry. This can be avoided by shooting much pictures and stacking them. The software will then just use the sharpest parts.
Hopefully the upcoming friday will give a good opportunity to improve my skills! :)
Good luck to anybody reading this comment.
I keep my fingers crossed and wish you good luck and happy photographing :-)
I also hope for some snapshots.
I’m seriously impressed by the clarity of these shots! Wow!
Thank you very much @momzillanc
Very nice Kevin. This was a lot of work and you made a very good image out of it. How long did you worked on it?
Greetings,
David
Thank you very much David :-)
How long it took, hmm... Making the videos was around 2 hours with tinkering and focusing. Most of the time needed stacking, but since it runs automatically you can do other things in this time. Stacking time for all panels was roughly around 9 hours. The final editing took around 1 hour. So the whole time for this picture is around 12 hours. That sounds worse than it is because most of the time it takes to stack and that's automatic. I think that the time invested is around 4 hours in total.
Greetings
Thanks for the reply Kevin. Definetly a great work. Greetings
Your welcome David :-)
Thank you very much
Nice super Pictures
Thank you very much :-)
That is a super image of the Moon. The detail on the craters is fantastic.
25000 images stacked and stitched together is quite a big task.
Thanks for putting the software info in the post. I've got Photoshop and I'll try the other two programs as well.
I was very pleasantly surprised to get a few photographs last night of the Perseid shower based on the settings you suggested. I didn't have a lot of time but I got something which I will post later today.
Sharing this to my blog. :) @astrophoto.kevin
Great content Kevin. ;)
Thank you very much @molometer
The good thing is, that the stacking software does the most thing automatic. So, in the end, the different panels must only be stitched with Photoshop and the image must be edited.
EZPlanetary was used to capture the video with the guiding cam and AviStack 2.0 was used for stacking.
I'm curious about your pictures and look forward to seeing them. :-)
Thank you very much for your kind words and thank you very much for your resteem :-)