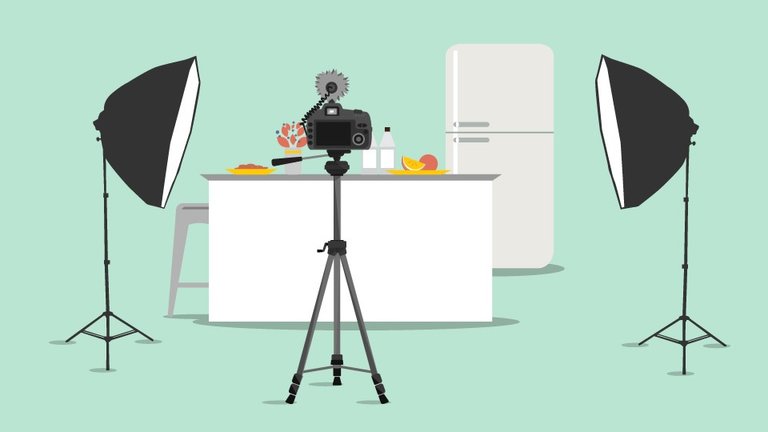
Vlogging—or video blogging—is becoming more popular by the day, with seemingly everyone seeking to become the next YouTube sensation. You may be thinking that with the right subject matter and your winning personality, stardom is right around the corner. And who knows—maybe it is! But if you’re really going to give it a go, then you’re going to need a few essential pieces of gear to get your vlogging career up and running, and looking good. I mean, let’s face it: viewers are brutal. Bad audio? Dislike! Lousy video quality? Double dislike! So before throwing yourself into the lion’s den, let’s review the basic equipment that you’ll need.
Camera
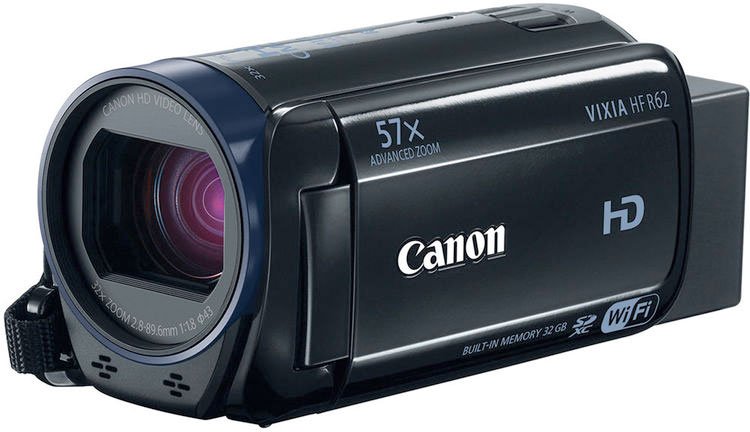
The first thing that you’ll need is a camera; but don’t worry, you don’t need a crazy-expensive camera to create good content. A lot of video bloggers out there use nothing more than the built-in webcam on their computer or even their smartphone, with the latter often rendering better results these days. For “talking head” videos, in which you’re just sitting in front of a camera, that might be all you need. Your audience will definitely notice and appreciate higher-quality video, as it will give an aura of professionalism, which will hopefully keep viewers interested and watching.
So, what camera should you purchase? There are many great options out there; even for shooters on a budget (you’re not making money on those videos yet!). You could choose a compact camcorder, entry-level DSLR, mirrorless camera, or even a GoPro. The camera you choose will depend on your experience level and the type of video you’re recording. With such a wide range of cameras available, selecting the right one can be tough. Luckily, we did some of the legwork for you and have compiled a list of the best cameras for vloggers and vlogging – definitive buyers guide 2017
Support
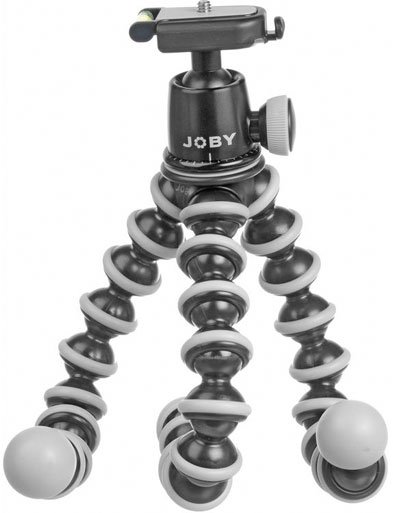
To support your camera you’re going to need a tripod. If you have a heavier camera, you could go for a tripod like the Magnus VT-4000 or the Benro S4 Head with Aluminum Flip Lock Legs. But really, any sturdy option will do, especially if you plan on just having a stationary camera set up in a room. Other support options include a mini tripod like the Oben TT-100 if your camera will be mounted on a table or desk (TIP: mark your desk/table with tape to keep framing consistent between videos), or a Joby GorillaPod for the travel vlogger. If you’re filming with a GoPro while on the go, you might also consider a selfie stick, though be ready to look like a tourist.
Lighting
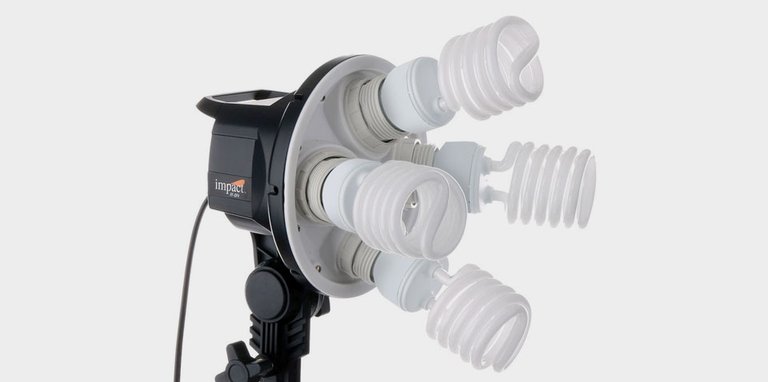
With video blogging, your lighting doesn’t need to be fancy; it just needs to be effective. Your main goal is to make yourself (or the talent) the focus of the viewers’ attention, while also avoiding any unsightly shadows on the face. While you could simply use just the ambient lighting in your room or natural light through well-placed windows, for a consistent and professional look throughout your videos, I’d highly recommend picking up a basic soft-light kit, such as Impact Soft n’ Natural Kit. This kit, or any similar option, gives you two soft light sources that you can position in front of you (one of either side, with one) to provide an even, and pleasing illumination. Alternatively, you could light yourself with a single large soft light positioned about 45 degrees to the side and slightly higher than your head, while bouncing another light off a wall or ceiling to raise the overall light level of the room.
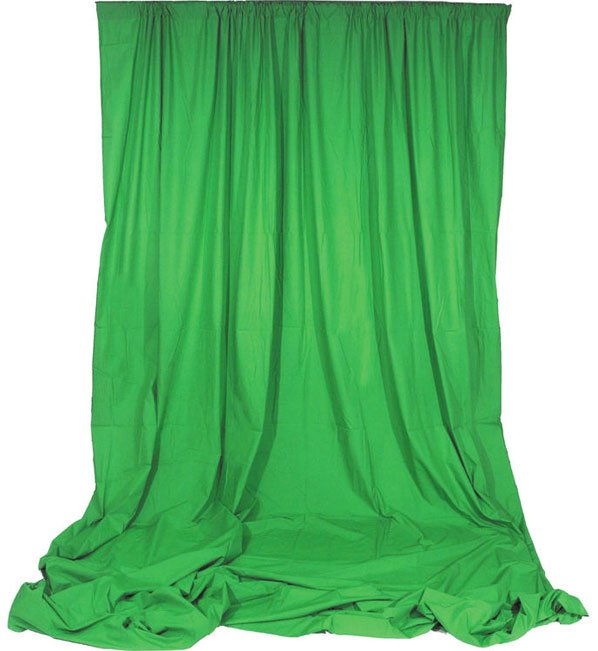
If you’re using a green screen of some kind, then you’ll need to make sure that you have separate lighting specifically for the green screen to pull a clean chroma key. The more even the lighting on the green screen, the better the results will be. It’s also important to put as much distance between yourself and the green screen as possible to minimize spill (green light reflecting back onto you).
Microphone
Nothing ruins more videos than bad audio. Most viewers can forgive mediocre lighting and sub-par video quality, but if the audio is bad, then they likely won’t stick around long. The quickest and easiest way to improve the quality of your audio is to not use the built-in microphones on your camera (or computer if you’re using a webcam) and to use an external microphone. A better way still is to record audio from an external microphone to a portable recorder, bypassing the often terrible audio pre-amps found inside compact cameras.
Shotgun Microphone
The simplest way to capture better audio is to add a shotgun microphone, which has a highly directional pick-up pattern that is highly sensitive where you point it, but won’t pick up much from the sides or rear. The closer you can get the microphone to you, the better. If you’ll only be a couple of feet from your camera, then a camera-mounted option like the RØDE VideoMic Pro is a great choice—just make sure that your camera has a 3.5mm mic input.
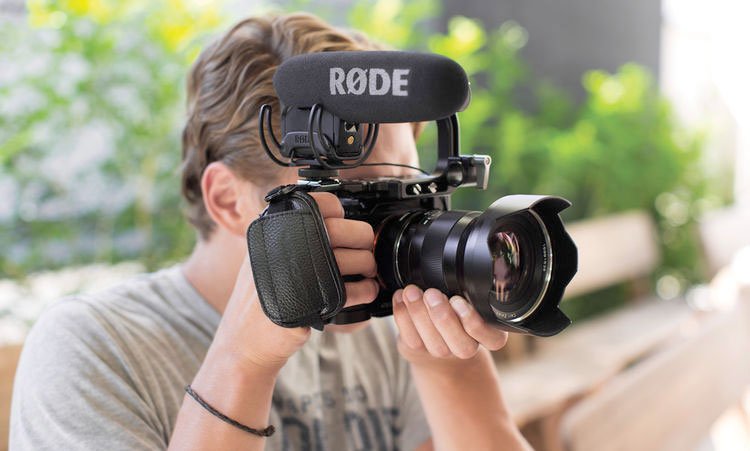
If your camera is going to be placed more than a few feet away from you, then mounting the microphone off-camera is the way to go. And since the microphone isn’t restricted to on-camera use, you can opt for a large, more professional shotgun microphone. I’m a personal fan of the RØDE NTG2, which I feel offers great value. It has an XLR connection, so you’ll need to be shooting with a camcorder that has XLR inputs (which is unlikely) or use a compatible portable audio recorder. You’ll also need a boom stand to hold the microphone in position. Try to place to microphone above you, just off screen, to capture optimal audio.

Lavalier Microphone
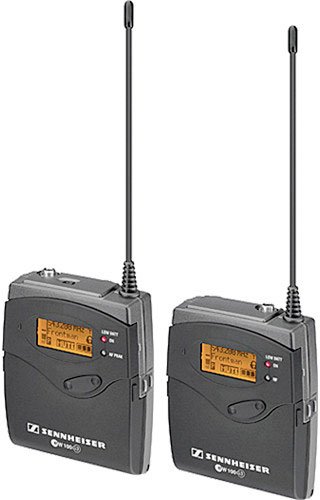
For ultimate mobility, you could opt for a wireless lavalier microphone. The Sennheiser ew 112-p G3, with a camera-mountable receiver, is a popular option. Positioning the microphone close to the speaker’s mouth, a lav mic captures great audio, but is a bit more complicated of a setup, and if you’re doing stationary videos in, say—your room, then it’s definitely overkill. Also, some people just aren’t fans of seeing the lav mic clipped to their shirt. It doesn’t exactly give off that “cool” and “casual” vibe that many of the vlogging videos today are going for.
USB Microphone
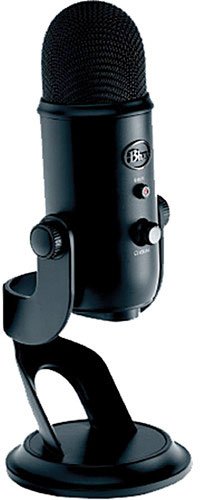
If you’ll be doing voice-over work or sitting at a desk in front of (or close to) a computer, then a USB microphone is a simple yet effective way to capture quality audio directly to your computer. It’s particularly effective when you’re using a webcam to capture video. I recommend checking out the various options from Blue, especially the Yeti model. If you go the USB microphone route, then you will need software to record audio from your microphone. Programs like GarageBand (for Mac users) or the open-source audio editor Audacity are simple and easy to use, letting you record, manipulate, and export your audio for final editing.
Portable Audio Recorder
A portable audio recorder, such as the Zoom H4n or Tascam DR-40, is basically a must-have if you’re working with professional XLR microphones. It also lets you bypass the low-quality pre-amps found in DSLRs and other compact cameras to record higher-quality sound, often in the WAV audio format. Many portable recorders also feature quality built-in microphones as well, that, when positioned close enough can give you good results by using just the portable recorder.
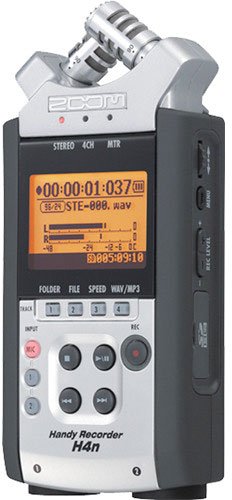
The separately recorded audio file can be synced with your video either manually in your editing software by matching waveform spikes with in-camera audio (created by a clapboard or simply a clap of the hands at the beginning or the take), or using a software such as PluralEyes that does the work for you.
Editing Software
With camera, lighting, and microphone in place, all you really need that’s left is a non-linear editing (NLE) program to cut together your freshly recorded content, and a computer to run it on. These days, most computers have the specs to run at least basic editing software, so unless you’re using a tiny netbook or tablet, then it’s likely that your current machine is more than capable. Pay attention to the recommended specs listed with the software you choose to make sure your computer can handle it.
If you don’t have NLE software on your computer already, there are many options available for you to choose from. Adobe Premiere Pro, Apple Final Cut Pro X, and Sony Vegas Pro are all professional programs that give you all the tools you’ll need to edit your video together. These programs will have a bit of a learning curve if you’ve never used an NLE before, so if you’re hesitant to dive right into them, you can always opt for more simple-to-use options, such as Adobe Premiere Elements or even Apple iMovie when only simple cutting is required.
Final Thoughts
As far as video work goes, vlogging isn’t all that complicated, and with only a basic collection of video gear you can really boost the production value of your content. A quality camera, a basic lighting setup, and an external microphone will go a long way to helping you create professional-looking (and sounding) content. And since vlogs are dialogue-centric, I can’t stress enough the importance of capturing good audio, which should be a considered a top priority.
There are, of course, other considerations than just gear. For example, the scene you’re recording can play a major role in the production value of your videos. A well-chosen and decorated set/background shouldn’t be overlooked, as it can give viewers an immediate sense of the subject matter of the blog and help.
Ultimately, it doesn’t matter how good your videos look and sound if no one knows they exist, so diligent online promoting and a well thought-out marketing plan is paramount to your vlog’s success. So what are you waiting for? Start shooting, start sharing, and who knows, vlogging stardom could be just around the corner!
Hi! I am a robot. I just upvoted you! I found similar content that readers might be interested in:
https://www.bhphotovideo.com/explora/video/buying-guide/vlogging-beginners-essential-gear