Bitcoin Symbol and Logo Origins
How the current Bitcoin symbol and logo were created.
Full instructions with Introductions and explanation of the Symbolism is located:
vu.hn
Table of Contents
Instructions With Images
The Symbol Workspace
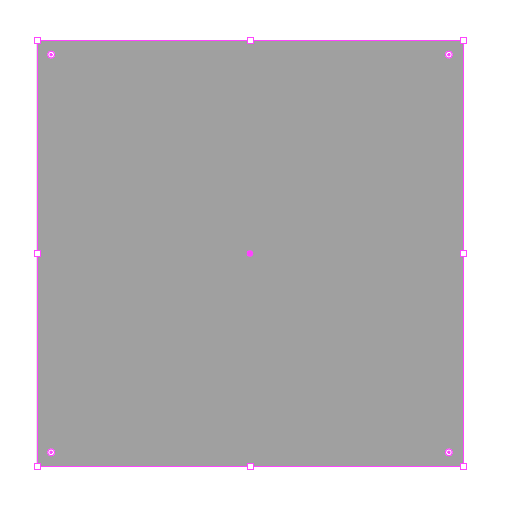
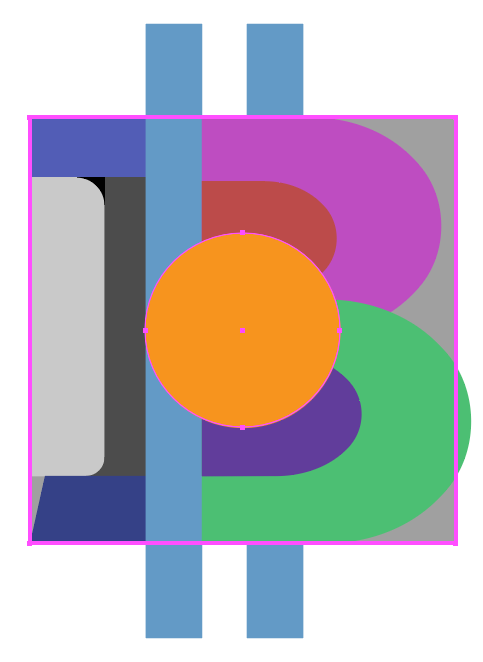
Make a grey large square about the size you want the B portion of the symbol to be.
The Two Horizontal Bars
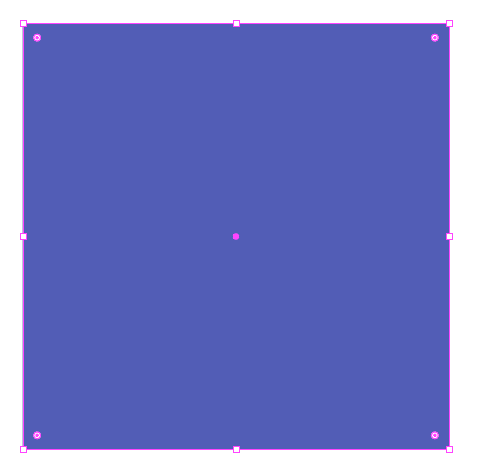
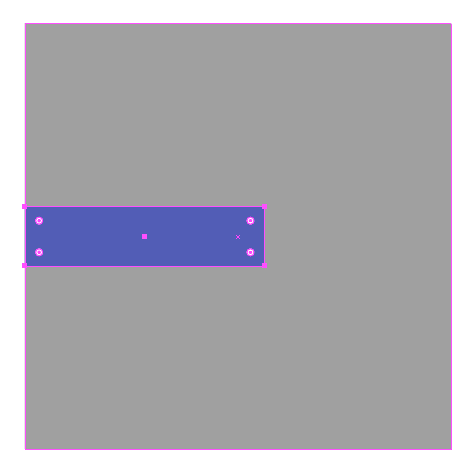
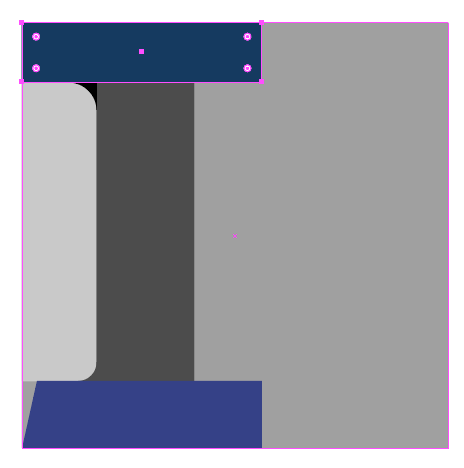
Duplicate the grey large square and colour it blue so that you can see it clearly.
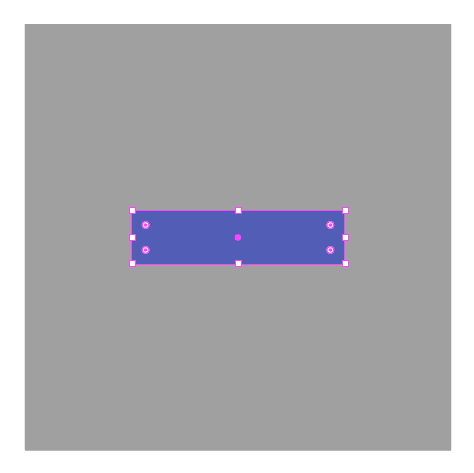
Scale the blue large square vertically by 12.5 and horizontally by 50% ( 12.5 x 4 ) ( it will now be a blue horizontal bar ).
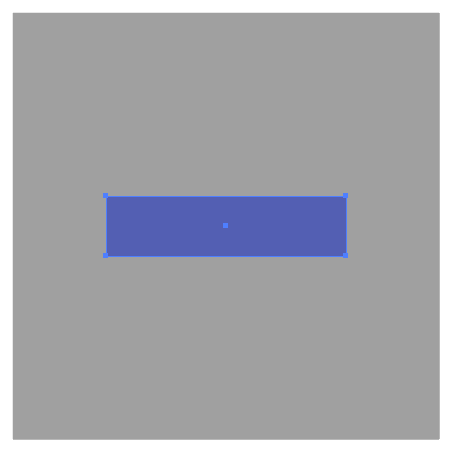
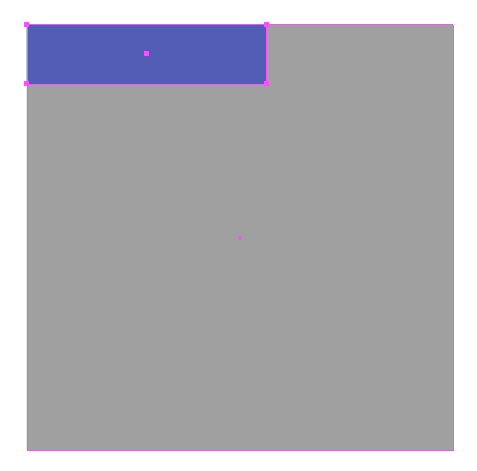
Scale the blue horizontal bar by 112.5% ( 12.5 x 9 ).
Align the left-hand-edge of the blue horizontal bar to the left-hand-edge of the grey large square.
Align the top-edge of the blue horizontal bar to the top-edge of the grey large square.
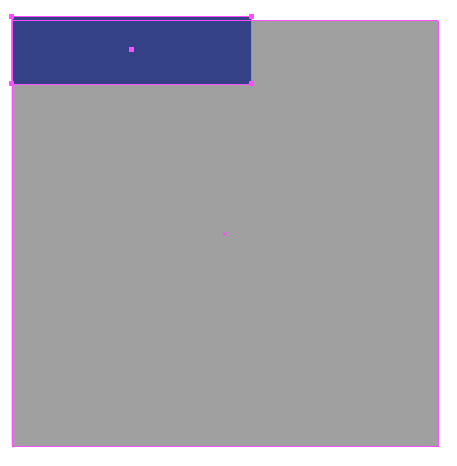
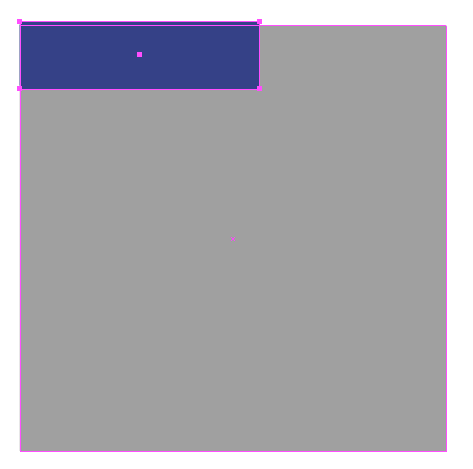
Duplicate the blue horizontal bar colour it dark-blue.
Scale the dark-blue horizontal bar vertically by 112.5% ( 12.5 x 9 ).
Align the left-hand-edge of the dark-blue horizontal bar to the left-hand-edge of the grey large square.
Align the bottom-edge of the dark-blue horizontal bar to the bottom-edge of the grey large square.
The Single Main Vertical Bar
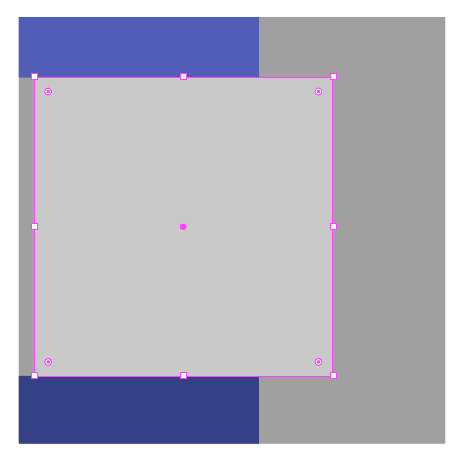
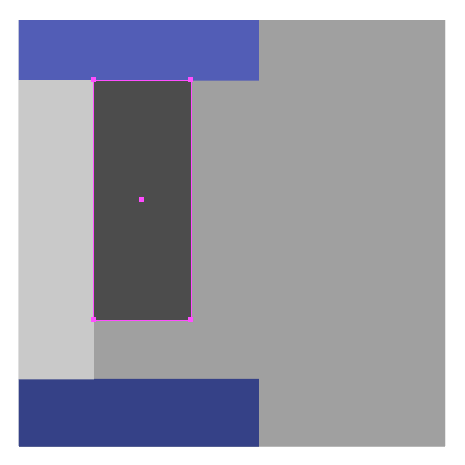
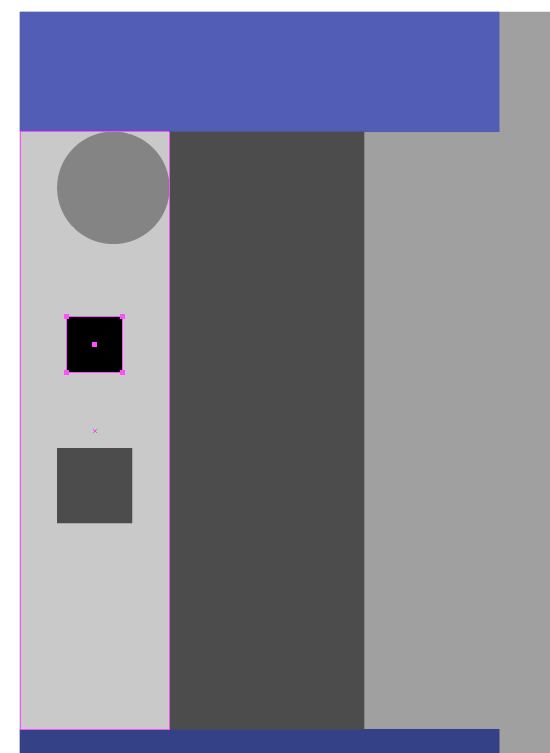
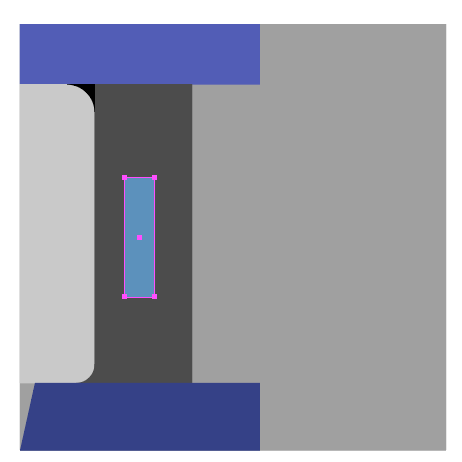
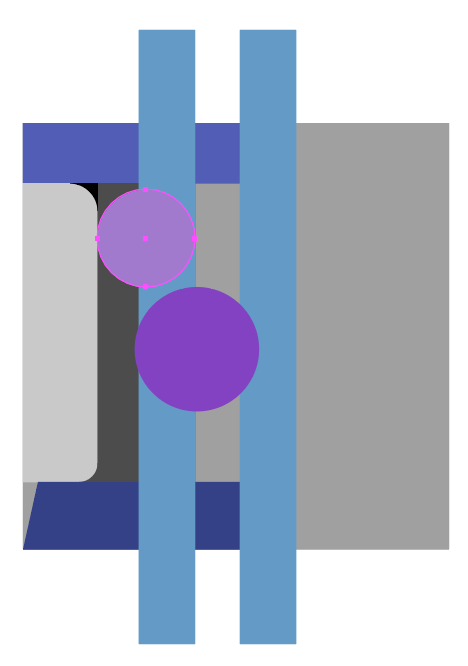
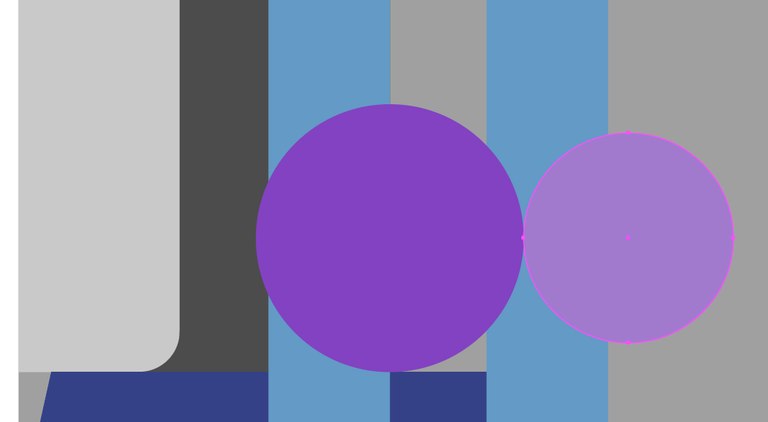
Make a large square that fills the space between the two blue horizontal bars and colour it light-grey.
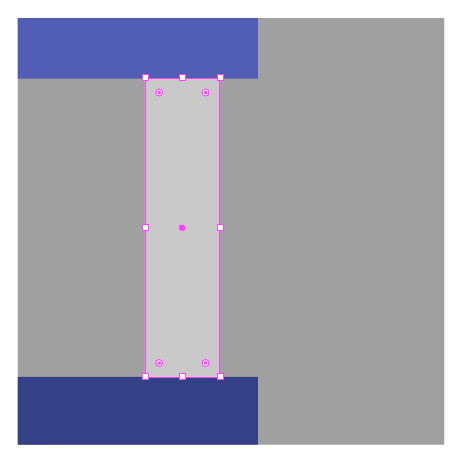
Scale the light-grey large square horizontally by 25% ( 12.5 x 2 ) ( it will now be a light-grey vertical bar ).
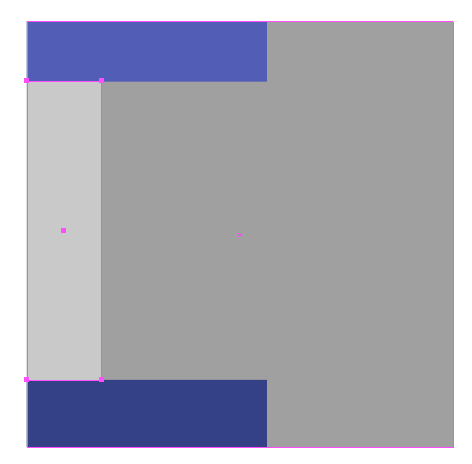
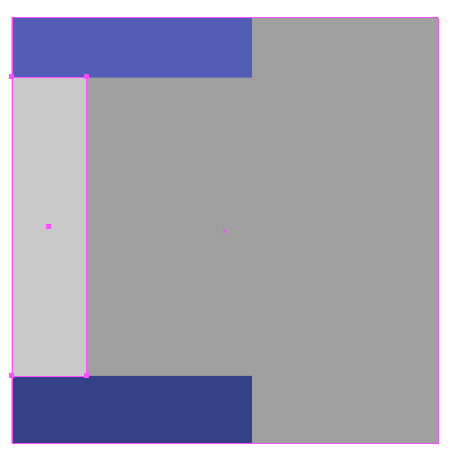
Align the left-hand-edge of the light-grey vertical bar to the left-hand-edge of the grey large square.
Align the top-edge of the light-grey vertical bar to the bottom-edge of the blue horizontal bar.
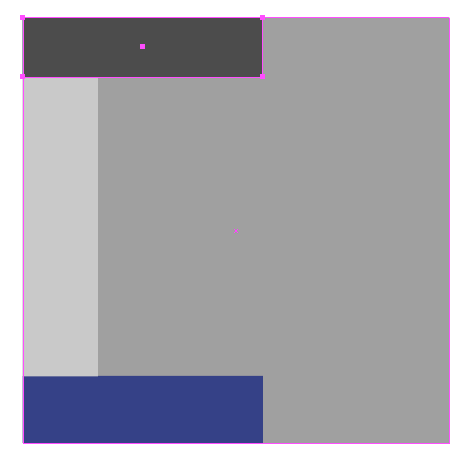
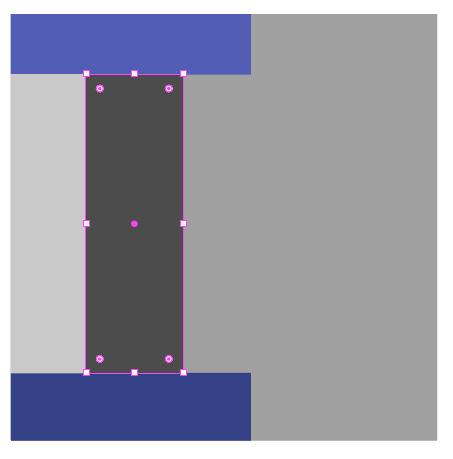
Duplicate the top blue horizontal bar and colour it dark-grey.
Rotate the dark-grey horizontal bar by 90° ( it will now be a dark-grey vertical bar ).
Scale the dark-grey vertical bar horizontally by 162.5% ( 12.5 x 13 ).
Align the left-hand-edge of the dark-grey vertical bar to the right-hand-edge of the light-grey vertical bar.
Align the top-edge of the dark-grey vertical bar to the bottom-edge of the top blue horizontal bar.
Increase the height of the dark-grey vertical bar so that the bottom-edge of the the dark-grey vertical bar aligns with the top-edge of the bottom blue horizontal bar.
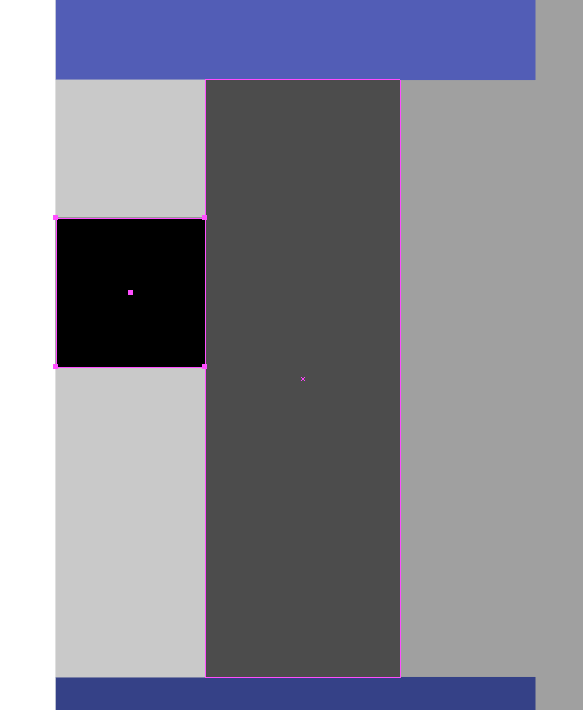
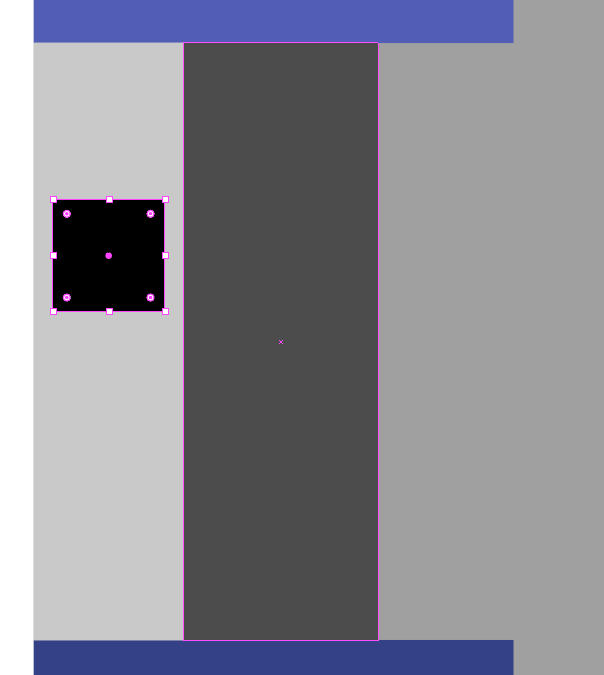
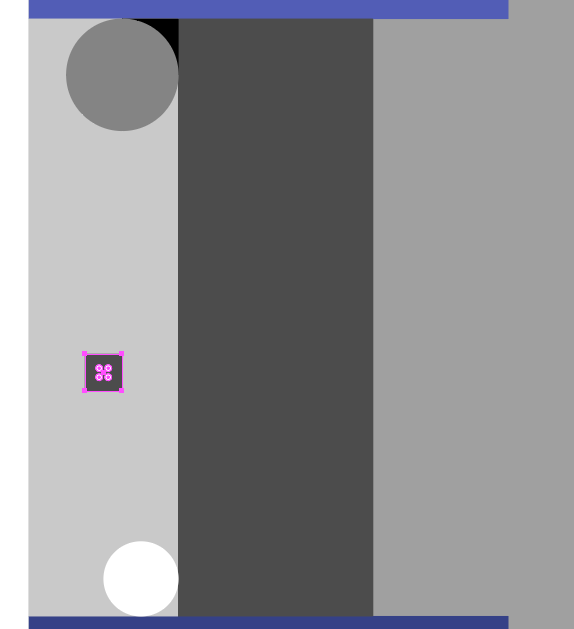
Make a square the width of the light-grey vertical bar and colour it black.
Scale the black square by 75% ( 12.5 x 6 ).
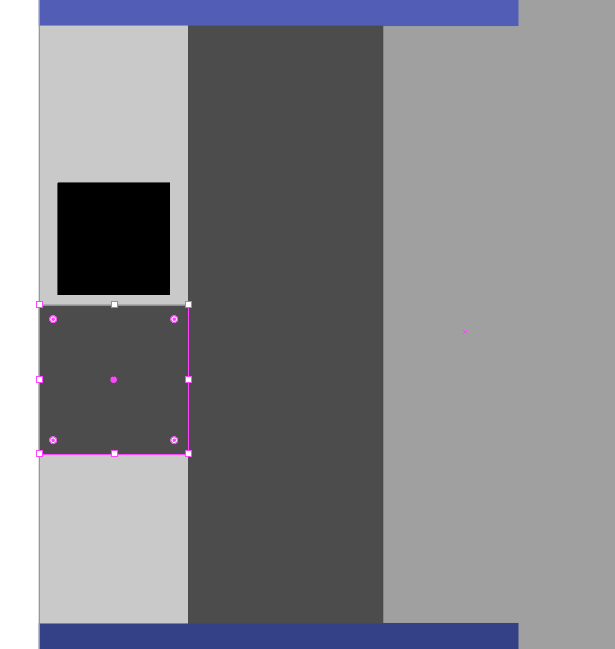
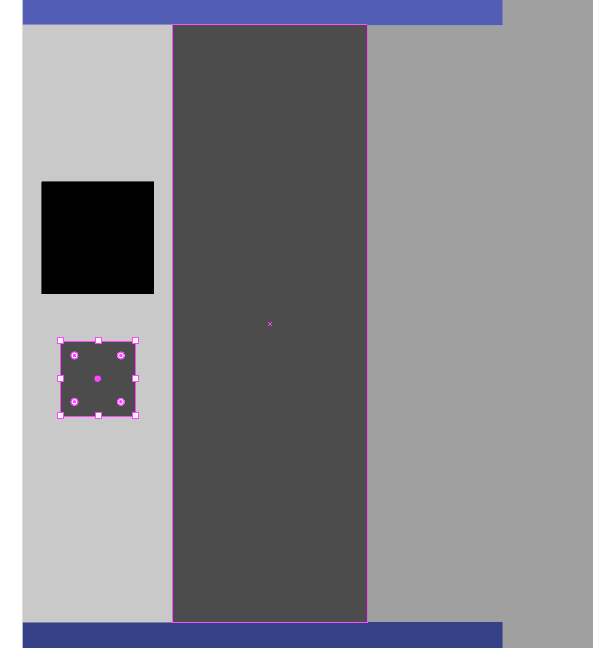
Make a square the width of the light-grey vertical bar and colour it dark-grey.
Scale the dark-grey square by 50% ( 12.5 x 4 ).
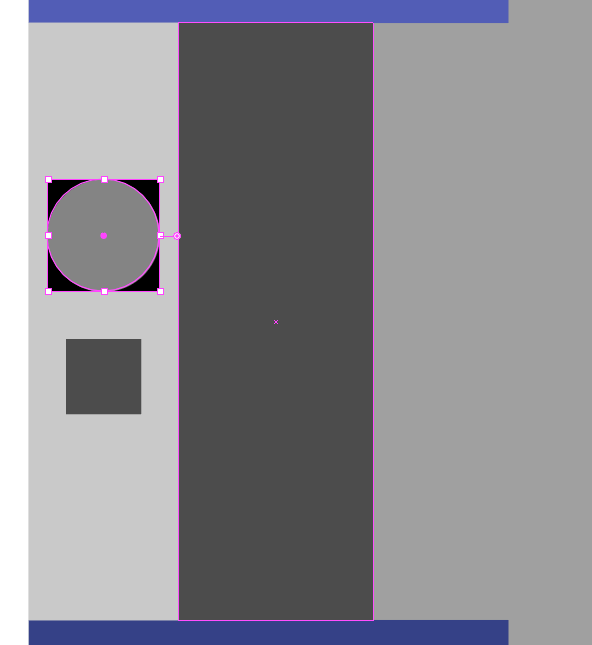
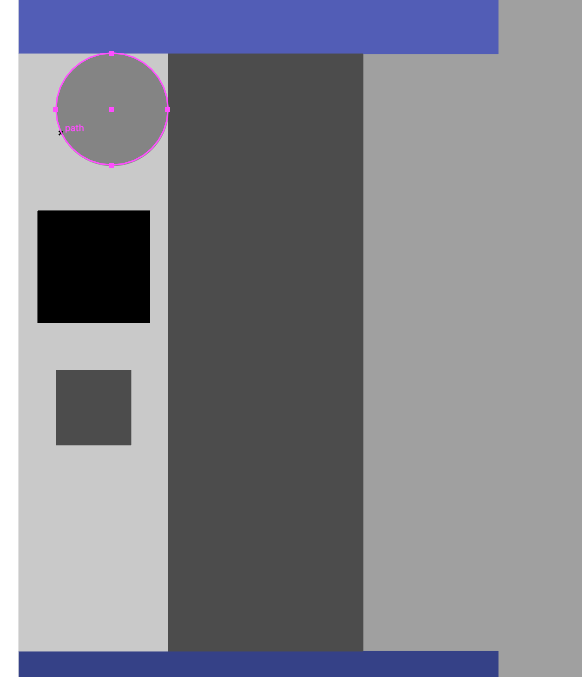
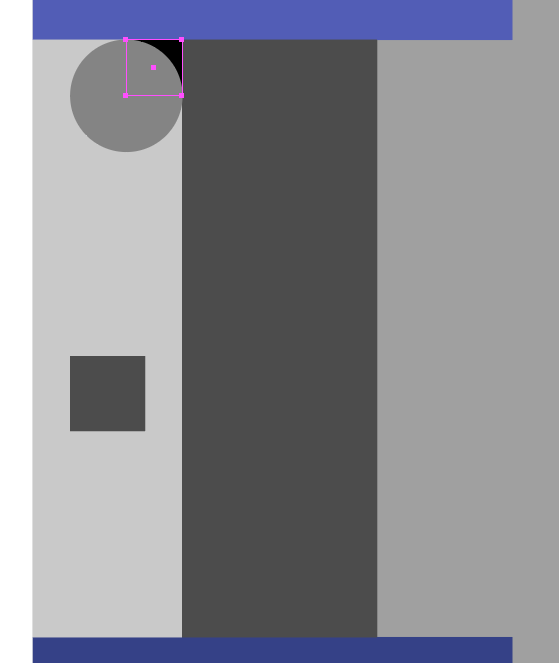
Make a circle the width of the black square and colour it medium-grey.
Align the medium-grey circle to the right-top-corner of the light-grey vertical bar.
Scale the black square by 50% ( 12.5 x 4 ).
Align the right-top-corner of the black square to the right-top-corner of the light-grey vertical bar.
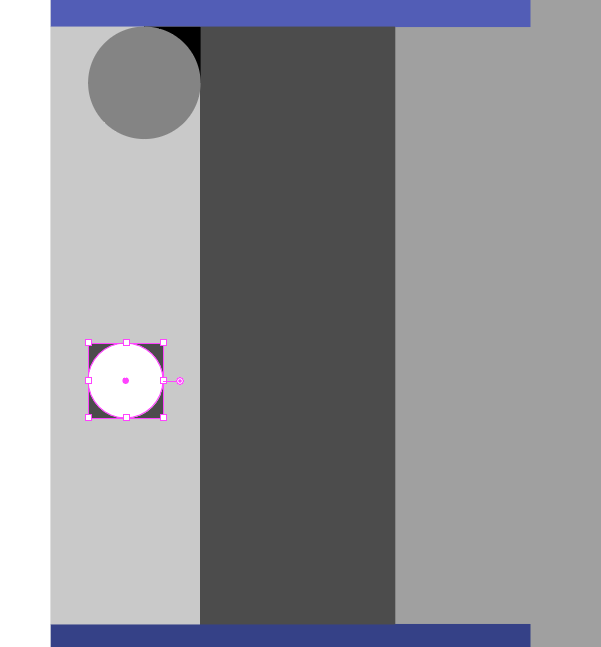
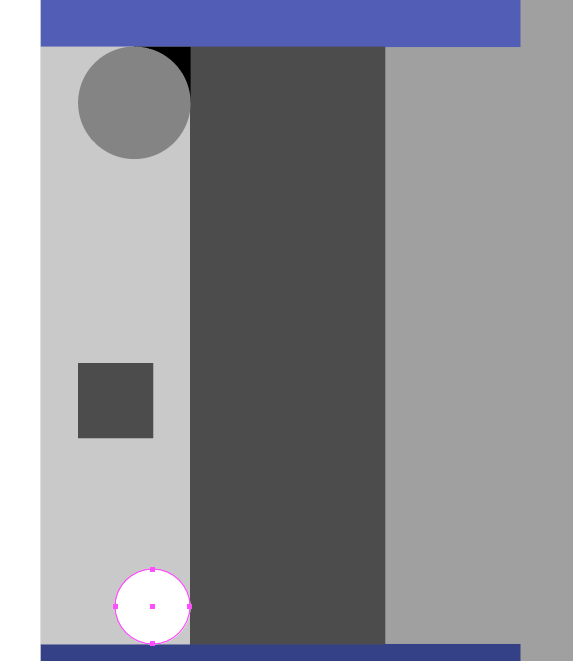
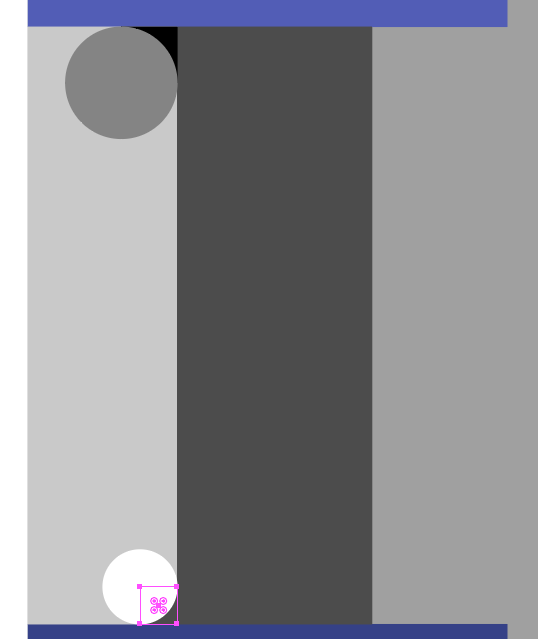
Make a circle the width of the dark-grey square and colour it white.
Align the white circle to the right-bottom-corner of the light-grey vertical bar.
Scale the dark-grey square by 50% ( 12.5 x 4 ).
Align the right-bottom-corner of the dark-grey square to the right-bottom-corner of the light-grey vertical bar.
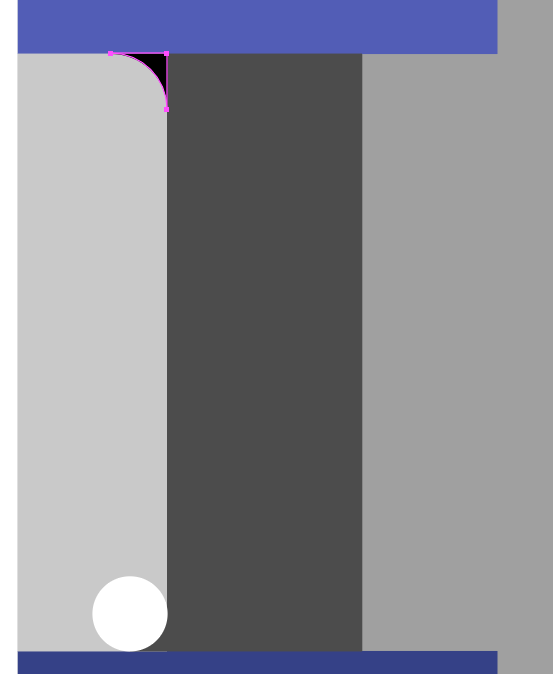
Use a Boolean subtract operation to cut the medium-grey circle away from the black square.
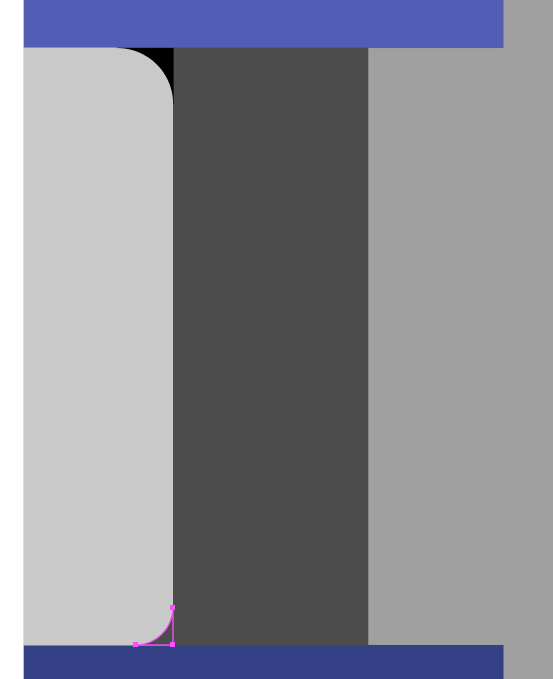
Use a Boolean subtract operation to cut the white circle away from the dark-grey square.
The Angled Cut
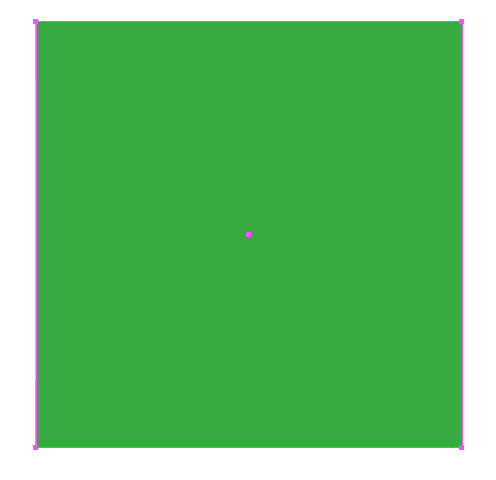
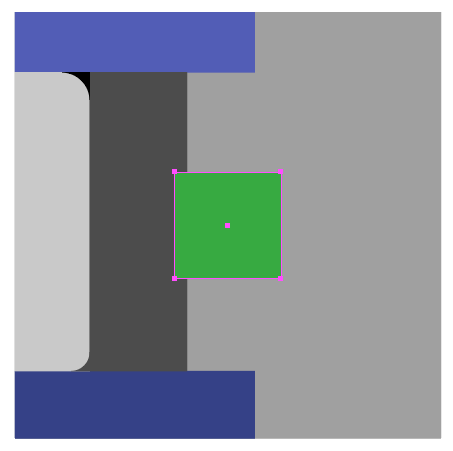
Duplicate the grey large square and colour it green.
Scale the green large square by 25%.
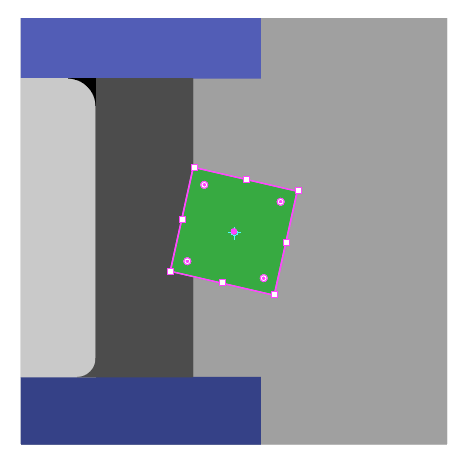
Rotate the green square clockwise by 12.5°.
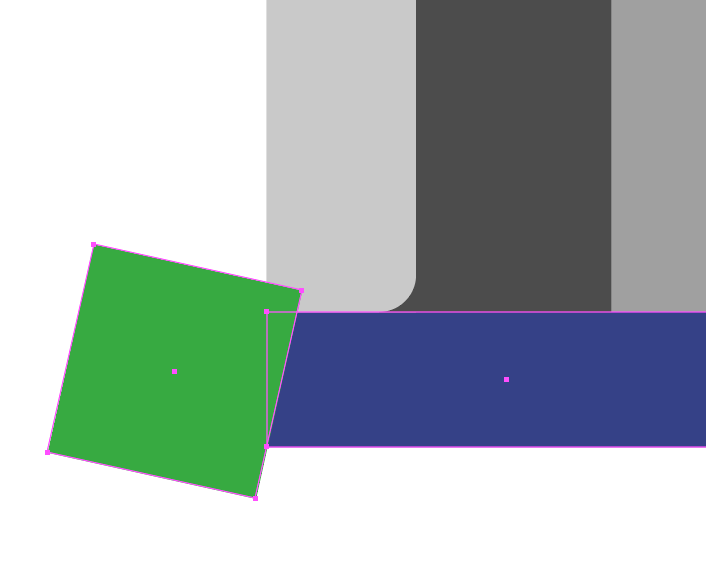
Align the right-hand-edge of the green slanted square to the left-bottom-corner of the dark-blue horizontal bar.
Use a Boolean subtract operation to cut the green slanted square away from the dark-blue horizontal bar.
( When the angle is 6.25% it's called Eric because it's half-a-B ).
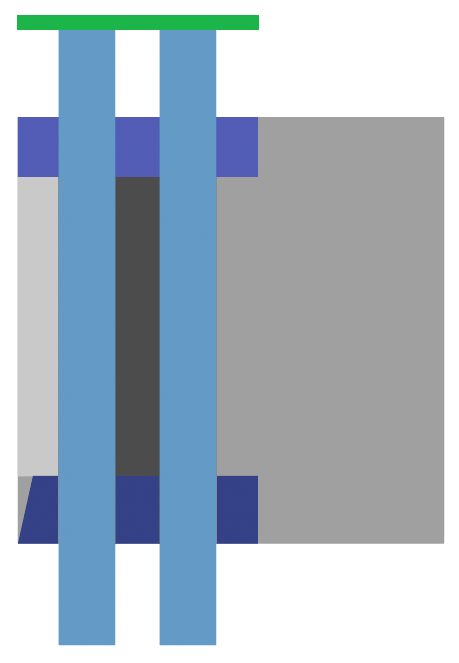
The Two Vertical Bars
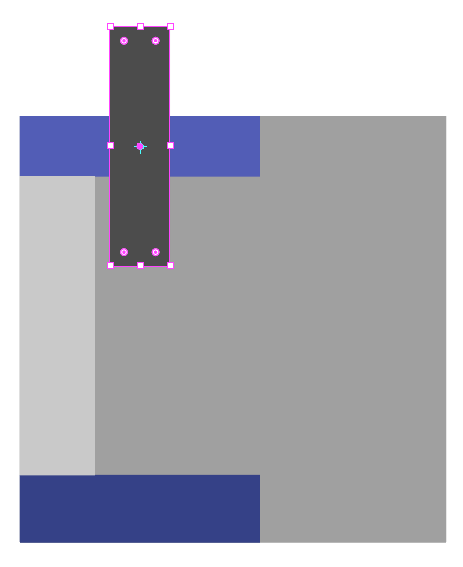
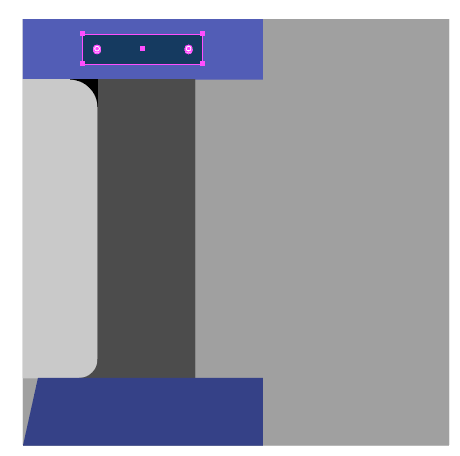
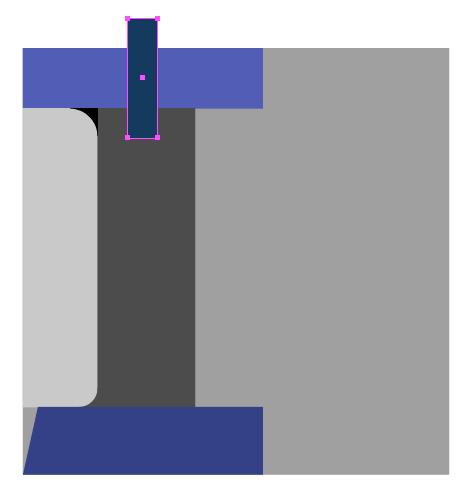
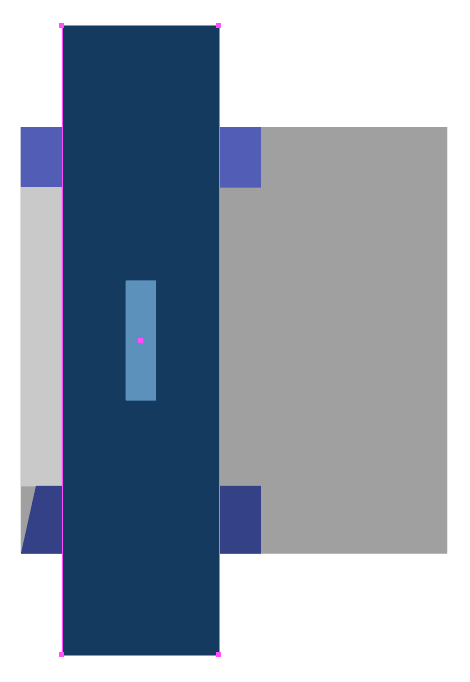
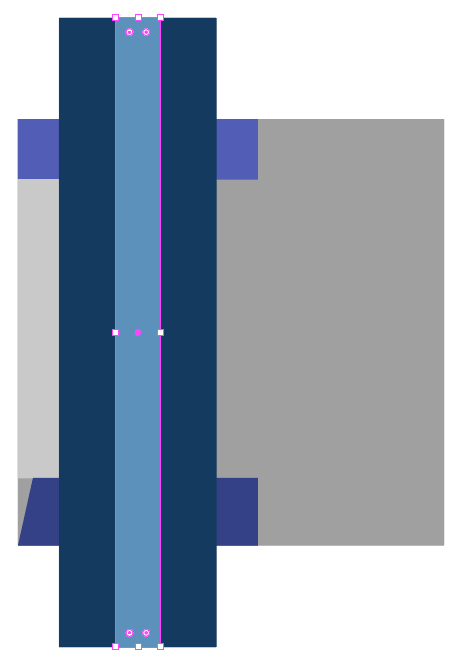
Duplicate the top blue horizontal bar and colour it dark-blue.
Scale the dark-blue horizontal bar by 50% ( 12.5 x 4 ).
Rotate the dark-blue horizontal bar by 90° ( it will now be a dark-blue vertical bar ).
Vertically align the vertical centre of the dark-blue vertical bar with the vertical centre of the grey large square.
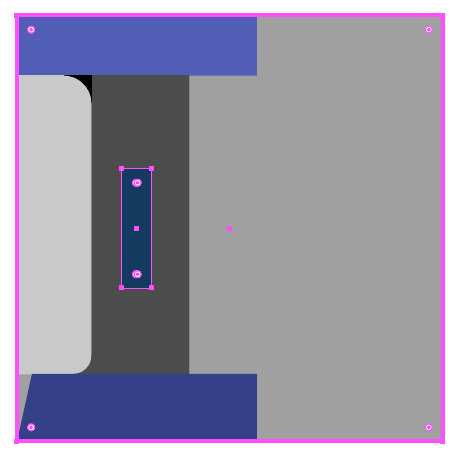
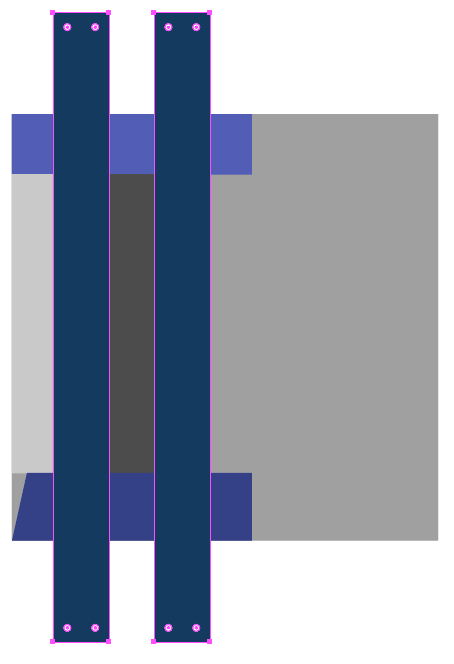
Duplicate the dark-blue vertical bar and colour it light-blue.
Scale the dark-blue vertical bar by 525% ( 12.5 x 42 ).
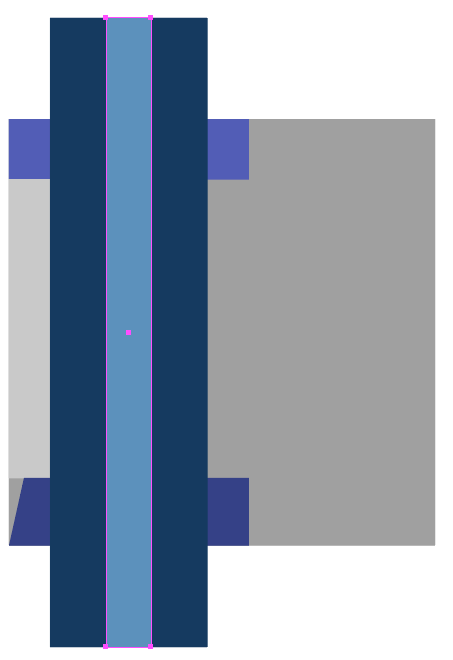
Scale the light-blue vertical bar vertically by 525% ( 12.5 x 42 ) and horizontally by 150% ( 12.5 x 12 ).
Align the top-edge of the light-blue vertical bar to the top-edge of the dark-blue vertical bar.
Align the horizontal centre of the light-blue vertical bar to the horizontal centre of the dark-blue vertical bar.
Use a Boolean subtract operation to cut the light-blue vertical bar away from the dark-blue vertical bar.
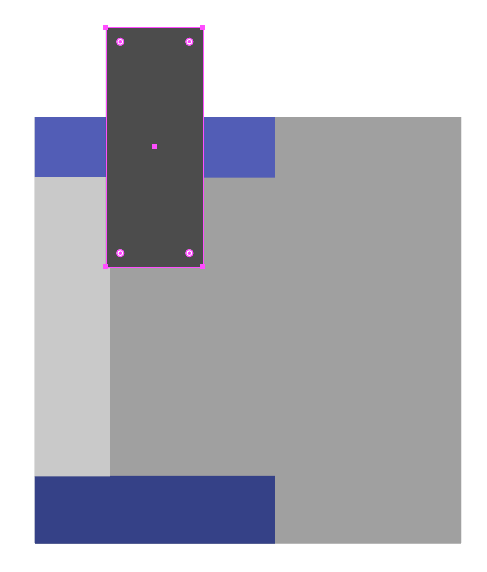
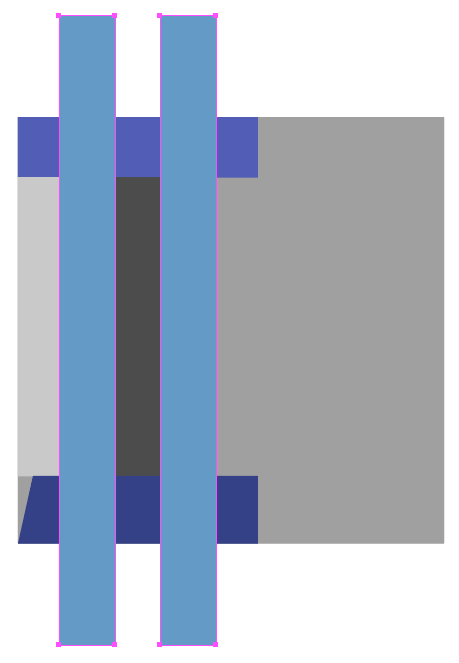
Colour the two vertical bars light-blue.
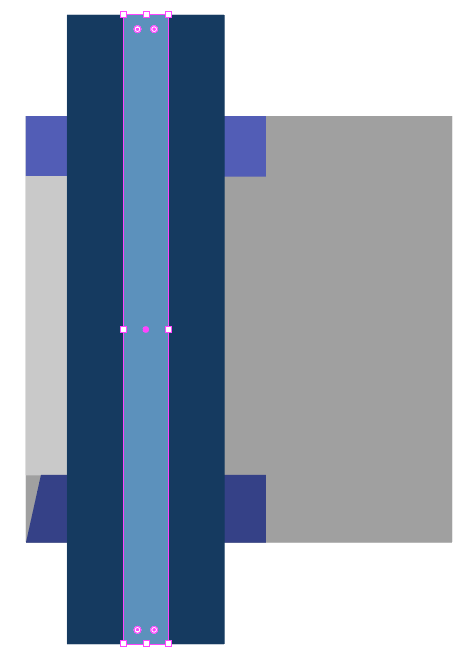
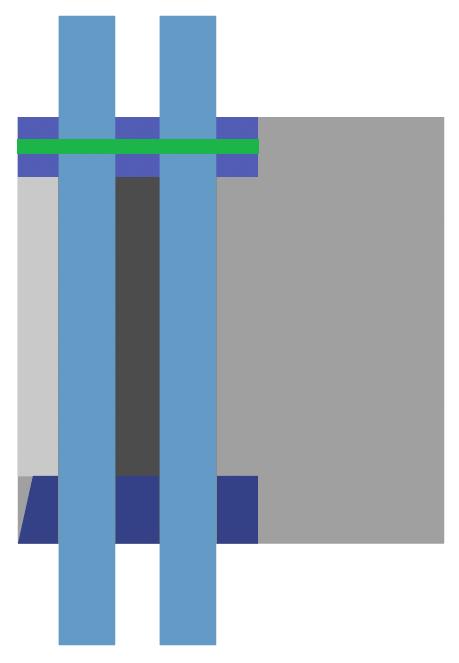
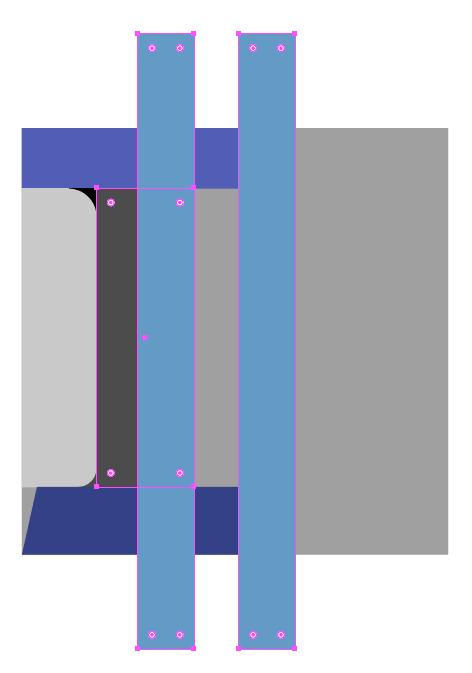
The vertical bars look a little too tall, so they must be reduced in size.
Duplicate the top blue horizontal bar and colour it green.
Scale the green horizontal bar vertically by 25% ( 12.5 x 2 ).
Align the top-edge of the green horizontal bar to the top-edge of the light-blue vertical bars making sure that the tops of both light-blue vertical bars are covered by the green horizontal bar.
Use a Boolean subtract operation to cut the green horizontal bar away from the light-blue vertical bars.
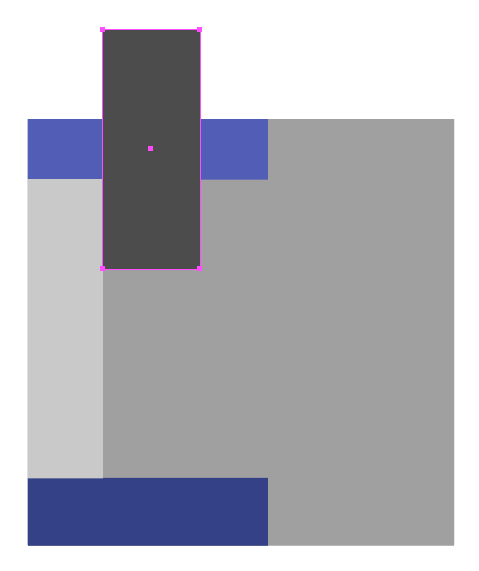
Vertically align the vertical centre of the light-blue vertical bars with the vertical centre of the grey large square.
Align the right-hand-edge of the left-most light-blue vertical bar to the right-hand-edge of the dark-grey vertical bar.
The B Bumps
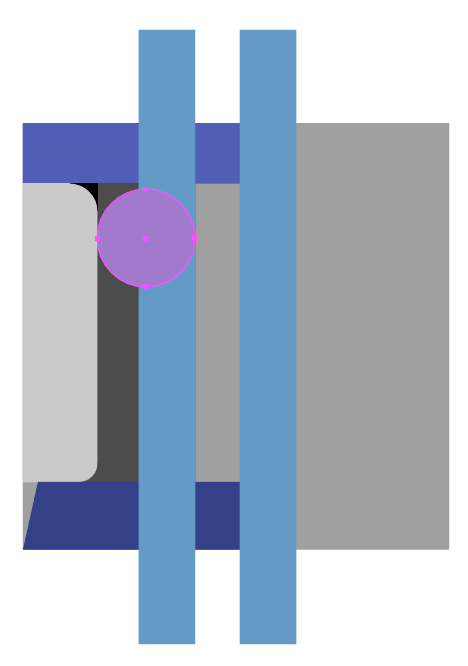
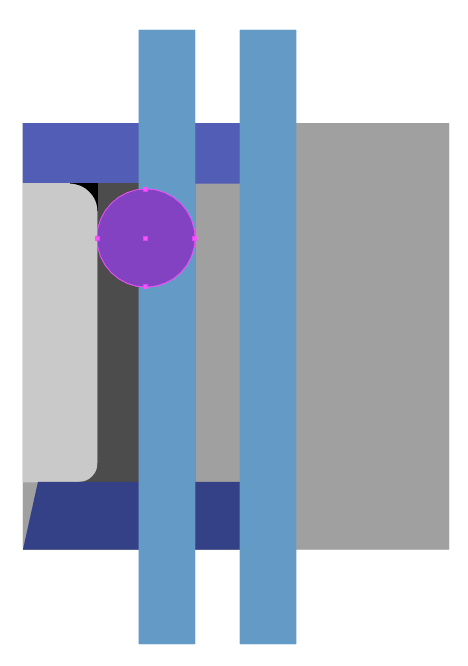
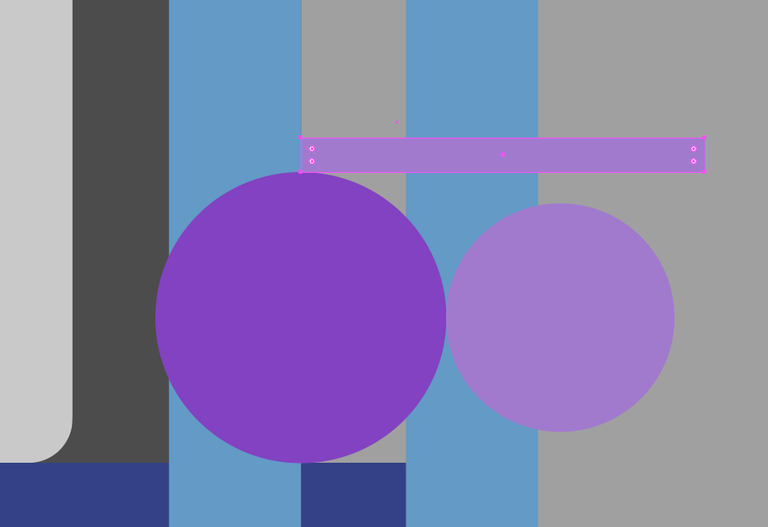
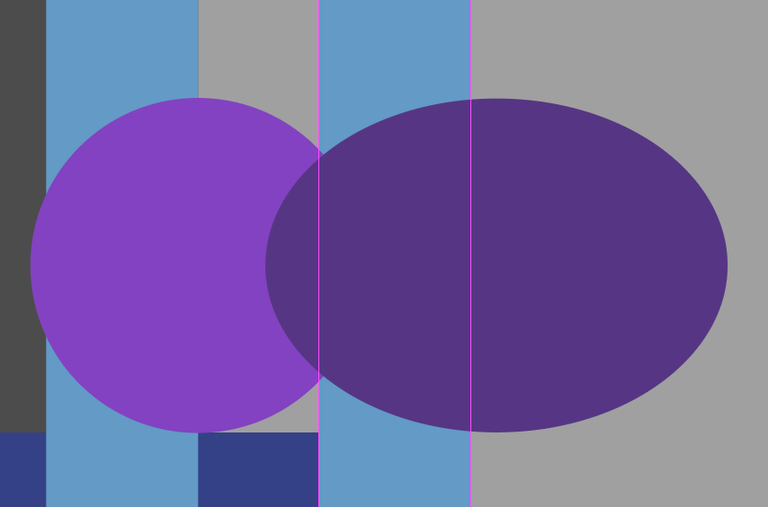
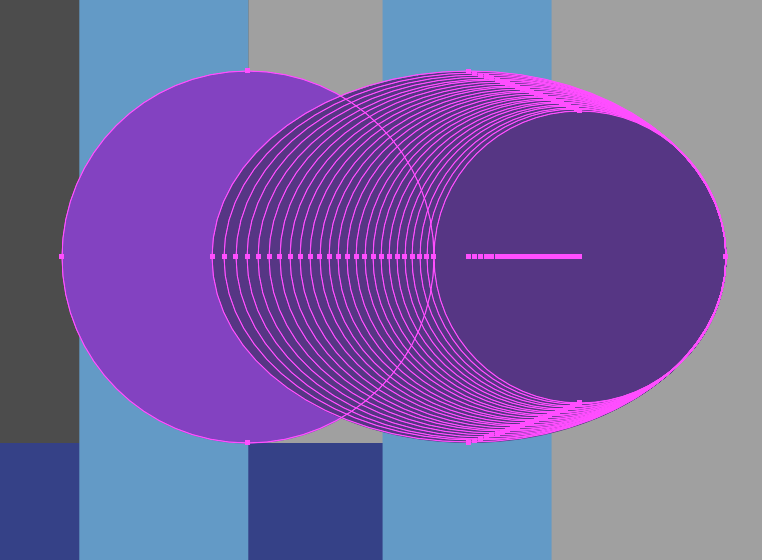
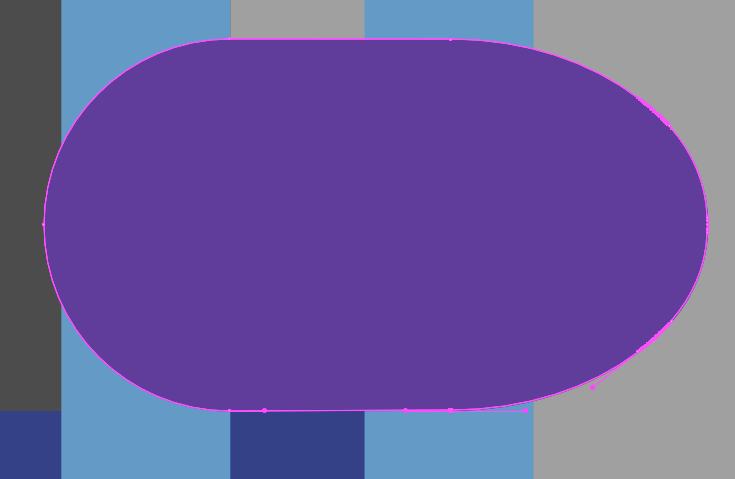
The shape of the holes comes from a specific ratio between two circles.
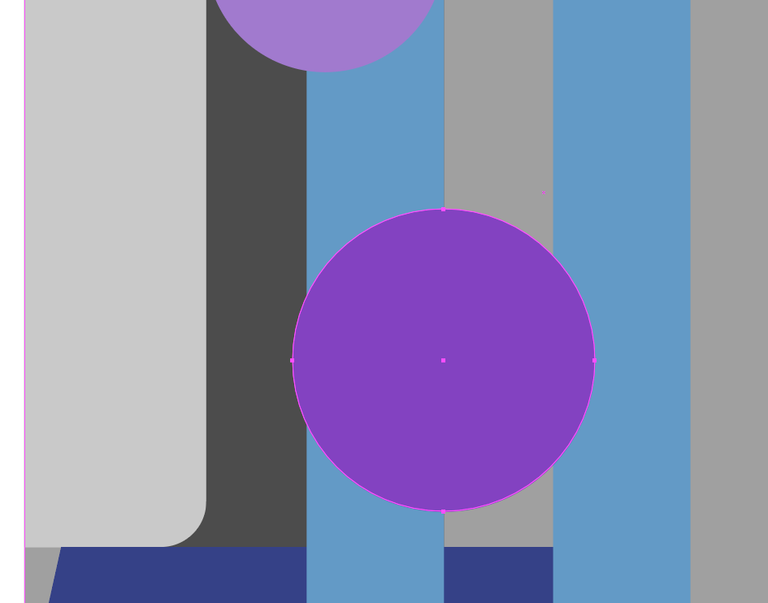
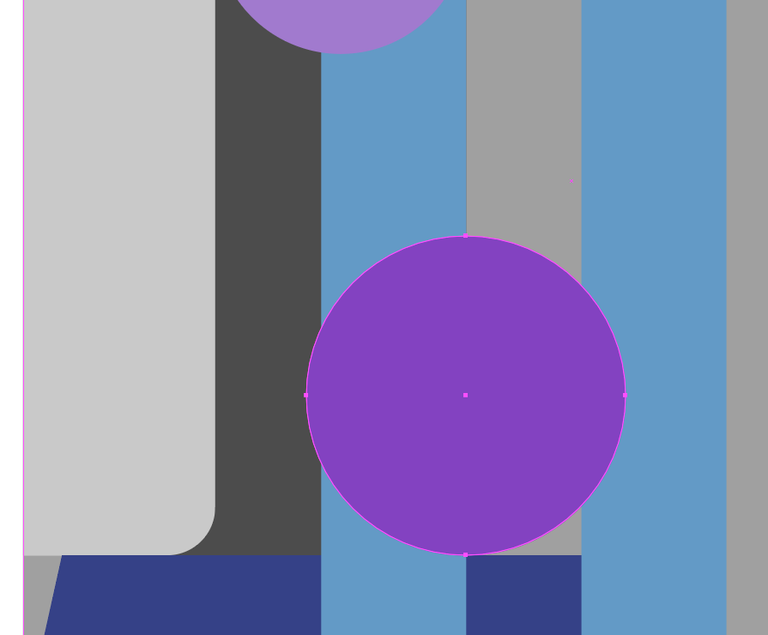
Make a circle that fills the width of the dark-grey vertical bar and colour it light-purple.
Duplicate the light-purple circle and colour it purple.
Scale the purple circle by 125% ( 12.5 x 10 ).
Align the horizontal centre of the purple circle to the right-hand-edge of the dark-grey vertical bar.
Align the bottom-edge of the purple circle the the top-edge of the bottom dark-blue horizontal bar.
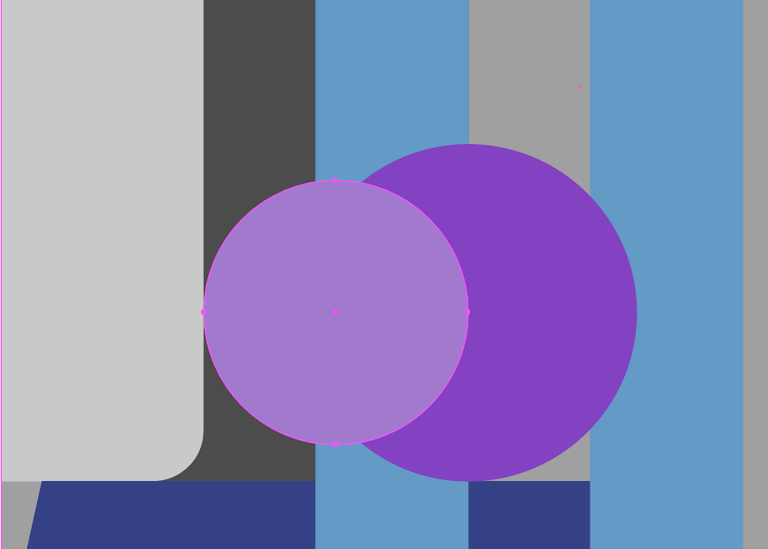
Align the vertical centre of the light-purple circle to the vertical centre of the purple circle.
Align the left-hand-edge of the light-purple circle to the right-hand-edge of the purple circle.
The hole area is now to be filled between these two circles.
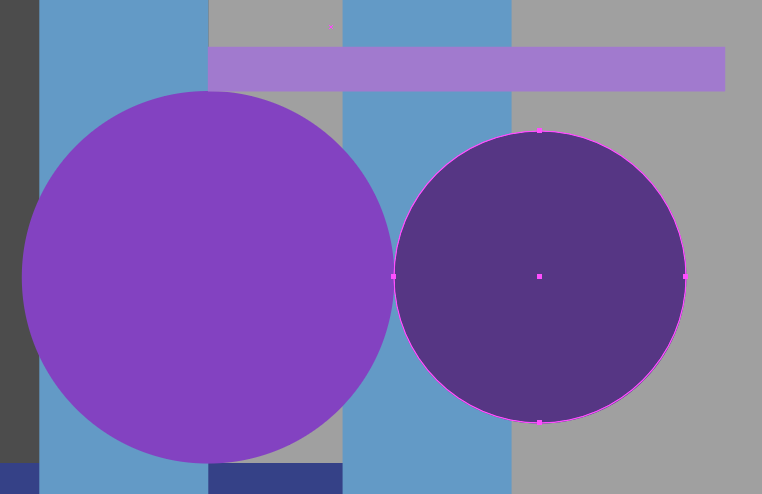
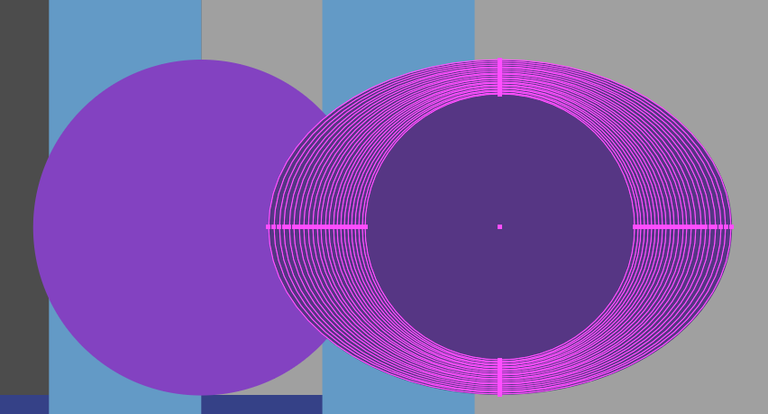
The idea is to start with the right-most smaller circle and slowly increase its size while at the same time increase its width until it's the same height as the larger circle.
To help with the maximum size of these ovals, create a sizing-rectangle along the top edge of the purple circle with a width that spans the distance between the purple circle and the light-purple circle.
Start by duplicating the light-purple circle and colour it dark-purple.
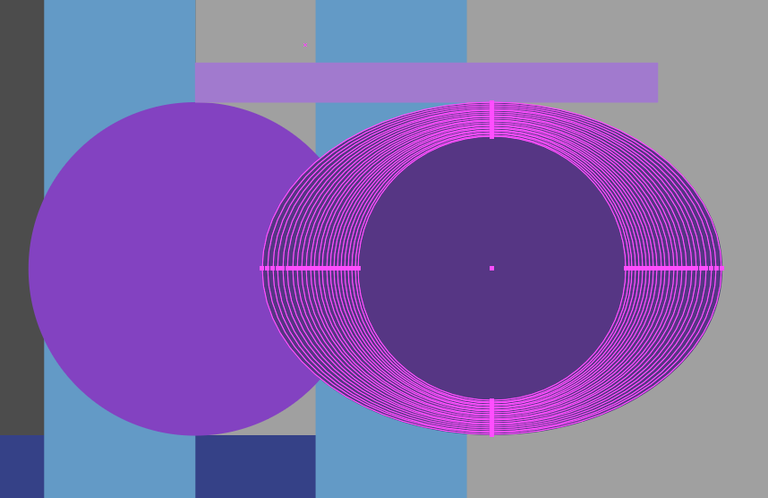
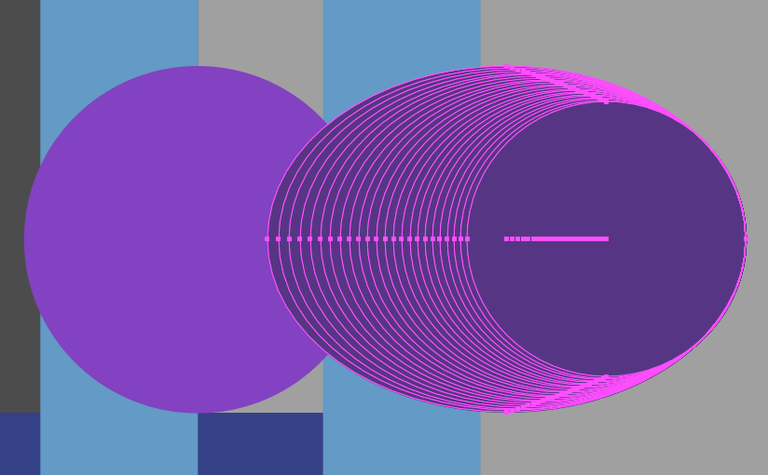
Each dark-purple circle is increased by the previous dark-purple circle horizontally by 102.38% ( 100% + ( 100 / 42 ) ) and vertically by 101%.
Make enough intermediate dark-purple circles until the height is the same as the first larger purple circle.
Delete the sizing-rectangle.
On the Layers panel, Lock the grey large square, the light-blue vertical bars, the small light-purple circle, and any other shape so that you don't mistakingly select it.
Group align-right all dark-purple circles.
Group align-vertical-centre all dark-purple circles.
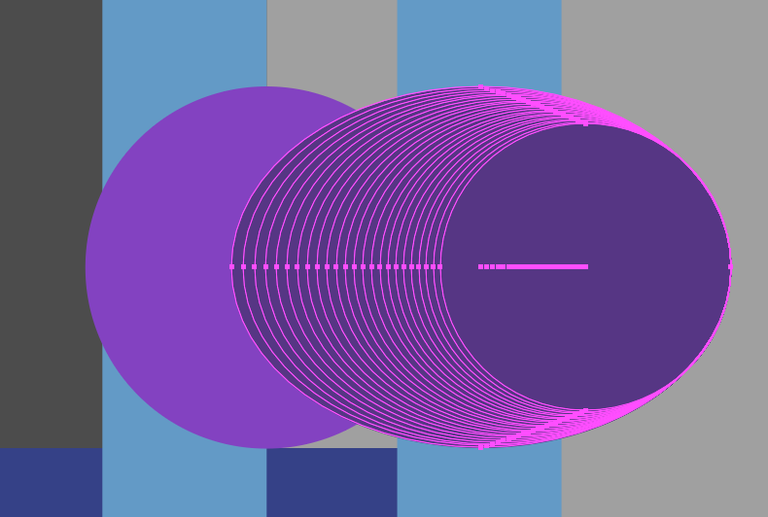
Align the right-hand-edge of these grouped dark-purple circles to the right-hand-edge of the smaller light-purple circle.
On the Layers panel, Unlock the small light-purple circle.
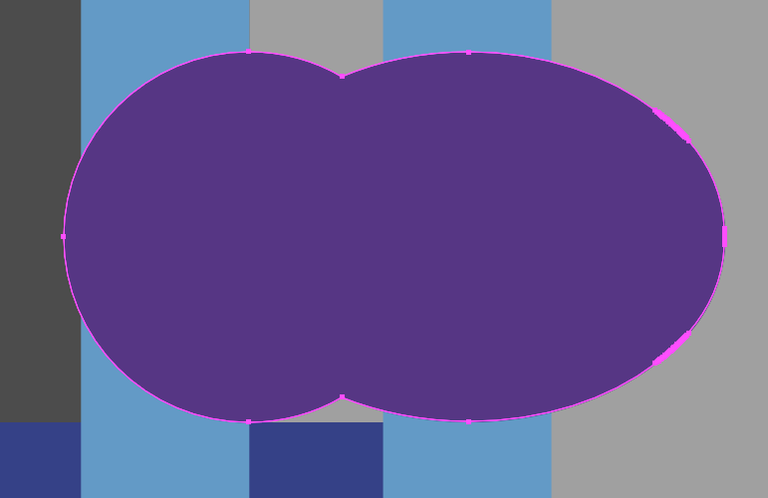
Merge the larger purple circle, the smaller light-purple circle and these intermediate dark-purple circles together.
On the Layers panel, Unlock the grey large square, the light-blue vertical bars, and any other shapes you previously locked.
Colour the hole shape purple if it has changed during the merging.
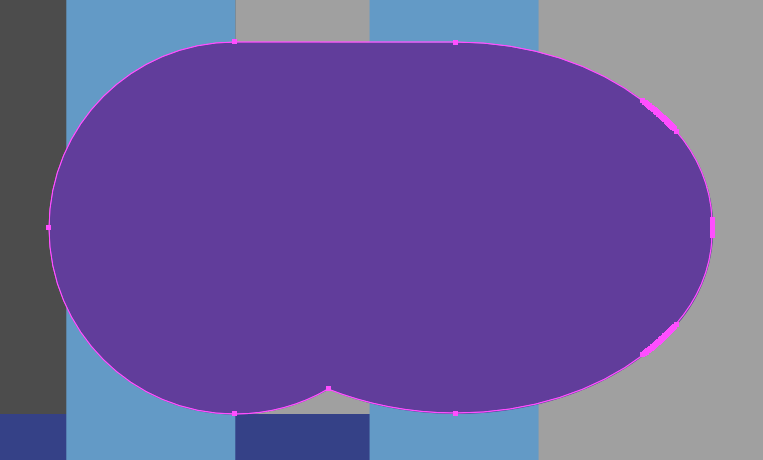
Use a tool to delete the anchor points that are dipping into the purple hole shape.
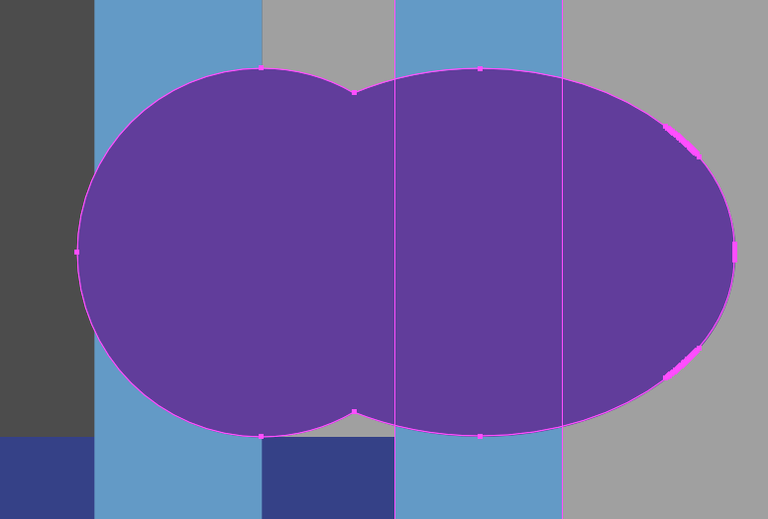
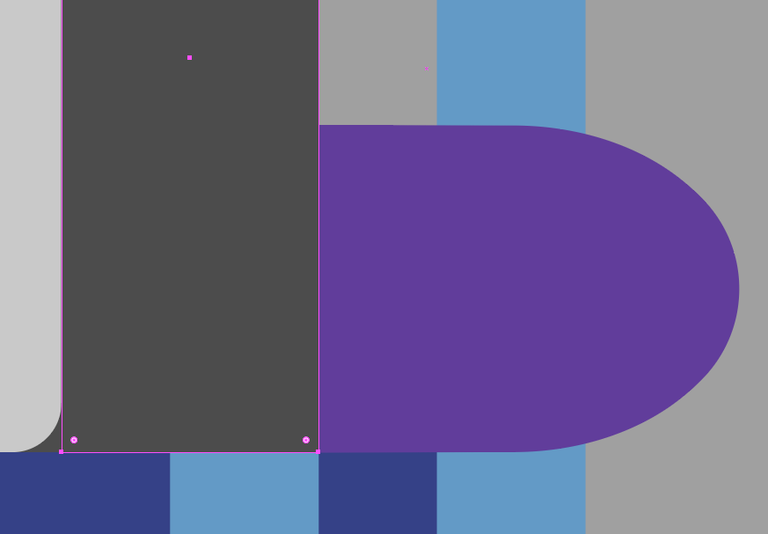
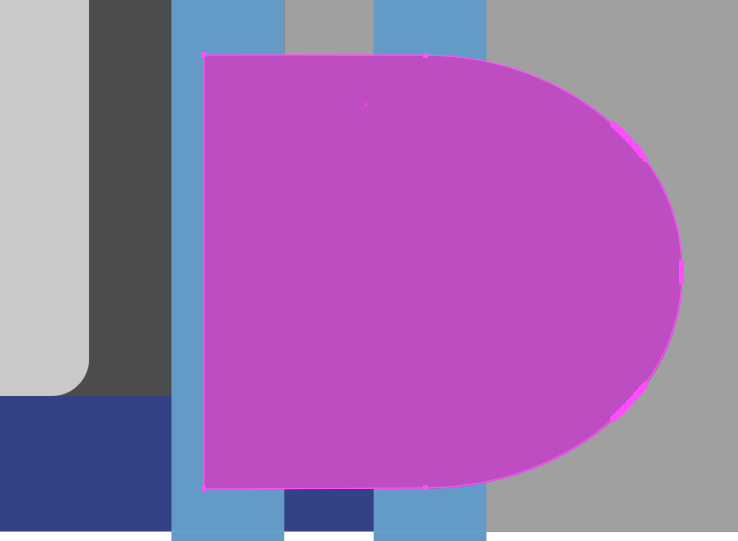
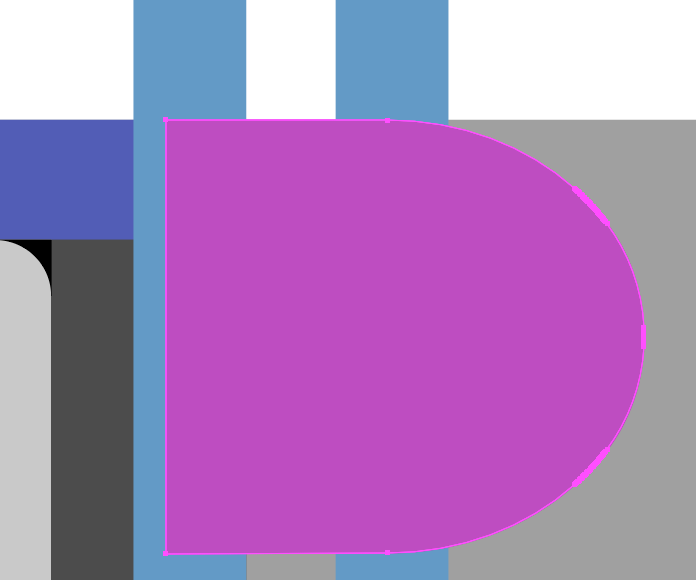
Duplicate the dark-grey vertical bar ( make sure to paste-in-place or move the duplicate back over to the original location ).
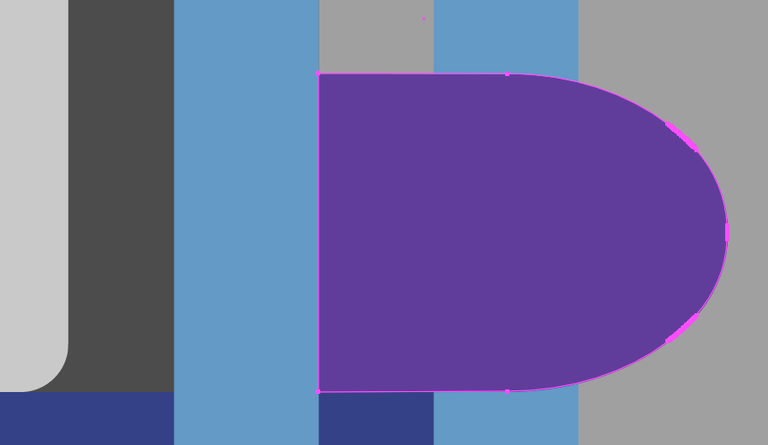
Use a Boolean subtract operation to cut the duplicate dark-grey vertical bar away from the purple hole shape.
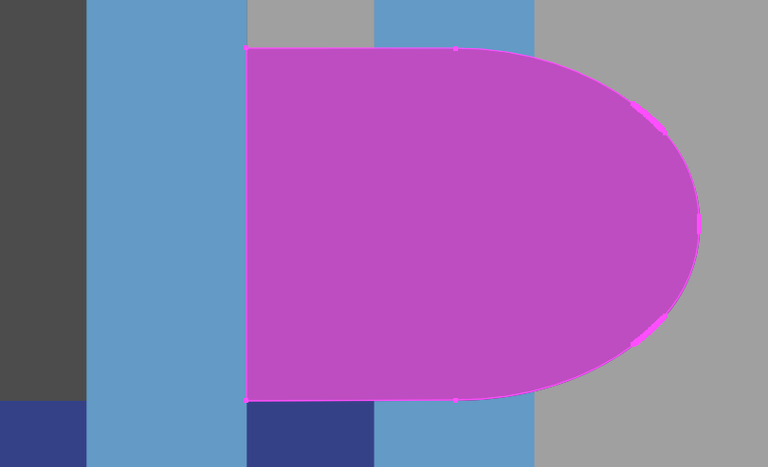
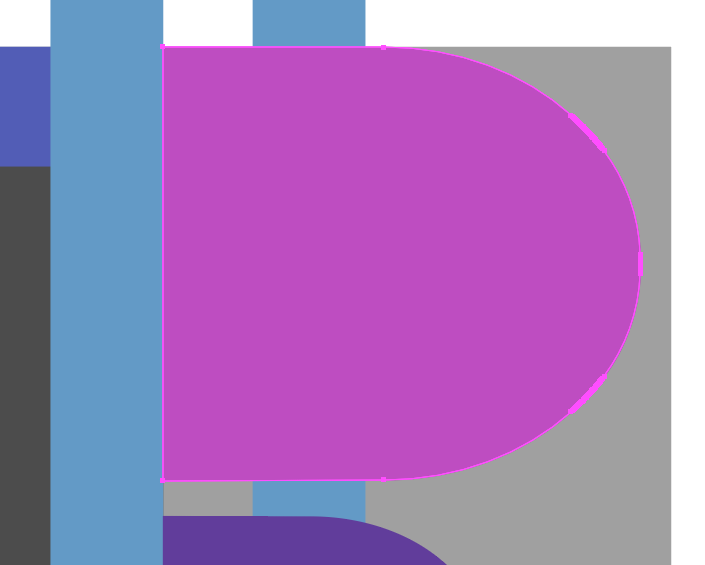
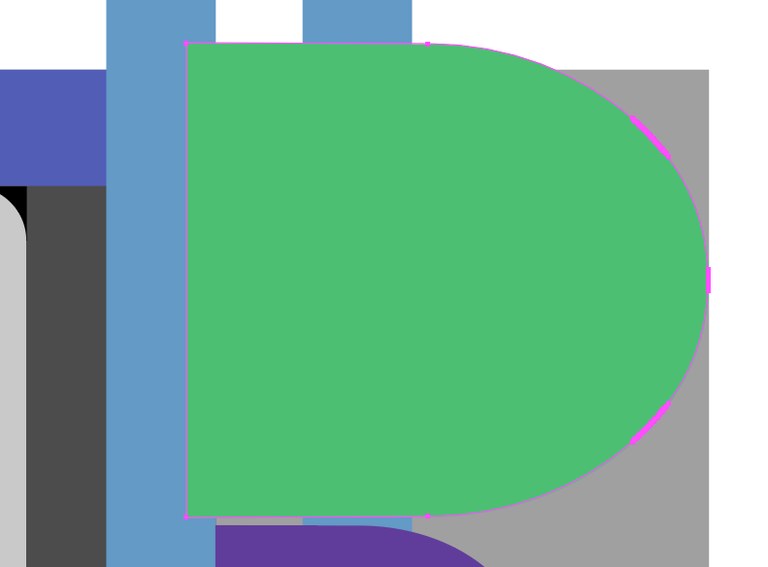
Duplicate the purple hole shape and colour it pink.
Scale the pink hole shape vertically by 175% ( 12.5 x 14 ) and horizontally by 150% ( 12.5 x 12 ).
Align the top-edge of the pink hole shape with the top of the large-grey square.
Align the left-hand-edge of the pink hole shape with the right-hand-edge of the dark-grey vertical bar.
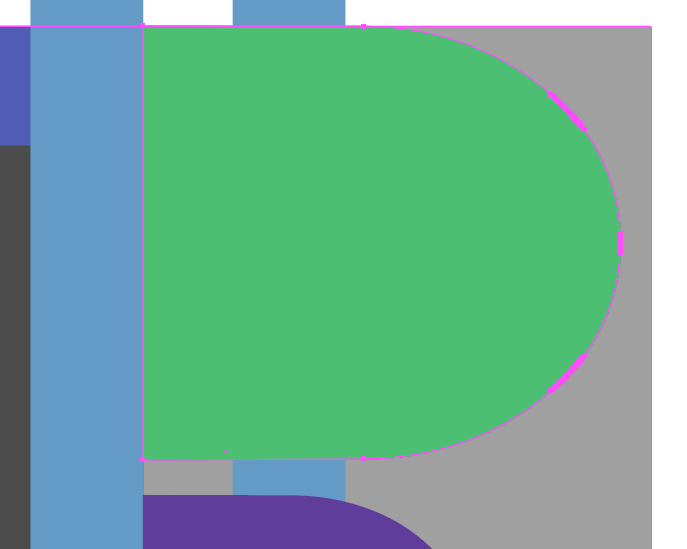
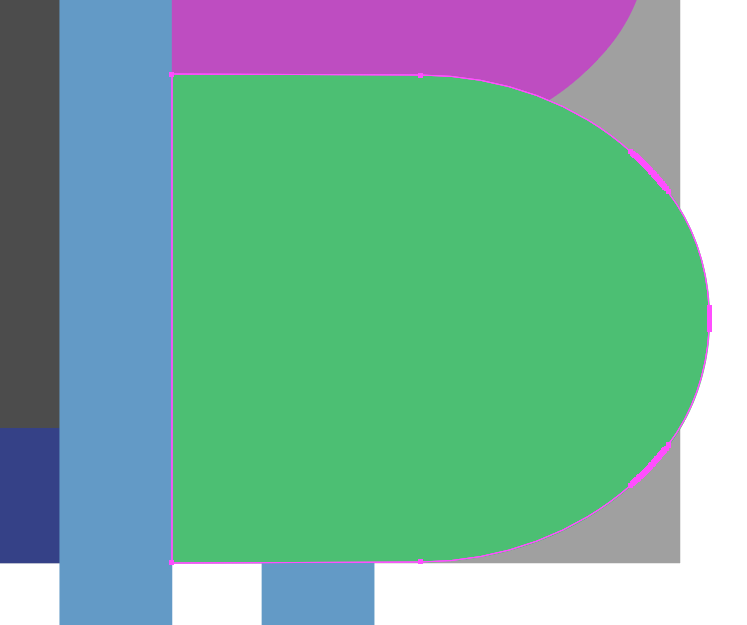
Duplicate the pink hole shape and colour it green.
Scale the green hole shape by 112.5 ( 12.5 x 9 ).
Align the bottom-edge of the green hole shape with the bottom of the large-grey square.
Align the left-hand-edge of the green hole shape with the right-hand-edge of the dark-grey vertical bar.
On the Layers panel, drag the purple hole shape above the green hole shape so that it appears onscreen again.
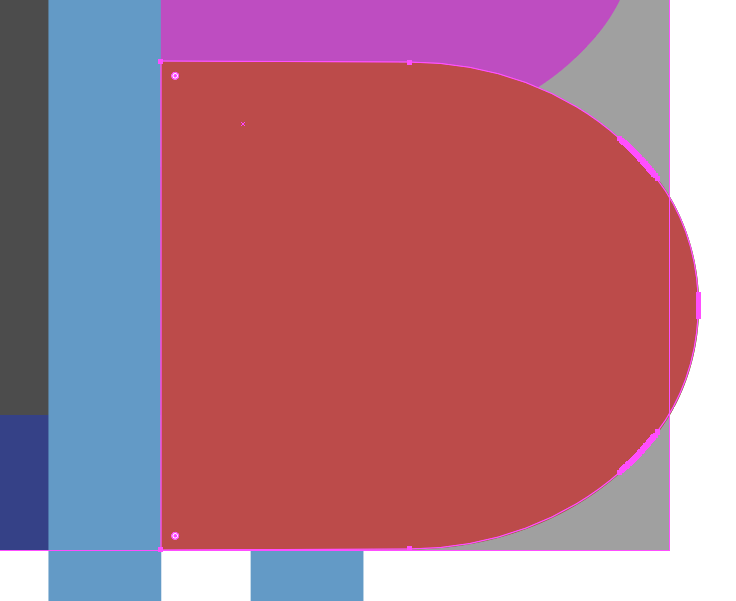
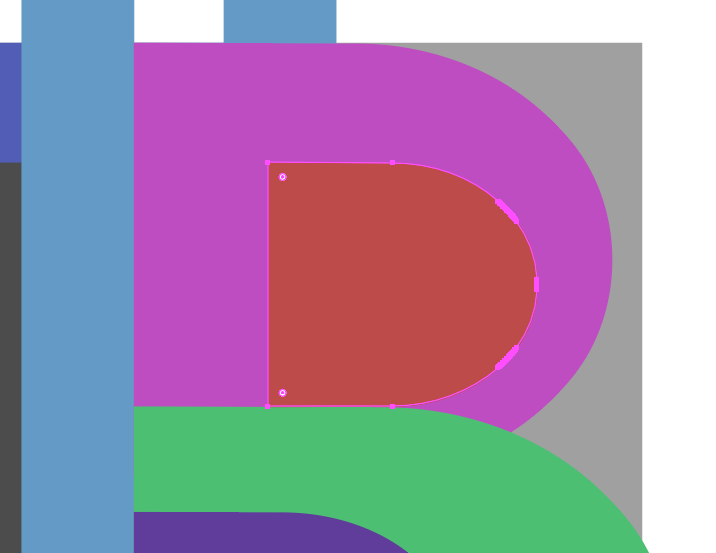
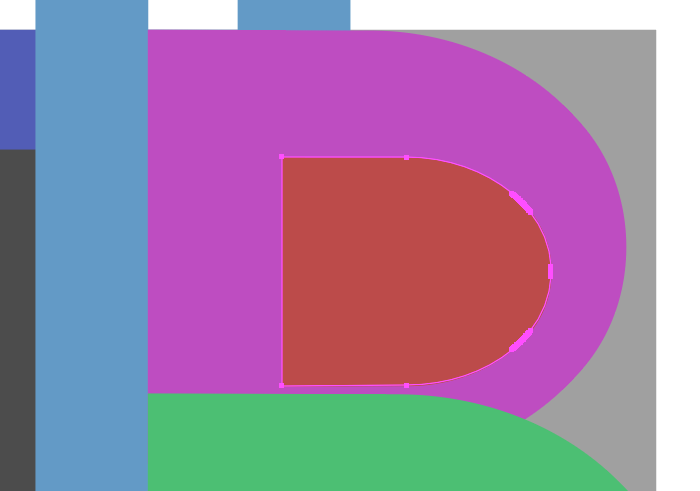
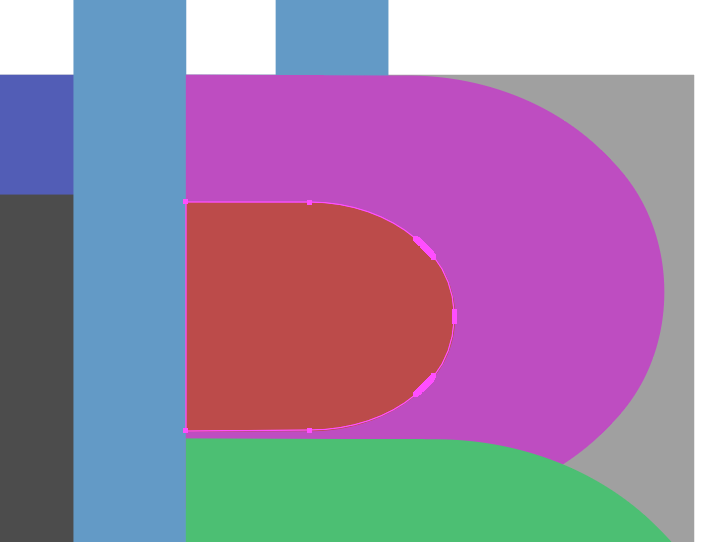
Duplicate the green hole shape and colour it red.
Scale the red hole shape by 50% ( 12.5 x 4 ).
Align the top-edge of the red hole shape to the bottom-edge of the top blue horizontal bar.
Scale the red hole shape vertically by 93.75% ( 12.5 x 7 + ( 12.5 / 2 ) ).
Align the left-hand-edge of the red hole shape to the right-hand-edge of the dark-grey vertical bar.
The Orange Circle
Only follow this step if you want to change the Bitcoin symbol into the Bitcoin logo.
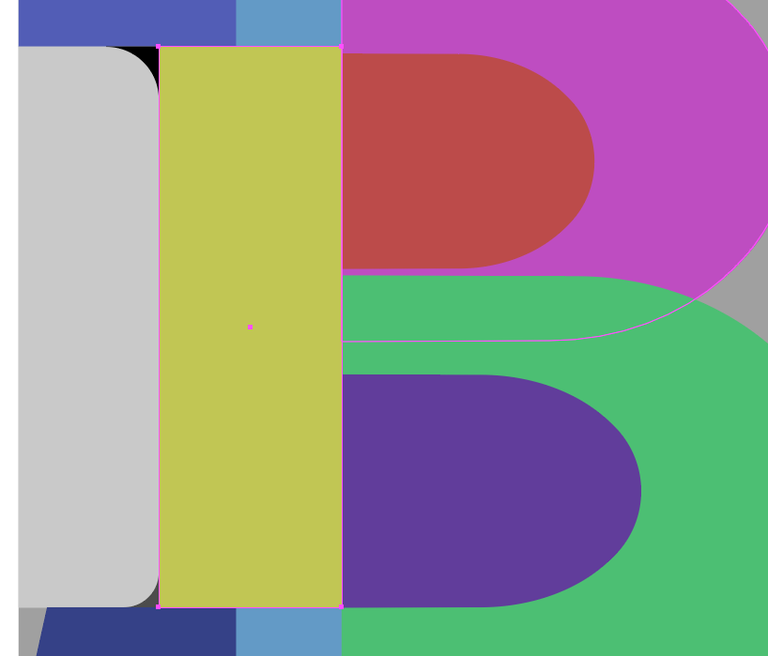
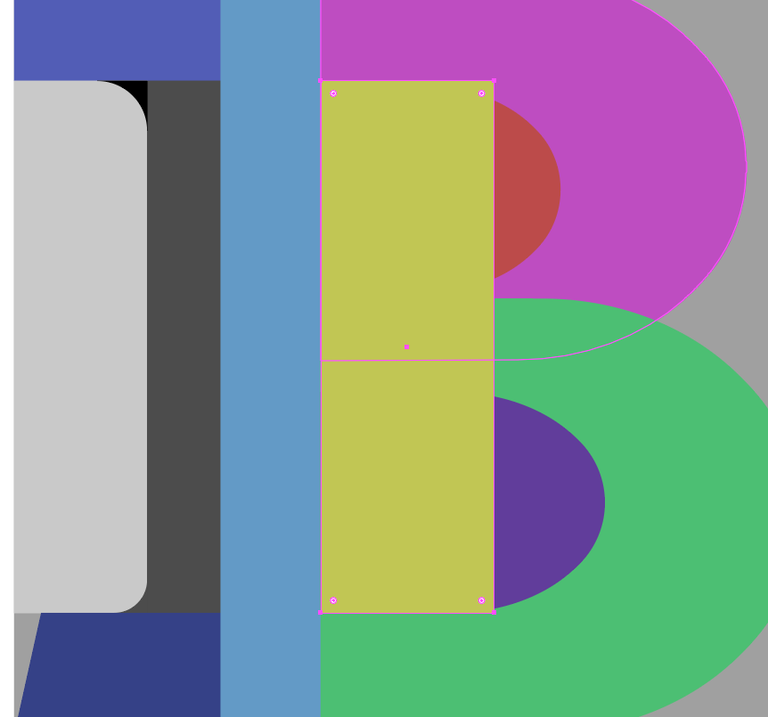
Duplicate the dark-grey vertical bar and colour it yellow.
Align the left-hand-edge of the yellow vertical bar with the right-hand-edge of the dark-grey vertical bar.
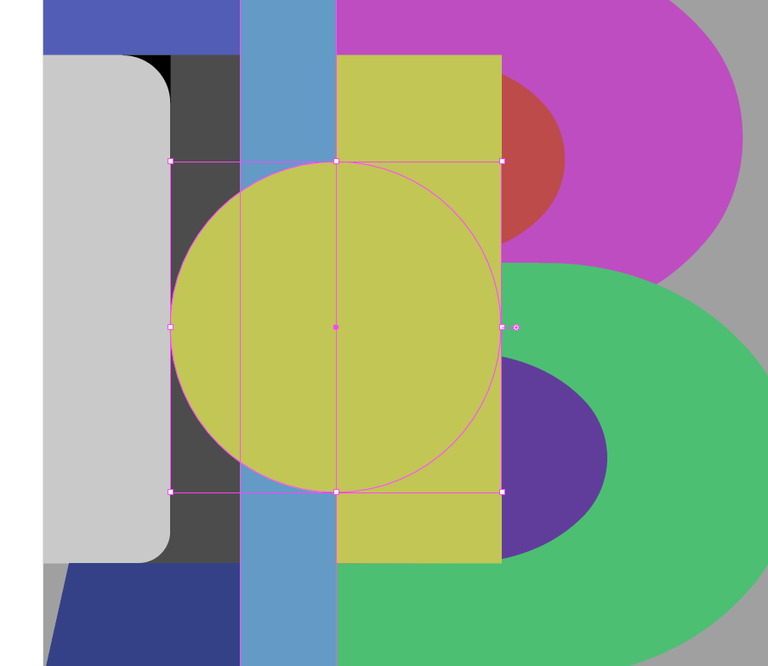
Make a circle that fills the width from the left-hand-side of the dark-grey vertical bar to the right-hand-side of the yellow vertical bar combined.
Delete the yellow vertical bar.
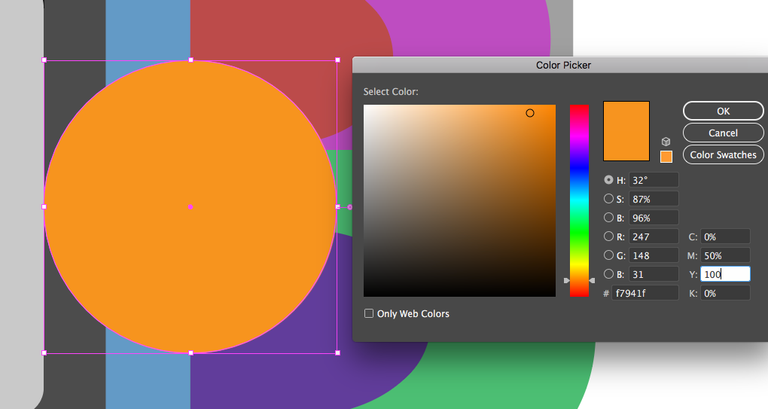
Colour the circle orange.
It is made from a CMYK of:
- C: 0%, M: 50%, Y: 100%, K: 0%
For RGB drawing programs you can use
- (255) Red: 247, Green: 148, Blue: 29
- (1.0) Red: 0.97, Green: 0.58, Blue: 0.10)
- (Hex) f7941d
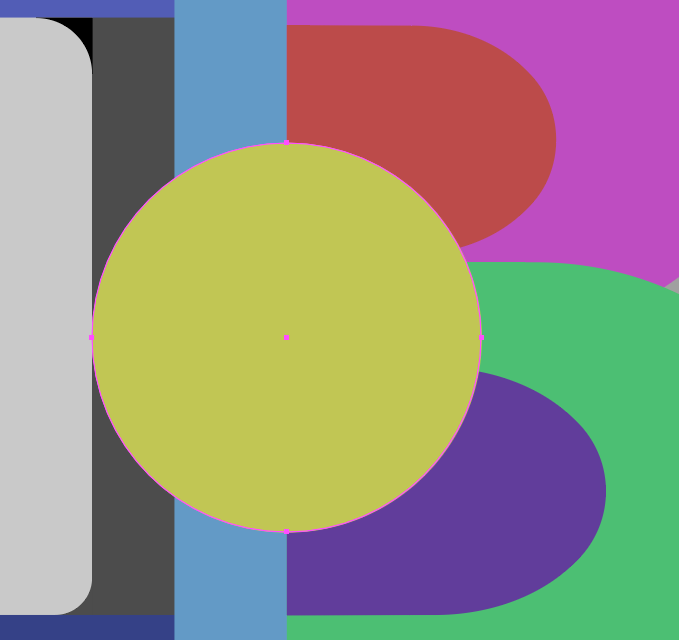
Align the centre of the orange circle with the centre of the grey large square.
Scale the orange circle by 525% ( 12.5 x 42 ).
On the Layers panel, drag the orange circle below the all of the other shapes so that they all appear onscreen again.
On the Layers panel, Lock the orange circle so that you don't mistakingly select it.
Finishing Off
On the Layers panel, Unlock any shape that you'd locked earlier ( except the orange circle if added ).
Delete the large grey square.
Delete the light-grey vertical bar.
Use a Boolean merge operation to join the dark-grey vertical bar, the blue horizontal bars, the light-blue vertical bars, the green hole shape, the pink hole shape and the two curved corners.
Colour the B shape black.
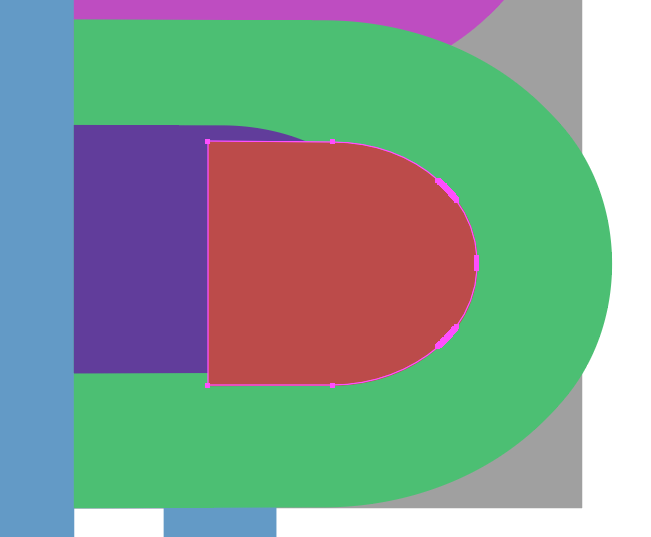
If the red hole shape isn't showing then on the Layers panel, drag the red hole shape above the black B shape so that it appears onscreen again.
Use a Boolean subtract operation to cut the red hole shape away from the black B shape.
If the purple hole shape isn't showing then on the Layers panel, drag the purple hole shape above the black B shape so that it appears onscreen again.
Use a Boolean subtract operation to cut the purple hole shape away from the black B shape.
Tidy up the curves of the B shape if necessary to make the transition between the various radii look smoother.
Remove any residue left over from the purple hole ( the removal of anchors may have created an extra filled arc shape ).
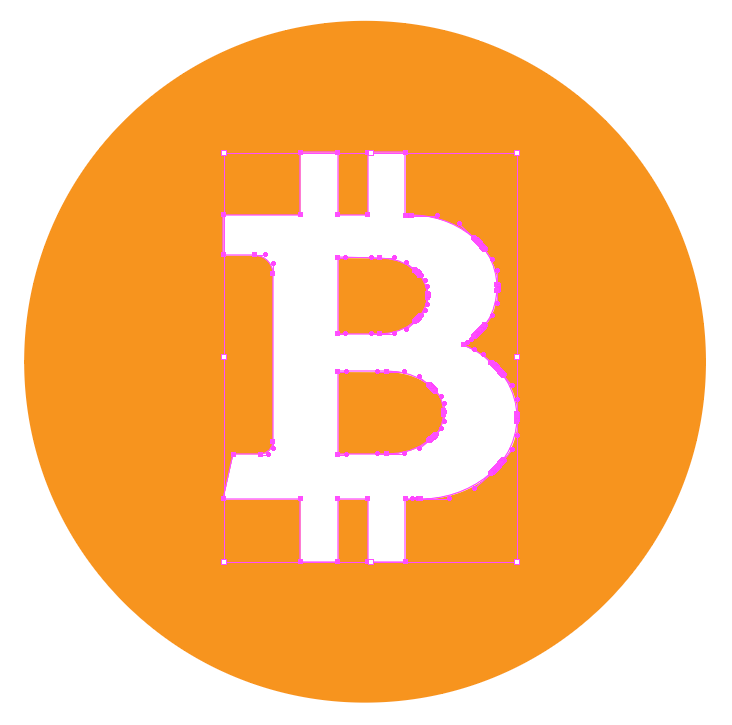
If you're making the Bitcoin logo then
- Colour the B shape white.
- Rotate the B shape clockwise by 13.88° ( rounded up to 14° depending upon your drawing program ).
Completed Bitcoin Logo
Completed Bitcoin Symbol
Bitcoin Logo SVG file
Bitcoin Symbol SVG file
Cheers,
Phil
(Scronty)














Hi! I am a robot. I just upvoted you! I found similar content that readers might be interested in:
https://bitcointalk.org/index.php?topic=1840281.msg18311459
Well described
Congratulations @philwilson! You received a personal award!
You can view your badges on your Steem Board and compare to others on the Steem Ranking
Do not miss the last post from @steemitboard:
Vote for @Steemitboard as a witness to get one more award and increased upvotes!