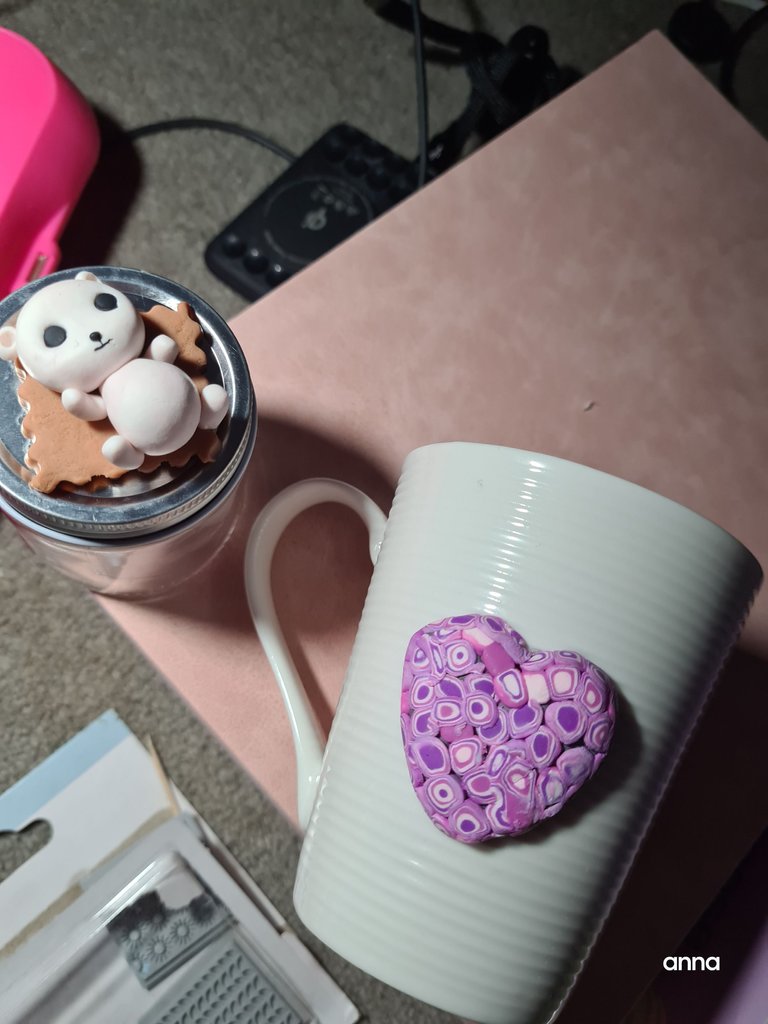
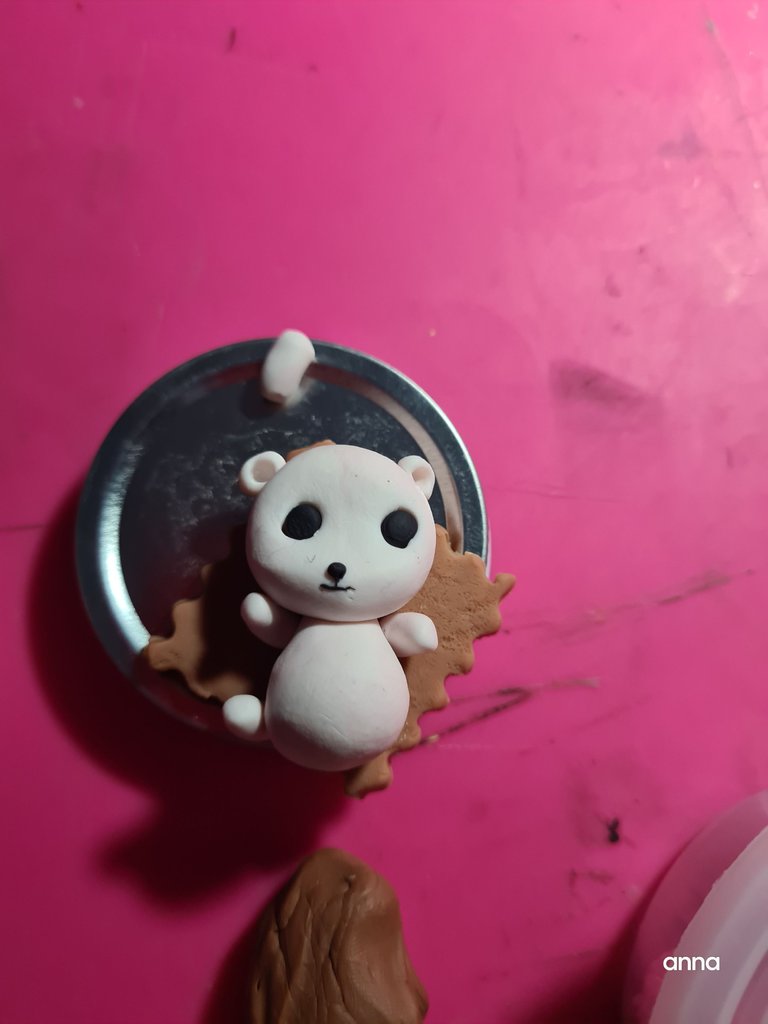
In my previous post, I had been showing you guys what I am doing. We will start with the bear on the bottle lid.
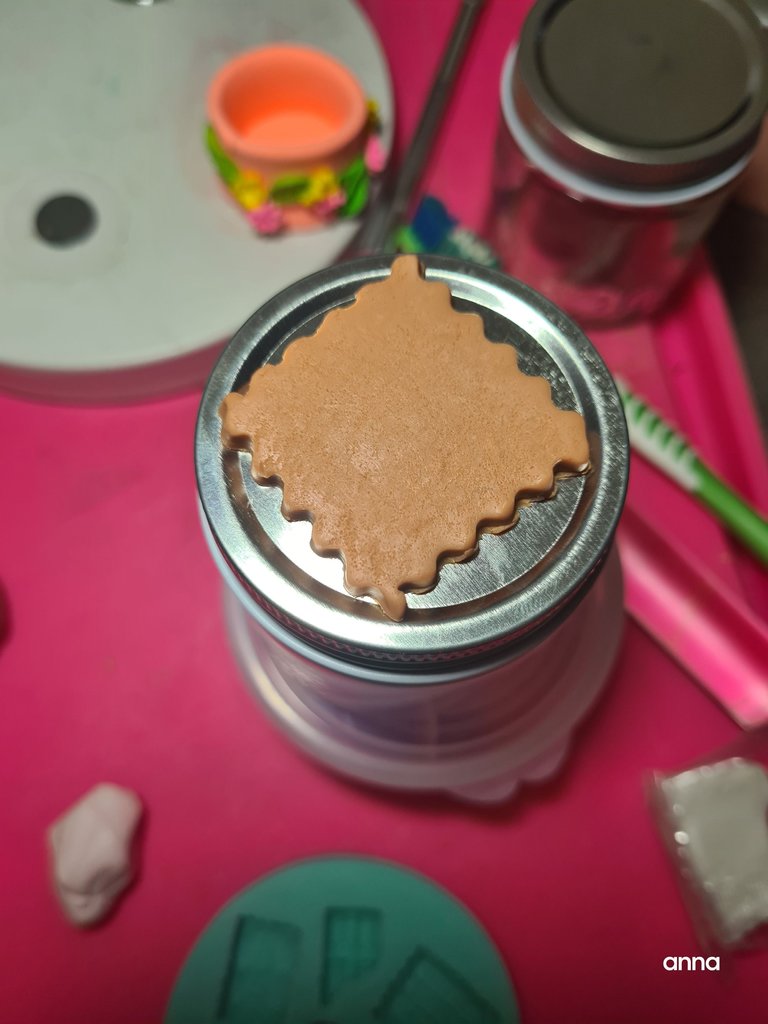
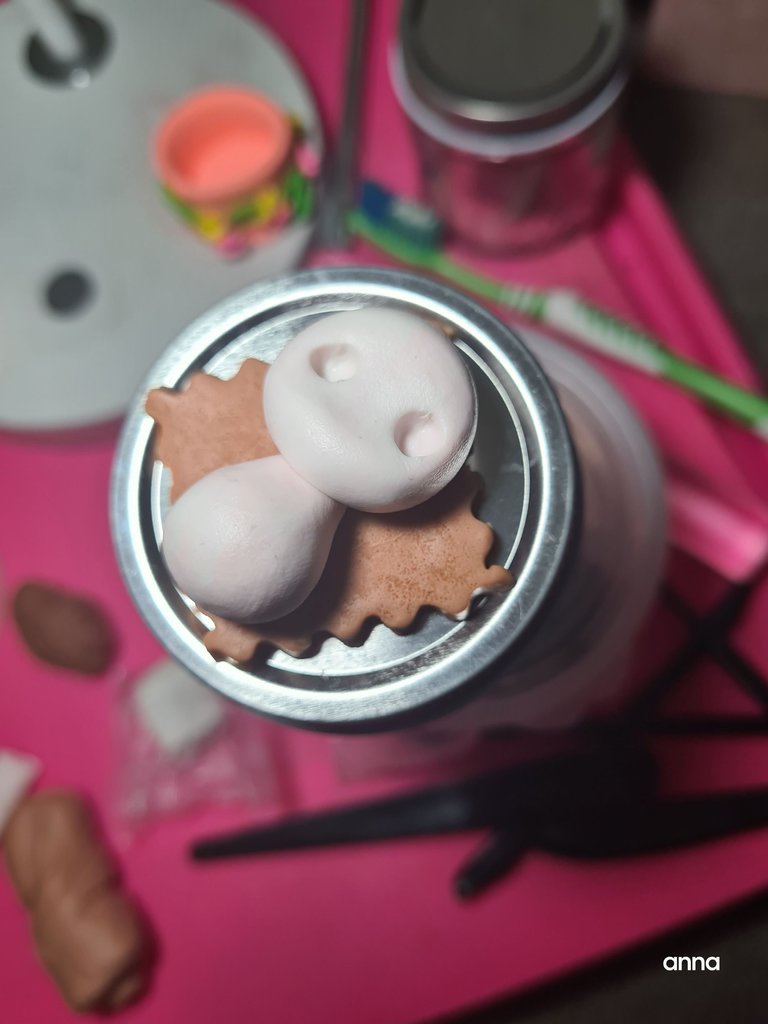
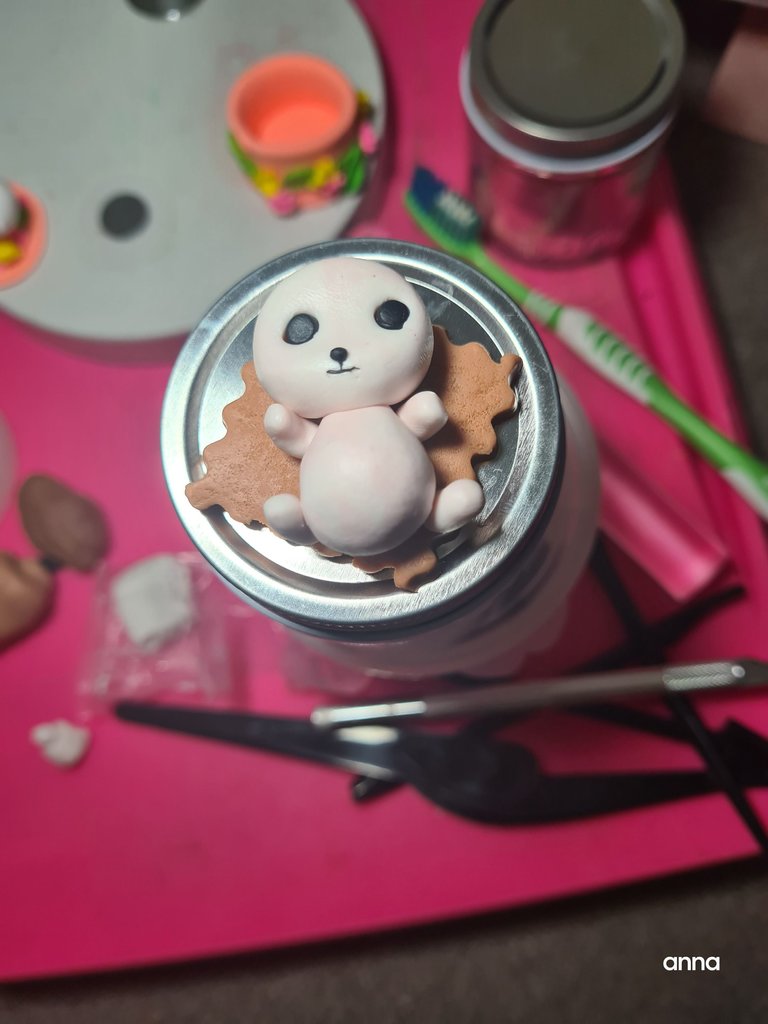
First, I would like to show you guys how I made the bear.
I did not make any complex design because I wanted anyone who wanted to learn how to do this to have a sort of "foundation." Polymer clay is not food safe. So be mindful on where you attach your design especially when it comes to food items or tools.
I usually use the surfaces that are not touched by food/ mouth like the middle of the mug, bottom of the mug, spoon/ chopstick handles( the part that does that touch the mouth/ food).
So a quick recap on how I made the bear.
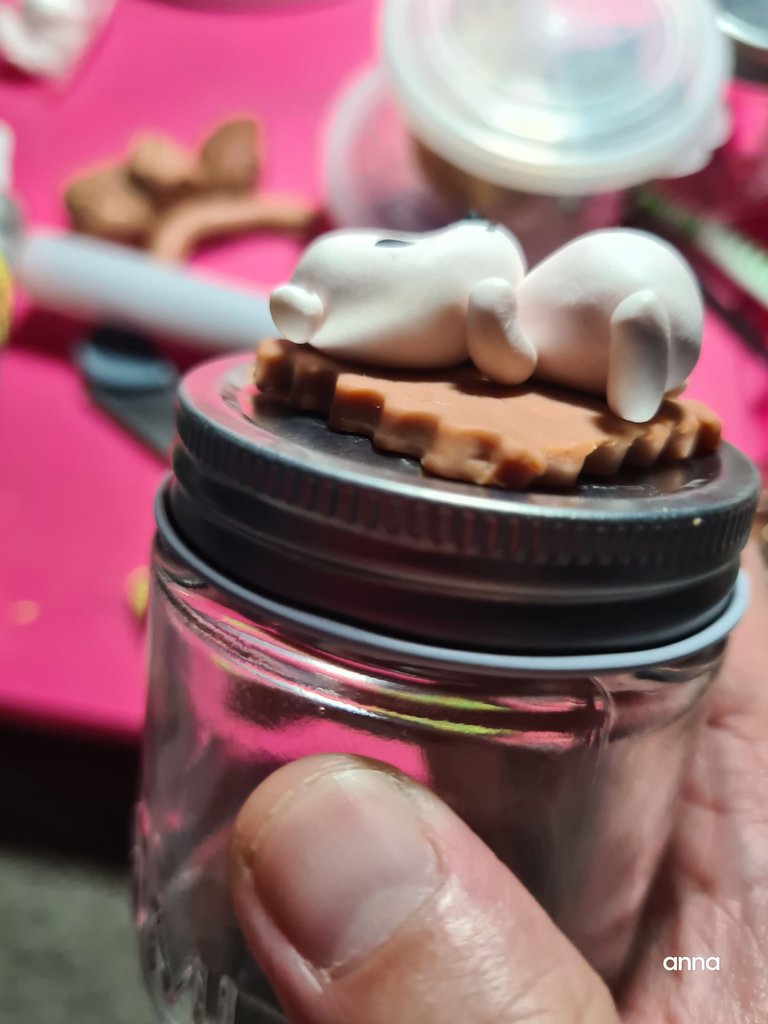
Bake the whole lot and you'll have something that looks like this. At this point( yeah, not everything gets broken in the oven), the piece will be very easy to detach- in this case from the bottle cap. And, that is normal, as long as there is a strong bond/ adhesive like gorilla glue or probably superglue- whichever is available to you, you're fine.
Slowly peel off the piece and then use your adhesive of choice to glue it back.
It might require a bit of pressing/ pushing- depending on how the piece looks/ adheres...
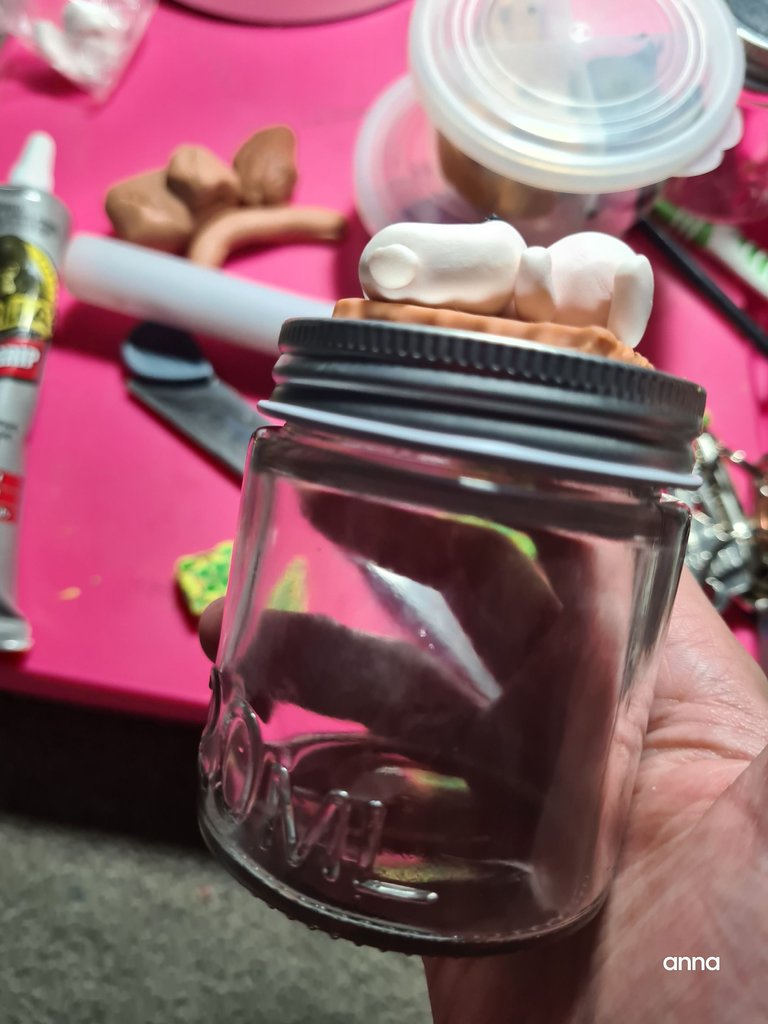
Side way view... I wiped the excess glue on the corners to attach them together.
How it looks like with the glass bottle attached.
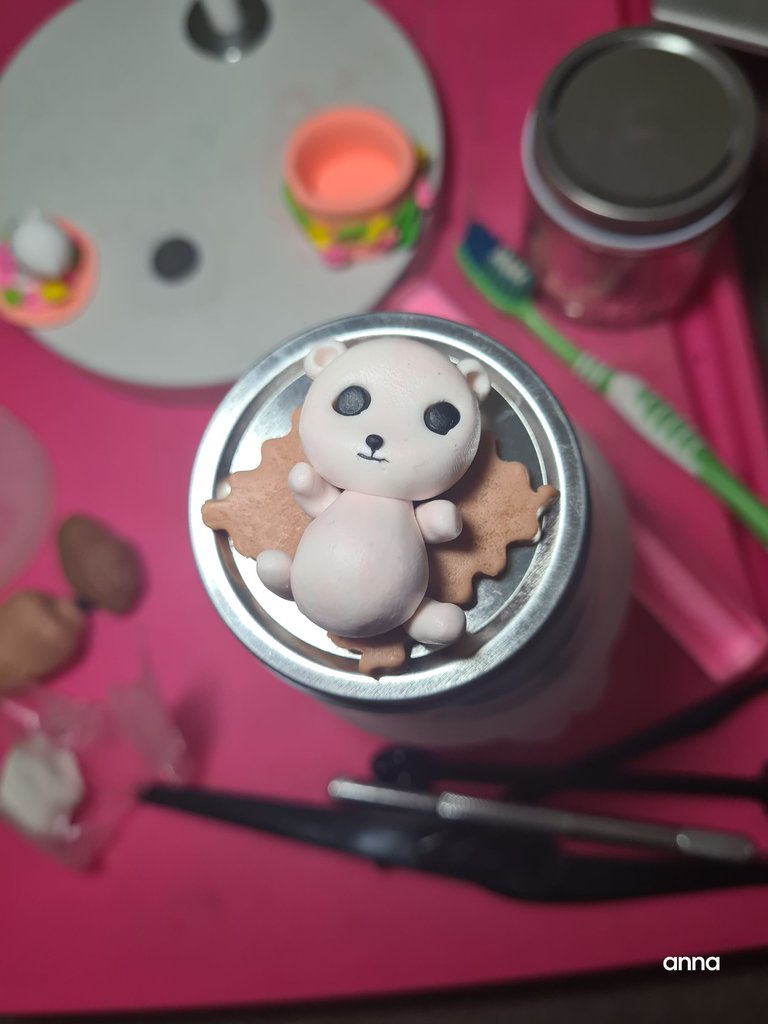
Top view.
PS
Thank you DIY people for the special badge! I did not even notice it until recently. But thank you- this means so much to me!
You guys inspire me to create more. Thank you very much!