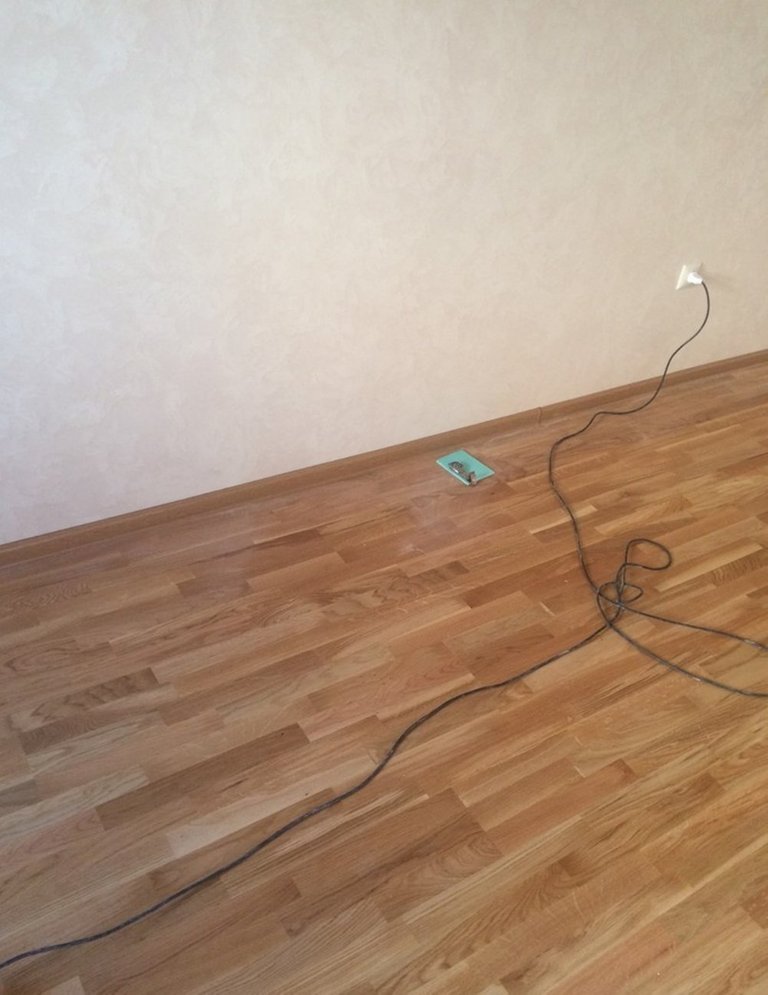
Laminate allows you to make a high-quality floor covering in any room in a short time and without much effort. The shape of the components is made in such a way that even a person who does not have professional knowledge can easily install a decorative floor covering. The convenience of cutting and combining sheets allows you to quickly put the whole canvas even in rooms with a complex layout. It is necessary to follow the technology so that the laying of the laminate with your own hands is of high quality, and as a result you get a beautiful floor.
El laminado le permite hacer un revestimiento de piso de alta calidad en cualquier habitación en poco tiempo y sin mucho esfuerzo. La forma de los componentes está hecha de tal manera que incluso una persona sin conocimientos profesionales puede instalar fácilmente un revestimiento de suelo decorativo. La conveniencia de cortar y combinar hojas le permite colocar rápidamente todo el lienzo incluso en habitaciones con un diseño complejo. Es necesario seguir la tecnología para que la colocación del laminado con sus propias manos sea de alta calidad y, como resultado, obtenga un piso hermoso.
** Do-it-yourself laminate flooring **
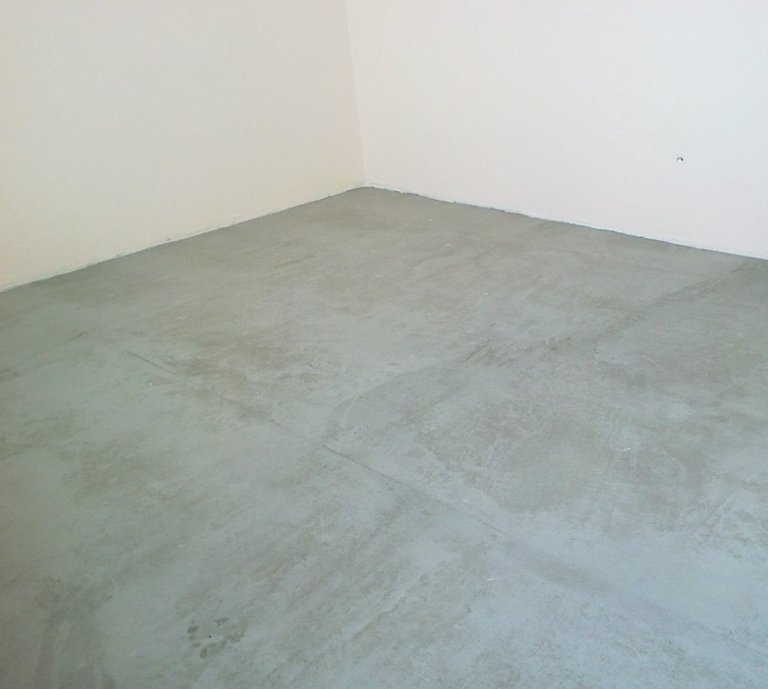
The first step is to prepare the surface. It must be cleaned of dirt and dust. The best way is cleaning with a special building vacuum cleaner. After that, the floor is primed, regardless of the type of flooring (wooden or concrete). If it is made of wood, then in addition to being treated with a primer mixture, it is subjected to an antiseptic solution.
** Pisos laminados de bricolaje **
El primer paso es preparar la superficie. Debe limpiarse de suciedad y polvo. La mejor manera es limpiar con una aspiradora especial para edificios. Después de eso, se imprima el piso, independientemente del tipo de piso (madera u hormigón). Si está hecho de madera, además de tratarse con una mezcla de imprimación, se somete a una solución antiséptica.
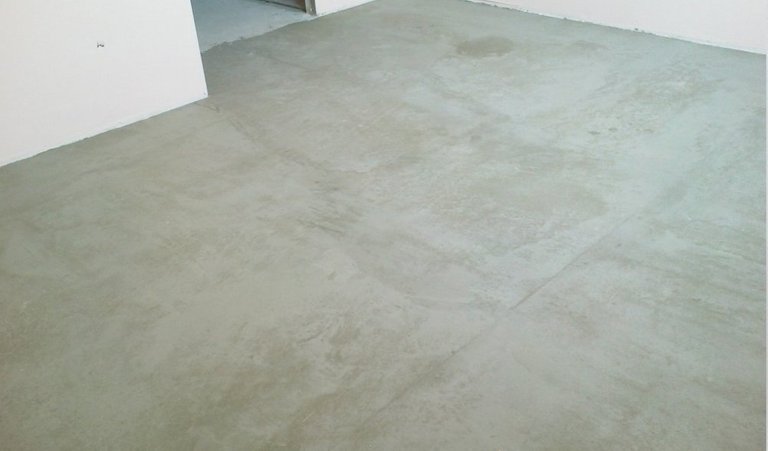
The concrete base is covered with a waterproofing film. It will provide protection not only from moisture, but also serve as a heat-insulating material. The polyethylene sheet is overlapped, and all seams are glued with construction tape.
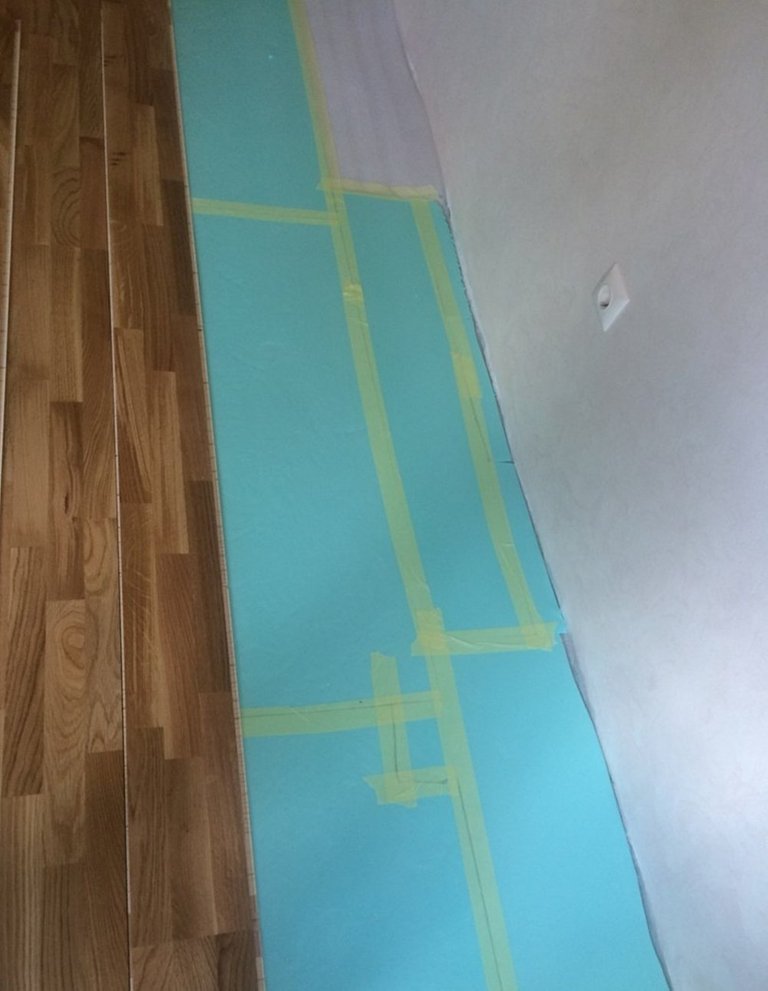
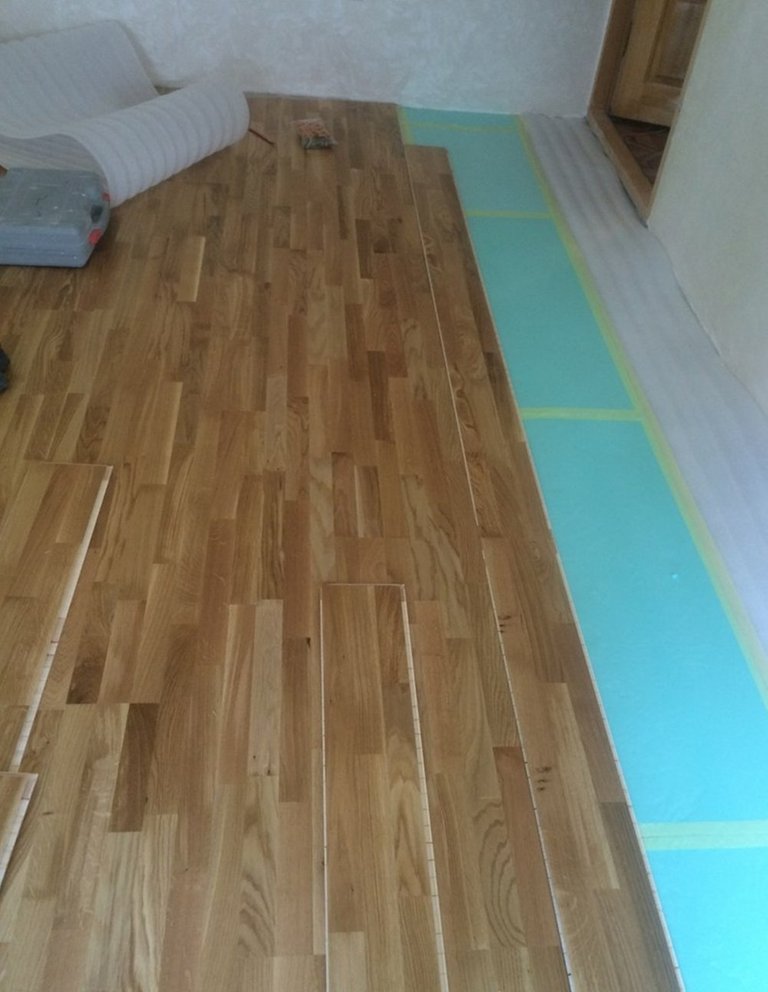
The next layer as a soundproofing component will be foamed cellophane. Since the laying of the laminate with your own hands is carried out from the window, the lining is done only in the area where the flooring is formed. This will allow you to get a solid coating and ensure cleanliness when doing work on your own. All subsequent parts of the substrate are laid end-to-end to the previous ones and fixed together with adhesive tape. There are types of coatings that already contain a soundproof layer in their structure. In this case, the need for a cellophane foam backing is eliminated.
La base de hormigón está cubierta con una película impermeabilizante. Proporcionará protección no solo contra la humedad, sino que también servirá como material aislante del calor. La lámina de polietileno se superpone y todas las costuras se pegan con cinta de construcción.
La siguiente capa como componente de insonorización será de celofán espumado. Dado que la colocación del laminado con sus propias manos se realiza desde la ventana, el revestimiento se realiza solo en el área donde se forma el piso. Esto le permitirá obtener una capa sólida y garantizar la limpieza cuando trabaje por su cuenta. Todas las partes posteriores del sustrato se colocan de extremo a extremo con las anteriores y se fijan con cinta adhesiva. Hay tipos de revestimientos que ya contienen una capa insonorizante en su estructura. En este caso, se elimina la necesidad de un respaldo de espuma de celofán.
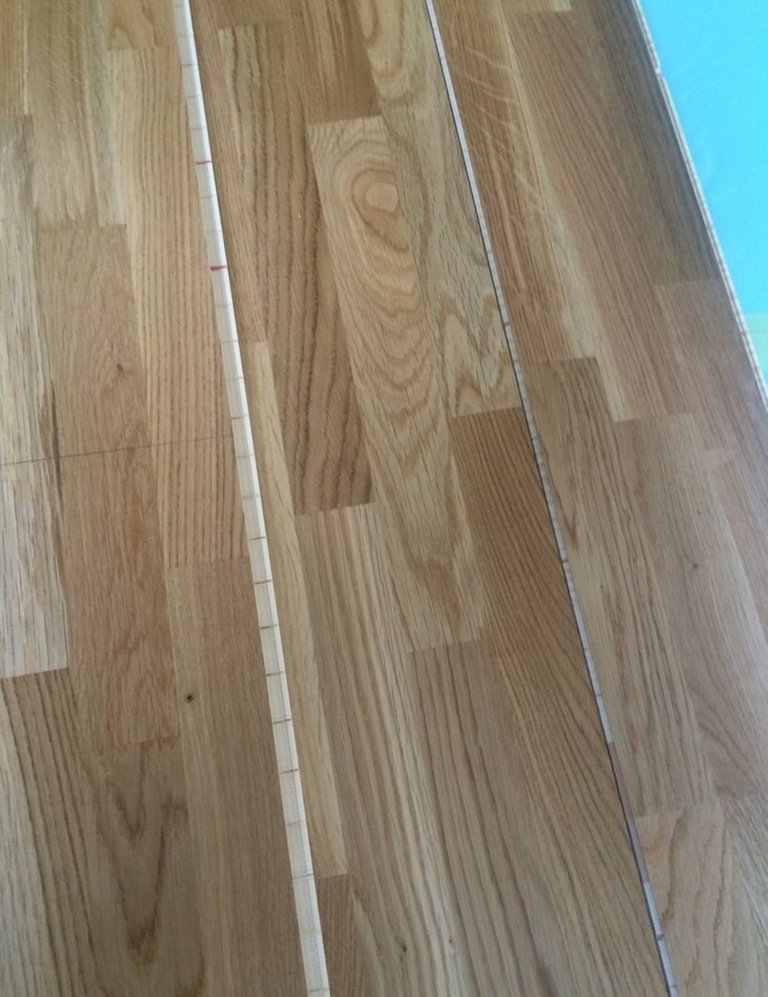
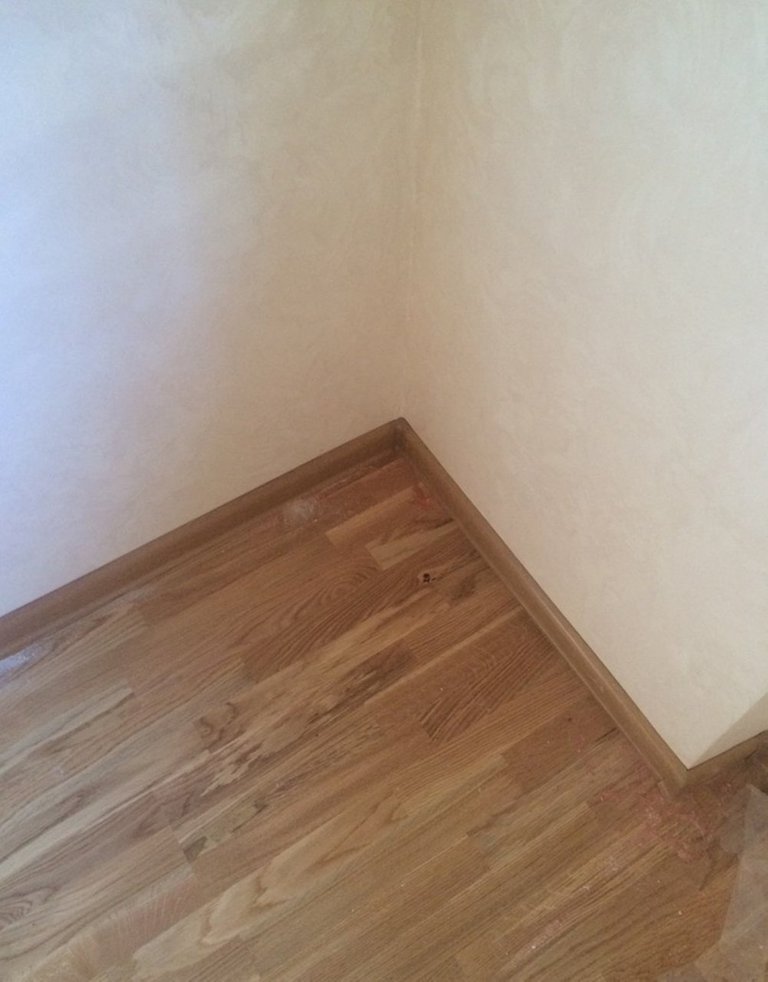
Installation of the first lamella starts from the corner of the room near the window. At the same time, wedges are installed between it and the wall. Subsequent parts are placed end-to-end in whole strips. It is important to observe the correct connection of all components of the structure.
At the ends of the lamella there are special grooves into which adjacent elements are installed. If you need to fit an incomplete sheet, then you can use the segment. To do this, the whole strip must be turned with a short end to the wall and mark the cut line. The necessary clearance between the coating and the wall must be observed. According to the measurement made, the desired length is cut off and inserted into the overall structure.
La instalación de la primera lámina comienza desde la esquina de la habitación cerca de la ventana. Al mismo tiempo, se instalan cuñas entre este y la pared. Las partes posteriores se colocan de extremo a extremo en tiras enteras. Es importante observar la conexión correcta de todos los componentes de la estructura.
En los extremos de la lámina hay ranuras especiales en las que se instalan elementos adyacentes. Si necesita ajustar una hoja incompleta, puede usar el segmento. Para hacer esto, toda la tira debe girarse con un extremo corto hacia la pared y marcar la línea de corte. Debe respetarse la holgura necesaria entre el revestimiento y la pared. Según la medida realizada, se corta la longitud deseada y se inserta en la estructura general.
The second and subsequent rows start with the remaining cut lamella, but only if it is at least 30 cm in length. In all other cases, a cut is made from a new sheet. All elements of this row are assembled without a locking connection with the previous one. Only after the second row is completely docked, the entire structure snaps into place. It is not recommended to use a hammer to tightly grip the elements. However, if the need arises, you can attach a wooden block in places of loose connection and fix the locks with light blows.
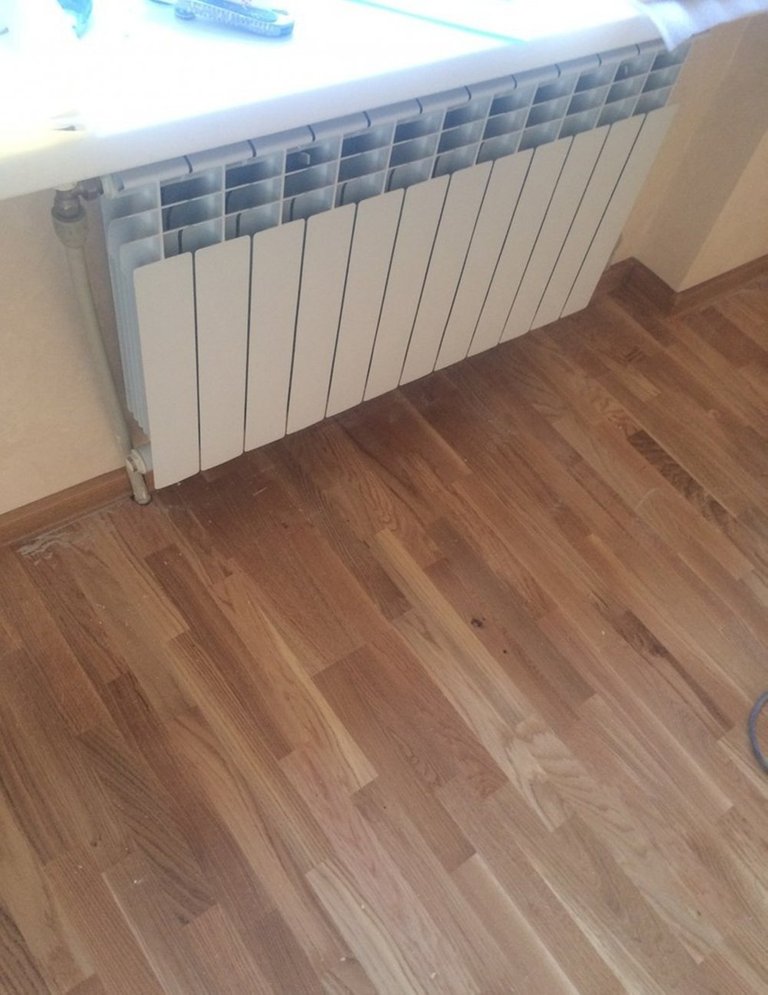
Following the basic recommendations, it is necessary to fill all the space on the floor. Only areas with uneven surfaces or containing communication elements need special attention.
La segunda fila y las siguientes comienzan con la laminilla cortada restante, pero solo si tiene al menos 30 cm de largo. En todos los demás casos, se realiza un corte a partir de una hoja nueva. Todos los elementos de esta fila se ensamblan sin una conexión de bloqueo con la anterior. Solo después de que la segunda fila esté completamente acoplada, toda la estructura encajará en su lugar. No se recomienda utilizar un martillo para sujetar con fuerza los elementos. Sin embargo, si surge la necesidad, puede colocar un bloque de madera en lugares de conexión suelta y arreglar las cerraduras con golpes ligeros.
Siguiendo las recomendaciones básicas, es necesario rellenar todo el espacio del suelo. Solo las áreas con superficies irregulares o que contengan elementos de comunicación necesitan atención especial.
Following all the above tips, laying laminate with your own hands will not be a painful test for you.
Siguiendo todos los consejos anteriores, colocar el laminado con sus propias manos no será una prueba dolorosa para usted.
Congratulations @diy123! You have completed the following achievement on the Hive blockchain and have been rewarded with new badge(s):
Your next target is to reach 800 upvotes.
You can view your badges on your board and compare yourself to others in the Ranking
If you no longer want to receive notifications, reply to this comment with the word
STOPCheck out the last post from @hivebuzz:
Support the HiveBuzz project. Vote for our proposal!