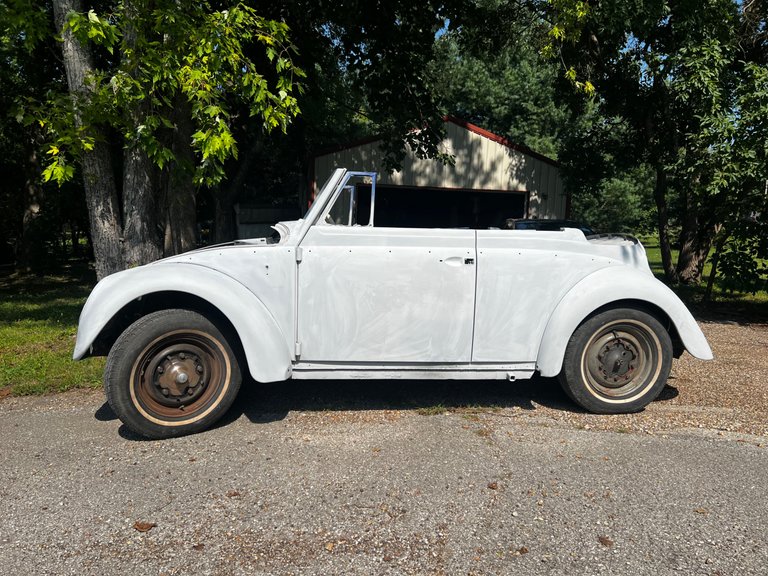
Literally so much sanding.... Just when I think i'm close... NOPE.
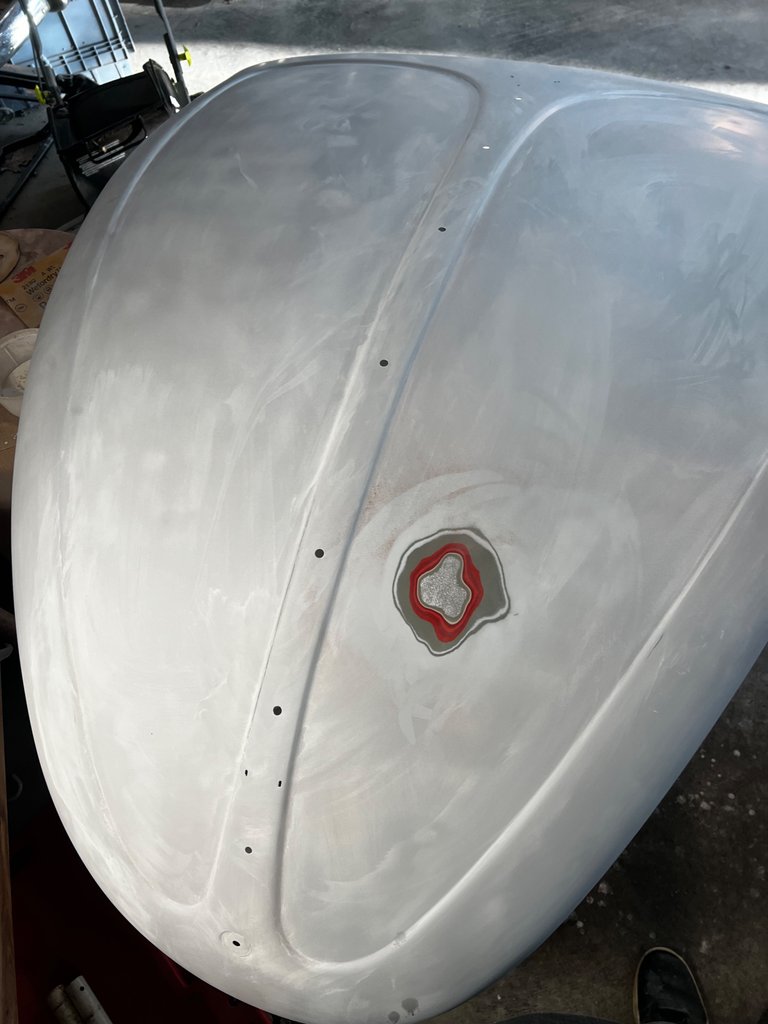
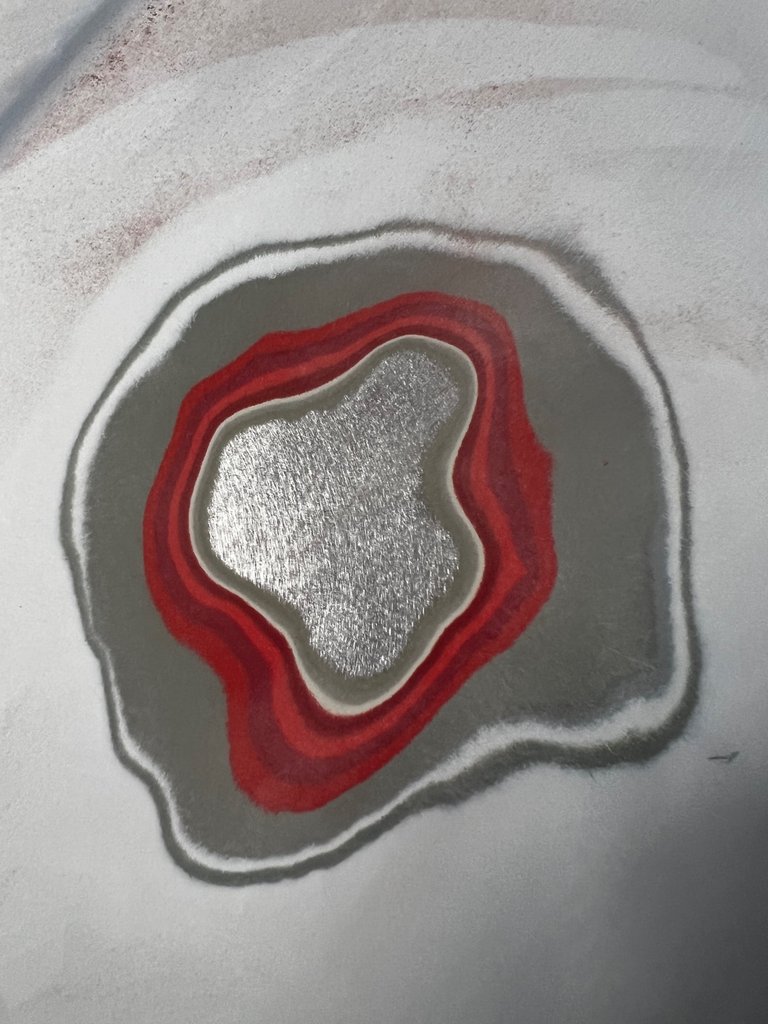
Just love going back to bare metal.... how many layers paint can you spy?
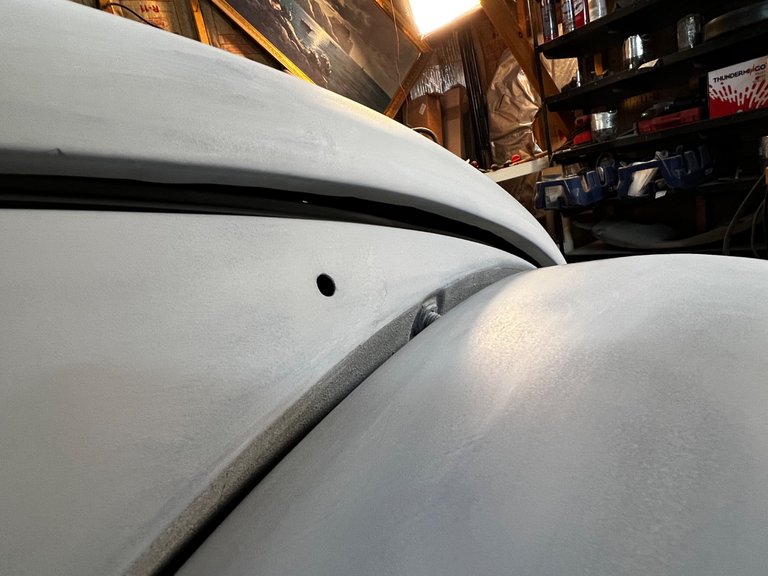
After talking to the guy who's going to be doing the painting (I don't trust myself to do it), I decided to just paint all the insides black.....
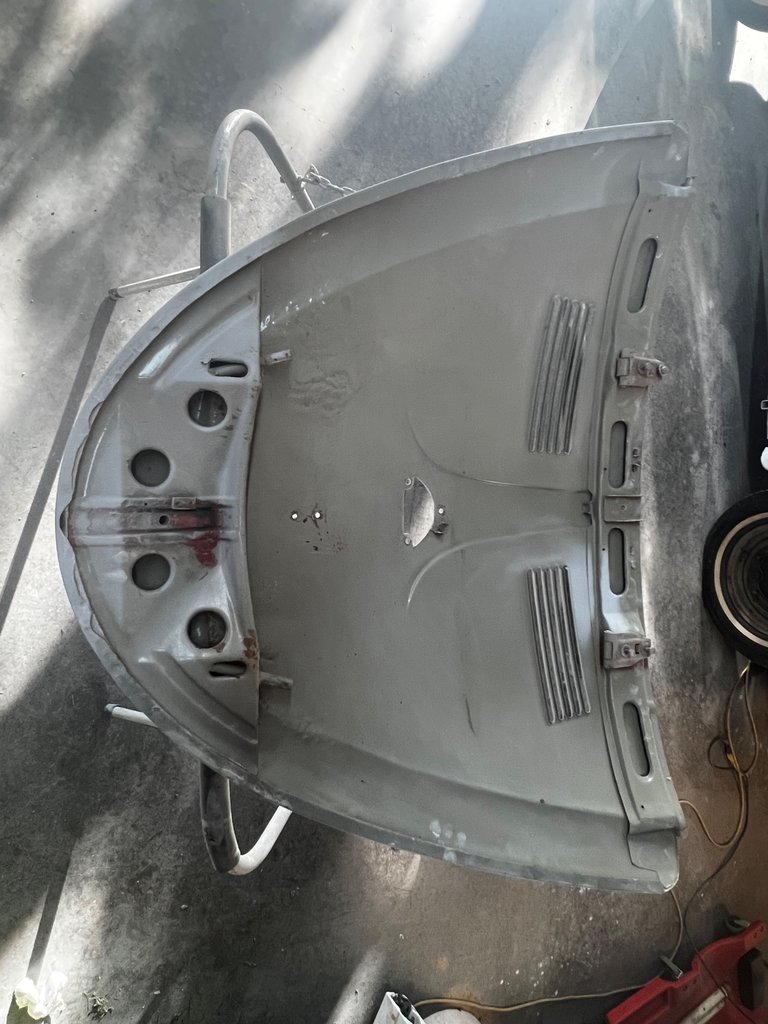
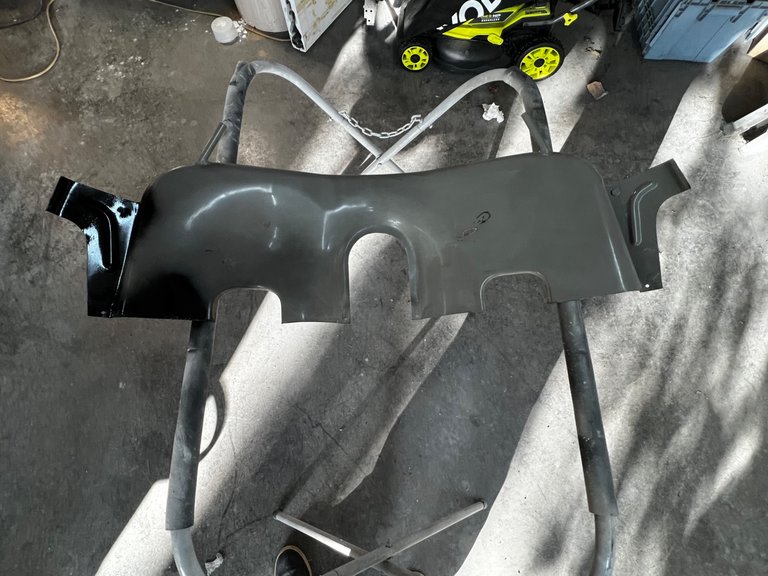
Rain shield painted and re-installed on the decklid.
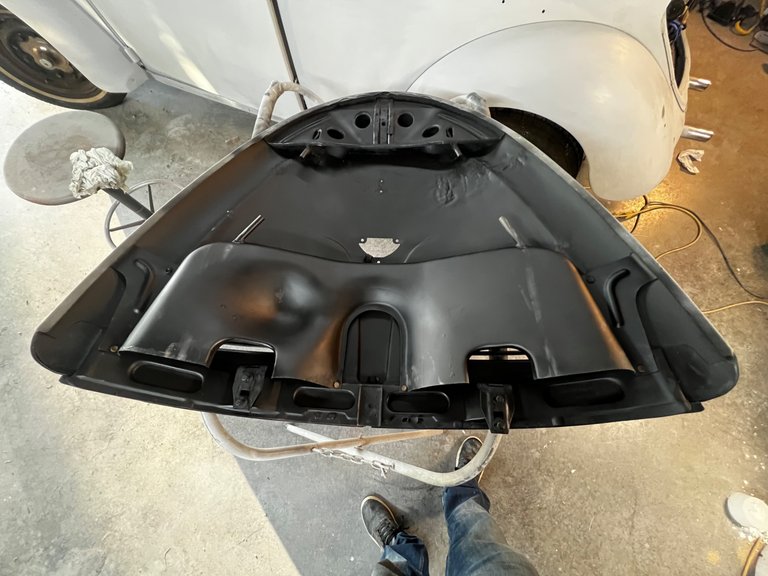
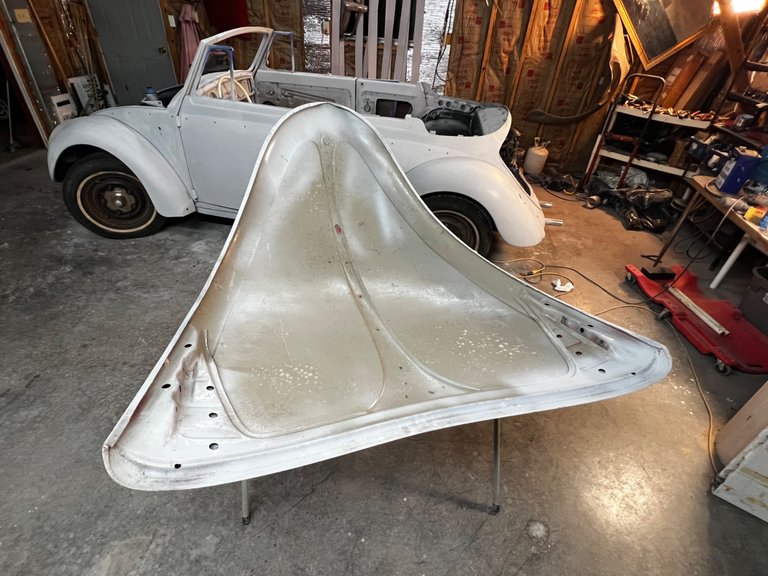
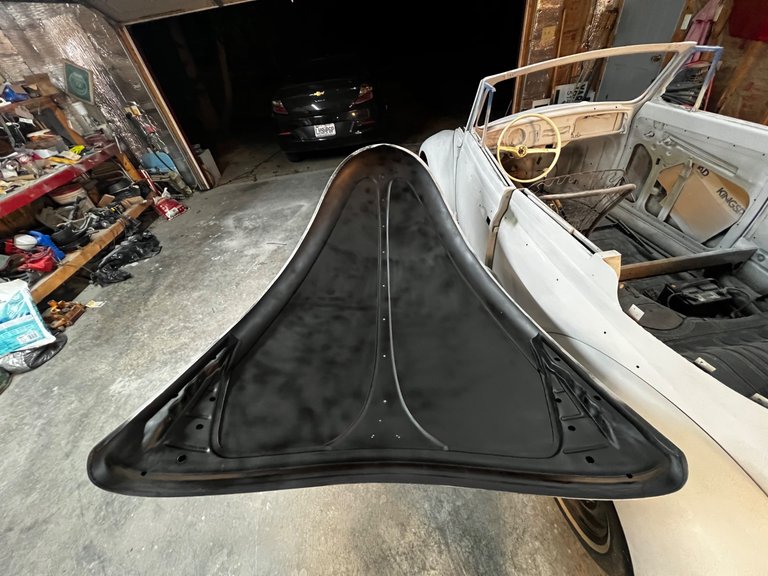
Same for the hood
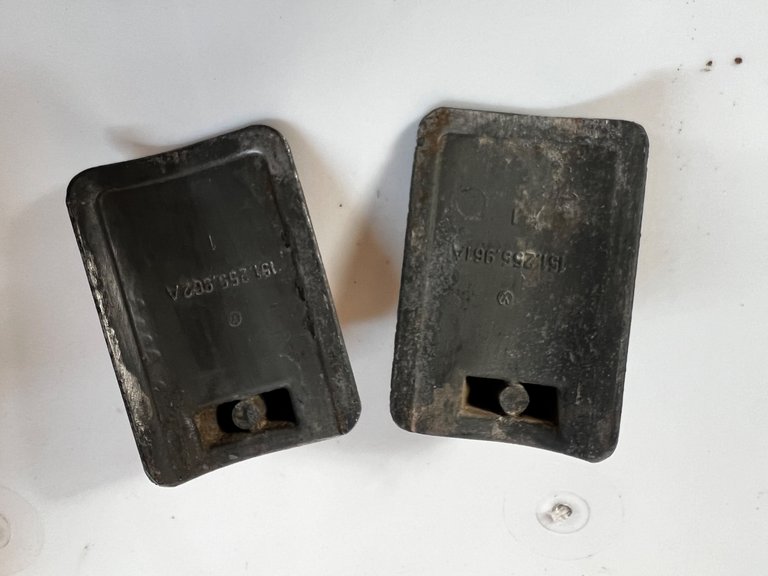
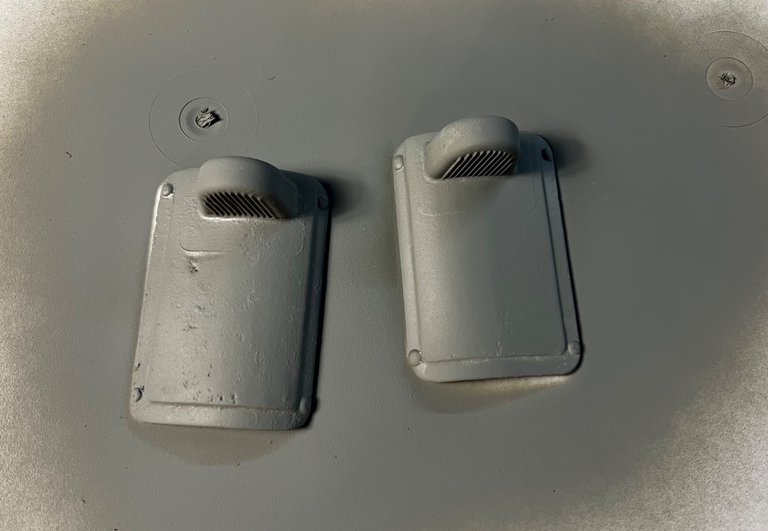
Floor heater vent covers cleaned up and primed.
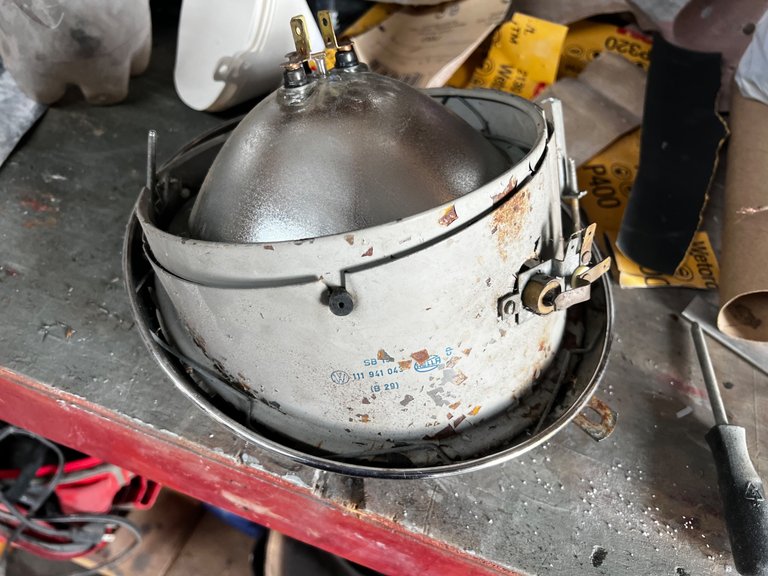
The headlight assemblies looking pretty rough.
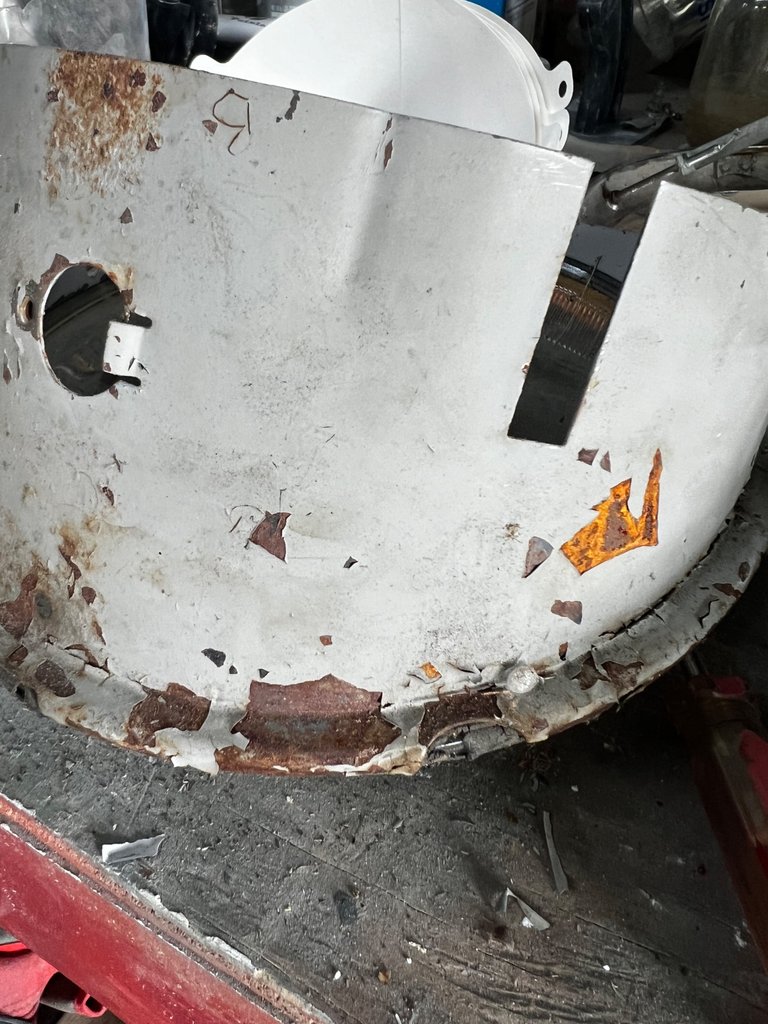
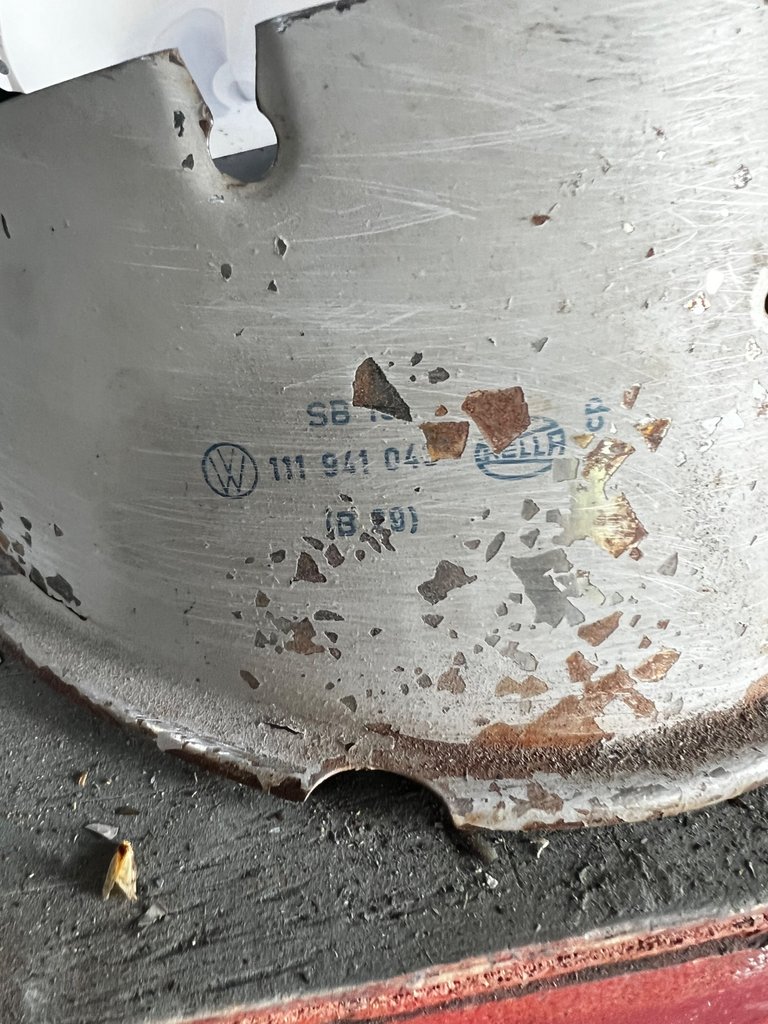
It took some doing but got them back to white and reassembled.
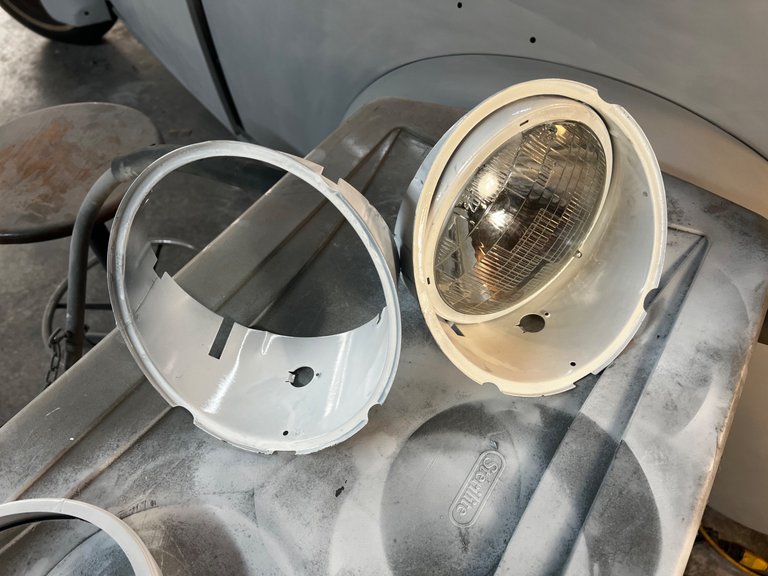
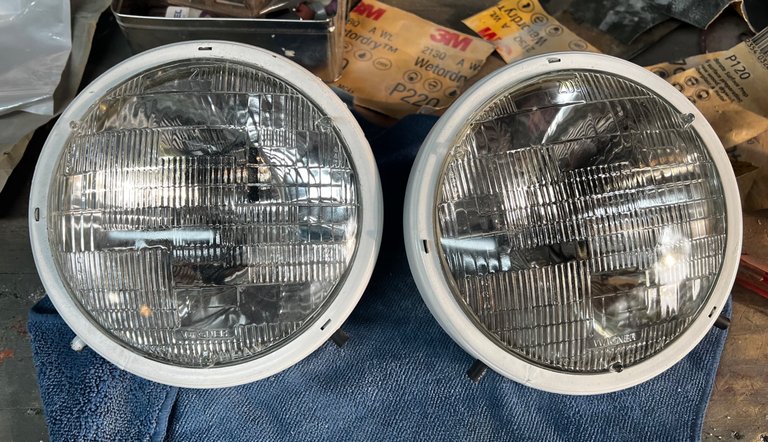
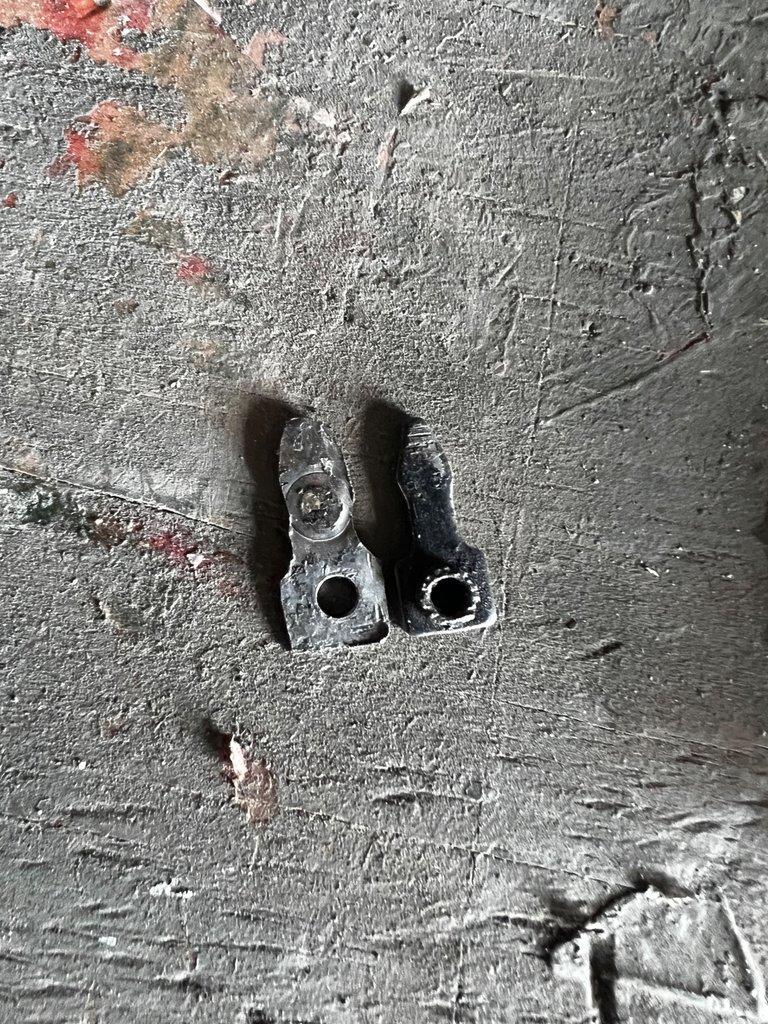
One of the little tiny pins that adjusts the beam for the headlight was lost before I ever got them so I decided to make one. Worked perfectly!
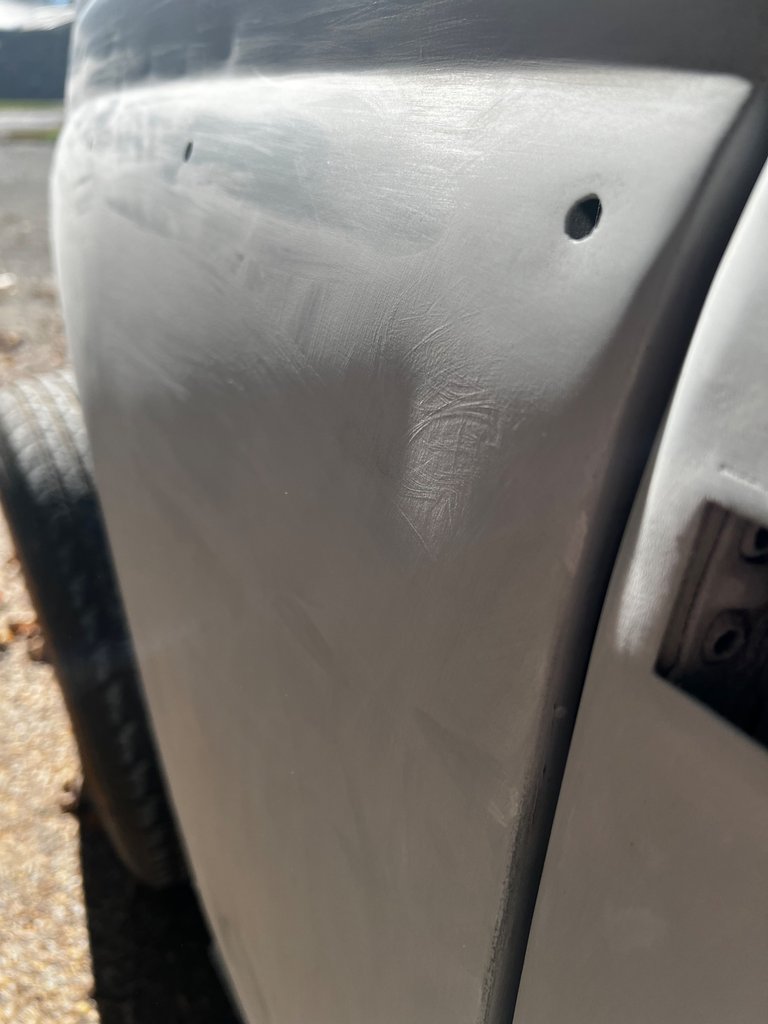
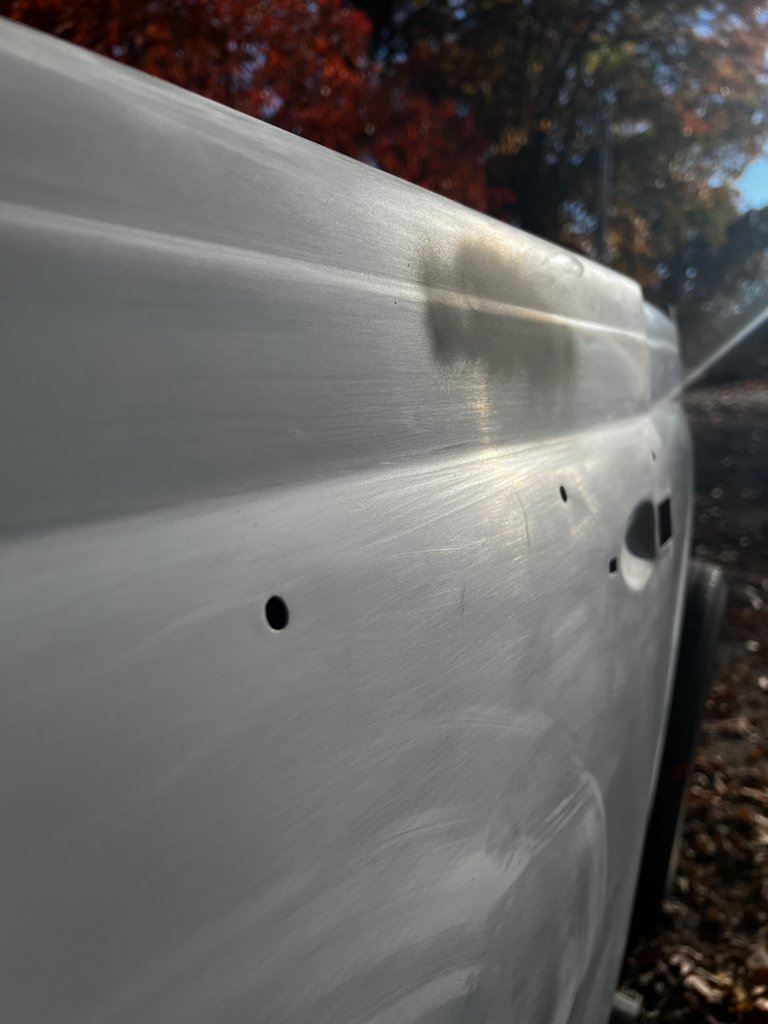
What can I say about these.... Under my lights in the garage you can't see this stuff until you get daylight on it.
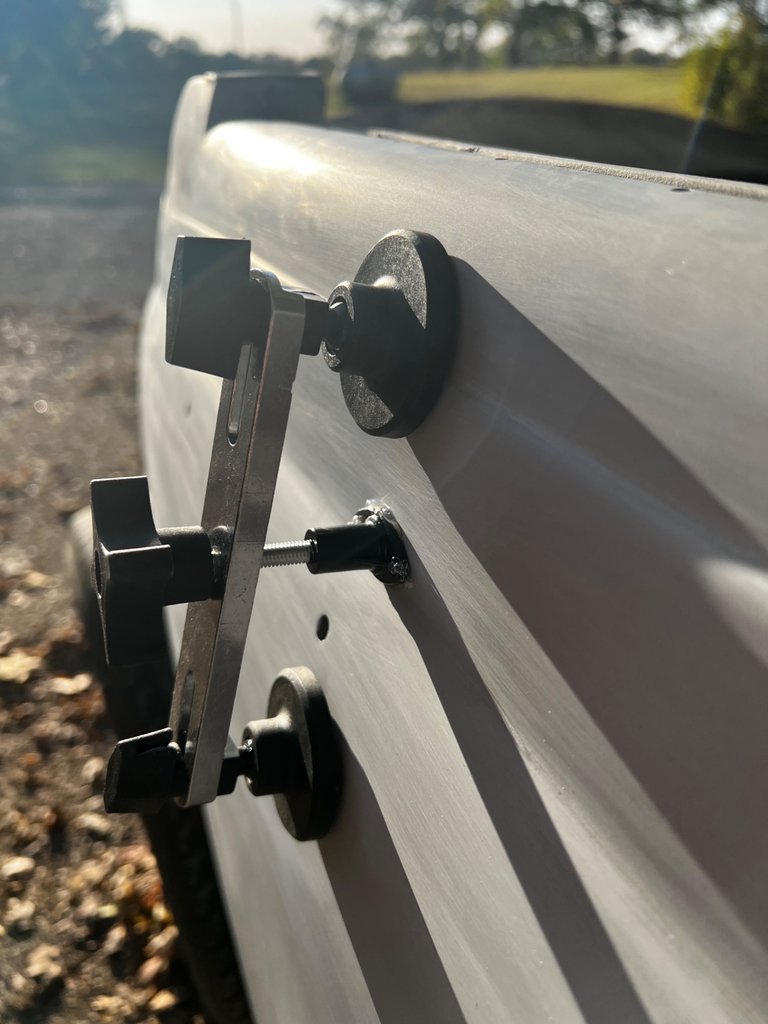
This little harbor freight dent puller worked surprisingly well!
Before:
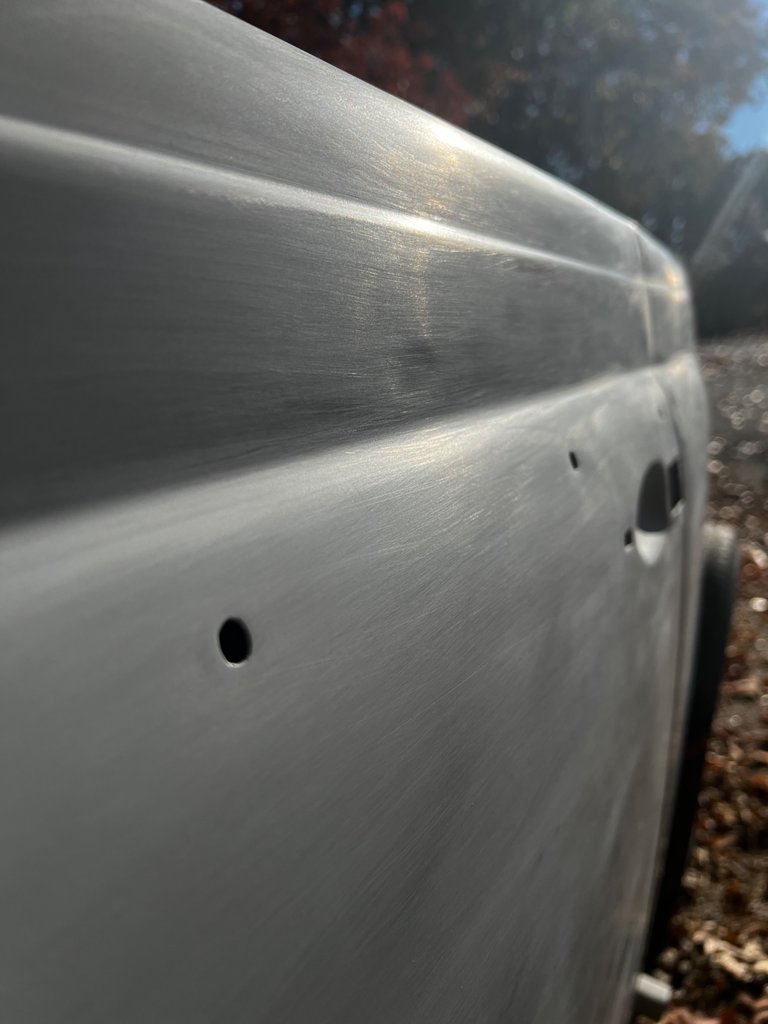
After:
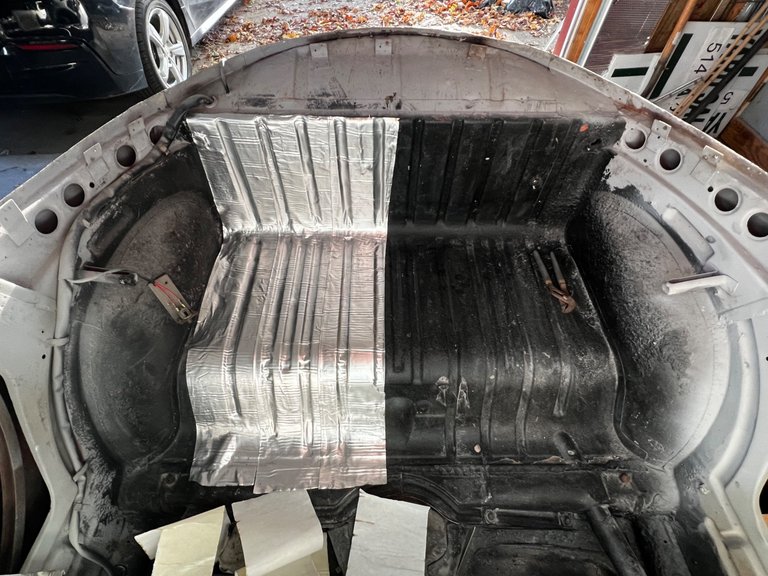
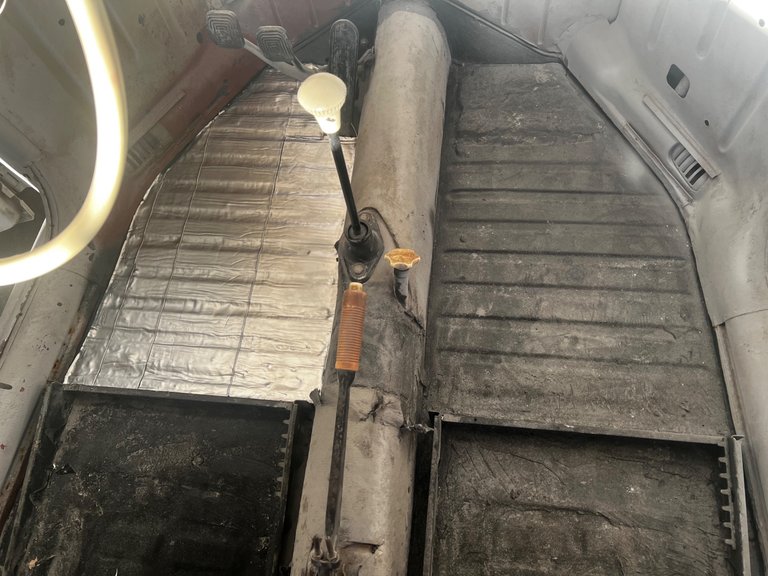
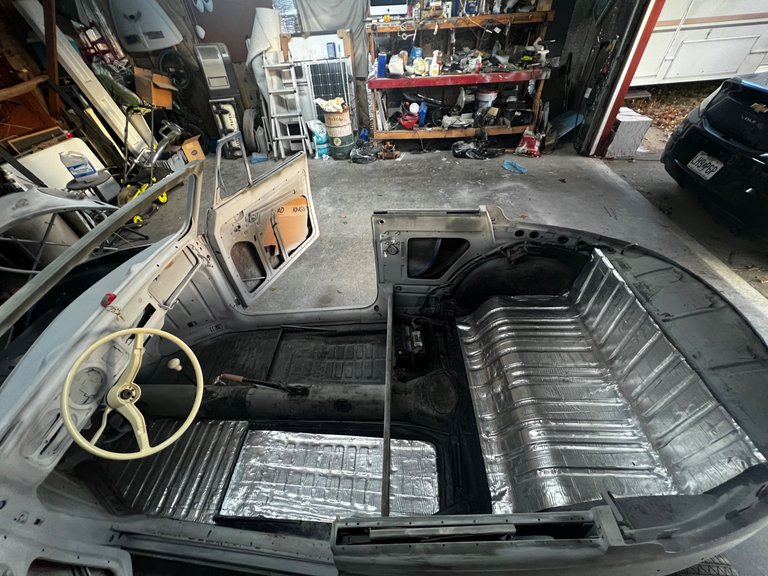
Since I got this car I knew that I wanted to do some sort of sound deadening on the floor pans and behind the seat and this is what I decided to use after much research.
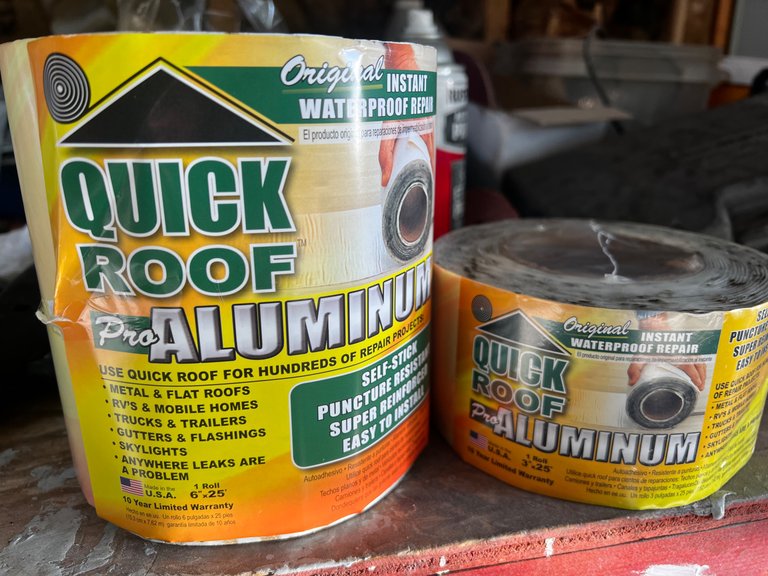
This stuff's super easy to use and really added some much needed insulation and sound deadening
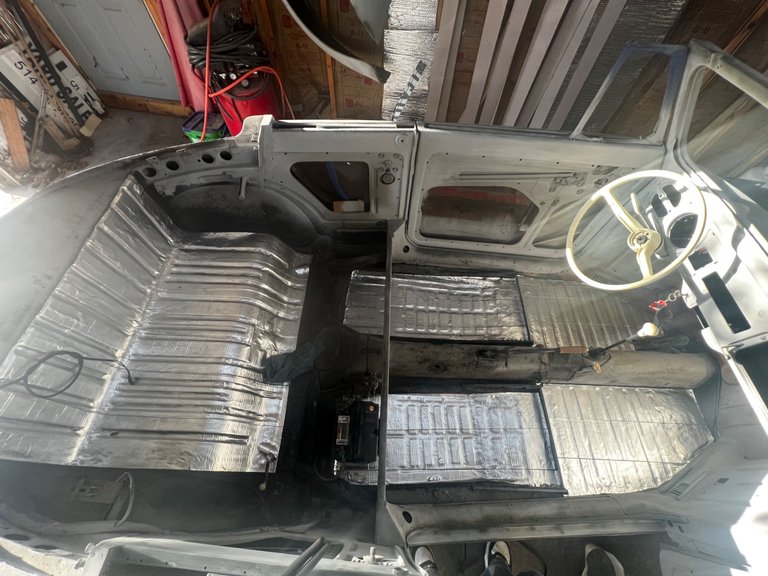
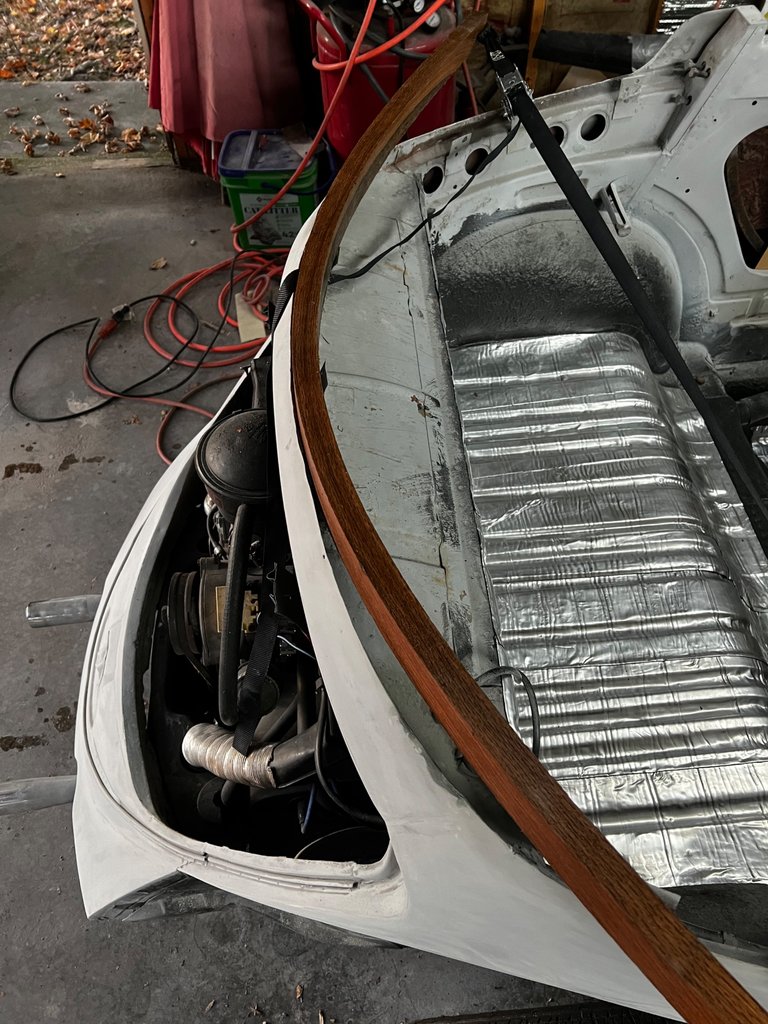
So, i've tried twice now to bend my own piece of oak to shape of the back of the car for the tack strip but both have cracked right when I thought it was really close.
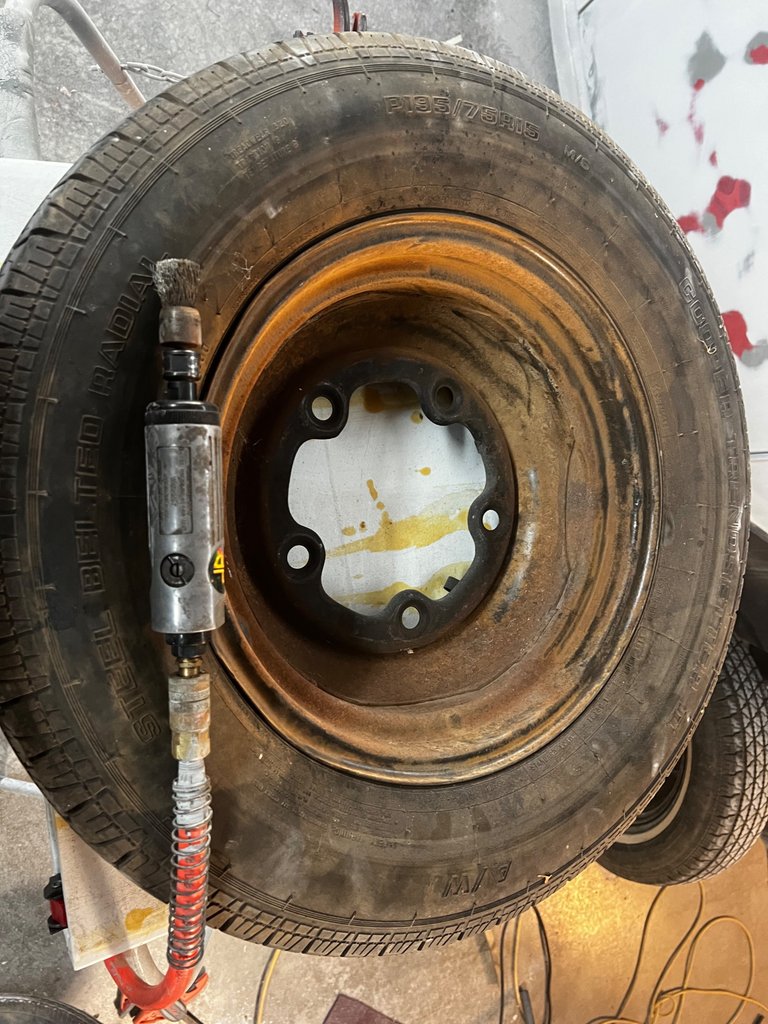
A little wire brush took off a lot of the old paint and rust off the wheels.
A little black paint makes these things look a whole lot better!
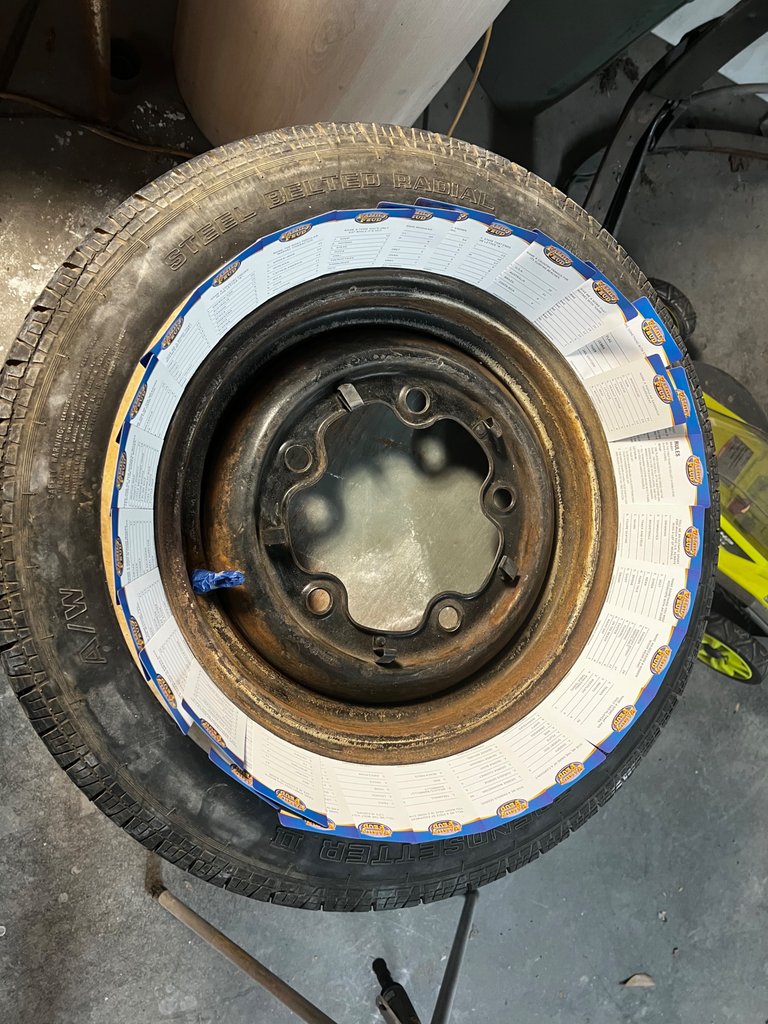
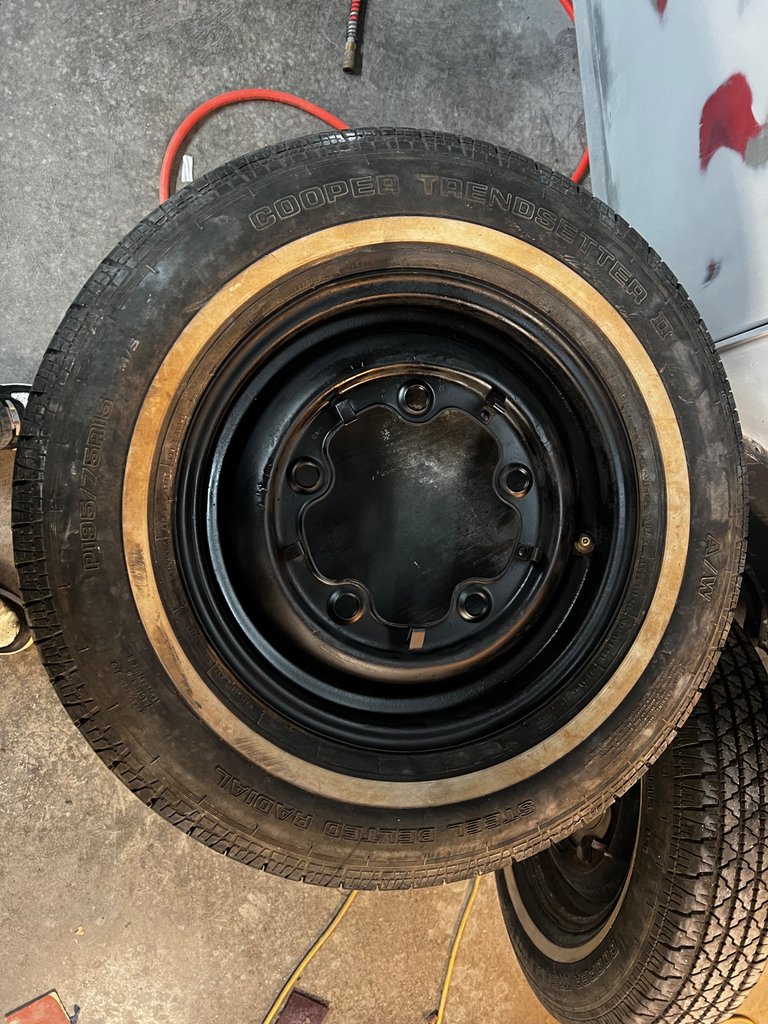
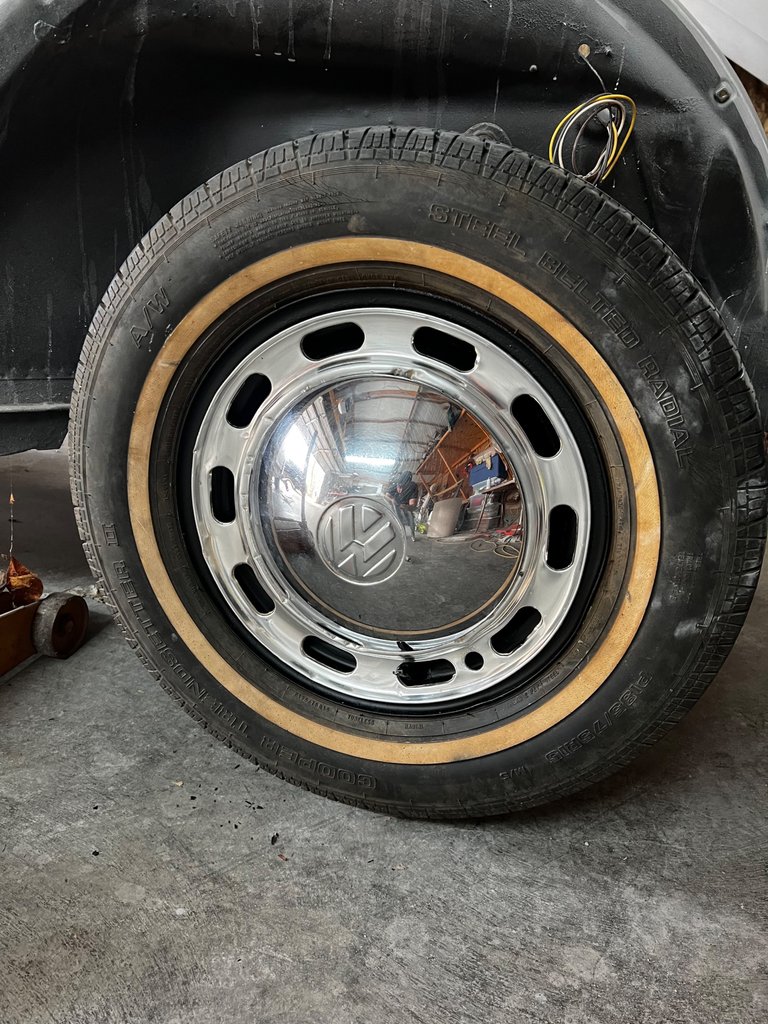
Got all 4 wheels done, hubcaps and beauty rings shined up with a little bartenders friend and out back on!
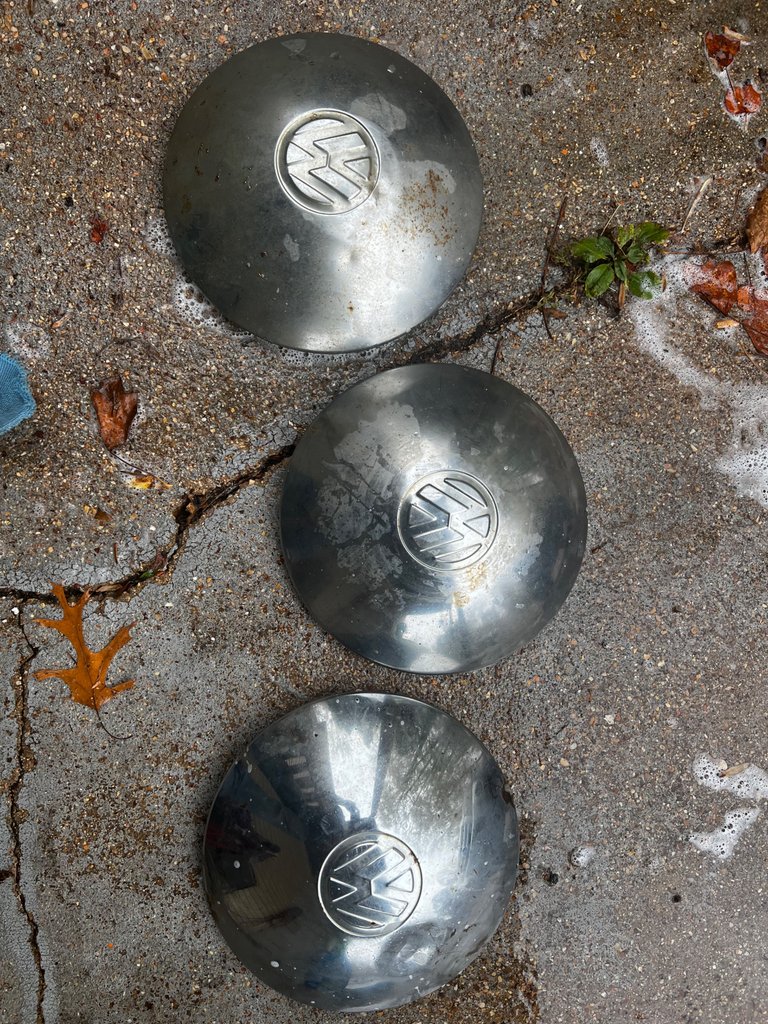
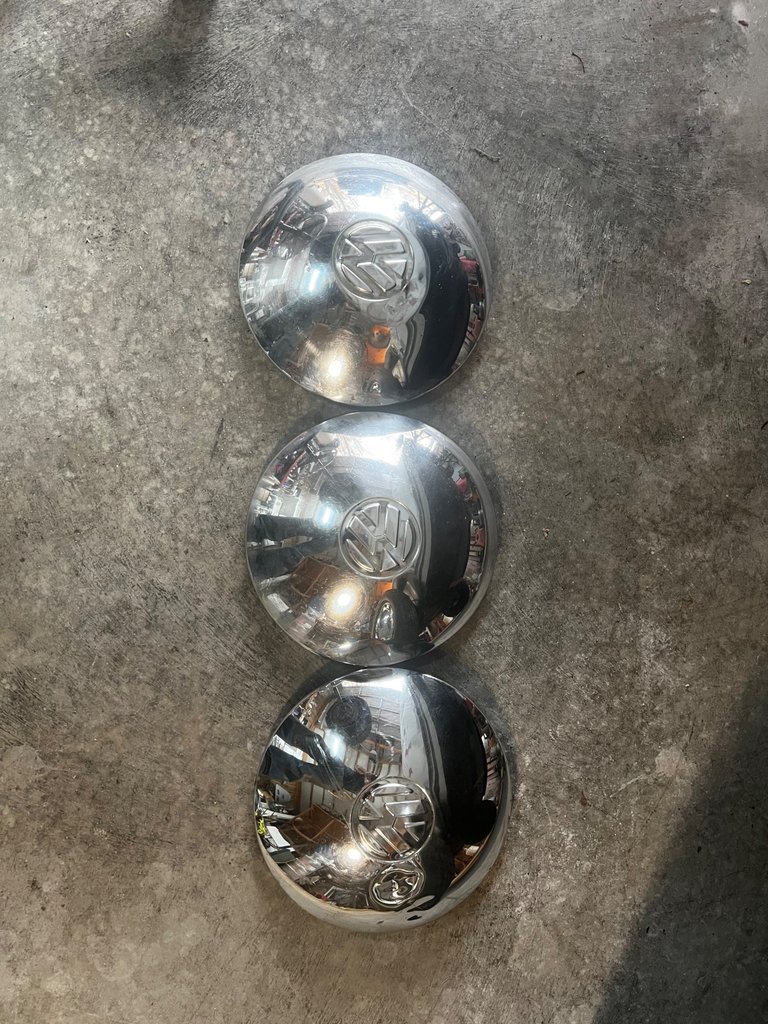
I think they look pretty good!
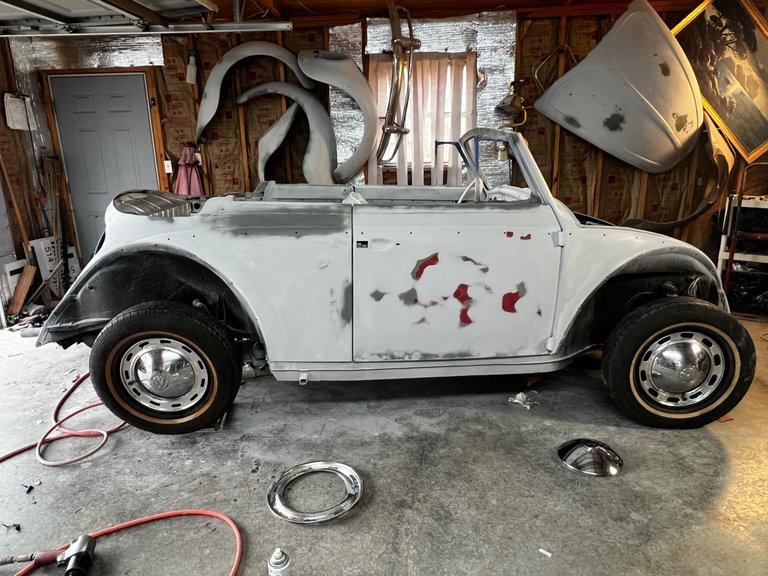
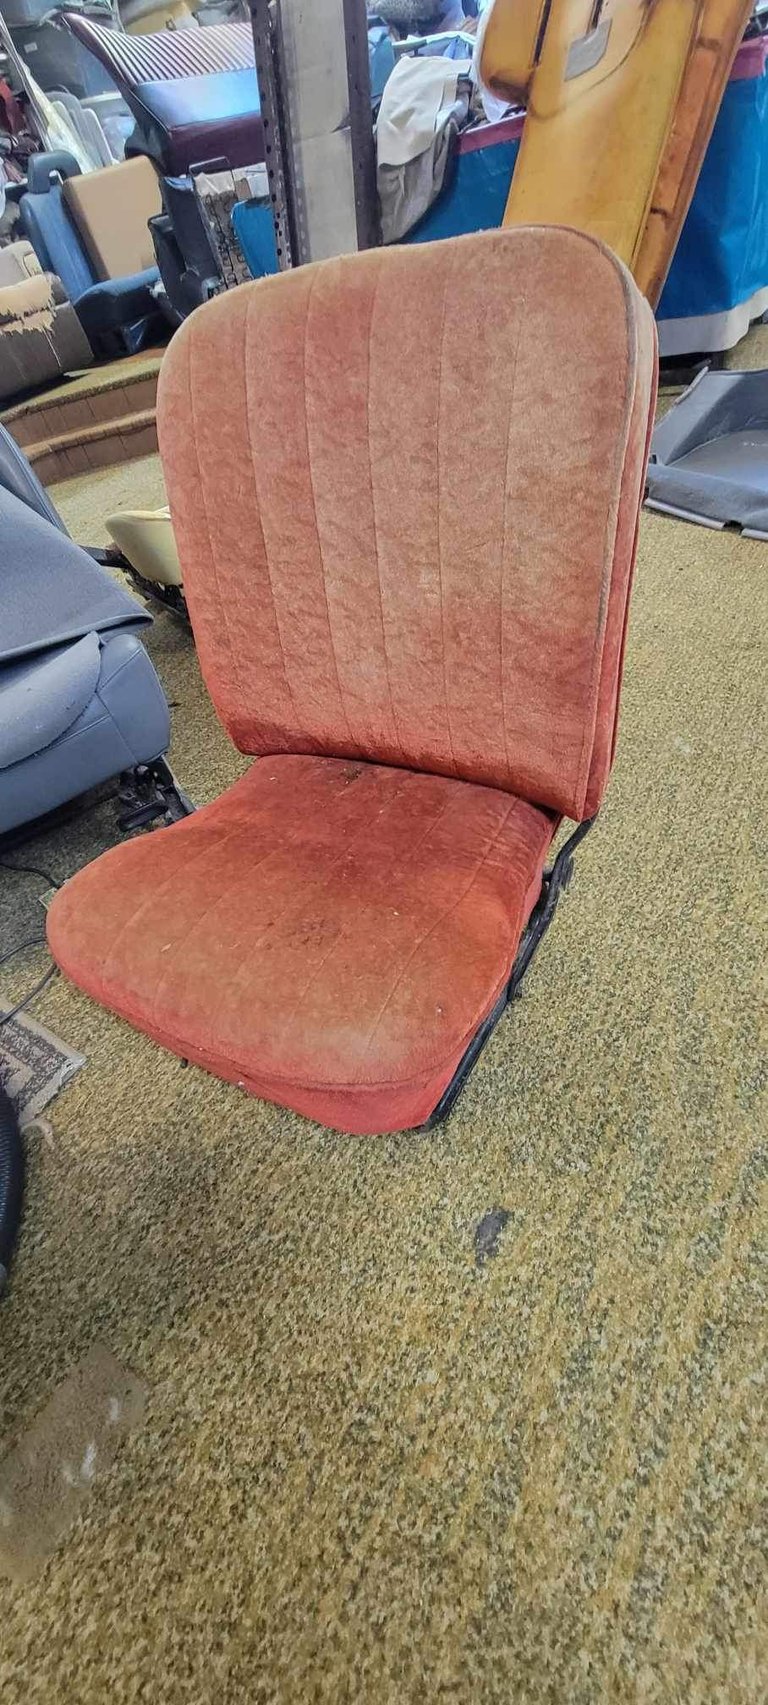
What can I even say about the red velvet that was in it before…
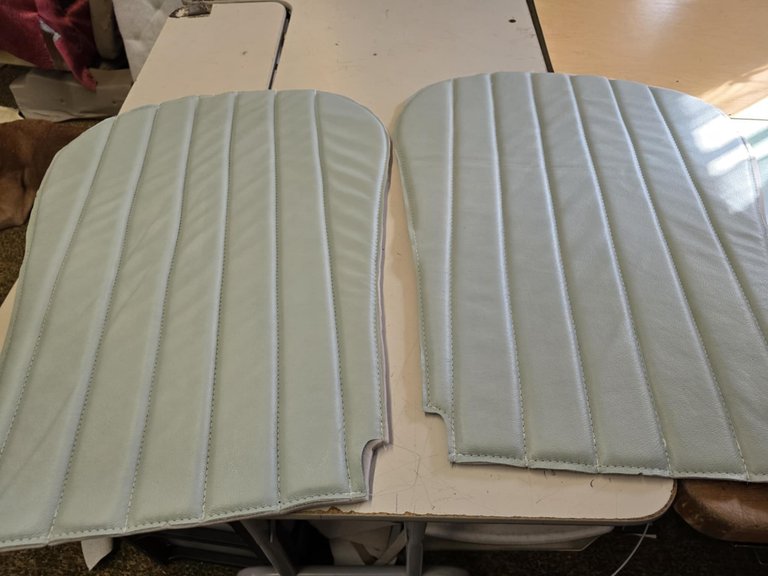 Like I said,@jakeimnotshure redid the seats and he did an amazing job!
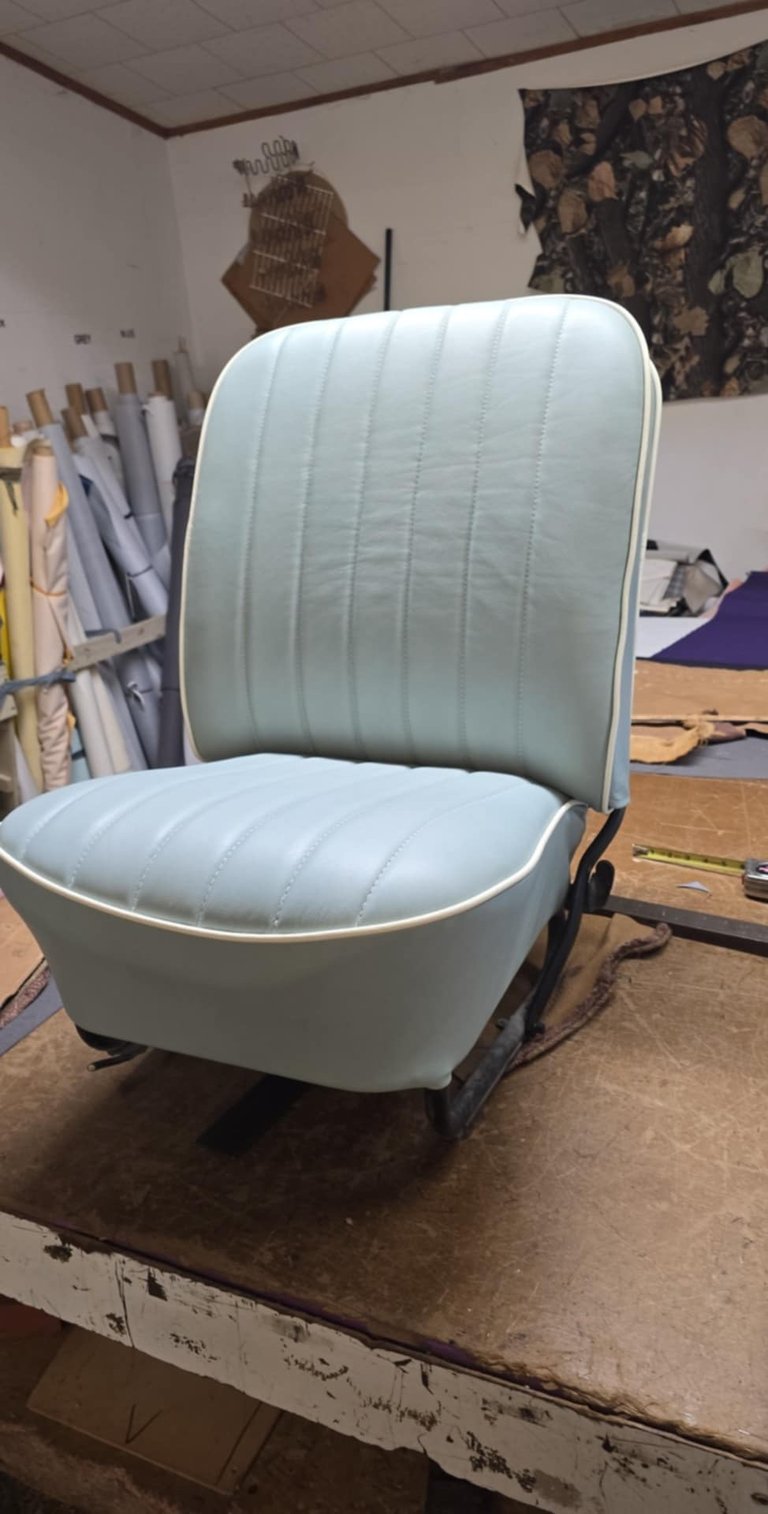
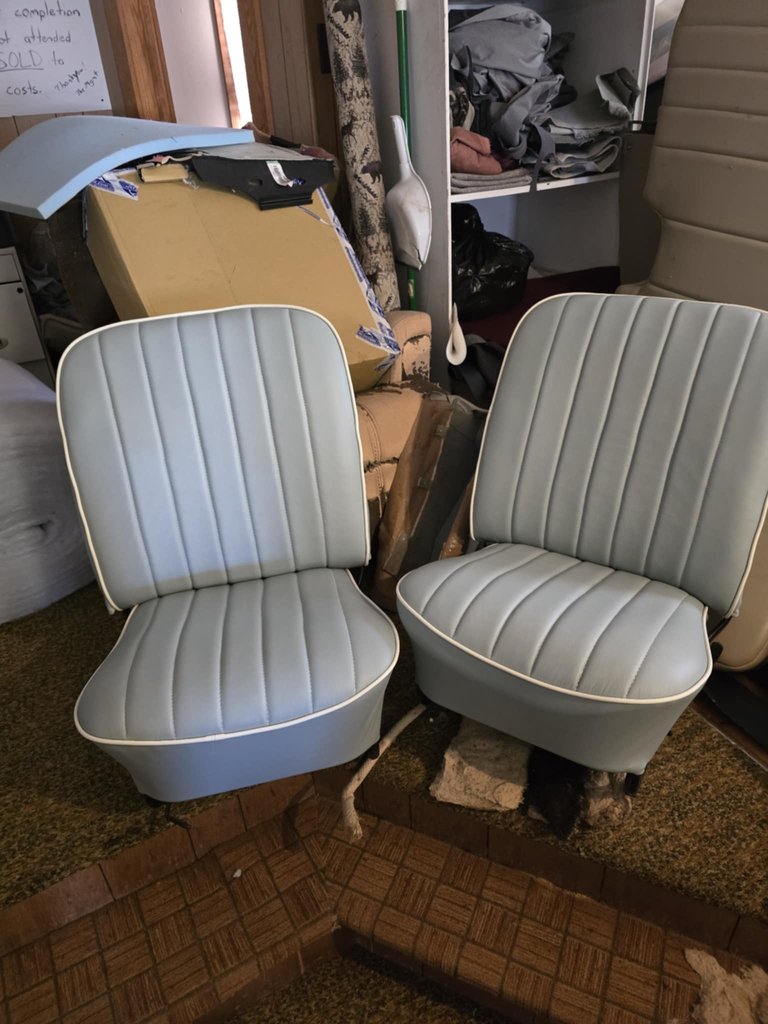
Jake really does some amazing work!
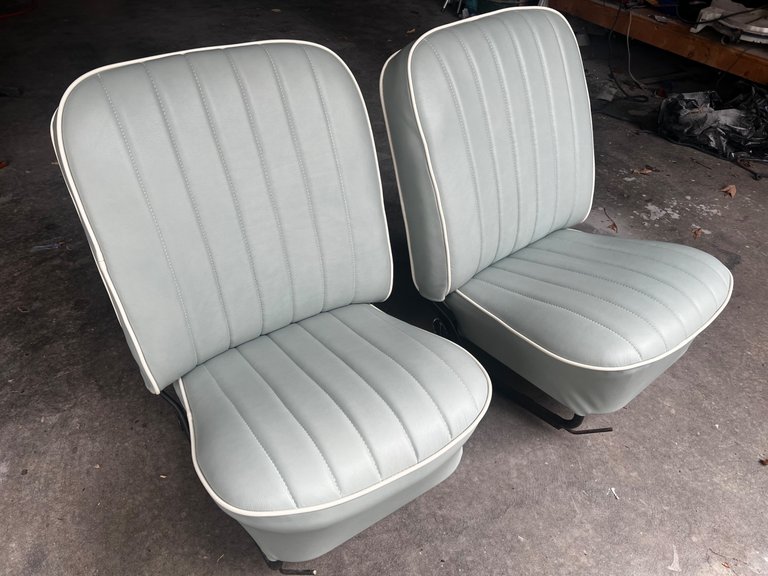
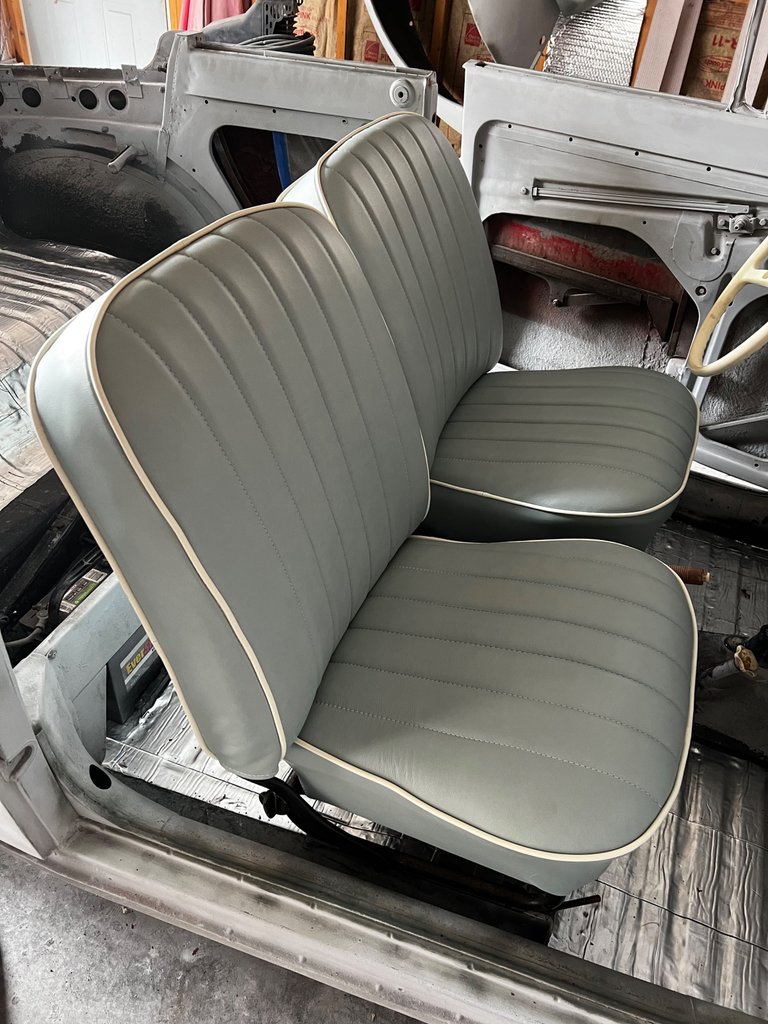
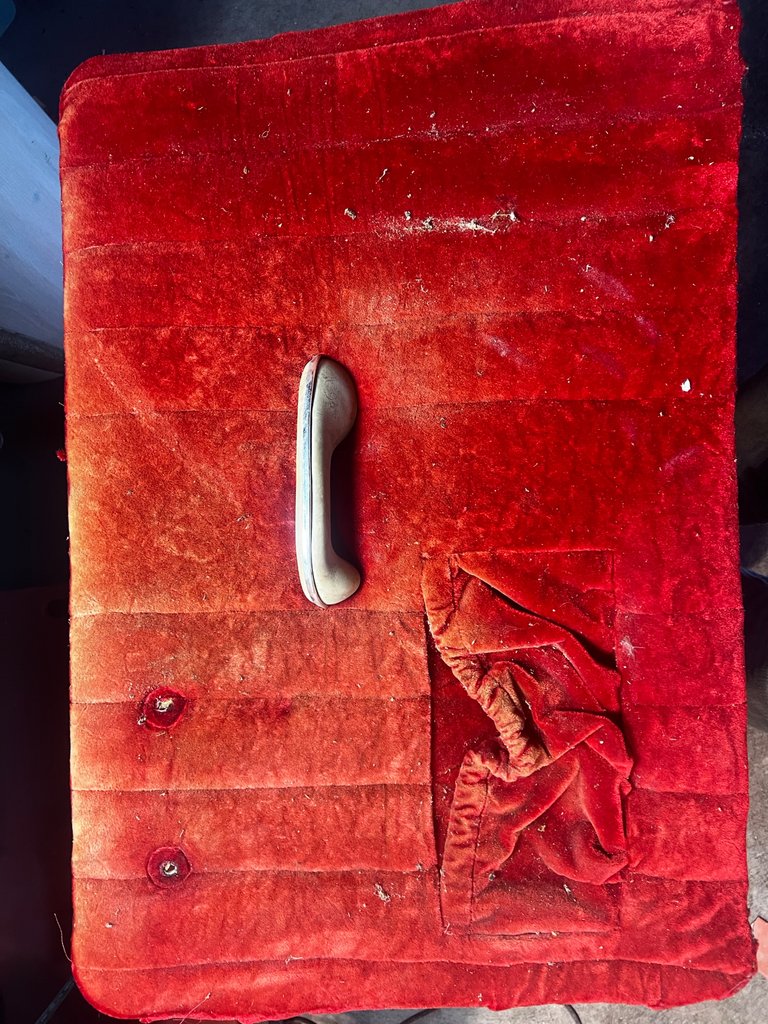
Man the red… so much red.
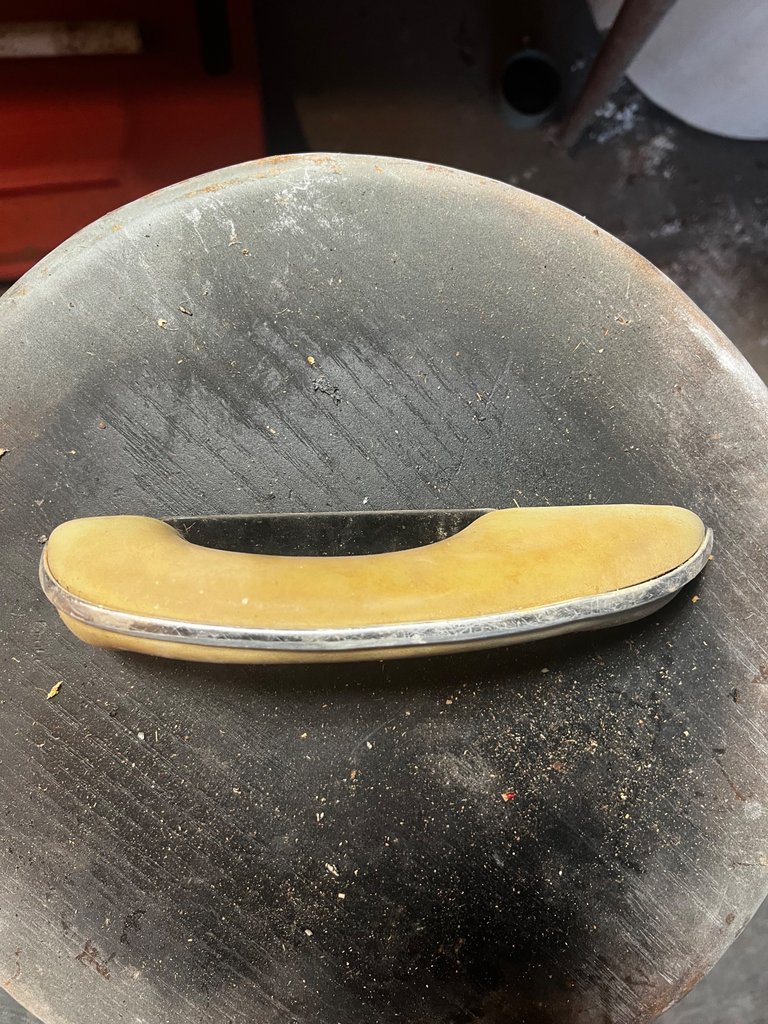
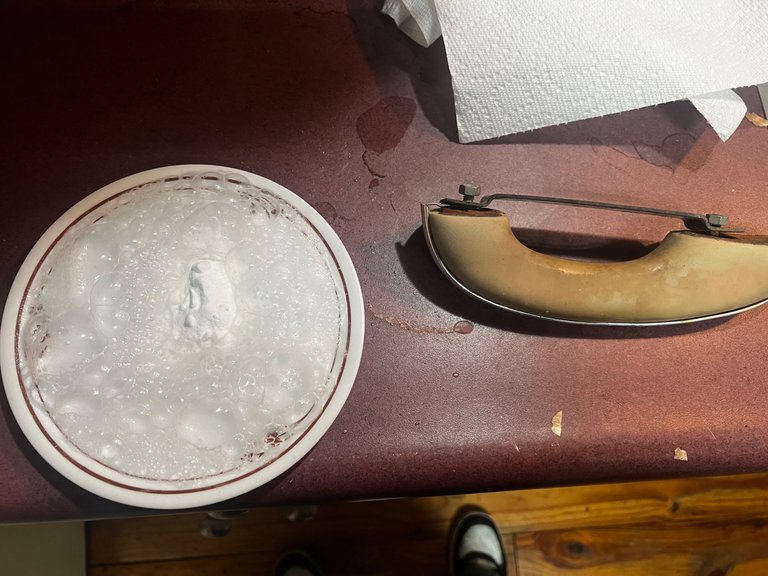
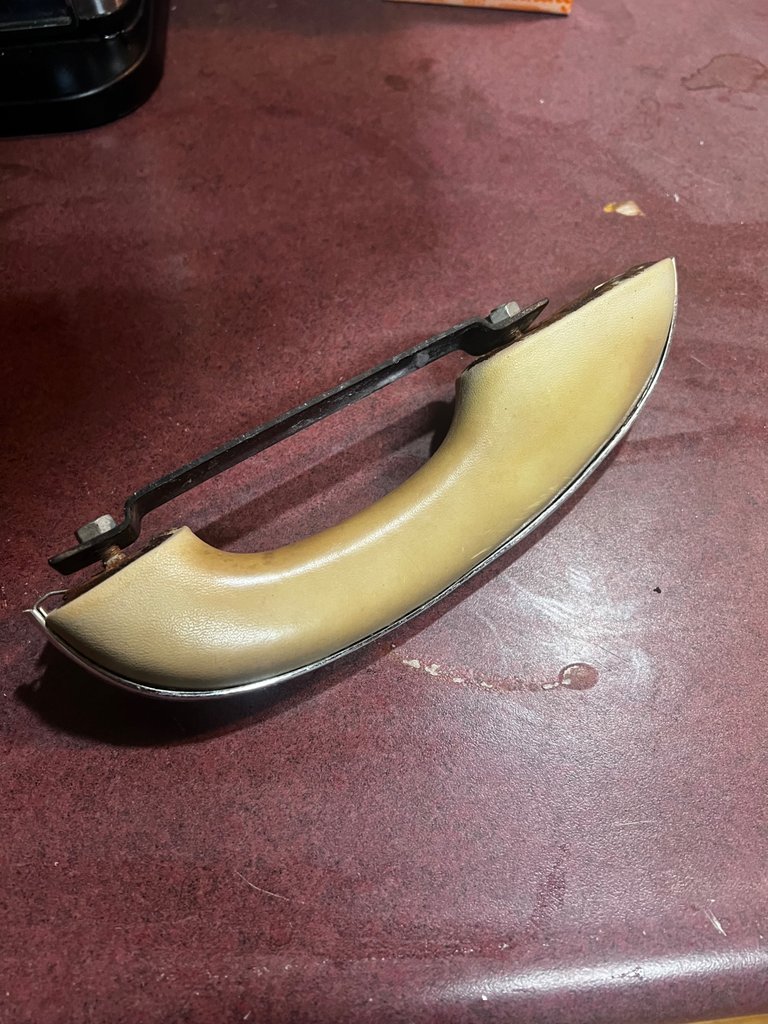
I took the passenger door arm rest off and gave it a good cleaning with baking soda and vinegar but it’s still pretty yellowed. Anyone got any tips for getting the yellow out of this old vinyl?
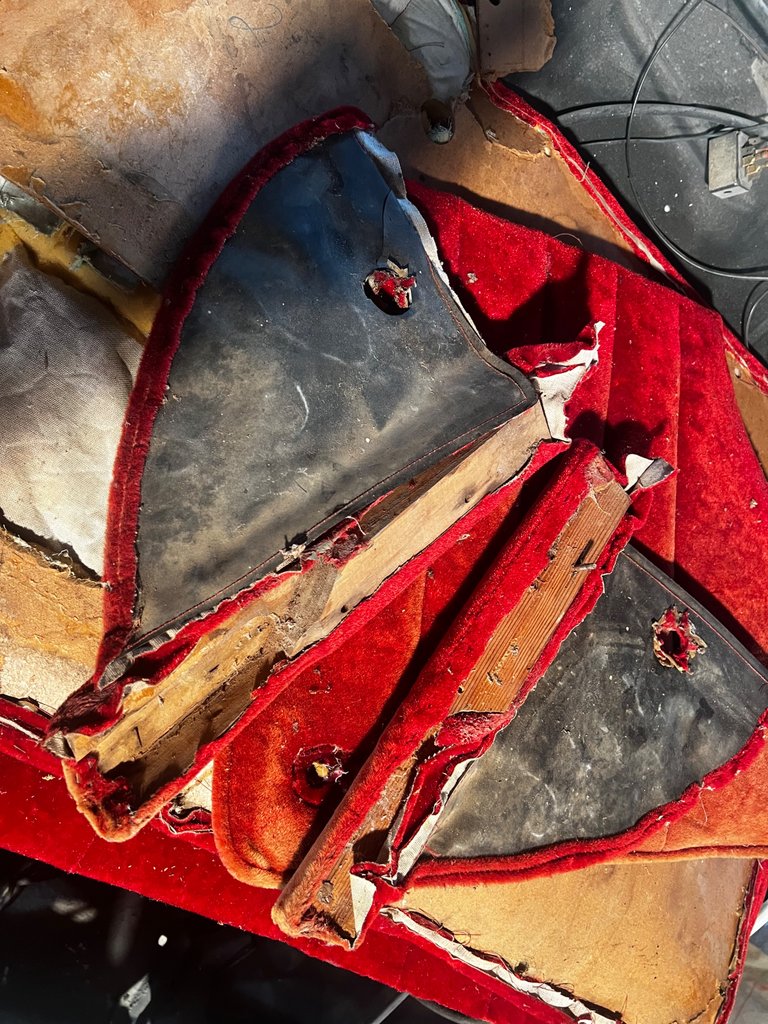
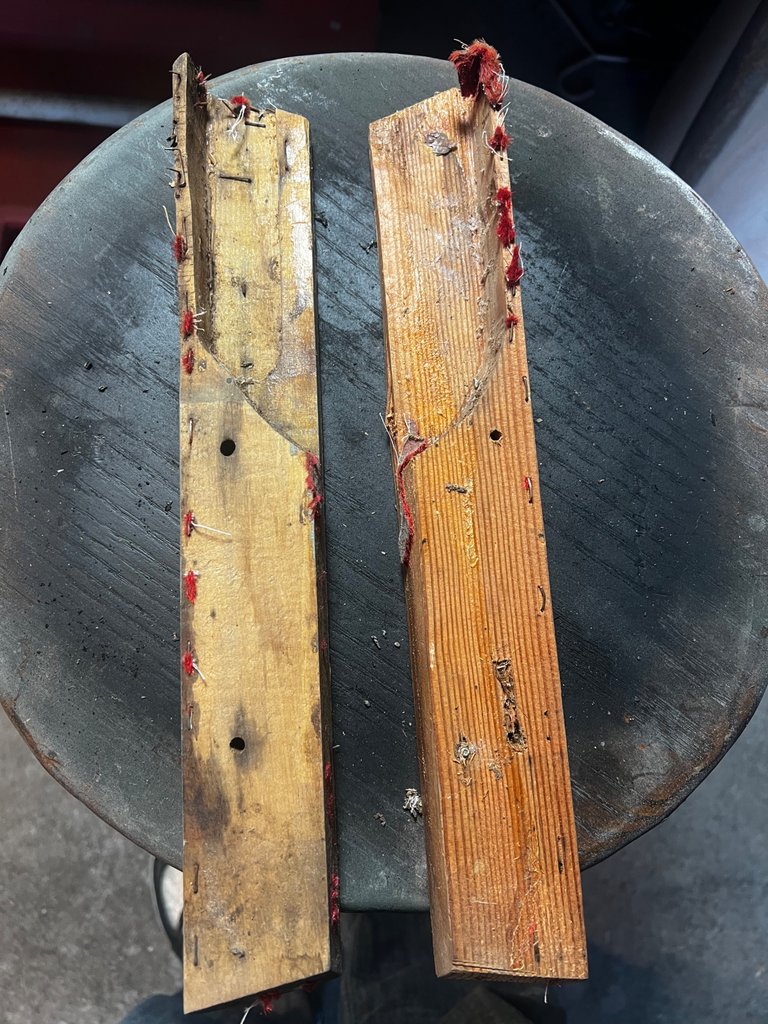
Inside these convertible top hinge covers I discovered the inside tack strips that attach to the top on the inside of the frame. I really thought these were just missing and I was going to have to buy or try to make them.
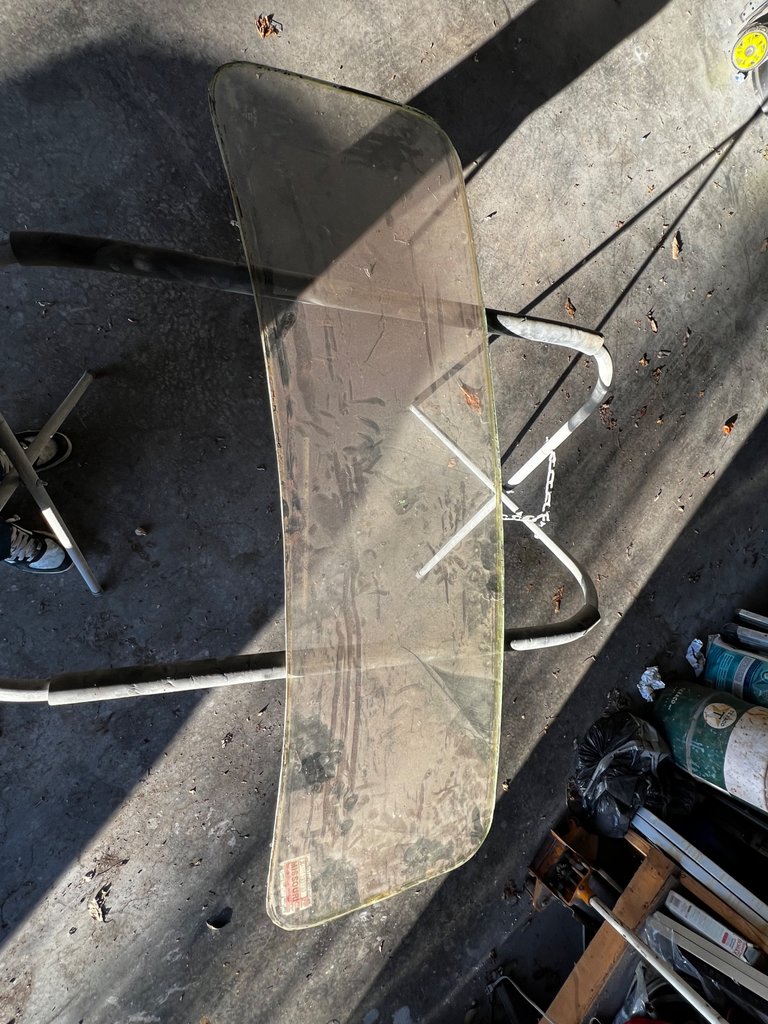
This week I got the windshield out
And took it to a local body shop for some crack repair.
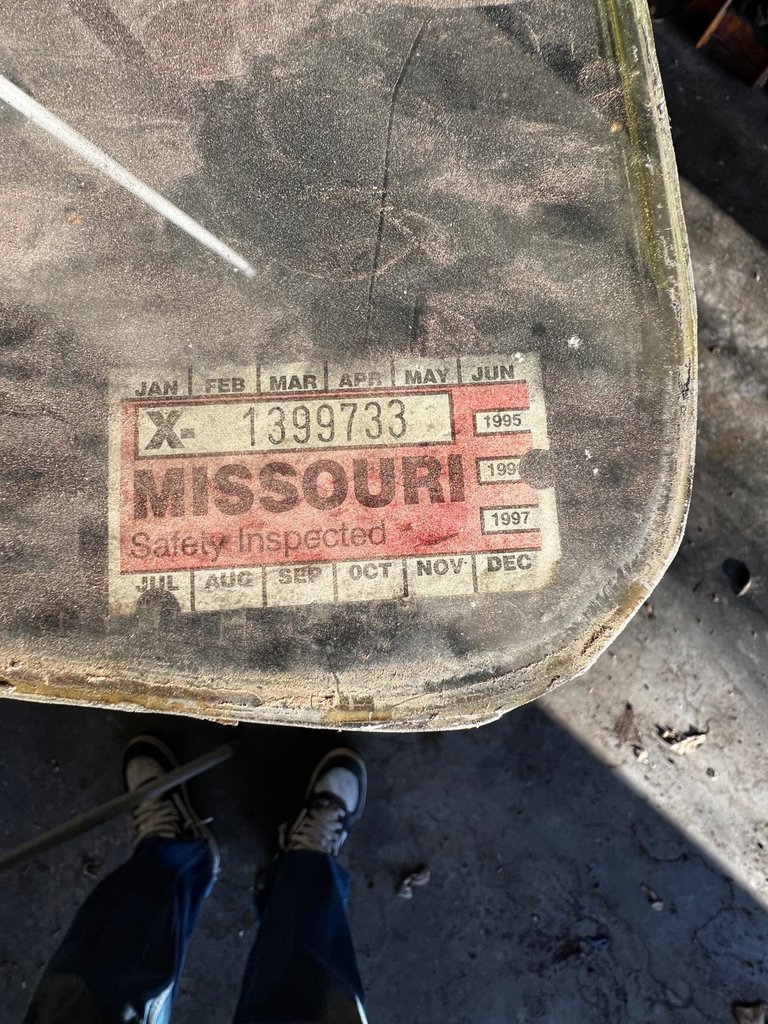
Crazy this thing hasn’t been inspected in 28 years and has been parked for at least 10 years before I got it!
Took the kids on her first time driving a stick!! She did so great!!
Well thanks for stopping by, hopefully but the next post we will have this thing painted and starting to put it back together!
Heyyo all!! I’ve not been doing a very good job with keeping up with making posts but honestly there’s been so much sanding……. So much…. But I have made a lot of progress I think. @jakeimnotshure has done such a fantastic job with the upholstery that I figured it was time to post an update on my progress.