GUITAR STRING WINDOW REMOVAL!
I for one never really thought that this would work until i actually tried it and i was pretty shocked. The baby was being taken care of by mom so i thought hey why not get some work done on the charger!
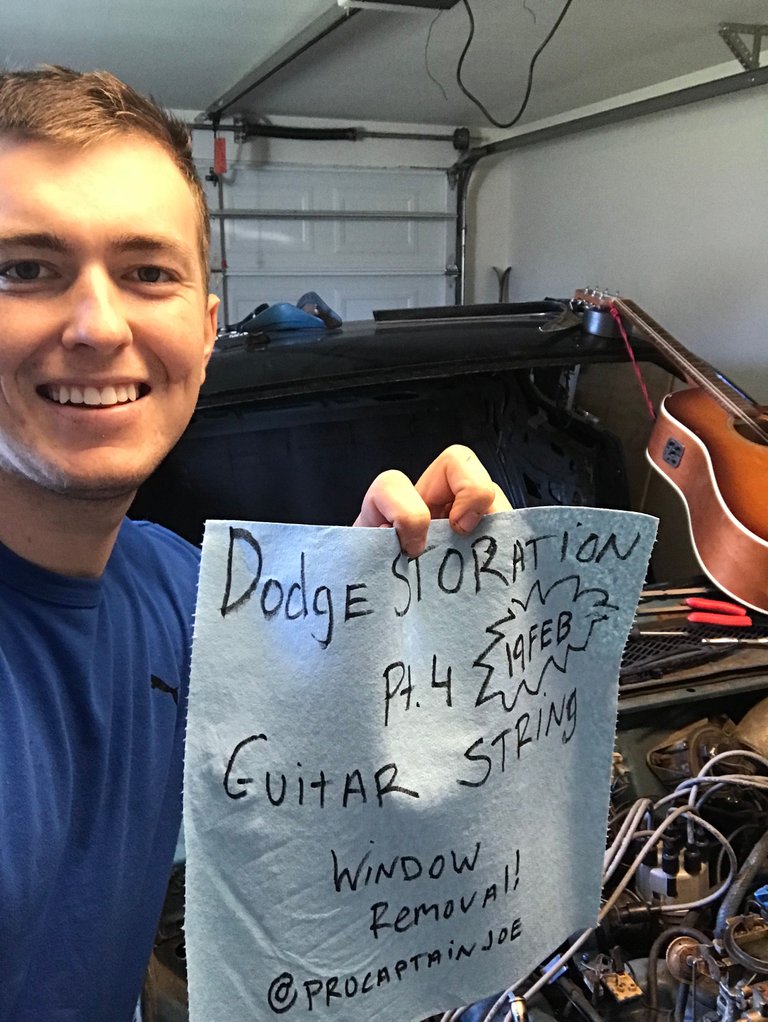
Tackling the DASHBOARD was my first priority today, until the window was in the way of some bolts. So yeah, windshield had to go today! I was looking up ways to remove them, and some guy said he heard of someone using piano wire. So i have a nice seagull guitar i like to play.... Unfortunately i had to donate her strings to the charger!!
Here is my Seagul Guitar!
A few less strings of course
Cannibalized the D G B E strings!
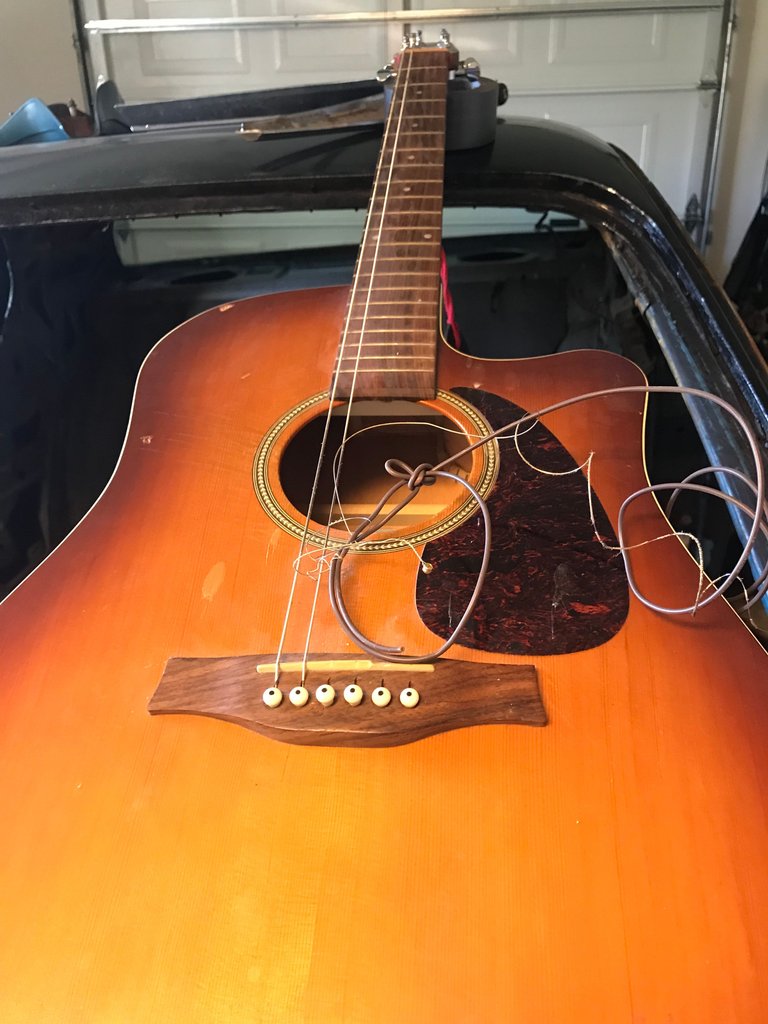
To Start
I had to drill a hole in the moulding of the window so that i could thread my guitar string through, and then i could get to struggling to cut that moulding!
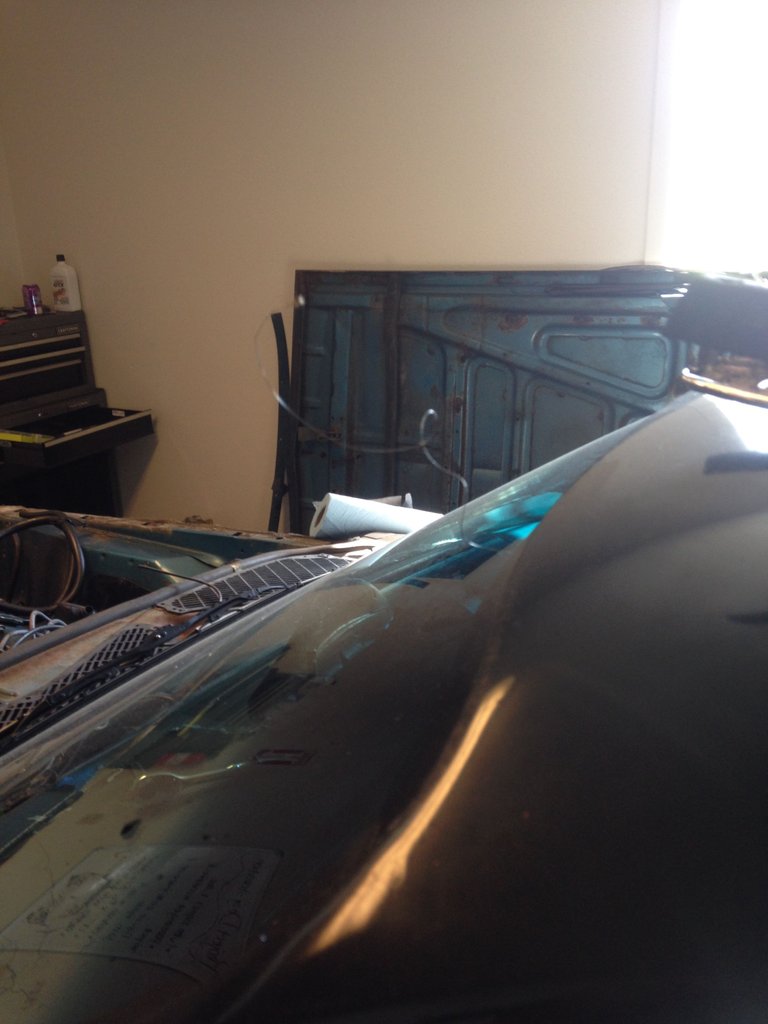
Here you can kind of see the guitar string in the window (sorry the camera couldn't focus on it!) I ended up breaking 3 of the 4 strings i used, so long story short i have to get a new set of strings for my guitar!
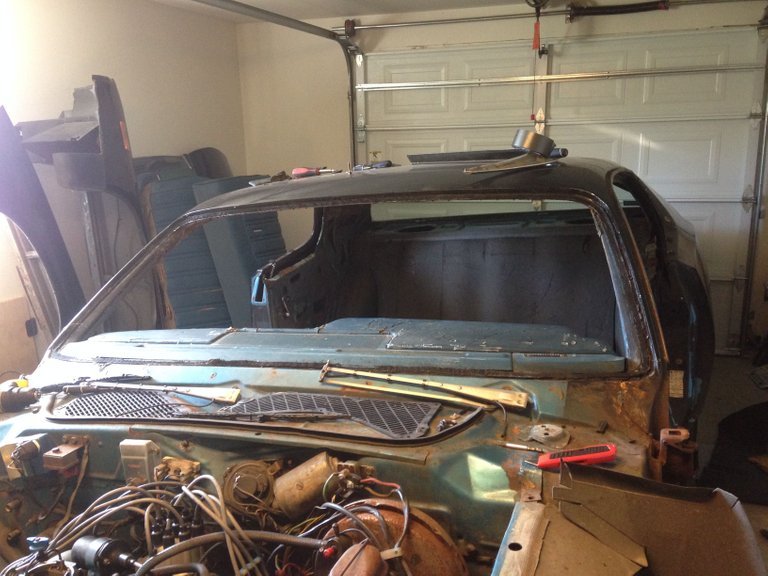
Finally the window is out!
After ruining my hands and a huge struggle to remove it, i finally got it done. I still don't know what you're actually supposed to use to get a front windshield off, but this seemed to work pretty well! if i could of only got my hands on some stronger wire that cuts better I'm sure it would of been much easier!
One more quick removal
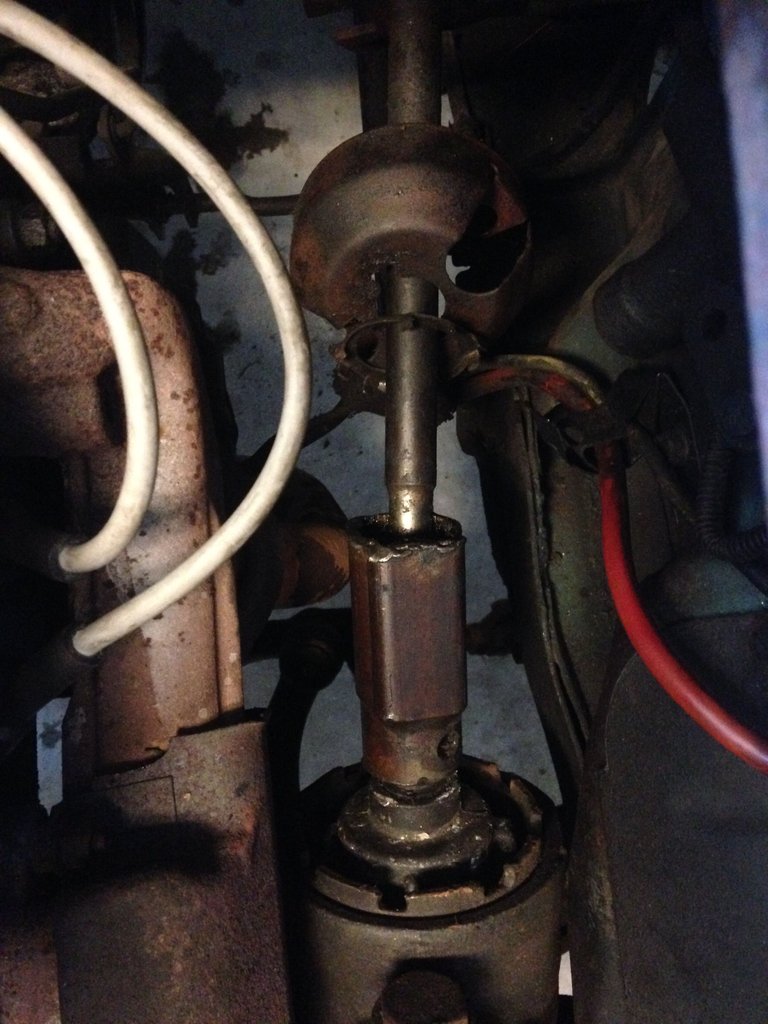
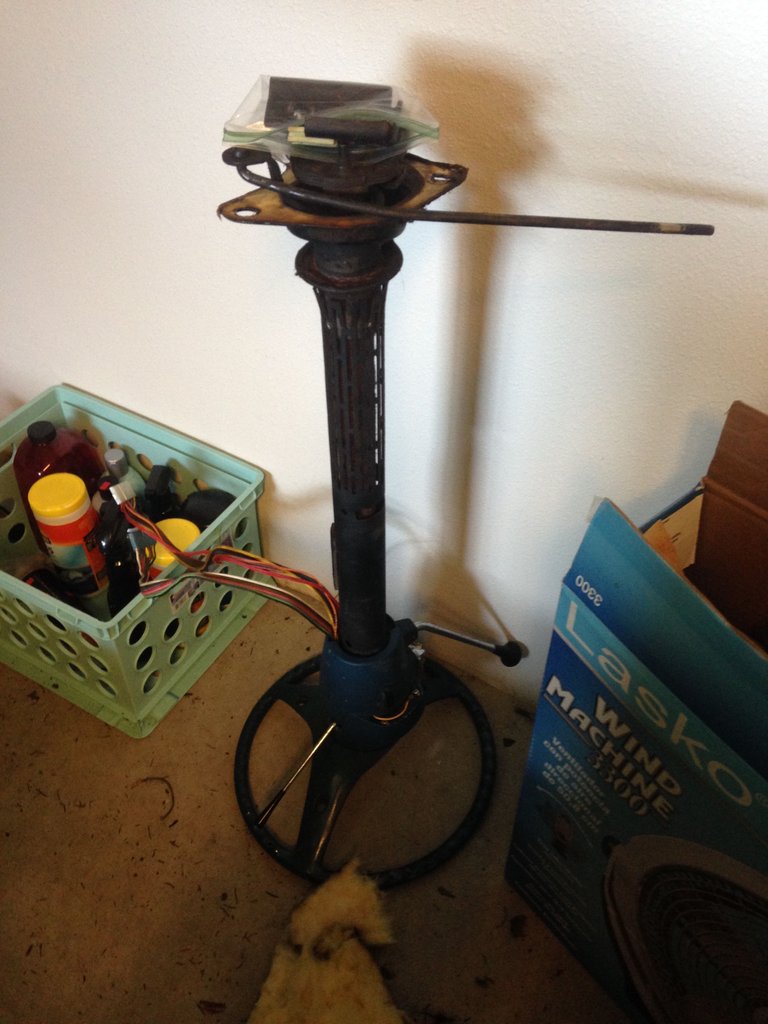
The steering column!
This removal was relatively easy. apart from getting my hands pretty dirty from all the built up grease and grime it was straight foreword. 2 screws later and remembering how it all lined up the column came out!
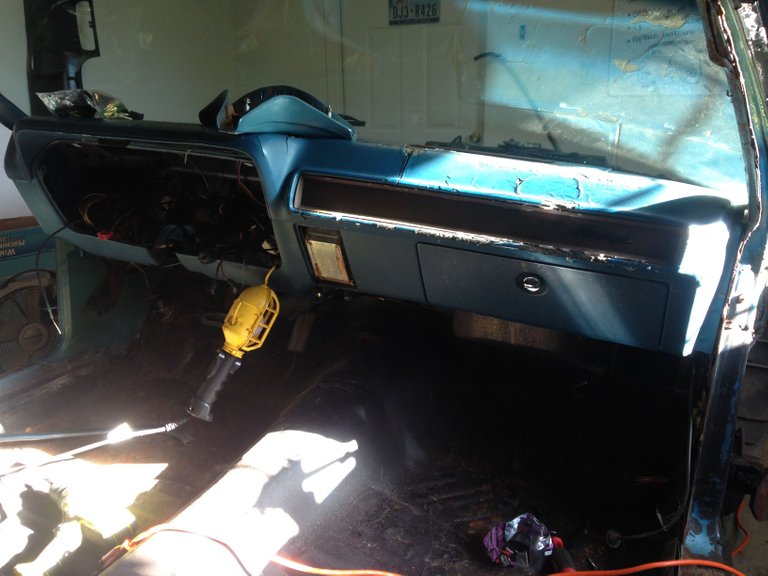
I cant finally tackle the dash!
I need to sent this dash in to get completely restored because i have absolutely no idea how to do that, but i could finally reach the bolts i couldn't while the windshield was on and the entire dash came off pretty easy. Apart from the entire wiring harness being connected still behind it, it was relatively easy!
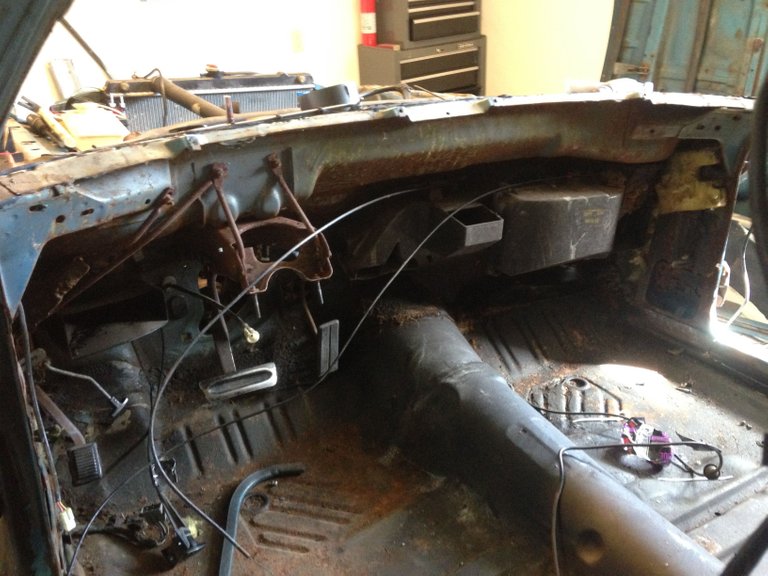
Now i can really see what im working with!
I got to see for the first time what it was really like back there! Apart from the HUGE rats nest of wiring tangled, it wasn't as nasty as i was expecting. The wires were easy to rip out and the dash came right out once everything was disconnected. Im not sure how hard its going to be to connect everything back but it should be a blast...... right?
The biggest concern.
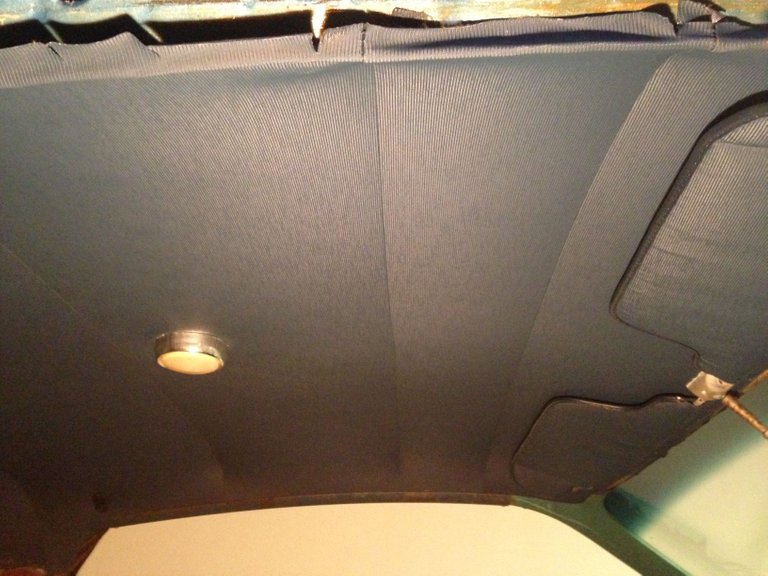
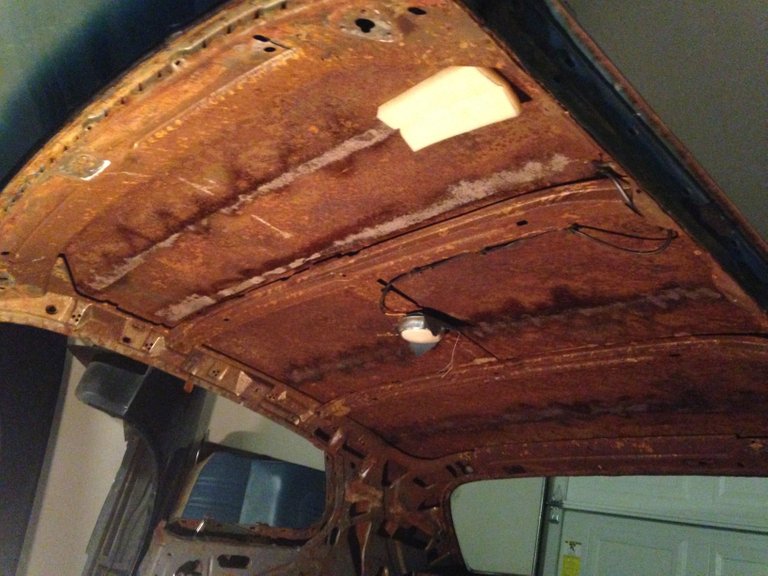
So it looks like the owner before me put in a new headliner and it looked pretty nice! But i couldn't let something nice get in the way of me knowing what terrors hid underneath! So, i did what every reasonable person would do. TEAR IT OFF
BEFORE
AFTER
WOW, just wow. How could someone just look over this! Good thing i decided to do a full restoration because if i didn't this car probably would of only lasted about 5-10 more years...
What is done so far
- All interior is removed
- Front windshield removed
- Steering column removed
- Dash Removed
- Fender, Quarter panels, Doors, Hood removed
Thanks for sticking around on this restoration, and im still LOOKING FOR VOTES ON THE COLOR!
I look foreword to sharing more progress with you guys and if you have any questions or comments, feel free to let me know!

I'm glad to see that you keep posting actively about the project and that you don't take any shortcuts. I'm sure it will pay off in the long run.
yeah i hope so, gotta make it so my daughter can drive it when she gets her license! she can get her license in that car haha but thanks for checking it out! i appreciate it!
damn you deffinantly made the right choice on pulling that headliner.
yeah tell me about it. probably going to have to cut into a few of the panels also to get some of the bad stuff off!
Like Johnny Cash said. One piece at a time. they make that por 15 rust eater also and then the over coat by the same company . might be something to look into.
oh nice man thanks will do. i have been trying to decide if i want to mess with any chemicals and im thinking in a few hard to reach places its the way to go. also i wish i had some power behind my upvote there to actually do something but let me get my wife @tstarnes to get ya something. haha thanks man
hahah i have all the power in this house
thanks for the votes from both of you. everything helps. And i know exactly how that deal goes, i have been married for 10 years.
Originally I thought you posted the before and after pictures incorrectly, I was like ,that one totally looks like the before picture, but then I got it. How are you keeping track of the hundreds of screws, body pins, clips, etc that you must have a ton of, and how are you remembering where they go? Good luck with it, u got a lot of work ahead.
haha everything i take off i put in a little lunch bag and duct tape it to whatever it is. there is a lot haha and i remember some and forget some, the helpful thing is there is a youtube video or instructions for everything so its going to be pretty fun! and yeah hahah demo days come first then hopefully you'll see an even nicer roof later down the road!
Congratulations @procaptainjoe, this post is the sixth most rewarded post (based on pending payouts) in the last 12 hours written by a Newbie account holder (accounts that hold between 0.01 and 0.1 Mega Vests). The total number of posts by newbie account holders during this period was 4598 and the total pending payments to posts in this category was $5778.79. To see the full list of highest paid posts across all accounts categories, click here.
If you do not wish to receive these messages in future, please reply stop to this comment.
this is actually some pretty cool knowledge thanks man! i was absolutely shocked that this happened it literally blew me away. thank you and thanks everyone that took their time to read my post and like it!
Yes i like. It nice job
UPVOTED & RESTEEMED

PROMOTING CAR PROJECTS ON STEEMIT