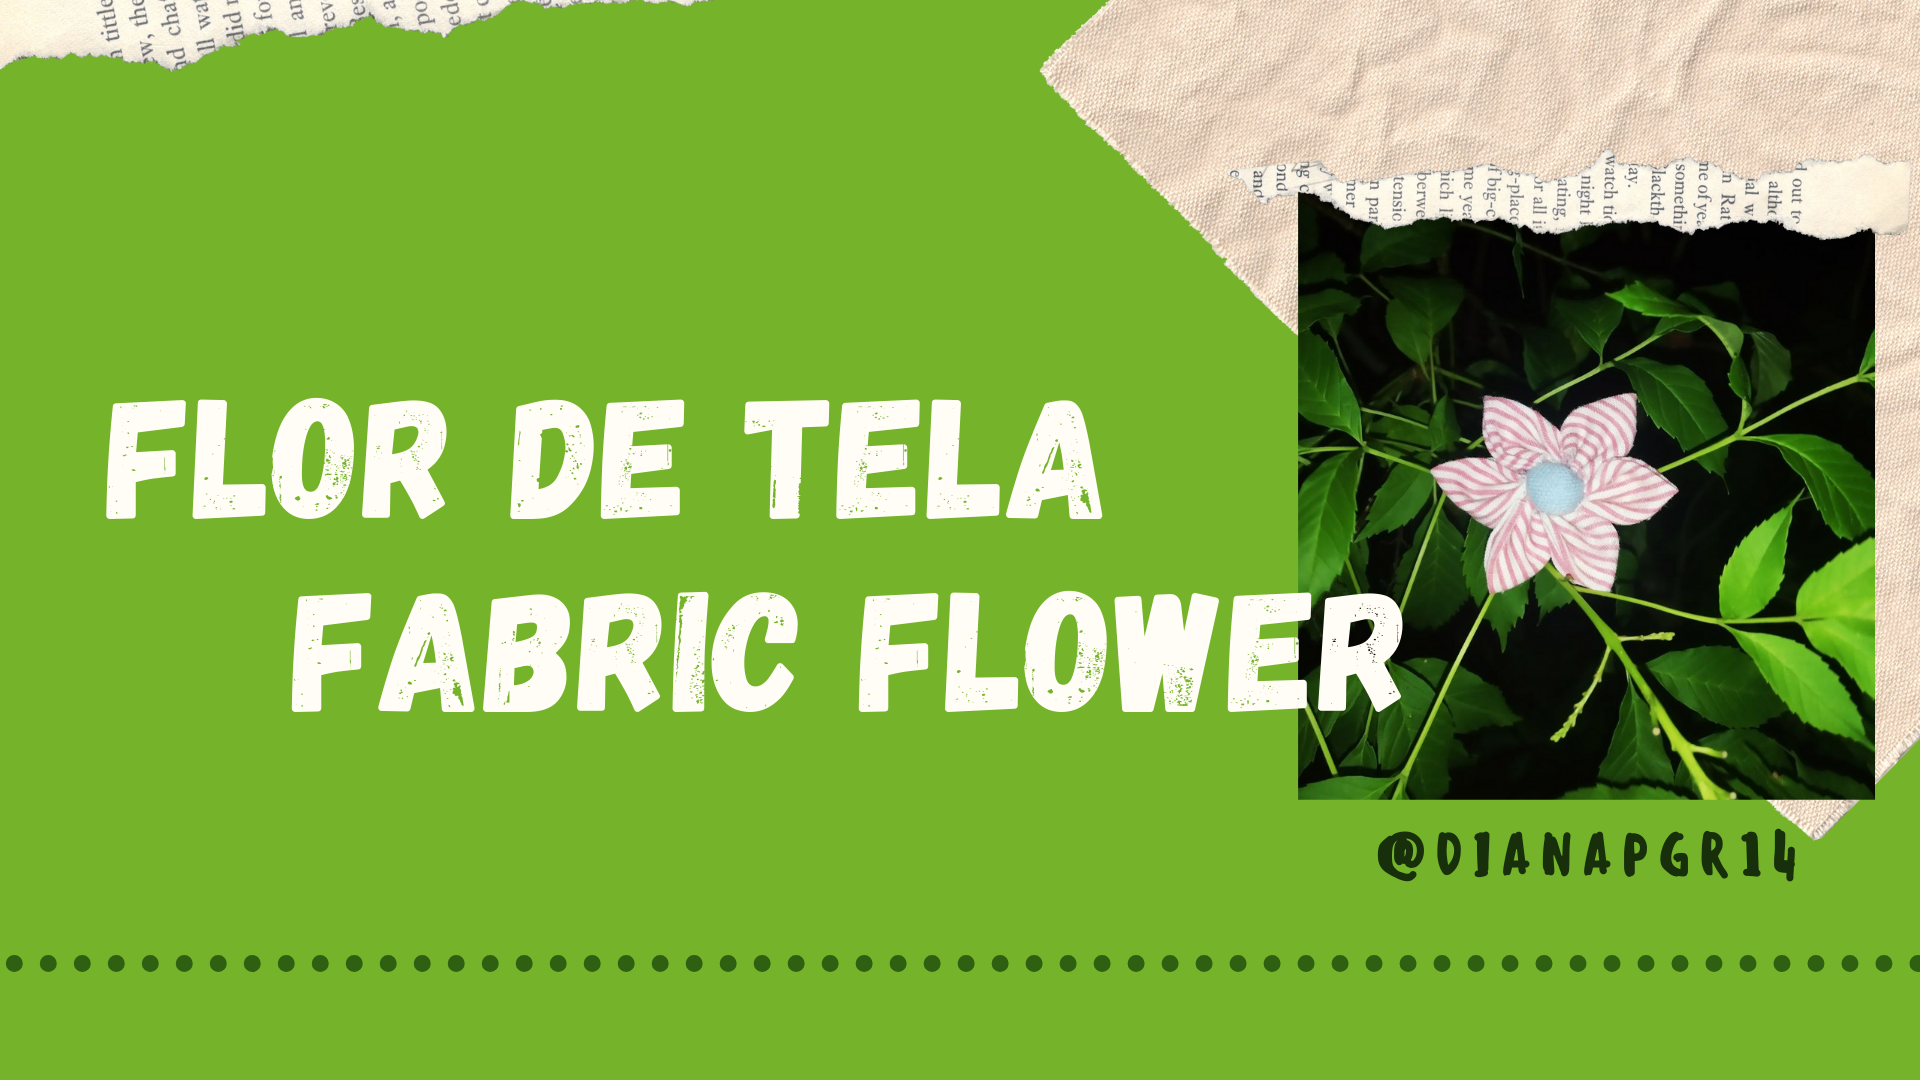
Today I wanted to show you how to make a beautiful fabric flower very easy to make and with materials that we can have at home, I hope you like it.
.png)
- Tela, dos tipos de color que combinen (Cualquier color)
- Tijera
- Lápiz
- Dos tapas, una grande y la otra mas pequeña (El tamaño de los pétalos será según el tamaño que tenga la tapa grande)
- Aguja
- Hilo (Cualquier color)
- Algodón
Materials:
- Fabric, two types of matching color (Any color).
- Scissors
- Pencil
- Two lids, one large and the other smaller (The size of the petals will be according to the size of the large lid)
- Needle
- Yarn (Any color)
- Cotton
.png)
Step number 1: .
First we must take the pencil, the large cap and the fabric that we will use for the petals, in my case I used this pink striped printed fabric and proceed to mark six circles on the fabric on the other side with the large cap, you can make it five petals as well.
.png)
We do the same with the other fabric only that in this one we will use the smaller top and mark a single circle on the fabric, that will be the center of our flower so they must match. .
.png)
Step number 2:
And with all the circles marked proceed to cut, try to cut evenly I did not get so uniform but I know you will get better haha
.png)
.png)
.png)
.png)
Step number 3:
Now we will take the circles that we will use for the petals and you will make a double down and then to one side as you can see in the image, we will do this with the six petals.
.png)
Step number 4:
With our petal already folded we continue to take our needle and begin to make a zic-zac seam at the bottom edge of the petal, we take an amount of thread more or less like this in the image and begin to do the same with the other petals that we already sew them down to the end of the thread, you must make a knot at the end so they do not come out.
.png)
We squeeze them a little so that they take shape
.png)
.png)
Step number 5:
Having all our petals incorporated in the thread we take the other end of the thread and pull it a little bit squeezing the petals we proceed to make a knot with the other end of the thread, we will be like this.
.png)
Step number 6:
It's time to make our center for our pretty flower, we take the small circle and the cotton and we will place a little bit in the center and we will close it making a little ball and we sew it well at the bottom.
.png)
Step number 7:
All we have to do is sew our little ball in the center of the flower or you can glue it with silicone is also an option, you can use this type of flowers to decorate, you can make arrangements with larger flowers, or you can make ribbons or glue some pins as I did.
.png)
.png)
.png)
¡Los quiero!
Well boys and girls I hope you can help and have learned that is the most important thing, do not forget to give me a vote if you liked it, comment, share this post with friends (as) that can work this craft you can save it in case you need it later, thanks for your support.
I love you guys!
.png)
All images are from my audit
This is really lovely. You are resourceful and creative indeed! Did you know that we have a great community where you can share all your handricrafts?! Do check out HIVE DIY!
Congratulations @dianapgr14! You have completed the following achievement on the Hive blockchain and have been rewarded with new badge(s) :
Your next payout target is 50 HP.
The unit is Hive Power equivalent because your rewards can be split into HP and HBD
You can view your badges on your board and compare yourself to others in the Ranking
If you no longer want to receive notifications, reply to this comment with the word
STOPTo support your work, I also upvoted your post!