Oh Christmas tree, oh Christmas tree, how lovely are thy wooden branches
A wooden Christmas tree is still ‘hot and happening’. Ideal for when you have little space or if you don’t want any more trouble with needles falling out. And also super suitable if you have a young dog or a small kitten.
You've probably already seen them in the garden centers, but making one yourself is of course much more fun! In this post you will find a short description and method for making a rotating wooden tree.
Feel free to listen to this song while reading my post. The right tune always creates the right vibe.
Let’s go!

Necessities
- rough spruce wood planks (22×75 mm/210 cm). The lumber can be primed and painted or stained. Or you can just leave it natural. It’s up to you. This will be used for the branches and the smaller blocks.
- A broomstick (2.3 diameter/120 cm). This becomes the heart of the tree.
- Jigsaw
- Pencil
- Measuring stick
- Power drill
- Screws
Step 1 & 2. Measuring, sawing & stacking
The best thing is to saw the boards on a workbench. You can saw the boards with the following dimensions:
- 1 wooden board of 80 cm
- 4 wooden boards of 70 cm
- 3 wooden boards of 60 cm
- 4 wooden boards of 45 cm
- 3 wooden boards of 35 cm
- 2 wooden boards of 20 cm
Of course you can kind of mess with the dimensions, it does not have to be so precise. A more ‘playful effect’ is often a lot nicer. Stack the boards together, then you see what effect the tree gets and based on that you can decide for yourself whether you want to have the boards a bit smaller.
Step 3. Measuring and sawing the small blocks
By means of a jigsaw I have made blocks of about 14 cm each. These are used to give some height to your Christmas tree. Of course you go as high as you want. Keep in mind though that you have enough wooden branches.
Step 4. Drill holes
The size of the holes is the diameter of your broomstick. In my case that was 2.3 diameter. Try to stay nice in the middle.
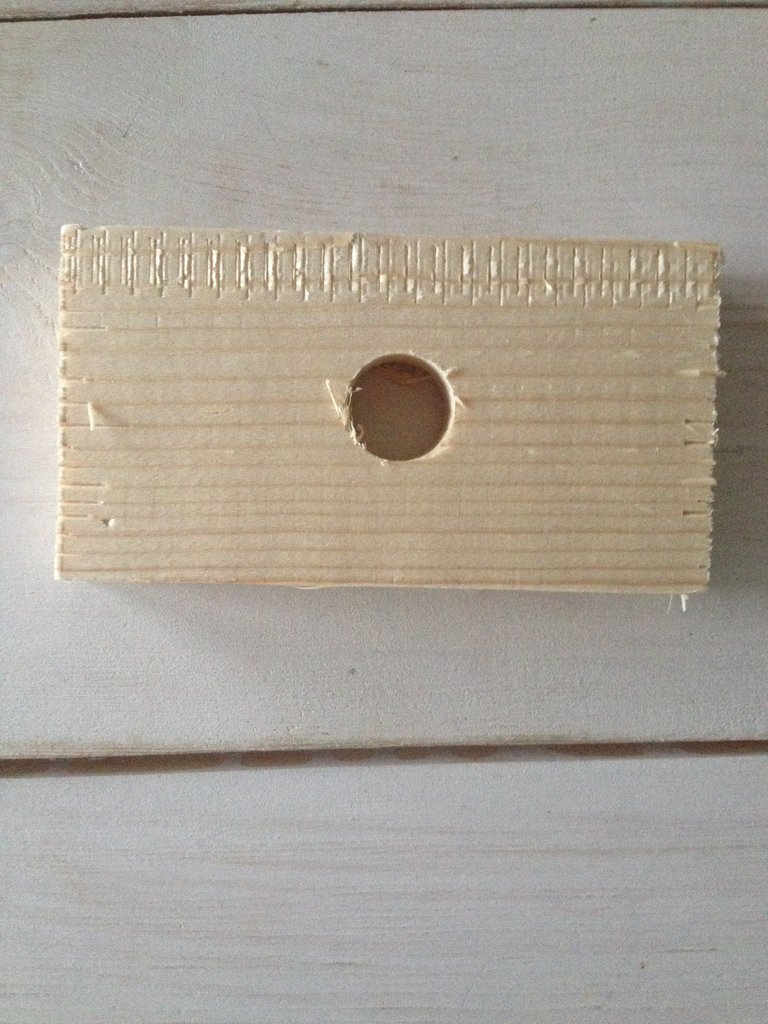
Step 5. Create the base of the tree
This step needs precision. You can do it in different ways.
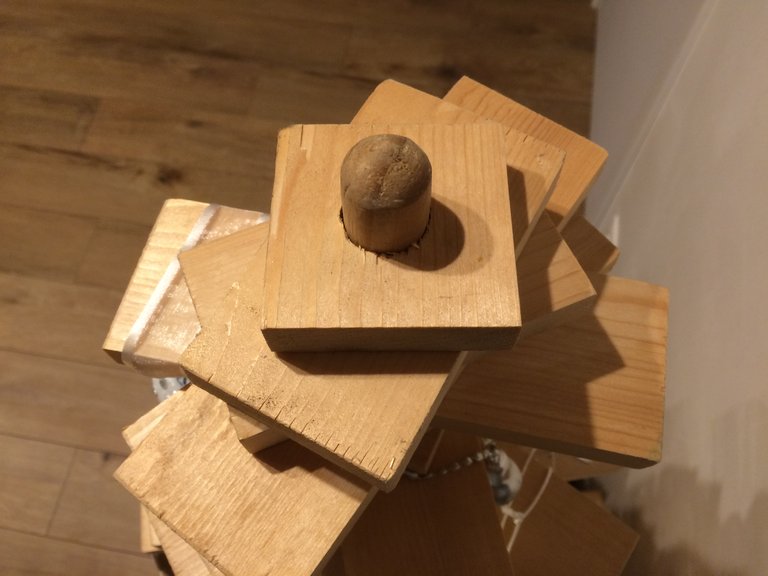
If you are pretty handy, it is best if you take out a piece from both boards in the middle, so that they can fall into each other (these boards should be slightly thicker than those that you use to make your branches). Then you turn the ugly side towards you where you place some screws to hold the boards together. Then you drill a hole in the upper wooden board where you can attach your broomstick. It is important that your hole is not too big. It needs to be tight.

This version was not made by me, hence I searched some examples via the internet. Here you can find the source.
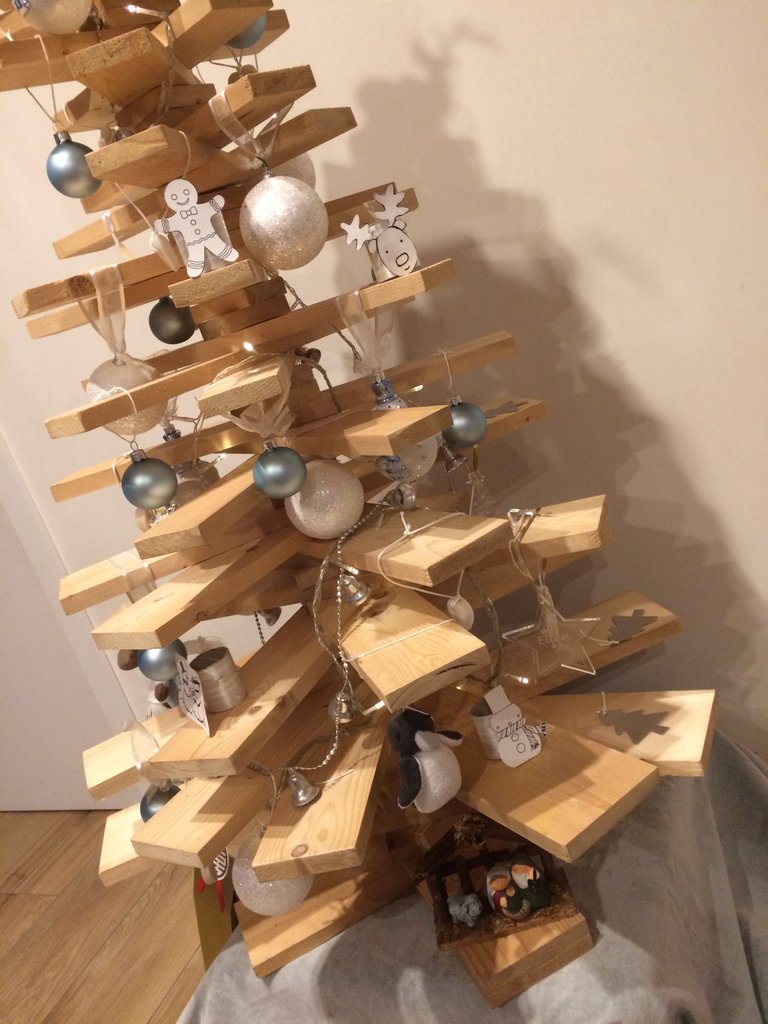
Do you want something simpler? You can place two wooden boards diagonally opposite each other and then join them with screws. At both ends of the highest wooden board you can then attach two small blocks. This way the tree stands firmly on the ground. That's how I did it.
If you prefer another style, there are a lot of examples to be found on the internet. I also like the one below.
Step 7. Build up!
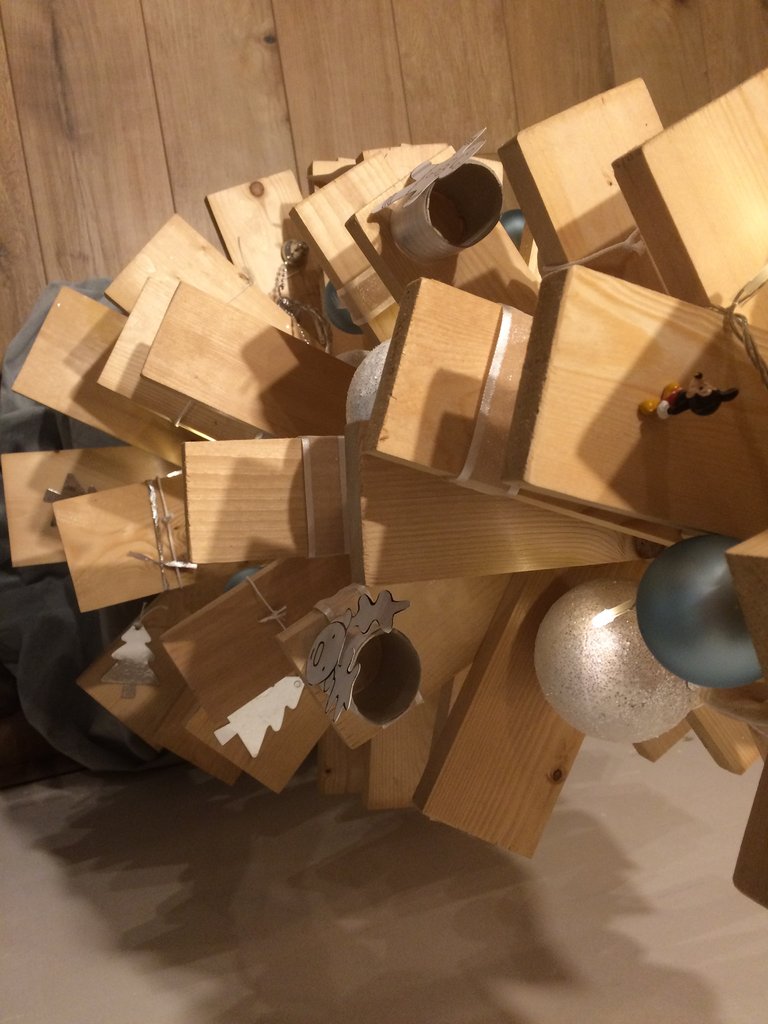
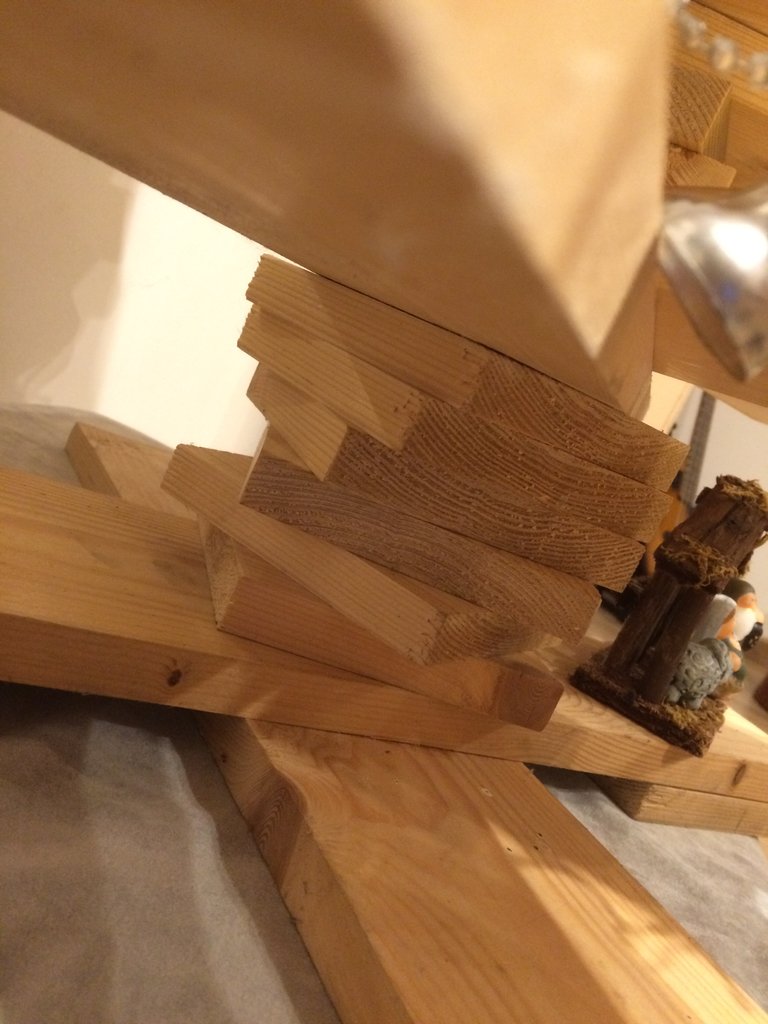
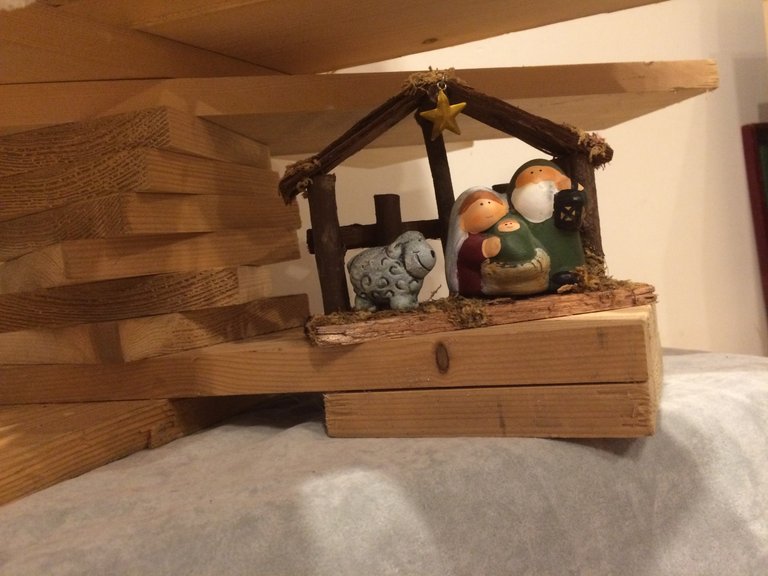
Put the base of your tree on the ground, stick the broomstick in it, stack small blocks and then a 'branch' or two or three. And so on. See for yourself what you like. Don't forget to enjoy the magic!



Wow lovely tutorial
This is one DIY project that is so useful in this festive period.
But it seems some of the pictures is not yours like comparing the woods in the pictures shows that some are whitish than the other. (Am thinking this is as a result of you not capturing those highlighted process while building the Christmas tree, happens most time when we are so glued with what we are doing, hence the search for pictures online).
But in all the tutorial text did a good explanation, but perhaps you could add the sources of the images.
You are absolutely right. Unfortunately, I did not capture all the steps on photo. To avoid confusion, I adjusted the post a little. Thanks for stopping by! Have a nice holiday period.