I have been working on, and building computers since I was very young, at least 25 years...
I will be focusing this guide on an AMD RYZEN build however, Intel should be the same as far as building in concerned.
The first thing you will need to do is Buy a Computer Case.
Depending on the computers purpose I would recommend an Normal ATX Mid Tower for a normal use PC such as office work, school work, browsing the web/email/social media type PC.
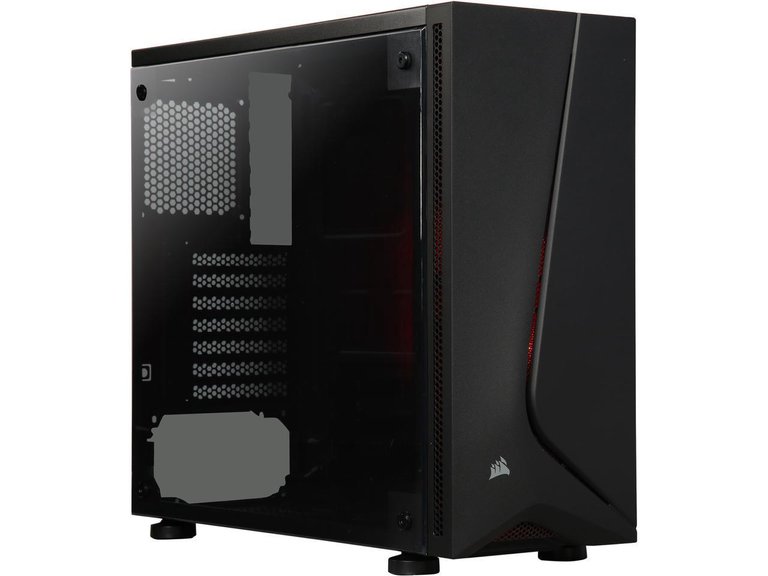
https://www.newegg.com/Product/Product.aspx?Item=N82E16811139122
I would recommend an High Airflow Mid Tower or Full ATX Case for Gaming Rigs.
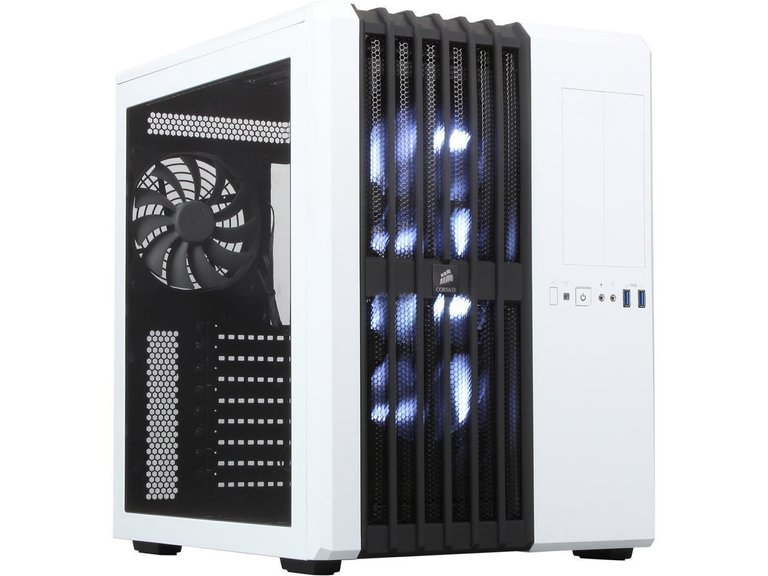
https://www.newegg.com/Product/Product.aspx?Item=N82E16811139032&cm_re=corsair_Air_540
Install your Motherboard Standoffs into the case...
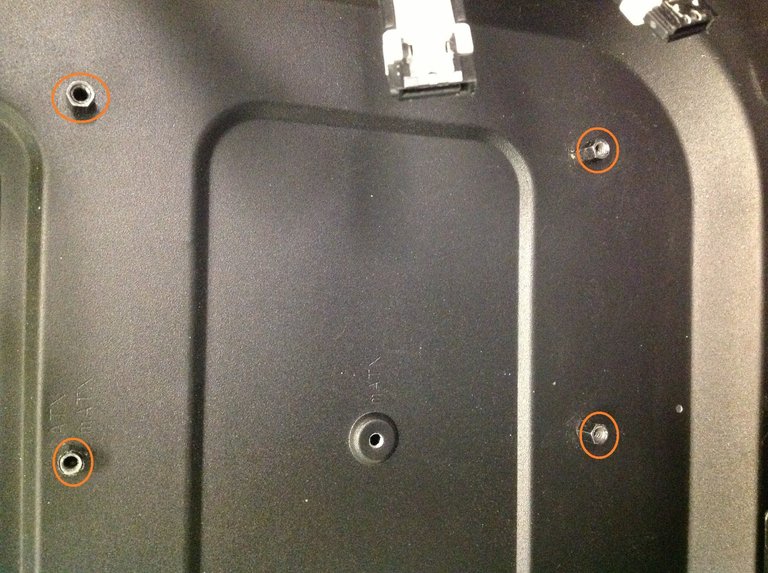
Look at the motherboard, and look inside the case, determine where the standoffs need to go to mount the motherboard, install them into the case first.
Now you are going to need a Motherboard I would recommend Micro ATX for social media/email/ etc normal use computer.
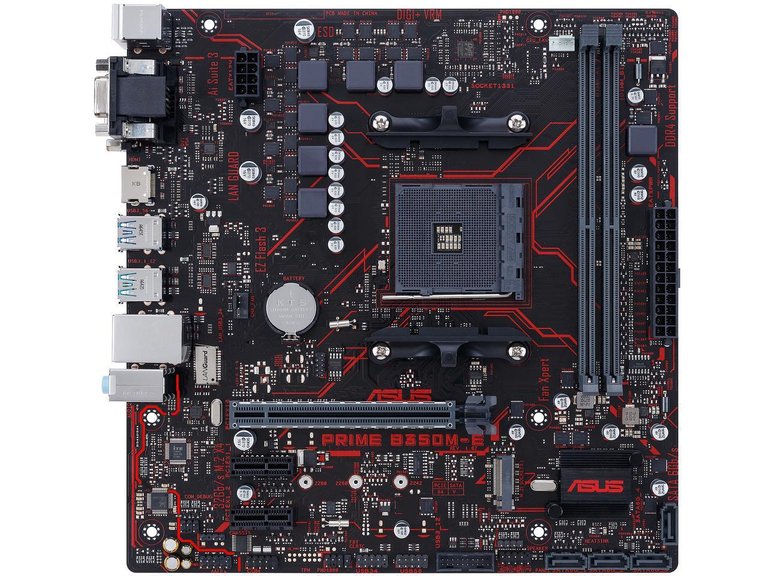
https://www.newegg.com/Product/Product.aspx?Item=N82E16813119020
I would recommend **Full ATX motherboard for Gaming Rigs
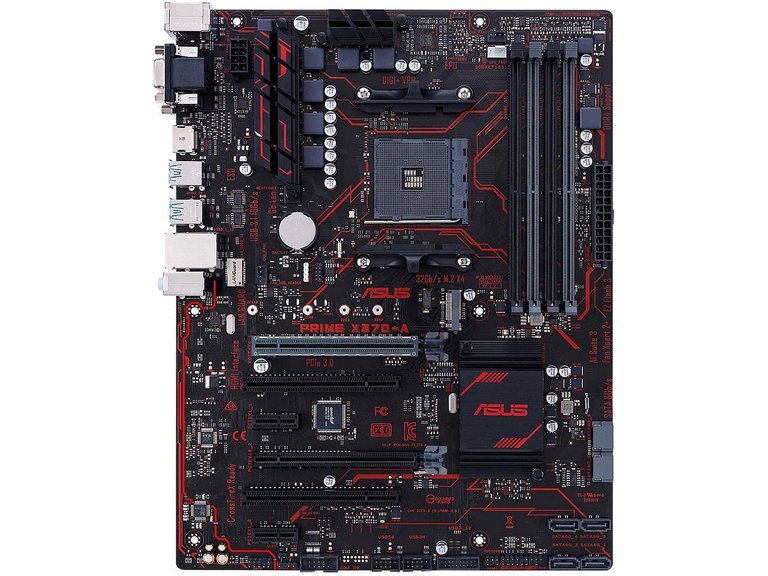
https://www.newegg.com/Product/Product.aspx?Item=N82E16813132986
Now install the Motherboard I/O shield into the case by popping it in place.

Watch it because it will slice your finger open in a second usually !!!
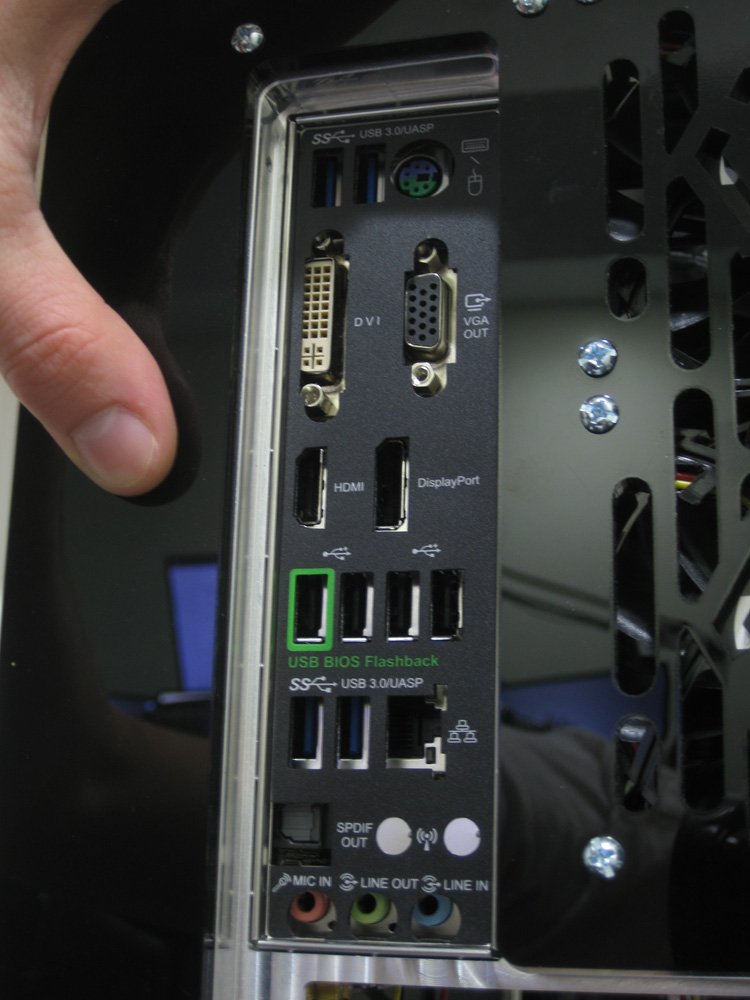
Once that is in place, It is time to put the motherboard inside the case line it up kind of at a slight angle, with the I/O plate you just installed, and the Standoffs you installed earlier. Use the screws provided to screw down the motherboard to the inside of the case, and double check everything.
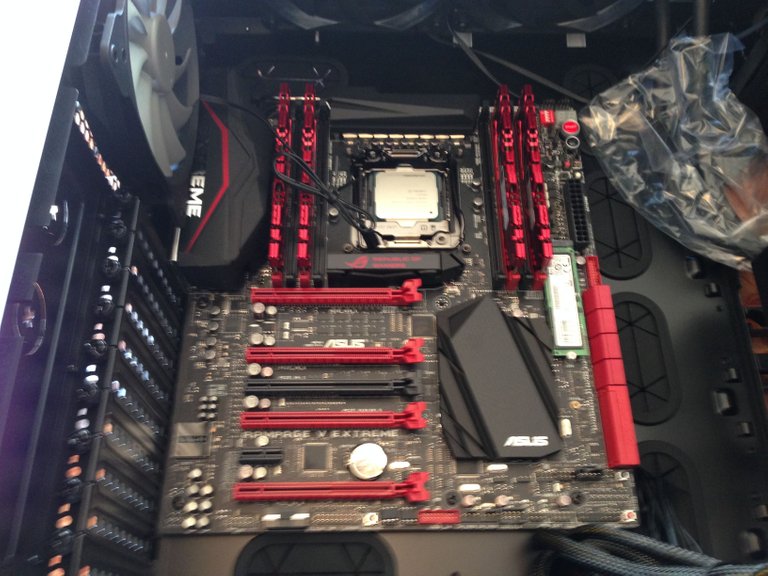
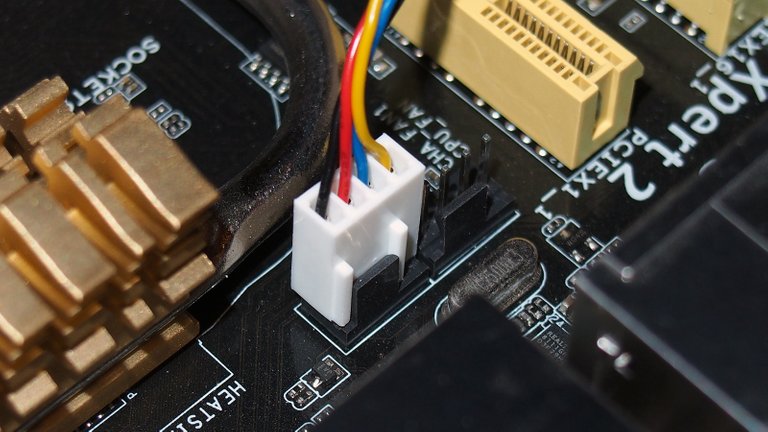
At this point go ahead and plug in the Cooling fans power connectors to the motherboard.
Now we need to select a CPU/Processor since we are building a gaming rig here, I will chose the AMD RYZEN 1600X
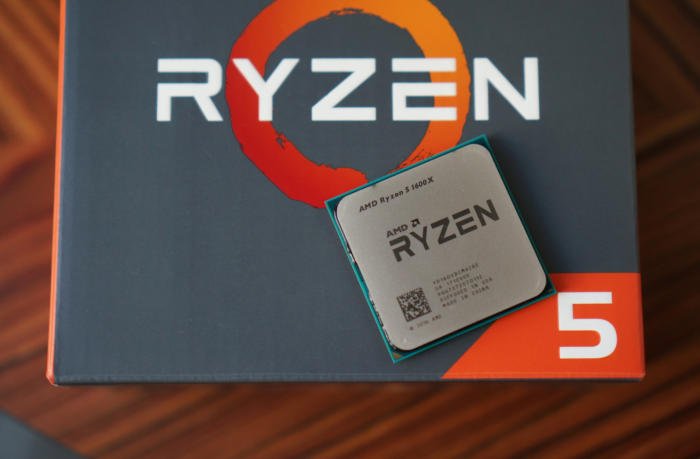
https://www.newegg.com/Product/Product.aspx?Item=N82E16819113434&cm_re=ryzen_5_1600x--19-113-434--Product
Now install the CPU into the motherboard, into the cpu socket, make sure to be very careful, do not bend any of the pins on the CPU. Look on the CPU for an arrow, or guiding mark, that will also be on the Motherboard Socket, match those up and gently set the CPU into its socket, and latch down the Retaining clip.

Now it is time to install the Power Supply ! Very important do NOT cheap out on the PSU/Power Supply Unit.
Since I am building a gaming pc I am going with a 750w EVGA Gold Rated PSU
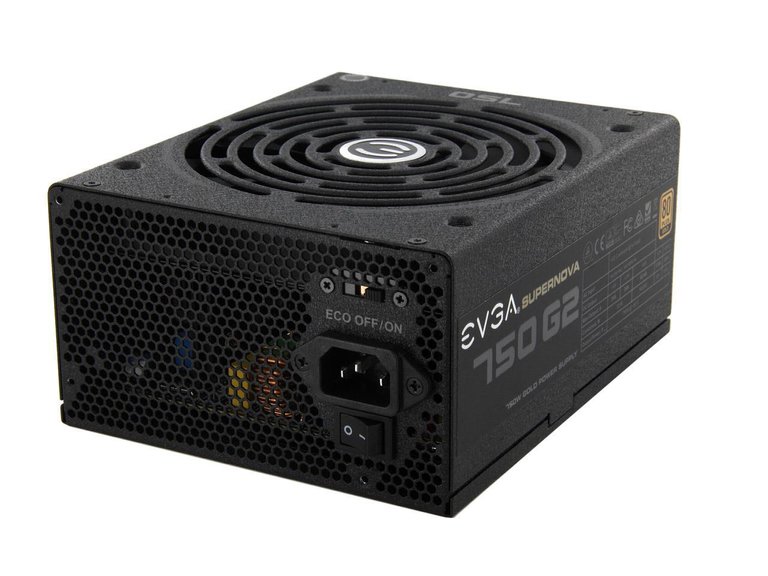
https://www.newegg.com/Product/Product.aspx?Item=9SIA6ZP3R88399
Slide the Power Supply into the case, and secure it with the 4 screws provided to the case.
Run the wires to where they are going to be going in the case to plug into what they are going to be plugging into, route your cables through the case to where they are going to taking as little space inside the case as possible you want as much slack cable outside the case in the rear as will fit, while reaching where it needs to go.
First plug the Main 24 pin power connecter into the Motherboard, then plug the power into an DVD/Bluray drives , and Hard Drives/ SSD you are going to install.
Prerun the wire for the GPU to where it needs to be.
It is time to install the GPU/ Graphics Processing Unit. This is very important because it is the Magic card that will make your games run at good FPS, with little to low lag/ artificats etc.
I have chose the AMD RX 580 8GB
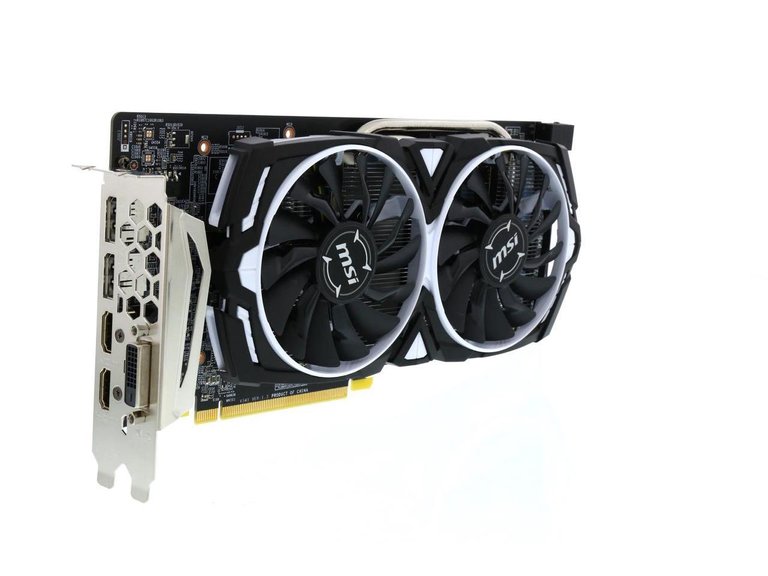
https://www.newegg.com/Product/Product.aspx?Item=N82E16814137118&cm_re=amd_RX580--14-137-118--Product
Plug the Video card into the PCI-E slot on the motherboard, and secure it with screws provided, unless case has another method of locking cards into place.
Now take the Power cables for the GPU and plug them into the Video Card.
Now its time to install the Ram Memory. The motherboard will tell you in the specs what type, speed, etc of ram is supported as well as how much ram is supported. Be sure to look out for * symbol beside the ram speeds as this means it is only supported that speed if overclocked. For simplicity we are NOT using overclocked ram. The max speed the motherboard in this guide supports Without Overclocking is DDR4 2666 speed.
I am going to use 16GB, but it is 2 x 8GB sticks. Ballistix Sport LT ram.
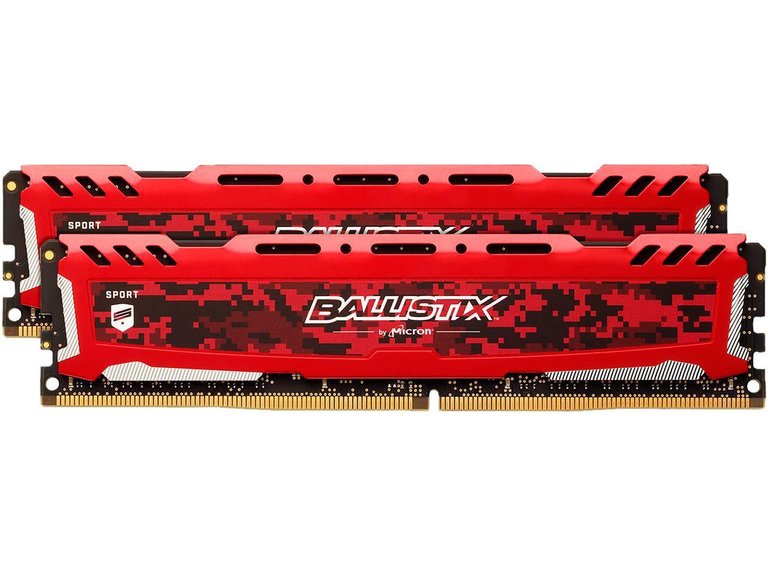
https://www.newegg.com/Product/Product.aspx?Item=N82E16820164034
Look at the motherboard, and look at the ram sticks, There is a small slit in the ram line this up with the motherboard, and snap the ram into the motherboard you should here a click. Older boards and some new ones have 2 ends that snap into place. Most new boards will have 1 end that is stationary, and 1 end that snaps into place.
Now that we have all of that plugged in, secured, etc lets move on...
You need Hard Disk Drives or Solid State Drives to install windows Operating System, or Linux or whatever it is your using onto. We are going to install a SSD for windows install, and a normal HDD for games, and programs etc.
Some of the highly used programs such as Photoshop, or a game or 2 you really want the best performance on can be installed on the SSD if you buy one big enough. I am using a SAMSUNG 500gb SSD
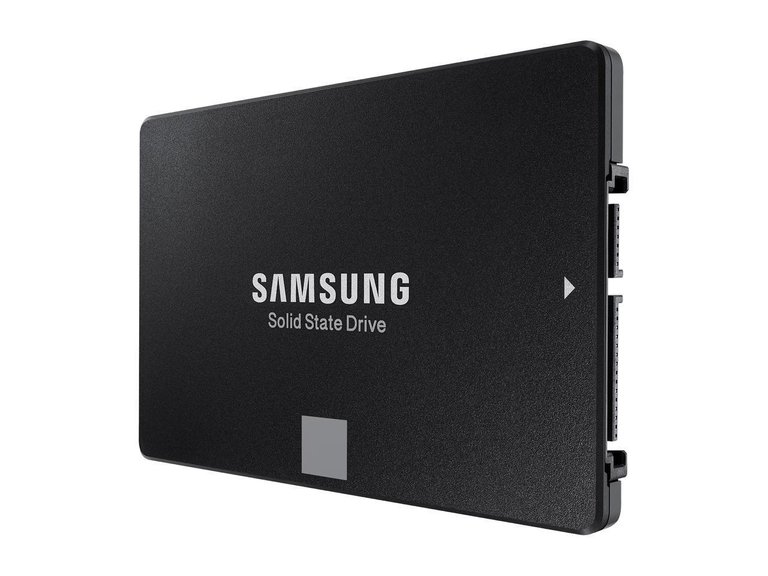
https://www.newegg.com/Product/Product.aspx?Item=N82E16820147674
Normal HDD I am using a Seagate BarraCuda 3TB HDD
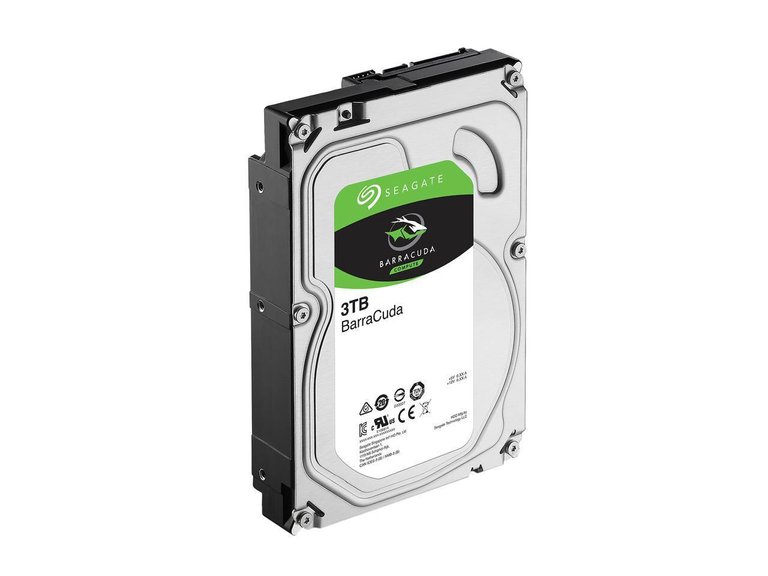
https://www.newegg.com/Product/Product.aspx?Item=N82E16822178994
Make sure you install the CPU cooler, the 1600x We used for this build does NOT come with one, if your cpu does then install it, its easy to see how they are installed, the aftermarket ones will also come with instructions for this.
You need to make sure you First install some CPU Thermal Compound.
put a dot in the middle like this...
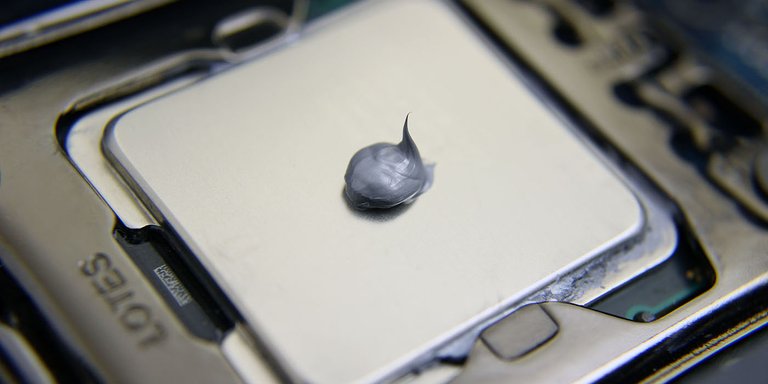
Put the heatsink onto the cpu and tighten down the screws to the motherboard, or use the clips provided.
Make sure you plug the COOLER fan plug into the motherboard.
Make sure you run the SATA cables from the DVD, and HDD, SDD etc.. to the Sata Ports on the Motherboard.
Now you are all ready to turn the PC on for the first time, however you will need an OS disc or USB drive ready to install windows or linux onto you machine.
You can purchase this about anywhere that sales computers, or download them from the usual places.
You place the disc in the dvd drive, or plug in your USB flash drive with windows on it, and turn on your computer for the first time, Make sure you have already plugged in your monitor, keyboard, and mouse first.
Now it should say what button to push to load from a disc/usb most computers it is F12 or F11 or F10. Some computers are ESC key , you will have to figure this out, or else you will need to enter the bios and set the boot devices to first boot from DVD/USB.
once you select the correct setting, the install process will boot up, you need to select CUSTOM install windows.
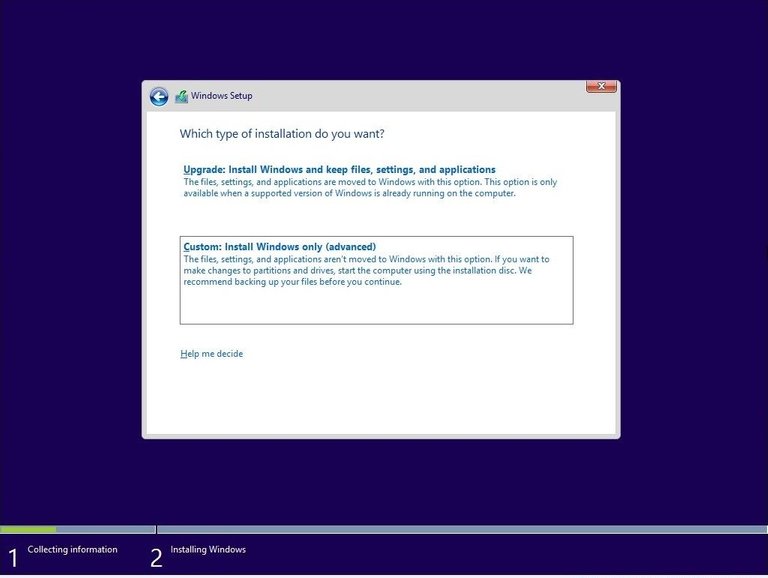
Next we are going to make a Windows Partition on the SSD.
Make sure in the list you select your SSD and click NEW.
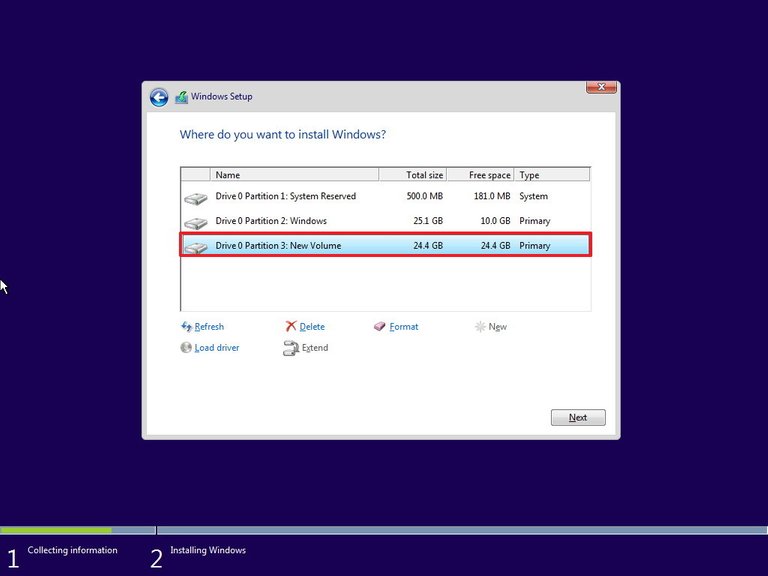
Once it makes the Partitions select NEXT, the install process has begun all you have to do is set back and wait for Windows to be installed.
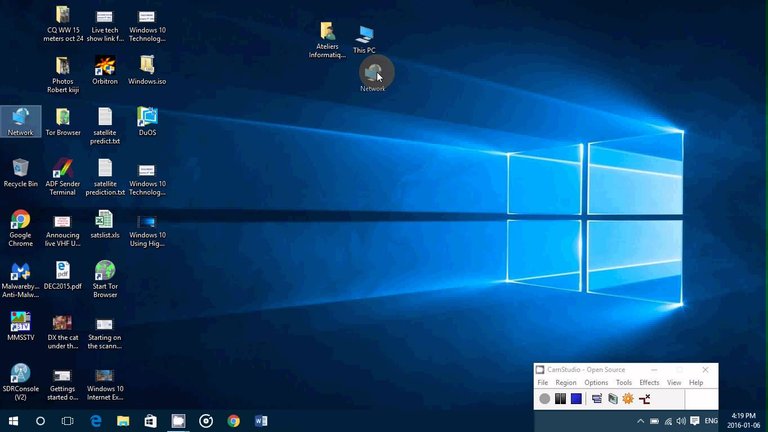
After Windows is installed, setup the computer step by step until you make it to your DESKTOP.
.jpg)
Now make sure the computer is connected to the internet, and go to the motherboard manufactures website, find your model, and download all the LATEST DRIVERS for your computer, the ones on the disc provided are OLD, and OUTDATED.. if for some reason your Internet/ LAN/ NETWORK card is not installed you can install this off the disc to get on the internet, then download and install the drivers.
Make sure you go to the VIDEO card website and do the same, make sure you get the latest video drivers for your card.
Now you are all set, enjoy your new pc.
I hope this helps someone if you liked it please, UPVOTE, if not have a nice day anyway.
How beneficial is this over buying a prepacked computer?
I never buy a Prefab PC, first of all because you never know what parts your actually getting, most prefab unless you go with a really high end ,Expensive model, are using bottom of the bin, sometimes even lower tier parts in them. Such as a Cpu that runs slightly slower than its supposed to because it was a lower bin part that did not perform up to retail standards therefore is sold in bulk to companies that produce cheaper computers and sale to wal-mart etc.
Building yourself you get first of all experience it, second of all know exactly what parts are going inside your computer, quality top bin parts, that mean their clockspeeds etc... Name brand parts, no off brand ram etc.
3rd you get to feel accomplished in the fact you built this yourself, also I have found building your own PC if you do a good job, can last much longer than Prefab PCs. Most wal-mart jobs I work on last around 2-3 years if your lucky before something happens , ram, hdd, power supply etc goes out. But because the parts you can order reail are much higher quality, they tend to outperform, and last longer. My longest running Custom build is going on 12 years and still running to this day... Its not super fast by todays standards but other than a few replaced case fans I have had no issues.