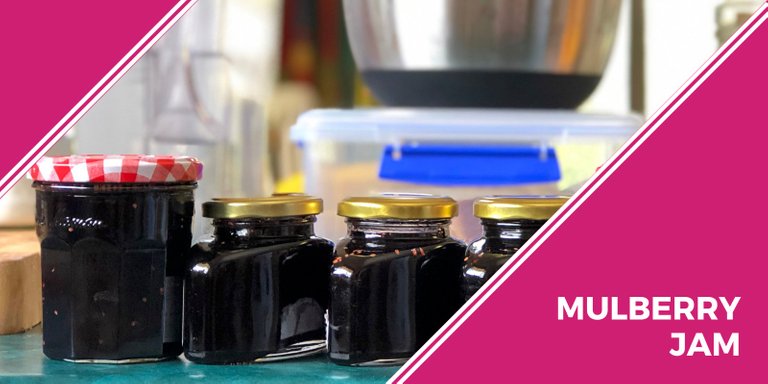
Every year, I'm so stoked at the number of berries our two little potted Mulberry bushes are giving us. Virtually every single branch is loaded with yummy berries. The youngest branches are bending almost touching ground due to the weight from the berries.
Although we love eating the berries and benefiting from all the nutrients we get from them, I like testing other ways of consuming the berries. Last week, I tried to make some Mulberry syrup which was quite nice. This weekend I tried to make some Mulberry Jam which was not a great success but my talented wife managed to save the batch as I will explained later on.
Ingredients
- 1 kg of Mulberries
- 600 grams of raw sugar
- the juice of two or three lemons
- ½ cup of water at room temperature
The instructions
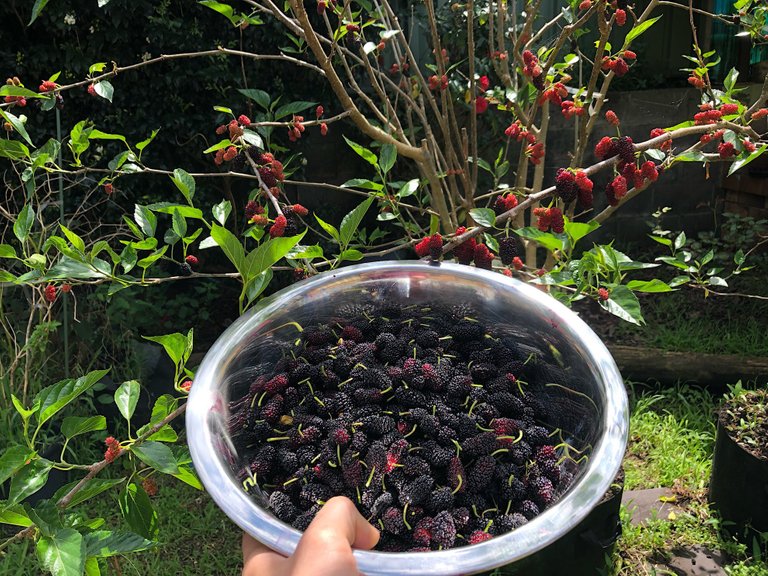
First of all, go and pick some nice and fresh berries. You can pick them and freeze them for later use but as my Mulberry bushes are fruiting I just went out and pick them and make the jam straight away.
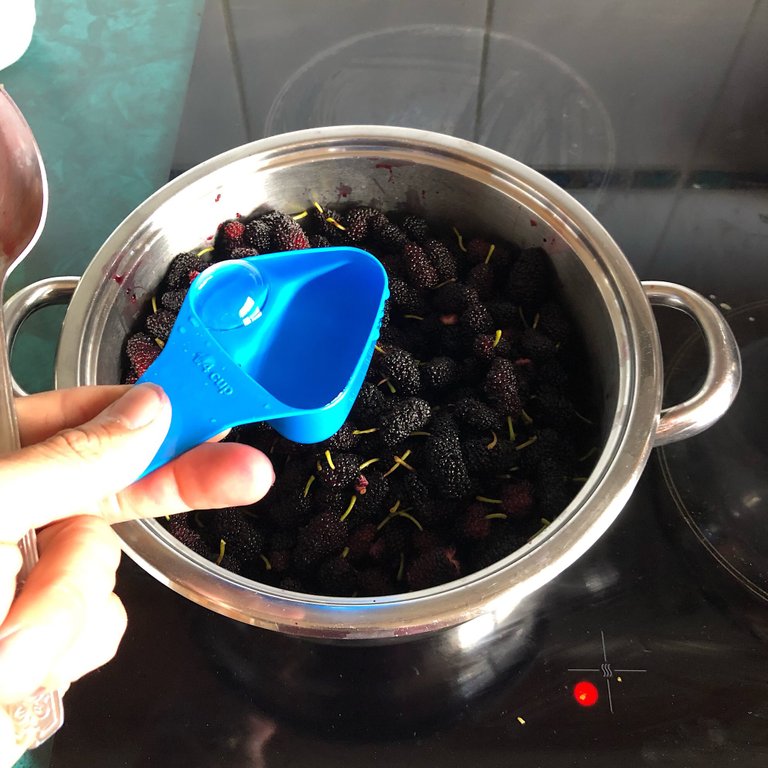
Rince the berries and remove any bad ones, leaves and any insects. We personally don't bother removing the stems. Add the berries and the water into a pan. I find the water helps cooking the berries without burning them at the bottom.
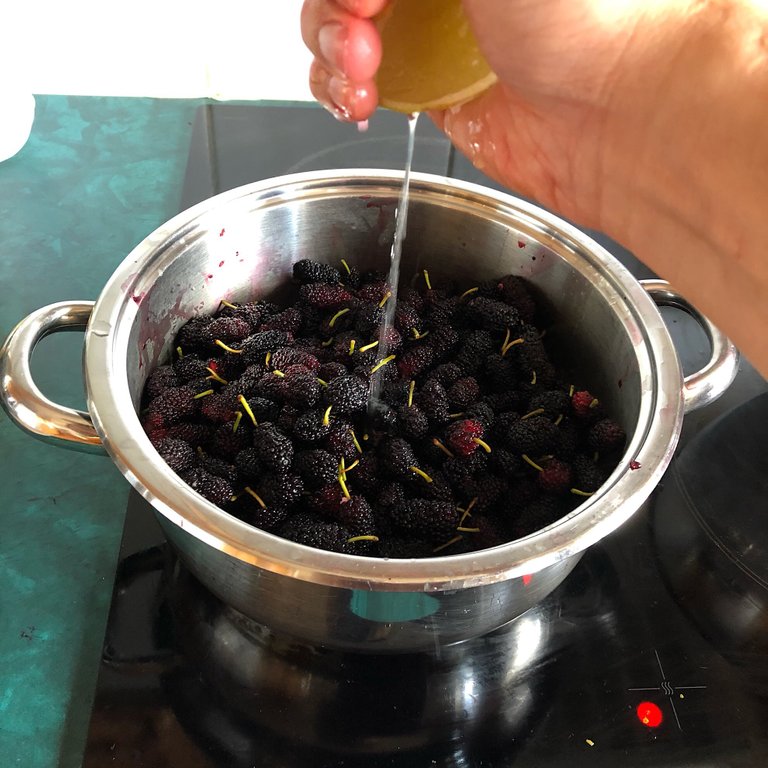
Squeeze the juice off the lemons. You can choose to add more or less juice depending on your taste. We personally do enjoy it to be a bit sour or else the sweetness might be a bit too overwhelming.
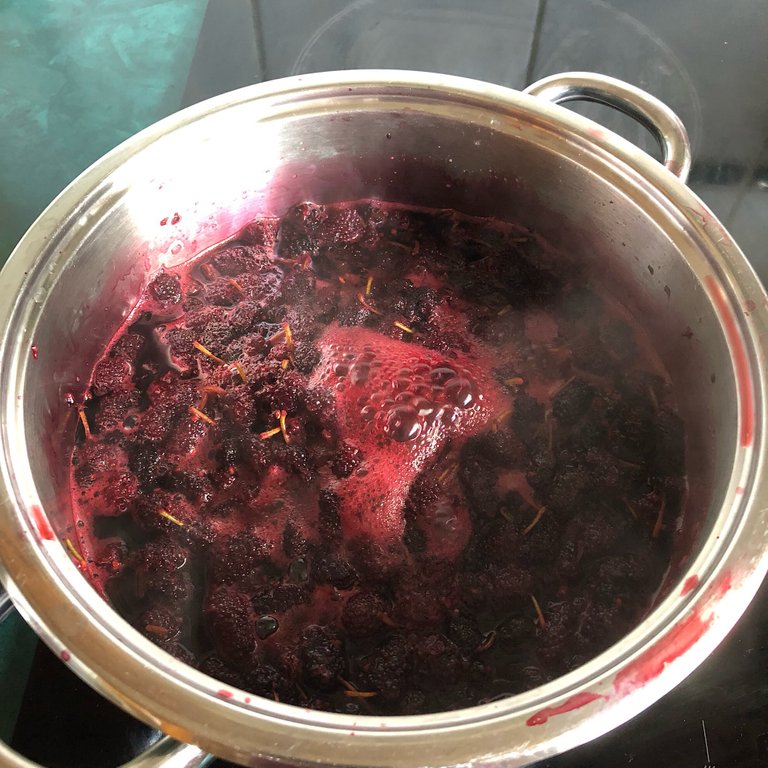
Turn the heat to highest setting and stir continuously until boiling point. When you can see it boiling, stir some more for a minute and turn off the heat. You should already be smelling some very sweet berry smell.
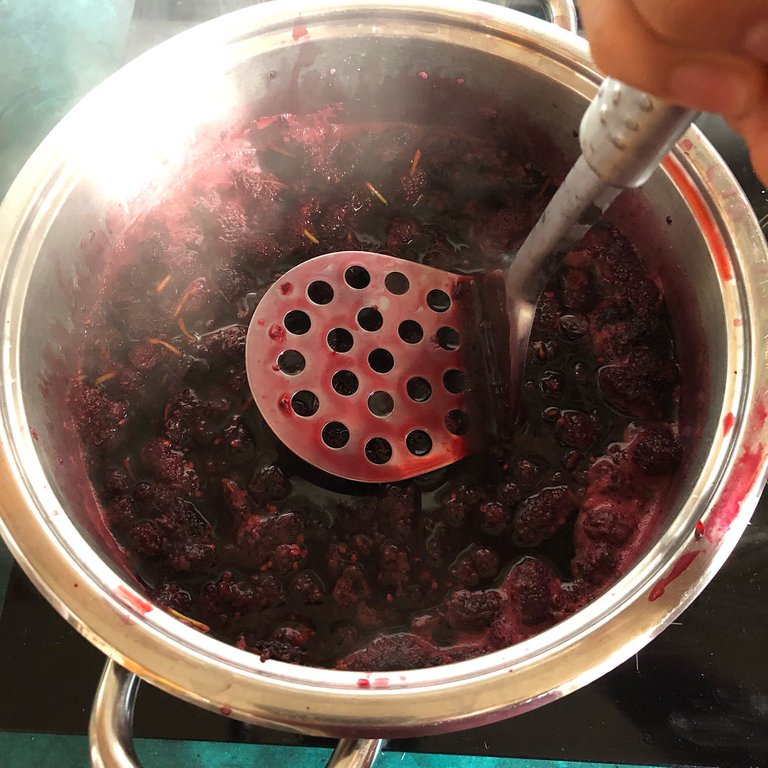
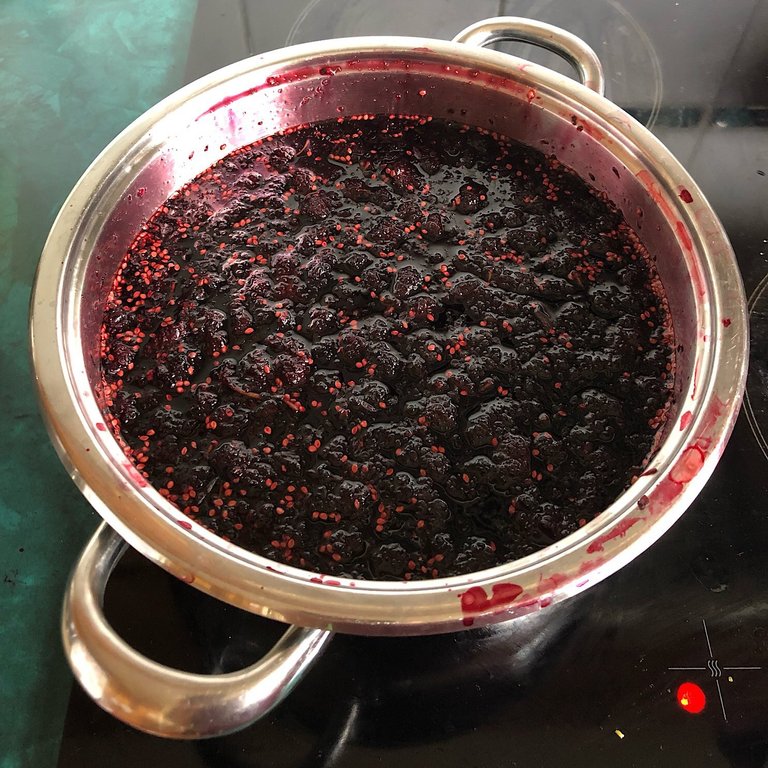
With a potato masher or wooden spoon, mash the berries down. Here is also a personal taste but we don't blend the berries and don't mash them too much. We like having some of the flesh in the jam to add texture to it.
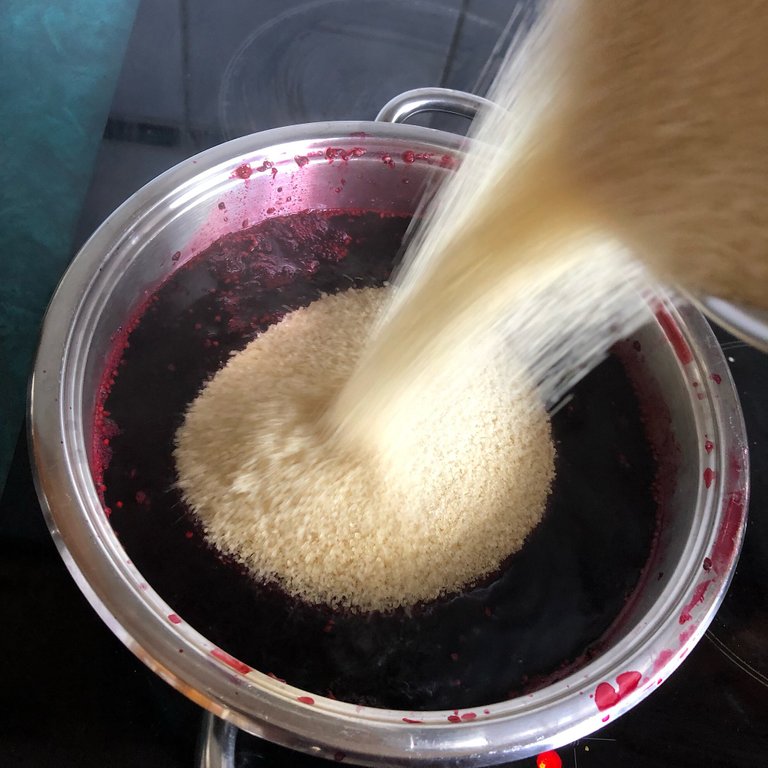
Now add the sugar to the mix. Some recipes go for adding sugar in same amount as berries either by volume or weight. I initially used the same weight of berries/sugar but that was way too sweet to our liking.
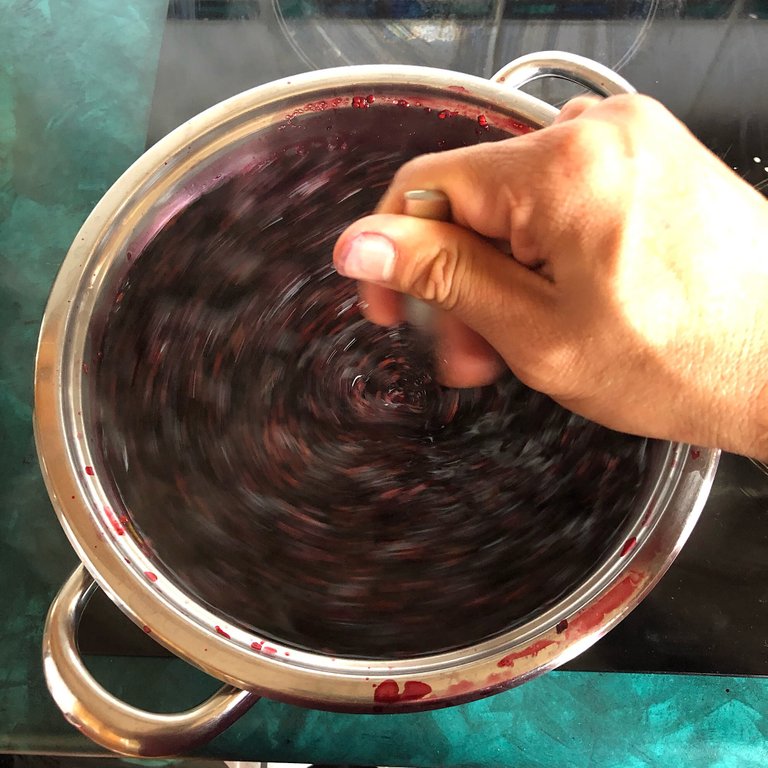
Now stir thoroughly until complete incorporation of the sugar. Then turn on the heat to medium or slightly lower and regularly stir to prevent burning at the bottom. I set a repeating 5 minutes timer and let it go for about an hour or so.
Once the jam got to a consistency you would like for a jam, turn off the heat. I used a spoon to stir the jam and left it in an empty bowl. As I went to stir some more, I checked the stain inside the bowl, as it cools down it got thicker, that was a kind of indicator for me. But you need to keep in mind that once cooled down, especially if you keep the jam in the fridge, it will get even thicker when set.
Another thing we do before turning of the heat is set the heat to highest again for about a minute or two and then turn off. It seems to help with setting the jam as it cools down.
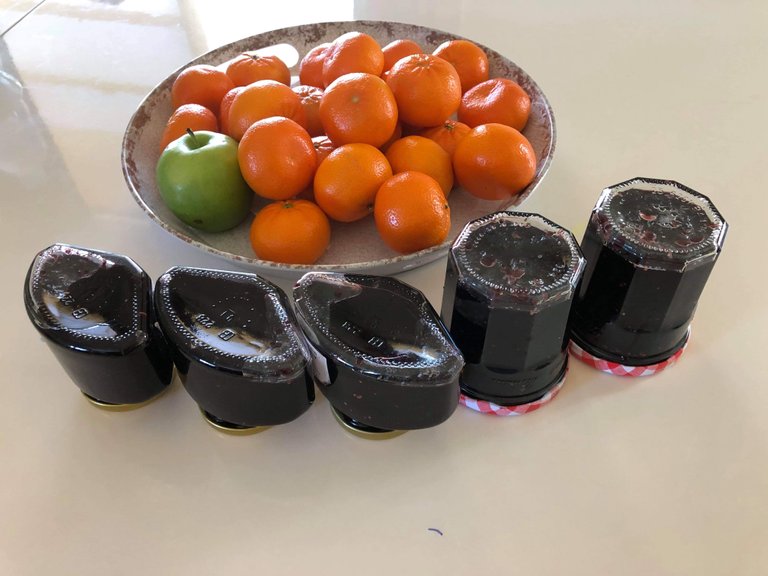
As mentioned earlier, I initially used same weight of berries/sugar and it ended up too sweet. We thought that when spread on a bread or pancake it would be better and indeed it was better but still not enough by far. So, the next day, my wife decided to empty the jars back into a pan and added some more berries to reach a 5:3 berry to sugar ratio (500g of berries for 300 grams of sugar) and it turned out perfect!
The funny thing is that she noticed that after emptying the 5 jars and adding some more berries to it she ended up with the same 5 jars, no more no less 🤔🤣. But now they have the ideal balance of sweetness, sourness and berry flavor.
For the jars, we used some from store-bought jams and honey. They we pre-washed and the sterilisation was done by just pouring the hot jam into them. They were then finger tighten and turned upside-down. The high heat from the jam would sterilize the sides of the jar and the air inside it. As it cools down, the trapped air pocket will shrink down and the void that is created would suck the lid creating an airtight seal for longer shelf life.
Previously on my blog:
- Discovering Chimarrão a caffeinated drink from Brazil
- Homemade Mulberry Syrup
- Germinating my Aji Amarillo chili seeds
- My favourite bread machine recipe
- Spring gardening
- Small yield of black turmeric (Curcuma caesia) and orange turmeric (Curcuma longa) in Gosford.
Vote for my witness

On Steem, Witnesses are playing the important role of providing a performant and safe network for all of us. You have the power to choose 30 trusty witnesses to package transactions and sign the blocks that will go in the Steem blockchain. Vote for me via SteemConnect to help me do more useful projects for the communities.
Credits
- The image at the top has been generated with the Canva app using my own photo.

Banner by @josephlacsamana
Protect your money against Phishing Scam!
Cryptos accounts are the target of international scammers because they want your hard earned money!
Those people are very clever and in a moment of inattention, you've given them your login and password!
I've created a Chrome extension that can help you detecting scam links!
Install Steemed Phish Chrome desktop browser extension now!
Password and Private Keys security
You all know that your Steem password is the access to all your STEEM, SBD, posting, transferring, everything... right?
So, please, follow these simple steps and keep yourself safe:
- Apart from the initial setup of your account, NEVER use your password ANYWHERE, if stolen, it will give full control to your Steem account.
- Backup your password and keep it somewhere safe. Use a password manager like Lastpass, print it on paper and put it in a safe (no kidding). If you forget your password, no one can help you out.
- To login for creating content and curating, use your Private Posting Key
- To make transfers and account operations, use your Private Active Key
- To encrypt and decrypt memos, use your Private Memo Key


Useful to know about the jam sterilising the jar, we used to do an approximation by pouring boiling water into each jar (emptying them out was fun even with gloves on XD).
Might try this if we ever get enough fruit. Our mulberry tree is sprouting pretty late, but we live with three plagues of locusts craftily disguised as children so any fruits that might be found rarely gets to the house XD (the lemons are an exception because the lemon tree never stops fruiting)
Sterilising with the jam also saves on water.
Lemon jam ? 😀
Posted using Partiko iOS
LoL not sure about lemon jam XD Maybe I should get the kids to make lemon butter or there's probably some other kind of lemony spread that can be made.
https://www.bbcgoodfood.com/recipes/lemon-marmalade
Posted using Partiko iOS
"Ingredients
Um, 1/2 of how much water?
I've thought about adding mulberries here. They used to grow in a town west of us, so might grow here...
Oops. Sorry. It’s 1/2 cup of water.
Posted using Partiko iOS
I remember sitting in the mulberry trees eating the delicious fruit. If only I had some mulberry trees now, I would make your yummy jam. Maybe one day.
Yes, definitely try to plant one
Posted using Partiko iOS
You are so lucky to get to mulberries. We had a tree when I was a child but nobody knew all the benefits back them. I ate them my entire childhood! Then my uncle had to cut down the tree and I haven't eaten them again ever since (or at least the fresh one). You are really really really lucky :)
I know! I have many memories of my childhood sitting on a mulberry tree eating the berries. That’s why I planted these in pots in my small backyard.
Posted using Partiko iOS
Yum! So good.
I knew you would like this post 😜
Posted using Partiko iOS
Perfect! Our mulberry tree just started producing another round. We have everbearing types. I'm not sure they will be ready in time before the first frost but either way, it's great that they are so productive and so so delicious! I'll try out your recipe once we get a good bushel to harvest. Thanks for sharing!!
Everbearing are great. That’s what I have too.
Posted using Partiko iOS
Great, thanks for sharing!
Congratulations @quochuy, you have received a 80% upvote. I'm the Vietnamese Community bot developed by witness @quochuy and powered by community SP delegations
Ohhh, Canada :)
Hi, @quochuy!
You just got a 1.27% upvote from SteemPlus!
To get higher upvotes, earn more SteemPlus Points (SPP). On your Steemit wallet, check your SPP balance and click on "How to earn SPP?" to find out all the ways to earn.
If you're not using SteemPlus yet, please check our last posts in here to see the many ways in which SteemPlus can improve your Steem experience on Steemit and Busy.