I know, I take bad pictures
I made this as a thank you for my friend Jamie, so these brownie cake snacks are a lot like them - flexible, soft and very sweet.
This is massively easy (so many mean jokes, bad DM-Jo) and you should only have to clean a couple of spoons and a couple of dishes by the end of it, especially as most of the mixing is done in the cooking tray.
Want a vegan-friendly version? Use vegan friendly chocolate or try changing the topping up with some Gooseberry or Raspberry jam, sprinkle with icing sugar or smother in maple syrup. Swap out the mayonnaise for a cup of vegan-friendly butter and the egg for egg substitute or a tablespoon of easy bake yeast.
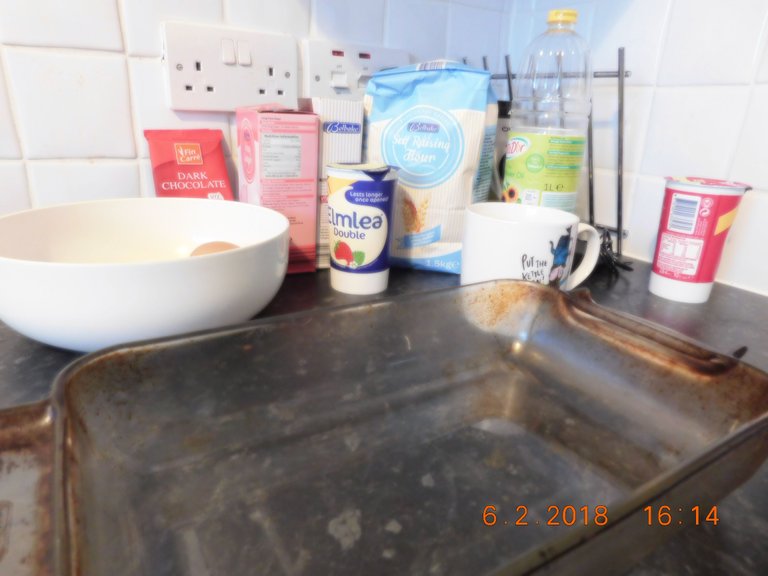
Ingredients (makes a large tray full, approximate cost is £3 for the tray and can serve up to 16 people)
1 x cup of self-raising flour
1 x cup of cocoa
1 x cup of icing sugar
2 x bars of cheap chocolate
2 x eggs
A massive dollop of mayonnaise
Decorative stuff you want on them (I used marshmallows).
A touch of cream (if you want the topping to be more like a solid chocolate sauce than just plain chocolate).
Cooking stuff
Microwave
Cooker
Baking tray
Microwaveable bowl
A knife and a couple of spoons
Why cups instead of measurements? Not everyone has access to scales, this way everyone can still make the recipe as it's all kept in a similar size – use the same size mug/cup for each ingredient!
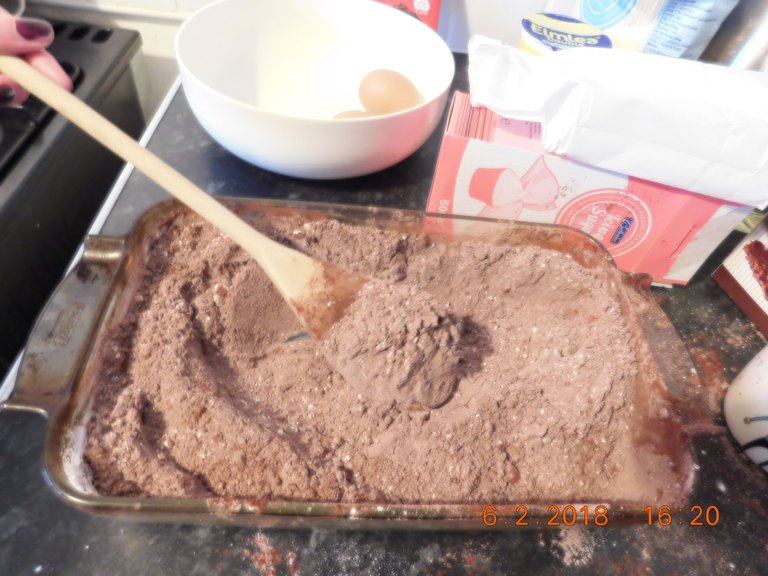
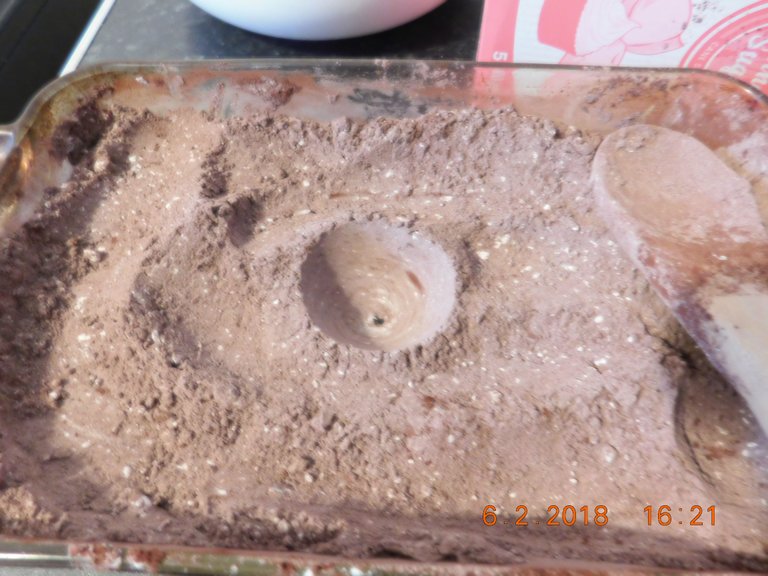
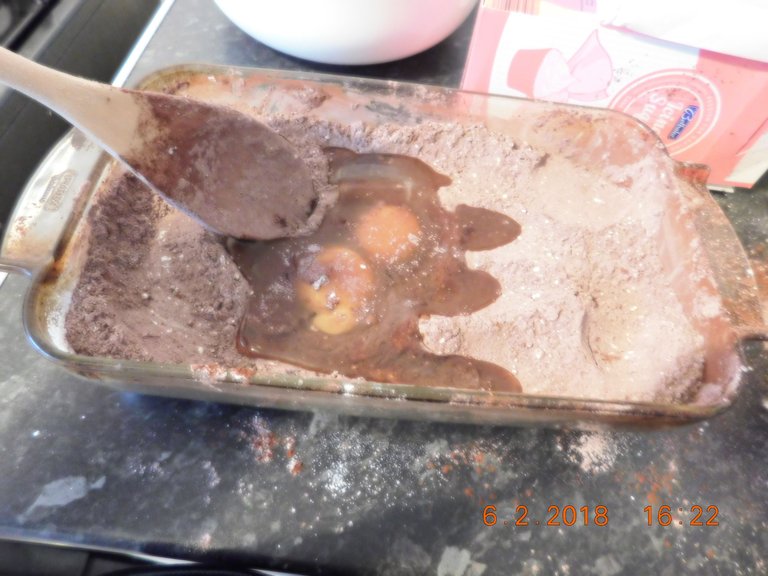
First things first, put the flour, cocoa and icing sugar into the tray and mix them together using a spoon. In the middle of the mix, make an egg shaped divot.
Mix it - it doesn't need to be perfect!
A divot, I use an uncracked egg to make one
Crack both of the eggs into it and throw away/compost the shells.
Tidy as you go, it saves time and effort later.
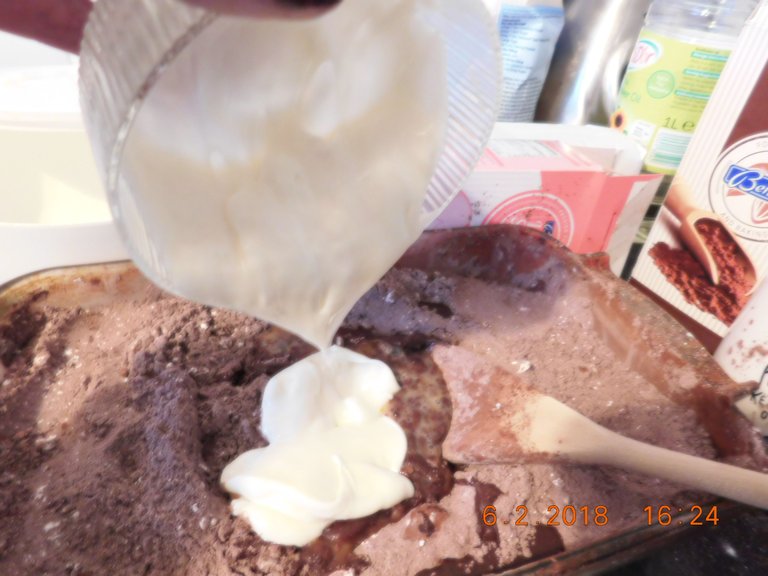
Add the mayonnaise to the eggs and then mix all of the stuff together until it's a nice, gooey mess. The mayonnaise will make it really creamy and means you don't have to add in extra salt, it also keeps the base lactose free.
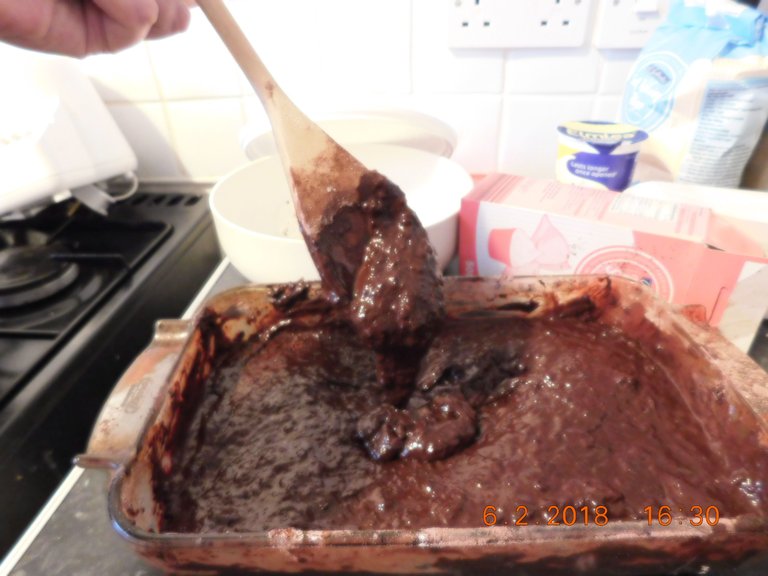
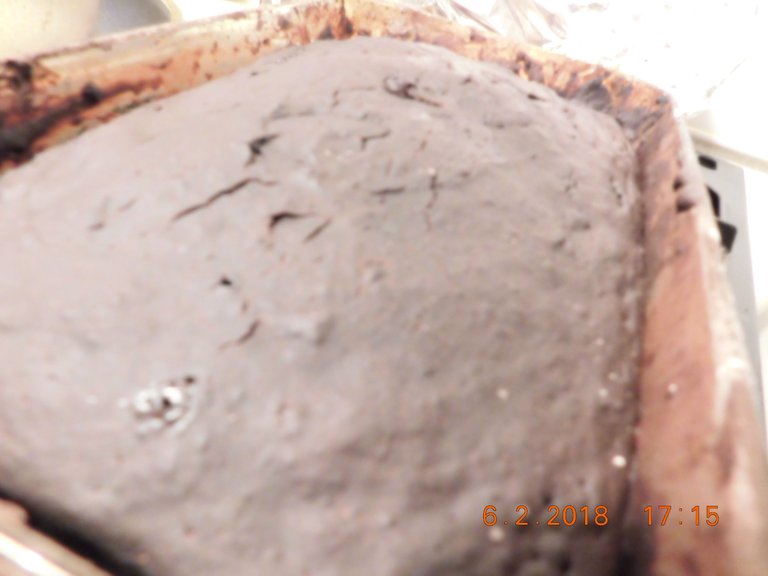
Make sure the bottom of the tray is fully covered – add a bit of warm water. This will start to make the eggs and flour work together so the brownie-cake base rises nicely. You need it to have a consistency like this:
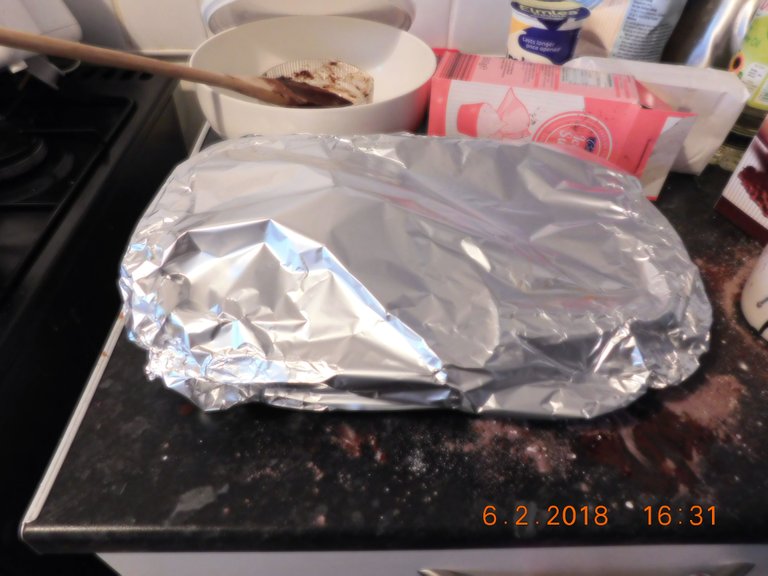
You've basically got the cake part done now. Cover the tray top with tinfoil, shiny side facing the cake mix. Heat your oven to 180 degrees C for a few minutes before you put the tray in – it keeps the heat even when you're cooking. Put it in and bake it for 15 minutes.
Whilst this is going on, break all of the chocolate into a bowl. Don't buy cooking chocolate, it's expensive and doesn't taste good in most cases. I got 2 chocolate bars for £1, cheap and nasty stuff but that's easier to work with and tastes better. Put the cream in the bowl with the chocolate if you want a gooey chocolate topping, otherwise just do the chocolate - cover the bowl with clingfilm and pierce it. Microwave it for 1 minute at a time, mixing inbetween, until the chocolate and cream have melted together.
Check the tray in the oven. Has the cake mix risen a little? Does the top look done? Use a knife to stab it. When you bring the knife out of the cake, if the blade still has wet, uncooked mix on it, put the tray back in the oven and give it another 10 minutes. Check it again. Keep going til cooked (average cooking time is 25 minutes).
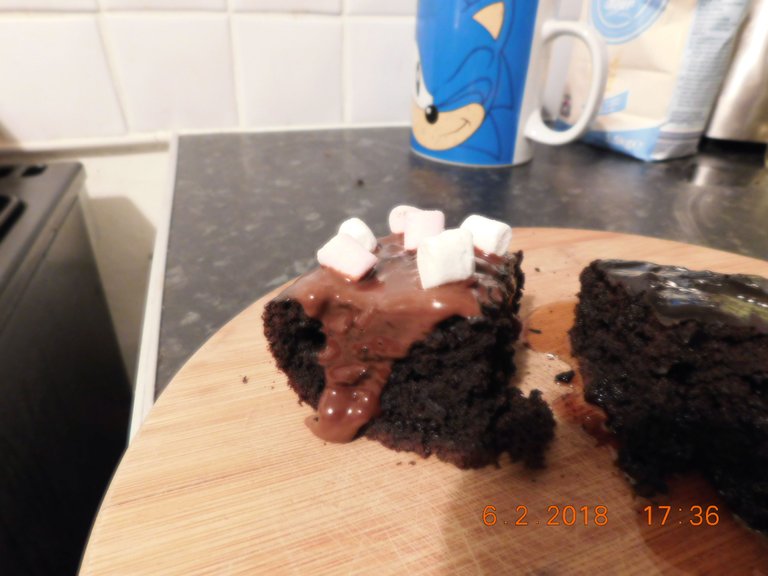
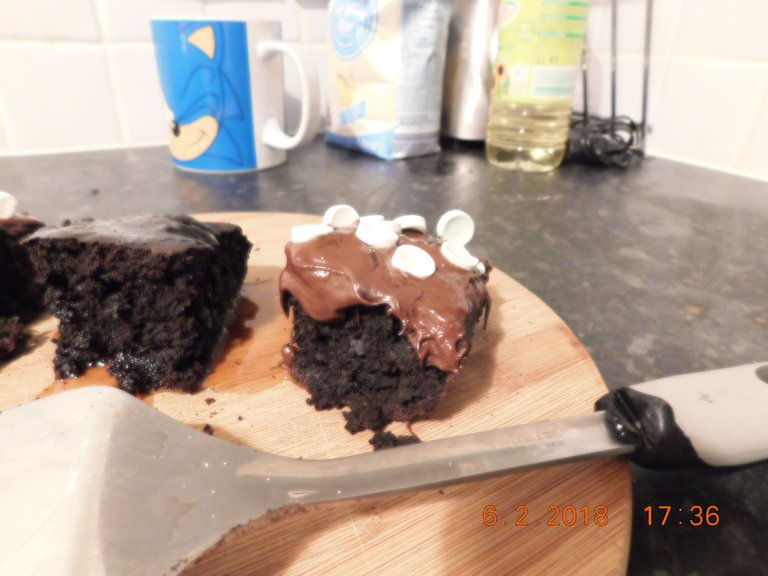
Once the cake is done, bring it out (use oven gloves or a tea towel to pick it up and to remove the tinfoil). Take the melted chocolate and pour it over the cake, add on anything you feel like (marshmallows, jelly tots, etc) and that's it. All that's left is to let it cool and then it's ready to eat!
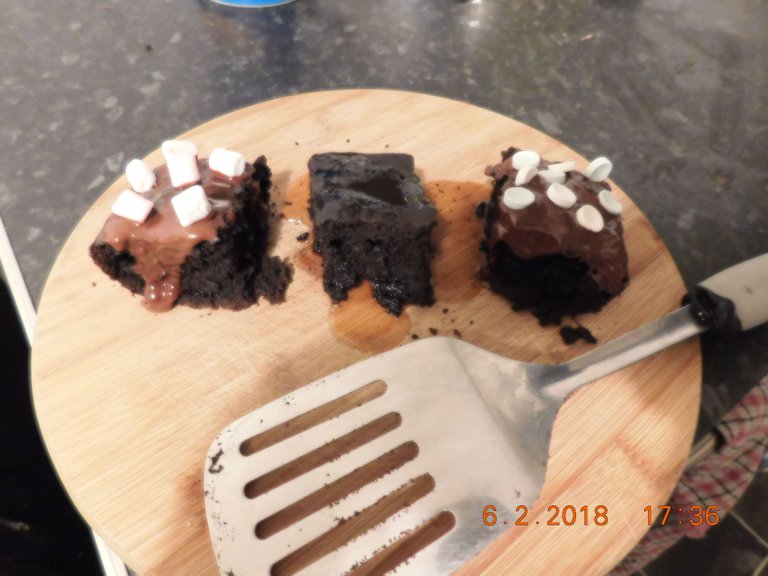
From left to right: Chocolate and cream topping with marshmallows; Drenched in Maple Syrup; Chocolate with Fizzer sweets
I'll be doing random thrifty cooking once a month, you can find the recipes by following me here or view the videos on D.tube from next month. This should have been up yesterday but the joys of seizures put it back a day - it'll be usually up every fourth Monday from now on so long as I'm not photographing a wedding! Next month: Jam making from scratch.
