This stuff is awesome, and I love it. This batch cost less than a dollar and can be made almost immediately.
I've got a massive sweet tooth but I don't trust all the ingredients in the stuff at the store. So I make my own sweets the traditional way with only a few ingredients. It saves a lot of money compared to buying something, and I always have the stuff on hand if I feel like whipping up something quick. This batch of butterscotch only takes about 20-30 minutes from the moment you decide you want some.
So how do you do it?

First make sure you have the right stuff, you will need:

-Sugar (1 cup) (can also use brown sugar)
-Butter (1/4 cup)
-Water (1/3 cup)
-Parchment paper and a baking sheet (or something you don't mind getting hot like casserole dish, even a dinner plate could work if it has parchment paper on it and can withstand the heat)
-A small pot (a big pot works too but you may lose some butterscotch from it sticking to the sides)
-Optional: Salt, Vanilla (I used salt but not vanilla)
Once you have all the stuff together, you can making the butterscotch.
Which starts with:
Melting the butter:
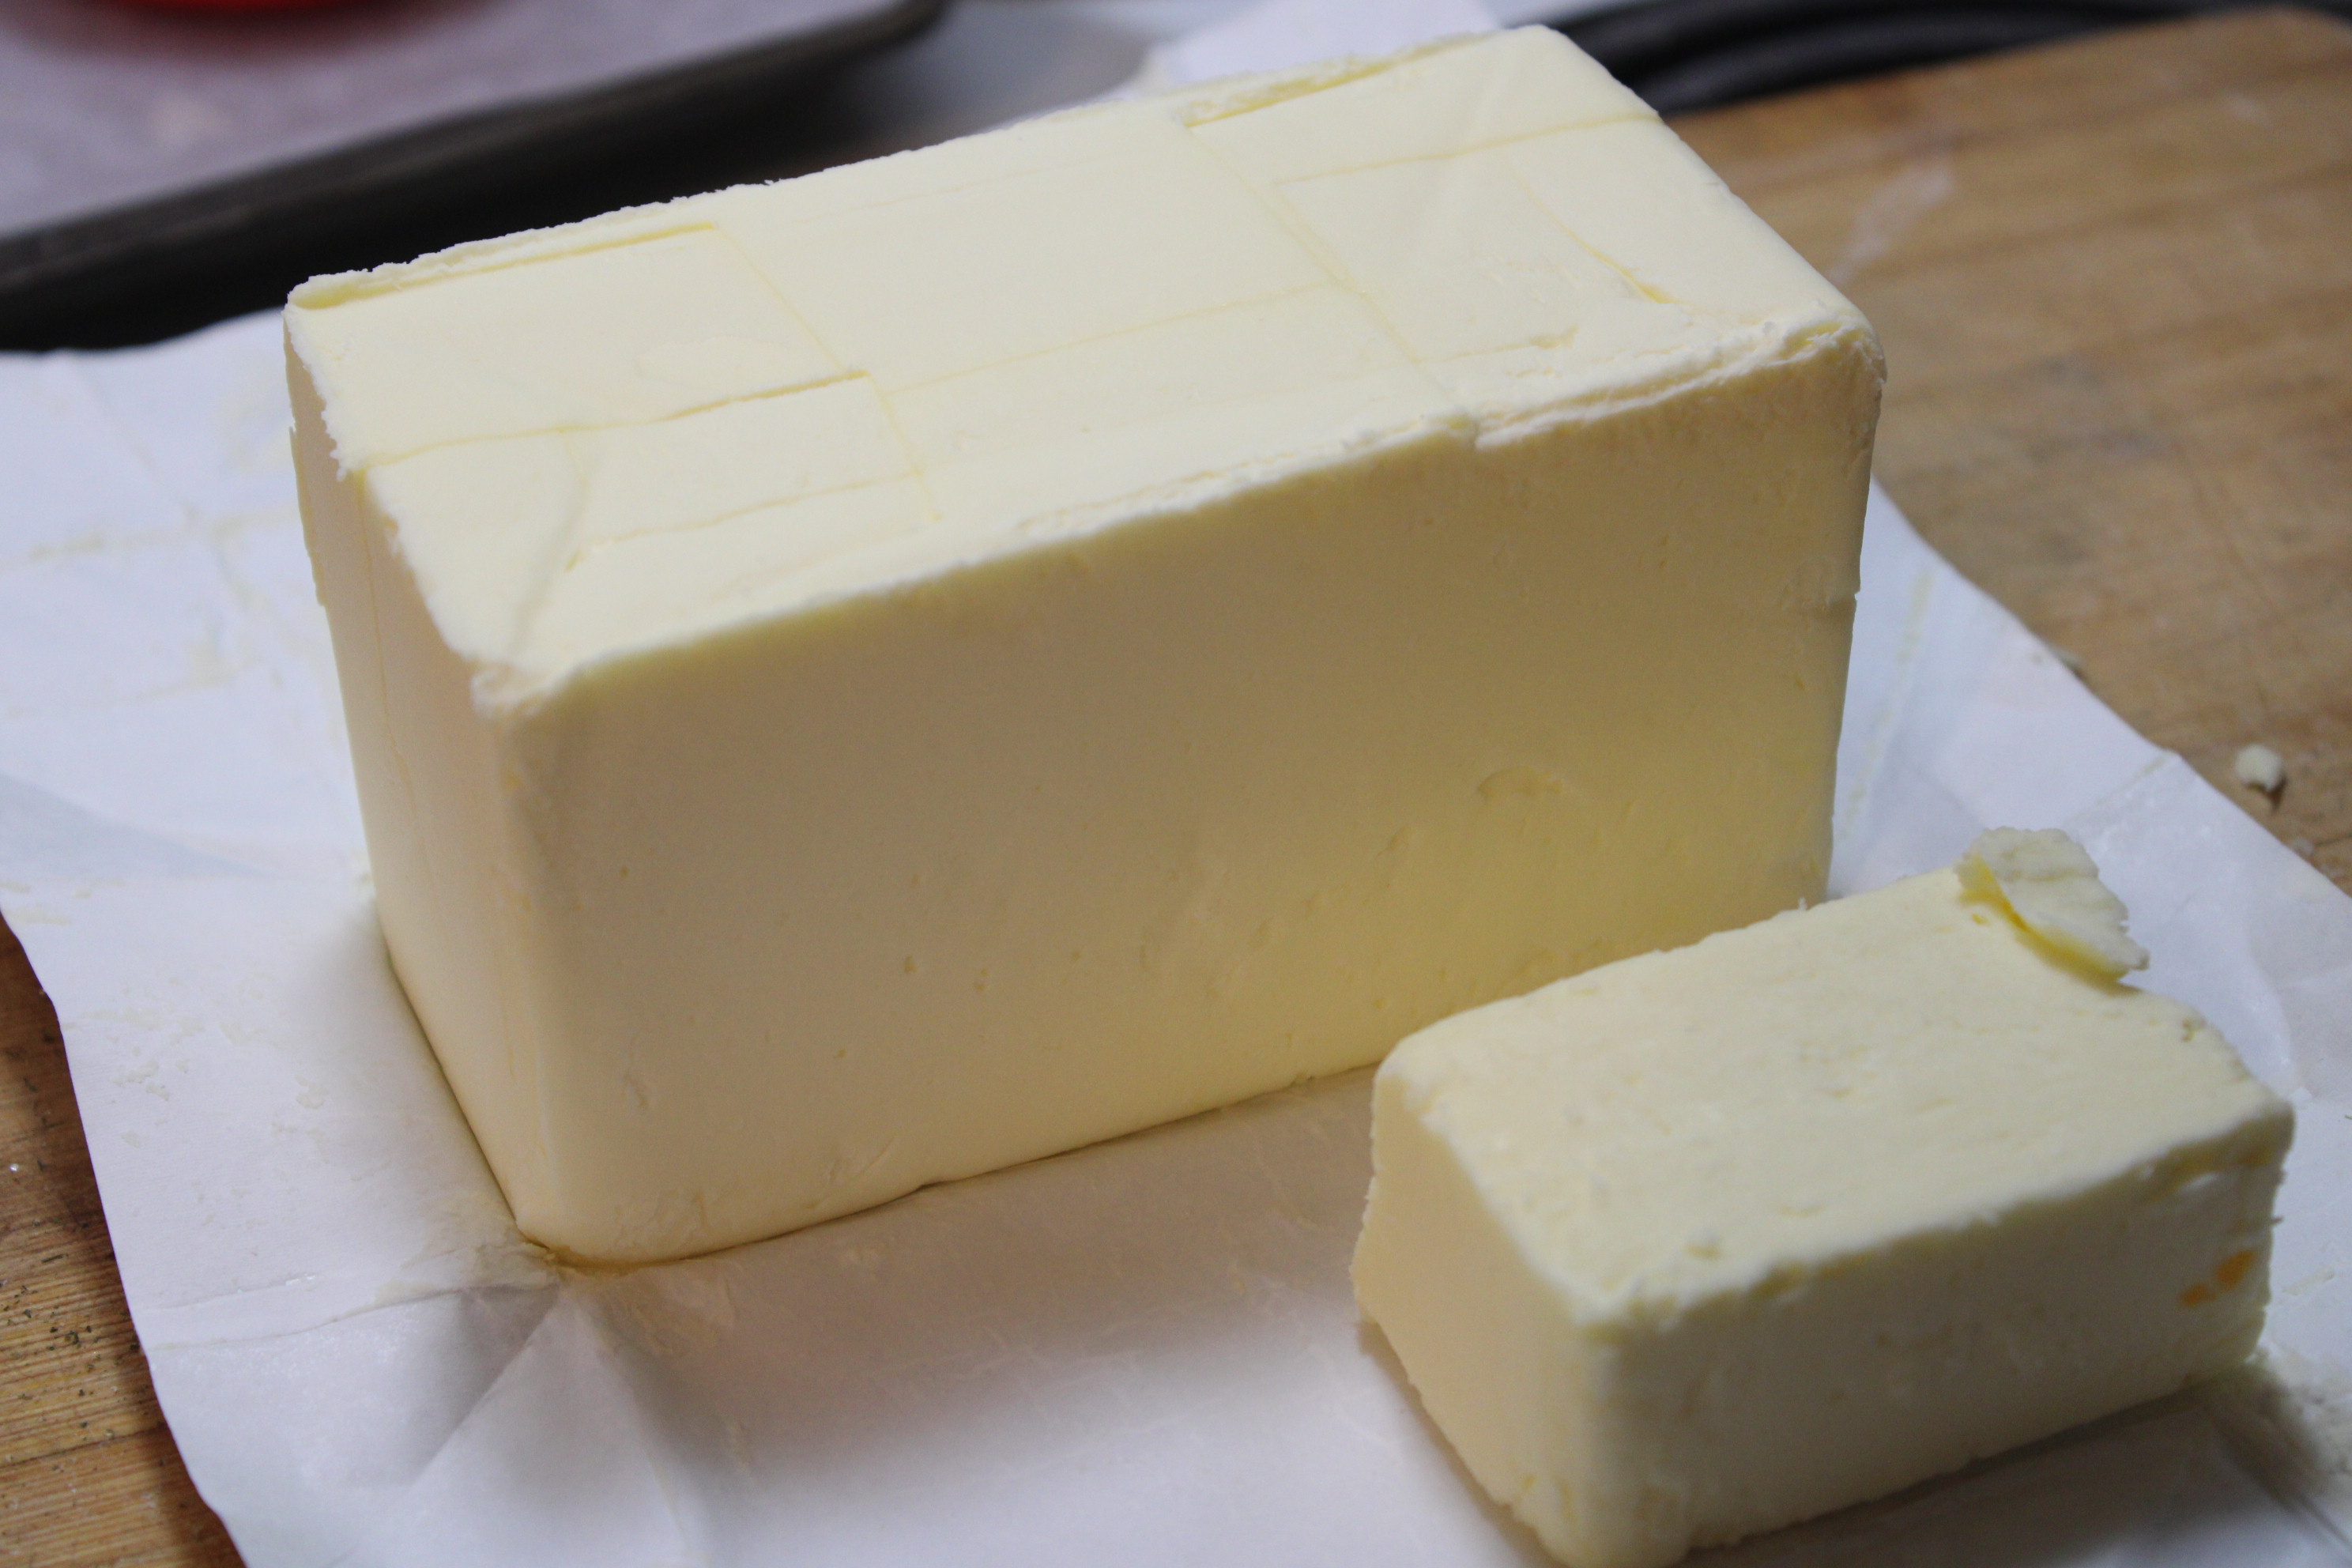
Get your 1/4 cup butter, if you're like me and don't like cramming it into a measuring cup, just use 1/8 of a block, or 56g. If you're starting with a full block of butter then you only need 1/8th of it.
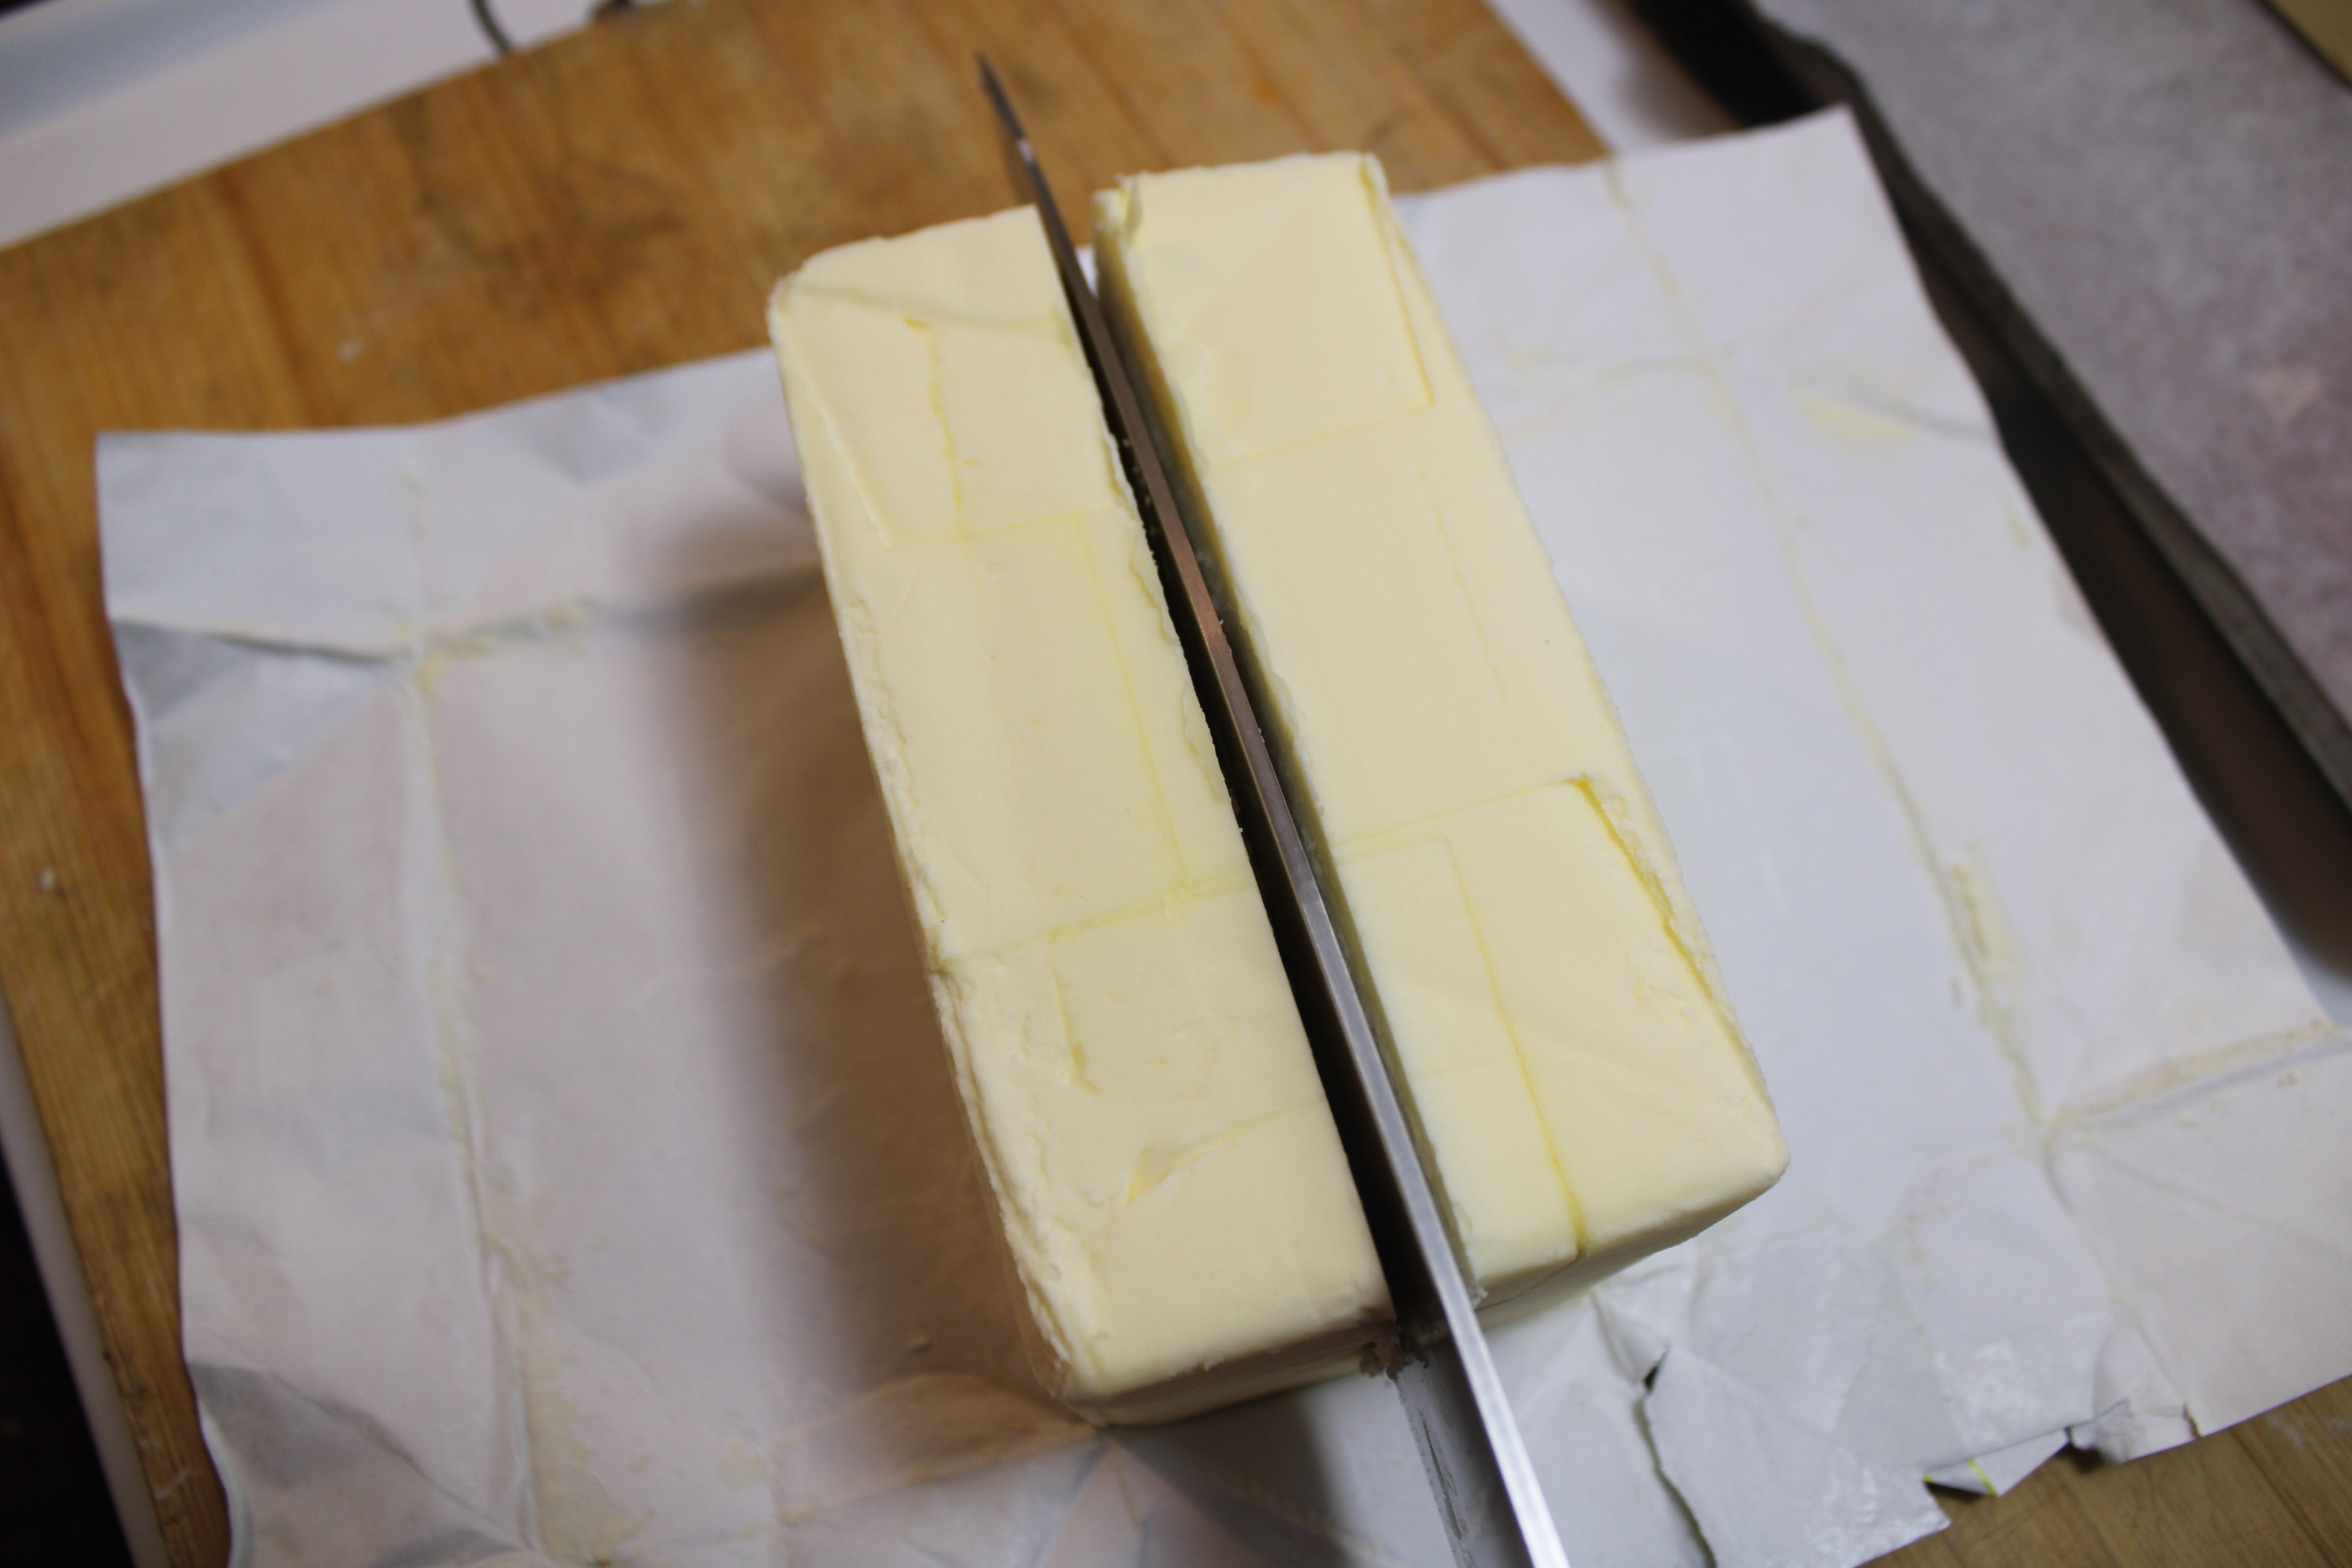
Just cut it in half, cut it in half again, and then cut that in half again.
Once you're done you should have something like this:
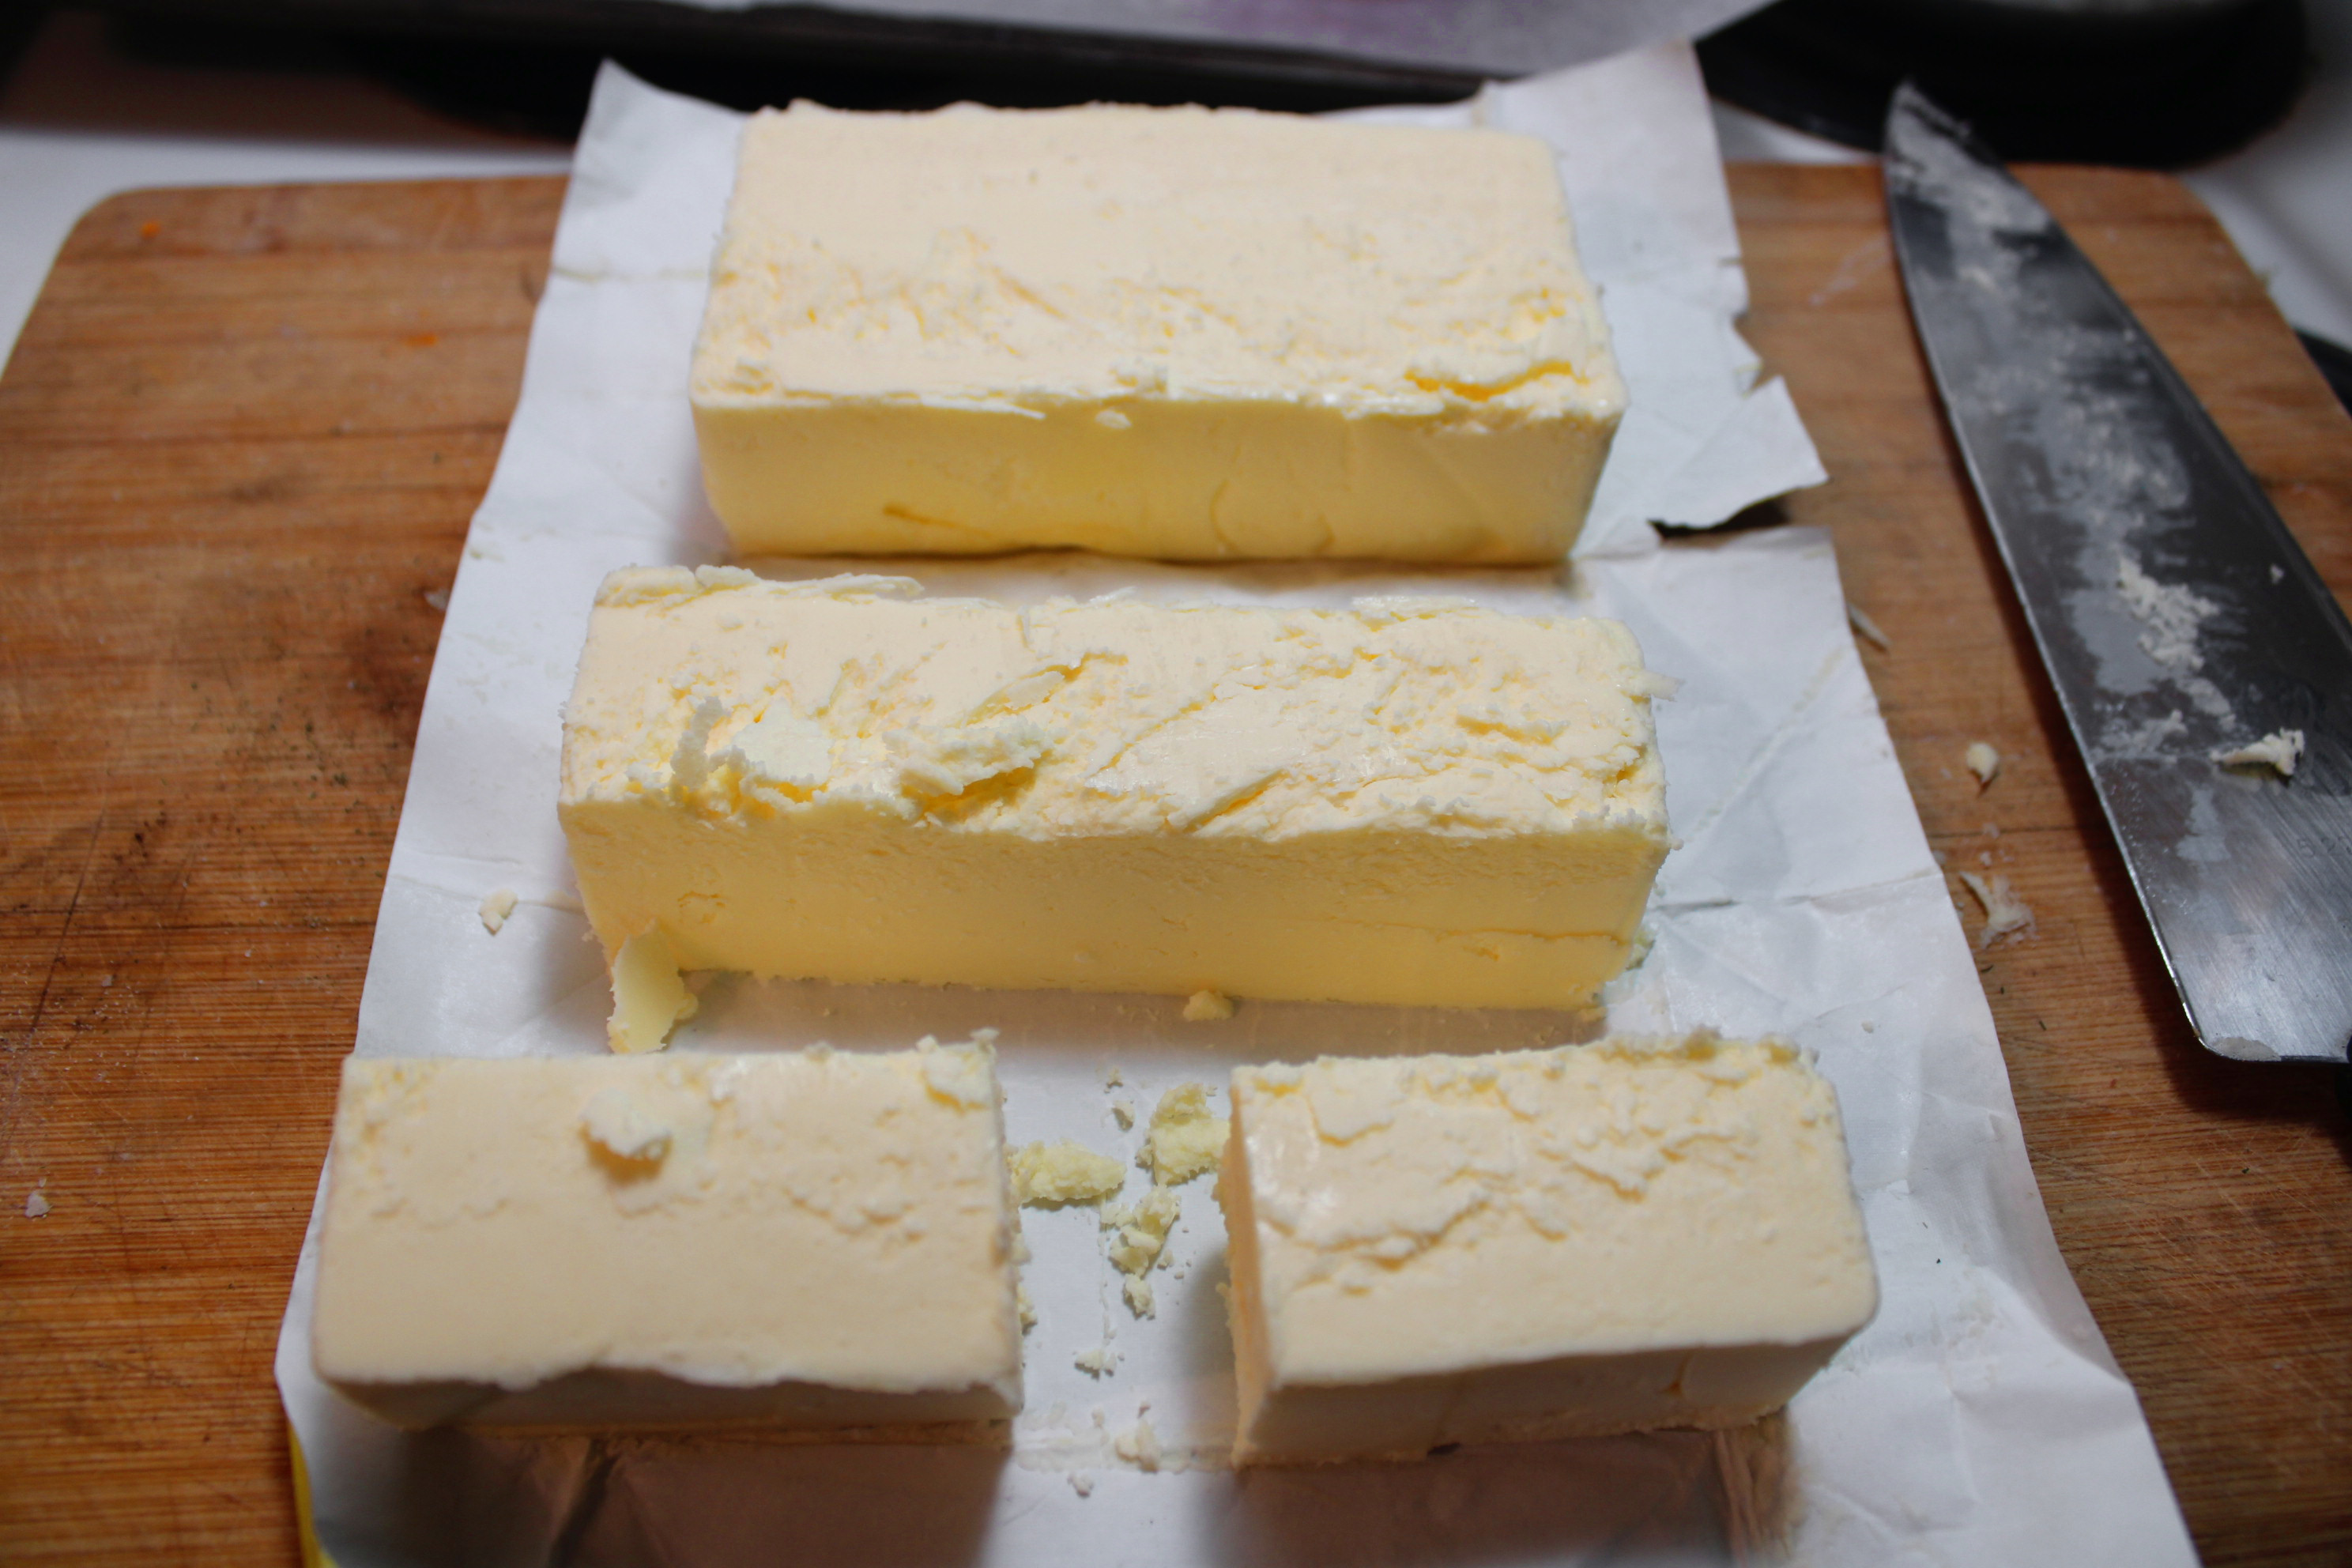
We just need one of those tiny pieces for a batch.
To get started, cut your butter up into smaller pieces so it will melt faster.
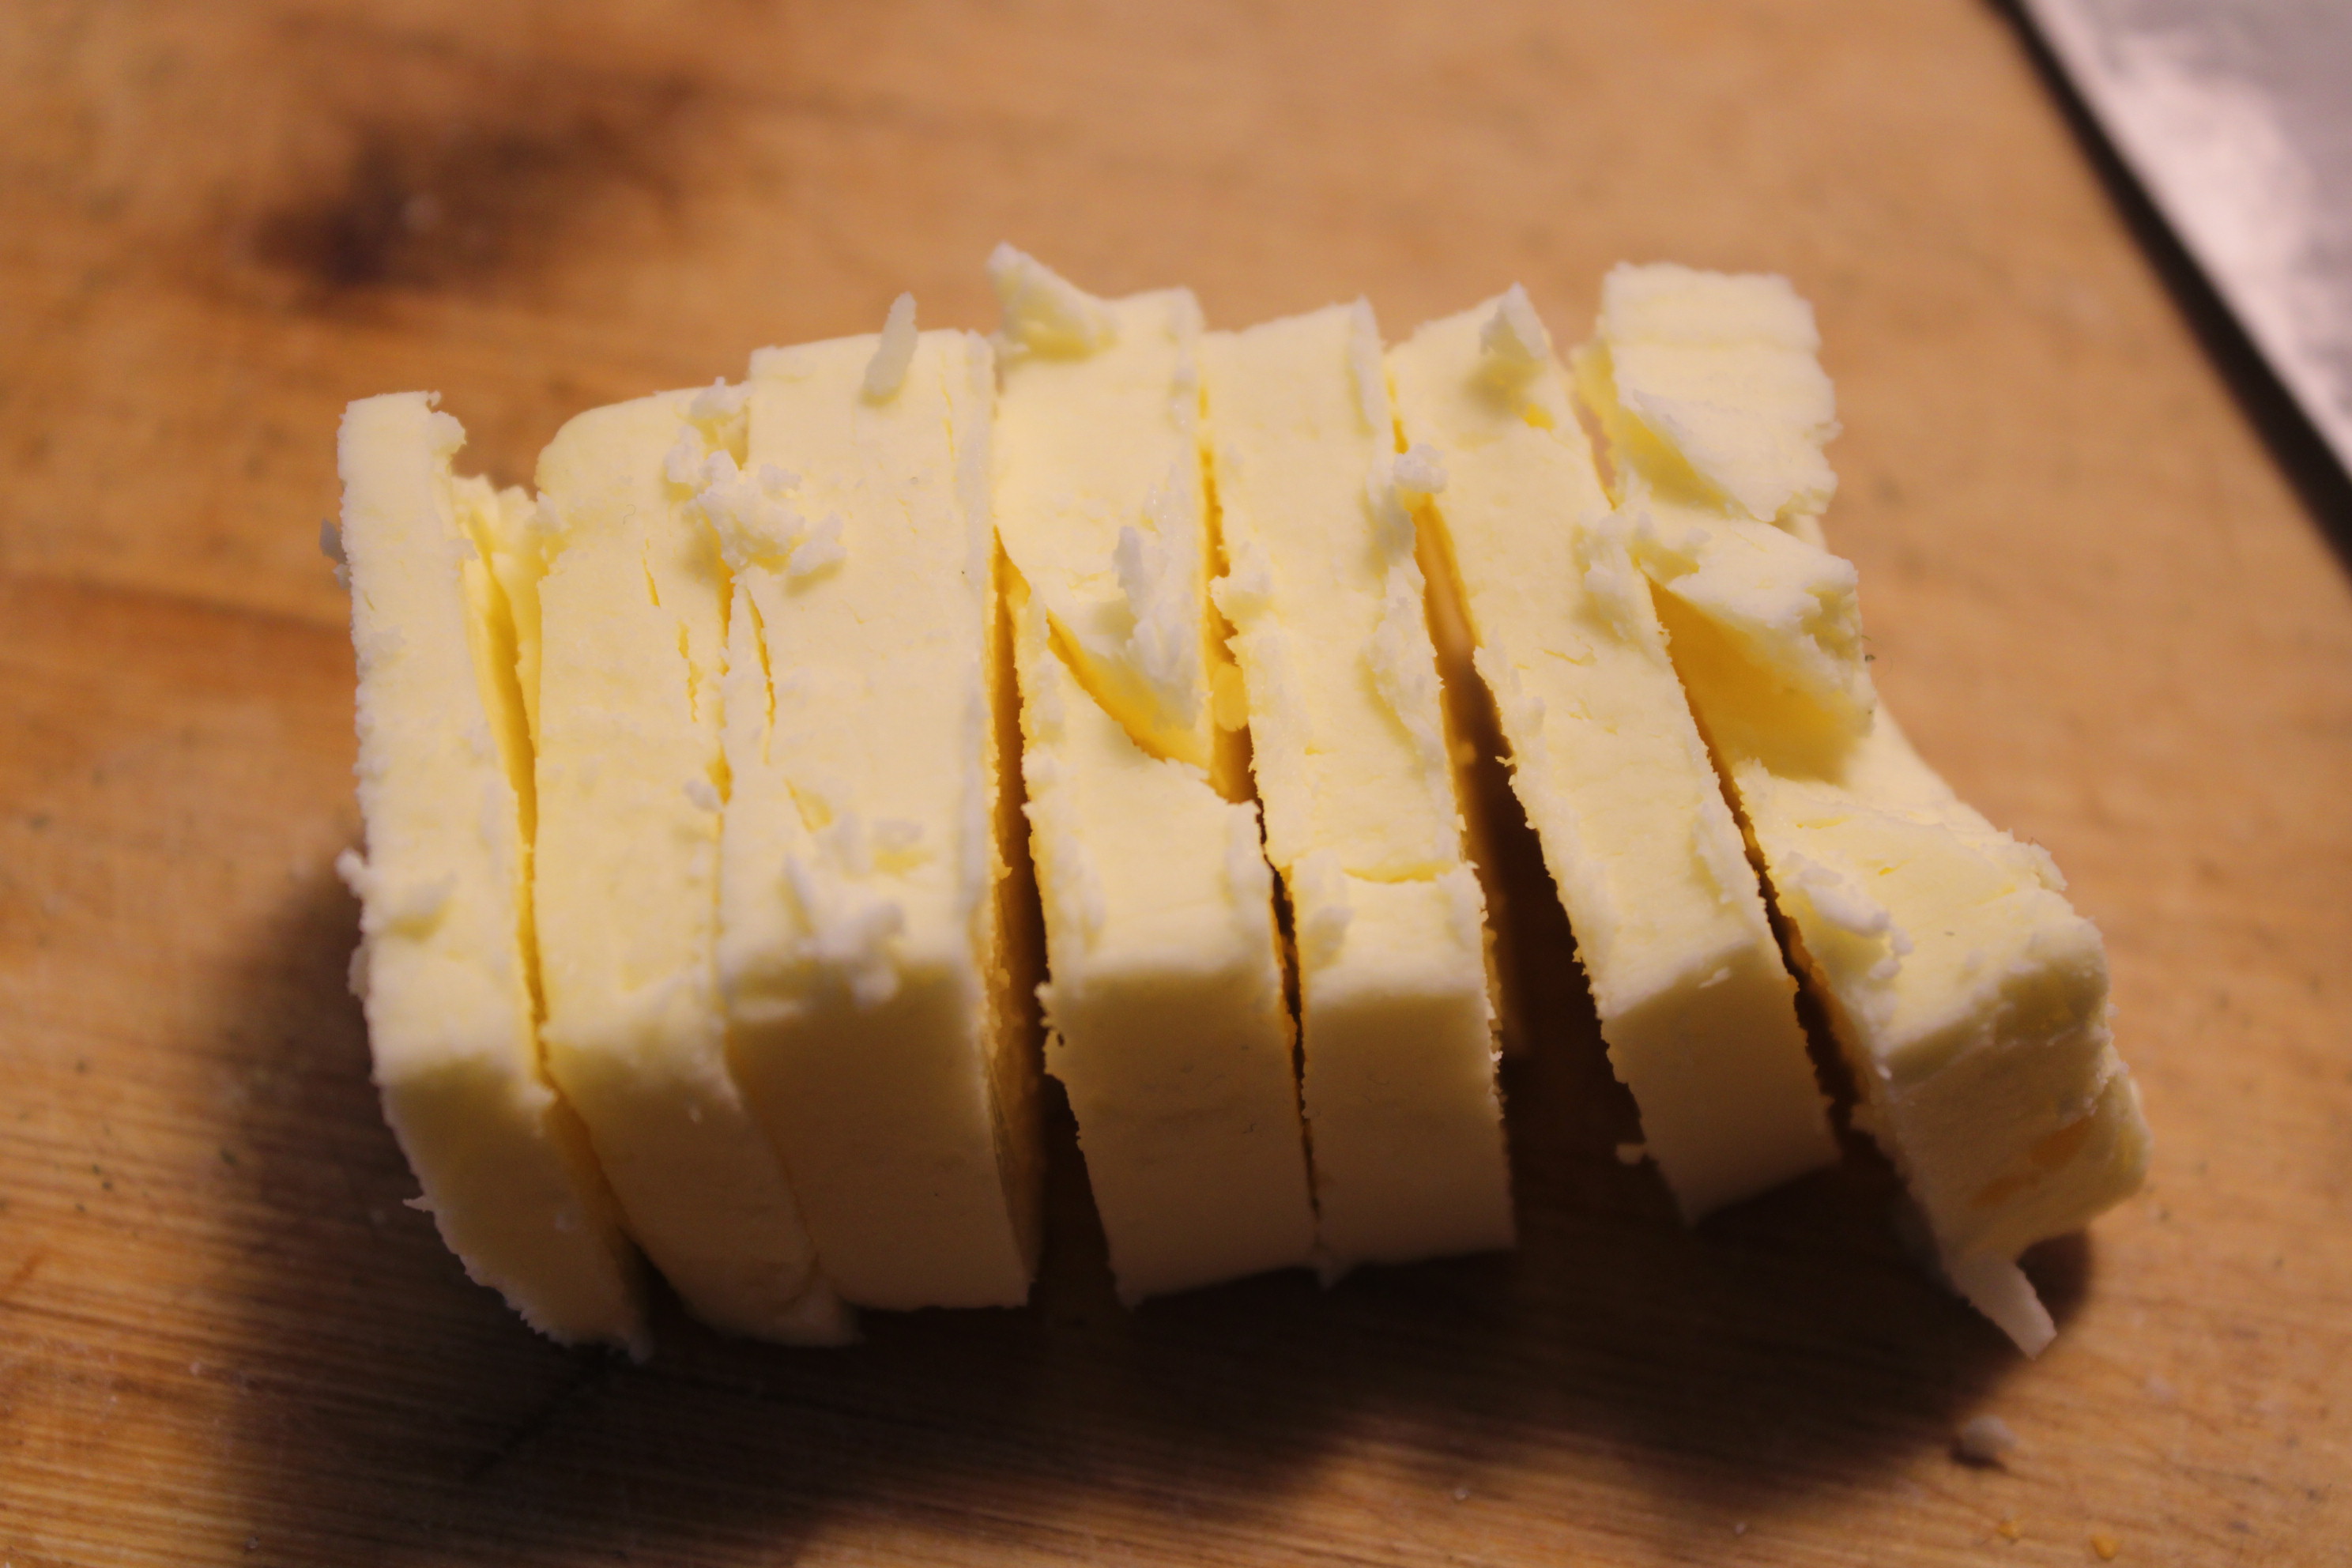
Drop them in the pot at medium heat. (My stove is at 6/10)
Try not to overheat the butter... yet.
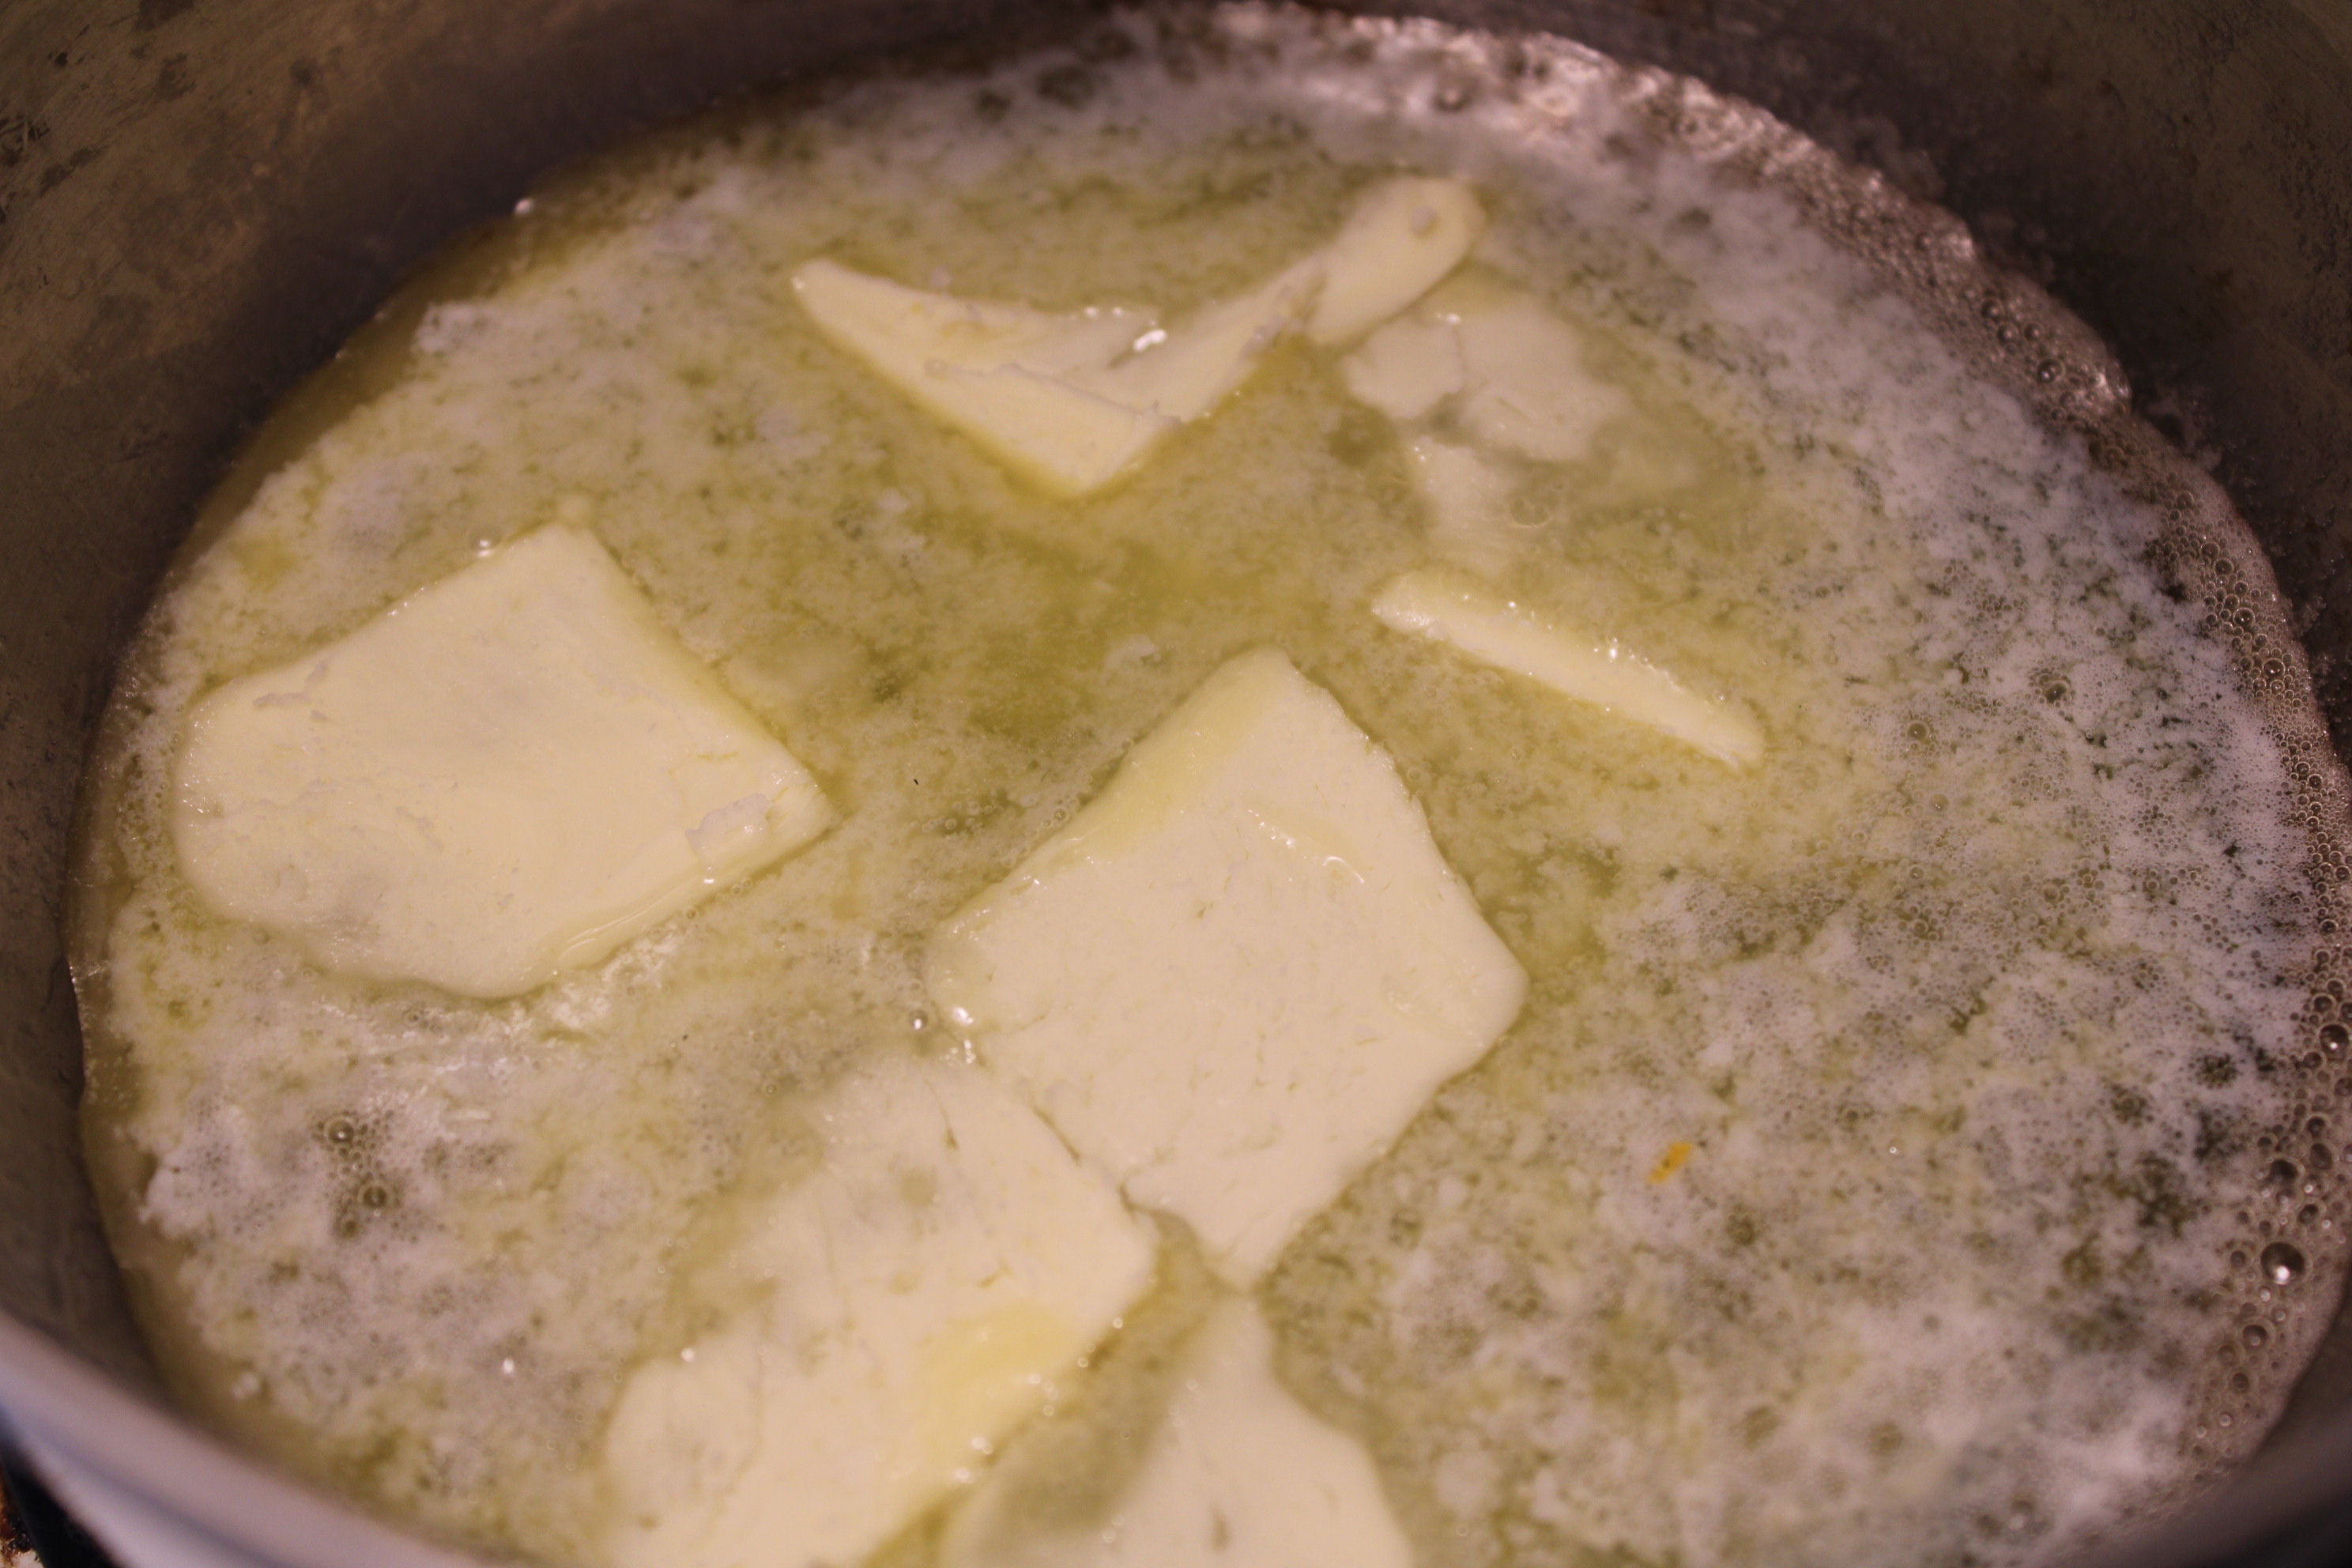
Once the butter is melted, you can move on to the next step:
Adding the water:
Water is necessary to dissolve the sugar. It will all evaporate out by the end, so adding more water will increase the time it takes. Not adding enough water will end up with a grainy butterscotch that doesn't melt properly, because all the sugar won't completely dissolve.
1/3 cup of water is enough to dissolve 1 cup of sugar, if you add more sugar make sure to increase the water as well.
Once you've added the water to the melted butter it should look like this:
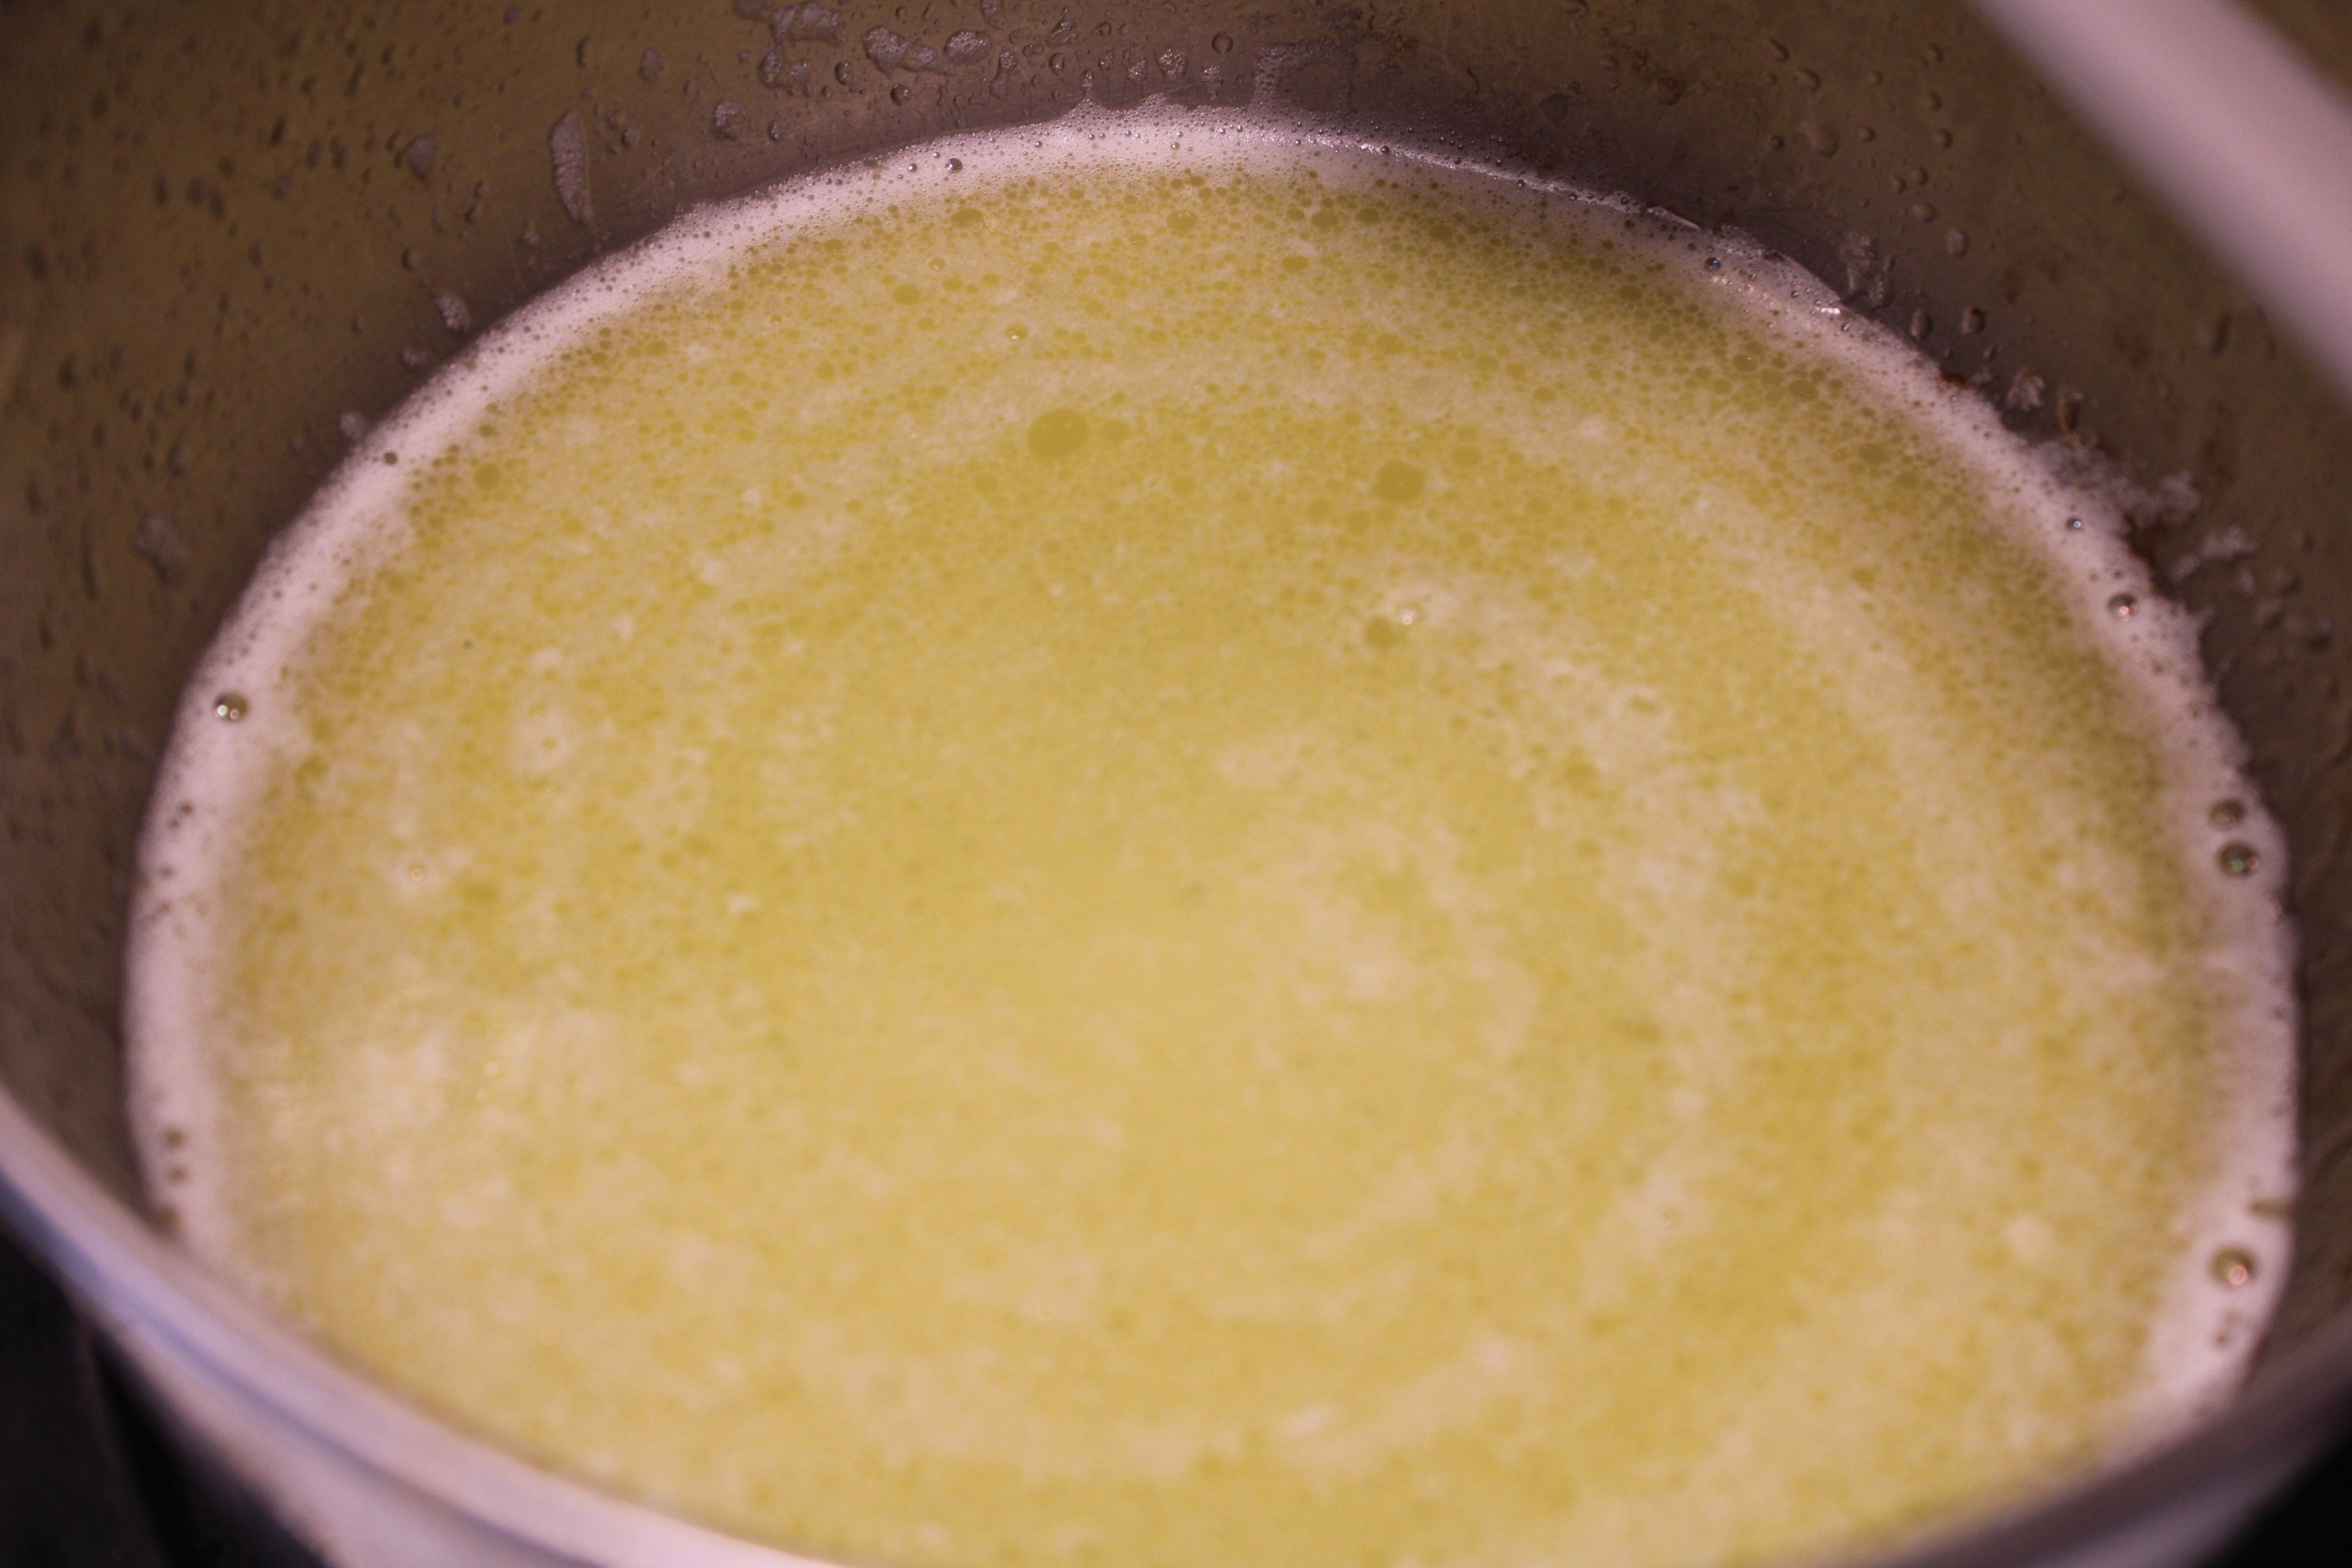
Then you're ready for the next step:
Adding the sugar:
You have 1 Cup of sugar, pour in half at a time and stir it up.

Once you've added the whole cup and stirred it up, make sure all the sugar has dissolved. It should look something like this:
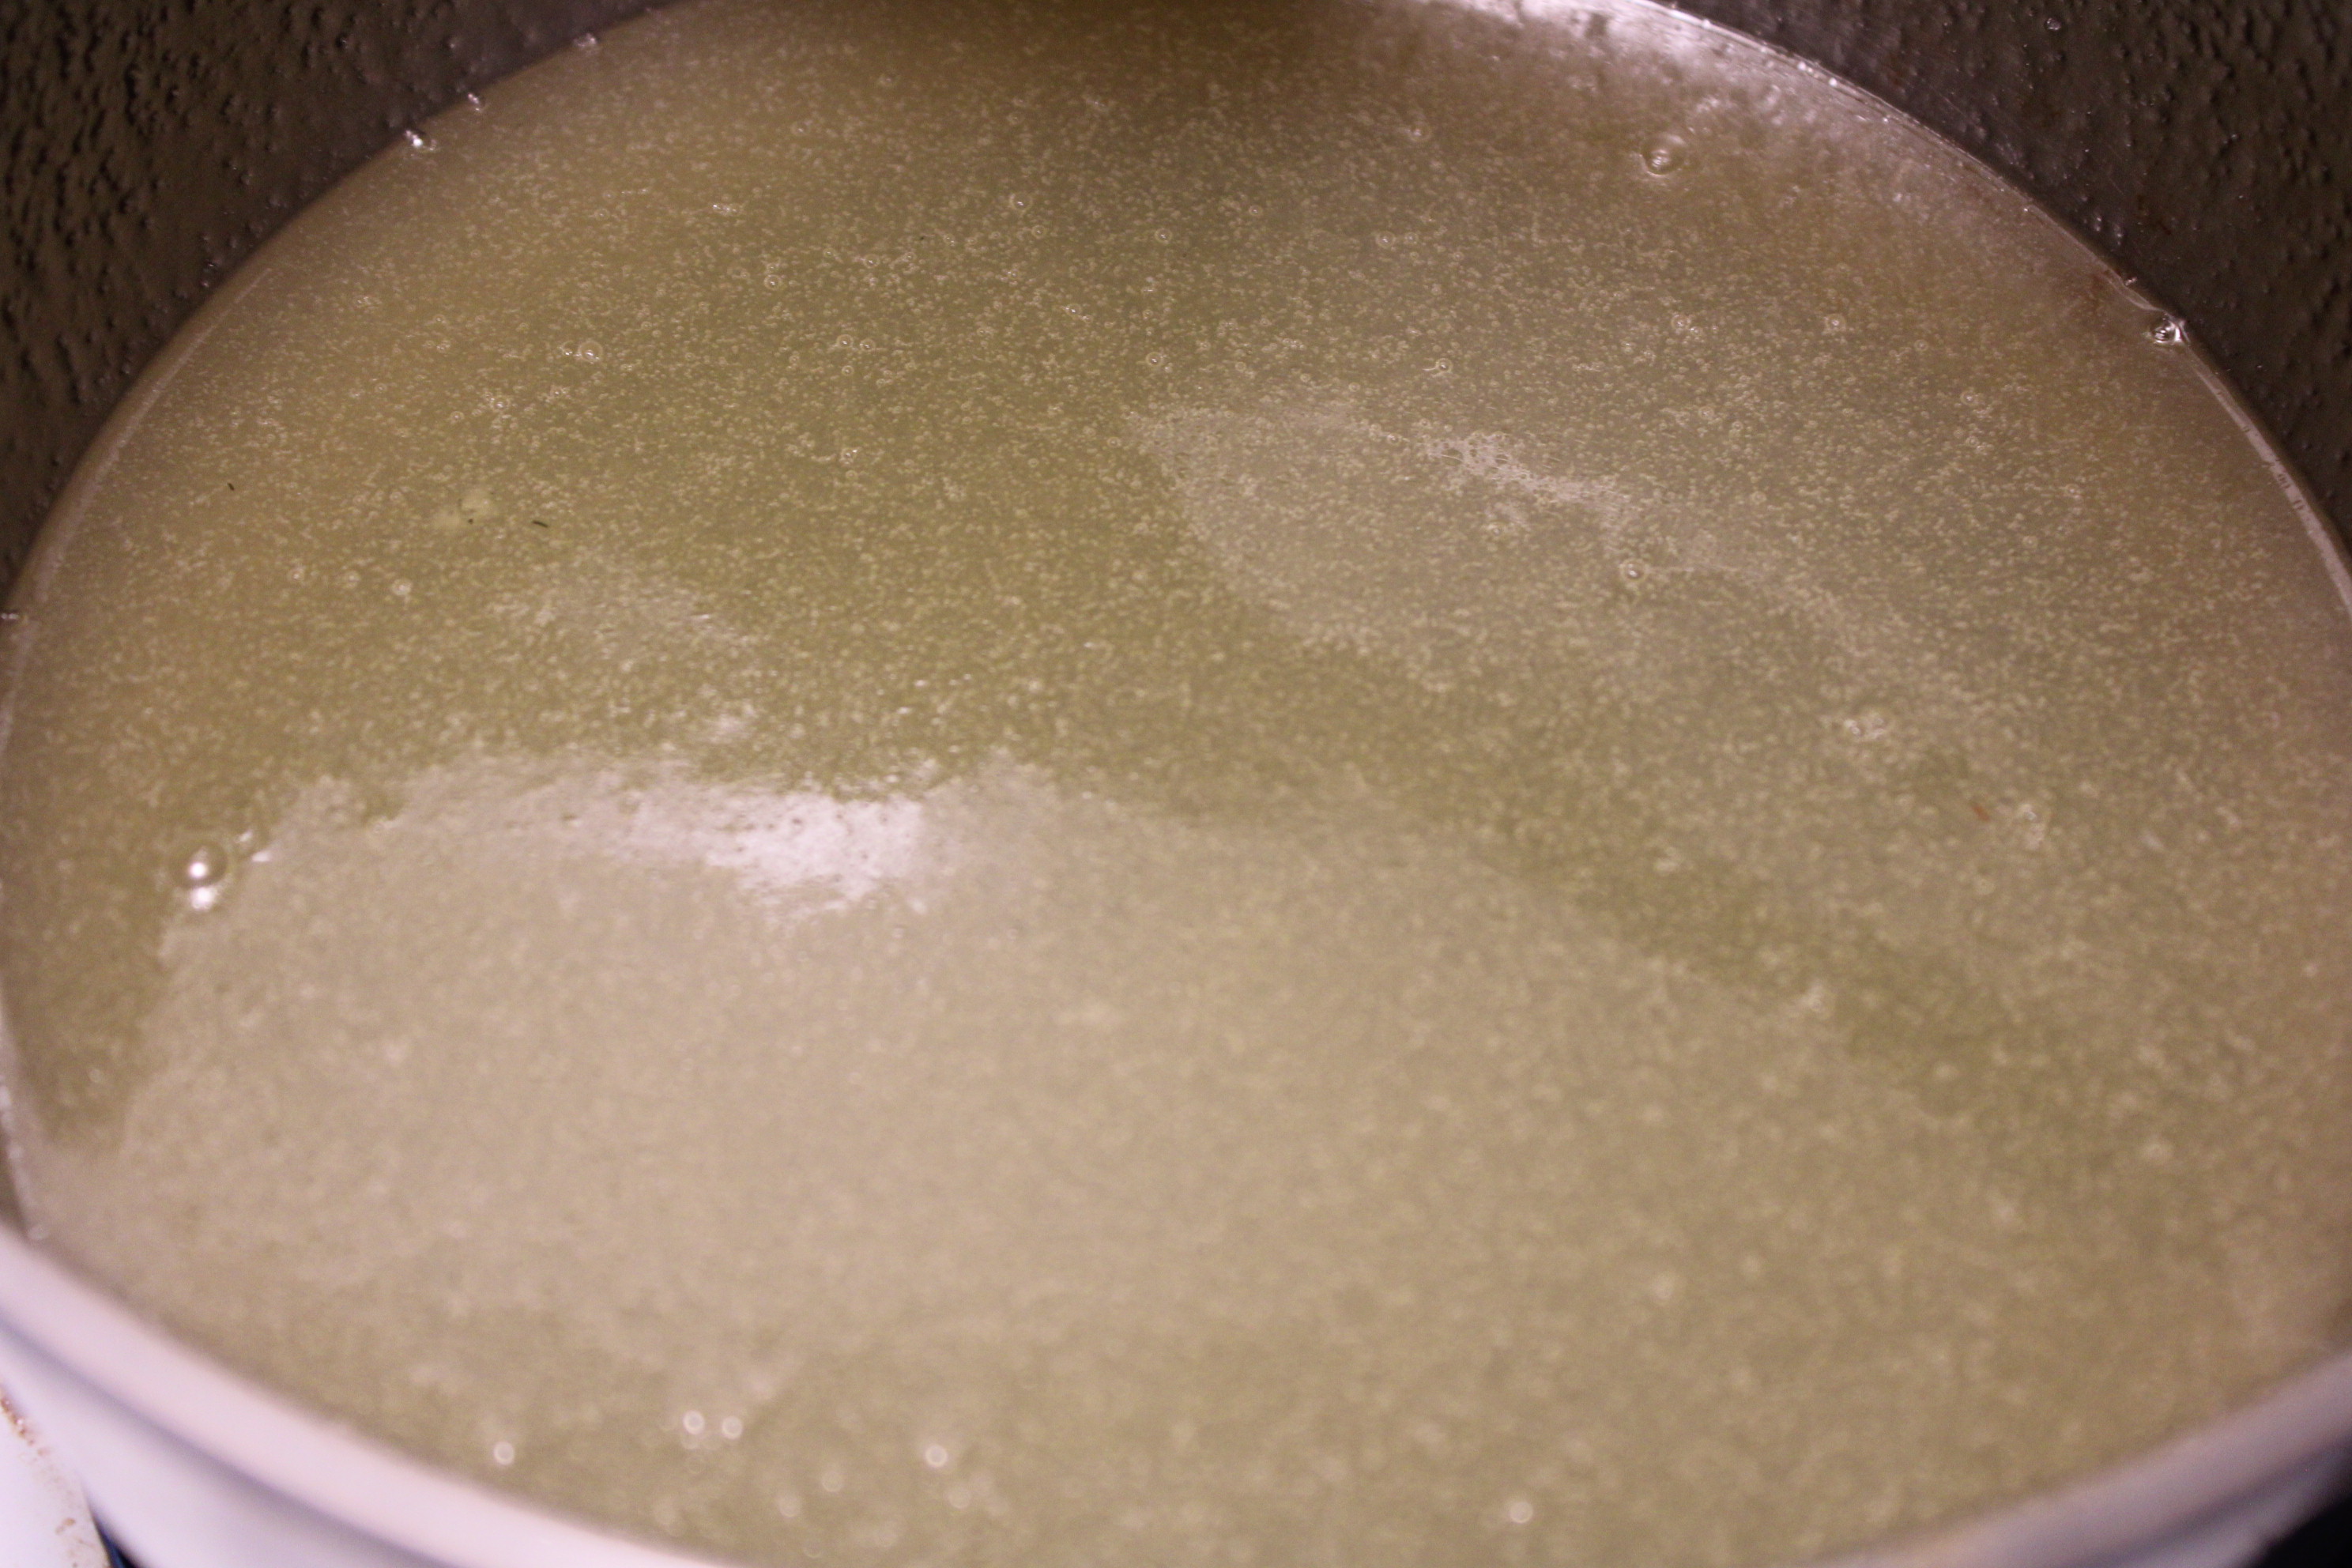
Now you're ready for the next (and possibly the most important) part:
Turn up the heat to MAX:
The name "Butterscotch" comes from Butter-Scorch. The process of scorching the butter is what gives the treat it's dark color and signature flavour. The longer you heat it for, the darker it will get, until it's so dark that it's burnt!
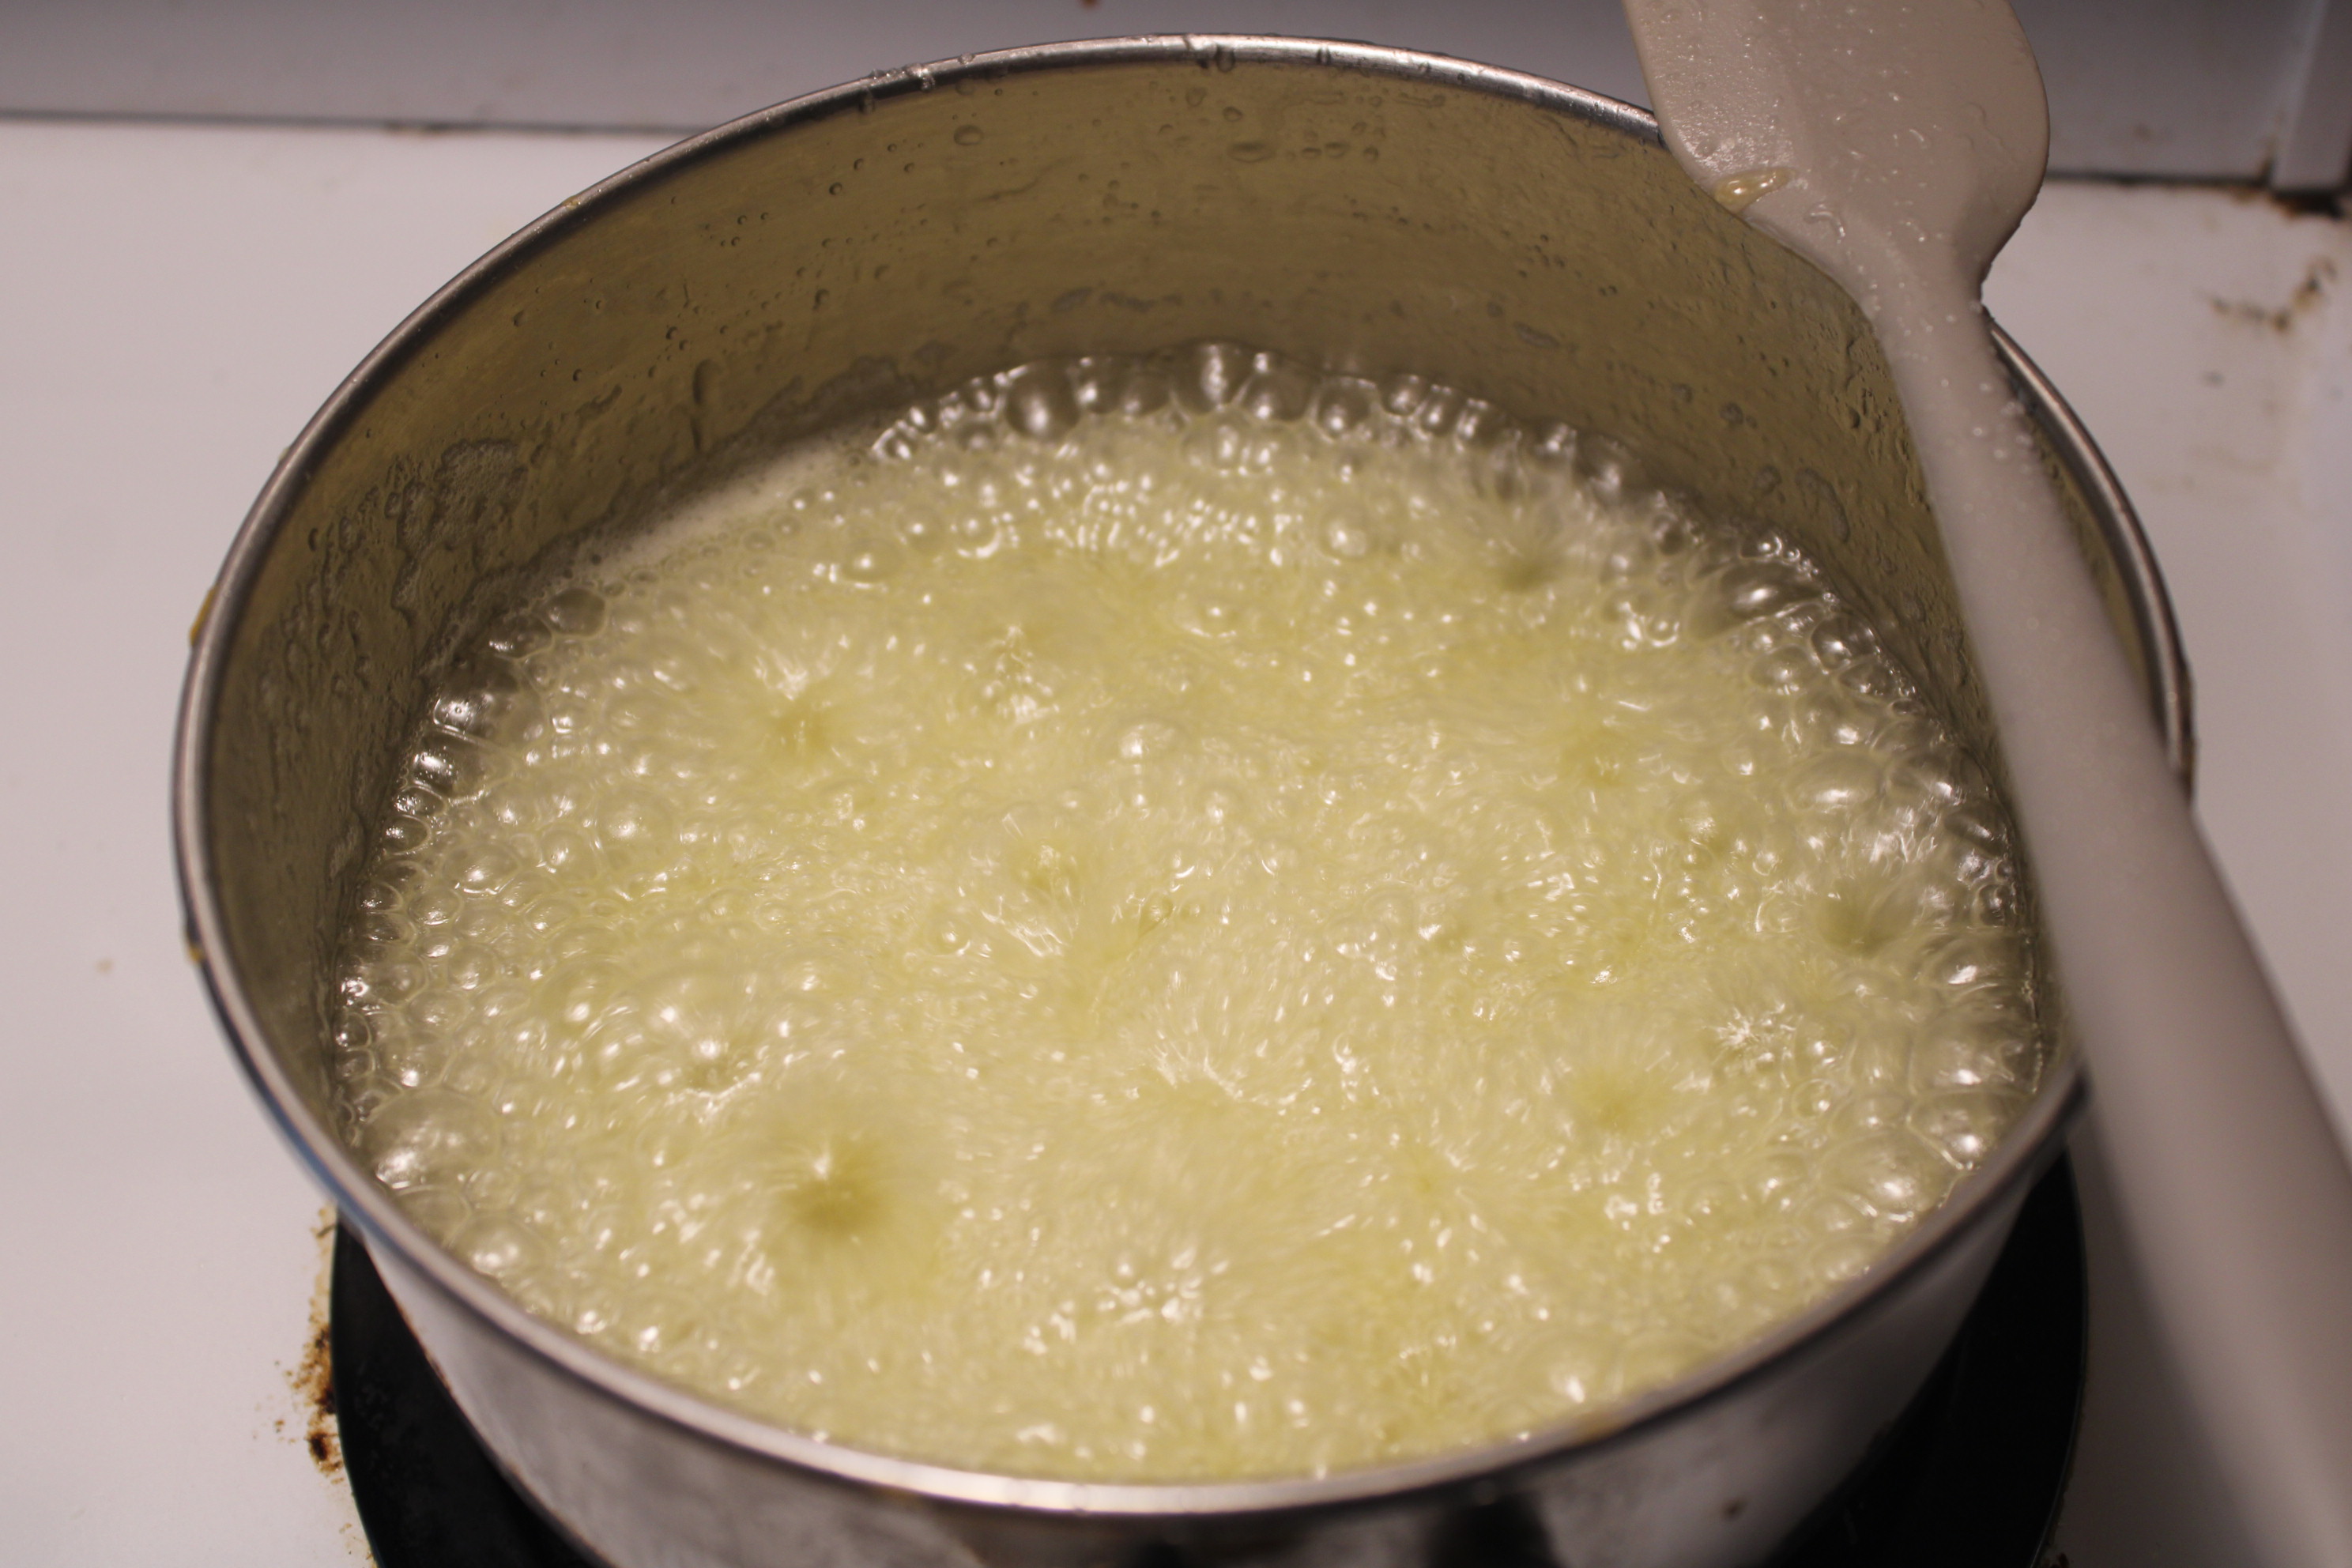
This is why you must watch this step so closely. Stir every few minutes, it will take about 5-10 minutes for your pot to start bubbling and steaming like this:
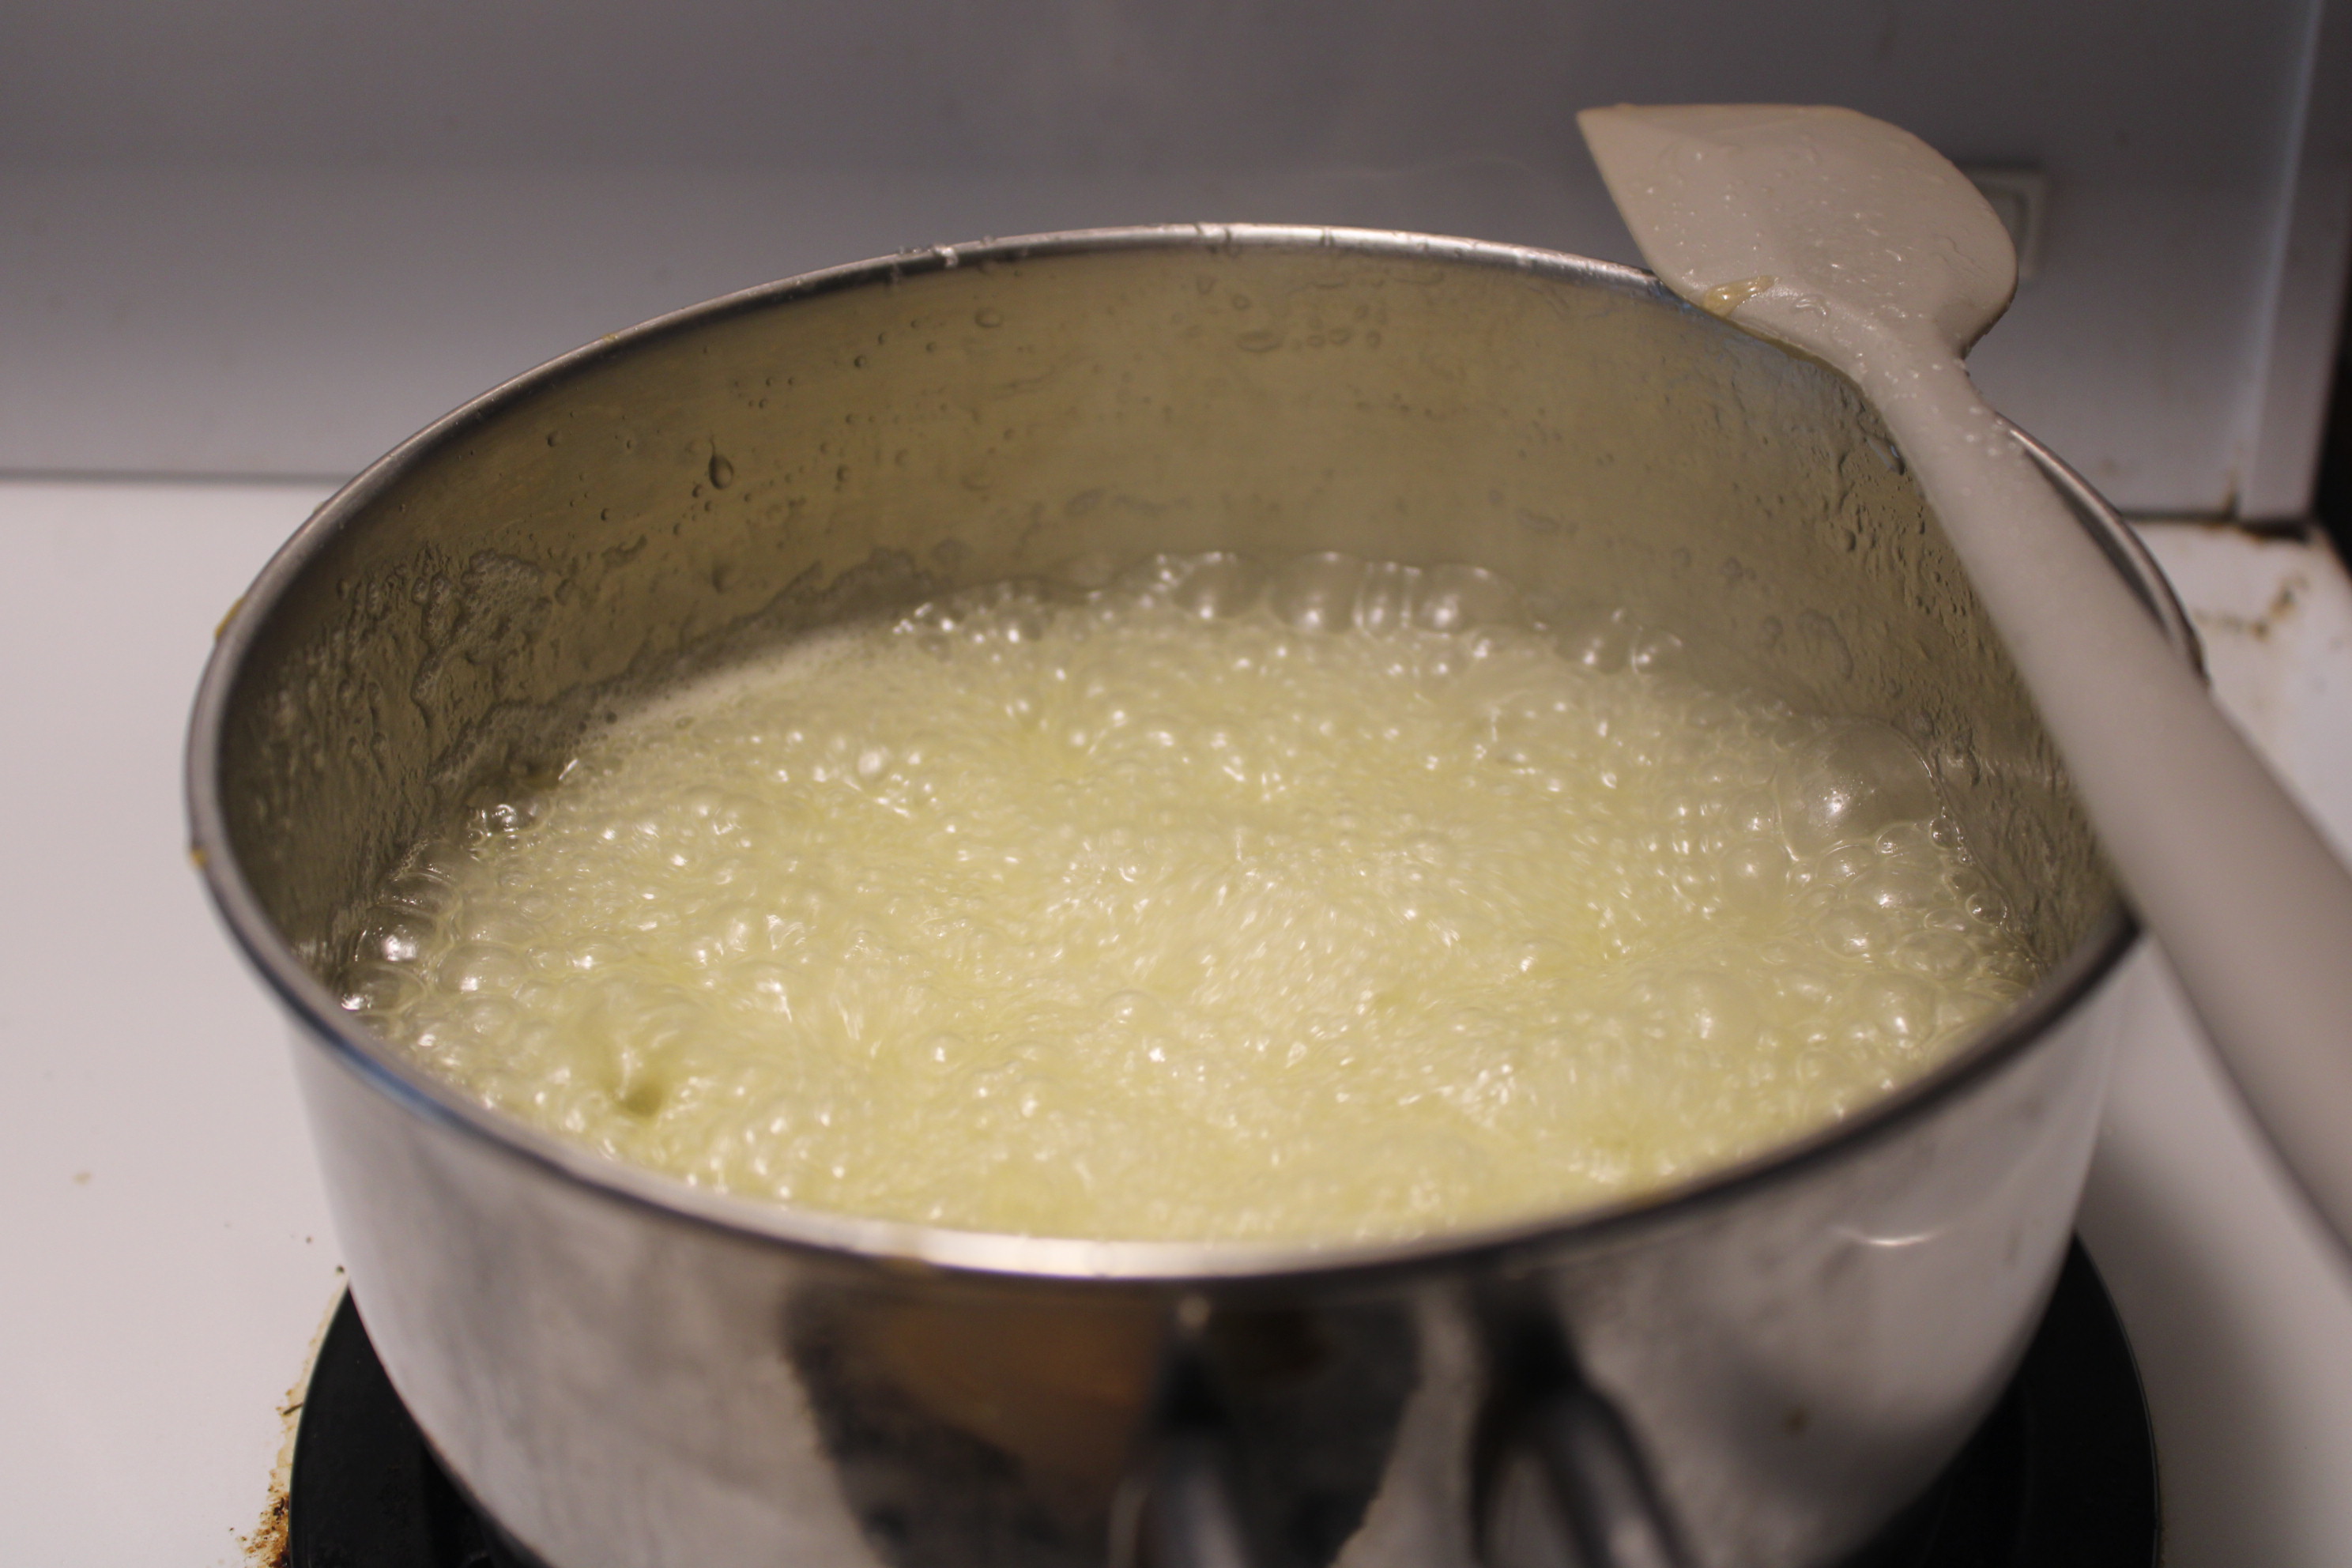
Eventually as the temperature rises, the steam will stop. This is because steam is created at 212°F and this candy is going to reach temperatures of 250-300°F.
SO BE CAREFUL NOT TO LICK THE SPOON
Once the steam has stopped, keep cooking it on MAX and stirring every few minutes. We still need it to reach those high temperatures to scorch the butter and harden the candy, and it won't take long. Once the steam has stopped you should just stand there and watch it, as this step will determine the flavor of your candy.
There are two main indicators to let you know how close your butterscotch is to being done. These are:
-Color
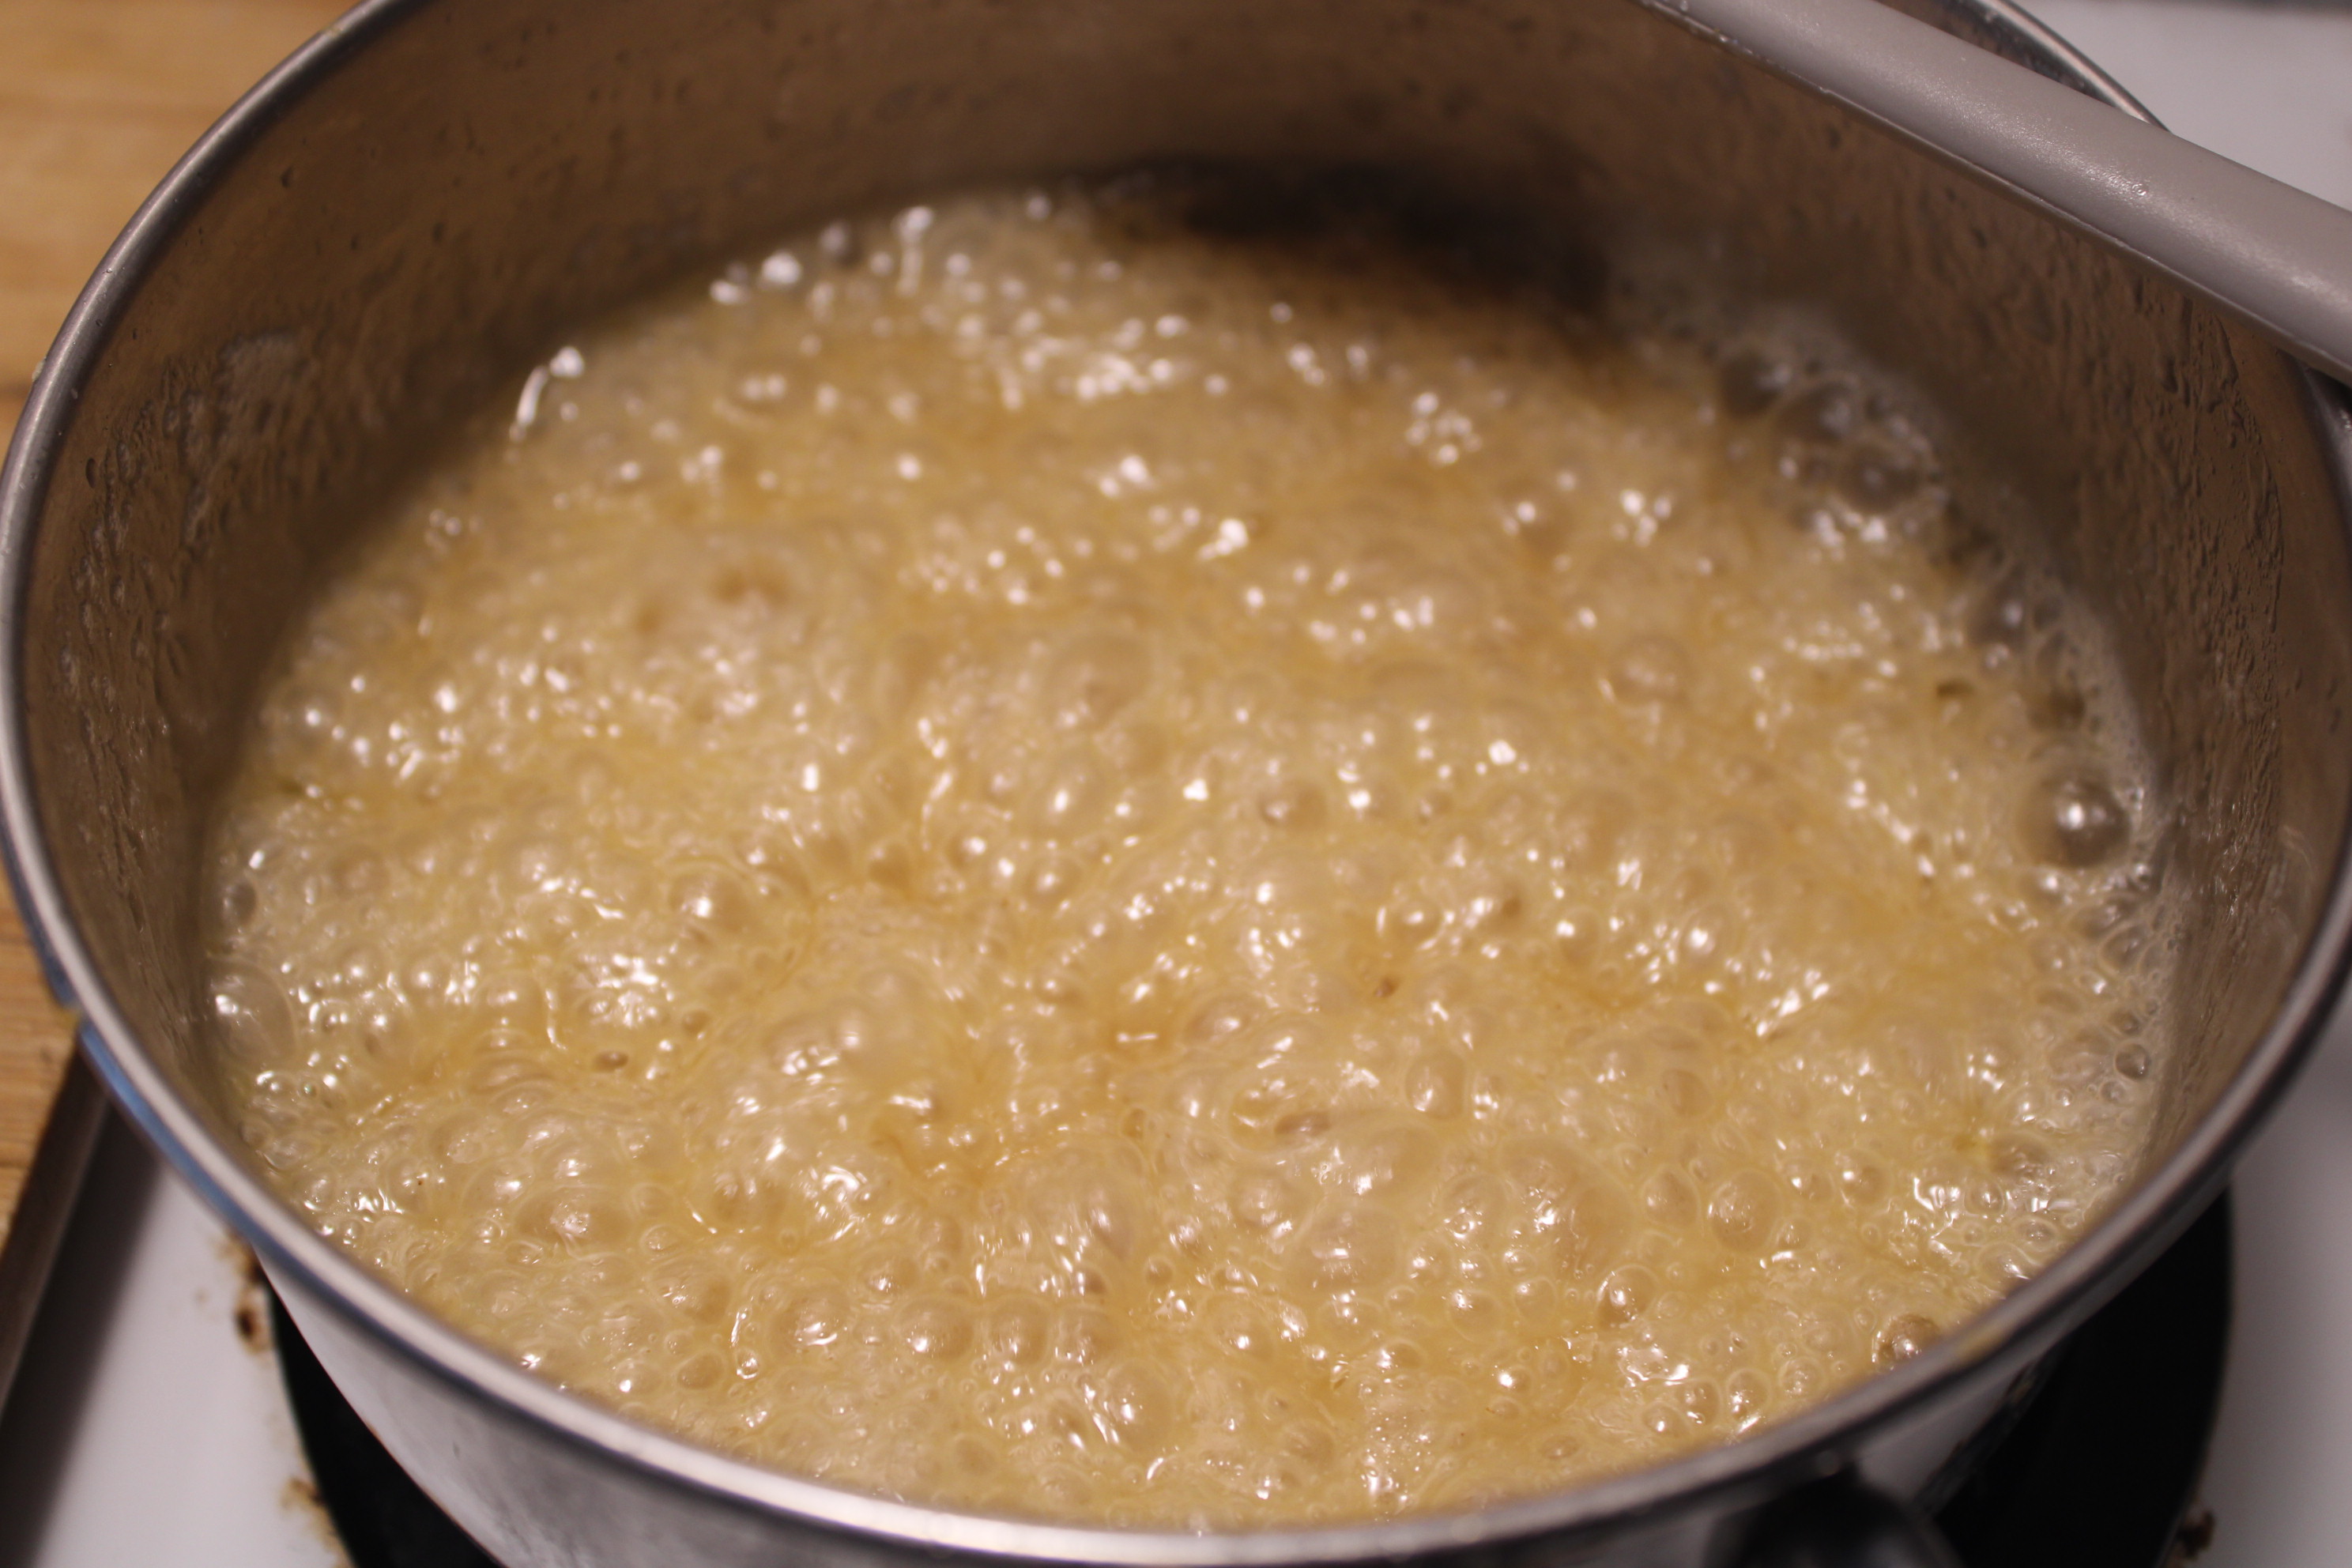
The butterscotch will become noticably darker as you stir it. While you wait in between stirs, you will see dark colors rise to the top, then stir and the whole thing will darken slightly. Repeat this until it is dark enough for your taste.
-Smell
You will notice a sweeter smell at first, and it will become more caramel like as it browns, until it eventually smells burnt.
You want to stop when it smells good to you and the color is right.
The choice on when to stop is completely up to you. If you like really dark butterscotch, then leave it on a bit longer, you will be able to tell by the smell as well as the dark color when you've burnt it. If you like your butterscotch "more blonde" then you can take it off before it becomes too dark.
As it gets darker, continue to stir...
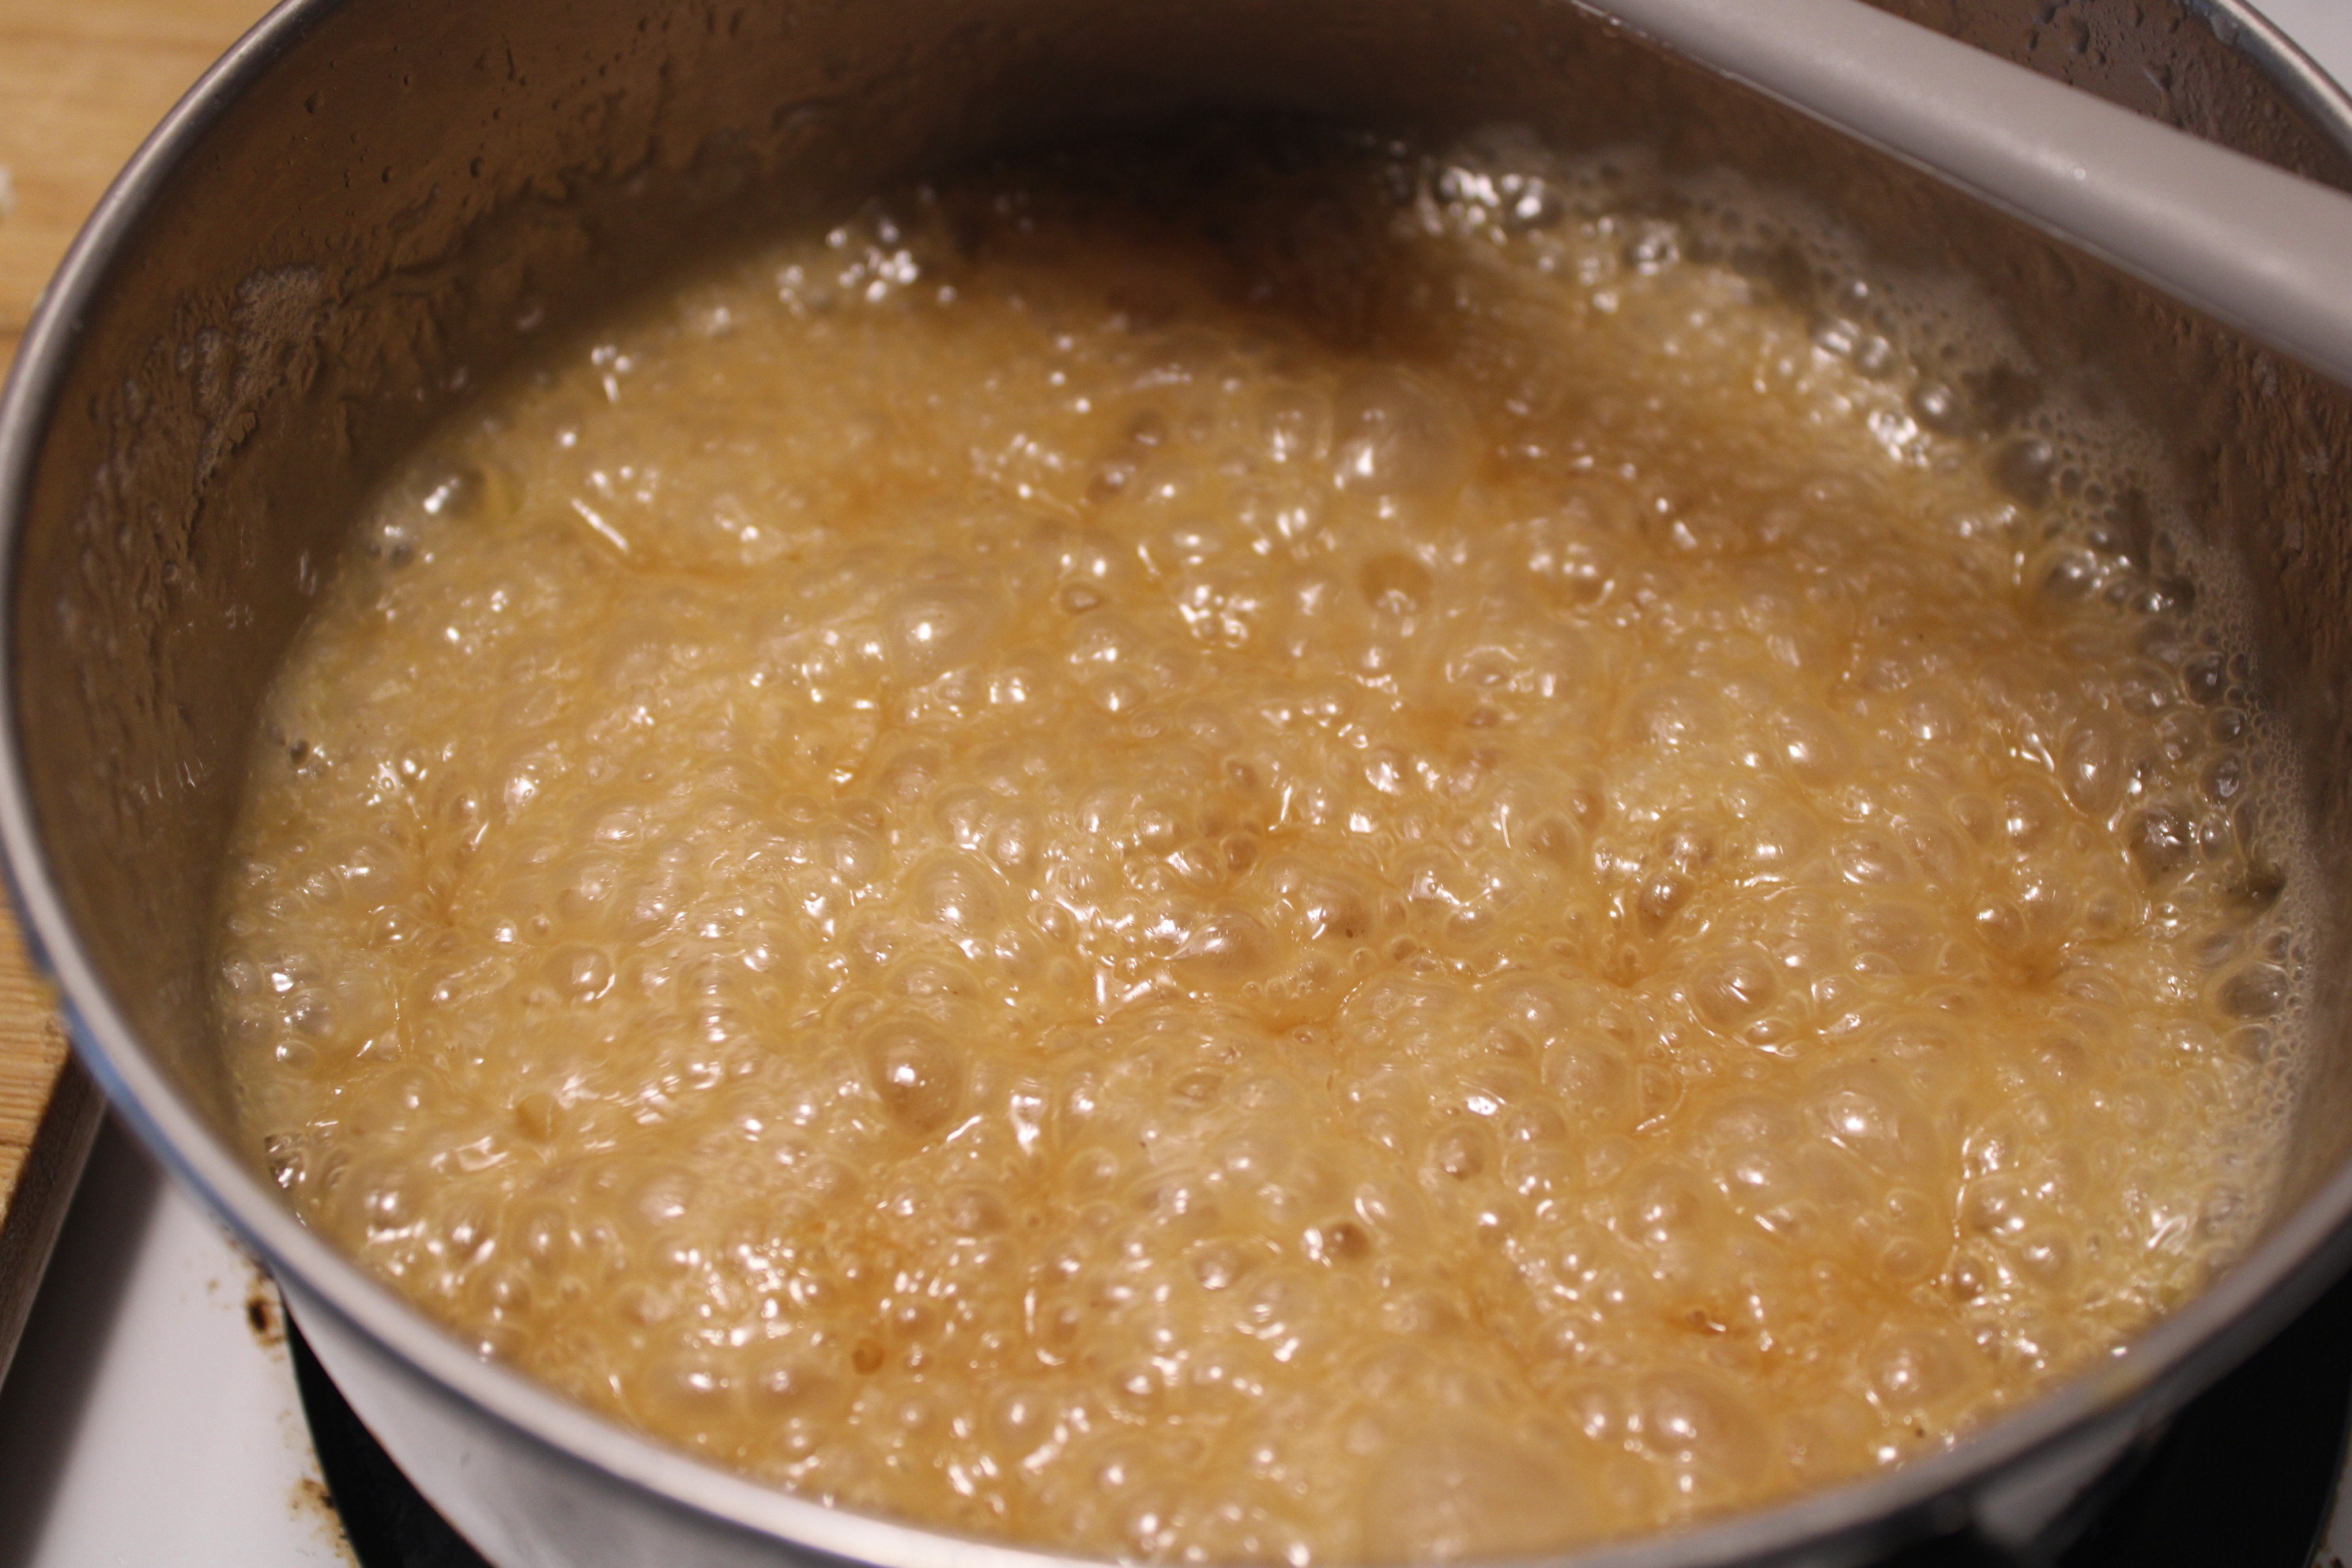
until it is just right to your taste.
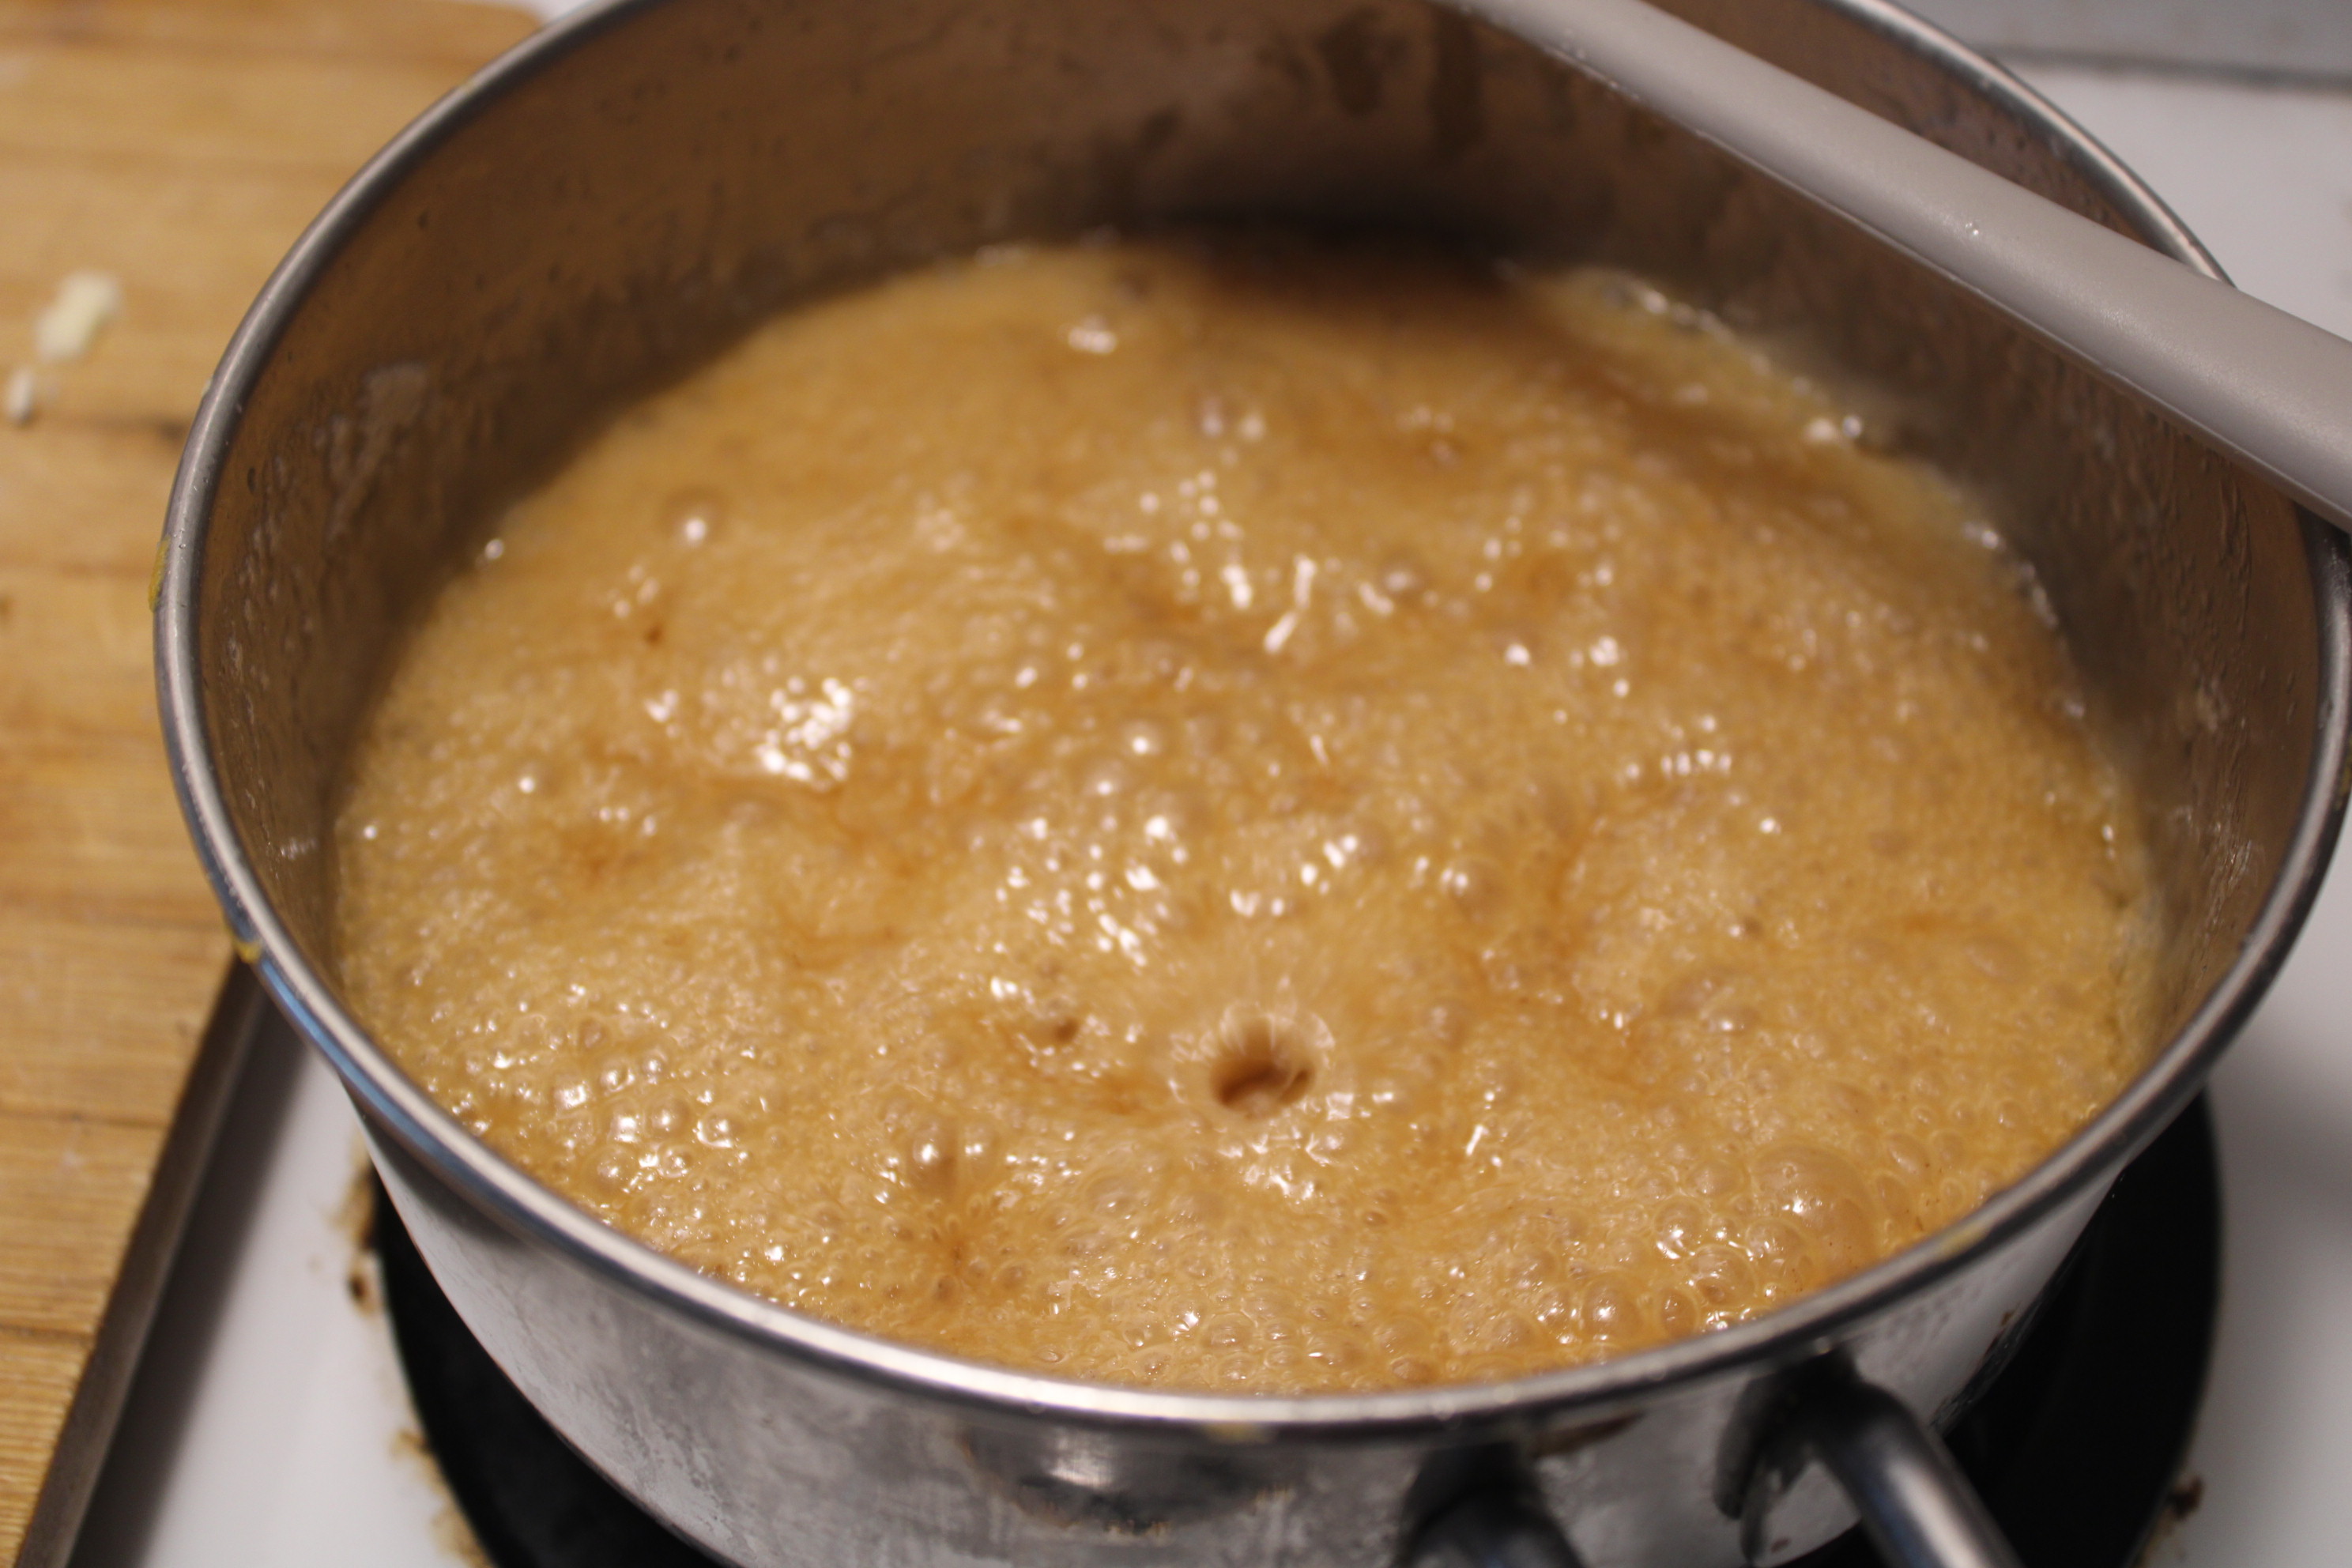
Be careful not to overheat it or walk away while it's cooking. It only takes about 10 minutes after turning the heat to max for all the steam to leave and scorching to begin.
This is a good time to get your parchment paper and pan ready.
When it looks right for you, the next step is:
Pouring your butterscotch:
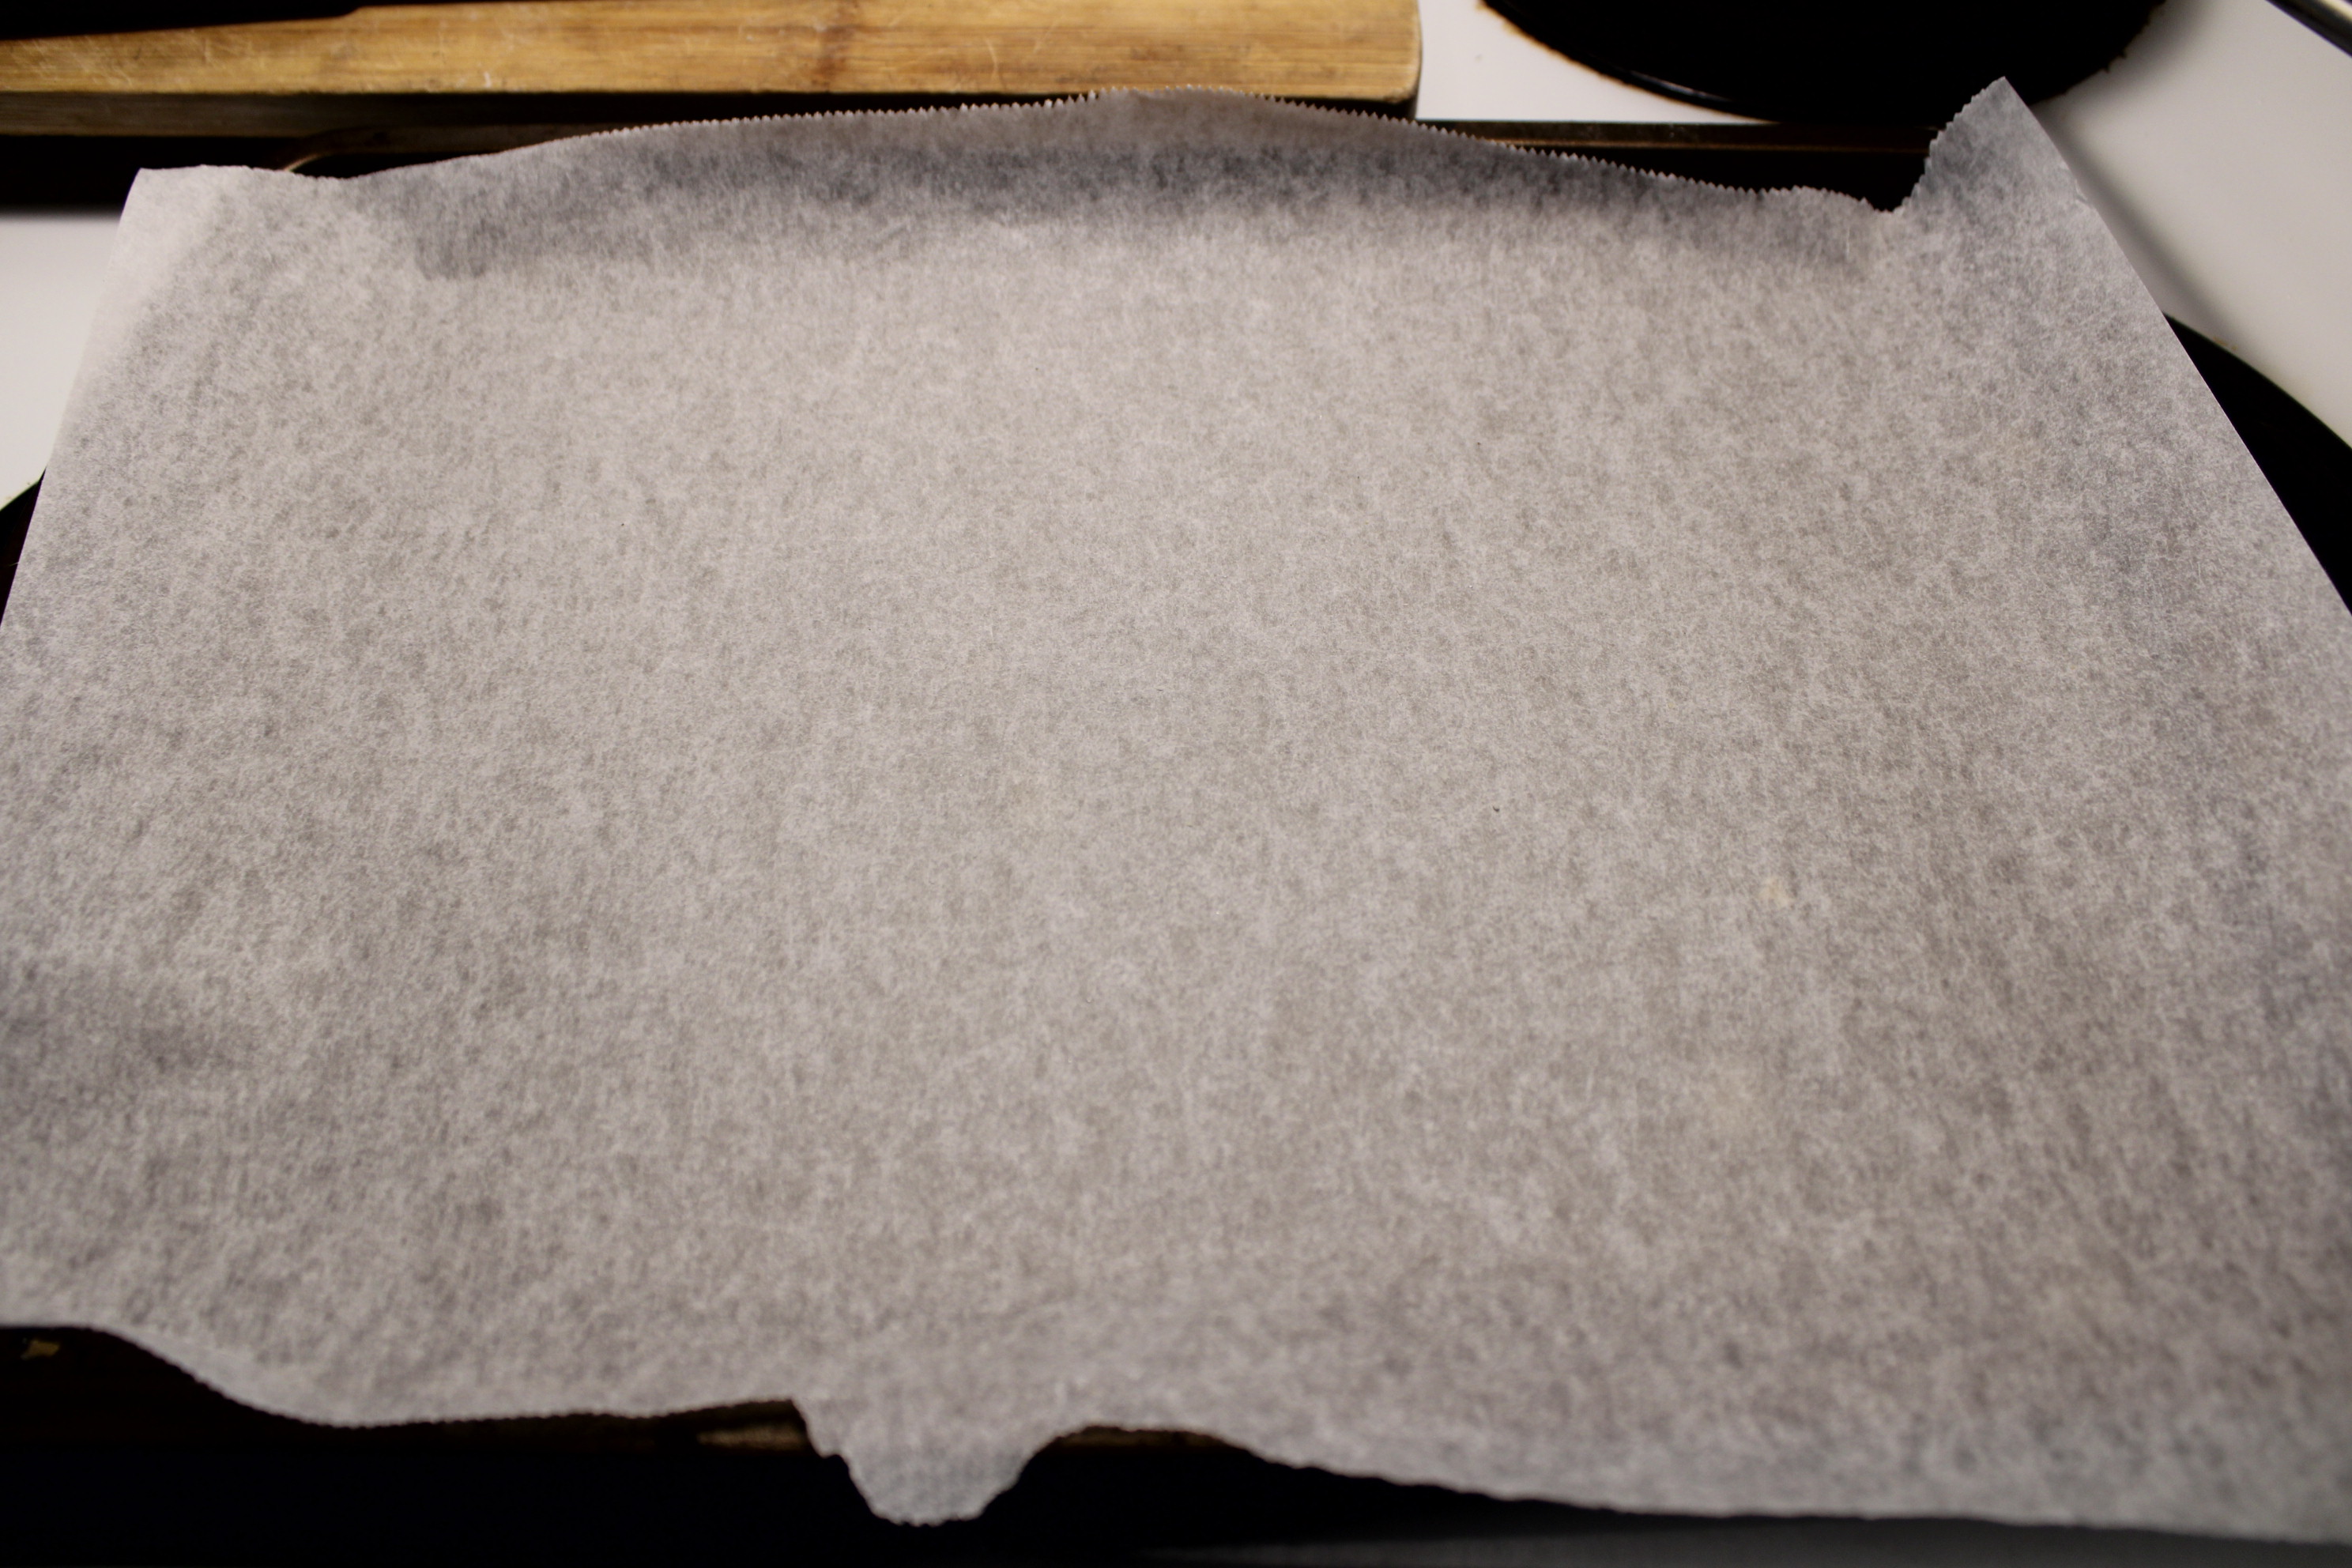
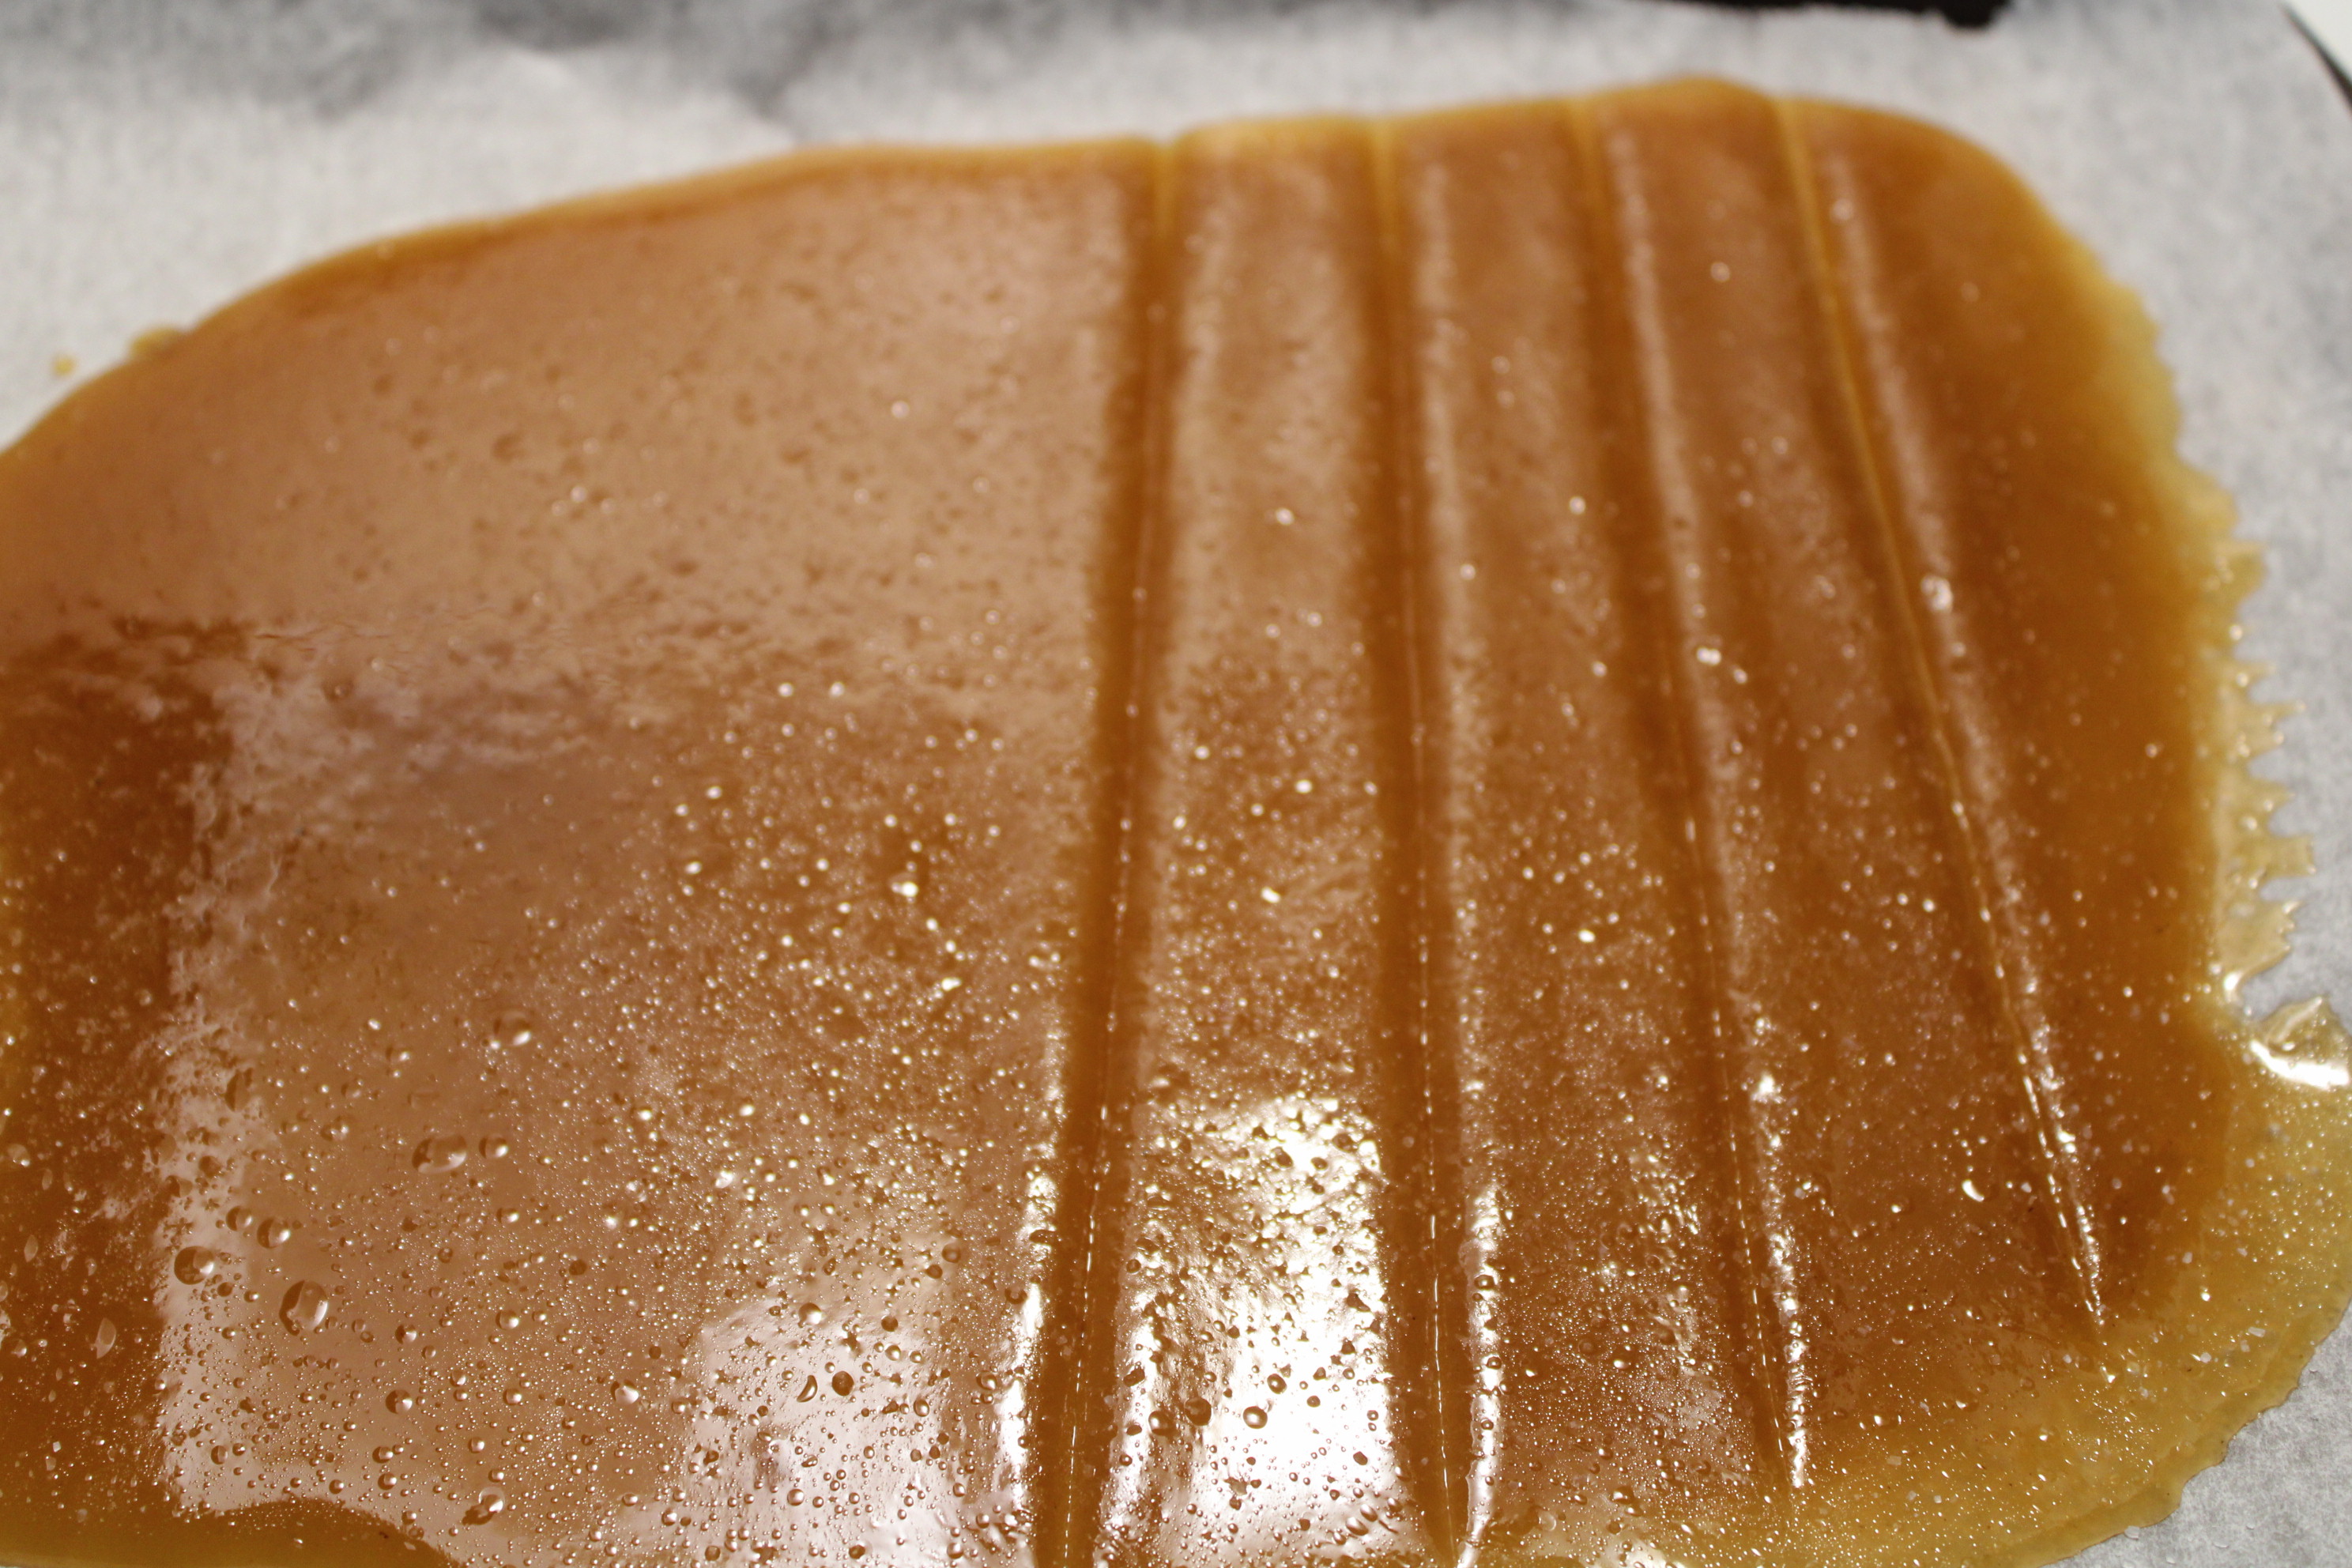
Get your parchment paper ready and pour out your hot butterscotch mixture onto your baking sheet.

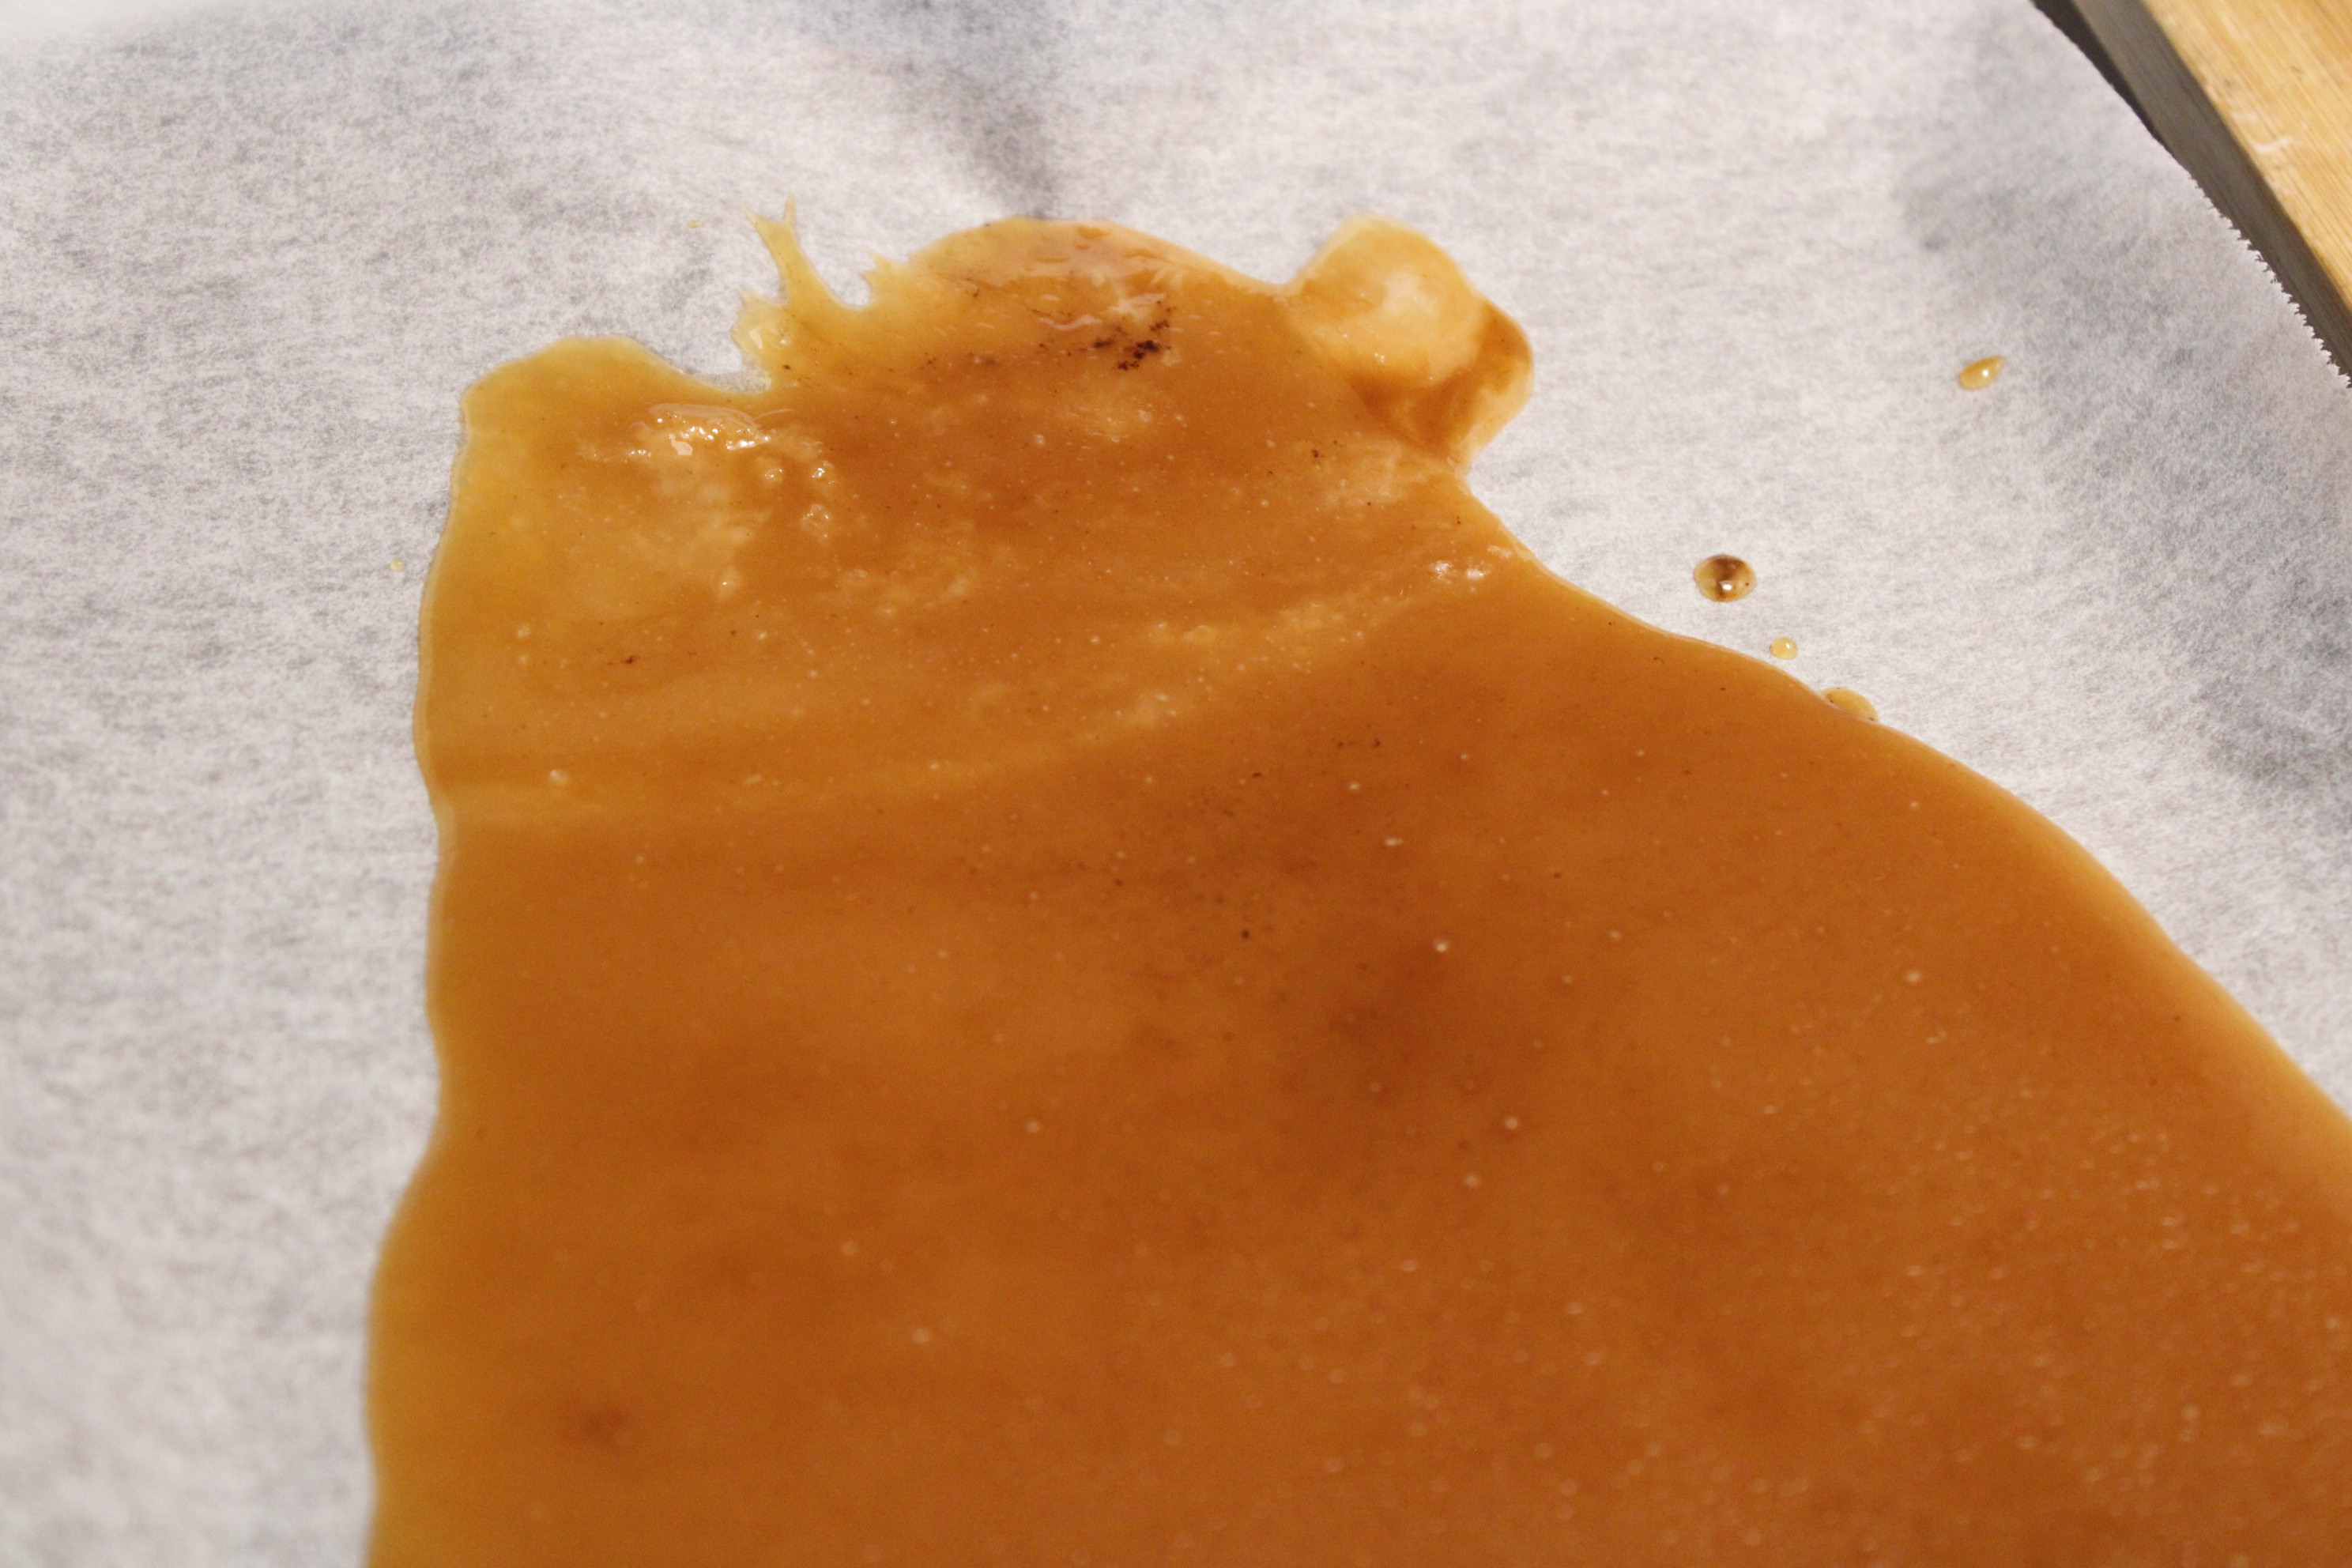
It will harden over the next couple minutes and the bubbles will start to disappear. It will look more like this:
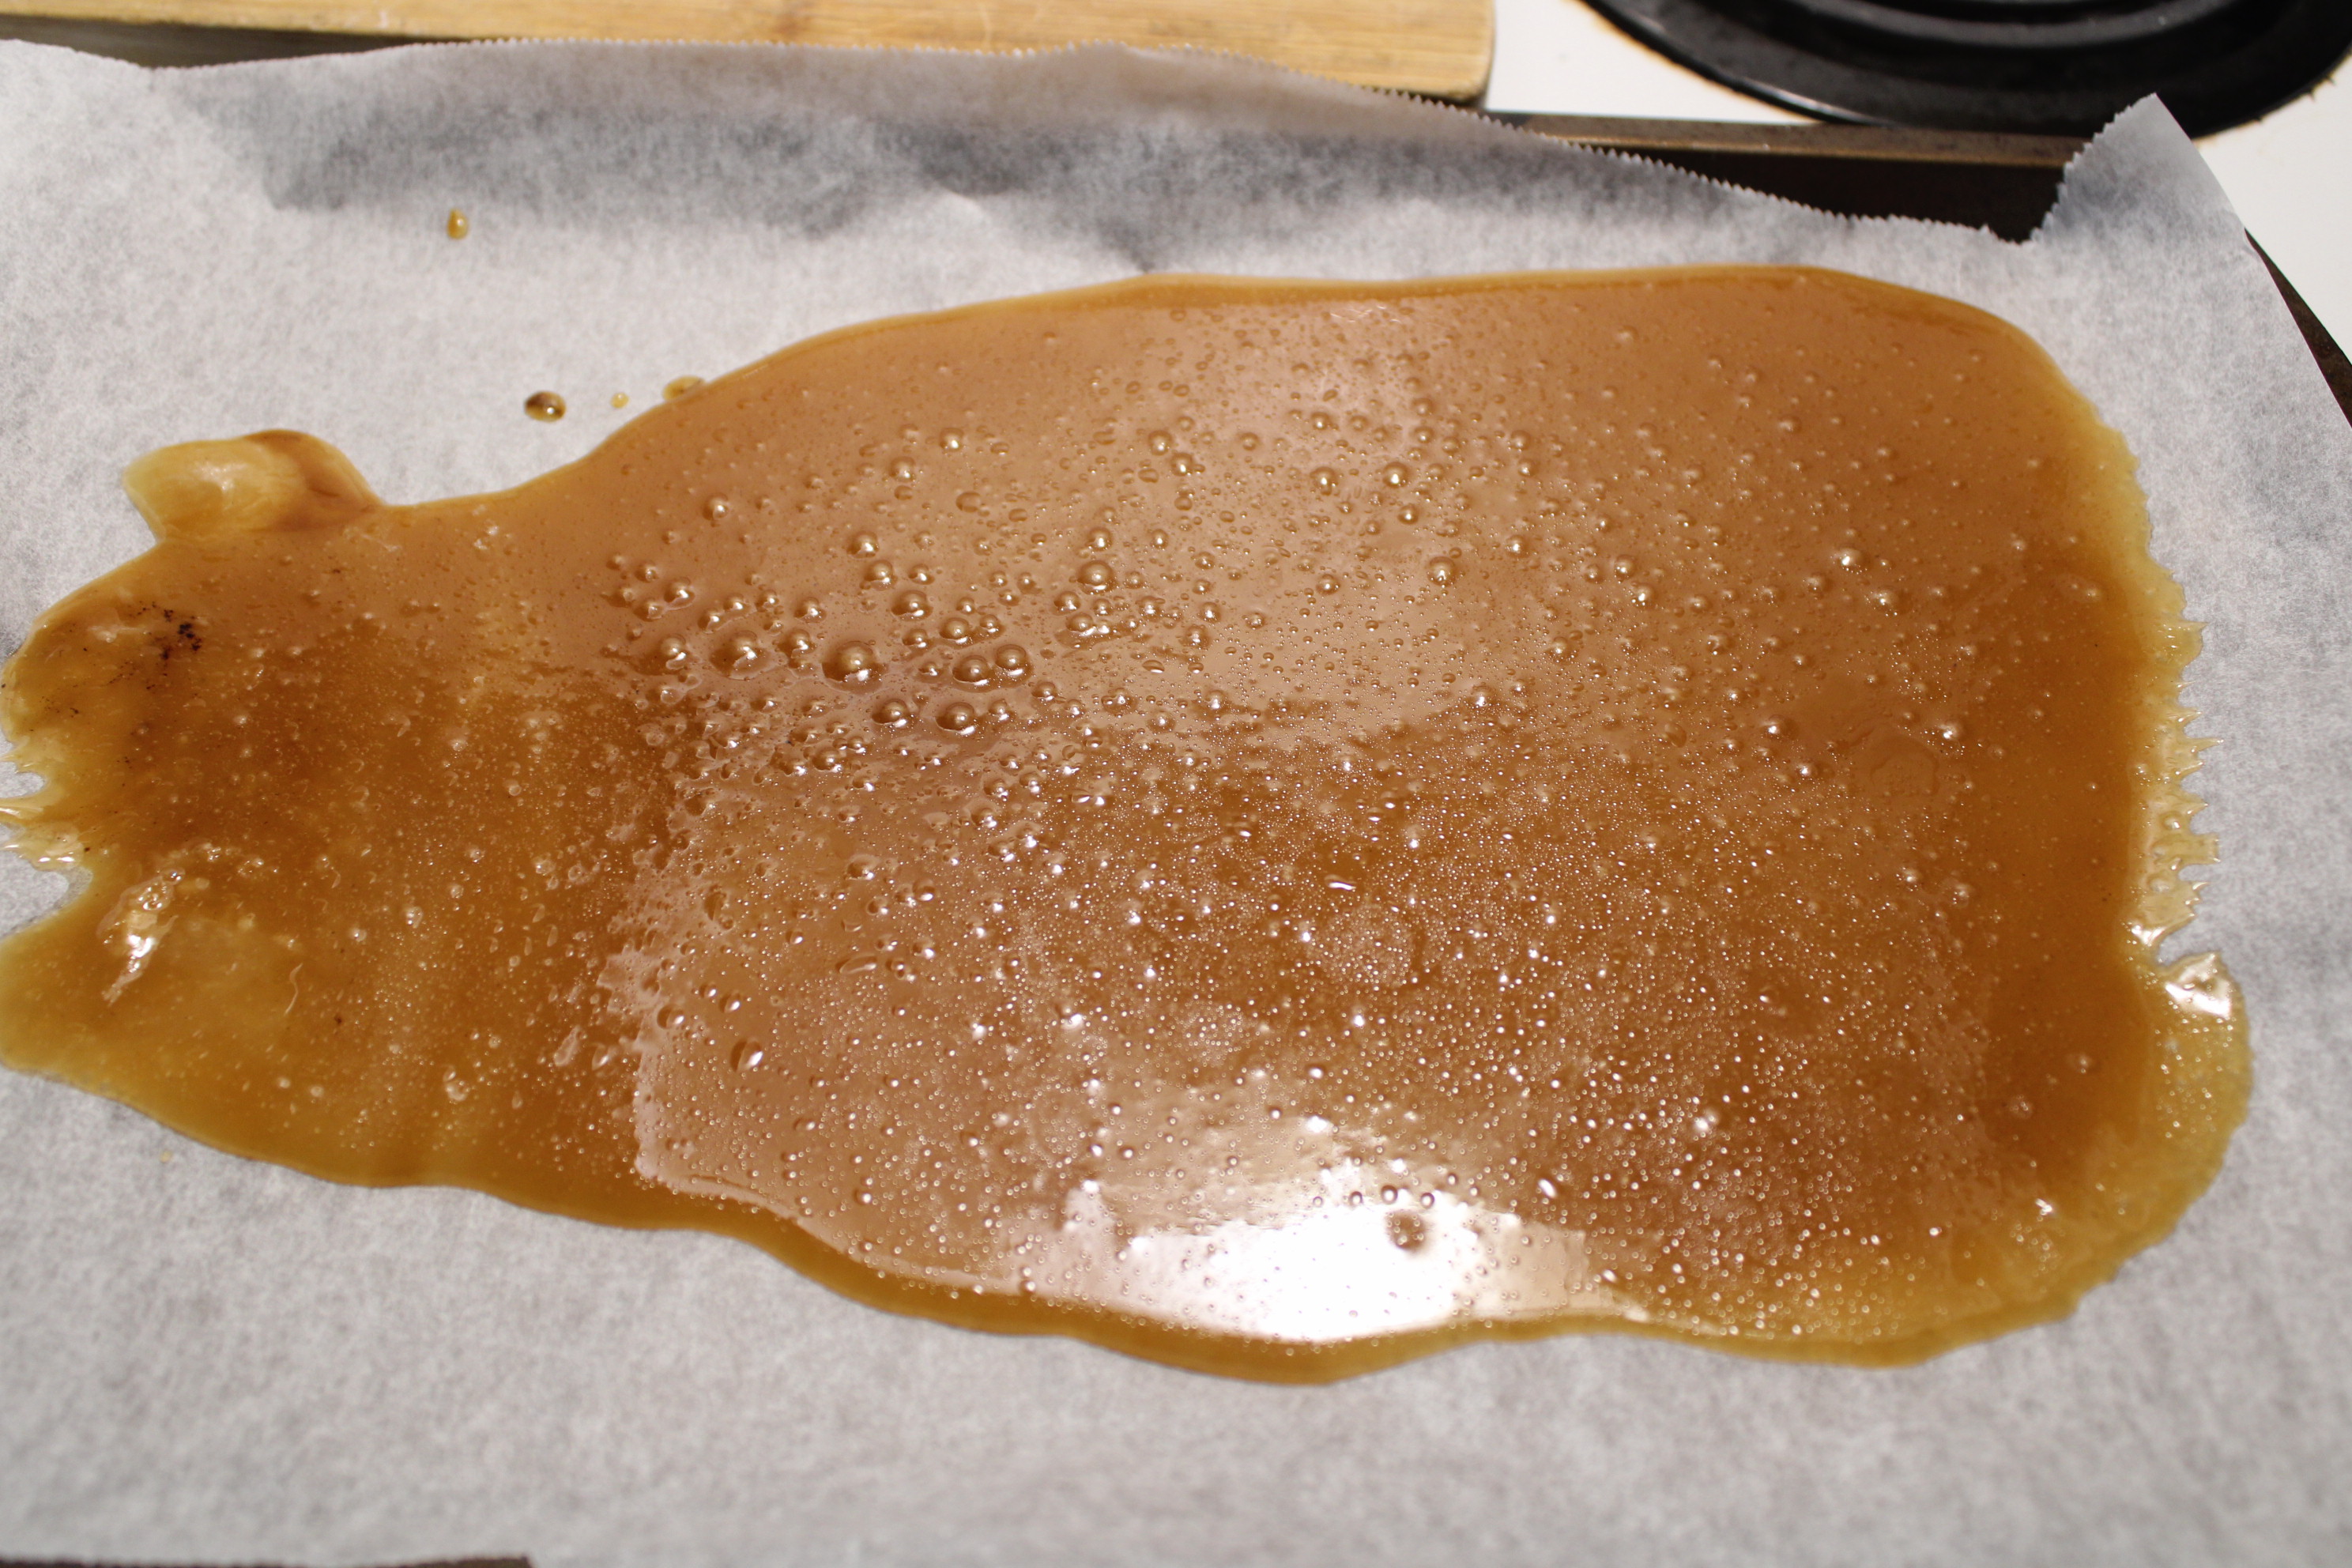
When pouring it out, I always pour out what's directly into the pot in one pile, and then scrape the sides of the pot into a separate pile. If you mix the stuff from the sides in with the rest, it will cause it to harden in a grainy way.
You can see the difference in this pic, the stuff scraped from the sides looks a little different than the rest, and it's texture is different.
Once it's poured and slightly cooled, you can start the next step:
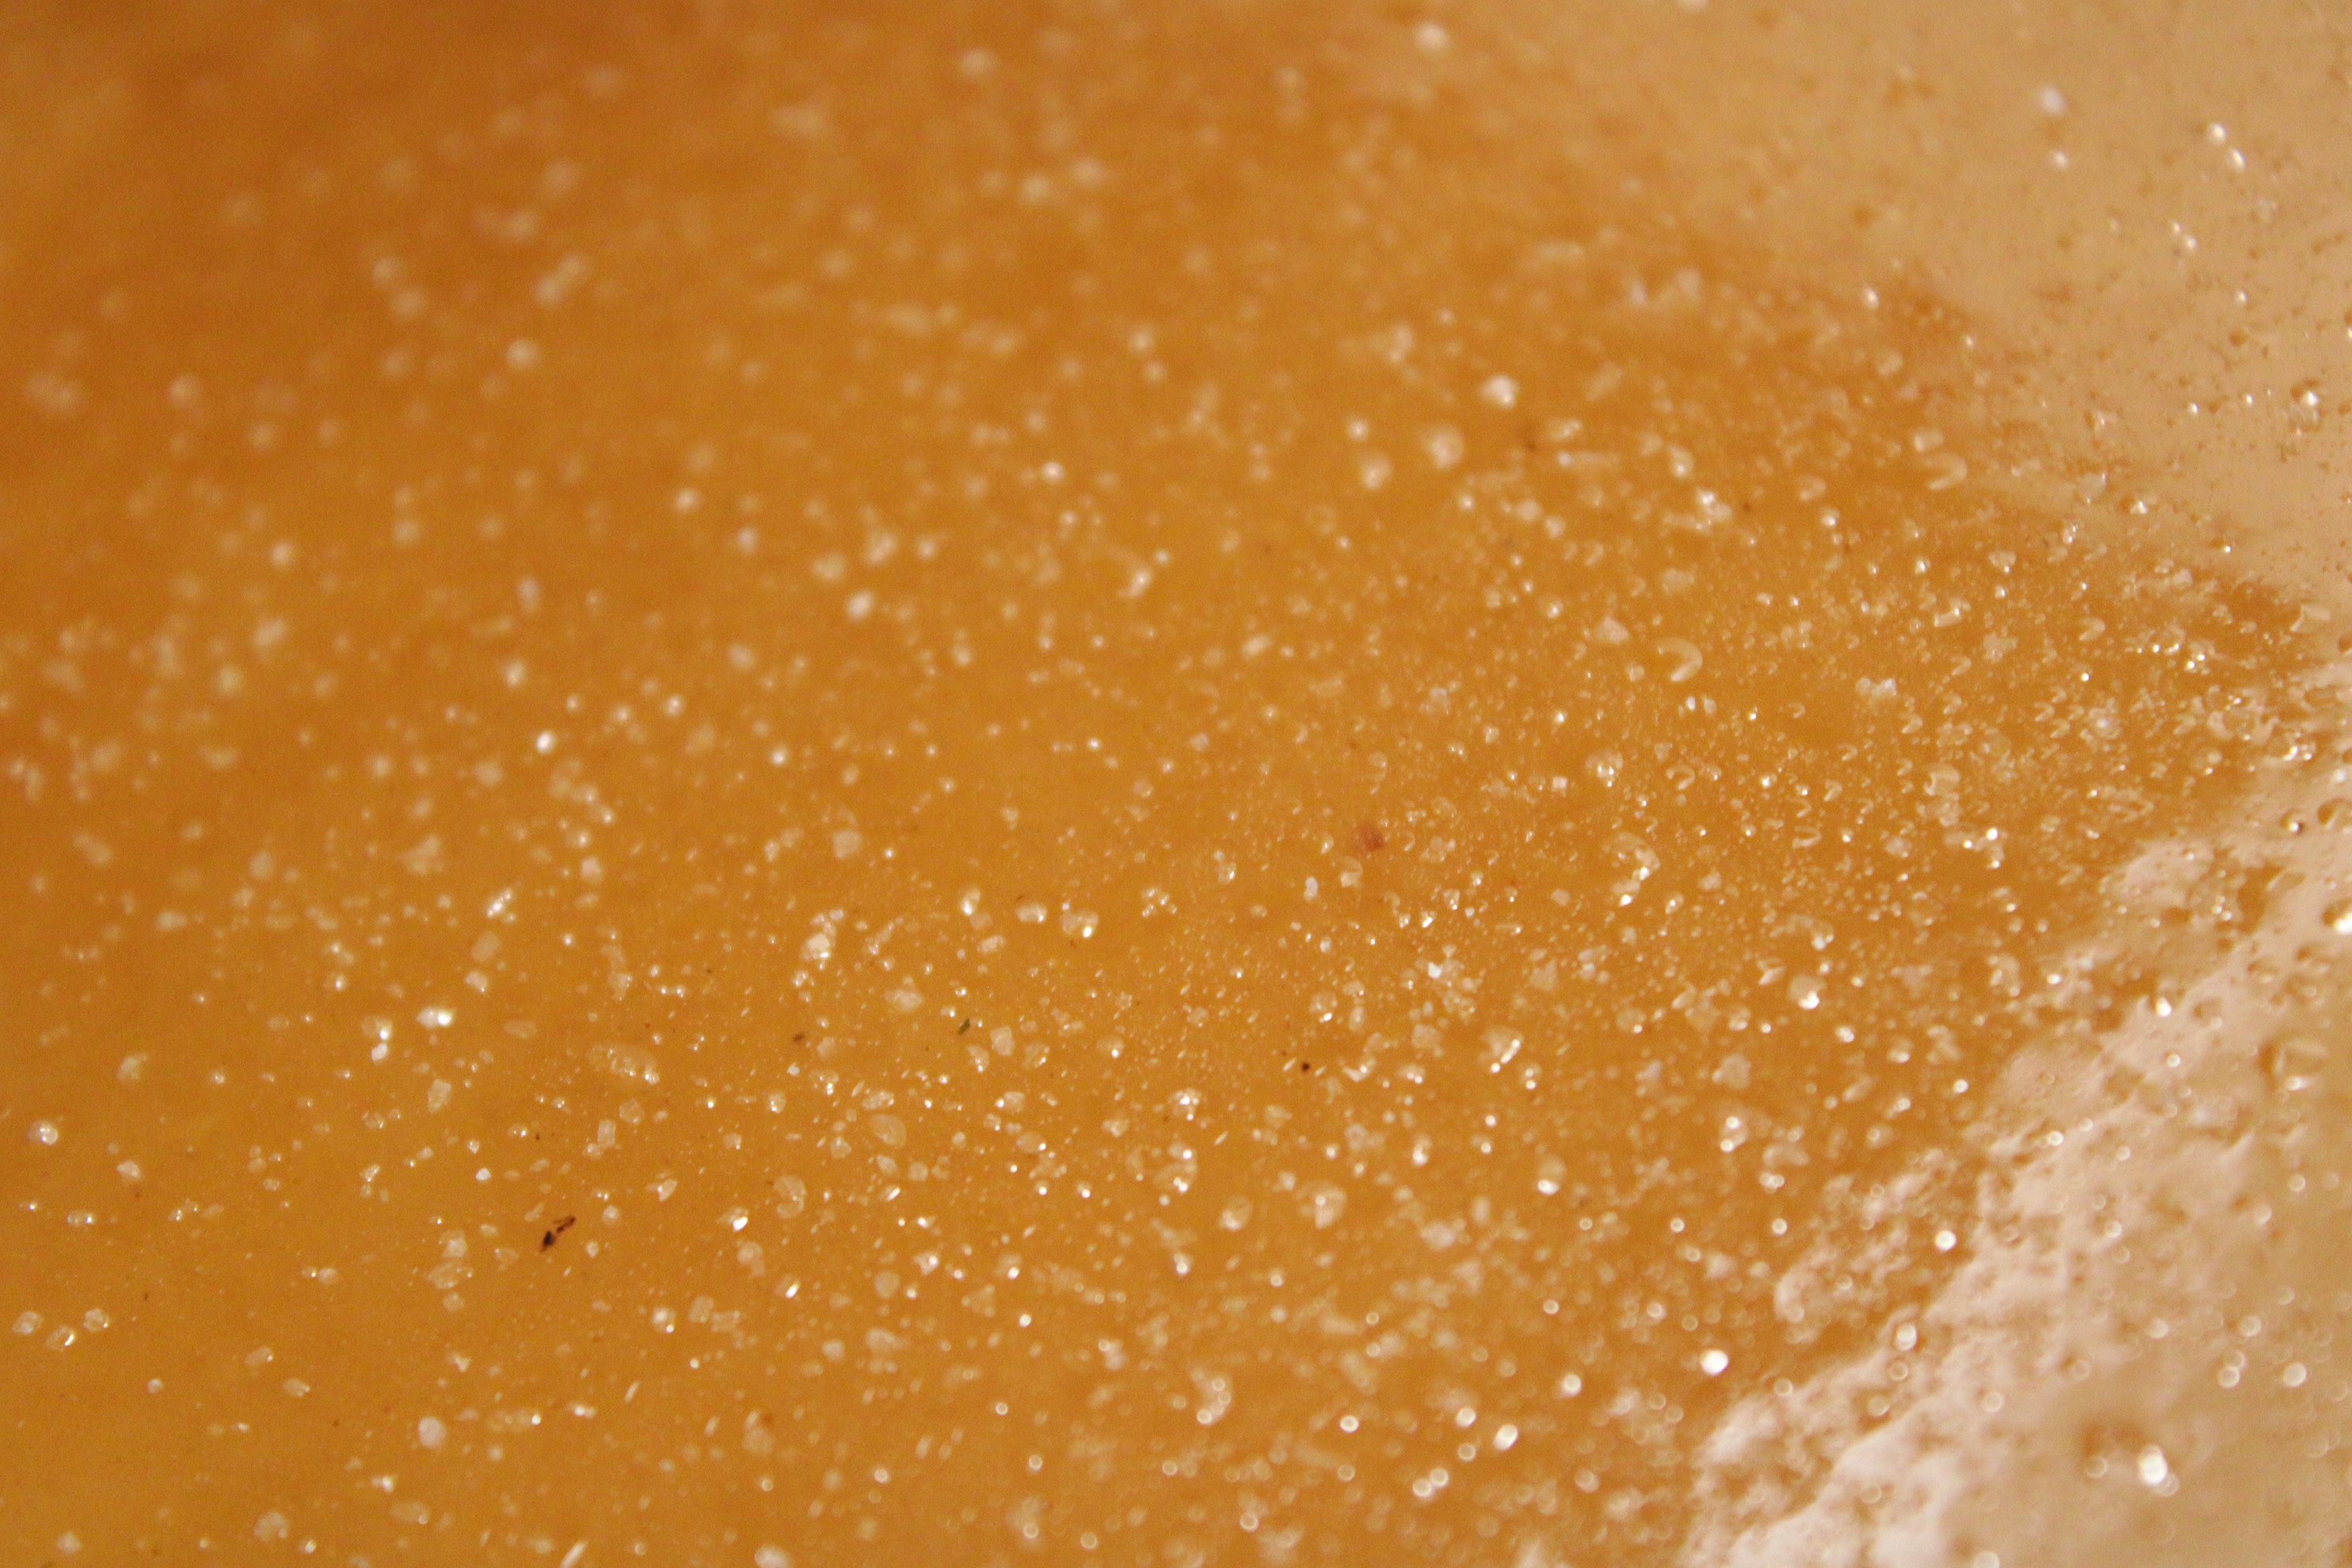
Salting and cutting your butterscotch into pieces:
Once your butterscotch is poured, and settled a bit, it will start to cool. You don't want it to harden too much before adding salt, or the salt won't stick to it. But you don't want to add salt while its freshly poured or you'll get a strange texture.
You want the outside to be just soft enough for salt to stick to, but not to dissolve into.
A good way of checking the state of your butterscotch is with the flat back side of your butter knife.
The flat side will stop it from sticking to your soft butterscotch, or from cutting your parchment paper. Any butter left on the knife will also help it glide across the top of your butterscotch more easily.
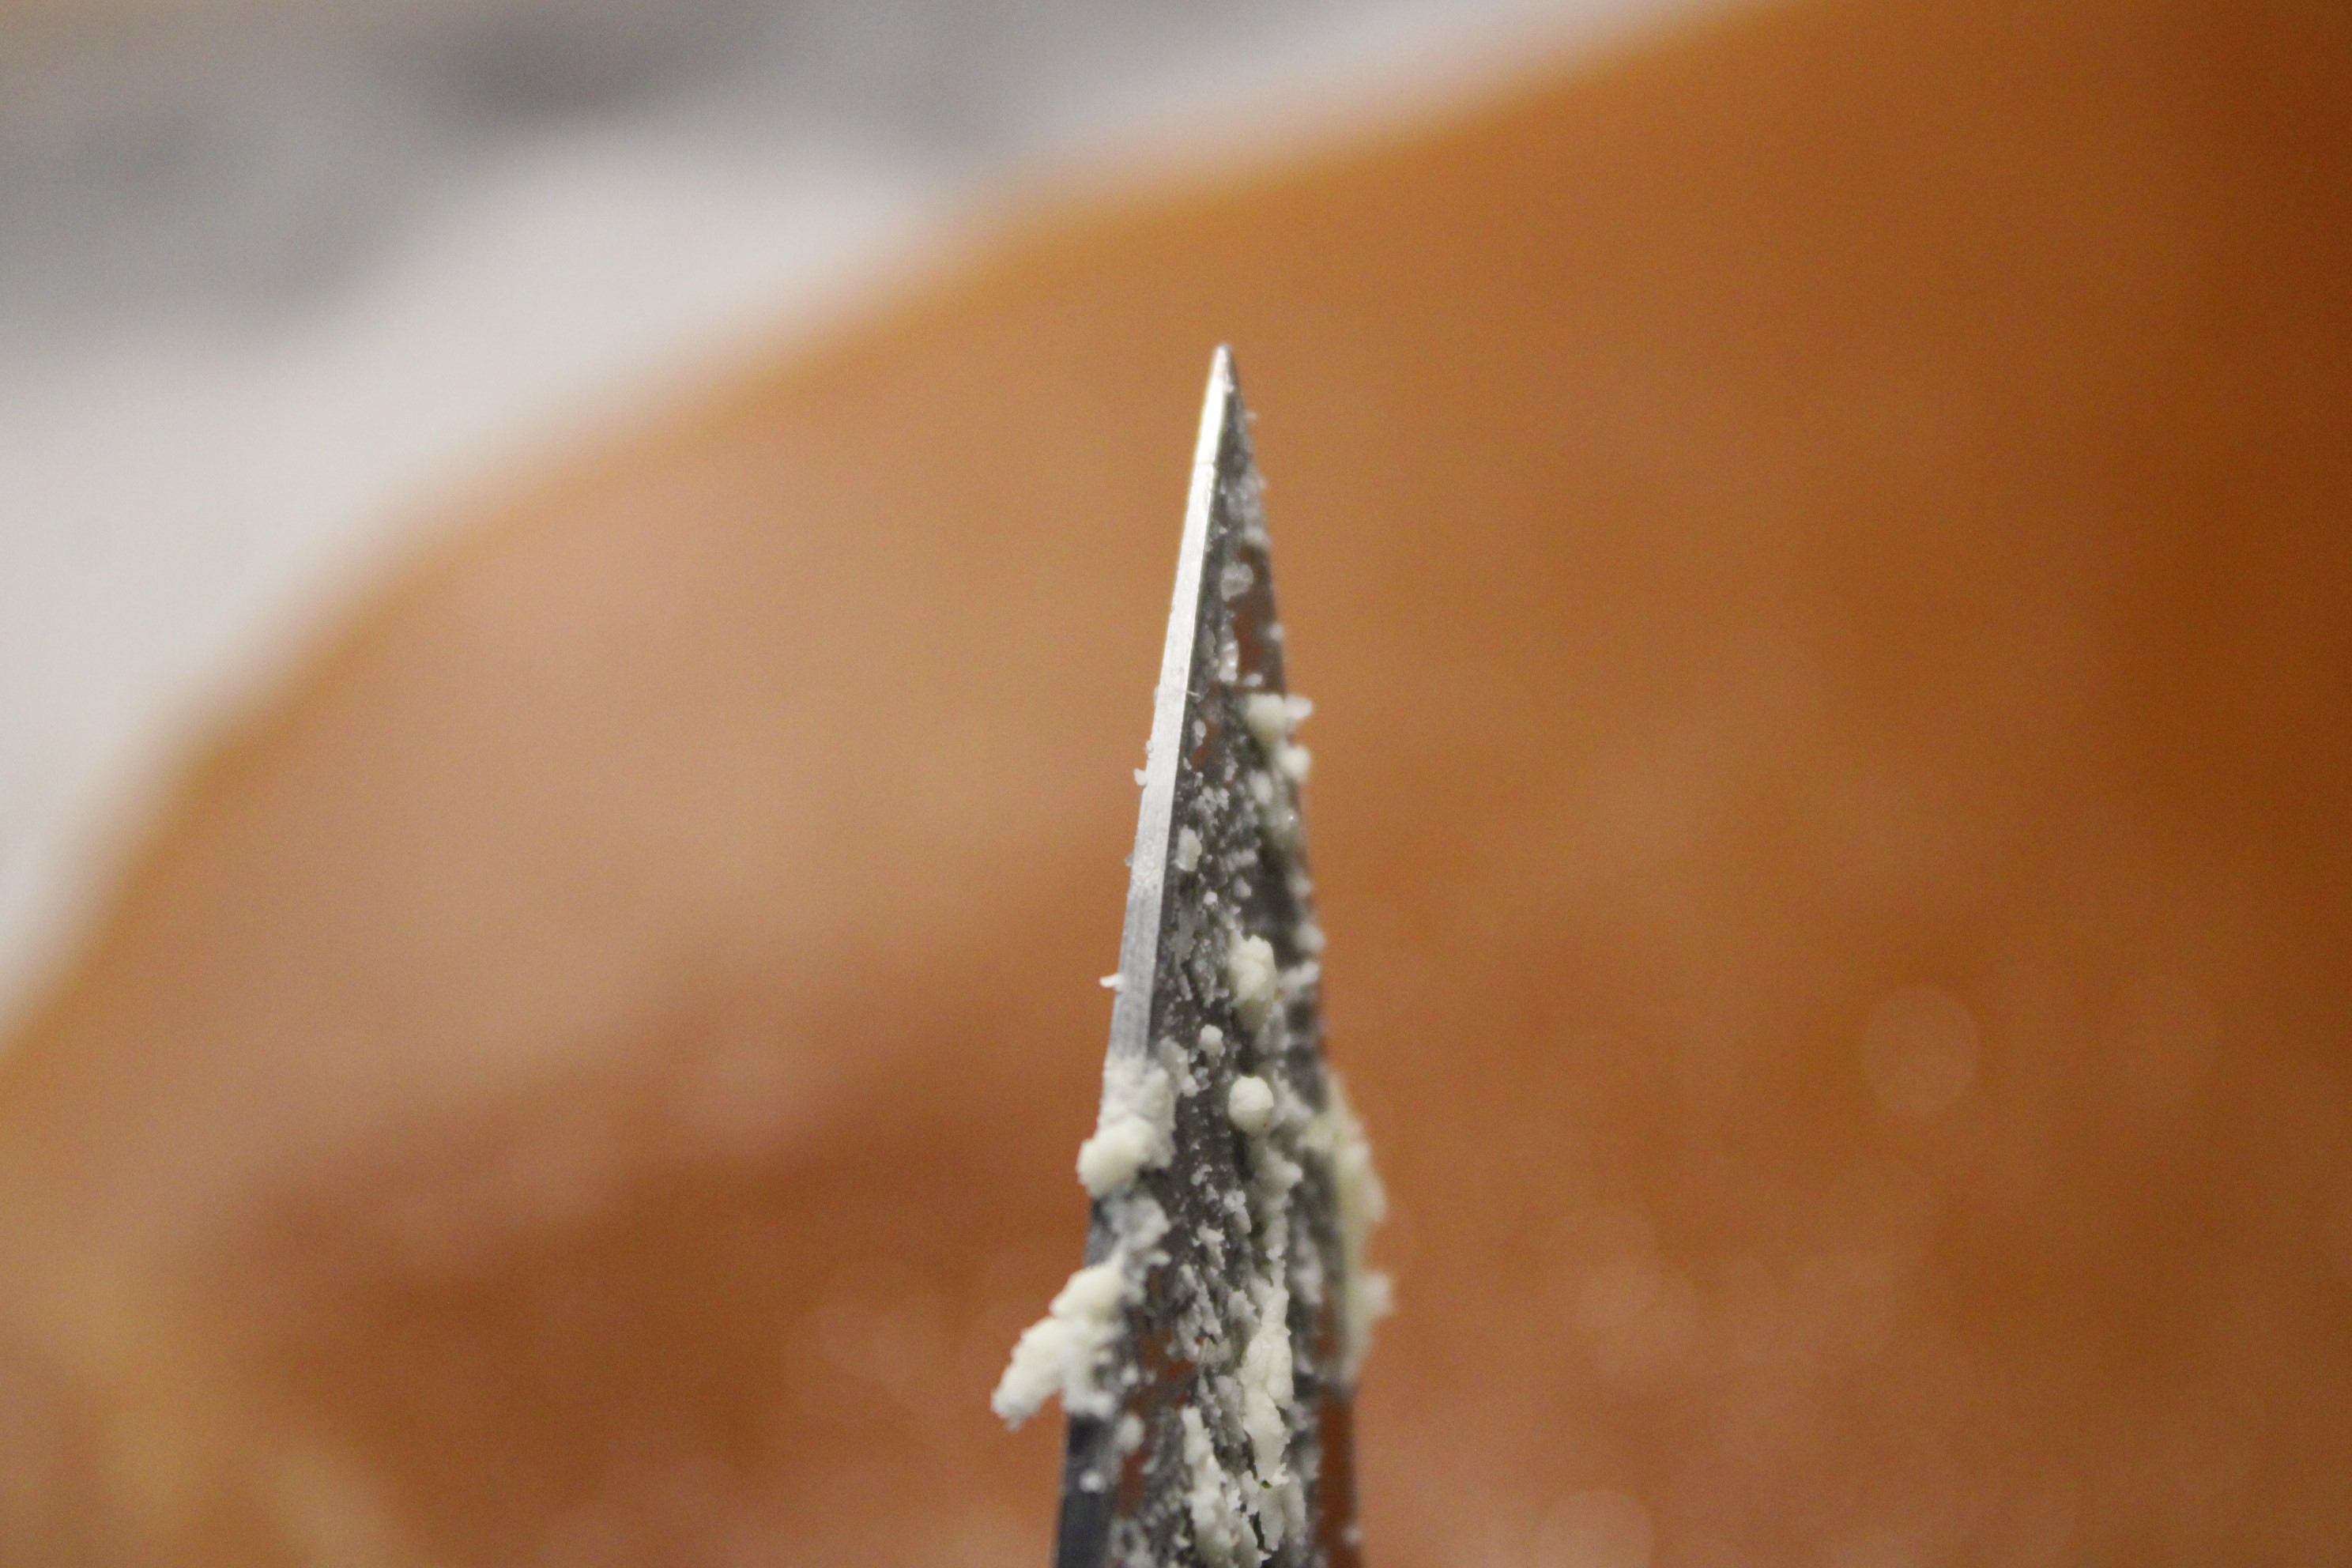
With the back of the knife, you want to start drawing out your butterscotch pieces
When lines like these stay for a moment and then fade away, its time to start adding your salt. I give it a quick shake over the whole thing because I like mine pretty salty, but you can add as much or as little as you like.
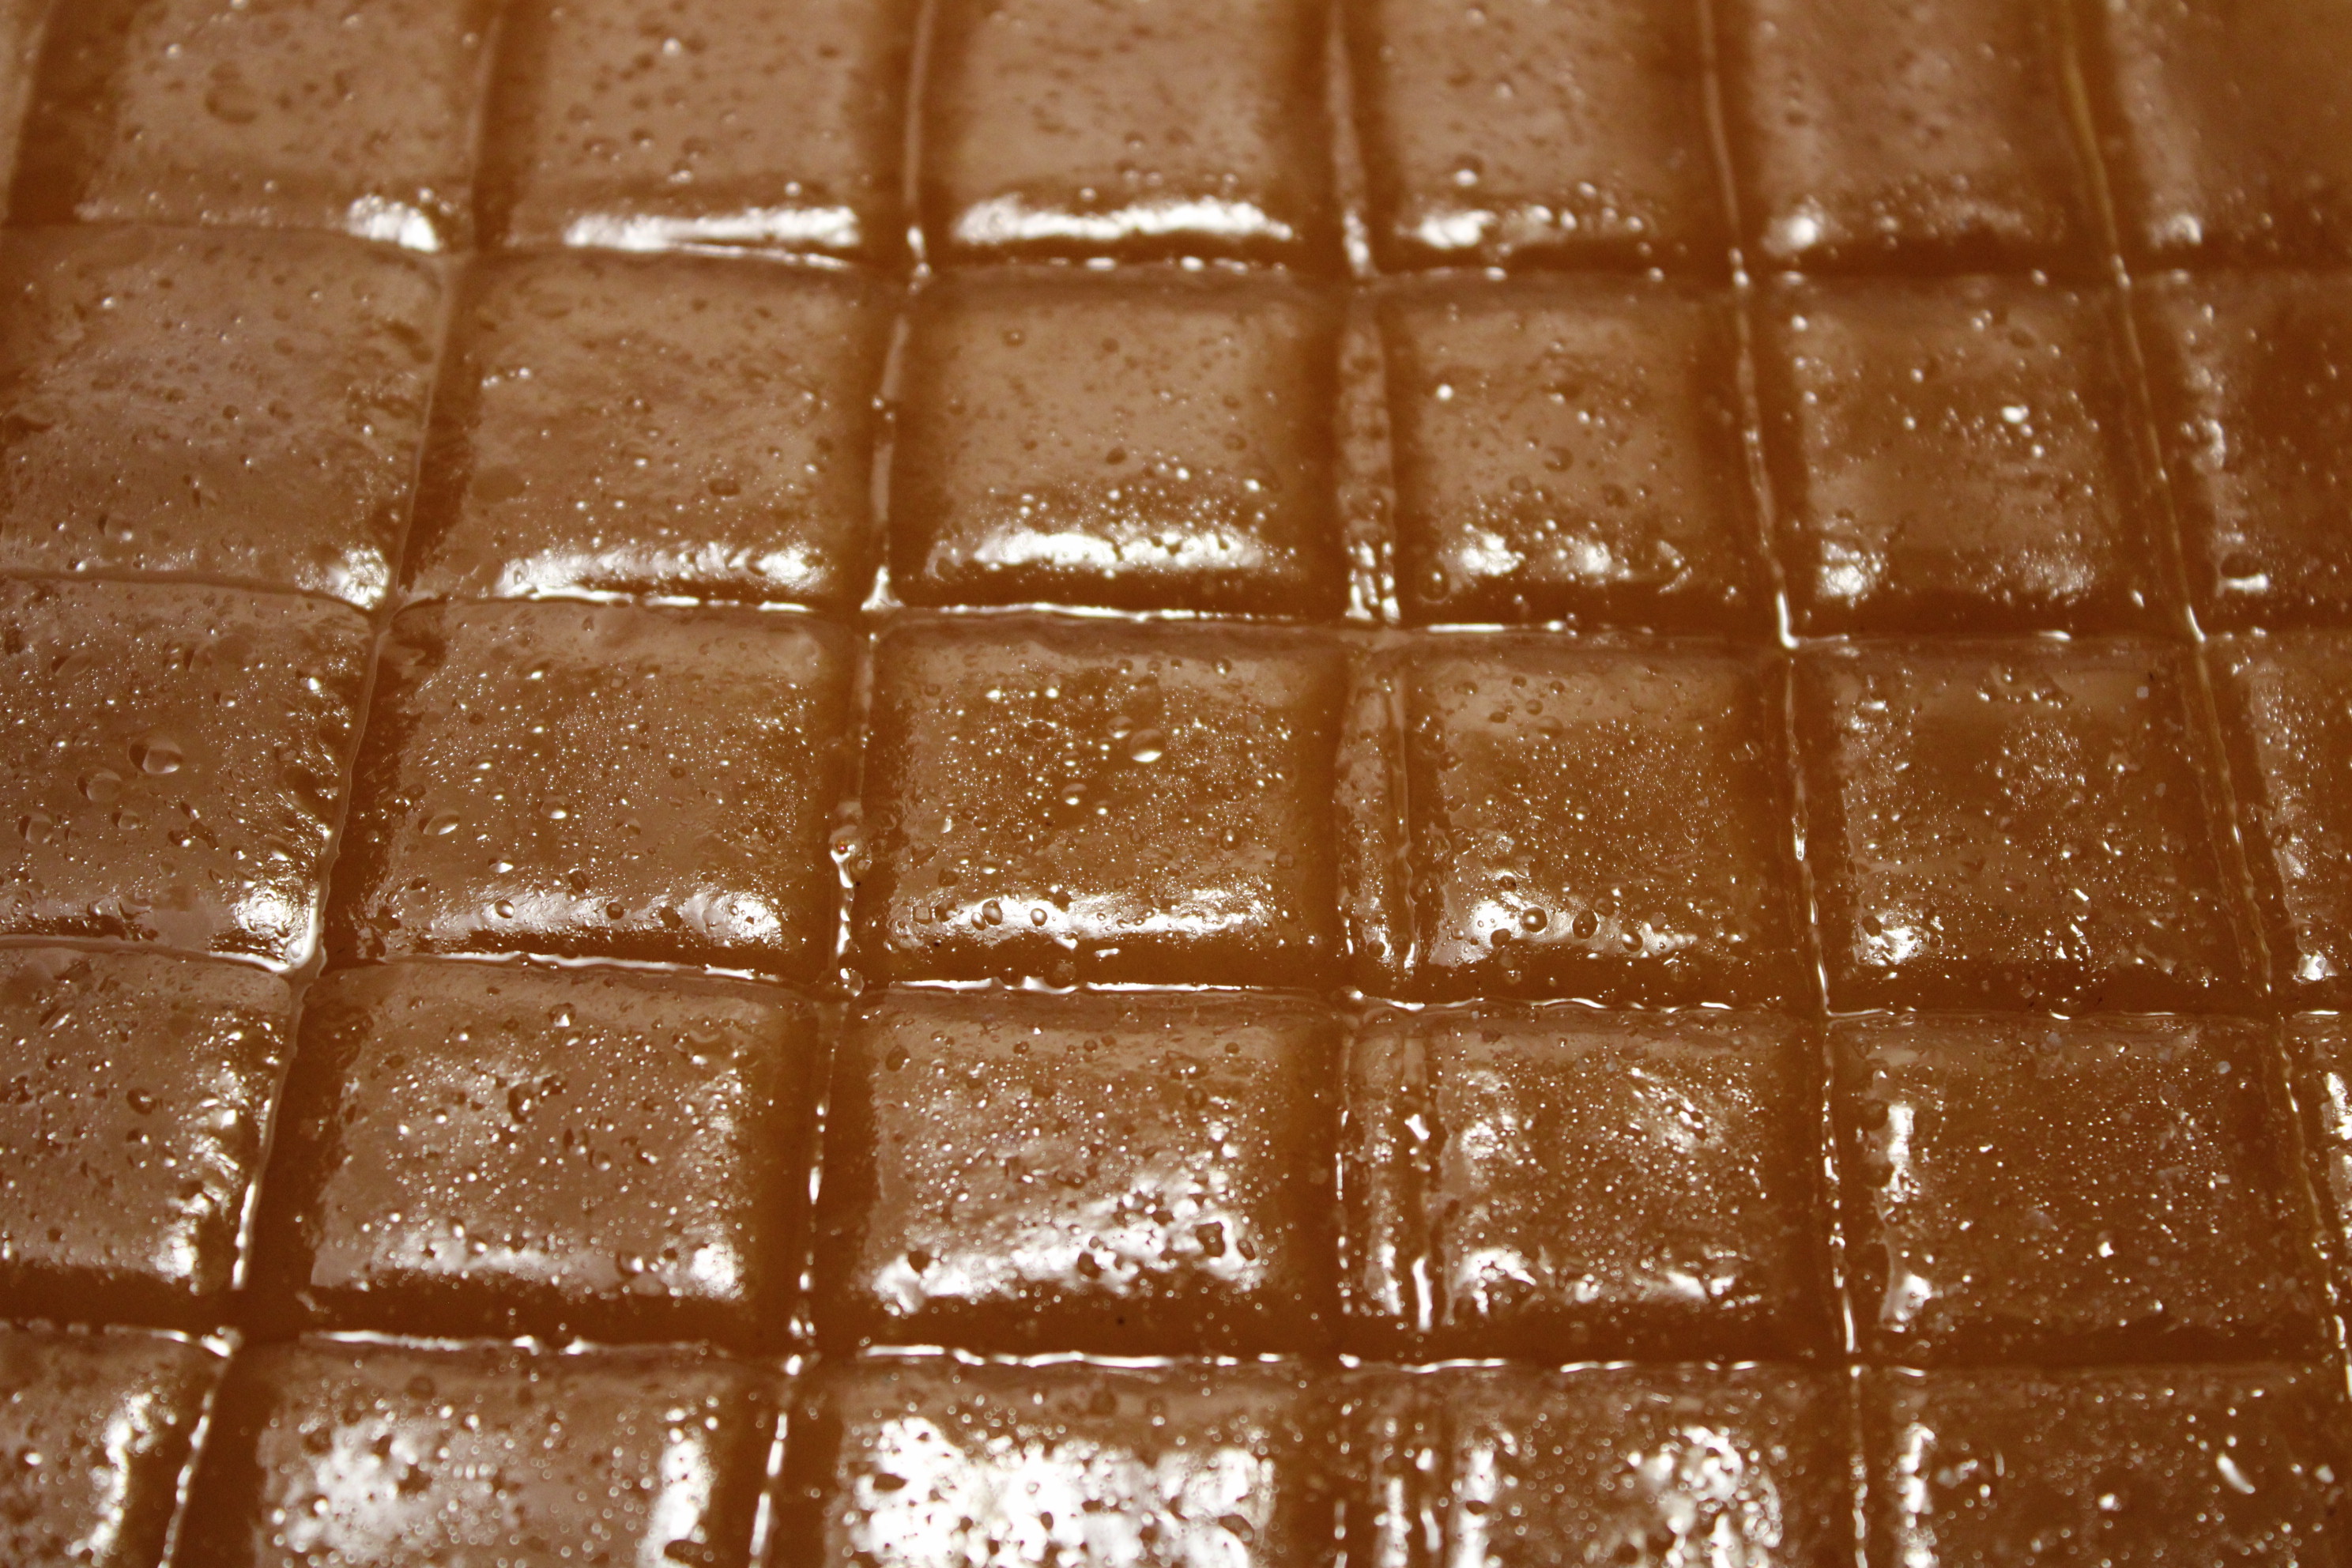
When the lines stay there and no longer fade away, you can draw all of your pieces out. You can go over the lines a few times with the back of your knife to keep the pieces square. Once you've gone in both directions it will look something like:
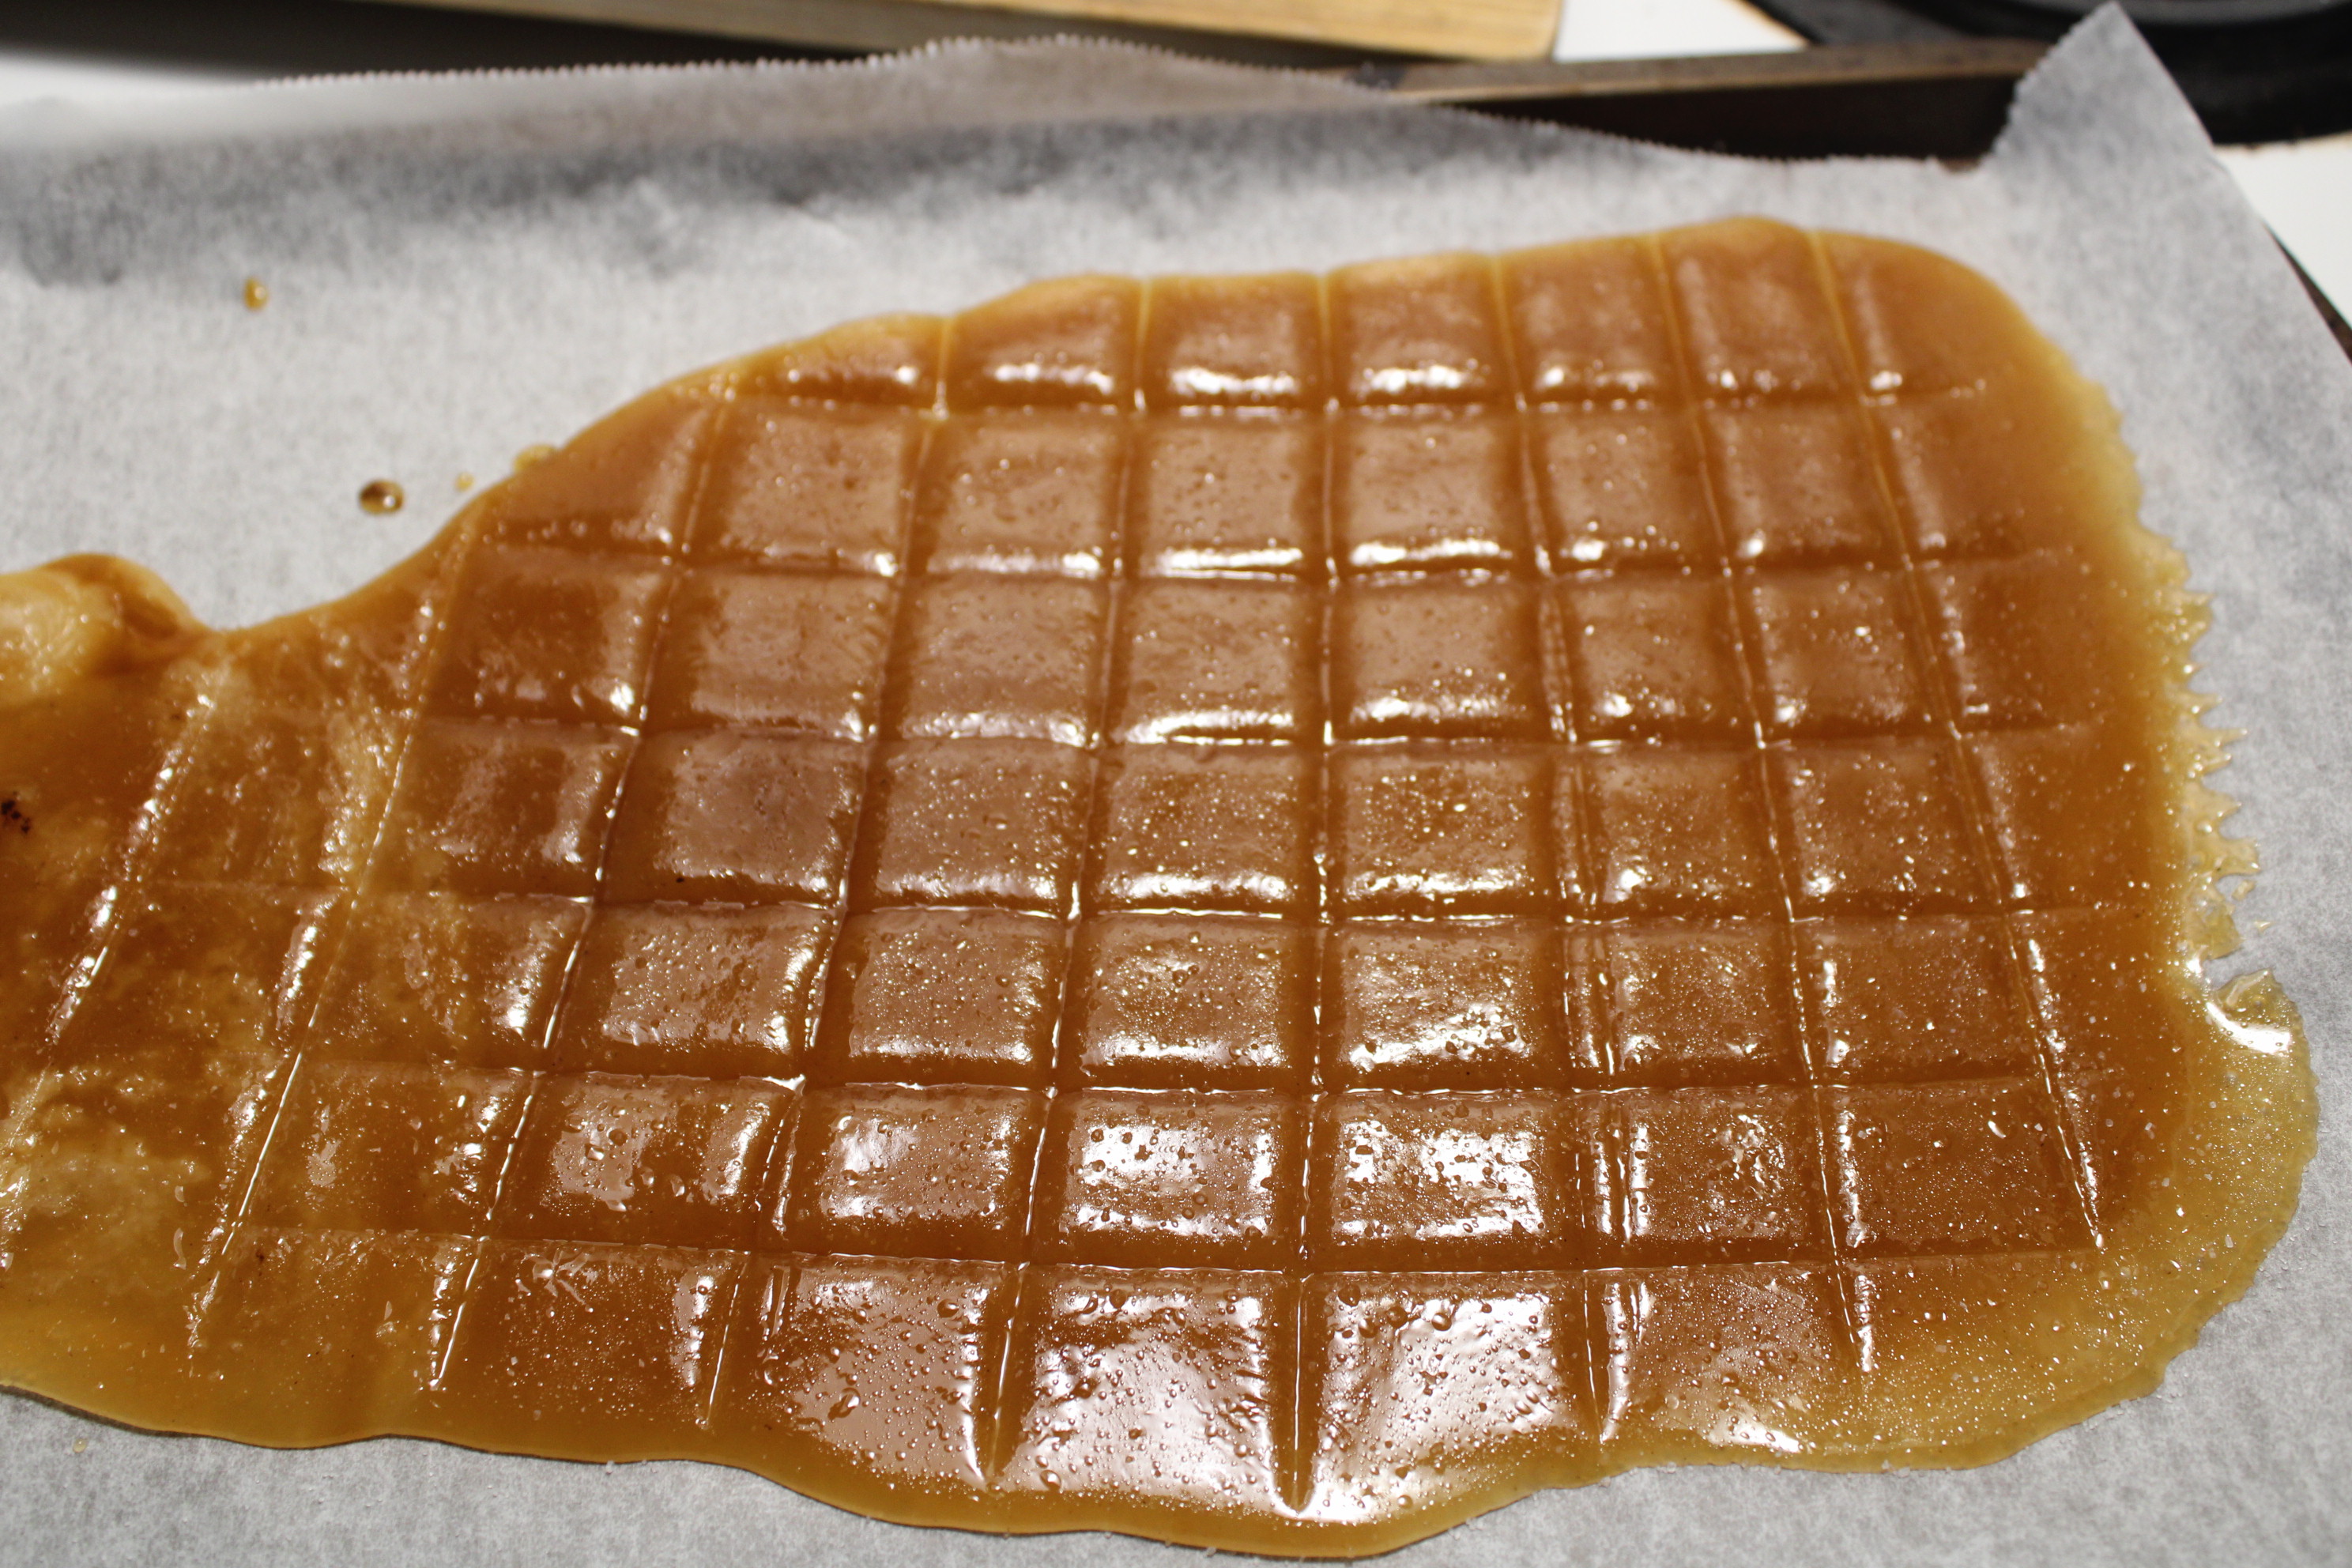
Once it's hardened you just break the pieces apart and eat them!
Theoretically this should have an extremely long shelf life, but I always eat it so fast I really have no idea what it is!
It sounds more complicated than it is.
So I'll summarize with a timeline:
00:00: Decide you want butterscotch
01:00 Cut up butter
02:00 Melt butter in pot
03:00 Add water to melted butter
03:30 Add sugar to mix and stir
04:00 Turn on to max heat
05:00 Wait for it to bubble and steam
15:00 Steaming stops, scorching begins
17:00 Scorching complete, pour out mix
20:00 Slightly cooled, check with knife
21:00 Add salt
21:30 Draw out pieces and let harden
30:00 Break apart and eat
I consider this one of the best and most convenient treats because it's so compact, doesn't need refrigeration, costs next to nothing, can be eaten in large or small amounts, and is so easy to make.
Now you know how to make butterscotch and you'll never have to leave the house for sweets again.
Congratulations @yonyonsson! You have completed the following achievement on the Hive blockchain And have been rewarded with New badge(s)
Your next target is to reach 100 upvotes.
You can view your badges on your board and compare yourself to others in the Ranking
If you no longer want to receive notifications, reply to this comment with the word
STOPCheck out our last posts: