You'll need:
- Enamel "Impulse" - one tin - green or black (special for painting school boards!).
- White paint, you can use an acrylic one.
- Sheet of tin (even!) 1x2 m
- Wooden bars: 2pcs - 20 x 20x 2000mm, 1 piece 20x40x2000 mm (without knots!).
- Self-tapping screws for metal.
- Self-tapping screws for wood: 4 cm long.
- Screwdriver.
Work process:
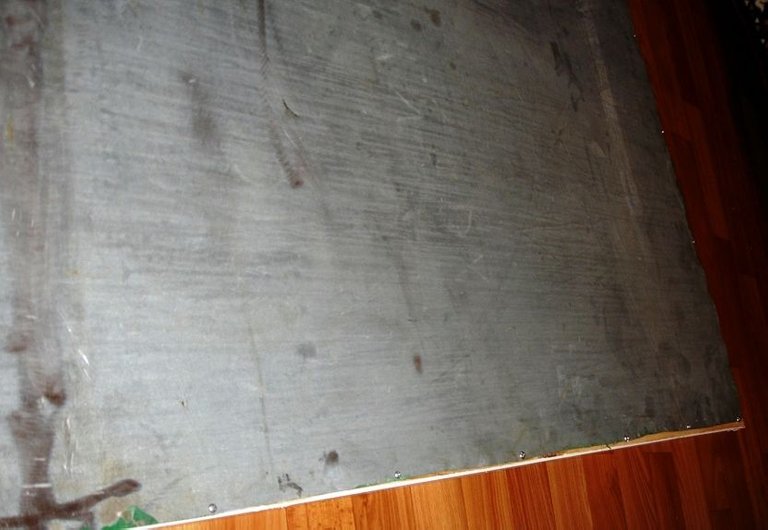
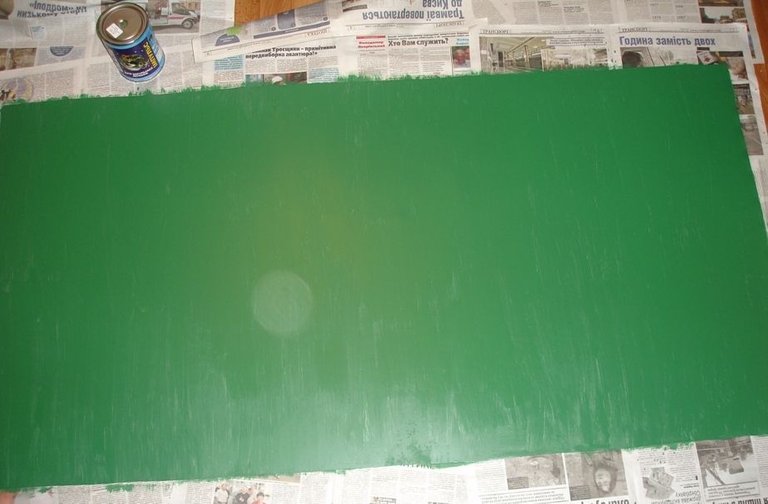
Clean the sheet of tin and degrease it. Then paint it with several layers of enamel letting each layer to dry. Apply at least 2 layers. I was using a brush and it has left the traces on the dried surface. To avoid it I would suggest to use a roller.
Cut thin 20x20 mm wooden bars in half to have 2pcs of 1 m (lateral).
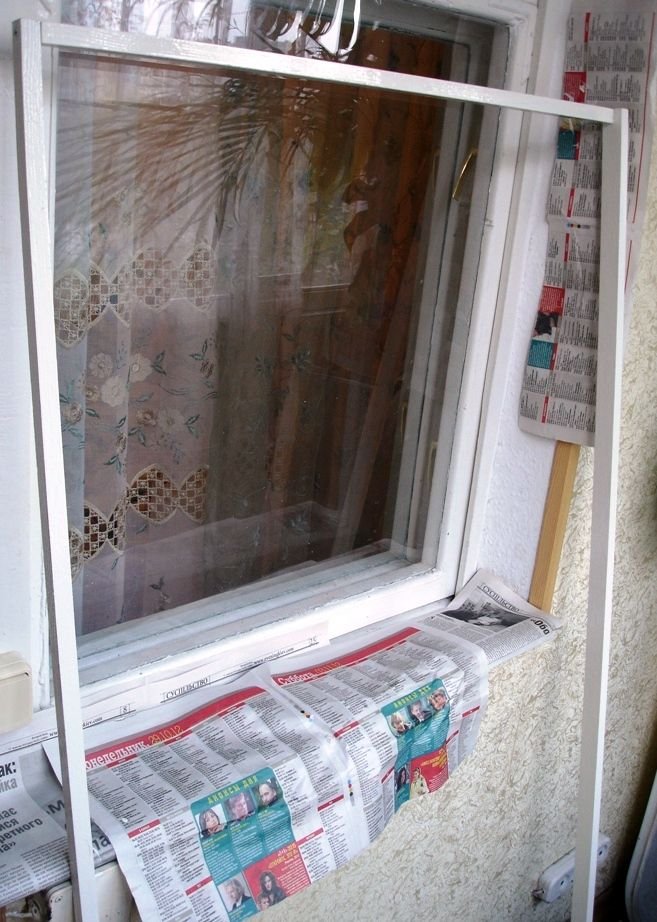
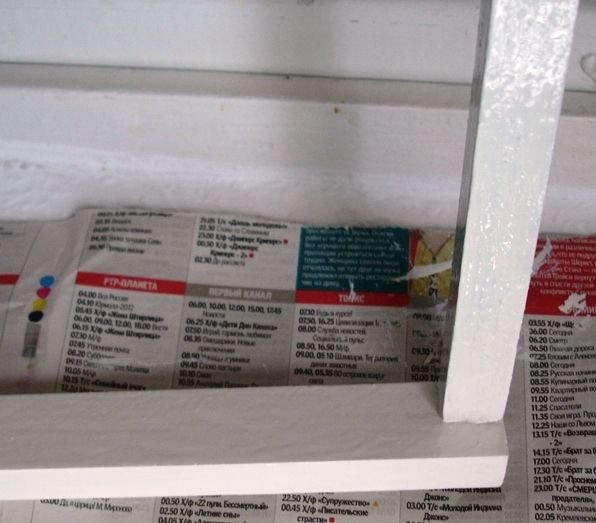
Screw the wooden bars together (as it is indicated on the picture below). The bar of 20x40 mm should be placed at the bottom of the frame. Paint the construction with the white paint and let it dry.
While the frame dries, start making holes in the sheet of tin with a screwdriver on a distance of +/- 10 cm from each other. Then put the dried, wooden frame on the sheet of tine and screw both details together through the holes that have been made with the screwdriver.
The assembly is finished! )))
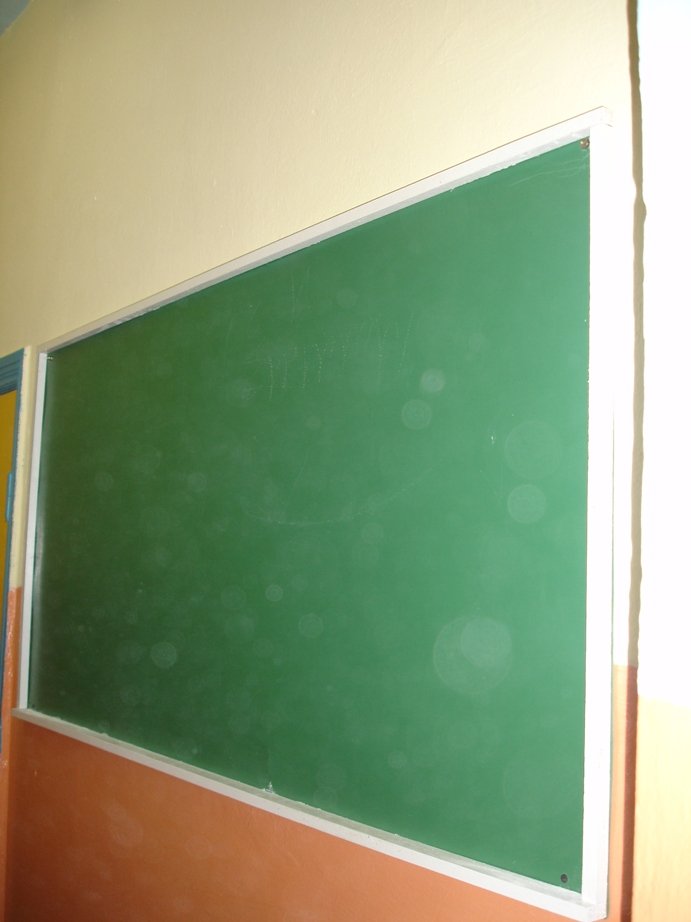
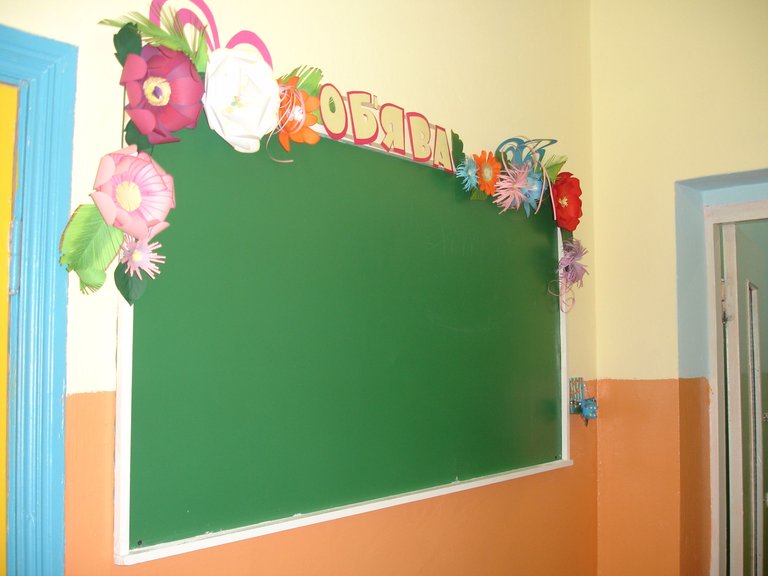
Think in advance how the board will be hanged up on the wall. I have screwed mine directly on the wall at the corners of the board with self-tapping screws to assure that the board is not moving.
I hope you find my lesson useful!



I am extremely impressed with this project! It would have never occurred to me that you could just make your own school board - although of course you can. Wonderful post, very clear instructions to follow and great job documenting the whole process. Happy to follow you and looking forward to more! Cheers - Carl
Many thanks for your comment Karl)) Yes, I have other interesting lessons.