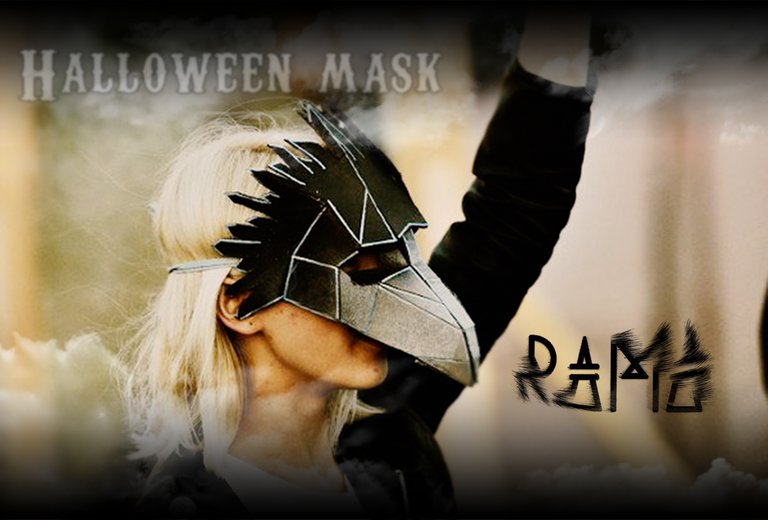
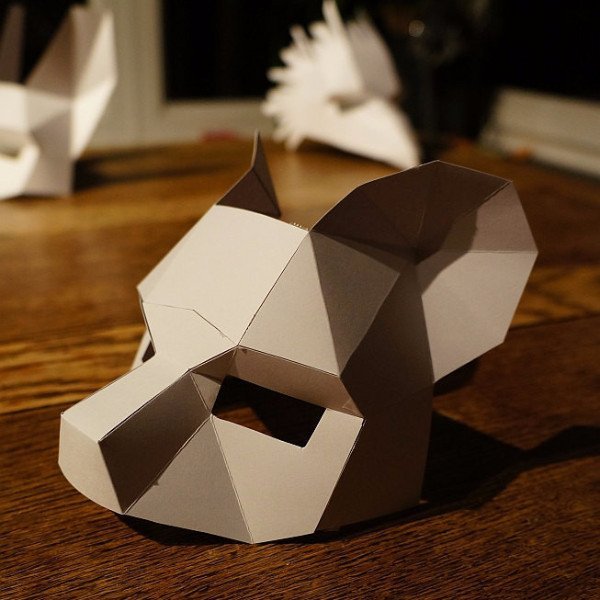
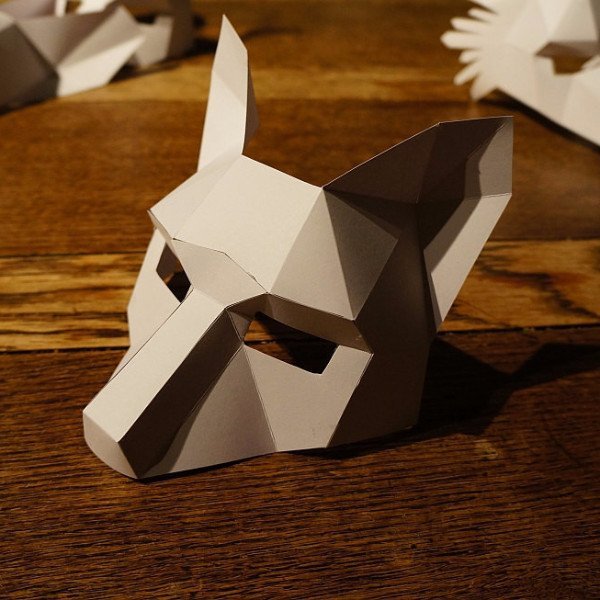
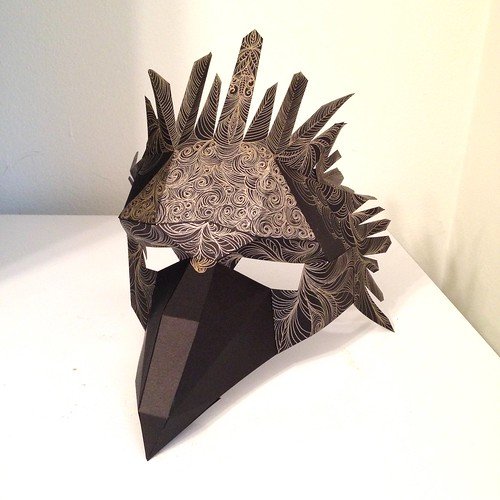
En este pequeño post les tenemos un regalo para que lo disfruten en Halloween con sus amigos. Se trata de 3 mascaras Low poly para armar.
Descarga la imagen, imprímela, ármala y disfrútala!
In this little post we have a gift for you to enjoy on Halloween with your friends. It is 3 Low poly masks to assemble.
Download the image, print it, arm it and enjoy it!
Material requerido:
- Acceso a una impresora Papel A4 Papel Carta EE. UU.
- Cartón delgado, el tipo utilizado en cajas de cereales es ideal.
- Un pedazo de elástico para sostener la máscara en tu cabeza.
- Pegamento para papel al cartón.
- Tijeras o un cuchillo artesanal.
- Cinta adhesiva recta hacia adelante.
- Algo de tiempo libre
Material required
- Access to a printer A4 paper US Letter paper
- Thin card, the type used in cereal boxes is ideal.
- A piece of elastic to hold the mask on your head.
- Spray mount, Pritt stick, PVA or something that will stick paper to card.
- Scissors or a craft knife.
- Straight forward sticky tape.
- Some spare time

**Instrucciones**:1. Imprima las plantillas.
2. Después de imprimir las plantillas en papel, recórtelas aproximadamente al tamaño aproximado, no tienen que estar ordenadas. Recortar el exceso de papel facilita la organización de las plantillas en la tarjeta.
3. Despliegue sus cajas para que tenga hojas planas de tarjetas para trabajar, luego pegue las plantillas a la tarjeta. Cuando ensambles tu máscara, tus plantillas estarán en las caras internas de la máscara.
4. Recorte las plantillas a lo largo de los contornos sólidos. Corte solo los contornos sólidos, no los guiones.
5. Las líneas de plegado en las plantillas están marcadas como una línea discontinua que representa un doblez de valle o guiones con puntos para representar un doblez de montaña. Esto es con las plantillas en el interior de la máscara.
6. Marque todos los pliegues del valle marcados en las plantillas con un cuchillo sin filo o con unas tijeras. Luego encuentra las partes con pliegues de montaña, las voltea y las marca en el reverso. Anota y dobla todas tus partes.
7. Comience a unir los números en las plantillas y pegue los bordes con los números correspondientes. Grabar en el exterior facilita las cosas para la mayoría de las partes. Si llega a una parte que es difícil de grabar en el exterior, intente grabar dentro de la máscara. Si una unión se siente bajo tensión, péguela por dentro y por fuera para reforzarla.
8. Una vez que haya construido su máscara, coloque una pieza elástica a la altura de la oreja, para sostener la máscara en su cabeza.
**Instructions**:
1. Print the templates.
2. Having printed the templates on paper, trim them roughly to the approximate size, they don’t have to be neat. Trimming off the excess paper makes it easier to arrange the templates on the card.
3. Unfold your boxes so that you have flat sheets of card to work with, then glue the templates to the card. When you assemble your mask your templates will be on the inside faces of the mask. First choice for gluing the templates would be Spray Mount.
4. Cut out the templates along the solid outlines. Cut the solid outlines only, not dashes.
5. The fold lines on the templates are marked as either a dashed line representing a valley fold or dashes with dots to representing a mountain fold. This is with the templates on the inside of the mask.
6. Score all of the valley folds marked on templates with either a blunt knife or scissors. The find the parts with mountain folds, flip them over and score them on the reverse side. Score and fold all your parts.
7. Start matching up the numbers on the templates and tape together the edges with corresponding numbers. Taping on the outside makes things easier for most parts nut is you come to a part that is difficult to tape outside, try taping inside the mask. If a join feels like it is under stress, tape it inside and out to reinforce it.
8. Once you have built your mask attach a piece elastic at around ear height, to hold the mask on your head.
 (http://www.mediafire.com/file/c1sjq8rg35gy4rk/Bear.pdf/file)
 (http://www.mediafire.com/file/itxaic0wxon5ntg/Fox.pdf/file)
(http://www.mediafire.com/file/s6niyuy68qv9rgk/Bird.pdf/file)
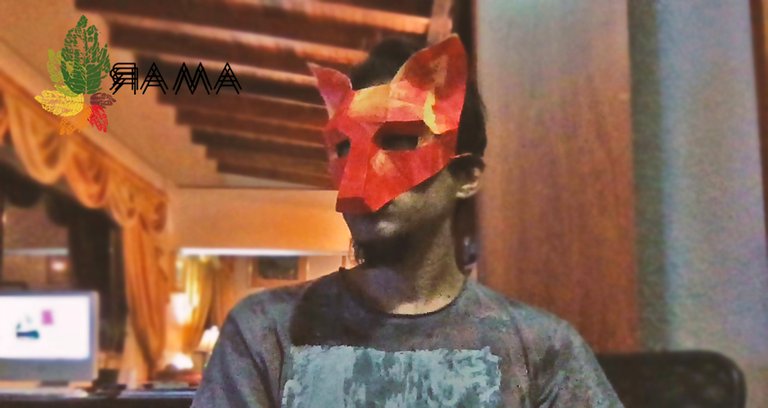
Si tiene alguna duda con la construcción de la máscara o desean hacerme una consulta no duden en escribir.
If you have any questions with the construction of the mask or wish to ask me a question, do not hesitate to write.

Fabulosa idea y más usando material de reciclaje .. pero muy alegóricas para eventos indigenistas y de folclor
hey rama! genial me gusta mucho el halloween, aunque tiene recien popularidad en venezuela y es mas profundo de lo que las personas piensan, si gustas puedes leer un poco de lo que escribi en esta publicacion sobre esta festividad y que significa para el mundo y venezuela gracias por la máscara dude, c u soon ;)
Congratulations @ramadigital! You have completed the following achievement on the Steem blockchain and have been rewarded with new badge(s) :
You can view your badges on your Steem Board and compare to others on the Steem Ranking
If you no longer want to receive notifications, reply to this comment with the word
STOPTo support your work, I also upvoted your post!
Do not miss the last post from @steemitboard:
Hi @ramadigital
The SPT tag and tribe was set up by the developers of the blockchain game Splinterlands.
This tag is used to help distribute SPT tokens through a rewards pool to players talking about the game.
When you use this tag in your post whales of the SPT tribe will downvote where the featured content has no relevance to the game and or community.
This is to ensure the Splinterlands tribe (Splintertalk) is free of posts not related to the game.
In the future I would recommend not using the tag SPT unless you’re talking about Splinterlands.