Good day steemit angels! This is my first DIY post and I would like to share to all of you our project in Electrical Engineering last semester by my friend Joan Ricarte.
So let's start!
.jpg)
MATERIALS NEEDED:
• (7) 5”x5” MDF
• (3) 5.25”x5.25” MDF
• (4) 5”x1.25” MDF
• (4) 5.25x1.25” MDF
• (6) Wood blocks
• Orange stickers
• Lead wire
• Soldering paste
• Positive and negative wires
• Battery socket
• 9 volts battery
• (1 m) LED strip
• Sandpaper 180
• Wood glue
• Double sided tape
• Switch
EQUIPMENTS:
• Soldering iron
• Drill gun
LIQUIDATION OF MATERIALS:
Php 170 1 m – LED Strip
110 9 volts Battery
17 2 m – Positive-Negative Wire
5 Battery socket
15 1 m – Lead Wire
10 Switch
Php 327
Note: Some materials were already available in our house, and some are recycled.
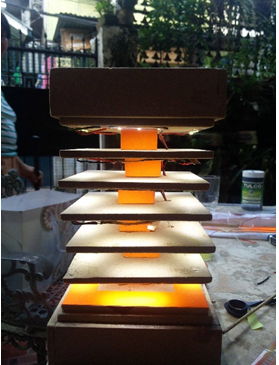
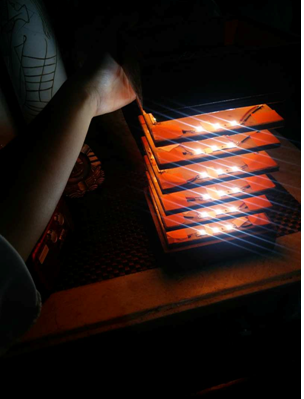
Our project is a DIY Wood Lamp. We designed a tower square lamp for our project to add design and function. The top of the lamp can also be used as a utility box for flashdrives, keys, phones, and etc. We decided to make a lamp that is battery operated to save electricity, and to add design to our room. This lamp is handy since it does not occupy a lot of space, and it is light in weight. It is very useful for students like us when we are studying during nighttime, or when we are typing documents.
Since we have scrap MDF in our house, we decided to use it to save money.
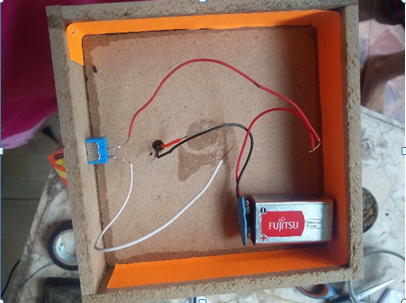
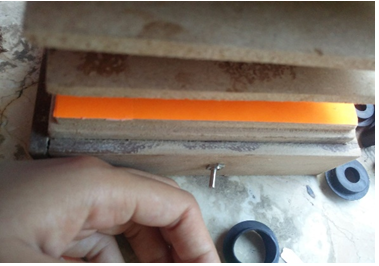
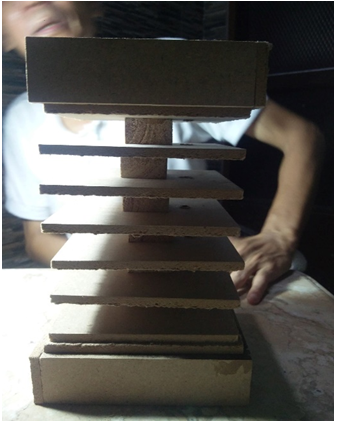
1.) We started by smoothing out the rough surfaces of the MDF. We then drilled a hole in 5 of the 5”x5” MDF on the middle top to connect the wires. For the top and base, we created box-like shape to cover the battery (base), and to add function (top).
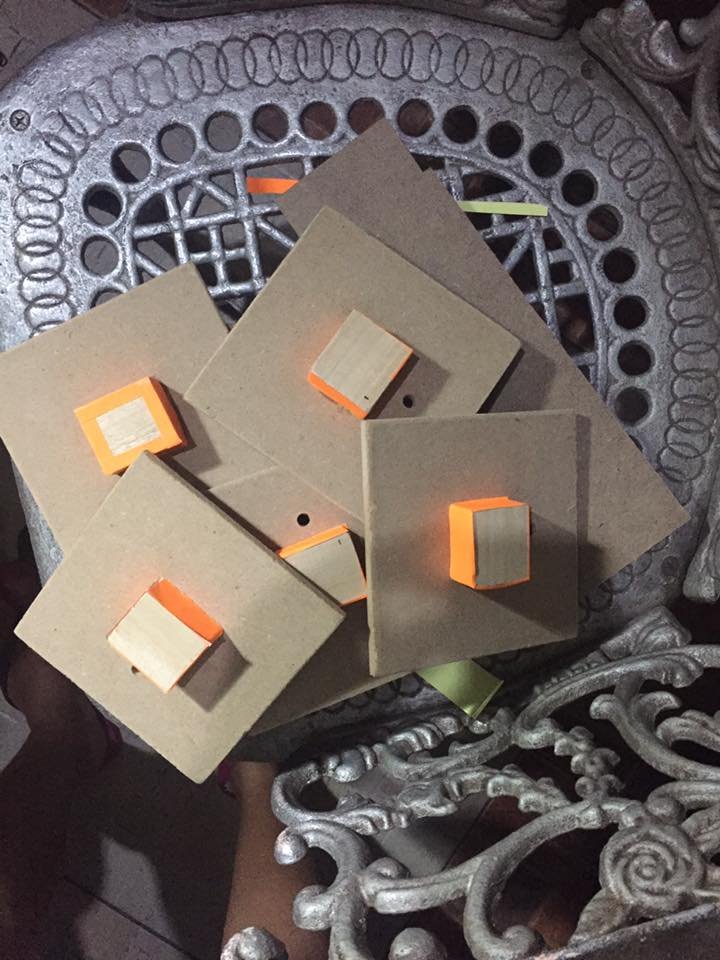
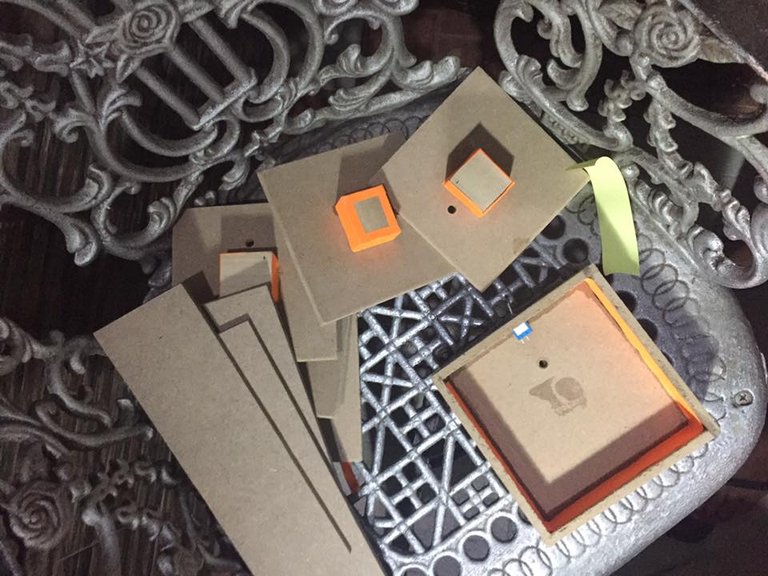
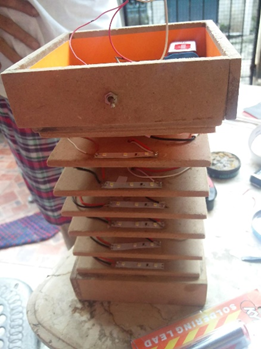
2.) We then started cutting the LED strip, and pasted it on each side.
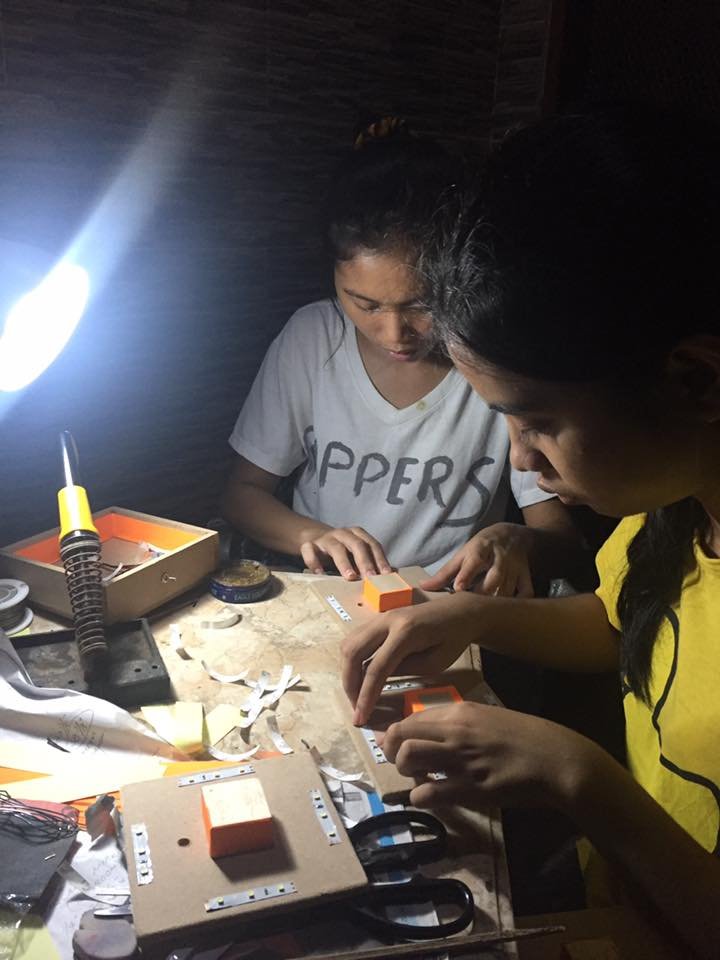
3.) We then glued a wood block at the center of the 5 5”x5” MDF to create a gap and allow more light to come through.
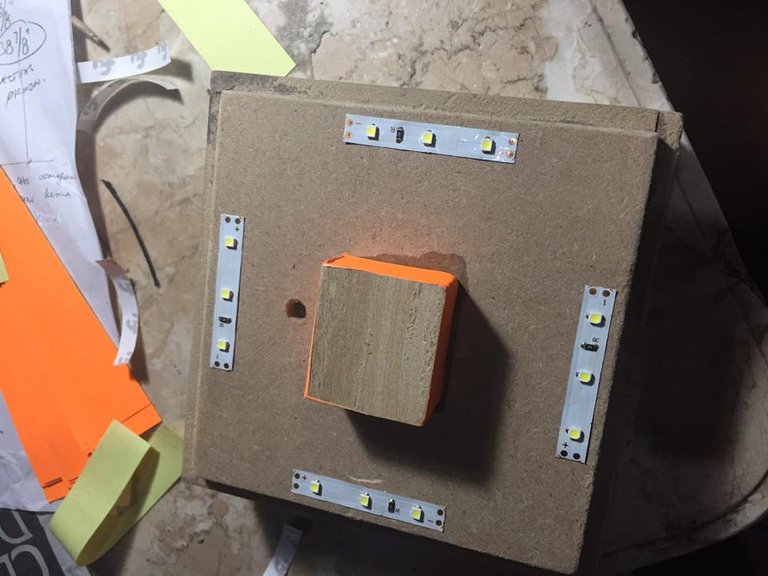
4.) We then started to connect the wires, then soldered it to avoid disconnection. We started from the top base, going up to the bottom base because it would be easier to connect the wires.
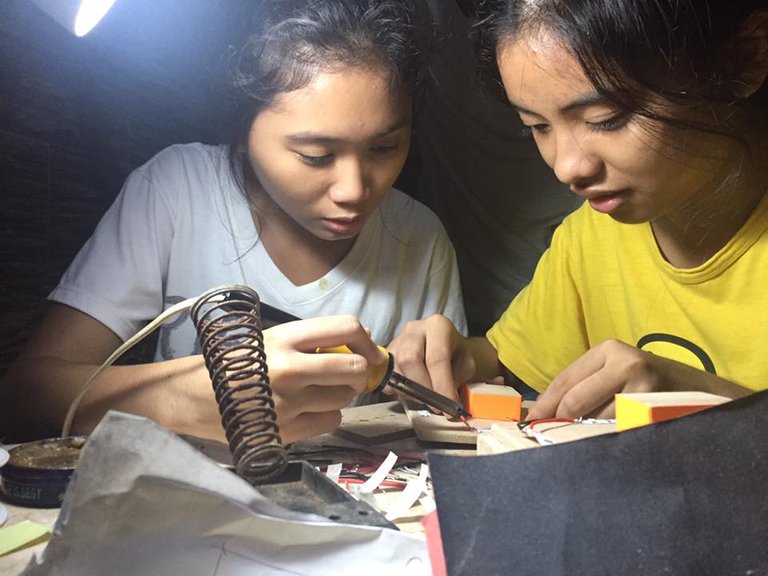
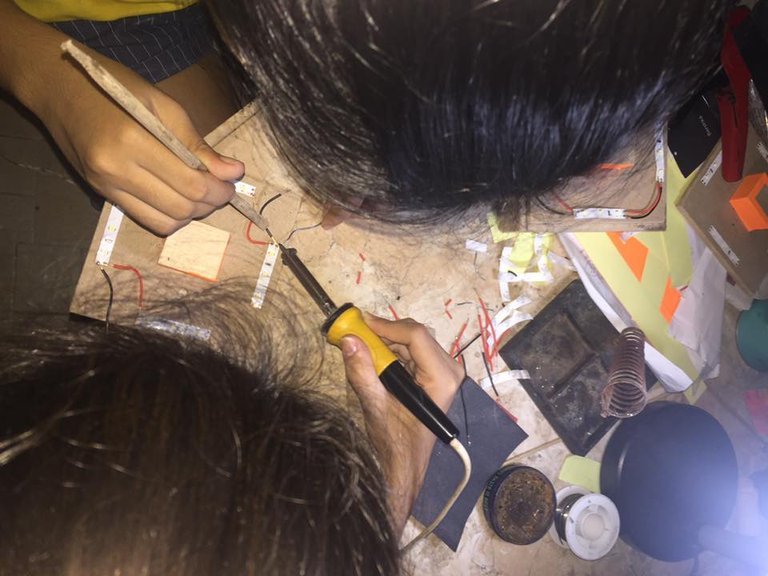
5.) We then added the battery and switch, and tested our project if it was a success.
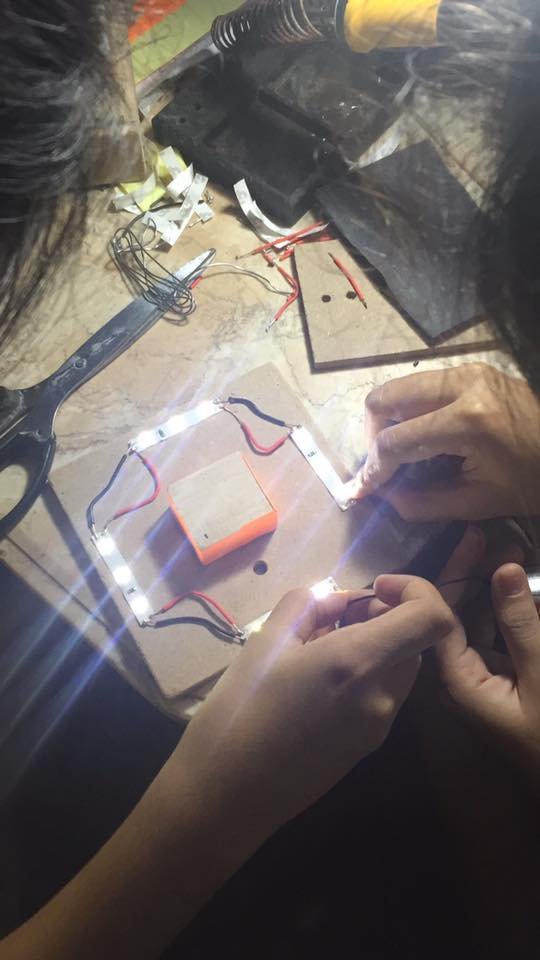
6.) We then finished the project by adding orange stickers to add a shadow effect.
Tada! The FINAL LOOK!
Hope you all like it! Show your support!

Superb adorable! Keep it up dear💕 @fres-smith
Thank you! ❤️
@originalworks
To call @OriginalWorks, simply reply to any post with @originalworks or !originalworks in your message!
Such amazing work! :)
Thank you! ❤️
That's amazing @fres-smith. Good job :)