Greetings Steemit community!
Making this paper weave bag baskets will help to organize your stuff or when playing with the kids and anyone who receives this DIY craft will be impressed with your creativity.
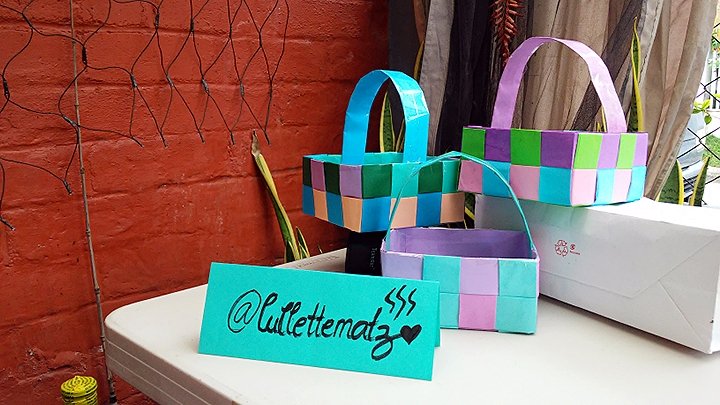
What you will need to make the paper basket:
• Colored paper (A4 size)
• Glue
• Scissors
Instructions to make the paper basket:
First, get ready your materials and tools. Have a clean sheet of colored paper. You can have any color you want.
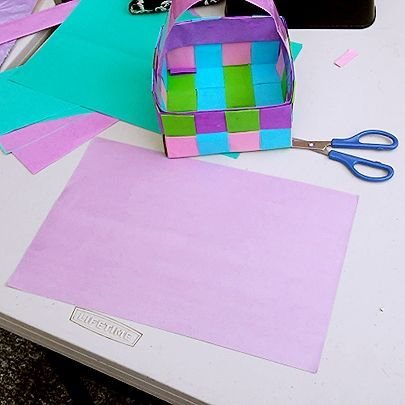
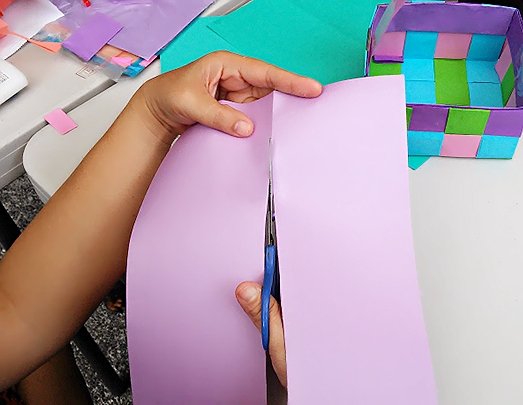
Then fold it into half (lengthwise) and cut it by the folded line.
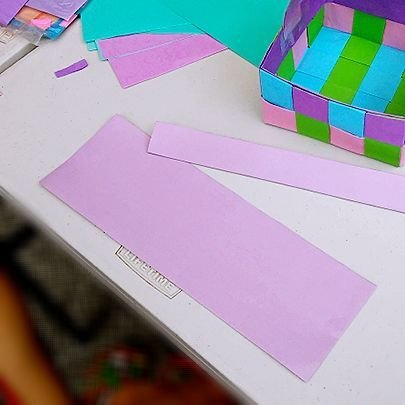
After that, fold it into strips with your desired length.
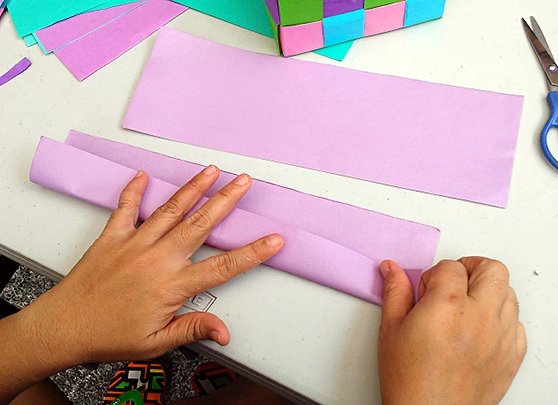
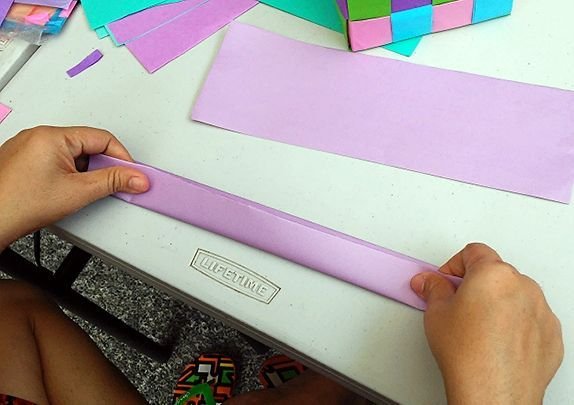
Collect them all!
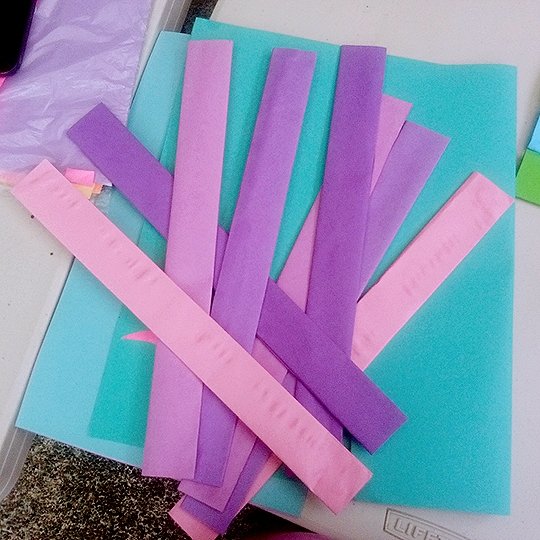
Let us start!
Align the four (4) strips as this is the base of the basket.
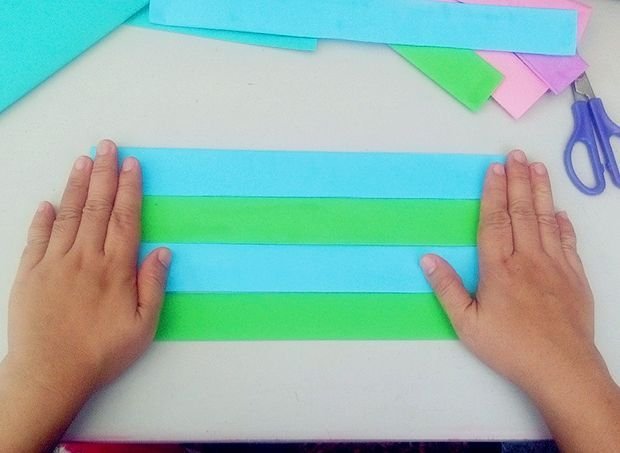
Next, apply this one over under one technique.
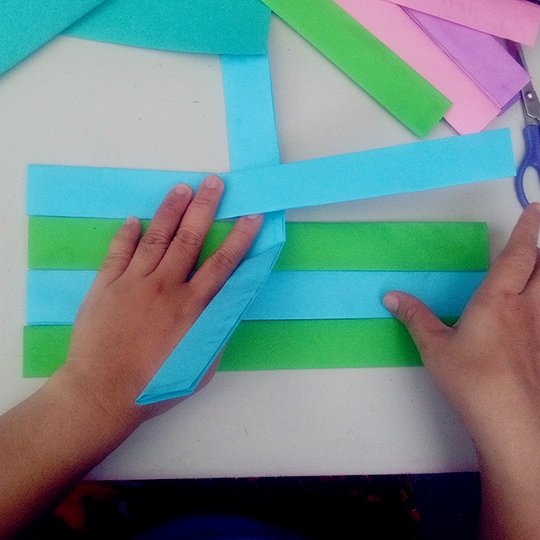
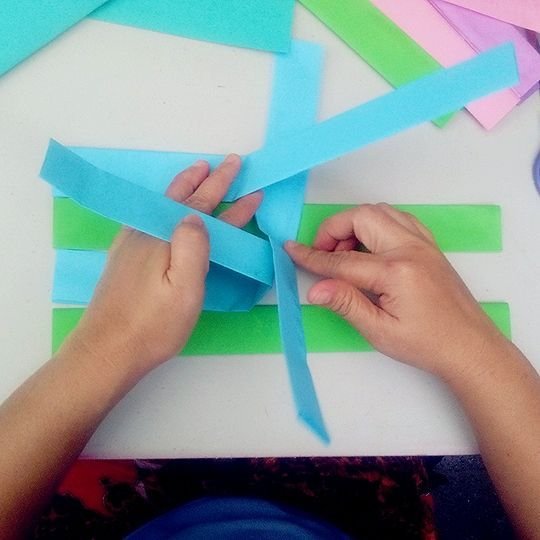
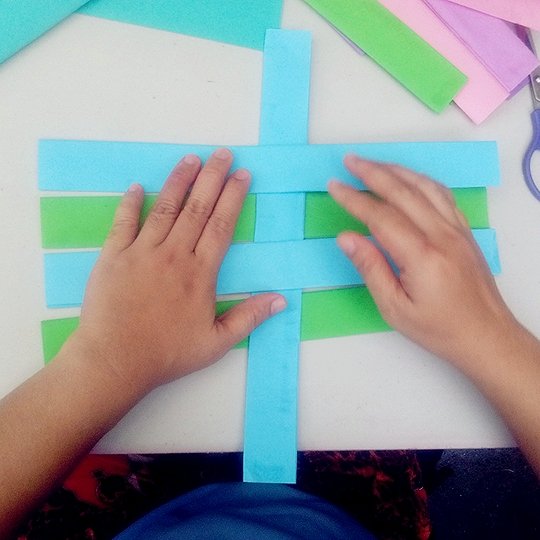
Repeat the weaving technique for the next strip.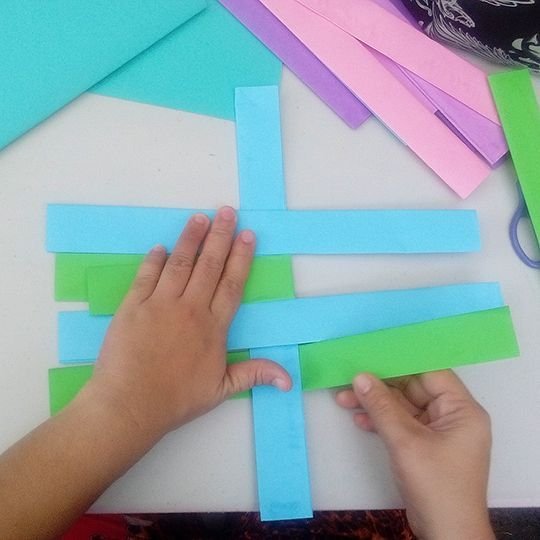
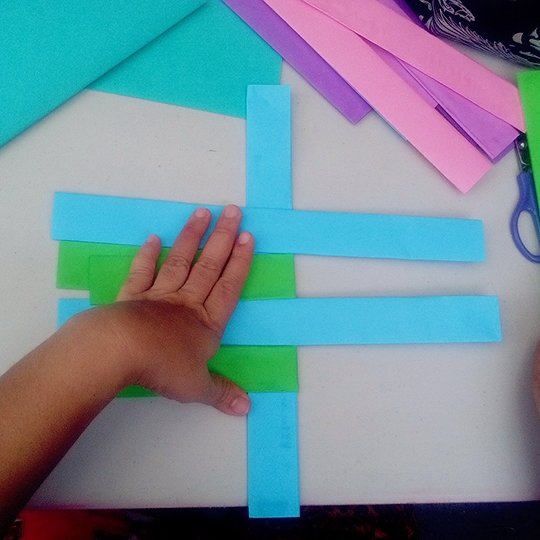
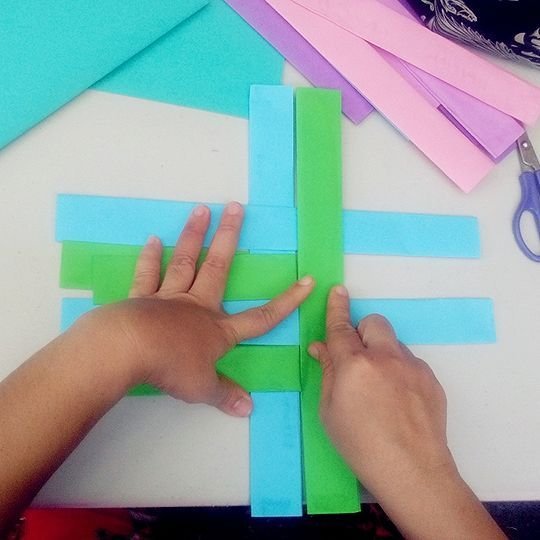
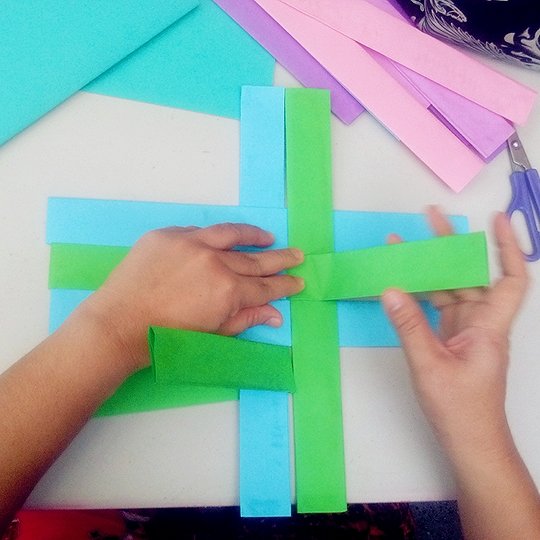
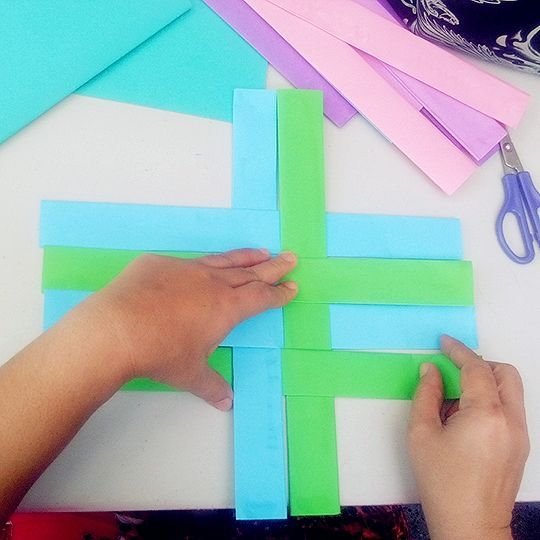
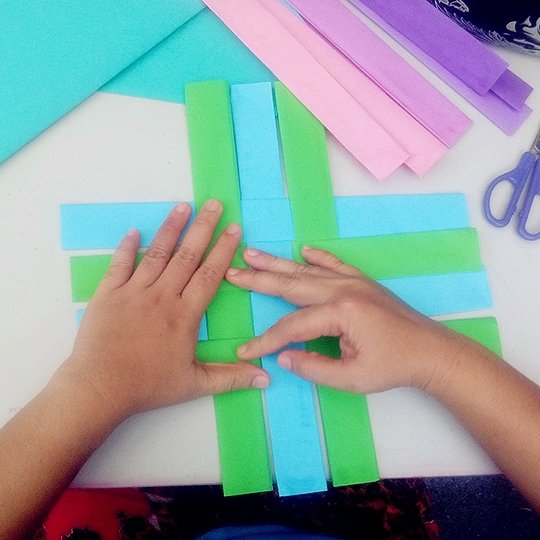
Until you have this form. Eight (8) strips all in all (4 horizontals, 4 verticals).
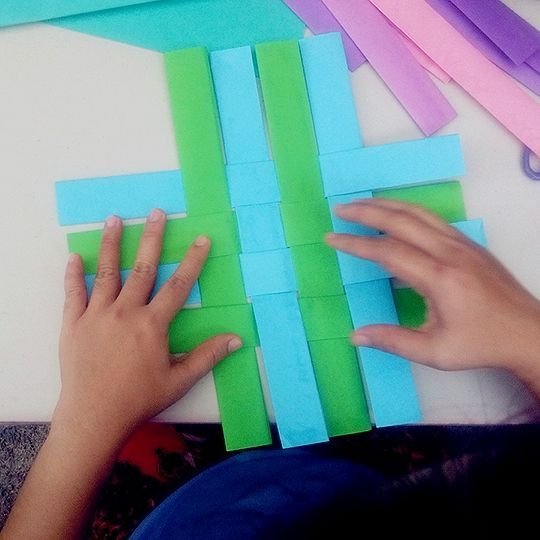
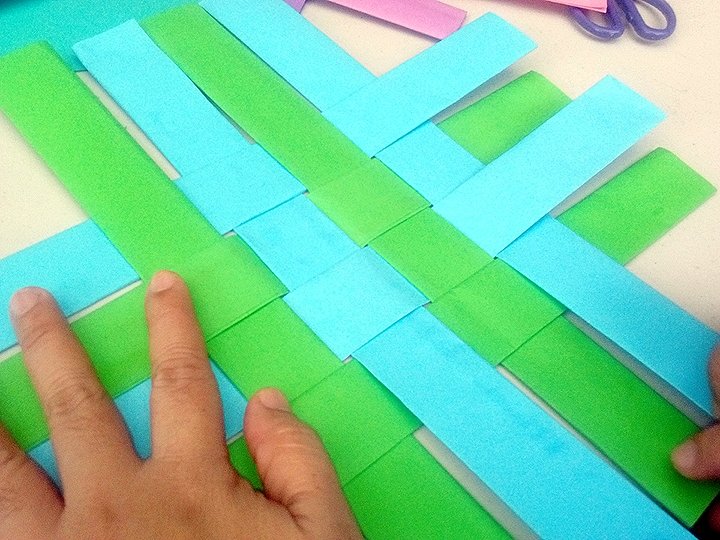
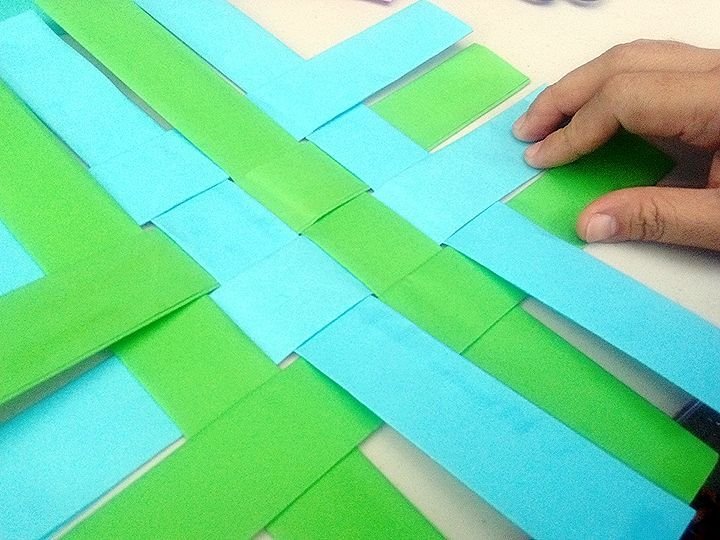
Then fold all the sides tightly.
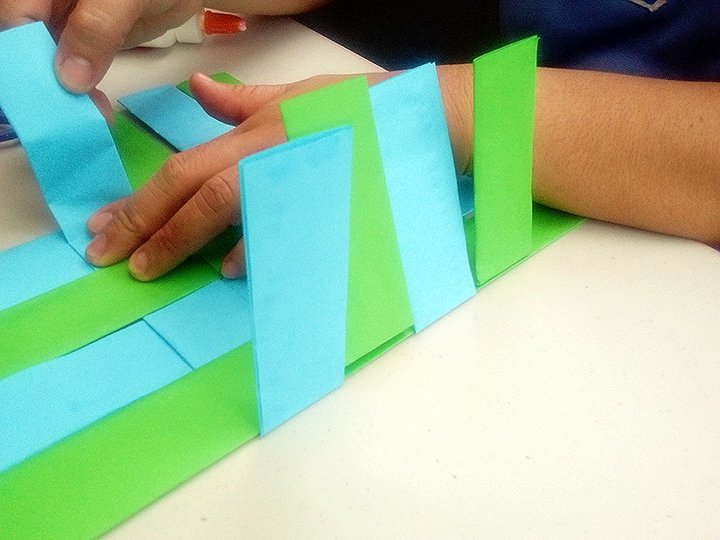
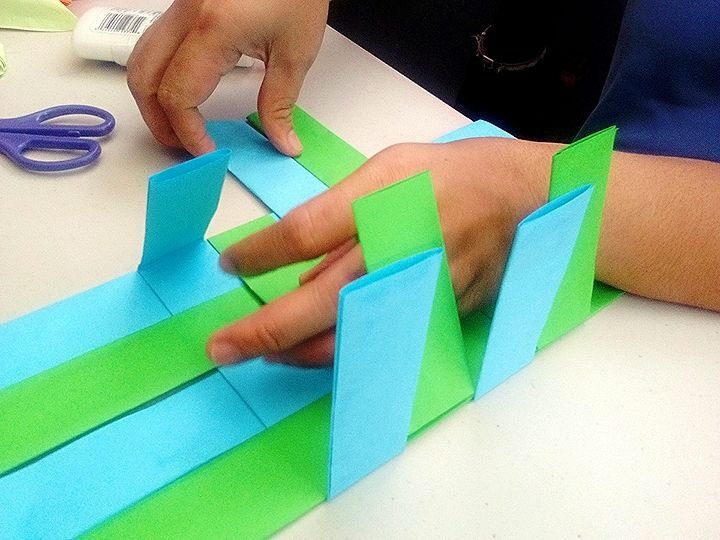
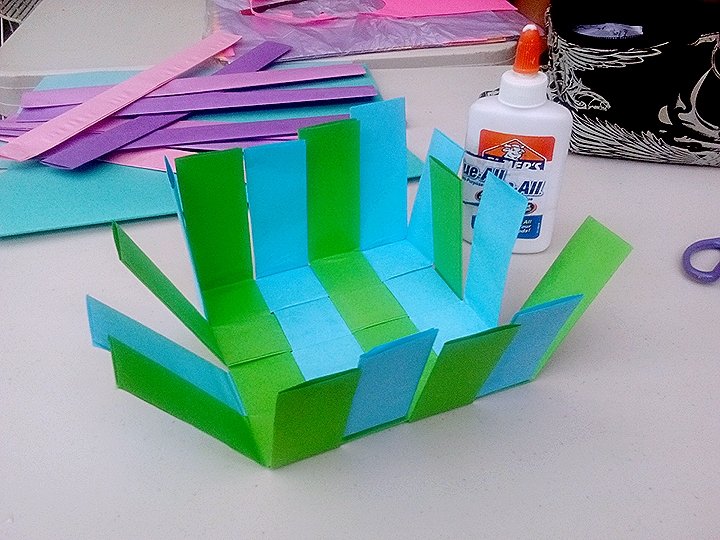
Afterwards, perform the same weaving technique (one over under one) for this part.
Get another strip you made. Use different colors to make it more attractive.
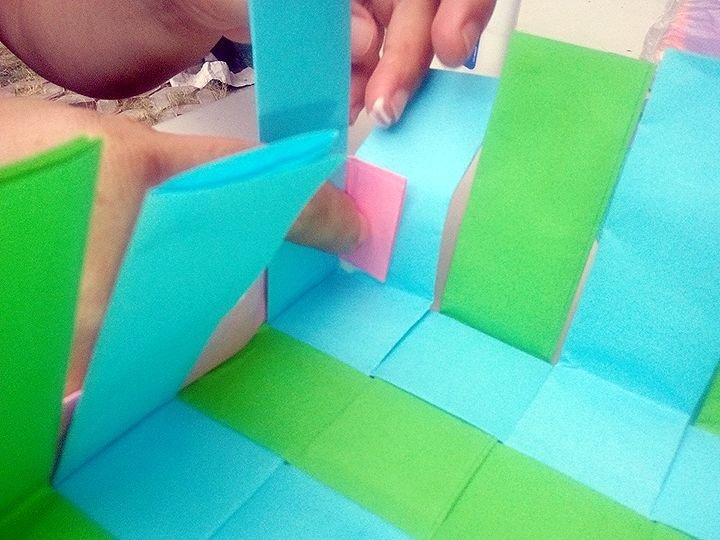
To start this part, fold the tip in half inch to hold the other side of the inside box by using glue.
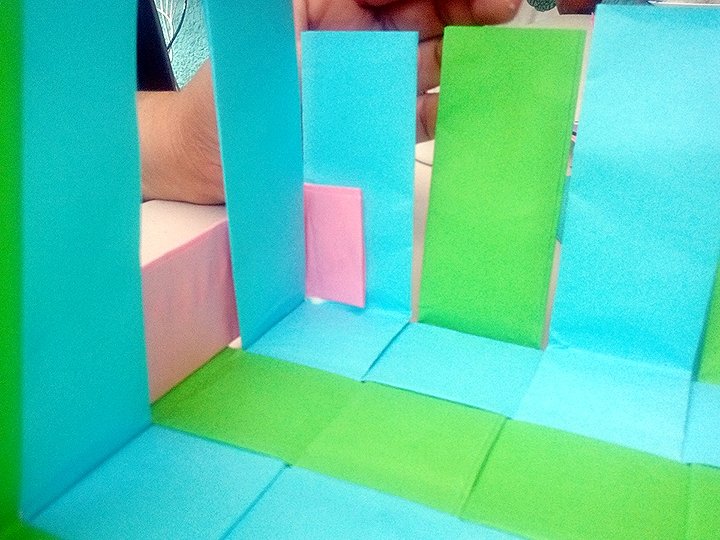
Weave it.
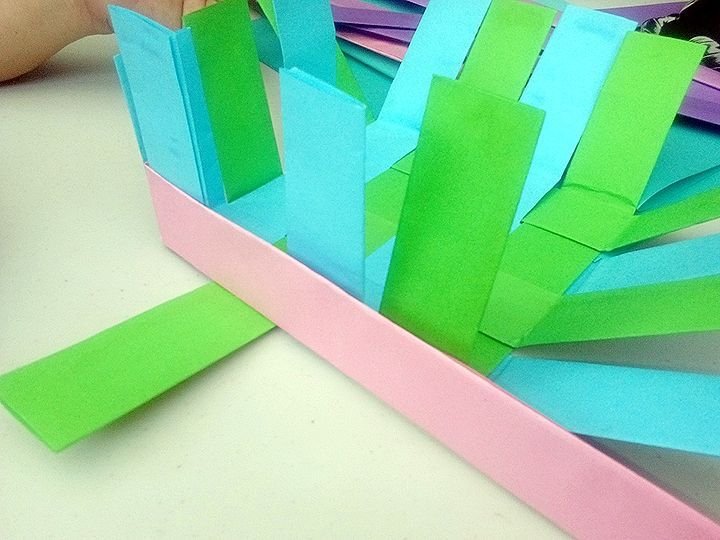
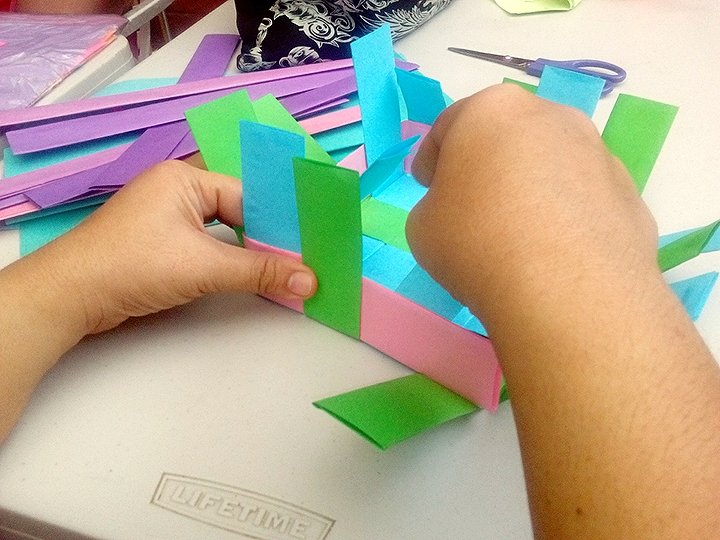
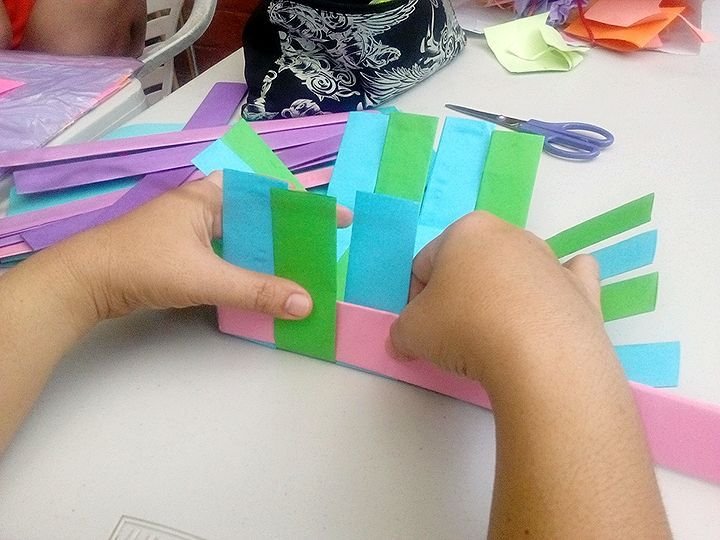
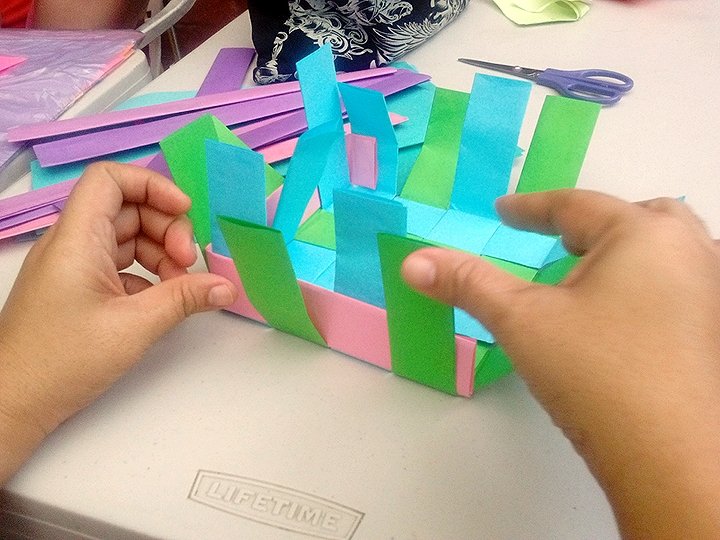
Repeat the same method for the next layer.
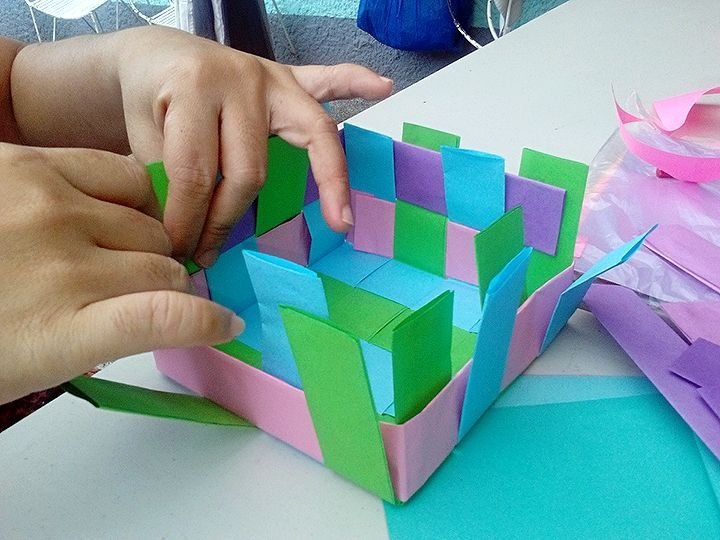
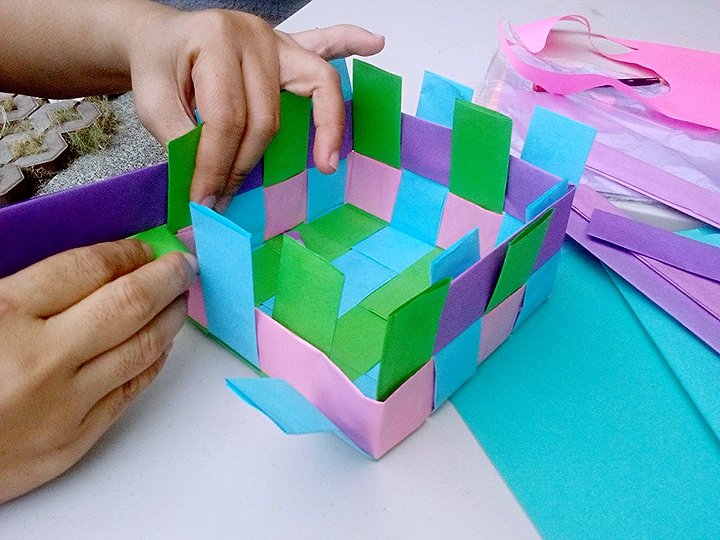
Fold the left tips of the strip paper then glue it inside the box for it to look neat.
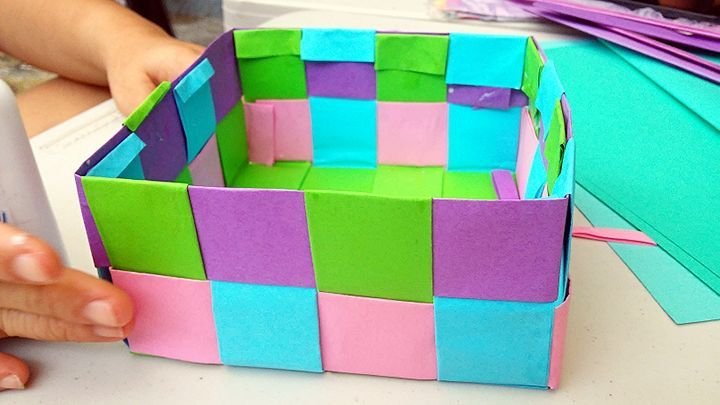
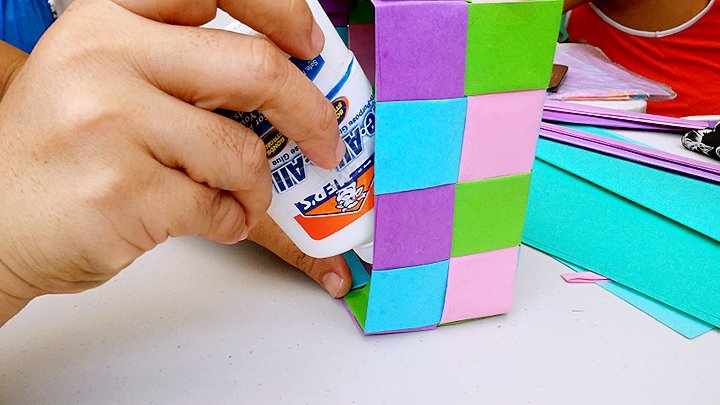
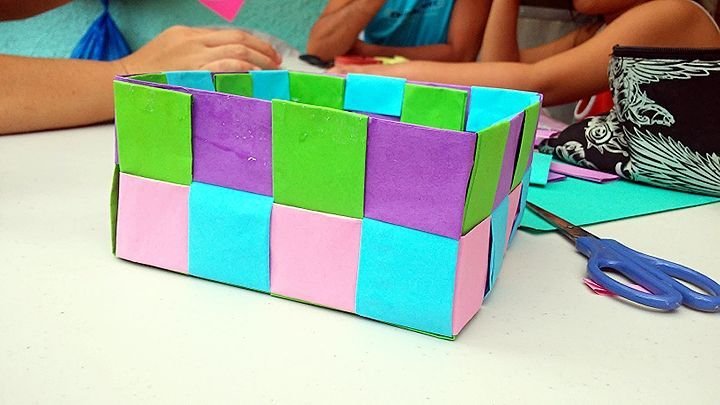
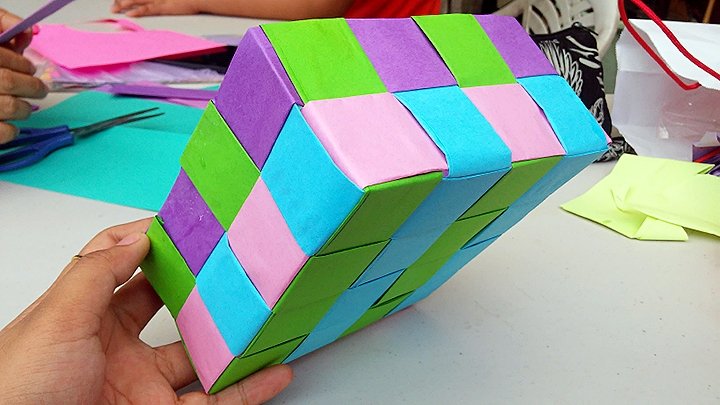
You can also cover it with the strip paper you made to hide the folded tips of the strips.
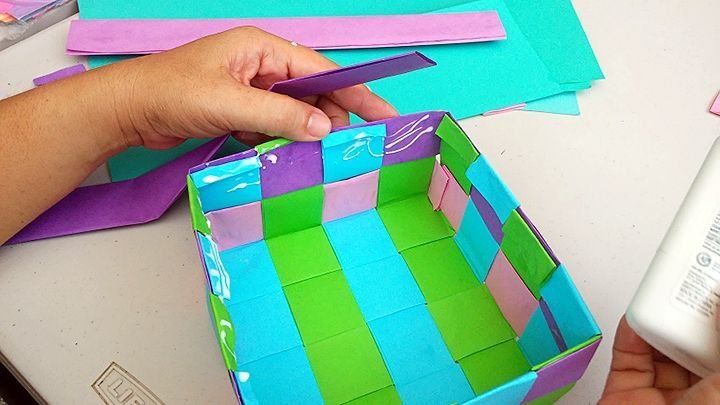
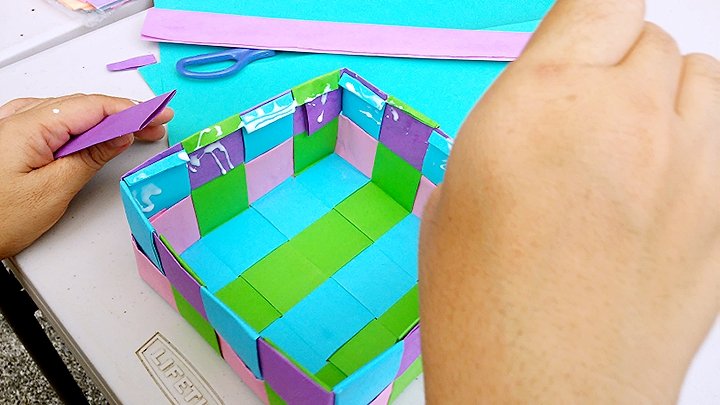
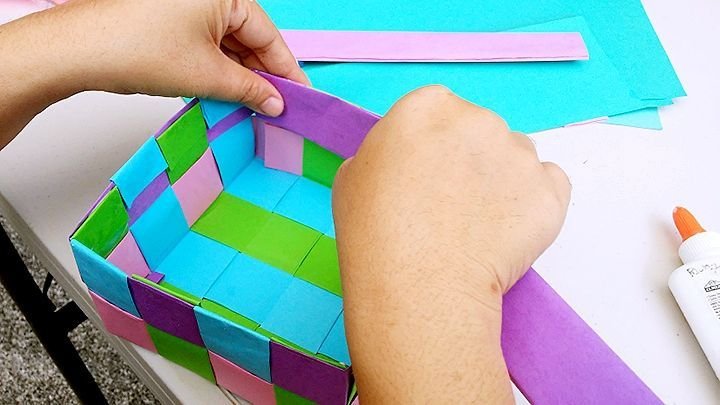
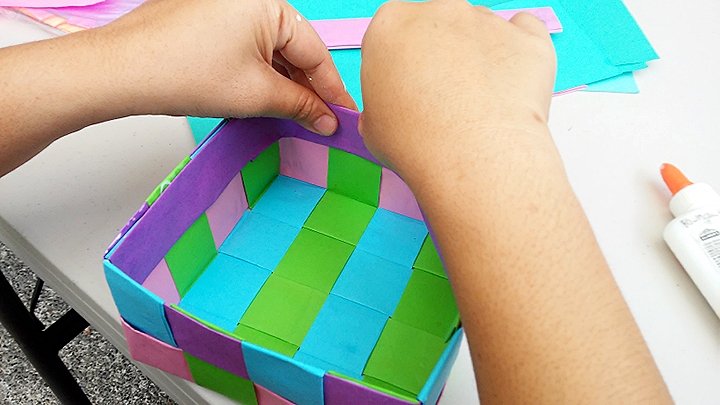
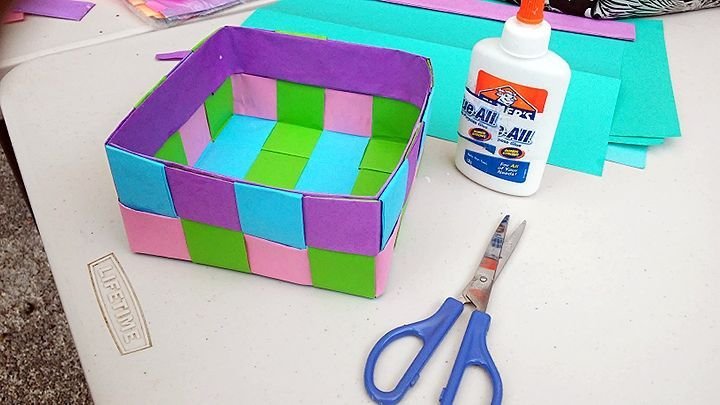
Lastly, get another strip you made for the besket's handle. You can cover it with scotch tape for it not to crample easily when you grab it.
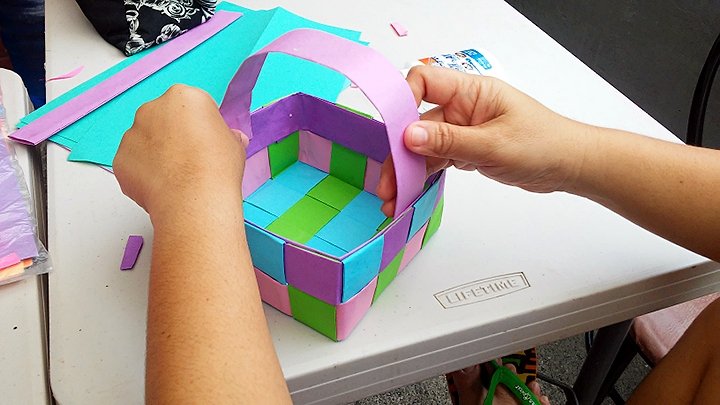
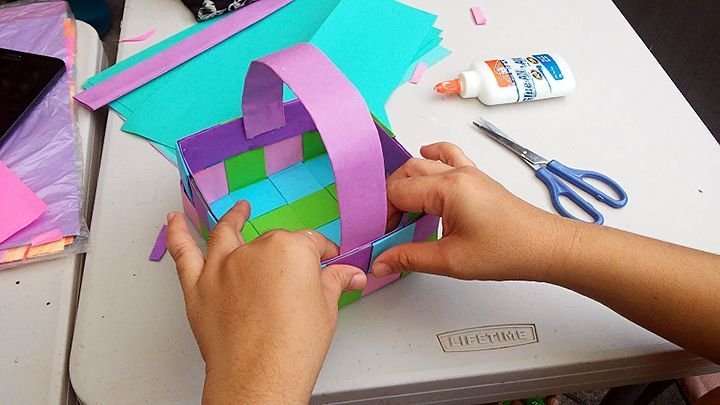
Achieved! This is the final output.
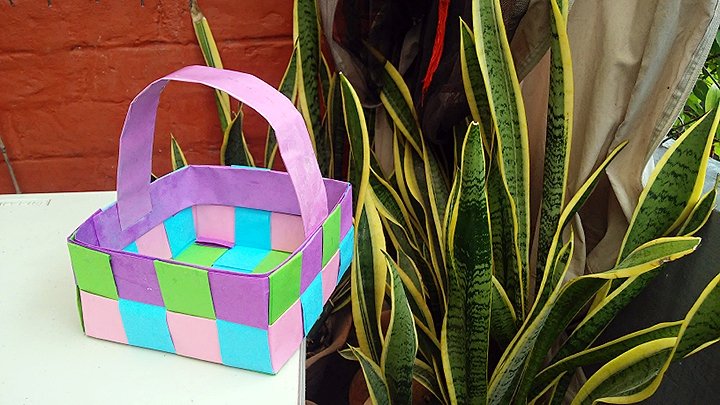
Grab it! It's yours.
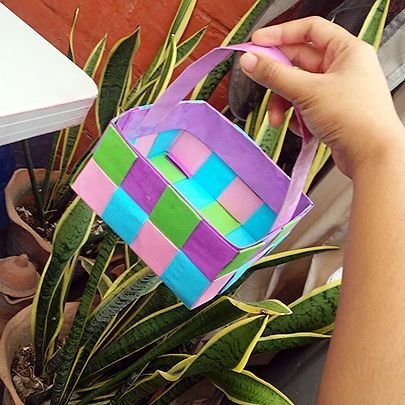
Who thought that simple materials can be turn into incredible and simple-quick DIY craft.
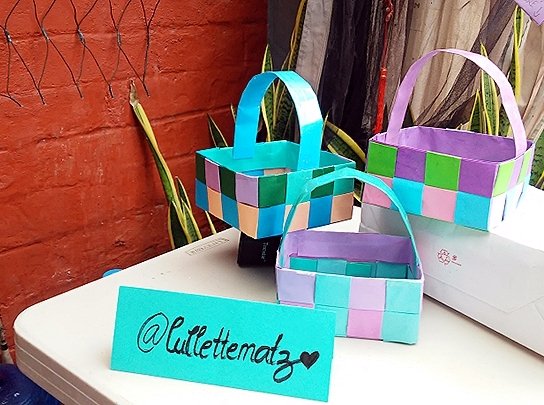
This upcycled weave paper bag can be use for organizing your stuff such as make up tools, face towel organizer in bathroom's sink, beauty hygienes (lotion, perfume, hair spray, powder, etc.), painting tools and many more stuff that can be fit.
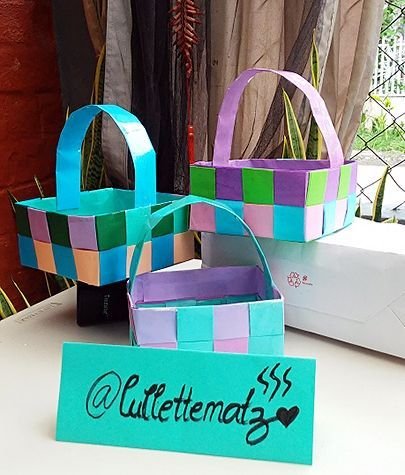
This simple yet incredible DIY will give you an idea to organize and fix your stuff. I hope this tutorial blog may give you a PUSH to try it for minimizing the space above your table with an attractive look or fix your little things or some what.
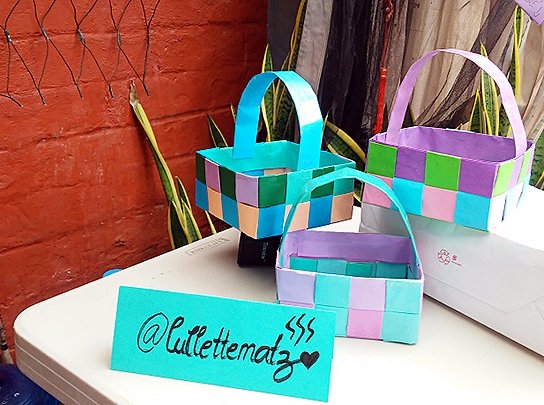
Thank you for dropping off co-steemers. Your time is such a worth and don't forget to...
UPVOTE | RESTEEM | & MAKE EVERYONE HAPPY!
"I'm always happy to share!"
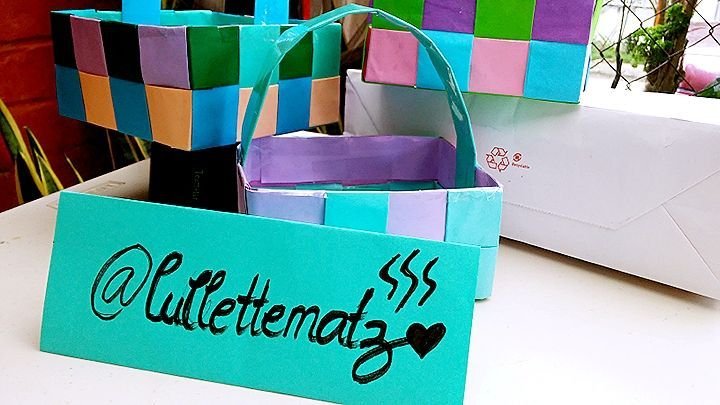
I remember my grade school days I couldn't perfect my paper basket. Thanks to this DIY makabuhat na jud ko ug gagmay nga basket diri sa office.
Great! Pakit-a nya kos imong hinimo @marionsden ha! Just followed you kabayan! ;)
HAPPY STEEMING!!!
yeah pakit-on jud tka, kabayan. gubot man gud koang table kelangan ug organizers na and DIY is the best solution. Thanks jud kaayo ani. HAPPY STEEMING TOO!!! :D
I remember creating one but using rolled strips of newspapers. This is easier since it does not consume a lot of time to do it.
Yes, too much time to be consumed @leeart. I've made vase once using those rolled papers so I made it easier using this stripped papers.
Just folled you! ;)
HAPPY STEEMING!!!
Paper basket is very nice am gona go through this one more to get every detail
Hope to see your weave basket soon! Happy steeming @izuchukwu1506!!!